


FB Viper build!!!!
 01-27-2016 | 08:36 PM
#1

Well it's done! I purchased a FB Viper and I just got pictures showing that it's done with paint and put together for me to see the final product. I have not seen a FB Viper build on here until fenderbean started one. It was with his thread that is going help me build this thing. This is my first turbine build so I would like to have each and everyone of you to aid in my build. "We are going to build it together". What I would like is support and I know I will be asking questions and suggestions from you hence build it together. My radio equipment is Jeti and a mix of Jr and MKS servos. This is going to be a slow build due not being used to buying high end equipment lol. So I will keep my eye out on second hand items. Once it arrives I will post more pictures.
 01-31-2016 | 04:18 PM
#2
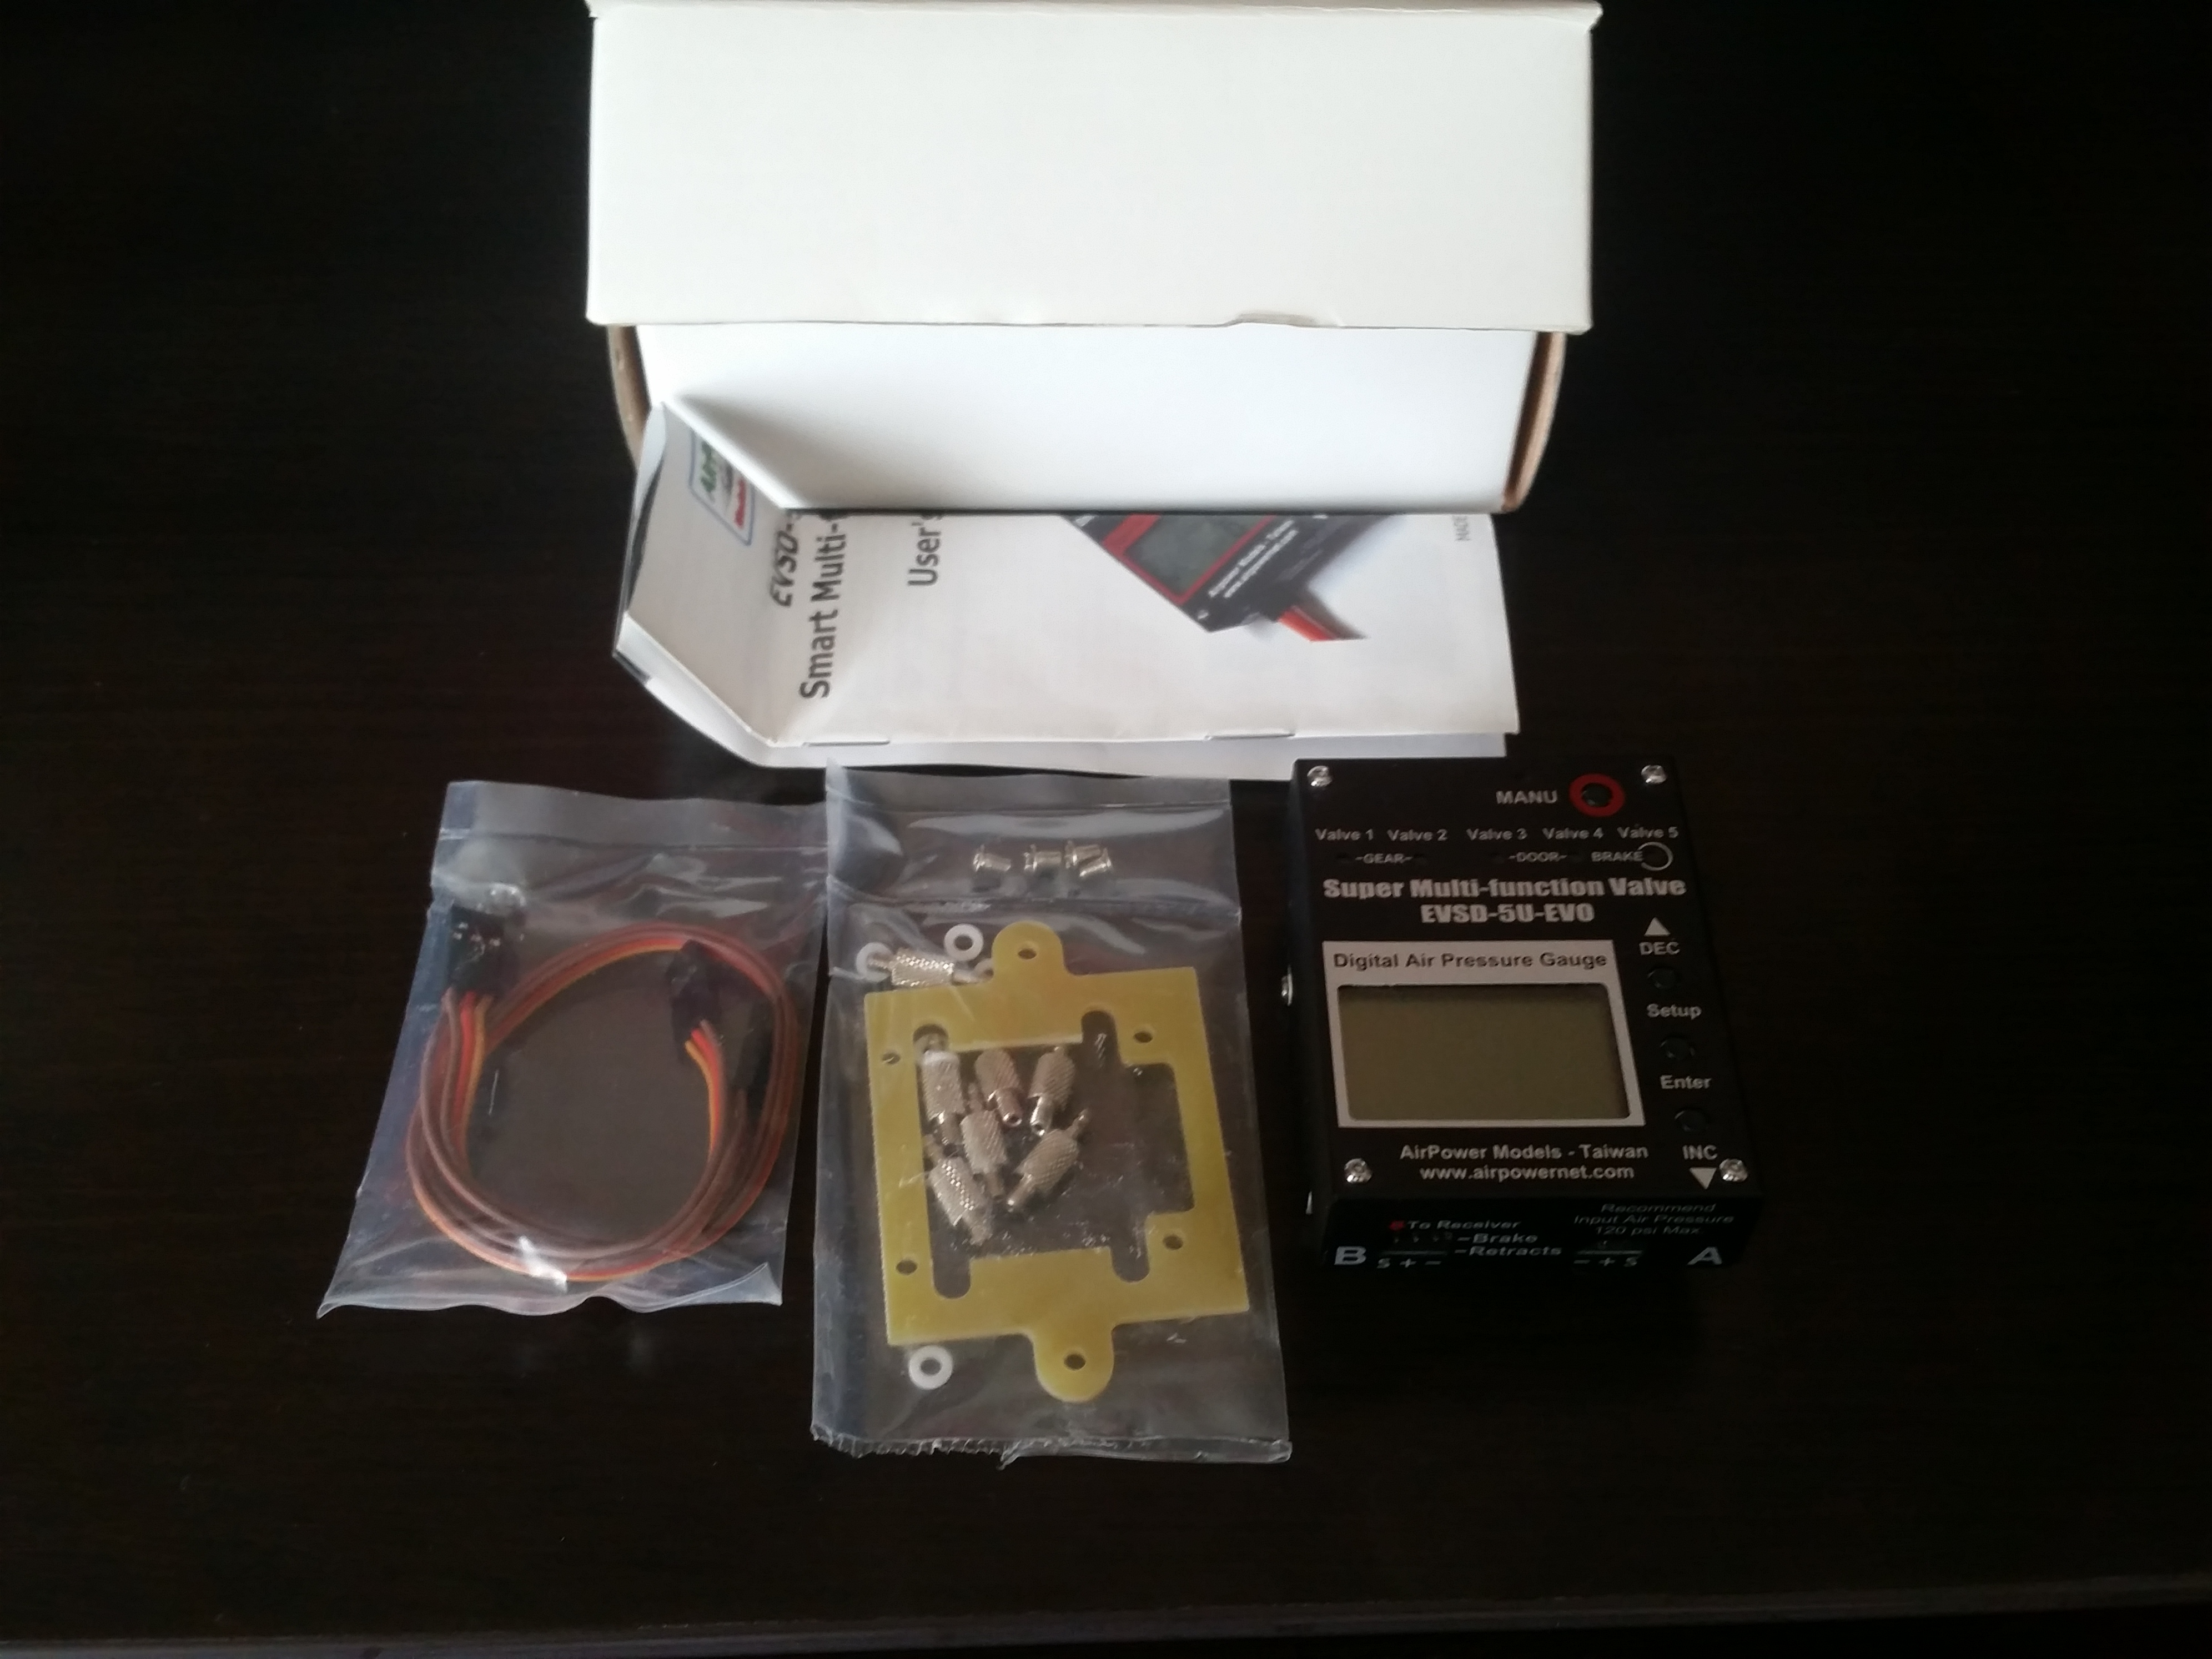
So I finally found a brand new EVSD-5U-Evo and just waiting for it to come in the mail. Next I will start getting air fill valves and air traps. I know this jet will come with air line but I was thinking of buying some new airline from dream works. The airline that comes with these kits, are they good or do most of you replace it? I will also being buying the bulk powerbox servo wire to make all my extension. I should have my tracking number for the jet tomorrow and the arrive date. Stay turned for some more updates.
Last edited by JoeJr1485; 01-31-2016 at 06:38 PM.


 01-31-2016 | 07:27 PM
#6
Thanks. Now I can get the order in. So I think I might have some bad news which is upsetting. I was under agreement with Marvin (FB rep) and Catherine at FB that my viper would be shipped before the new year. well I sent emails to both for my tracking number and it seams that they already started the new year.
UPDATE# Catherine from FB sent me an email stating it was shipped!!!!! yeah!!
UPDATE# Catherine from FB sent me an email stating it was shipped!!!!! yeah!!
Last edited by JoeJr1485; 02-01-2016 at 04:29 AM. Reason: Update
02-06-2016 | 11:40 AM
#7
Well I got notification that the Viper will be delivered on the 10th! I cant wait to get this thing in. Also I just received my airpower EVSD-5U-PRO in the mail. Just have to order one more valve for the speed brakes.
02-09-2016 | 07:18 PM
#8
It Arrived today!!!!! but I'm not in town to open it and look over everything. I will be back home Saturday and will post pictures then of what is in the big brown box! Stay tuned until then for more updates because we are about to build us a FB Viper! On Another note so living in Hawaii it cost a lot to ship. I to order some Epoxy and I have to say that man shipping Su*#'s and cost a tone due to the nature of expoxy. So I am trying to figure out what to go with. I was thinking of getting a few things of 9462 Hysol and just putting in my bag to put on the plane but not sure if that will work. Anyone think this would be a good idea to do with the hysol??
02-09-2016 | 08:01 PM
#9
I would think having hysol in your carry on or even the check bag would be no issue, its not a fire hazard. I like HP-20 hysol since its clear. Be sure when you get home to check the box if you see any damage get a camera and take pictures prior to opening it and then pictures of jet and whats damaged. I do this with ever jet just to be safe, good luck on your build.
02-10-2016 | 12:16 PM
#10
Thanks Keith. I was thinking the same thing but I didn't know if that would be an issue due it having a Hardner as well. I am going to pick up two of them this prob. today to take back with me.
Edit: Just ordered some 9462 from DreamWorks and didn't have to pay high shipping! Man I love dream works.
Edit: Just ordered some 9462 from DreamWorks and didn't have to pay high shipping! Man I love dream works.
Last edited by JoeJr1485; 02-11-2016 at 07:26 PM. Reason: update
02-13-2016 | 09:14 PM
#11
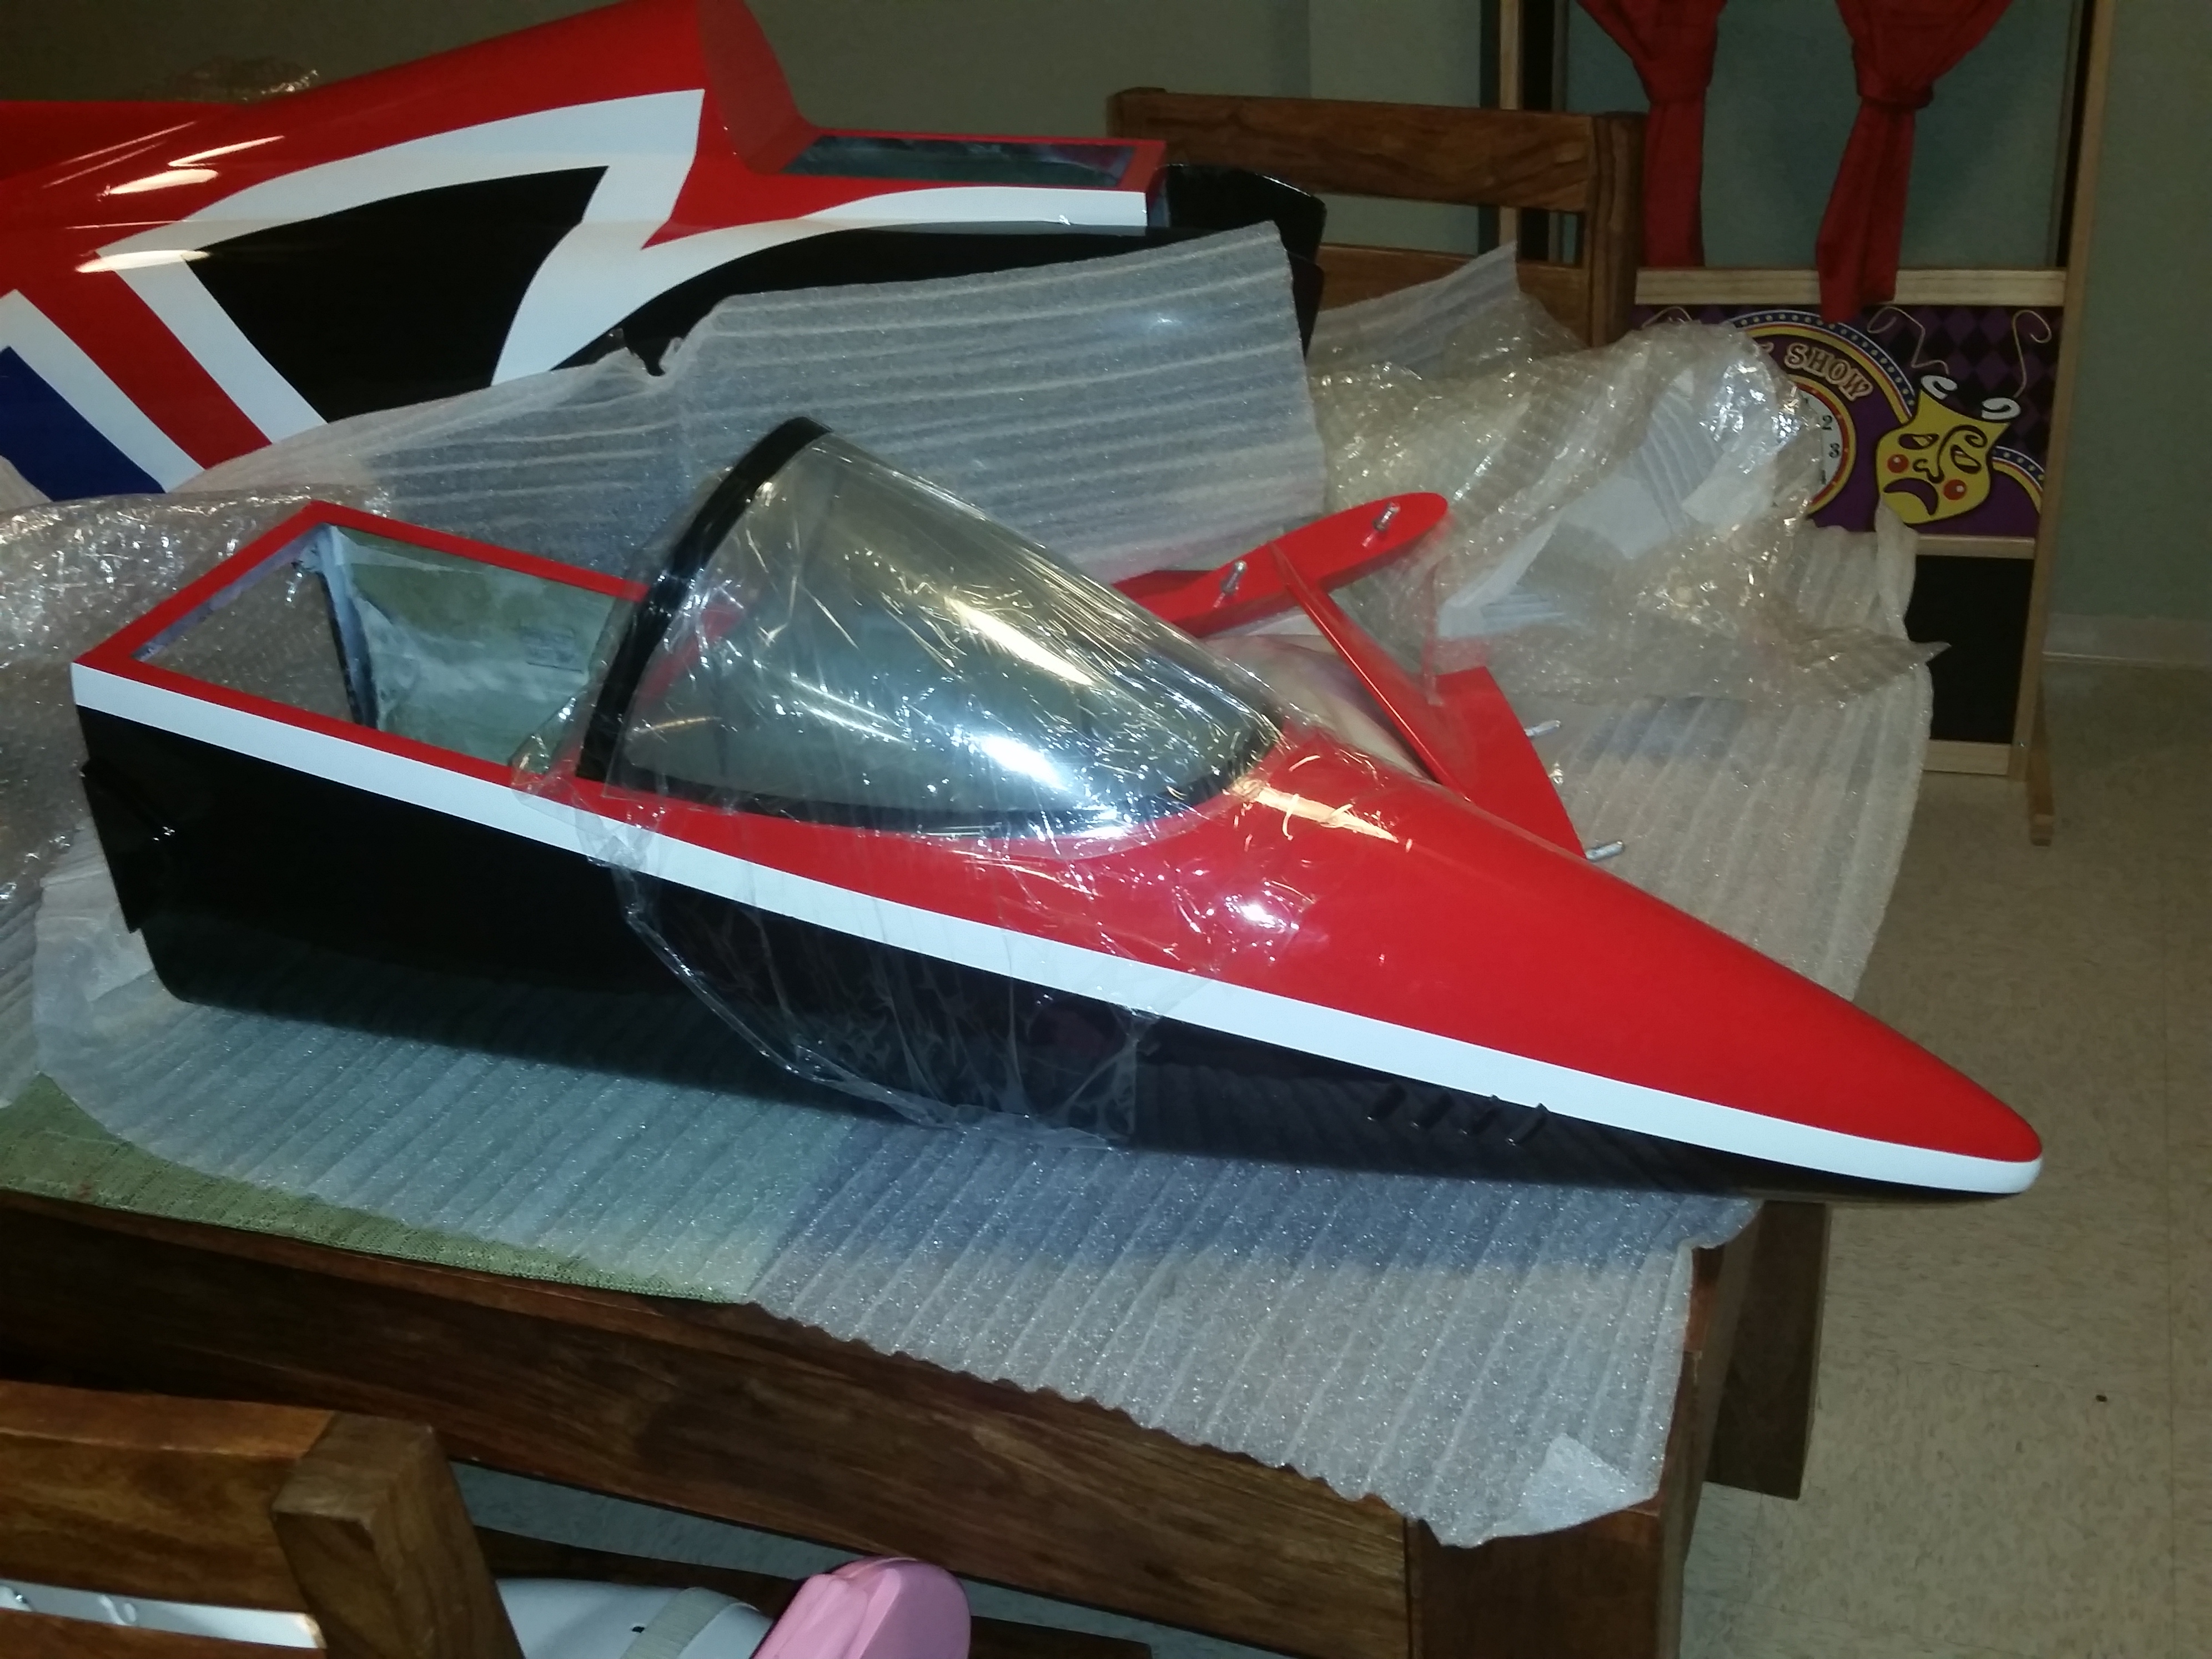
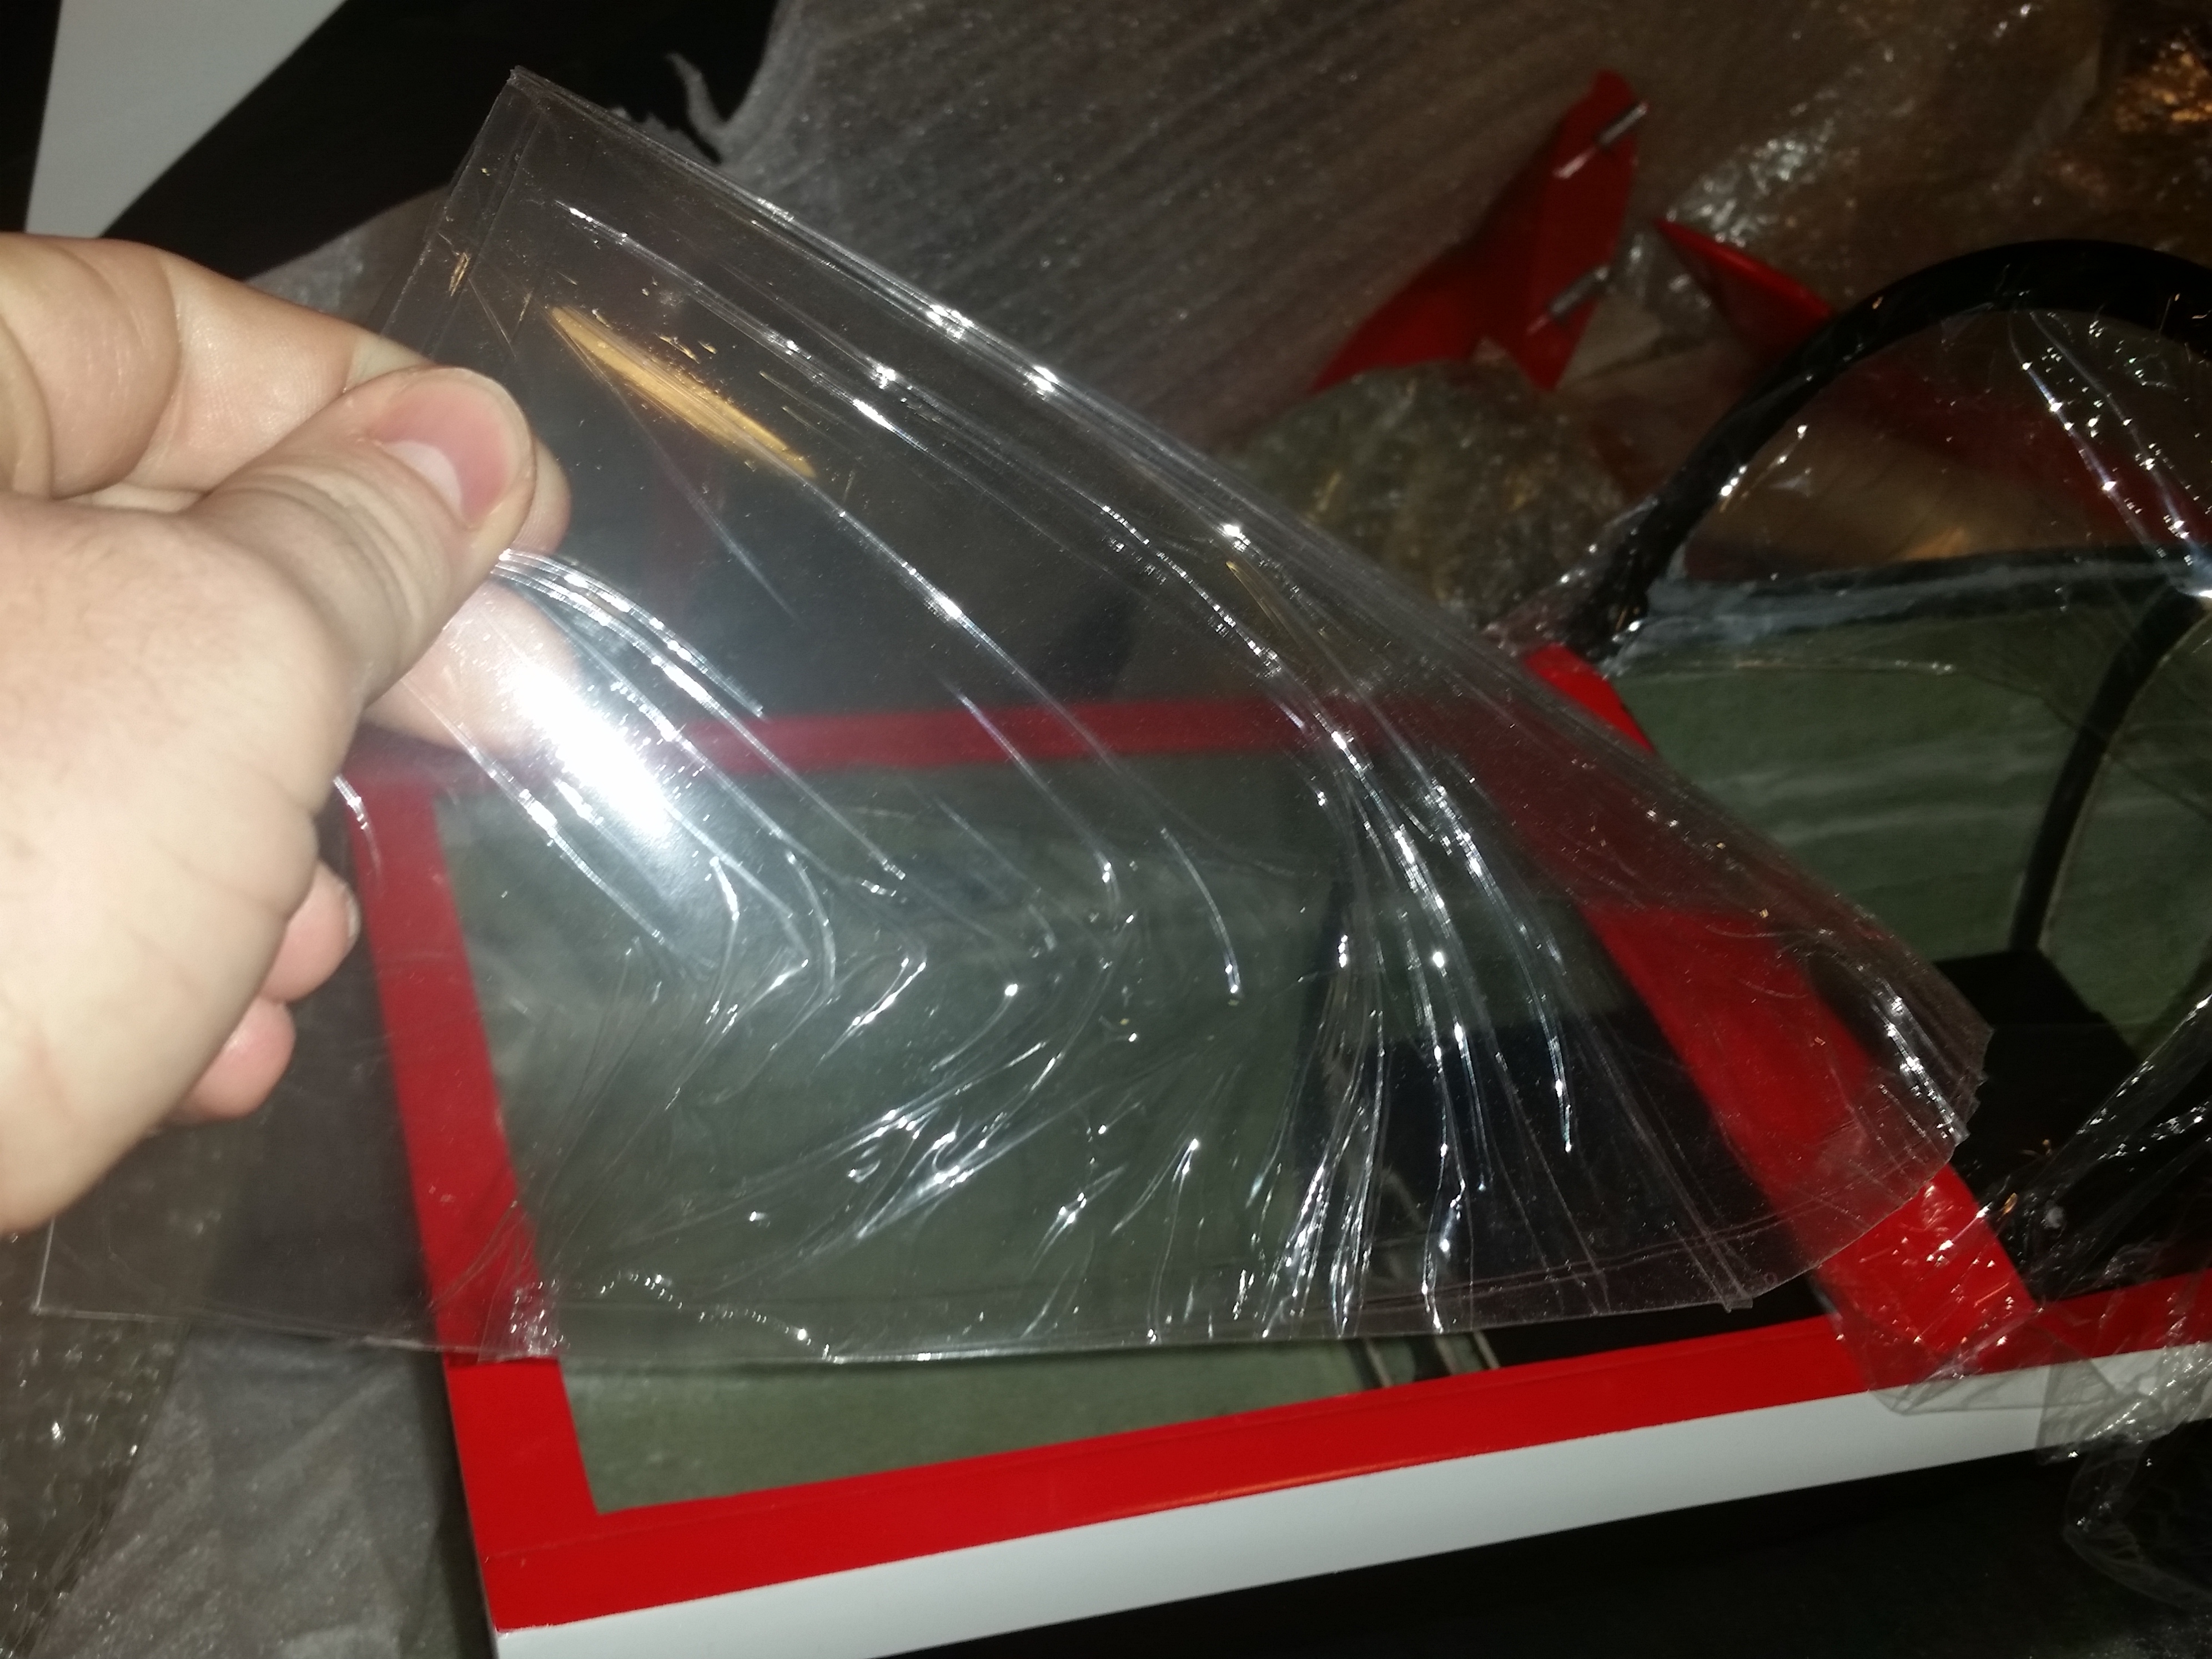
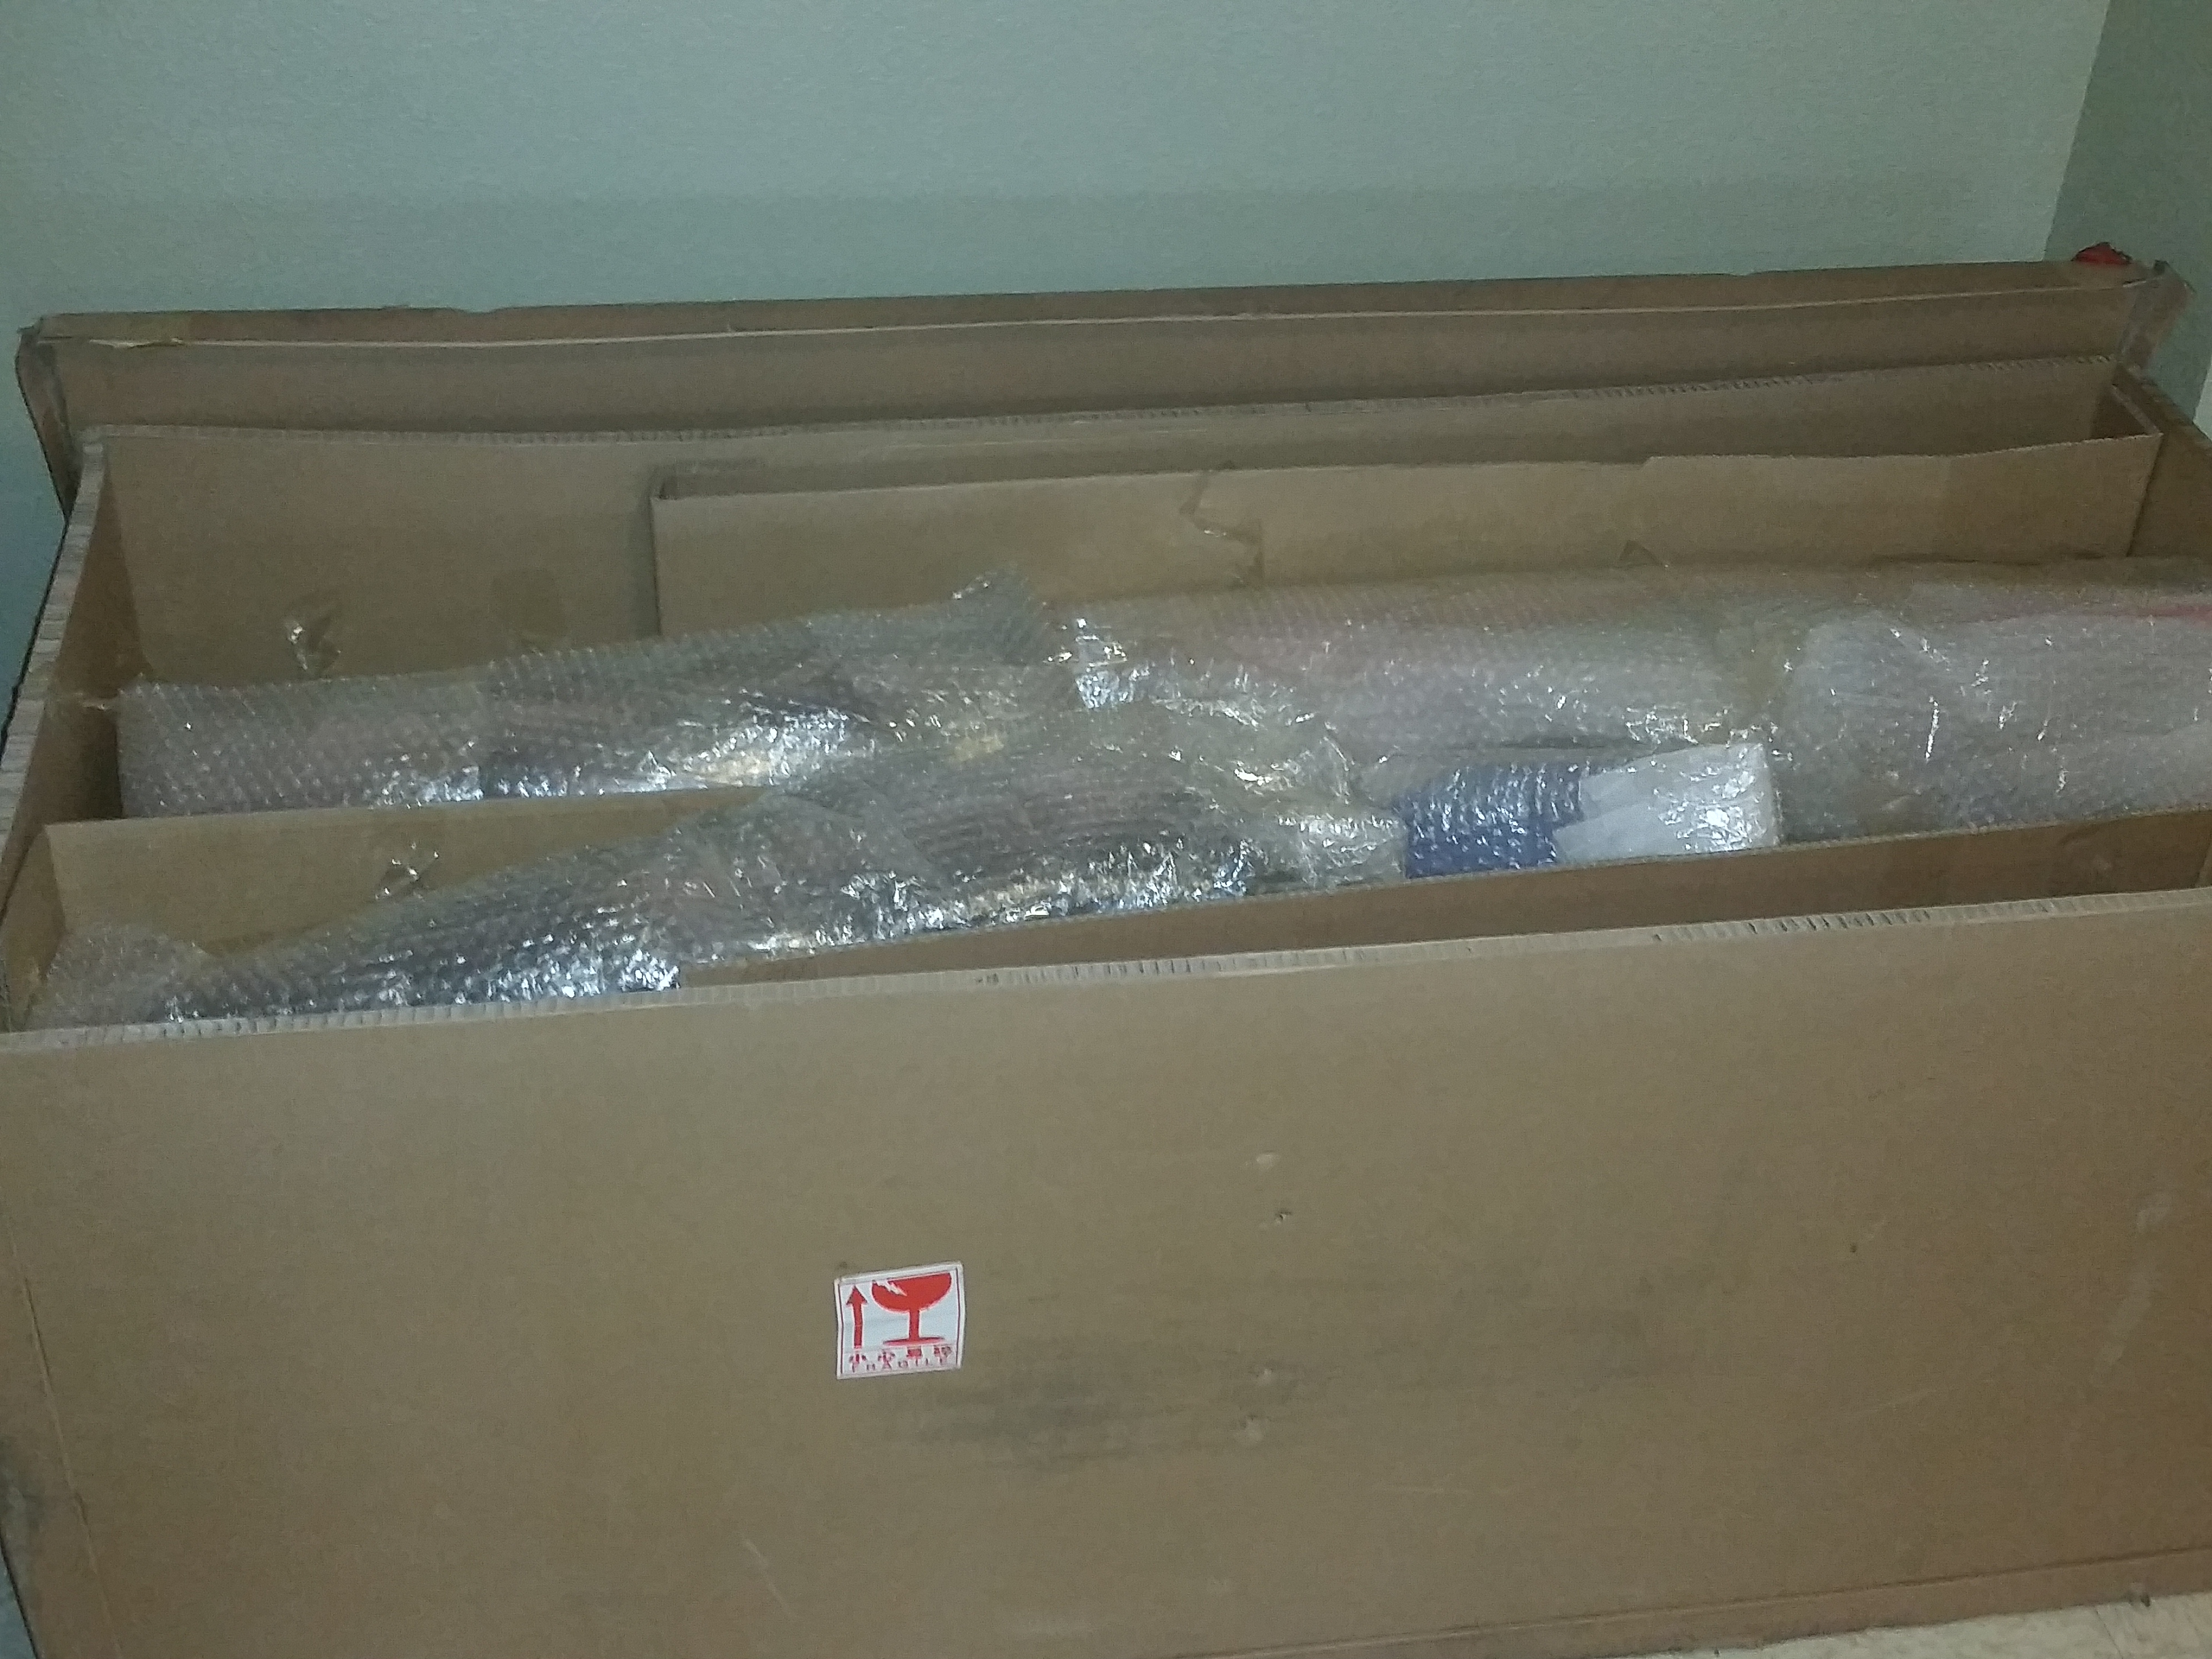
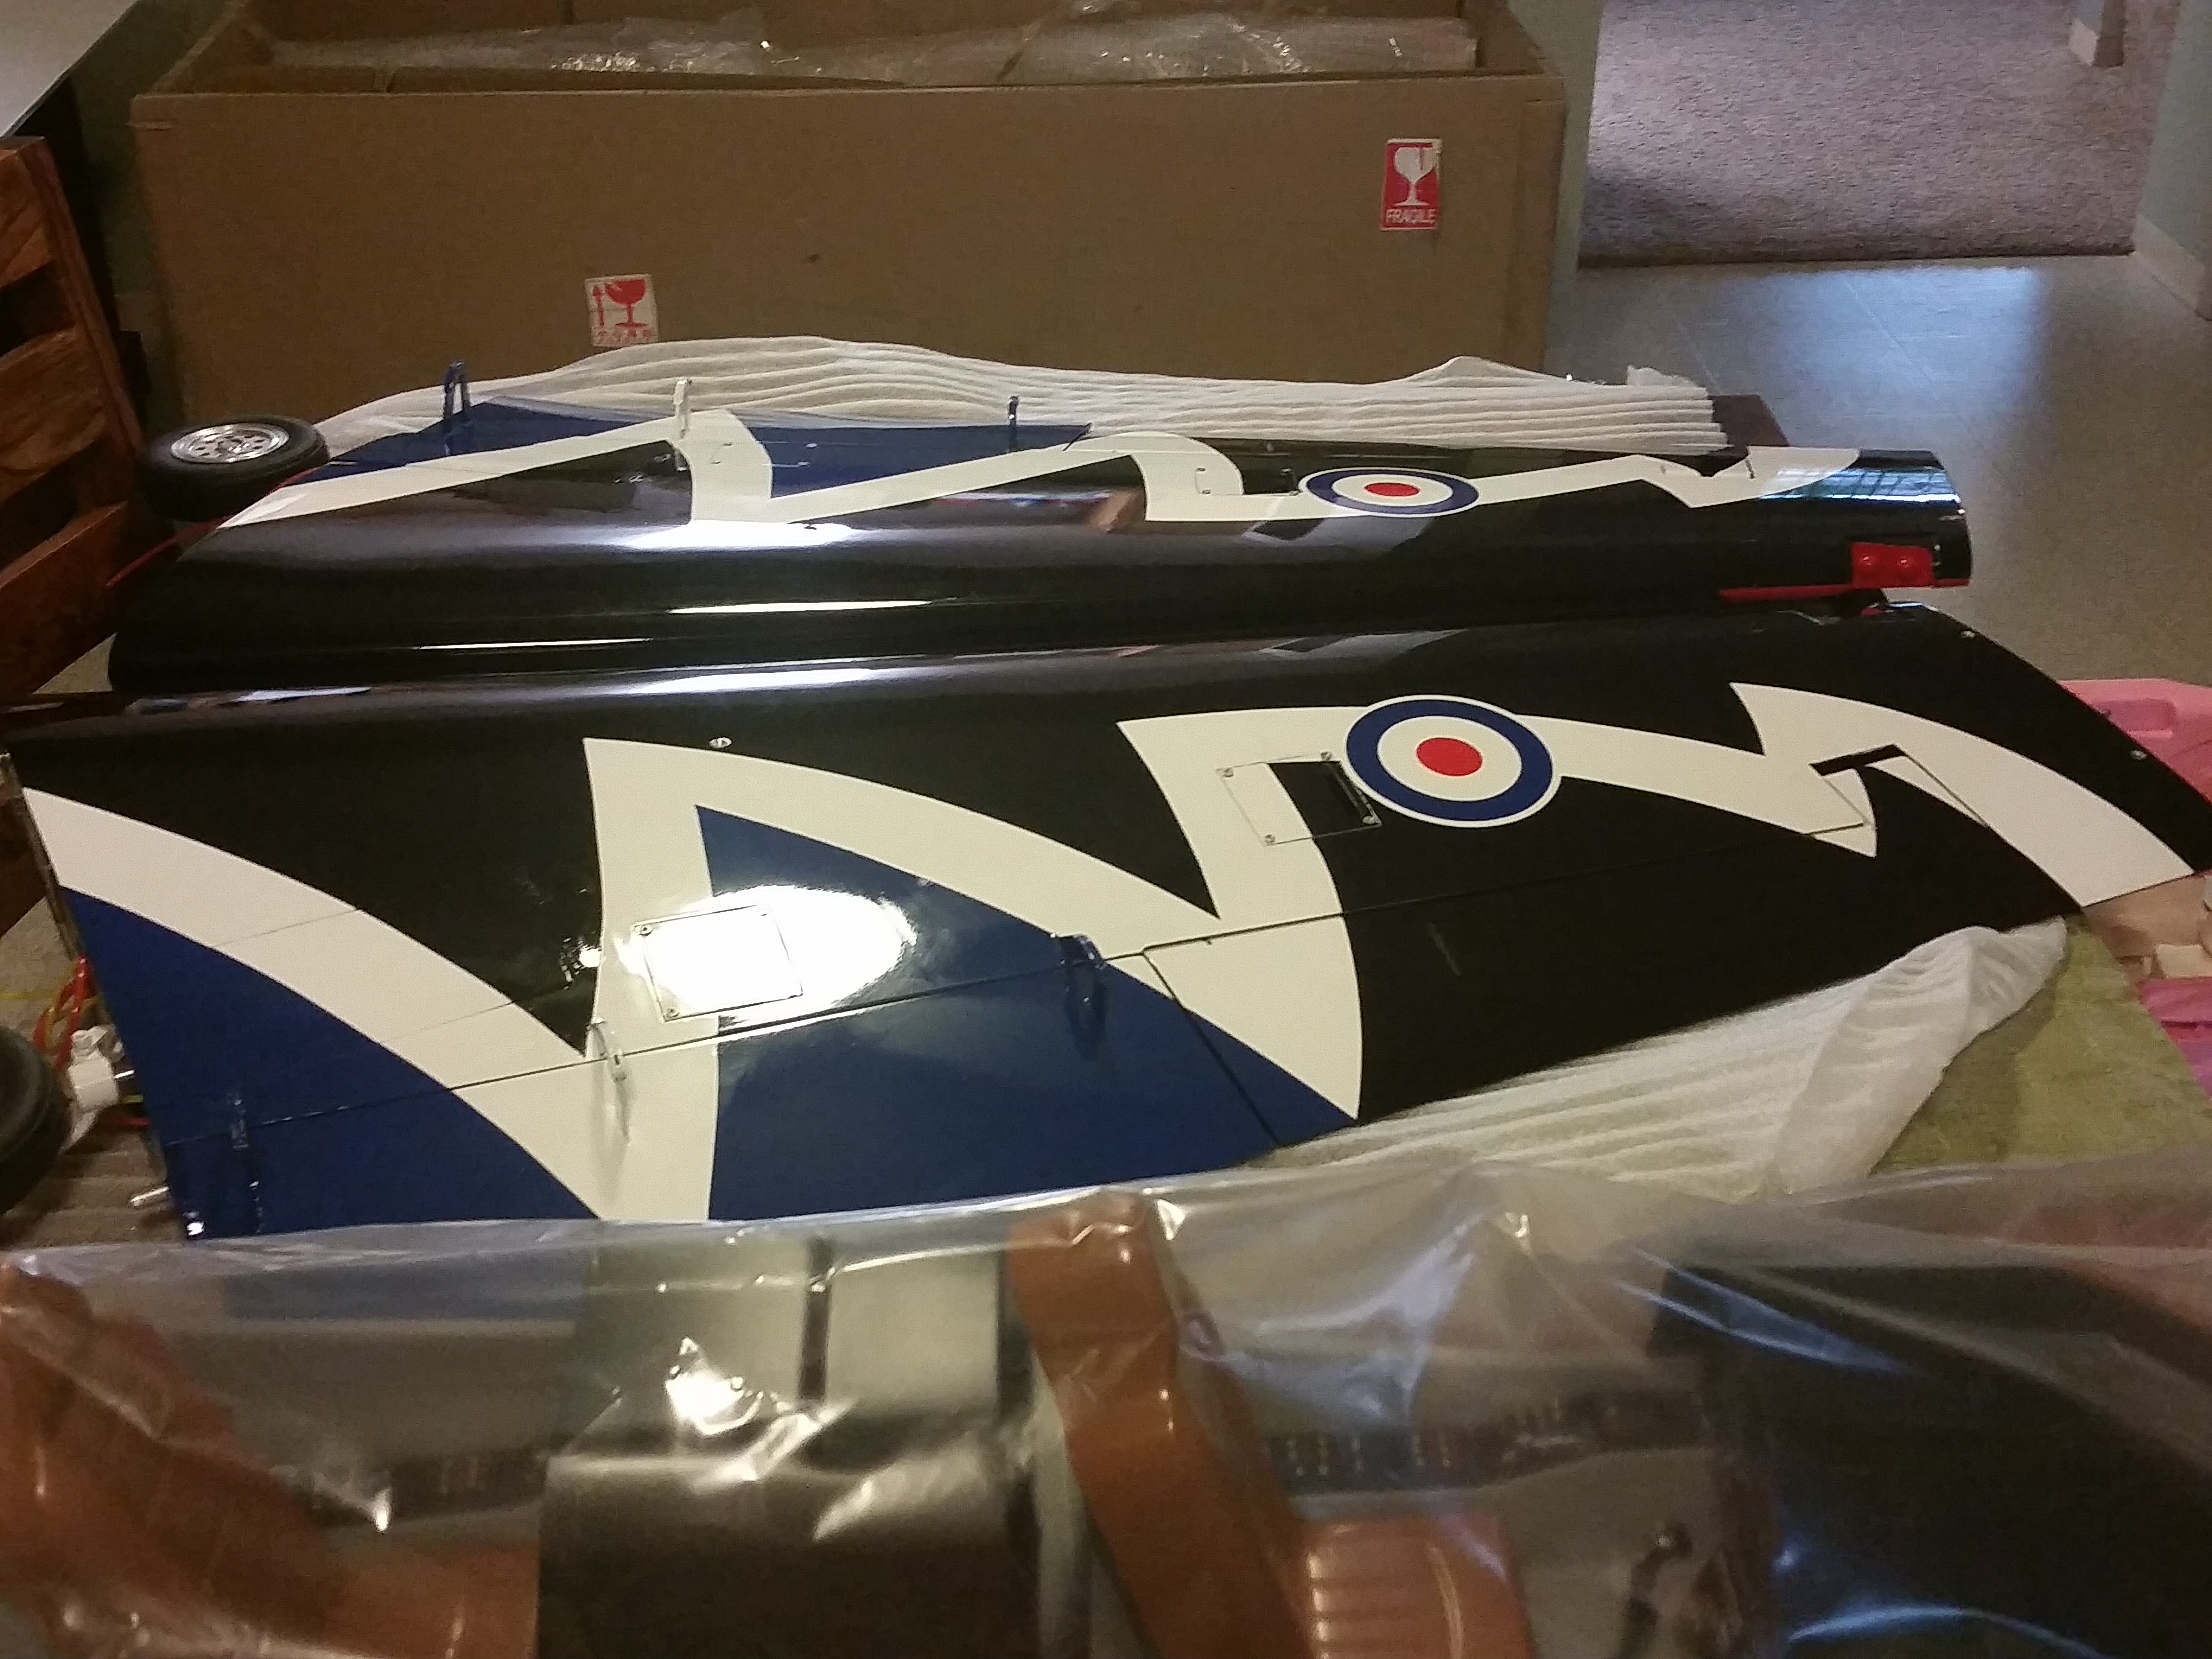
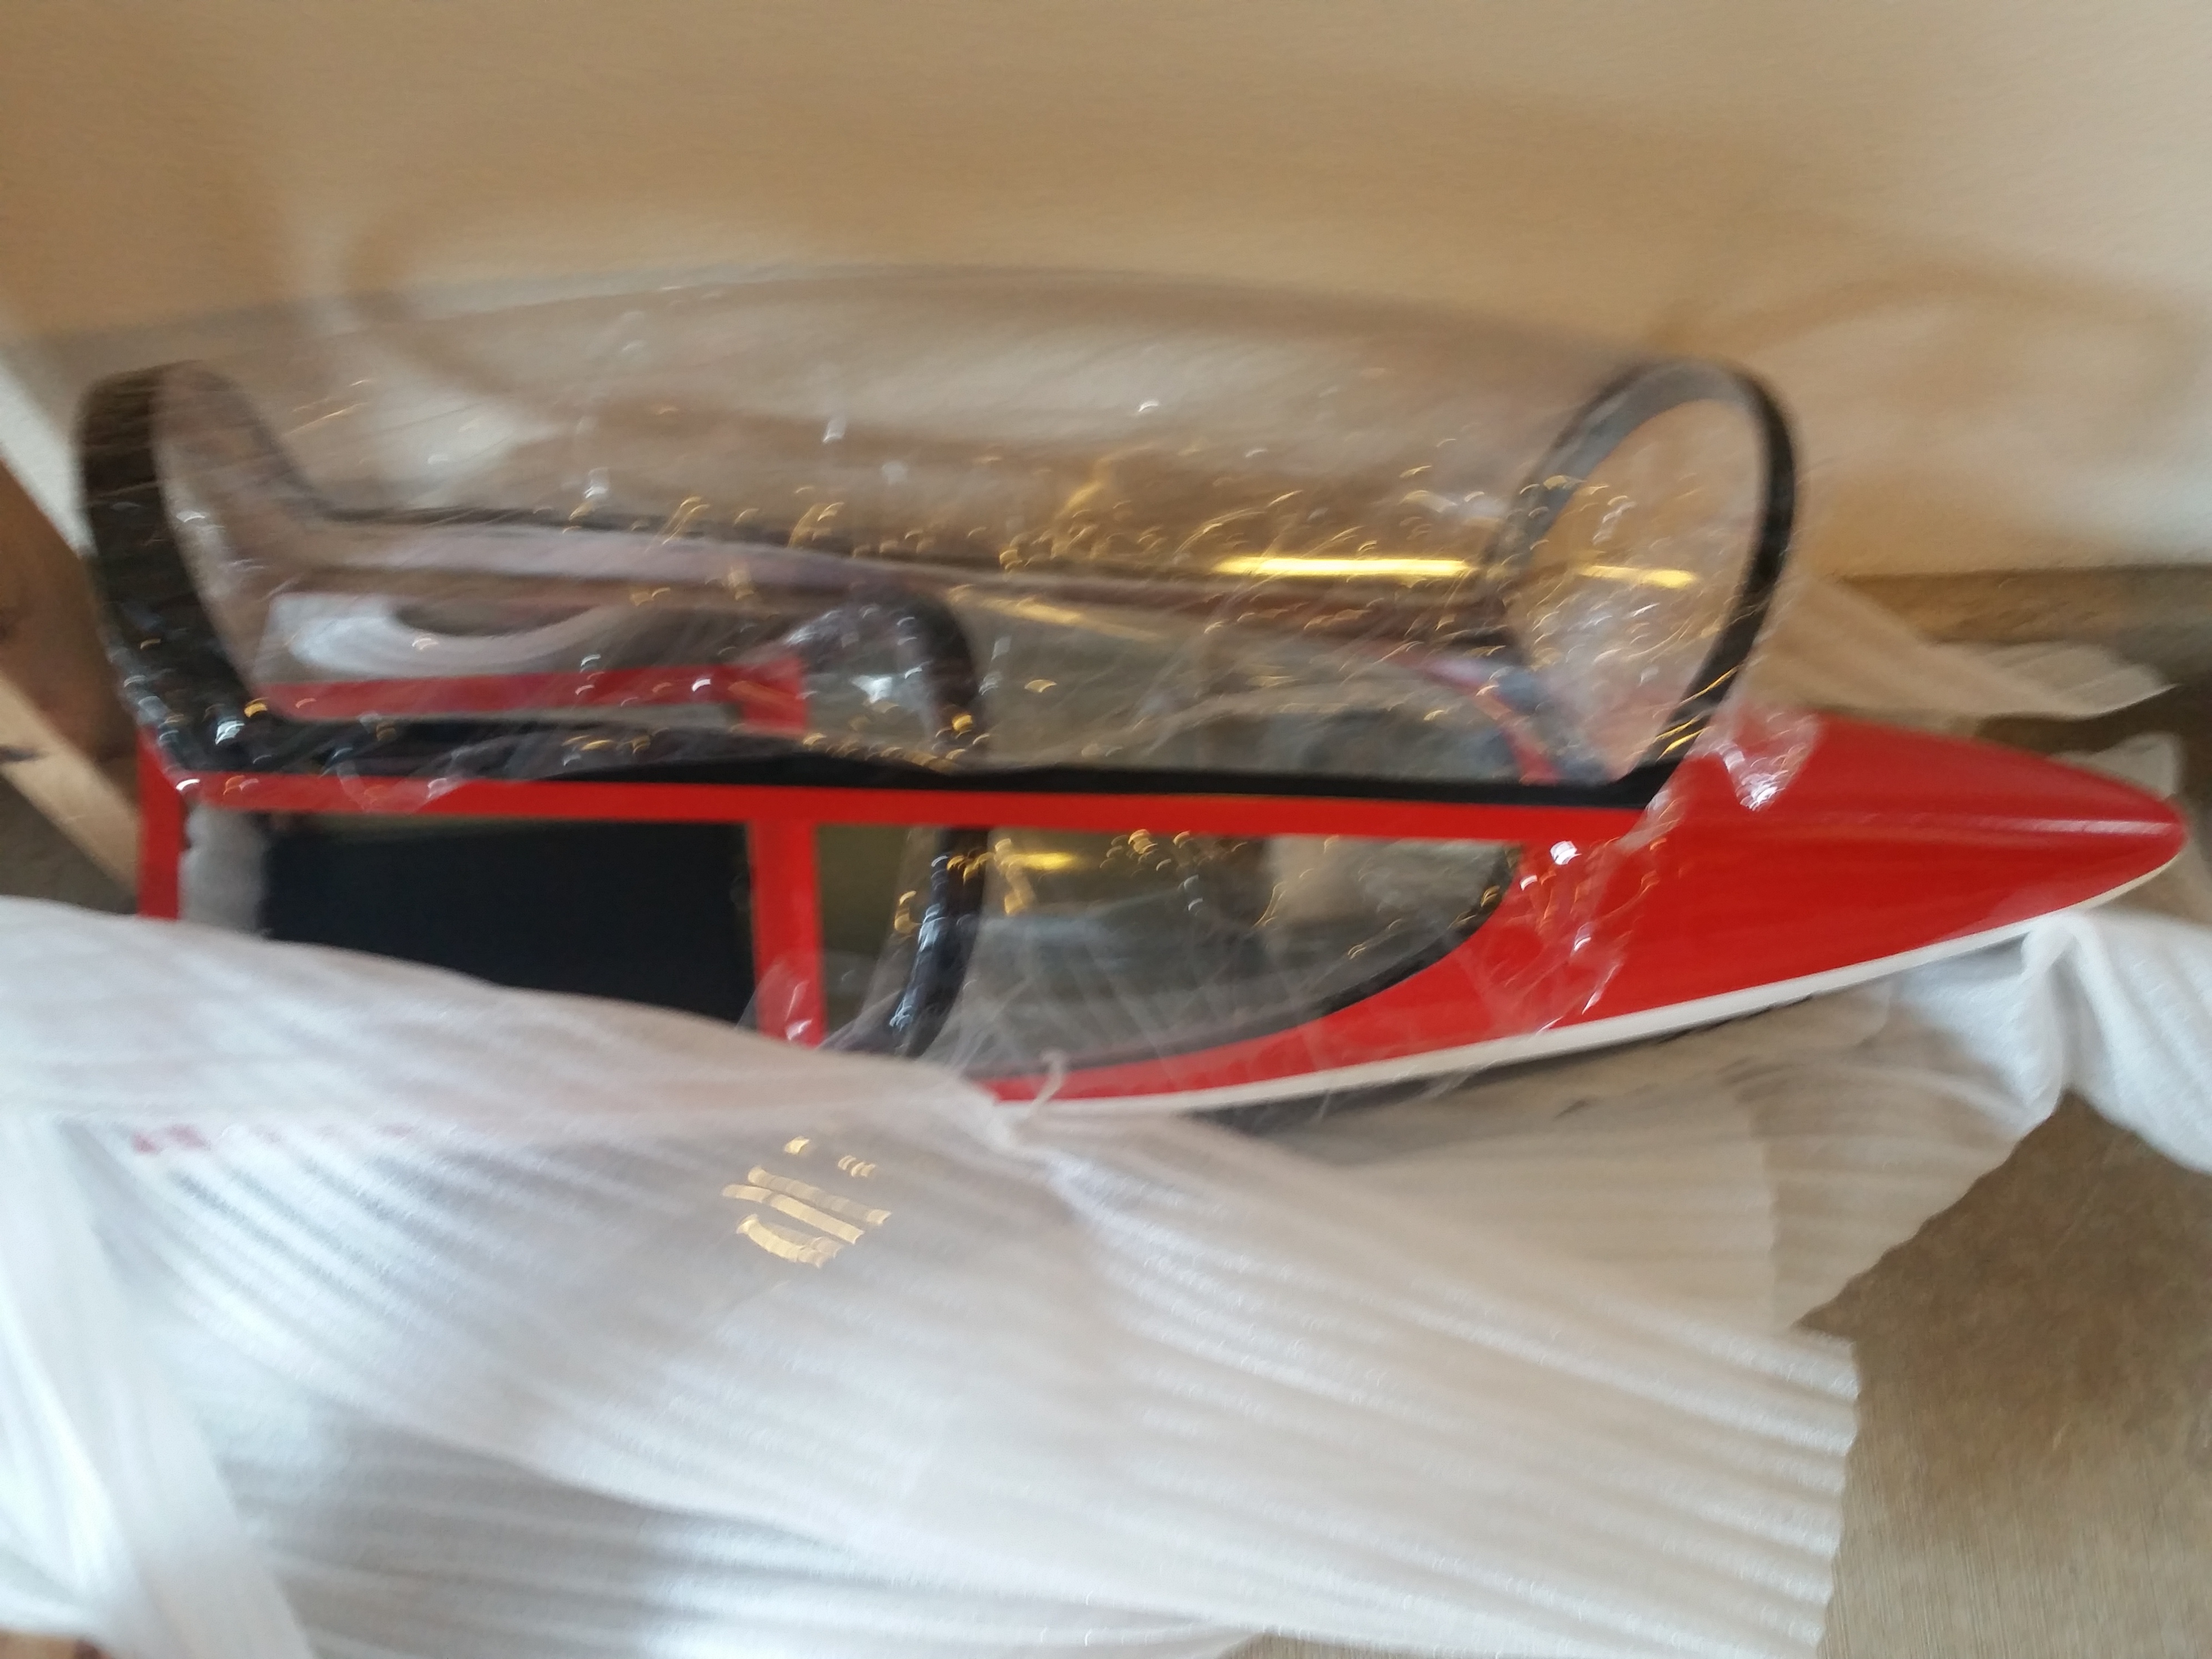
Okay, so I started to unpack the Viper and I have to say that I am very pleased so far. The paint is spot on just a little wipe down for the shine. I have started to take pictures. I am still unpacking but after being on the plane all day I am getting tired. I will post pictures tomorrow and will go from there.
02-14-2016 | 08:23 AM
#12
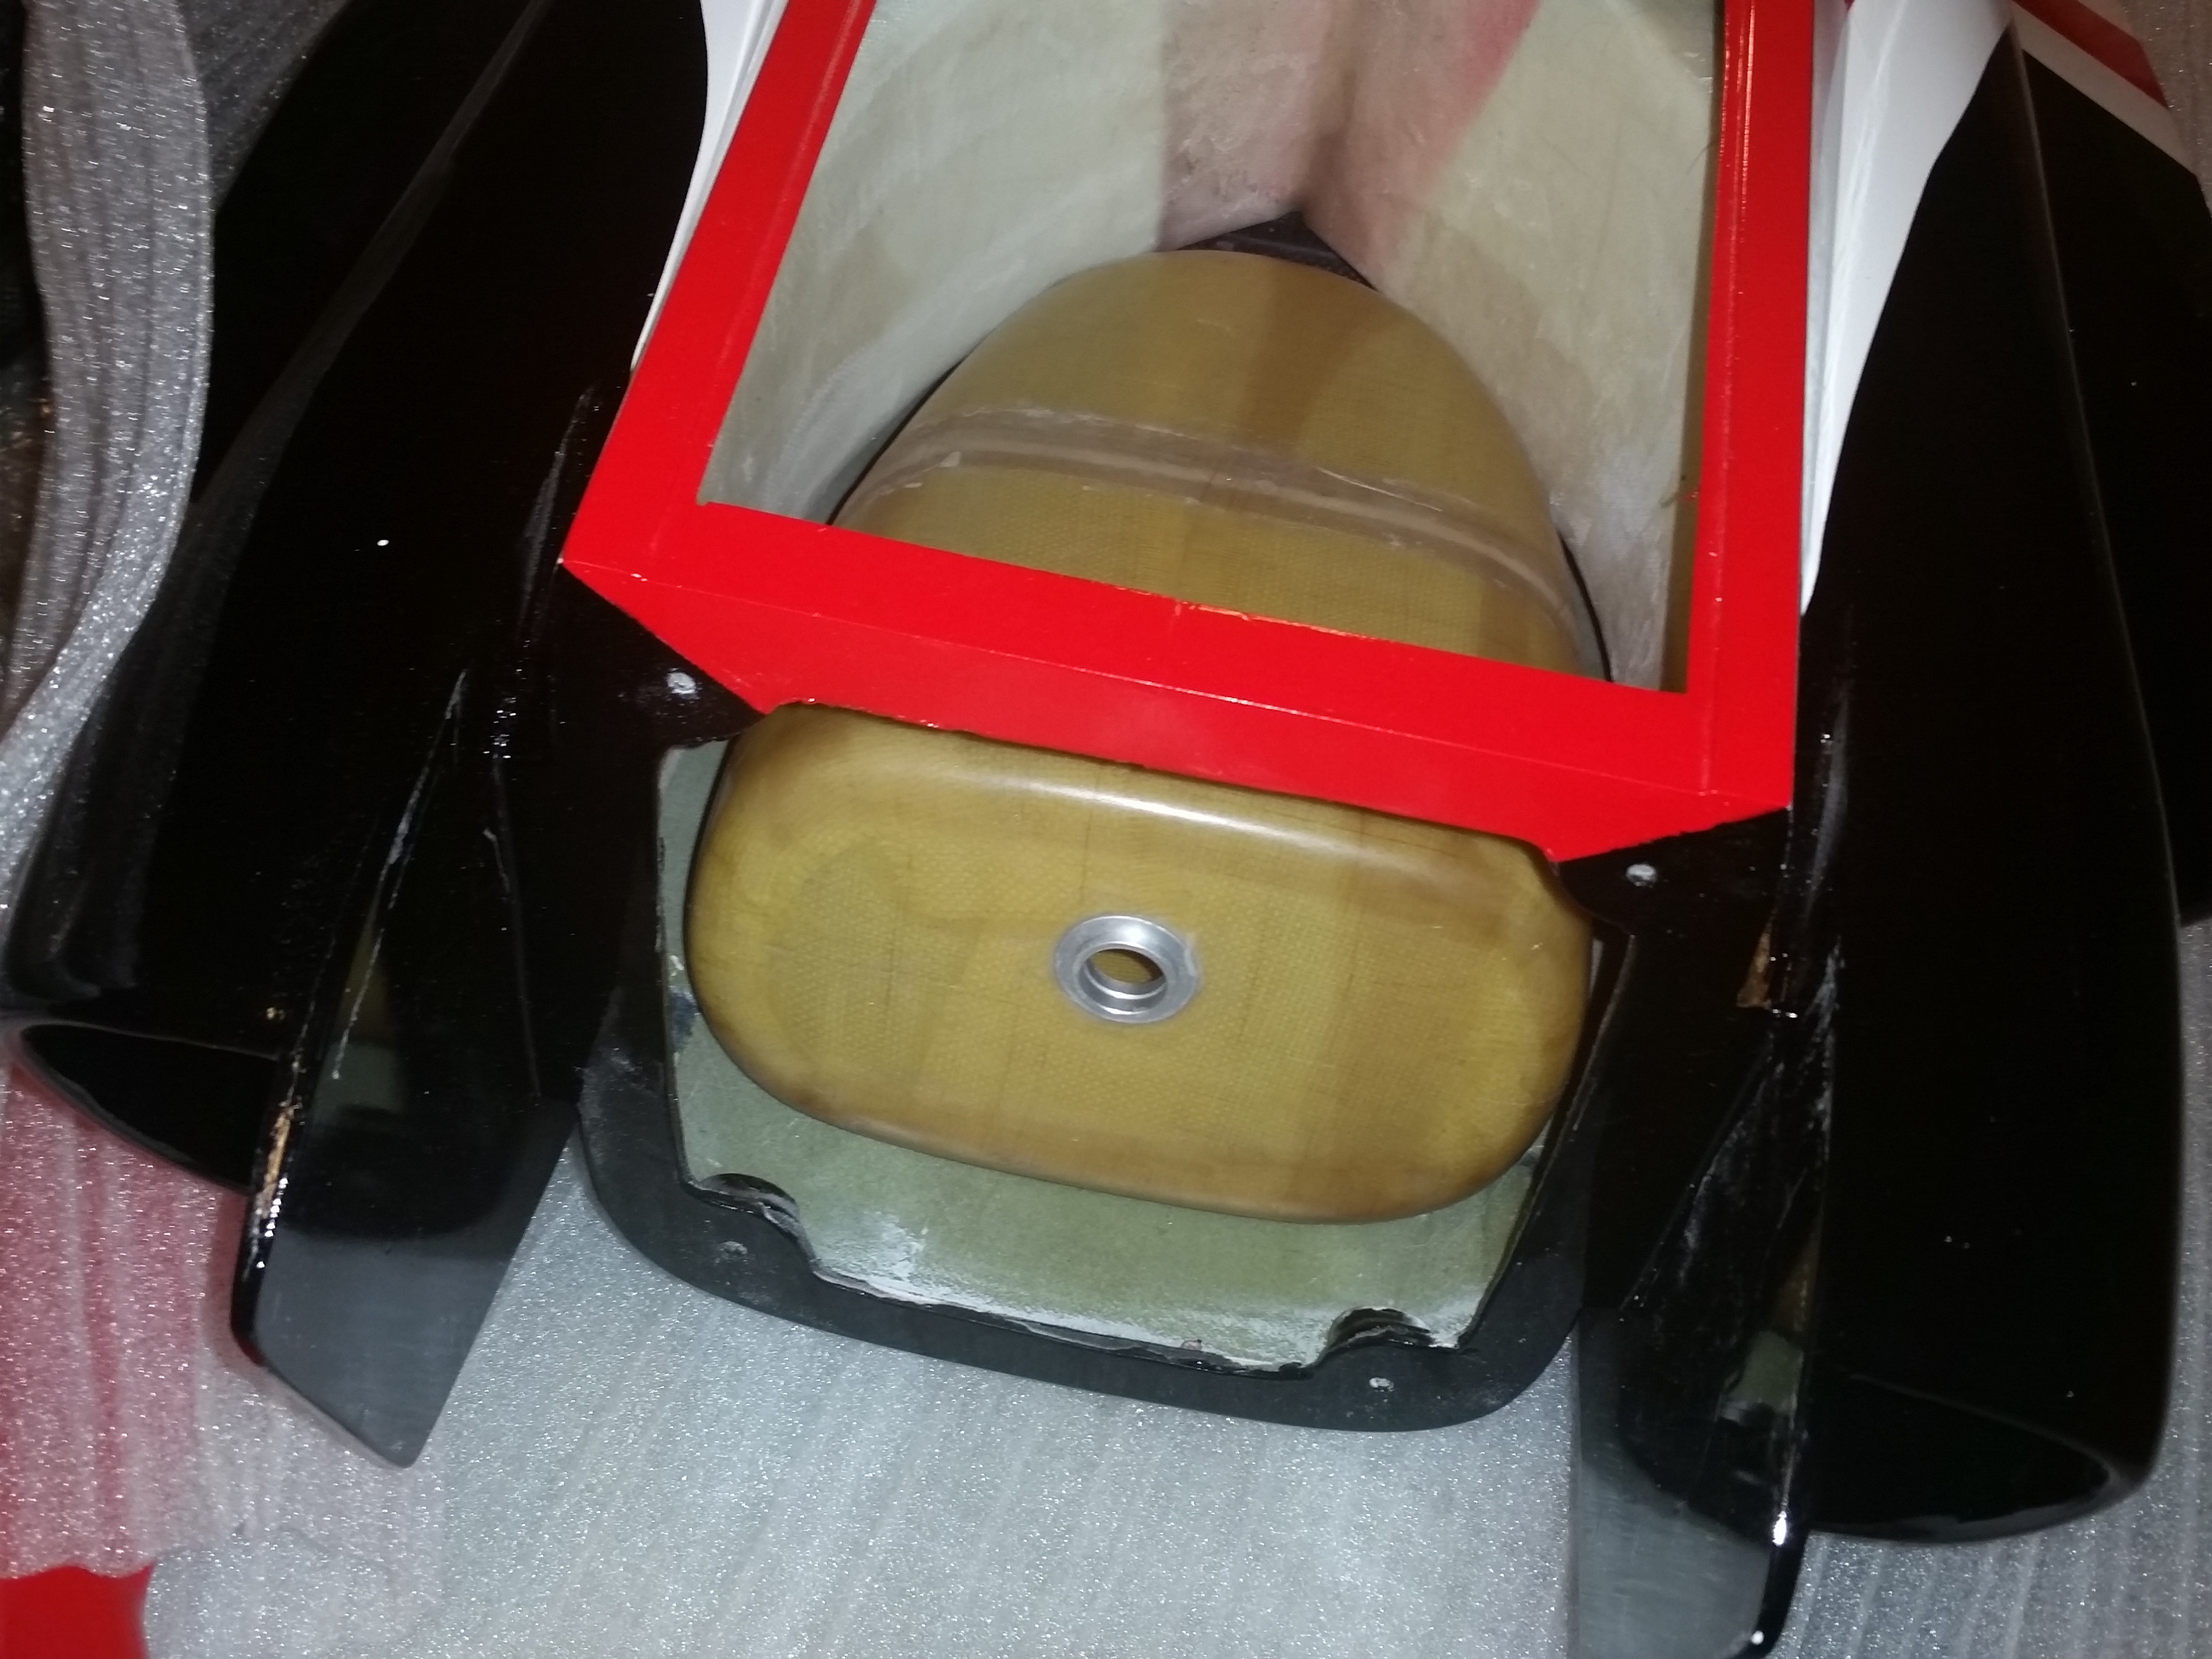
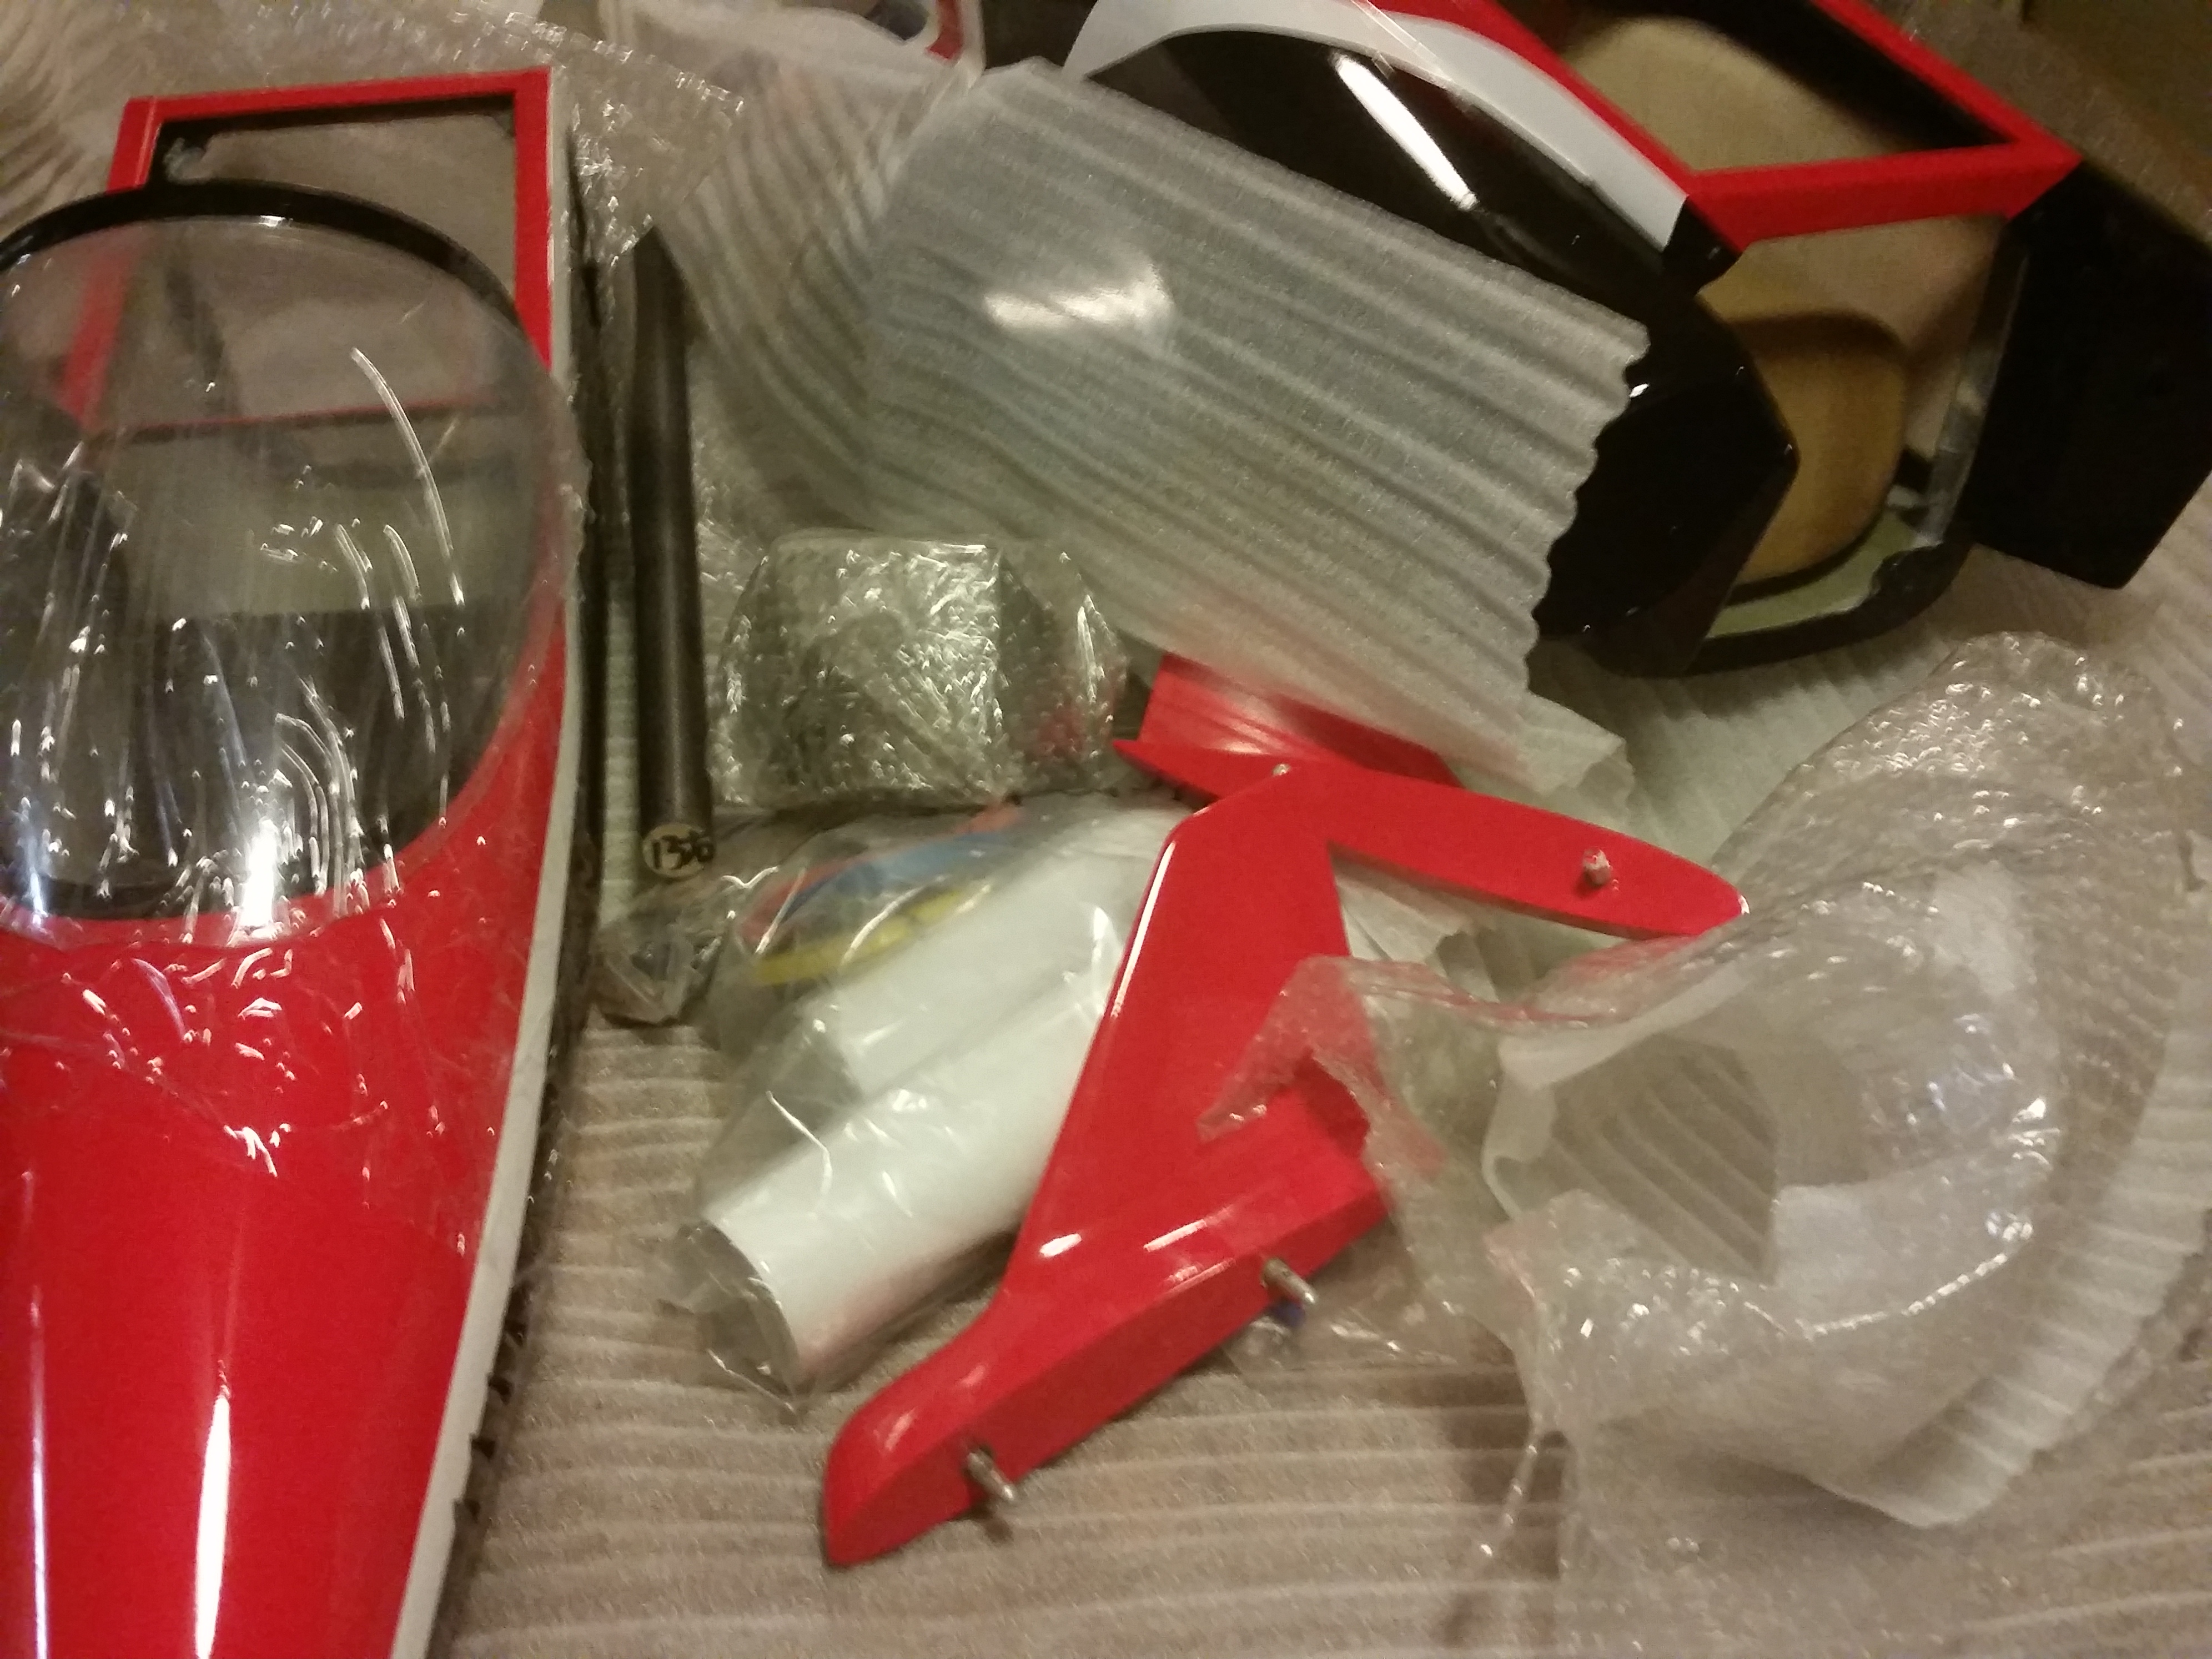
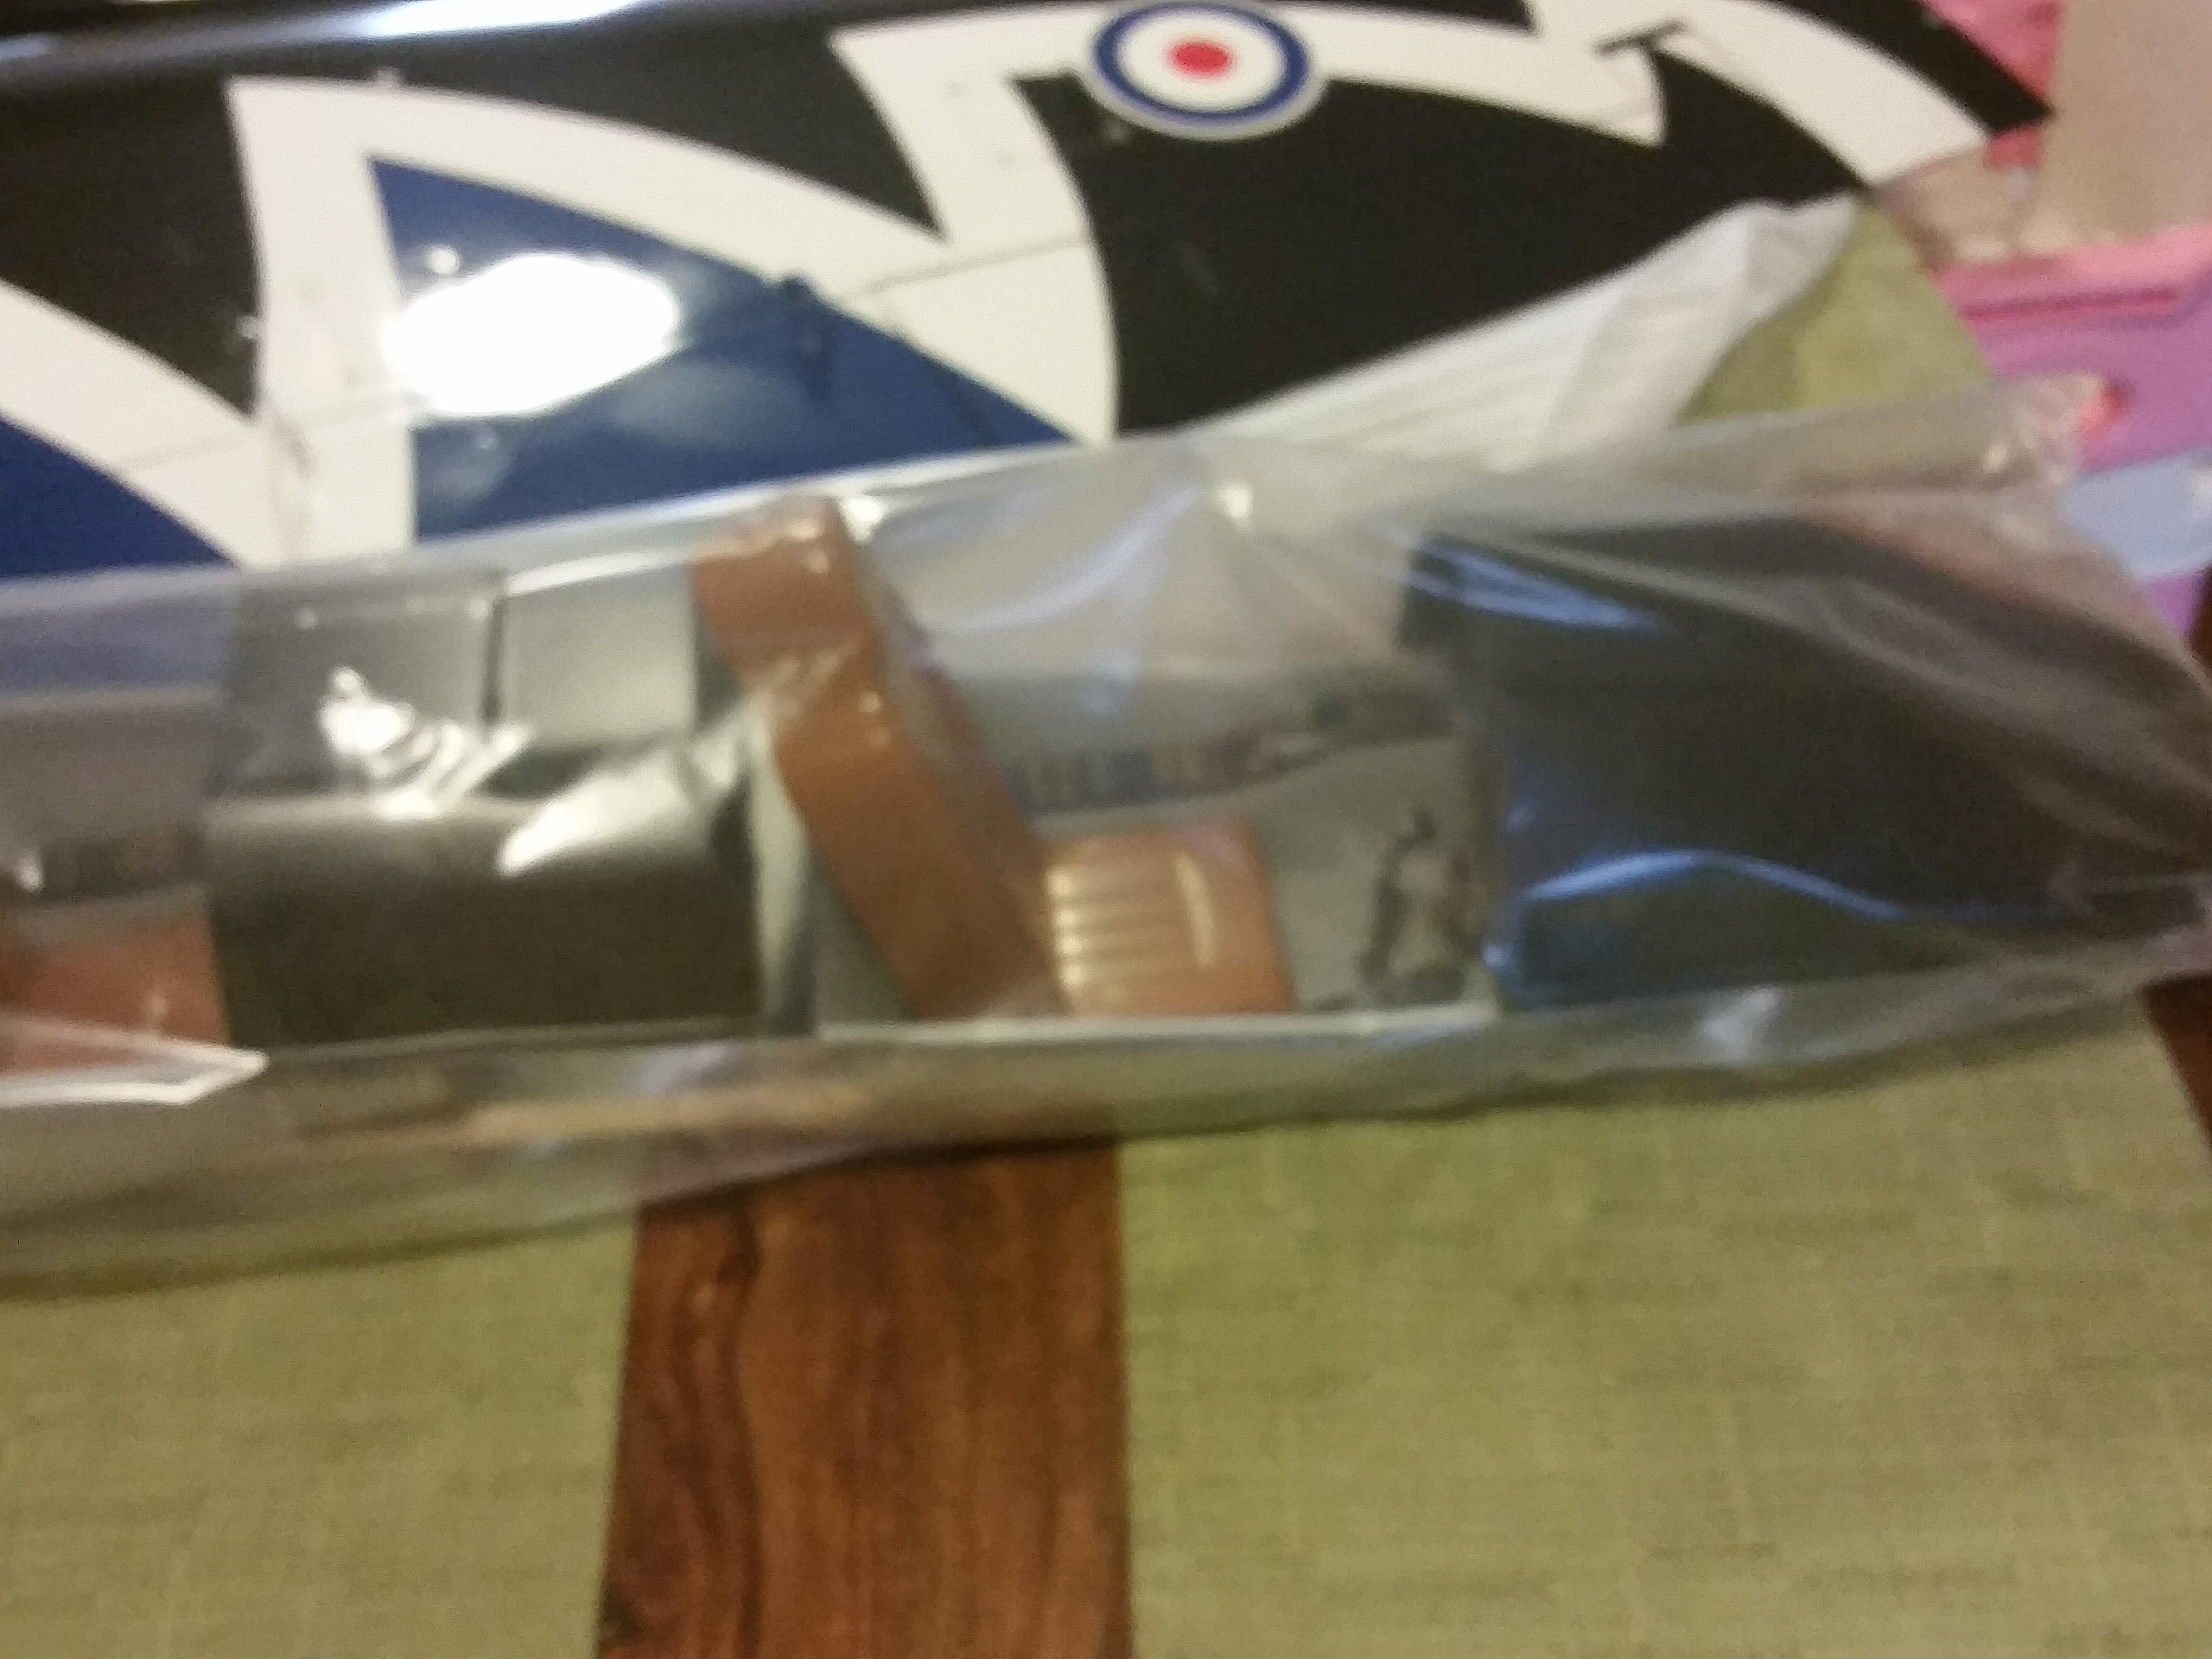
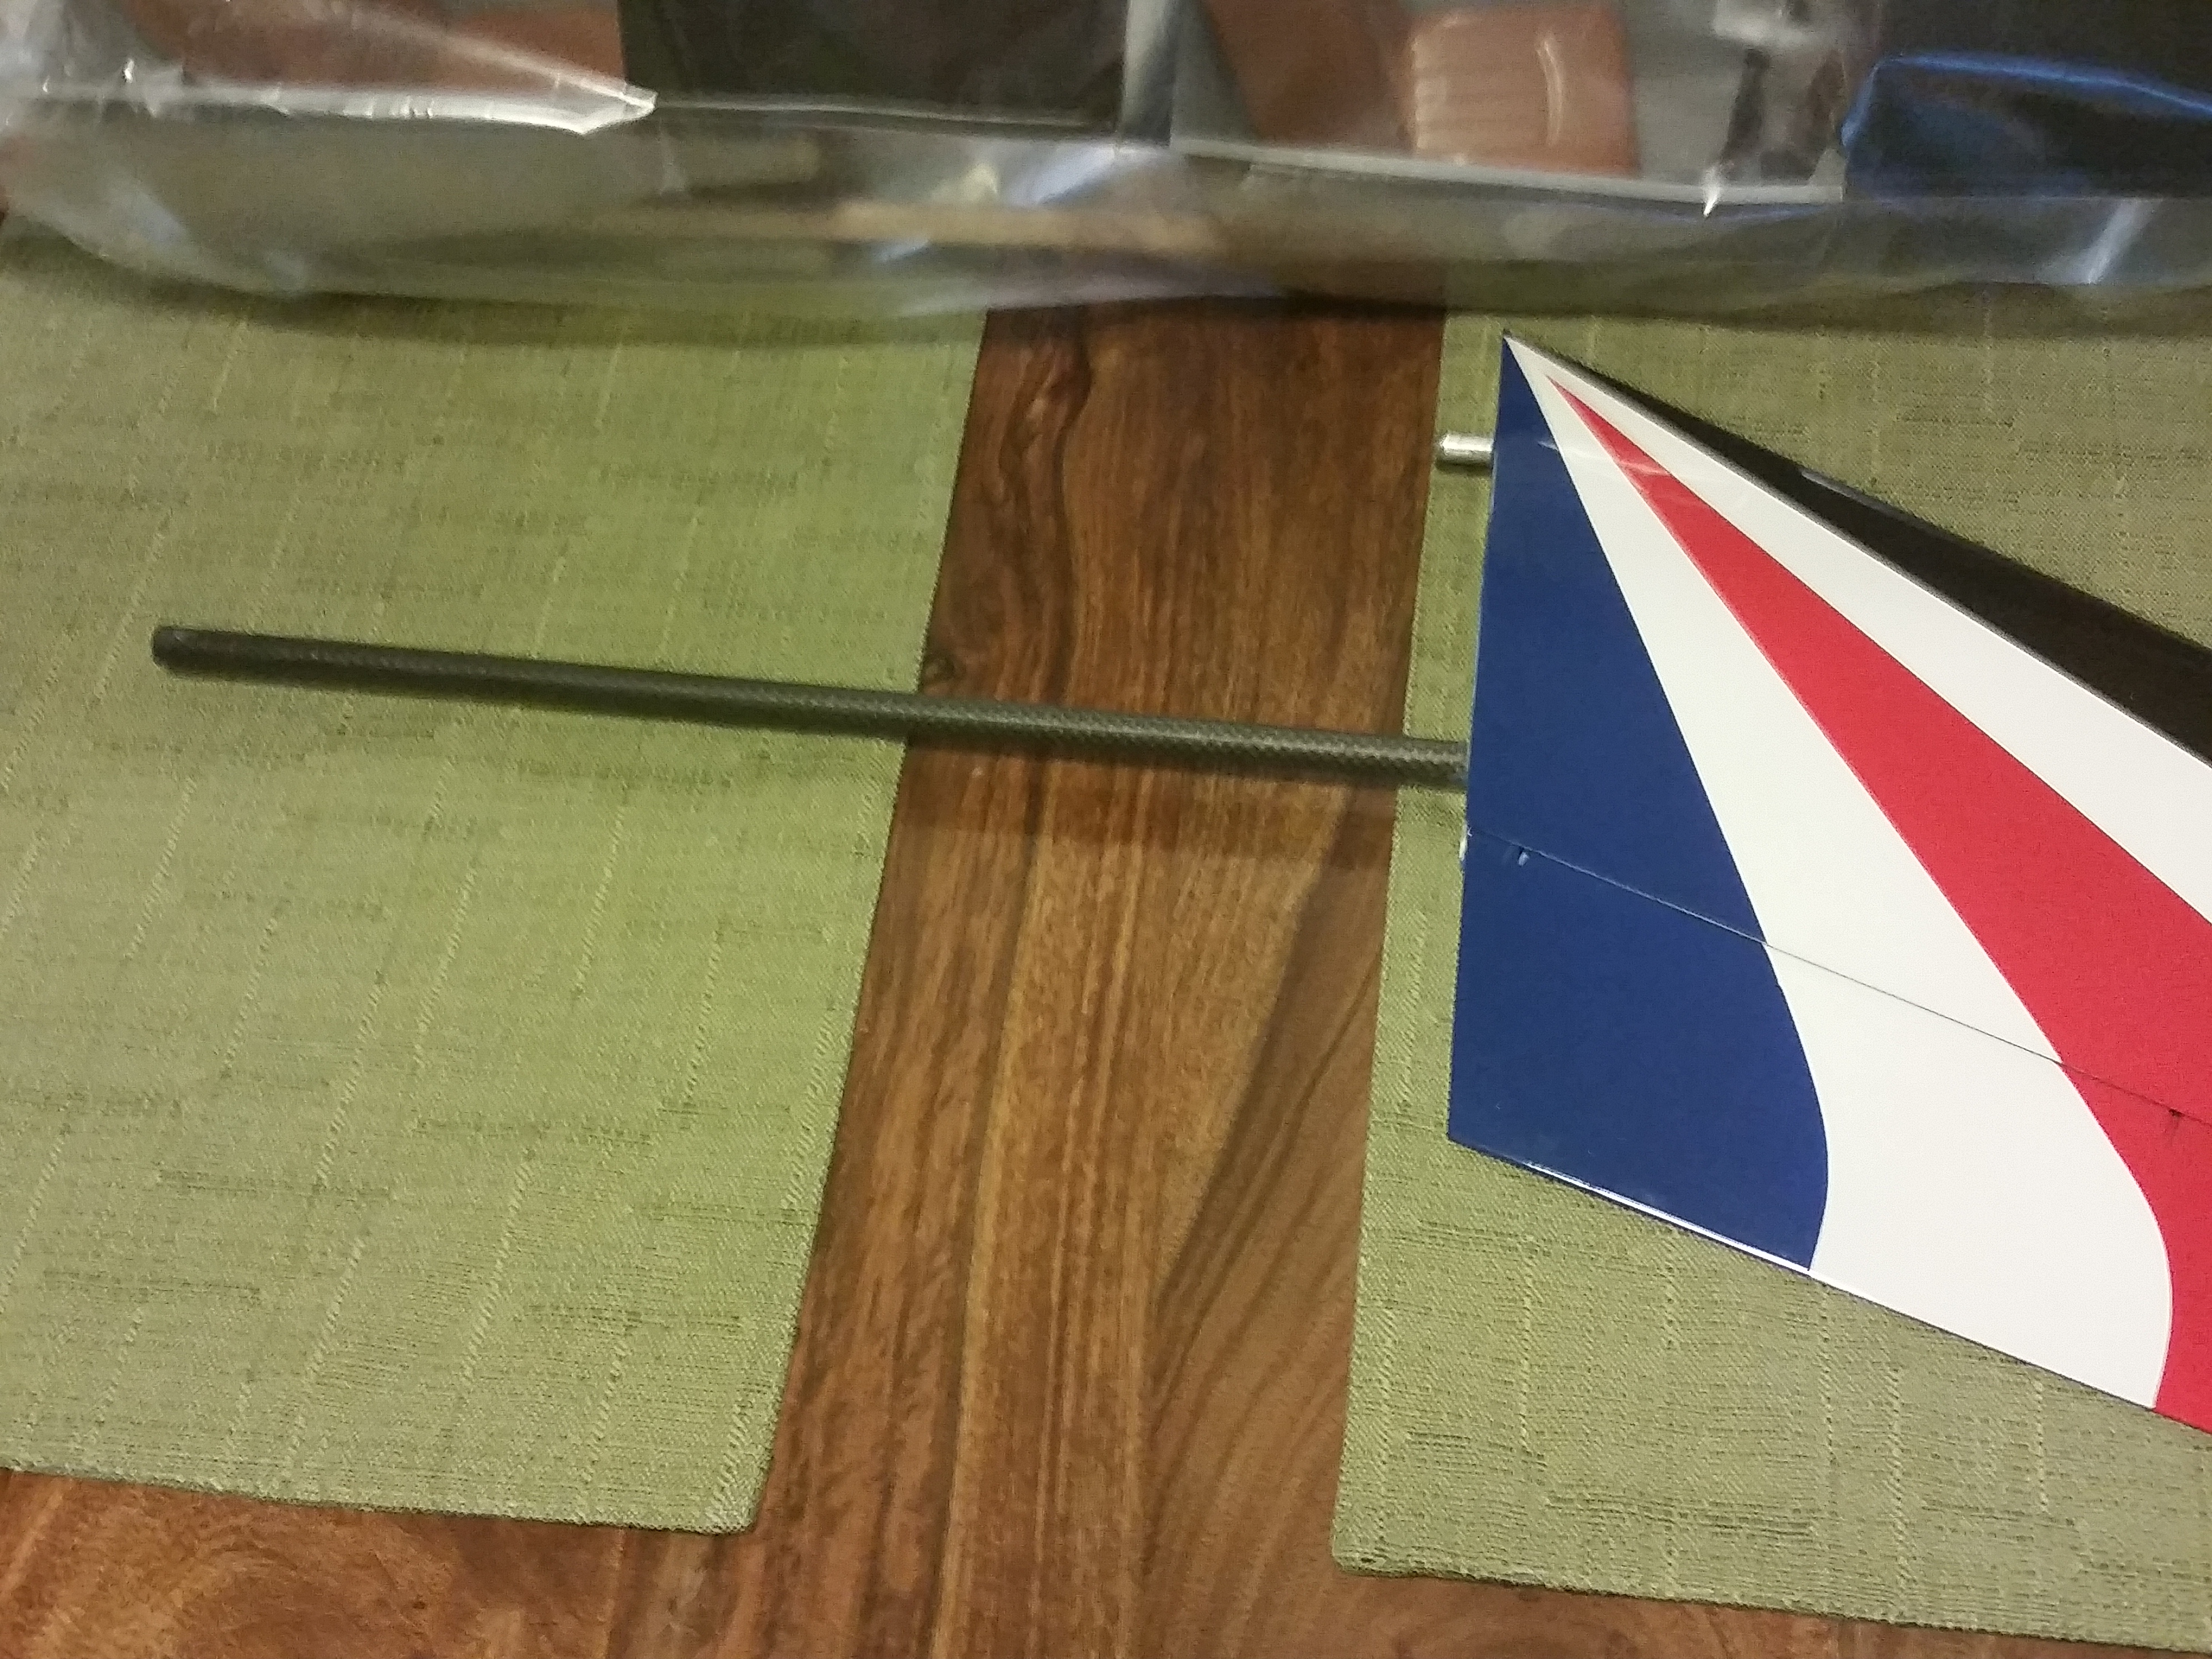
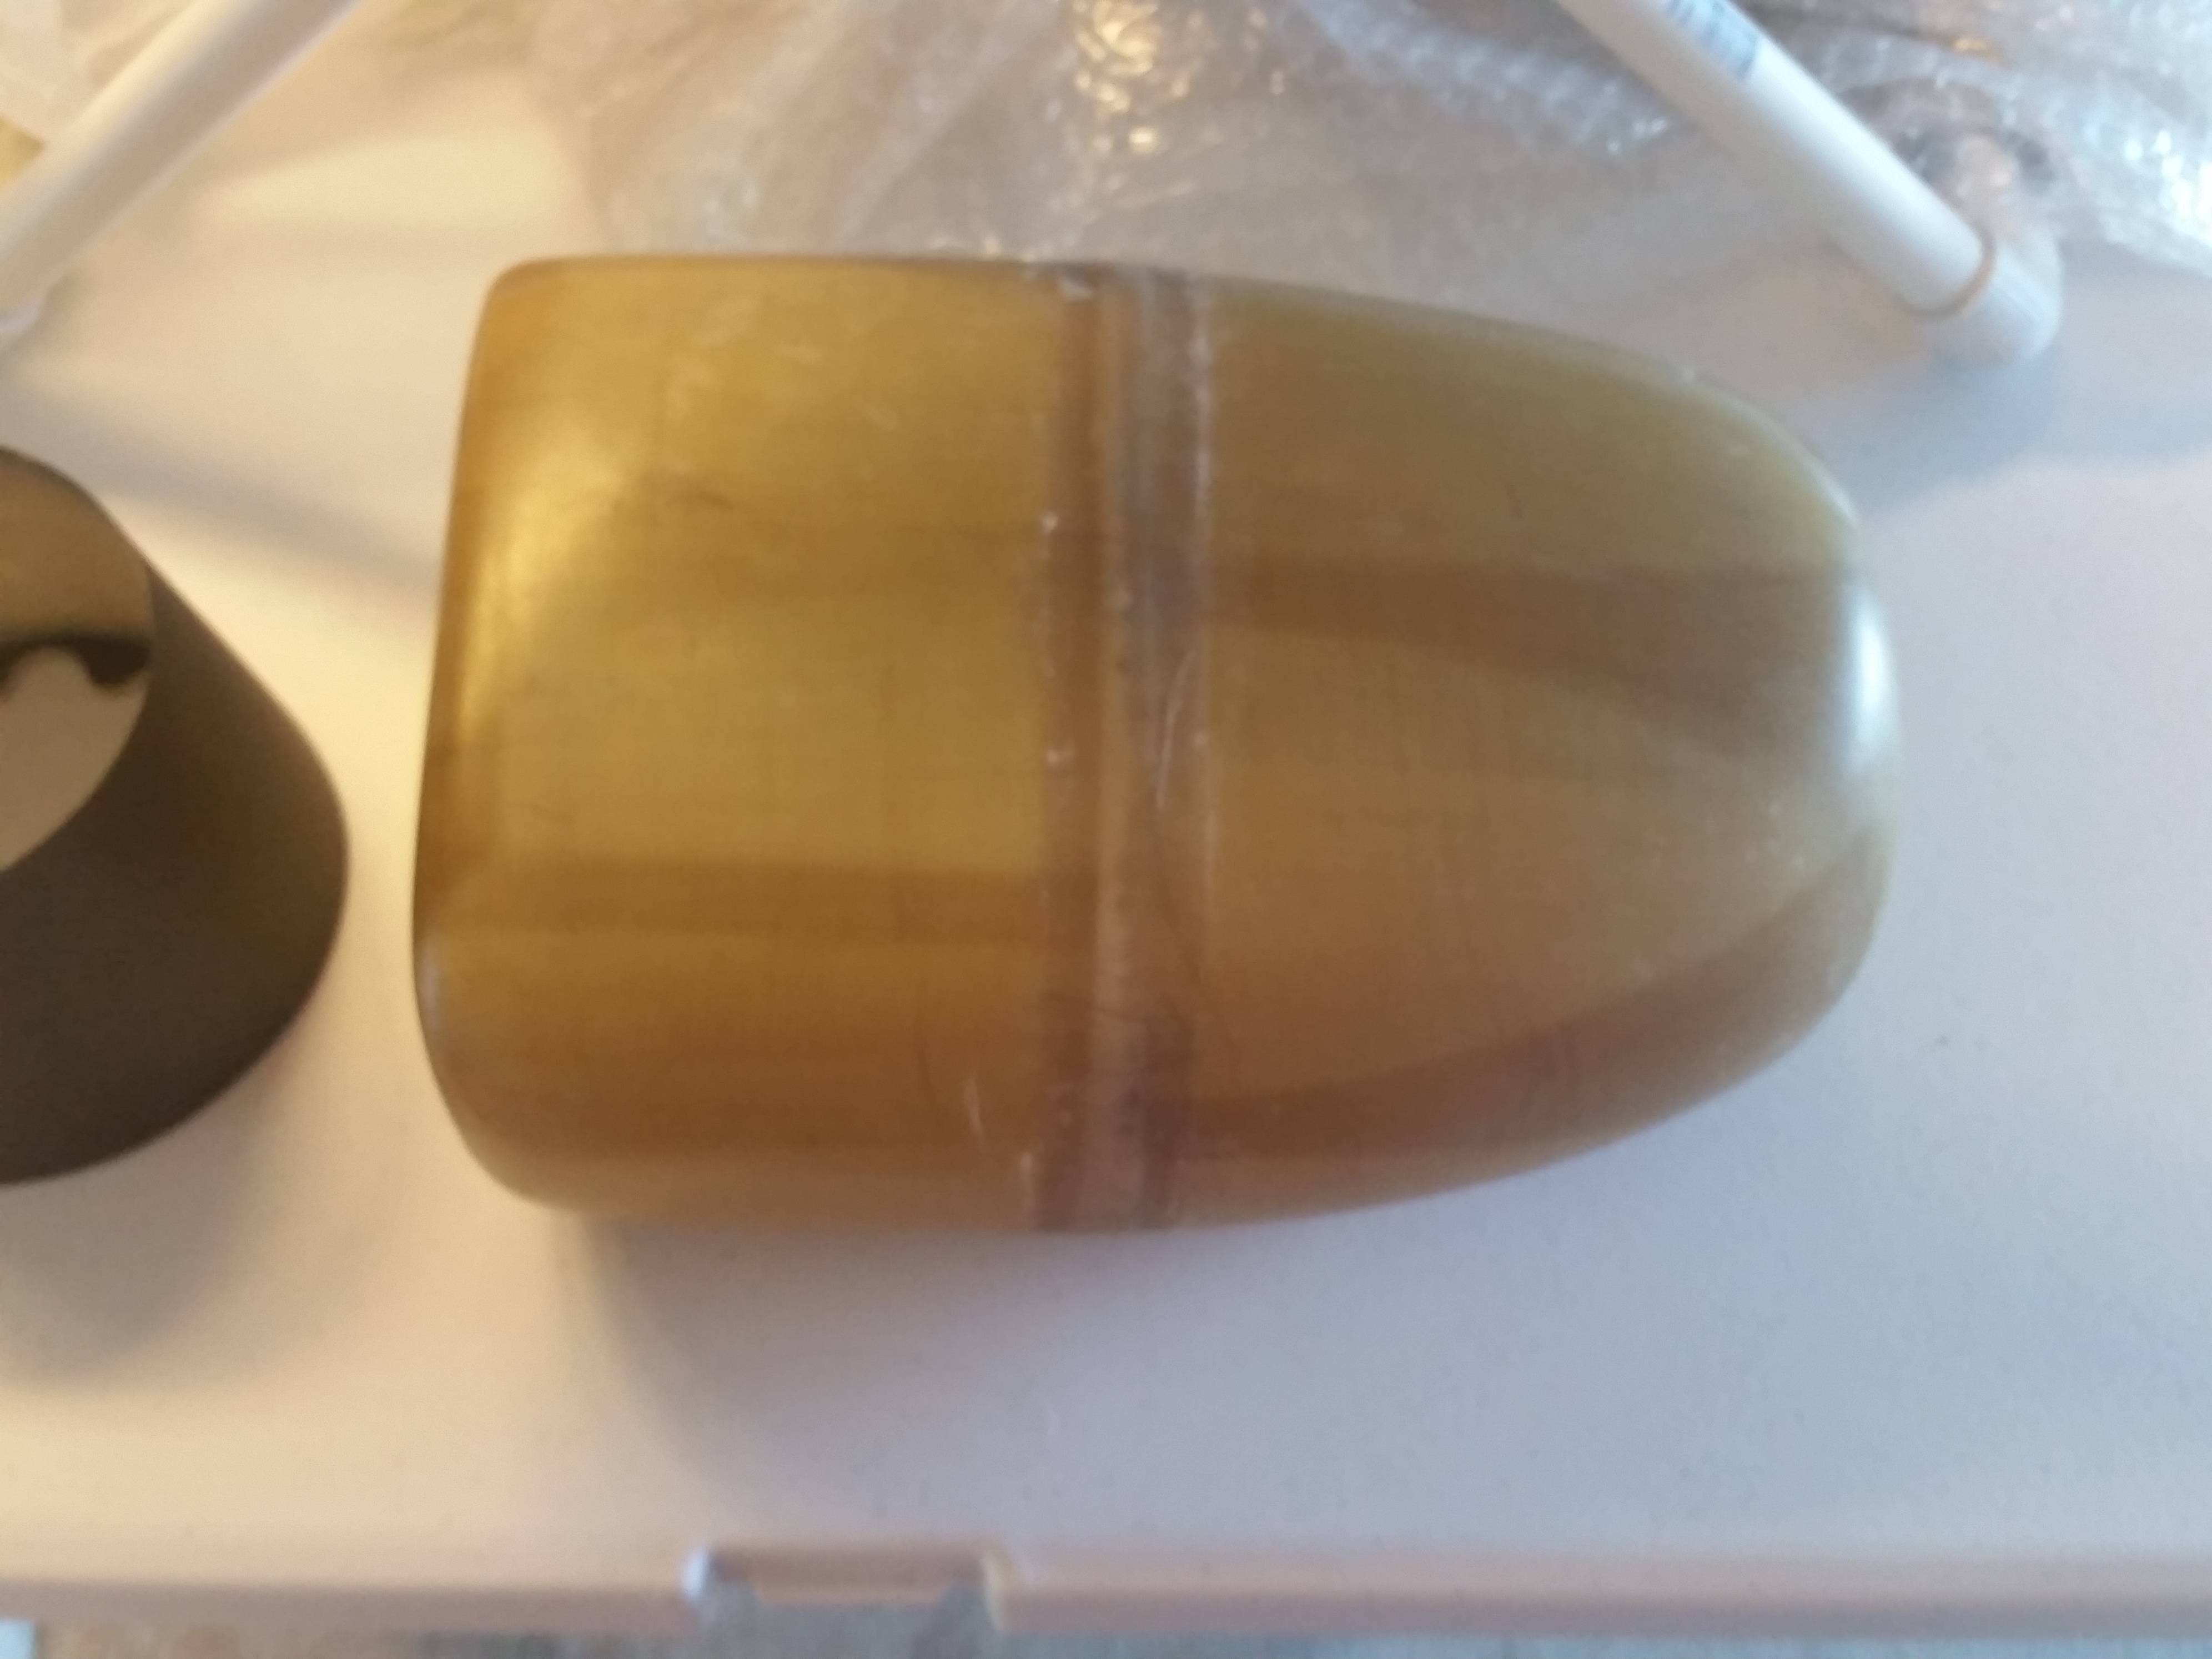
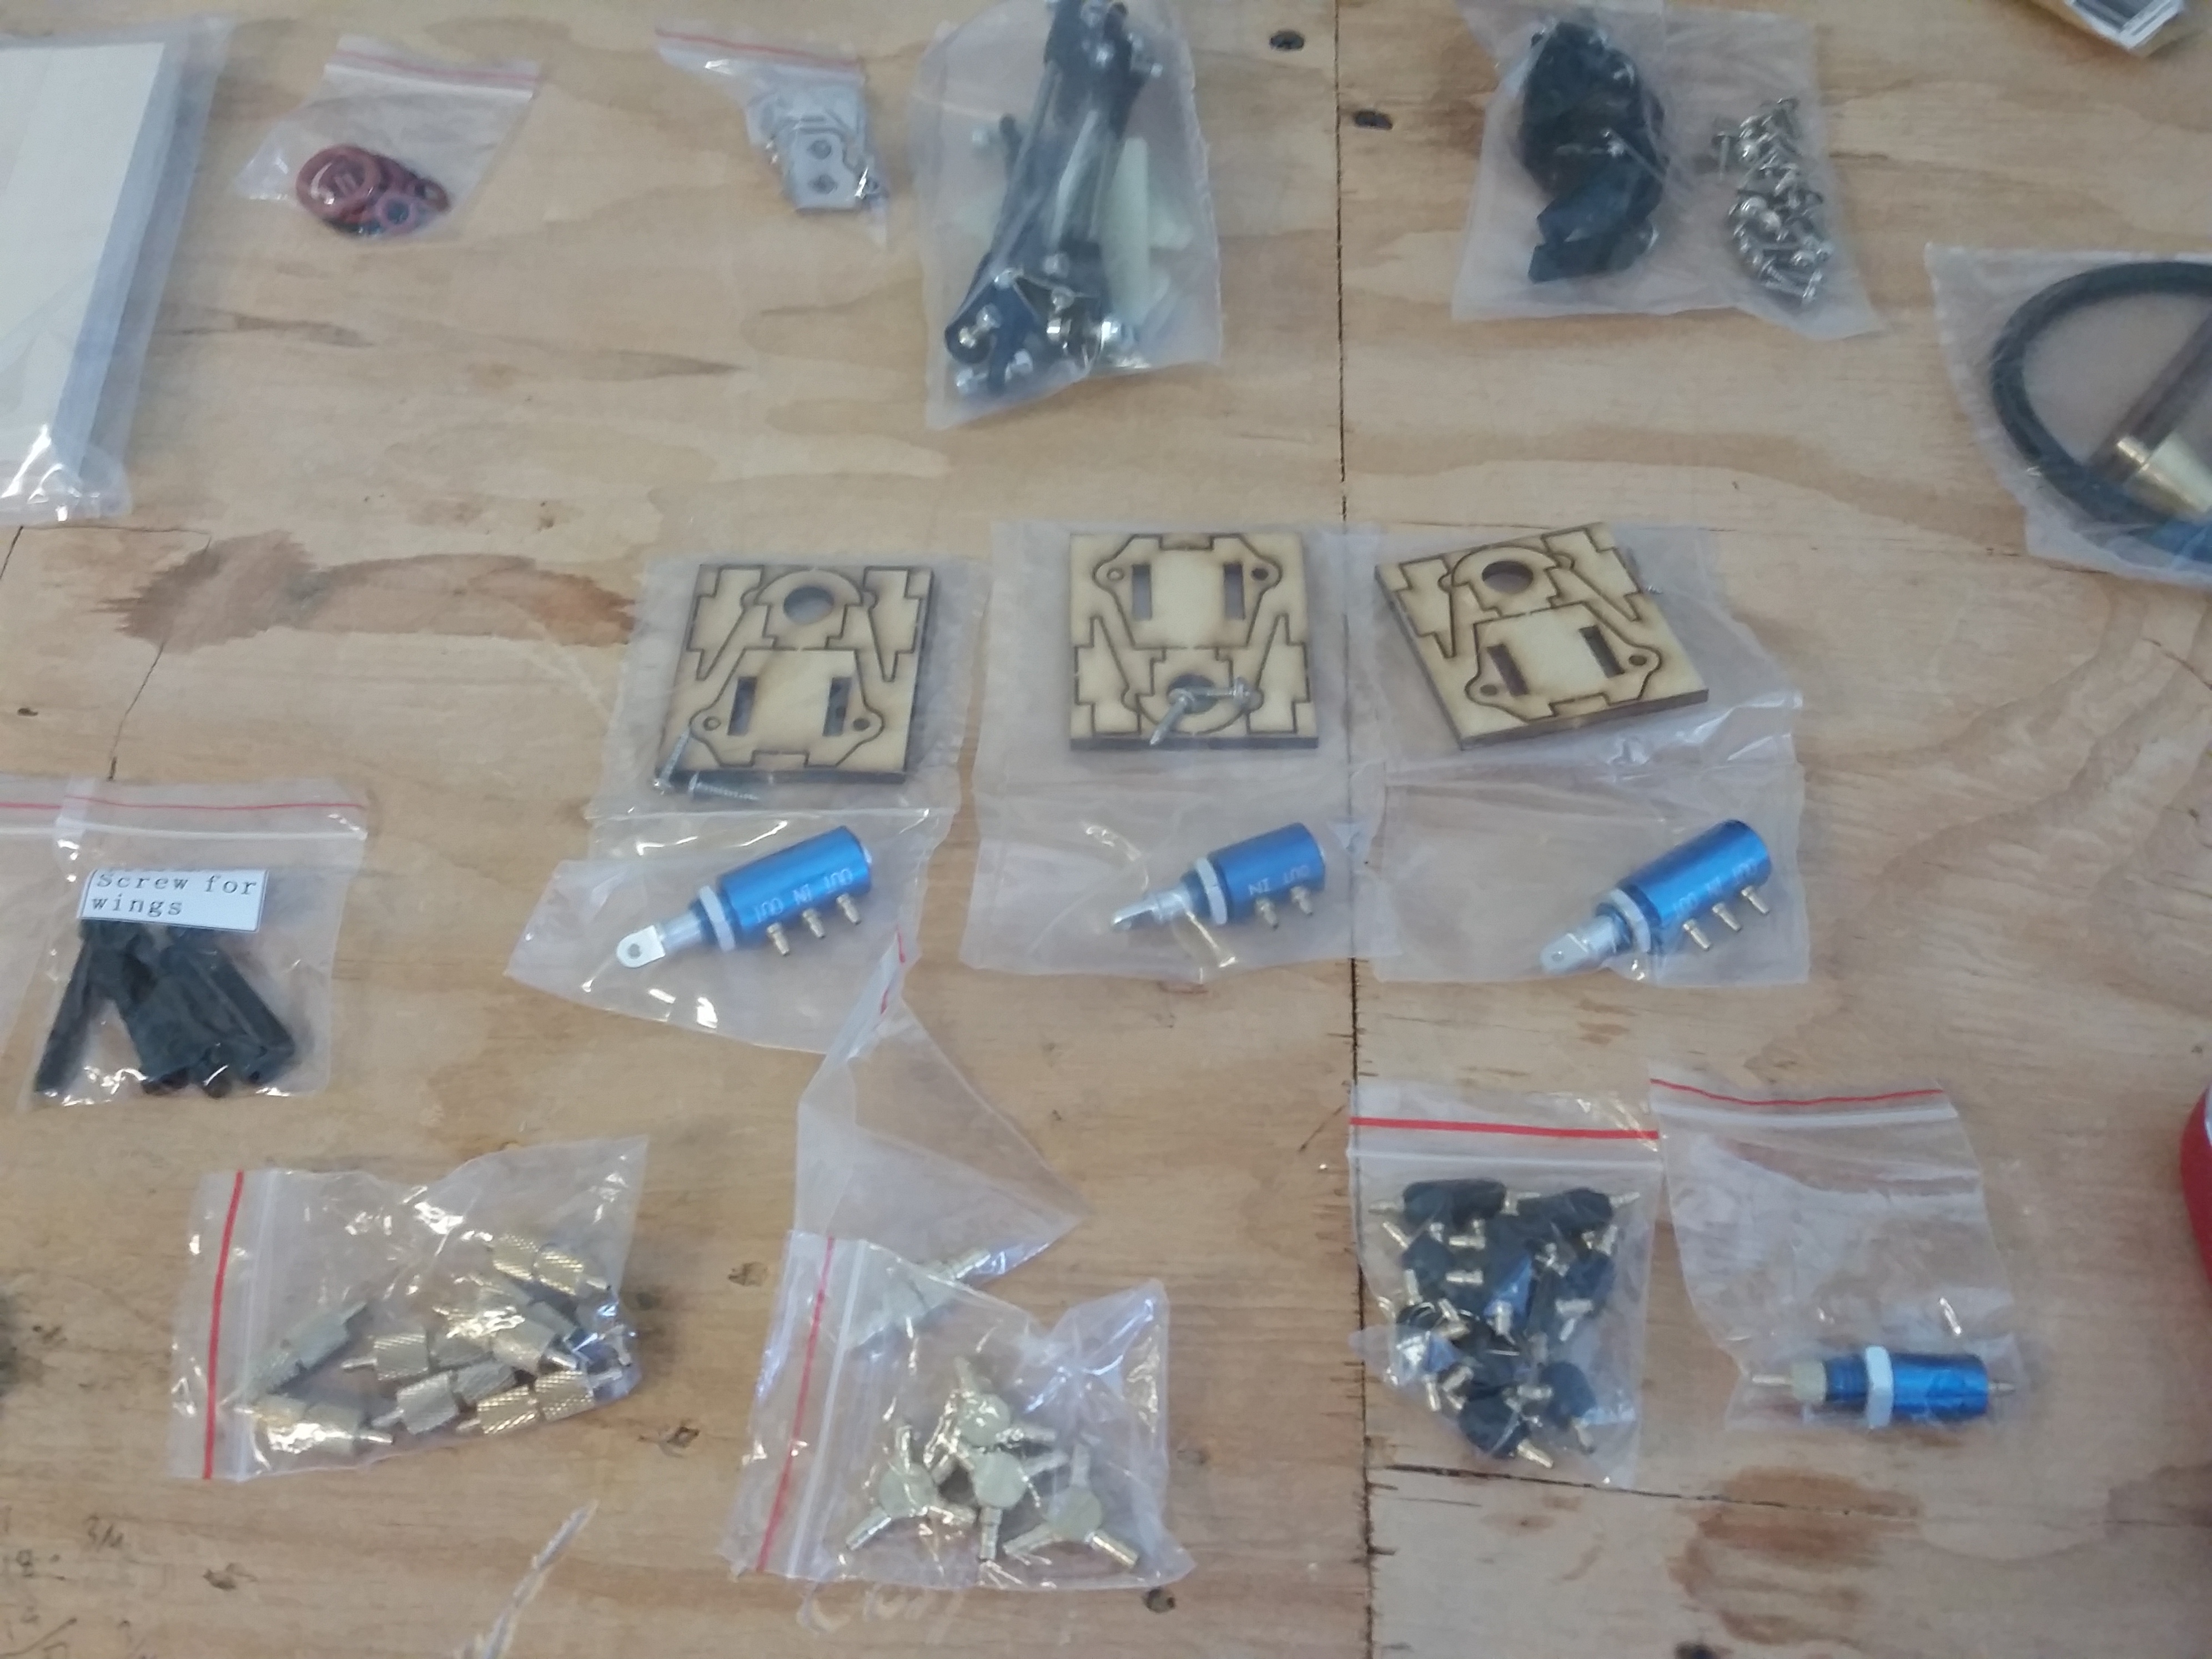
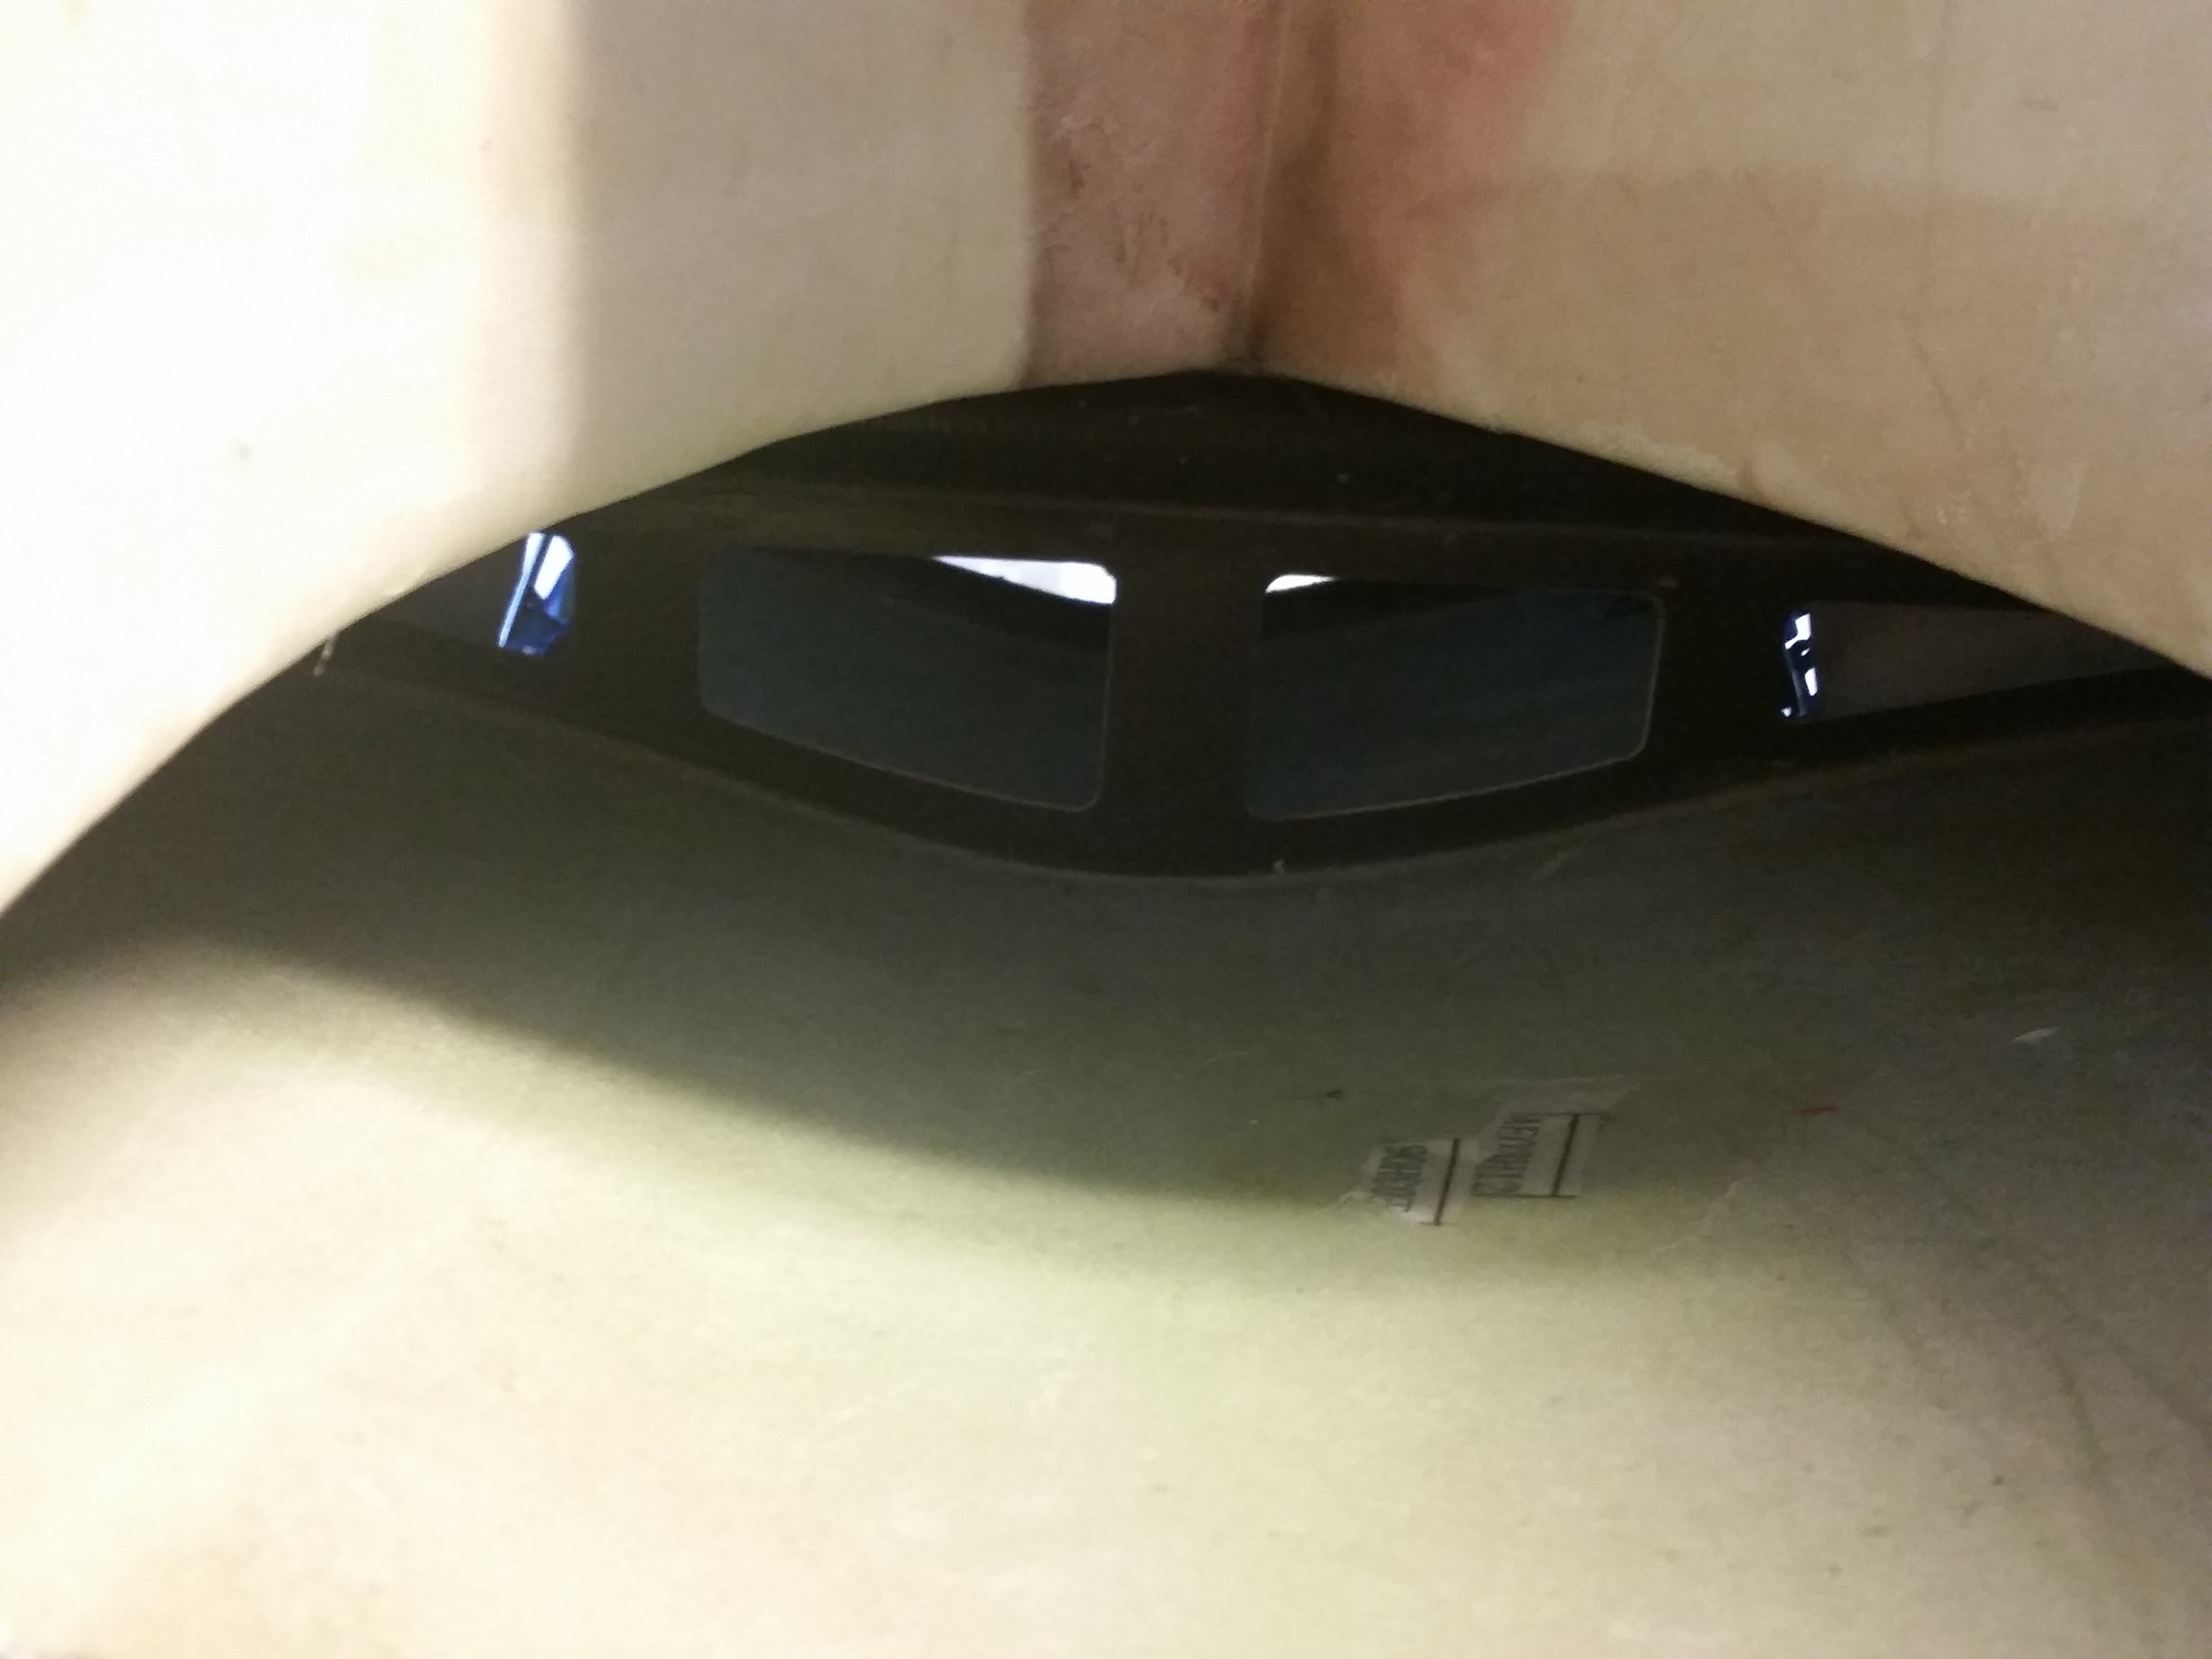
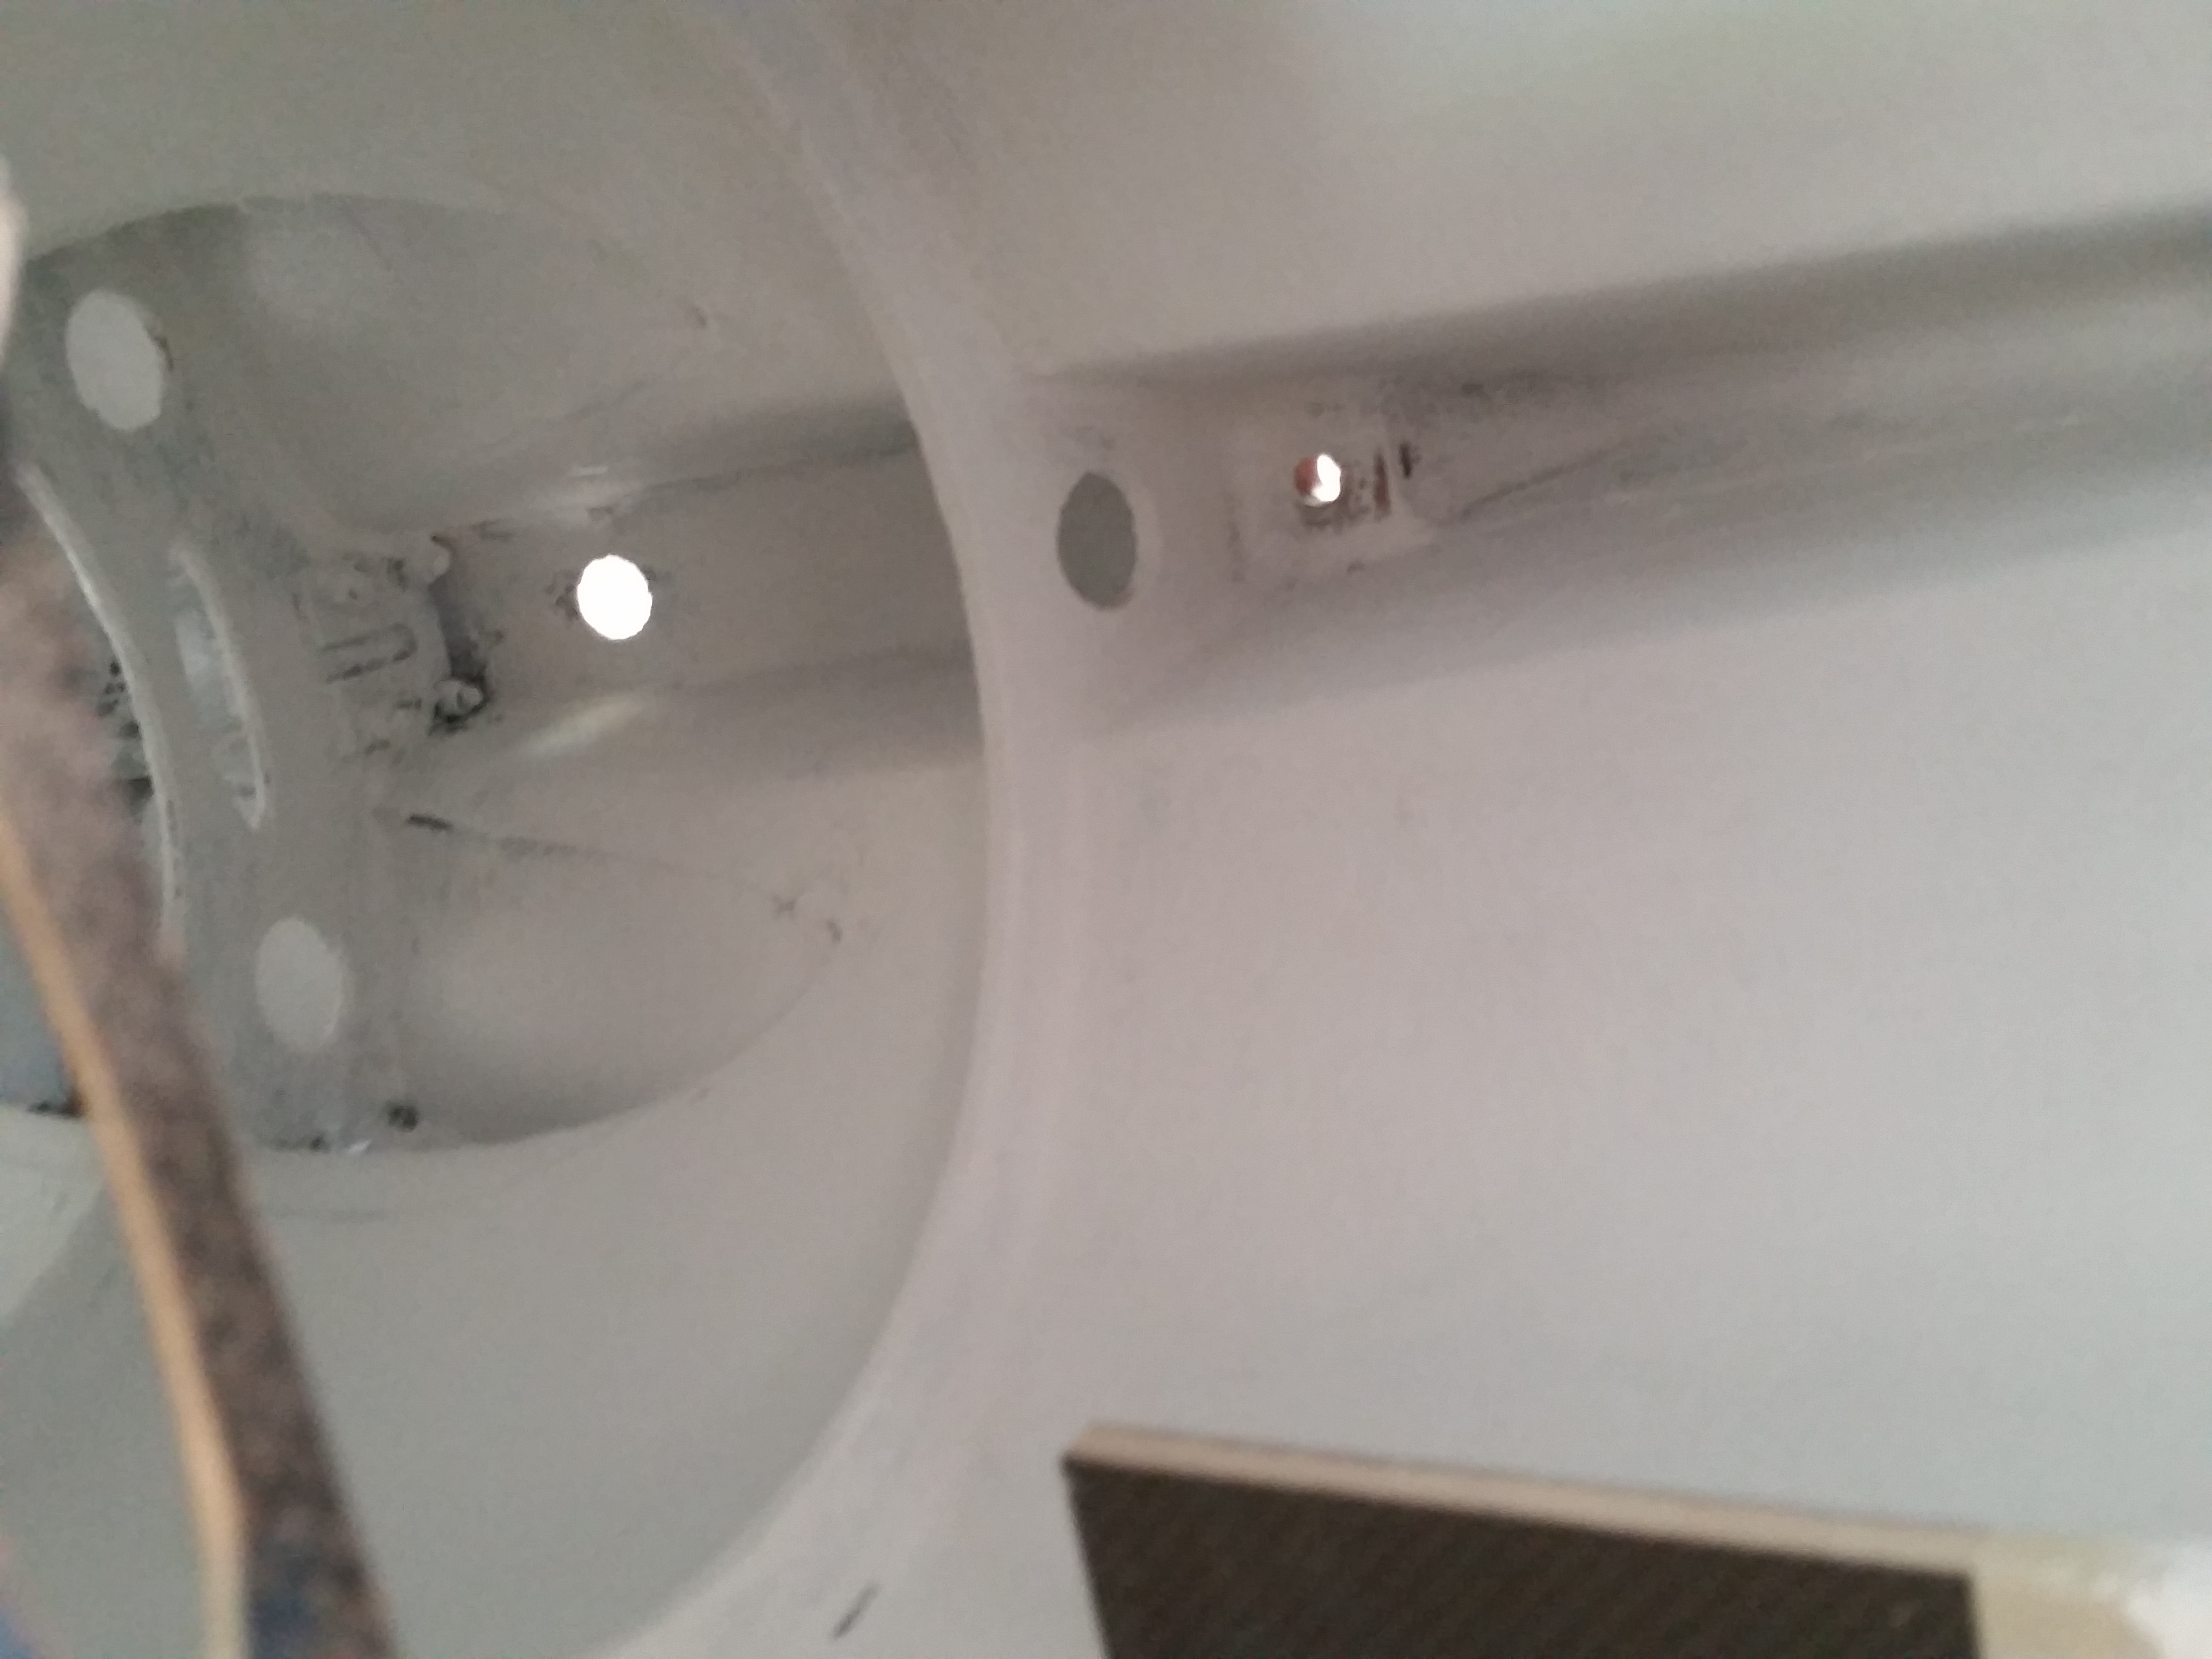
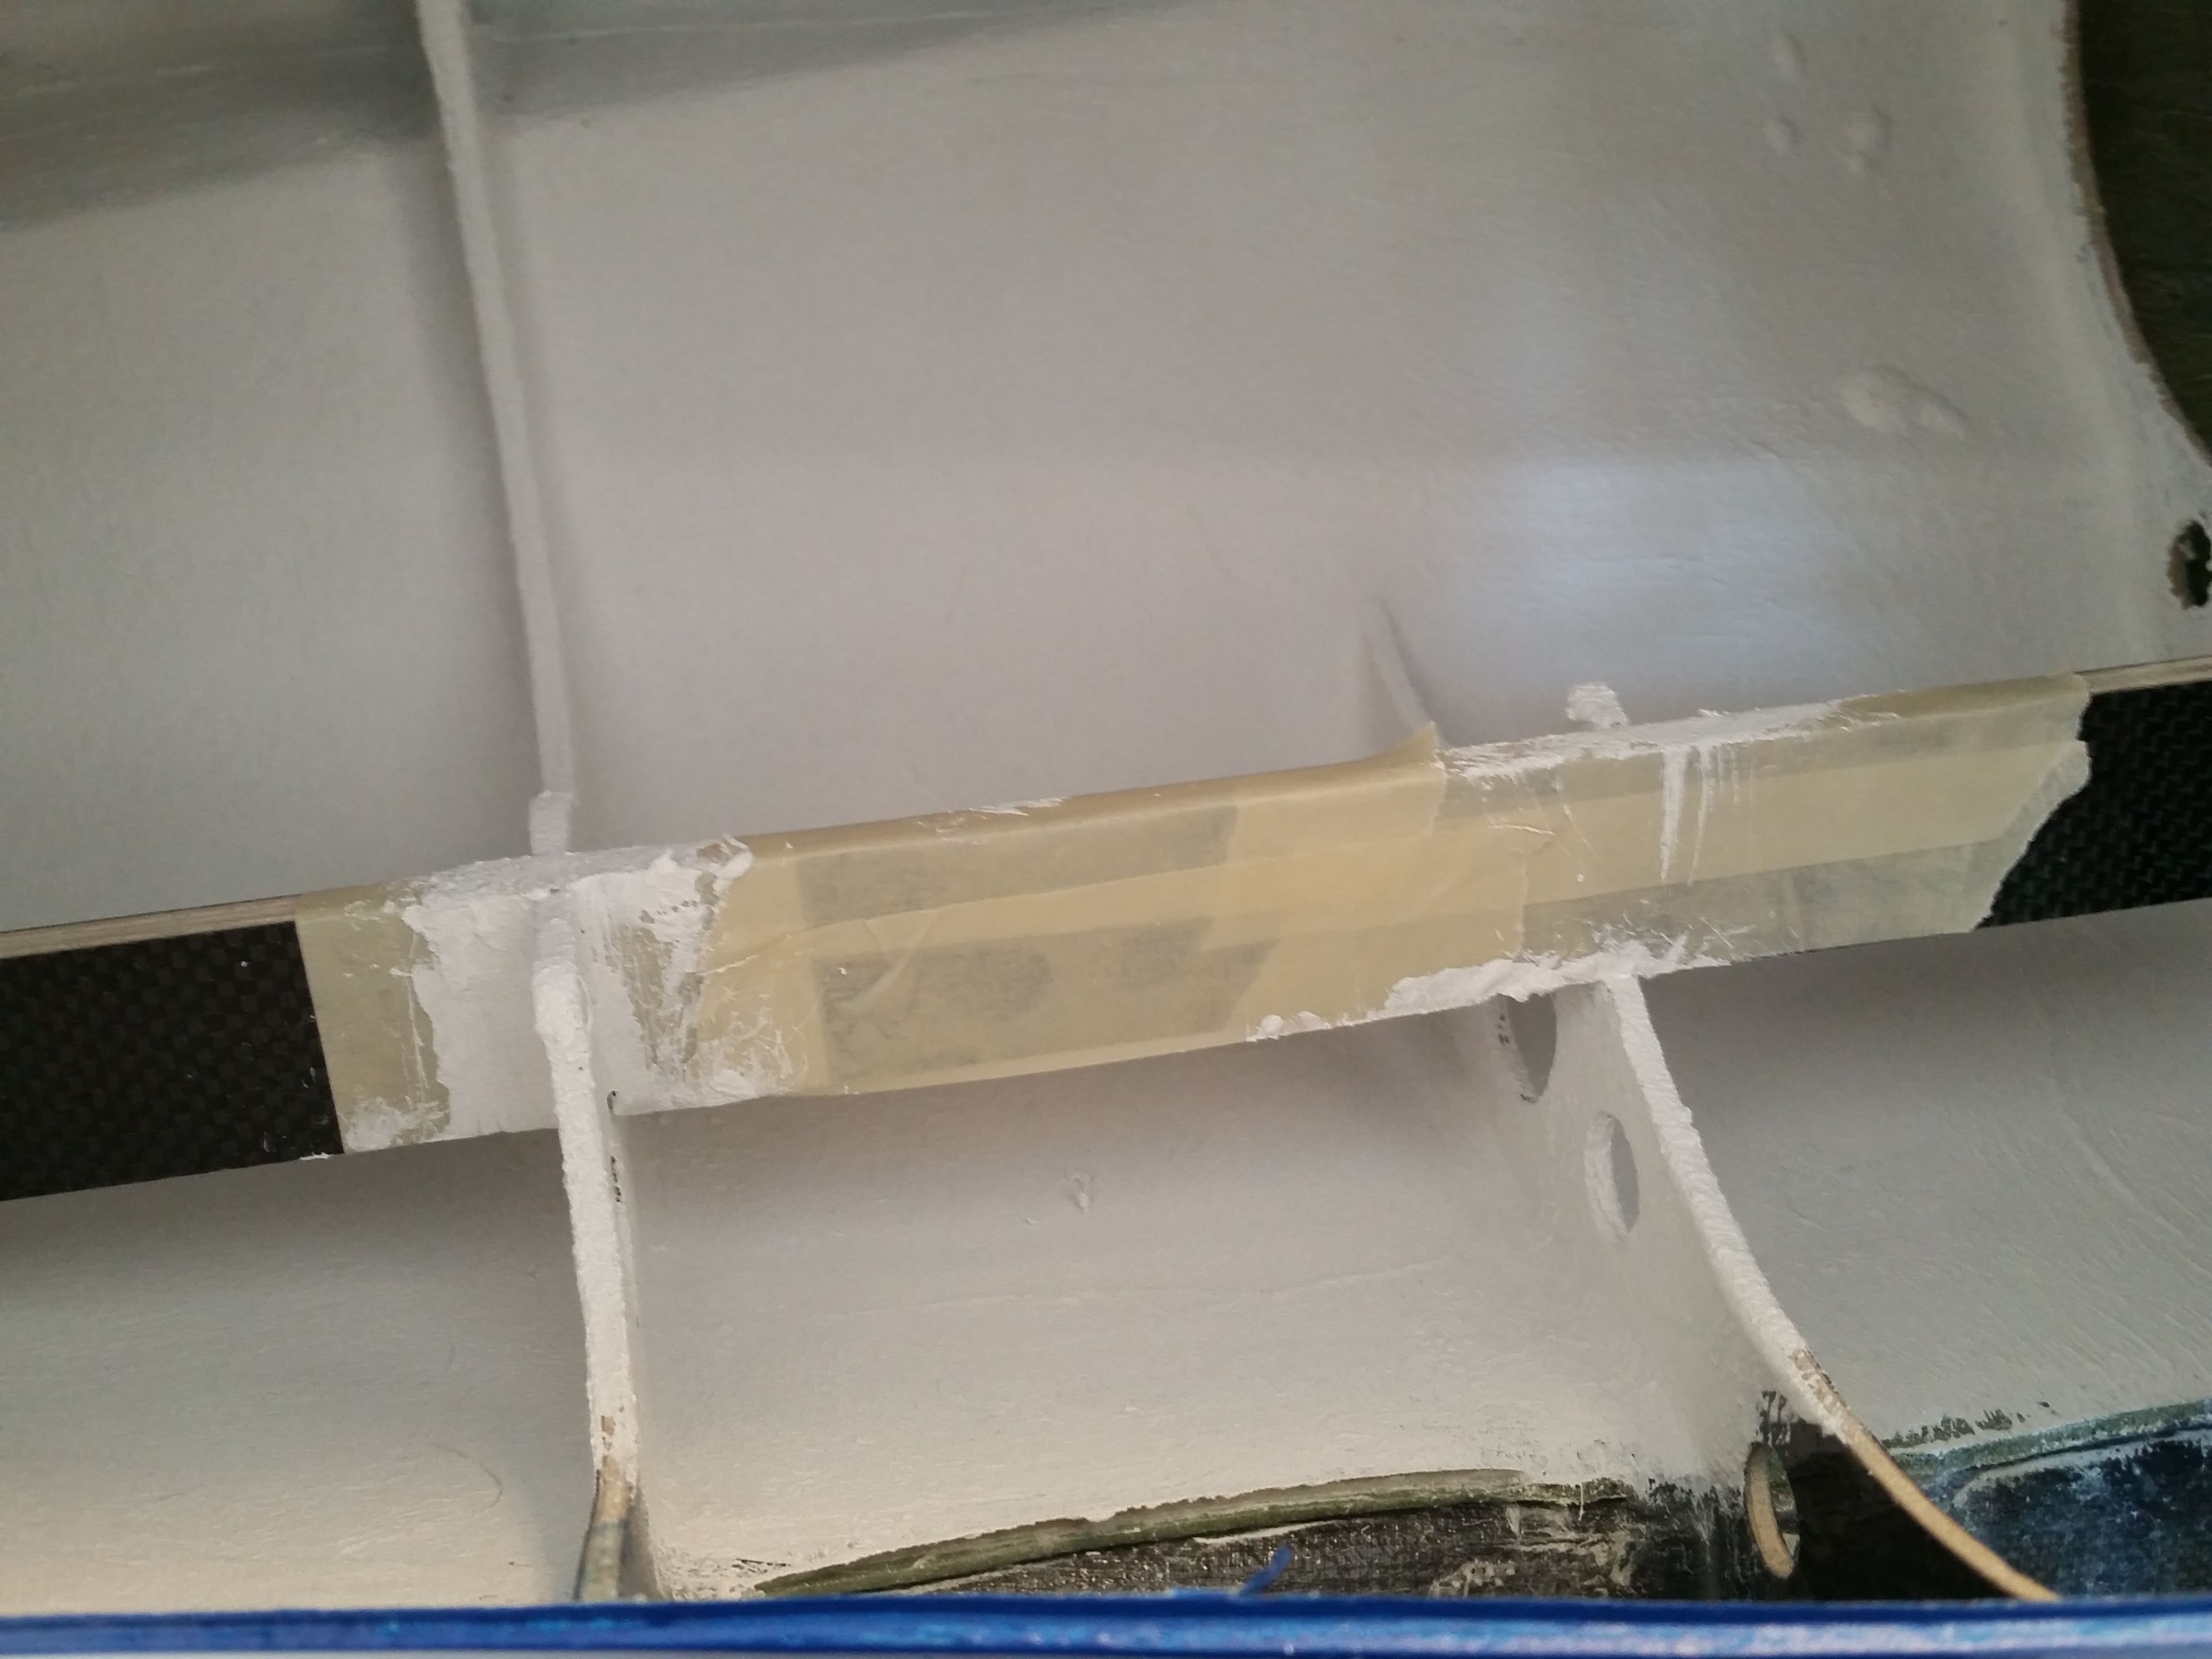
Okay so here are some of the pictures of the unboxing. I will add more in a bit. The only issue that I found is on one of the wing tips I believe a piece of wood broke off inside. I am getting with Marvin to see if I can get it replaced. I have to get my fuselage stand put together today so I can take more pictures. I have run out of room to put the pieces on tables haha. 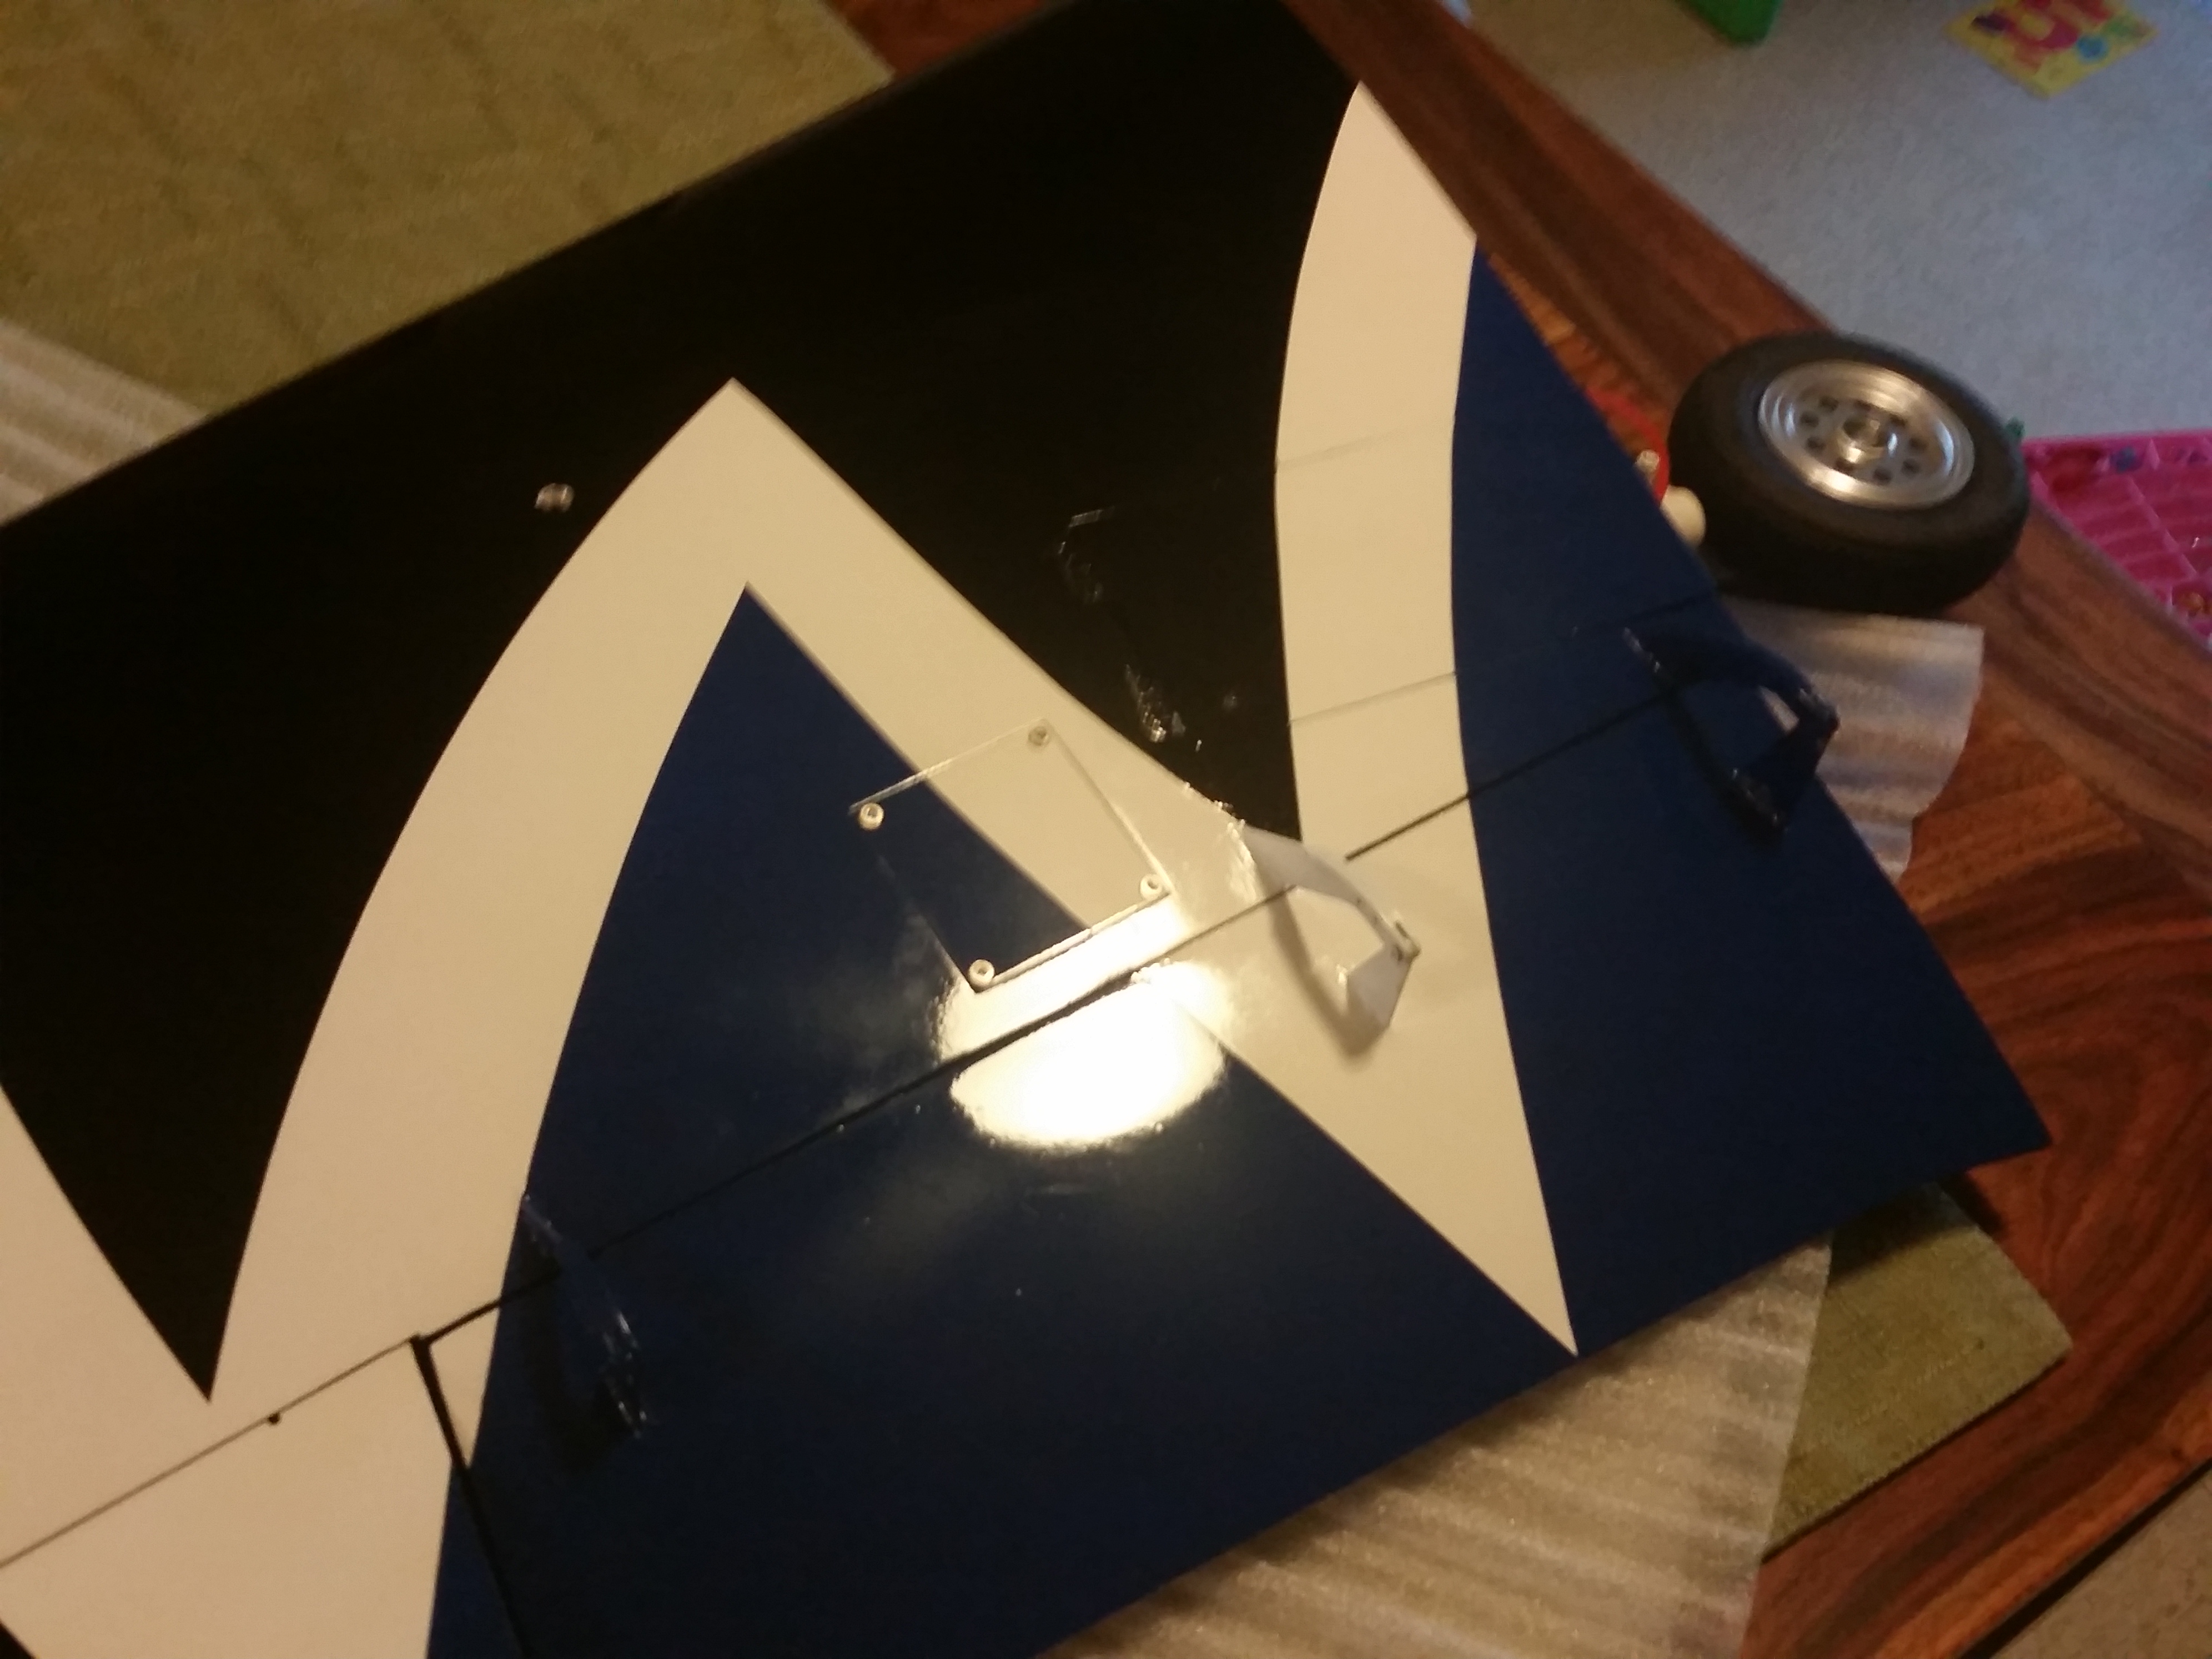


02-14-2016 | 01:46 PM
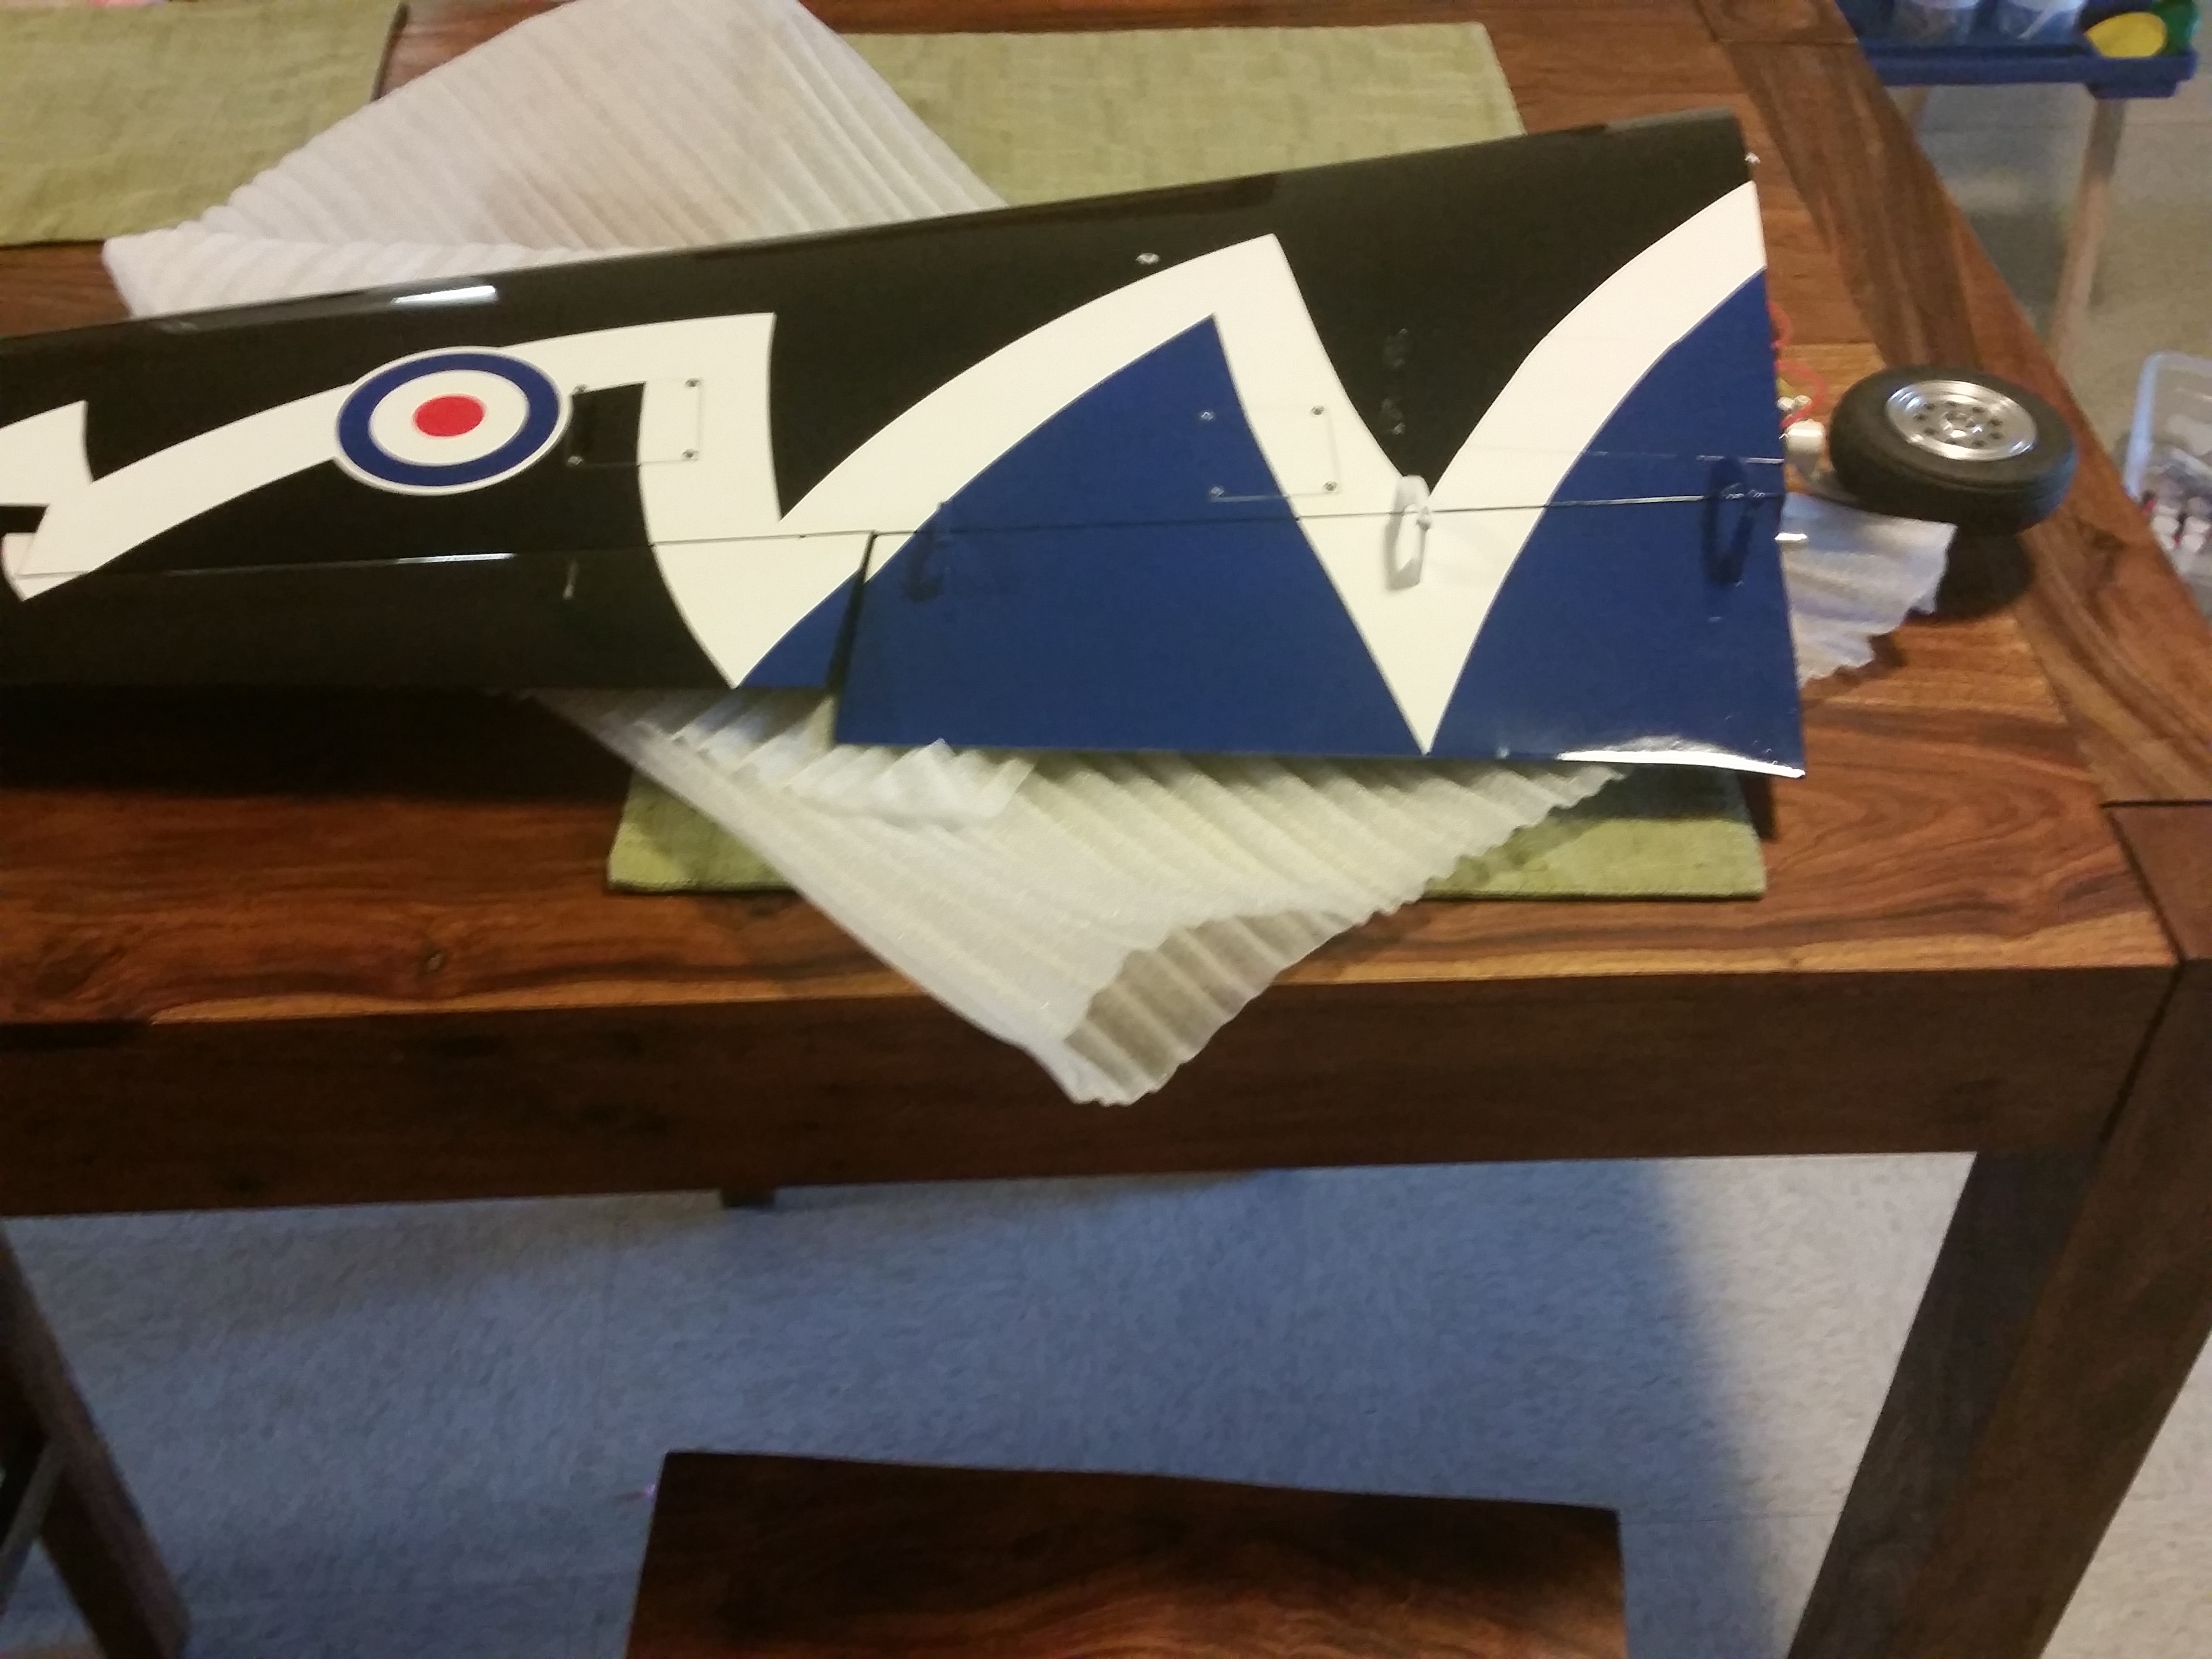
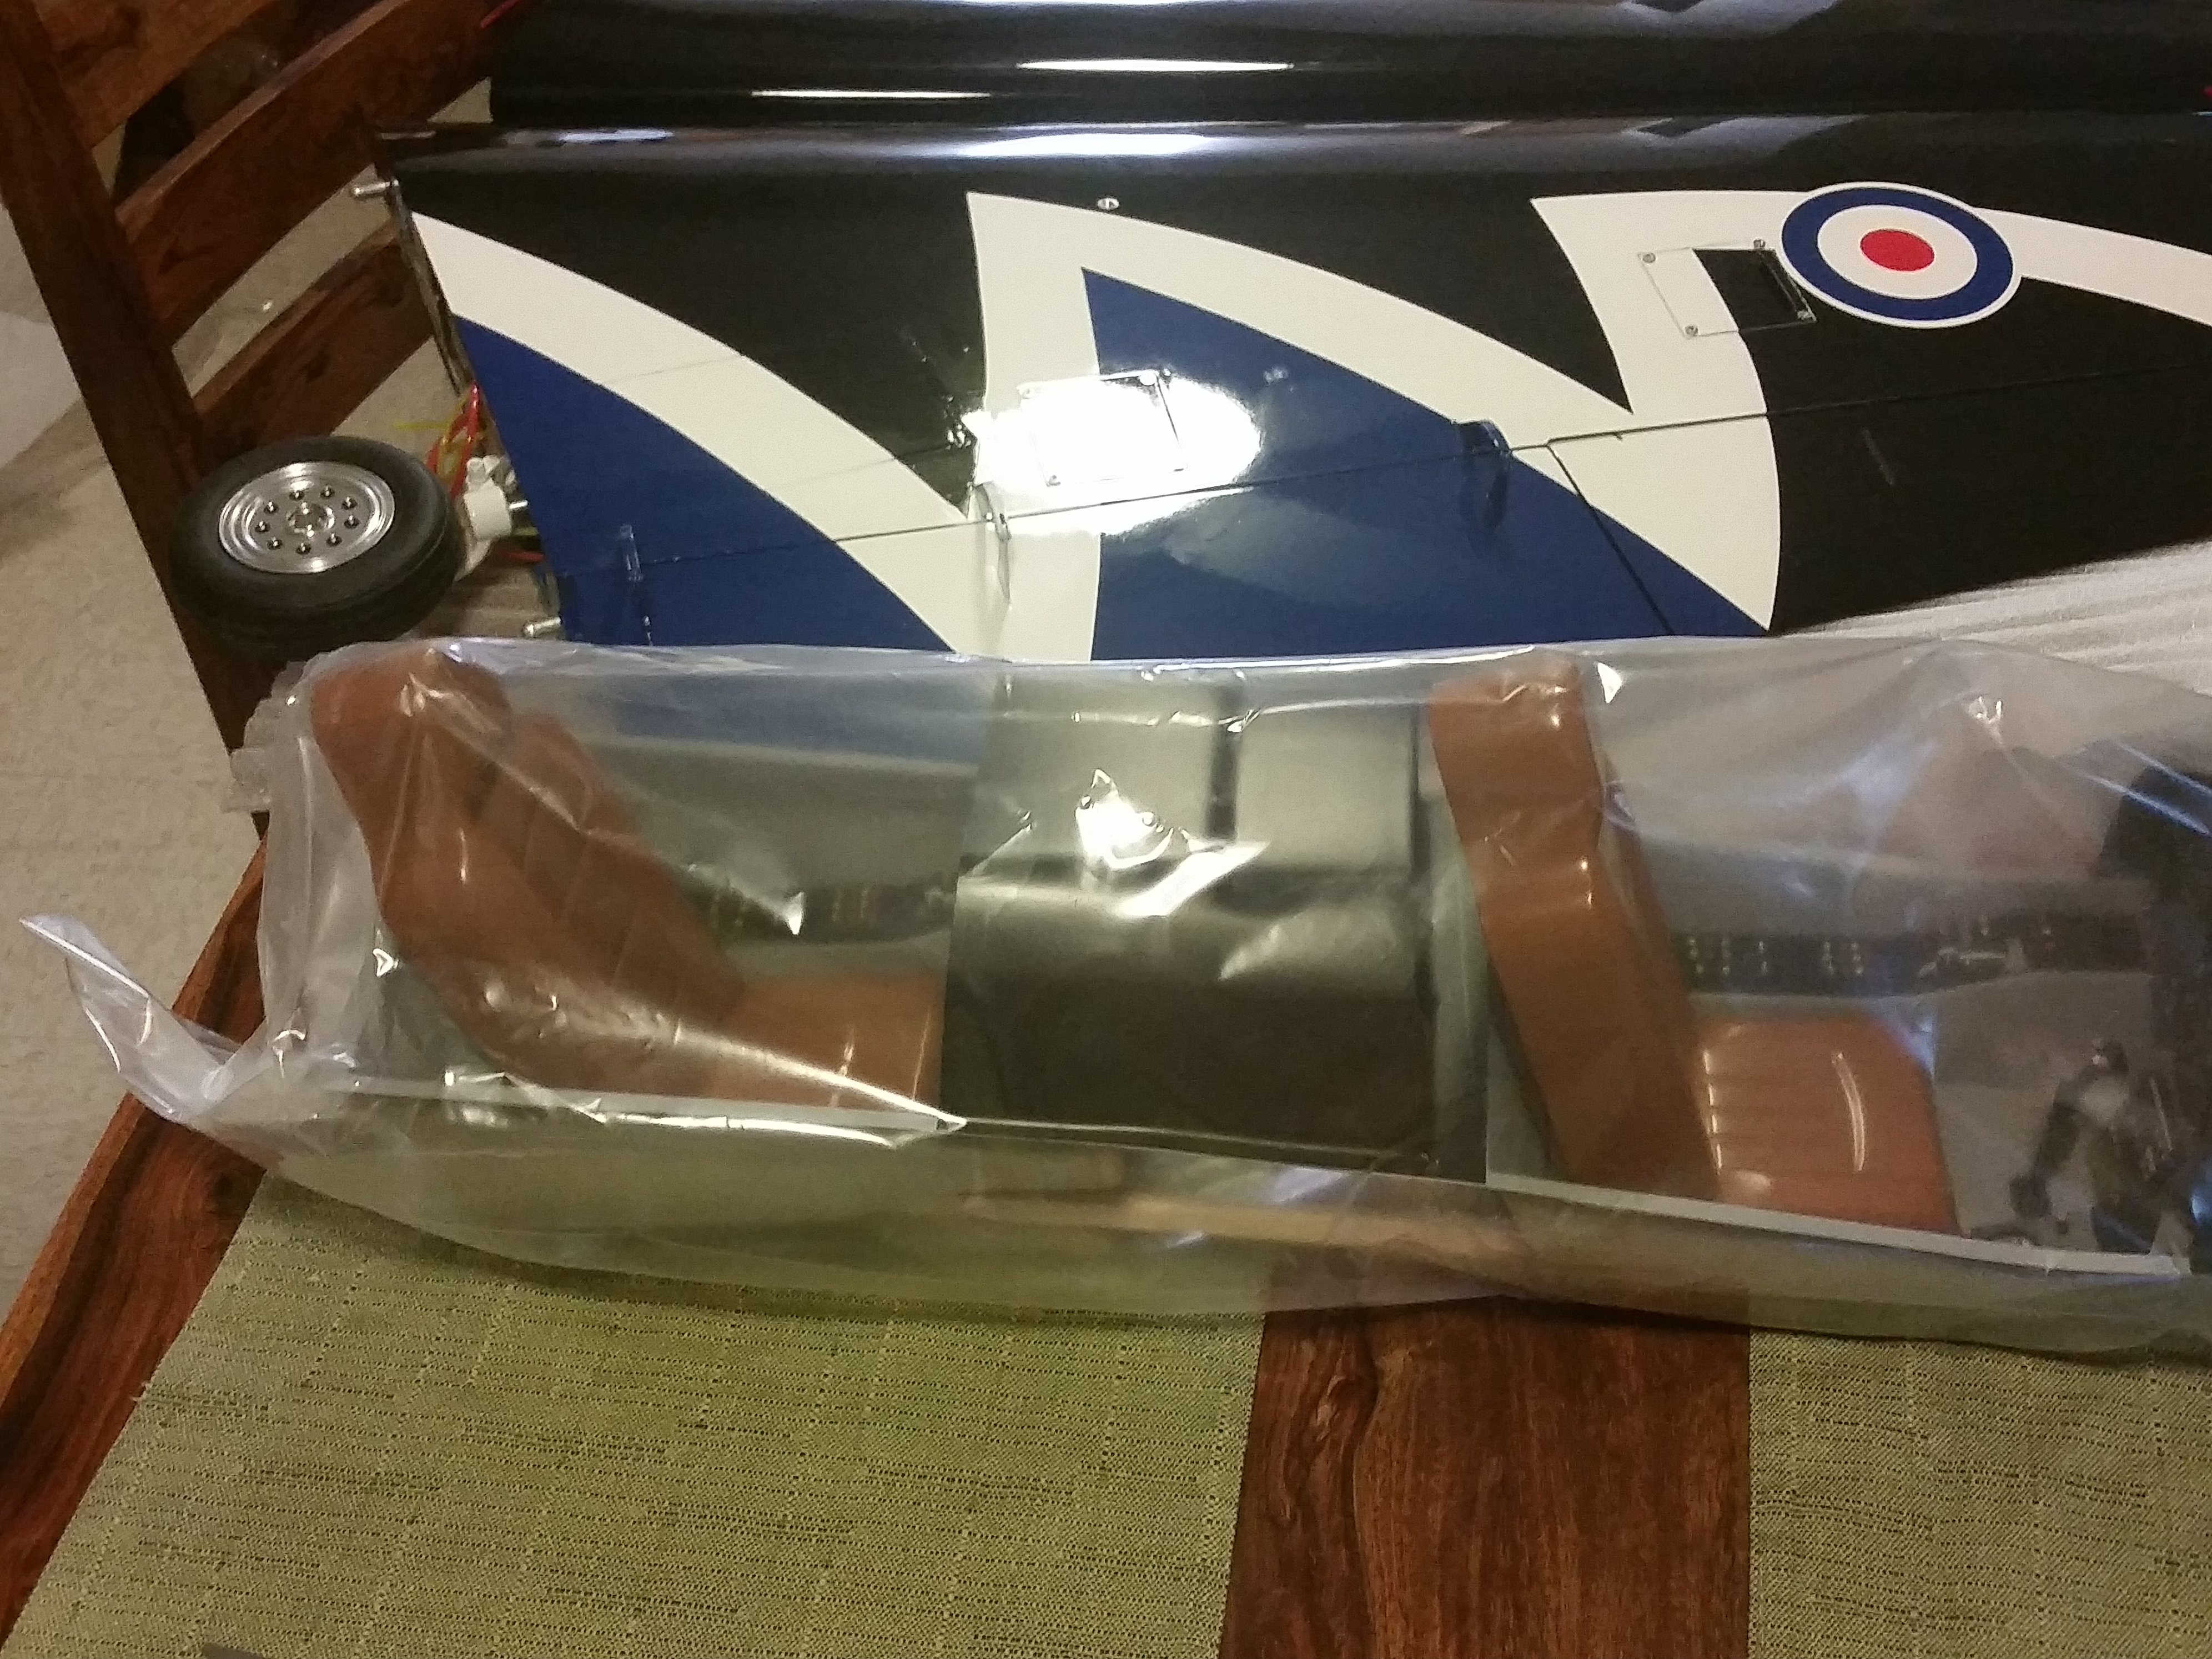
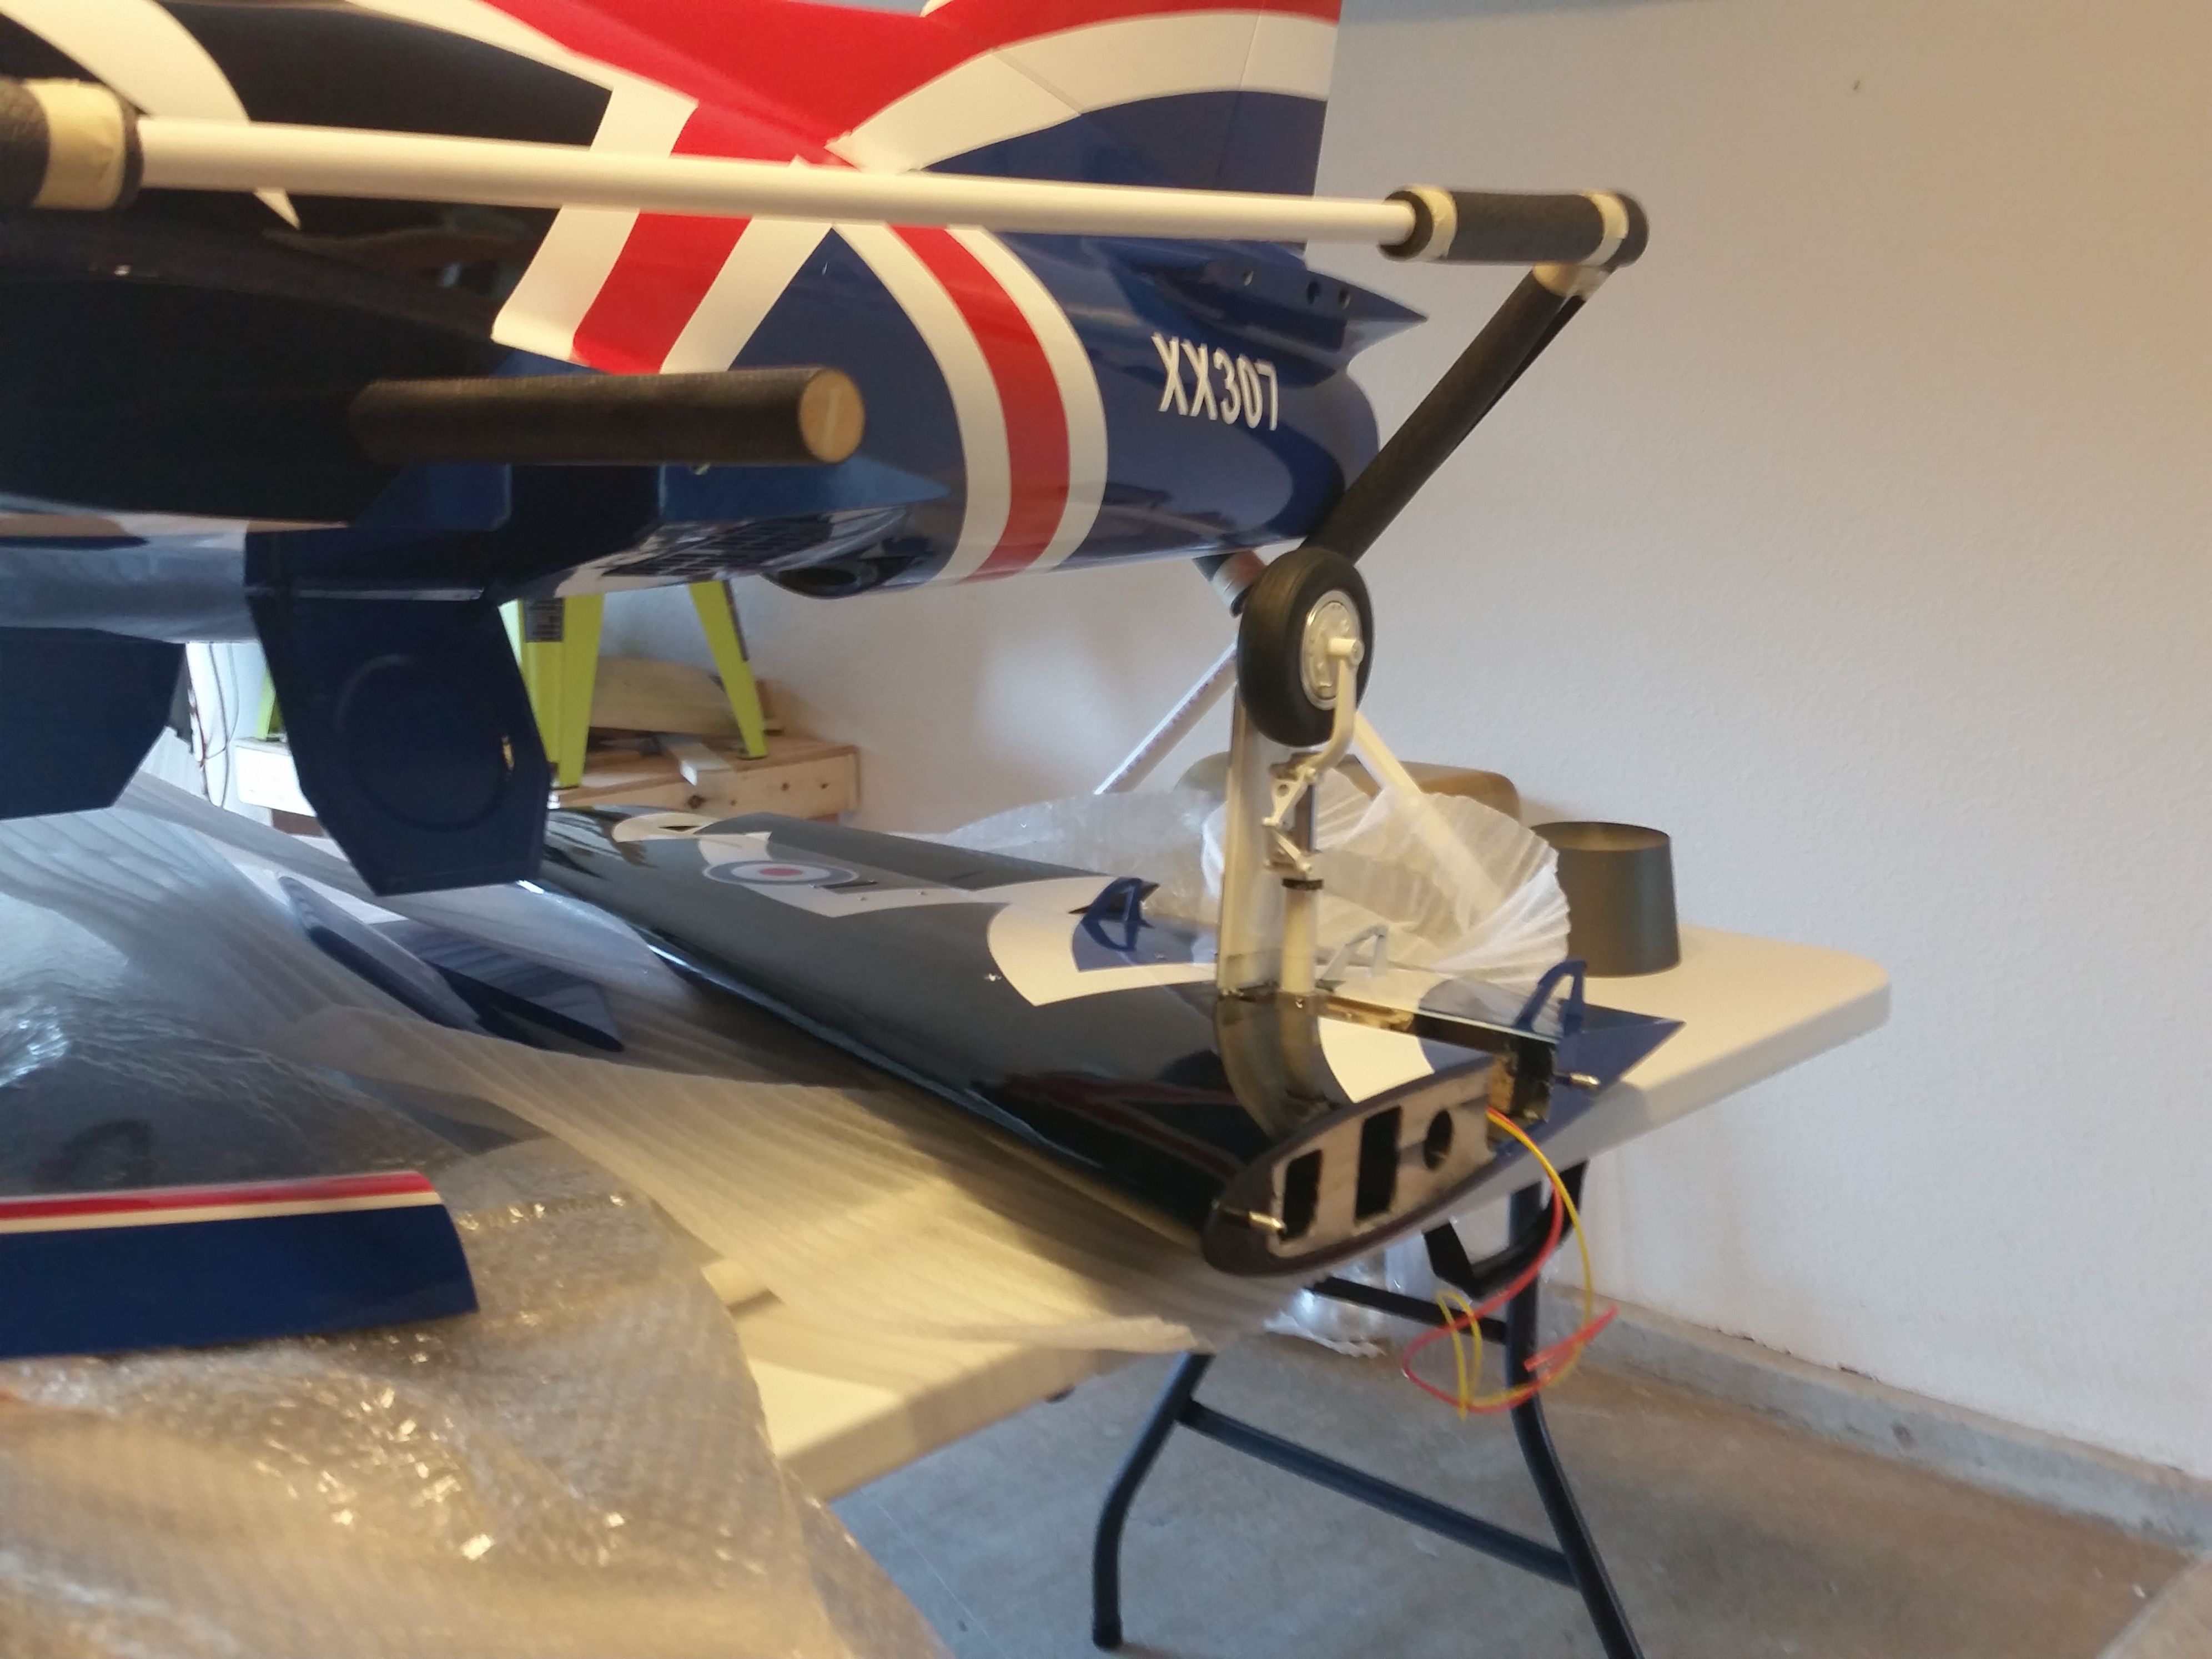
#13
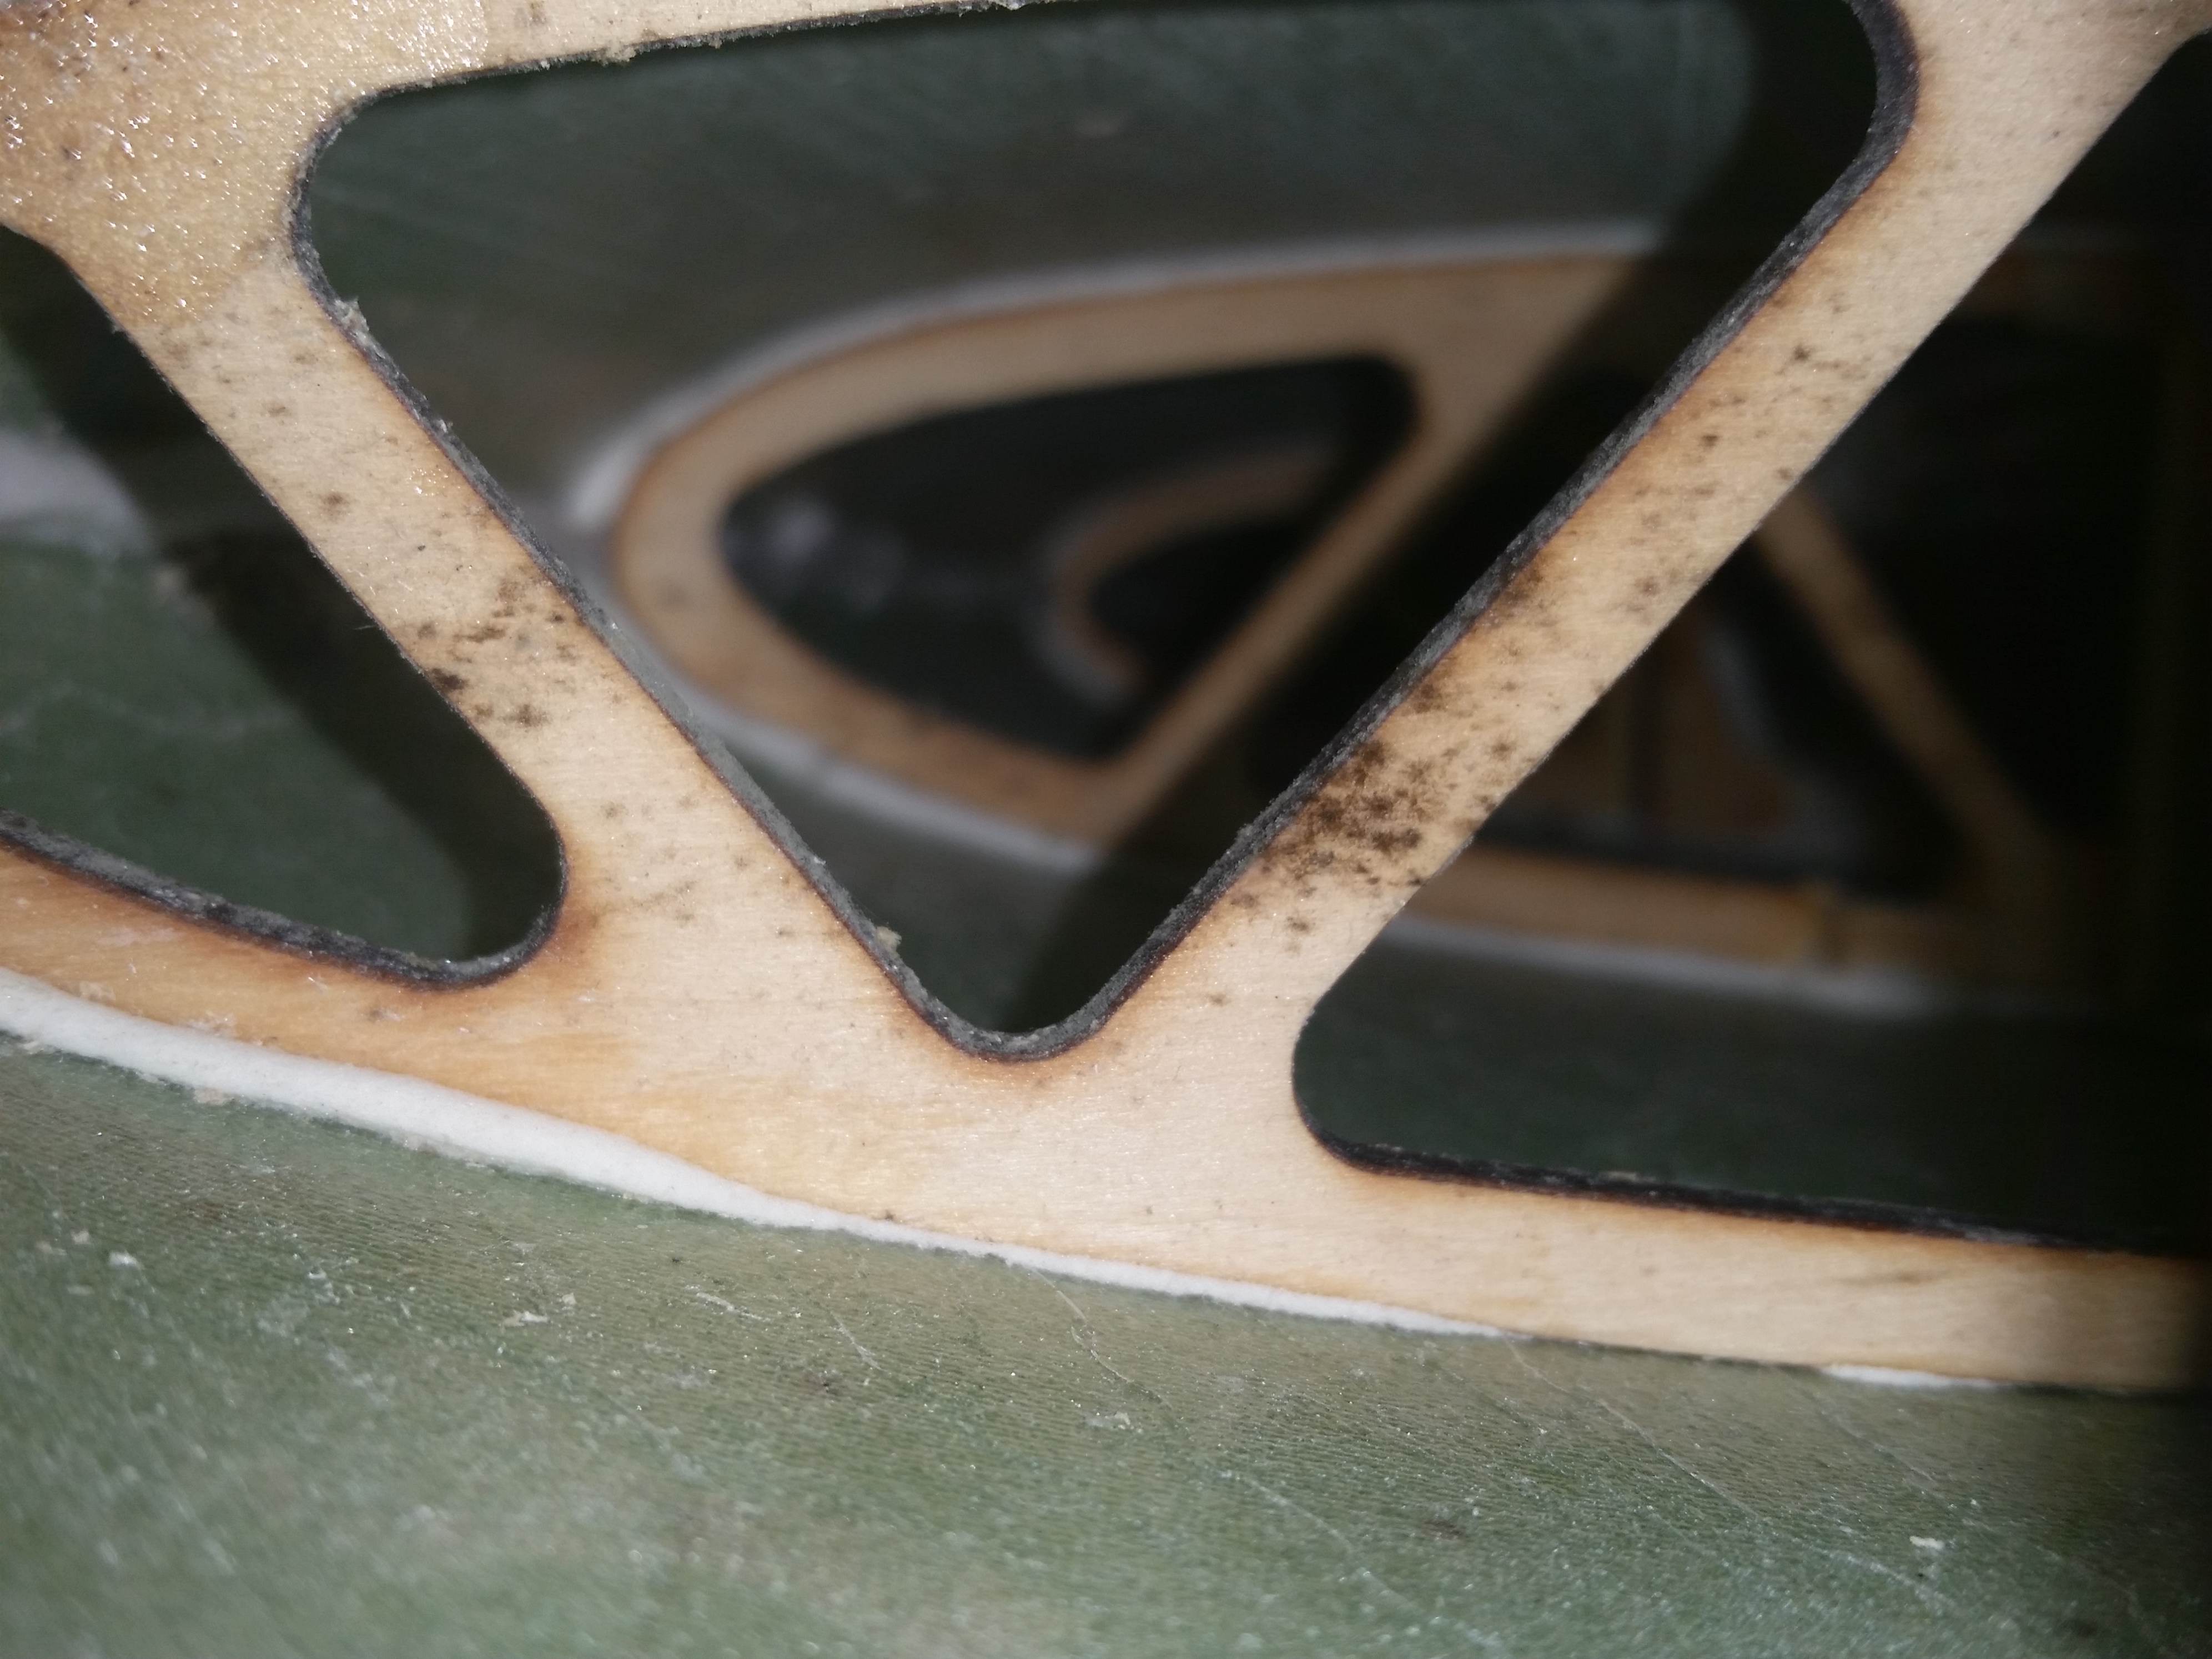
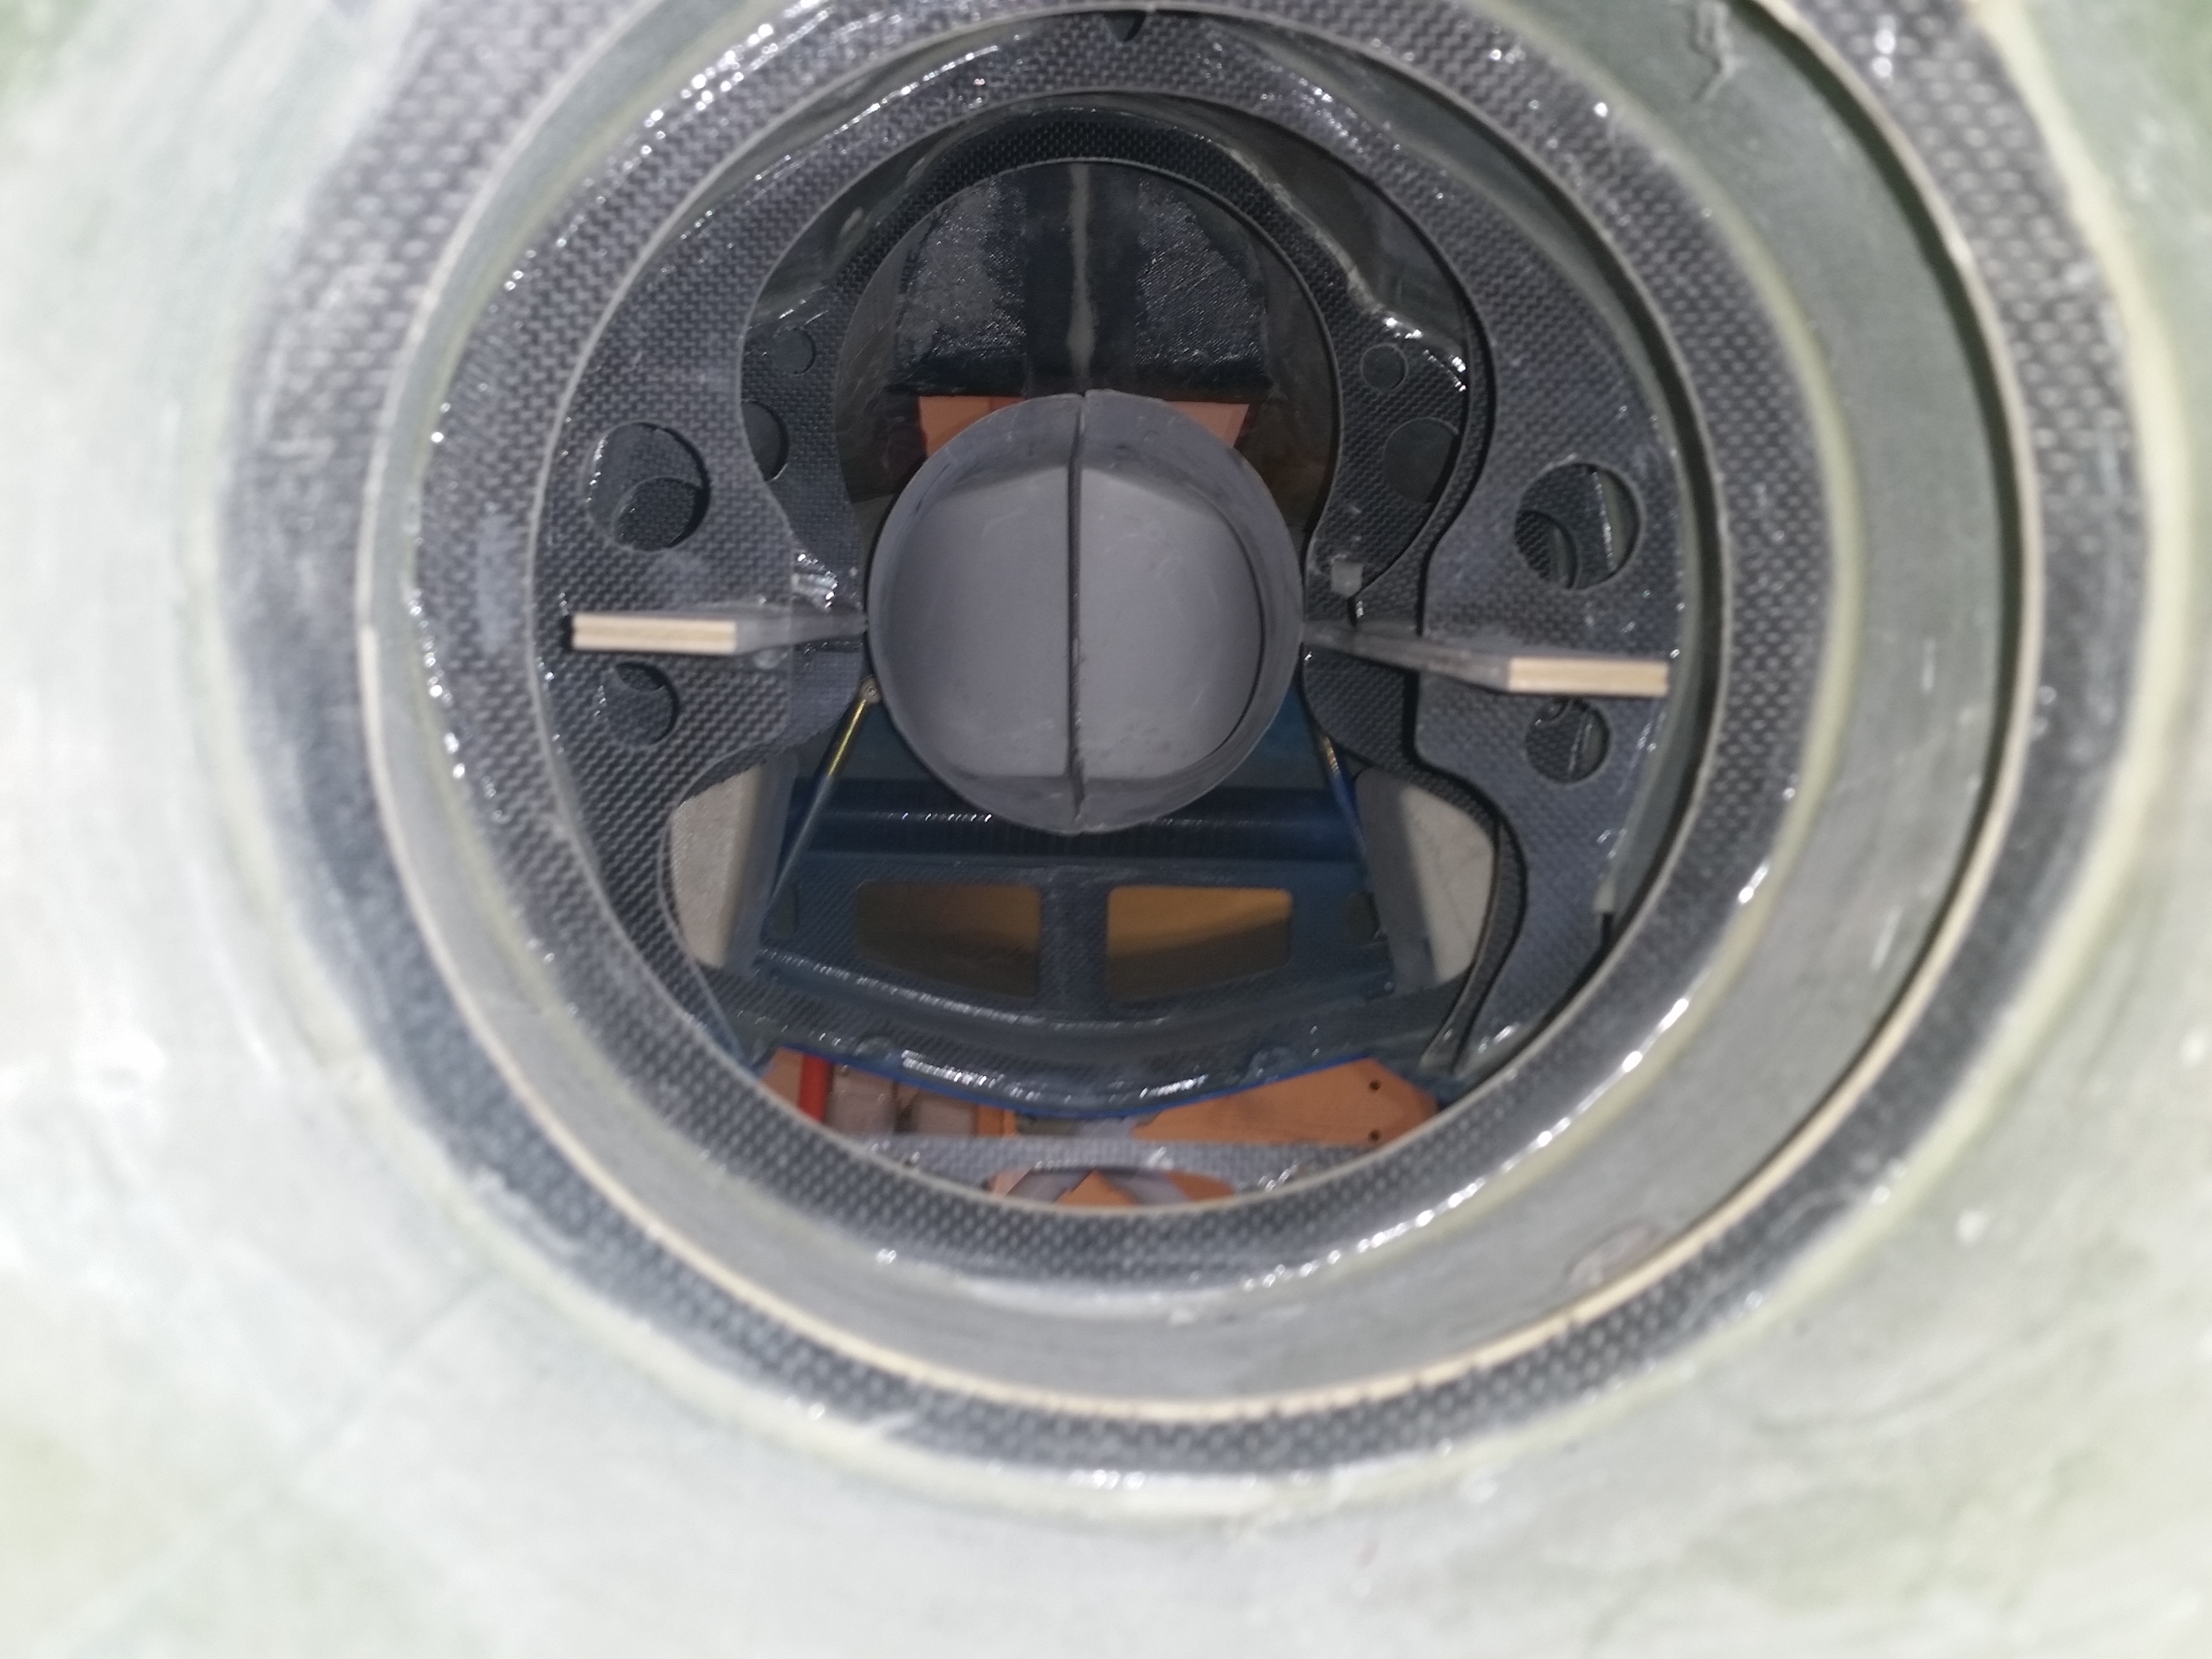
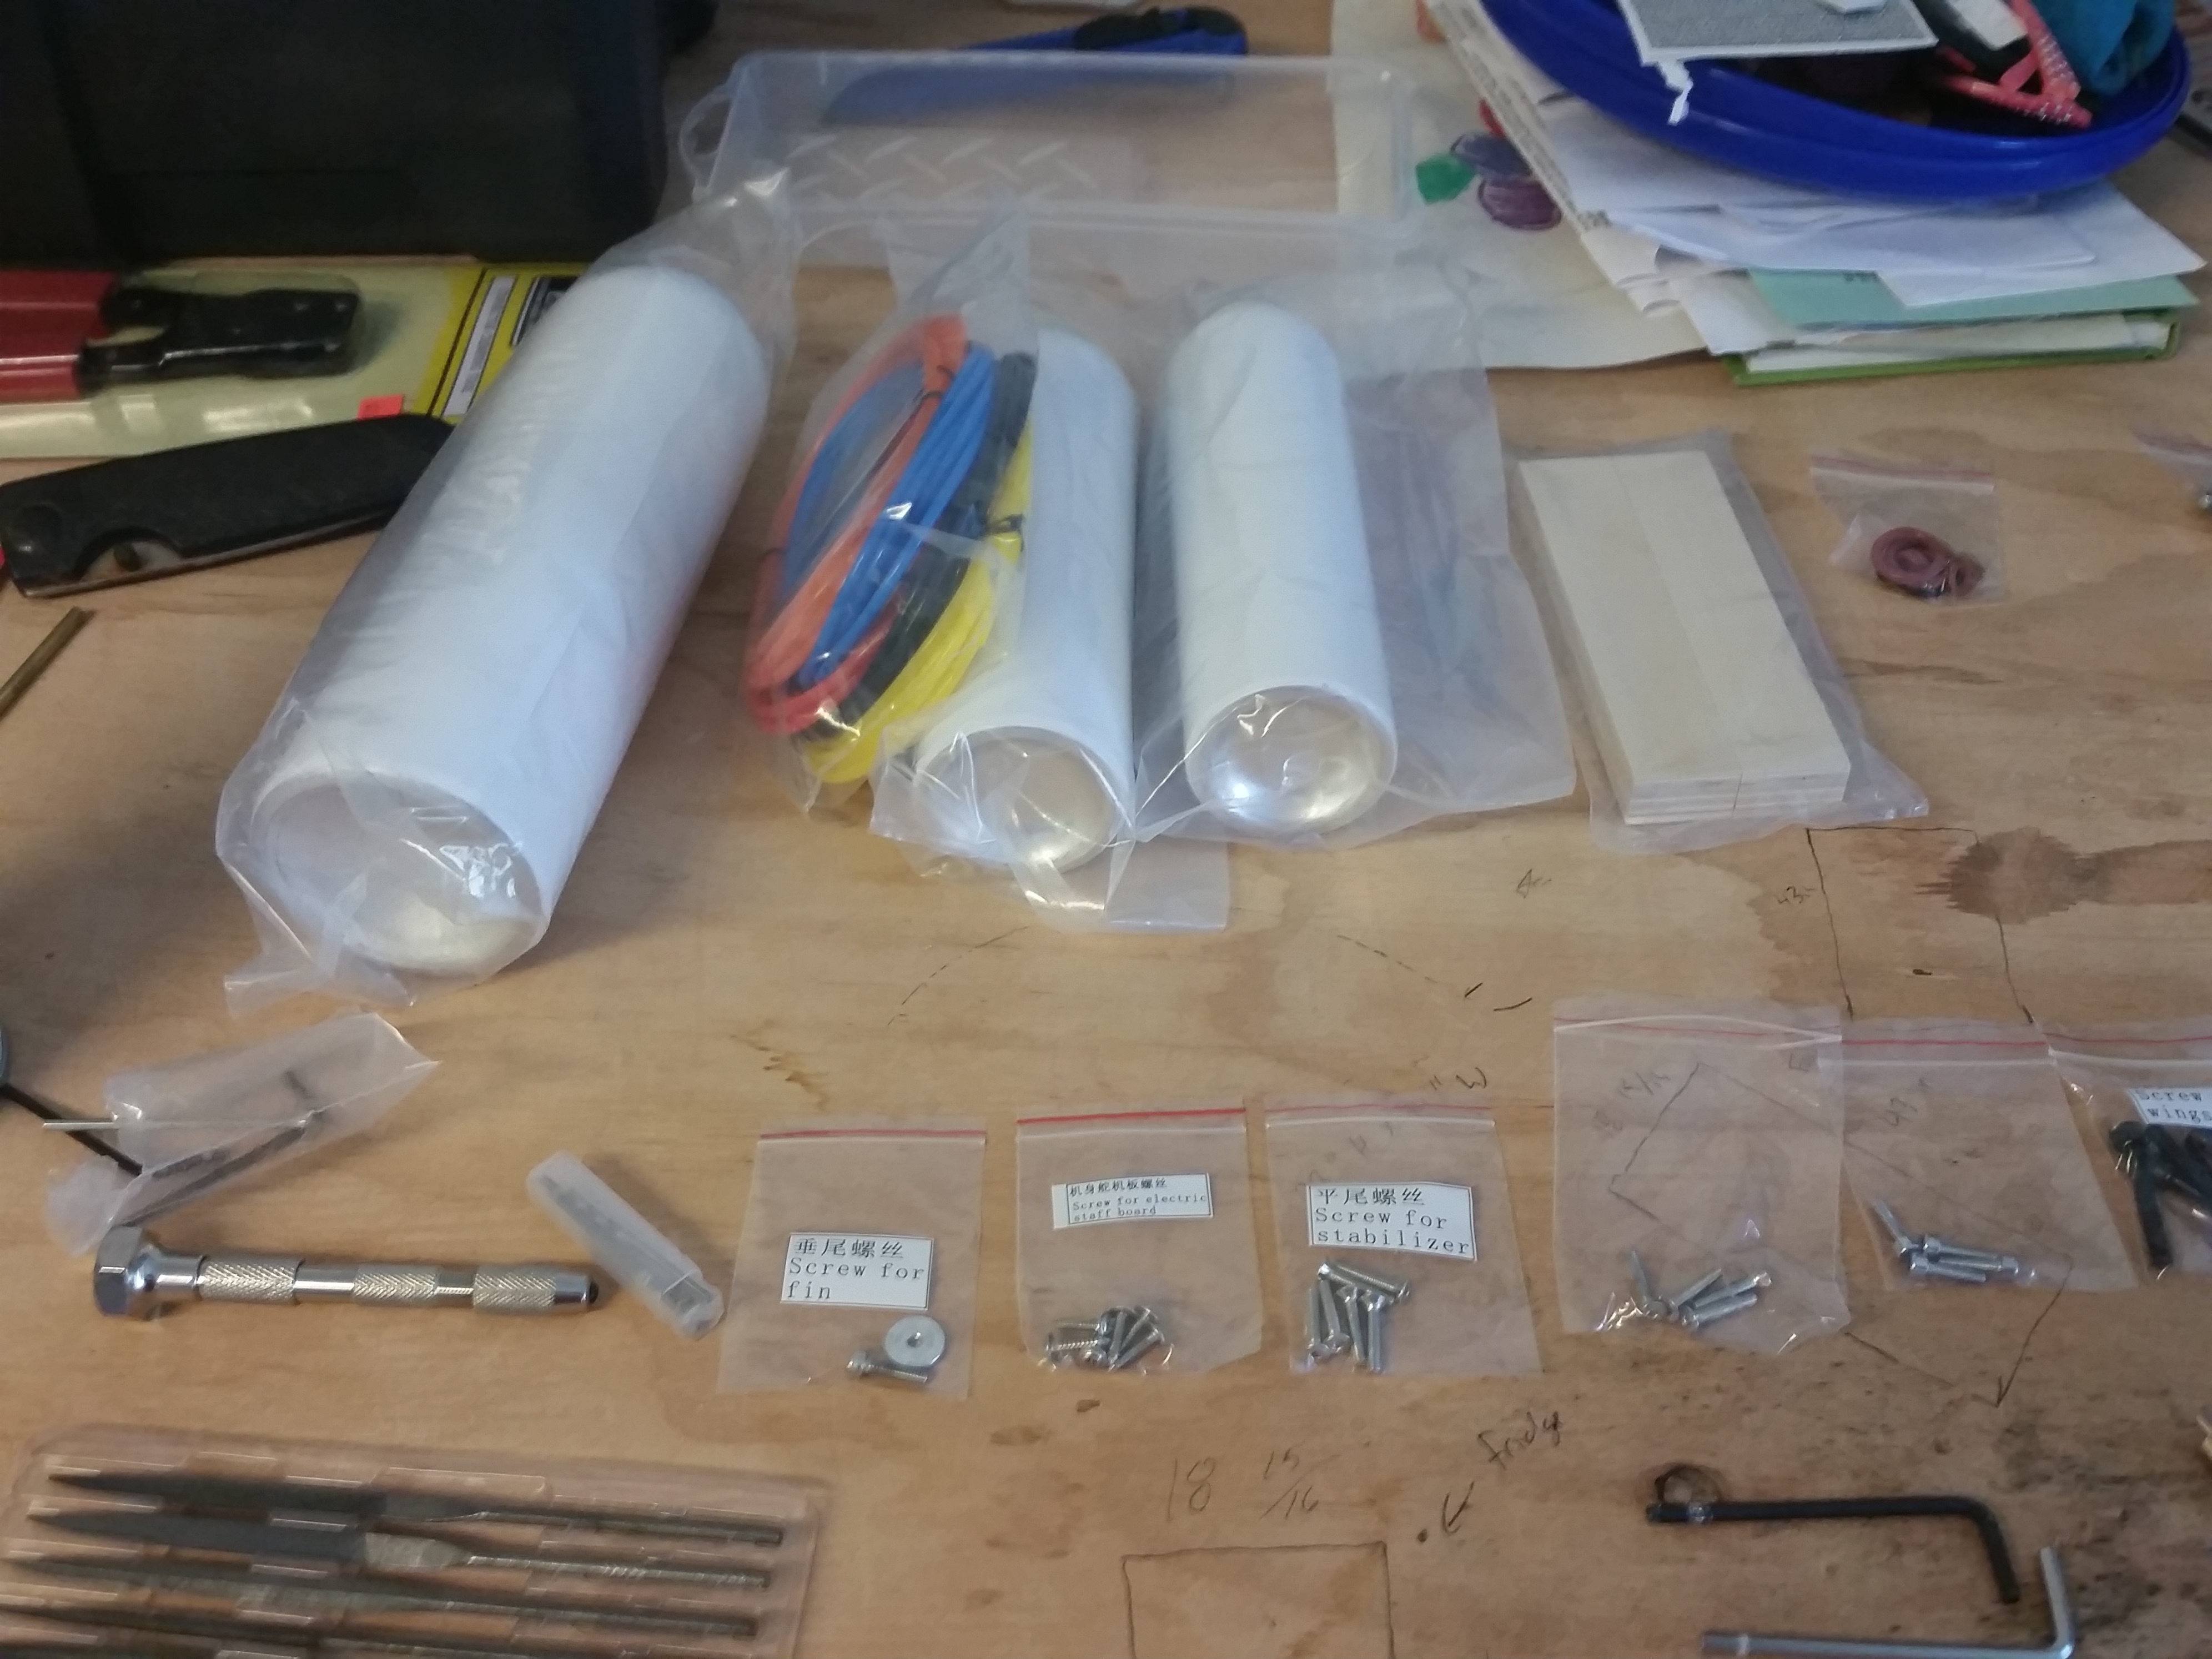
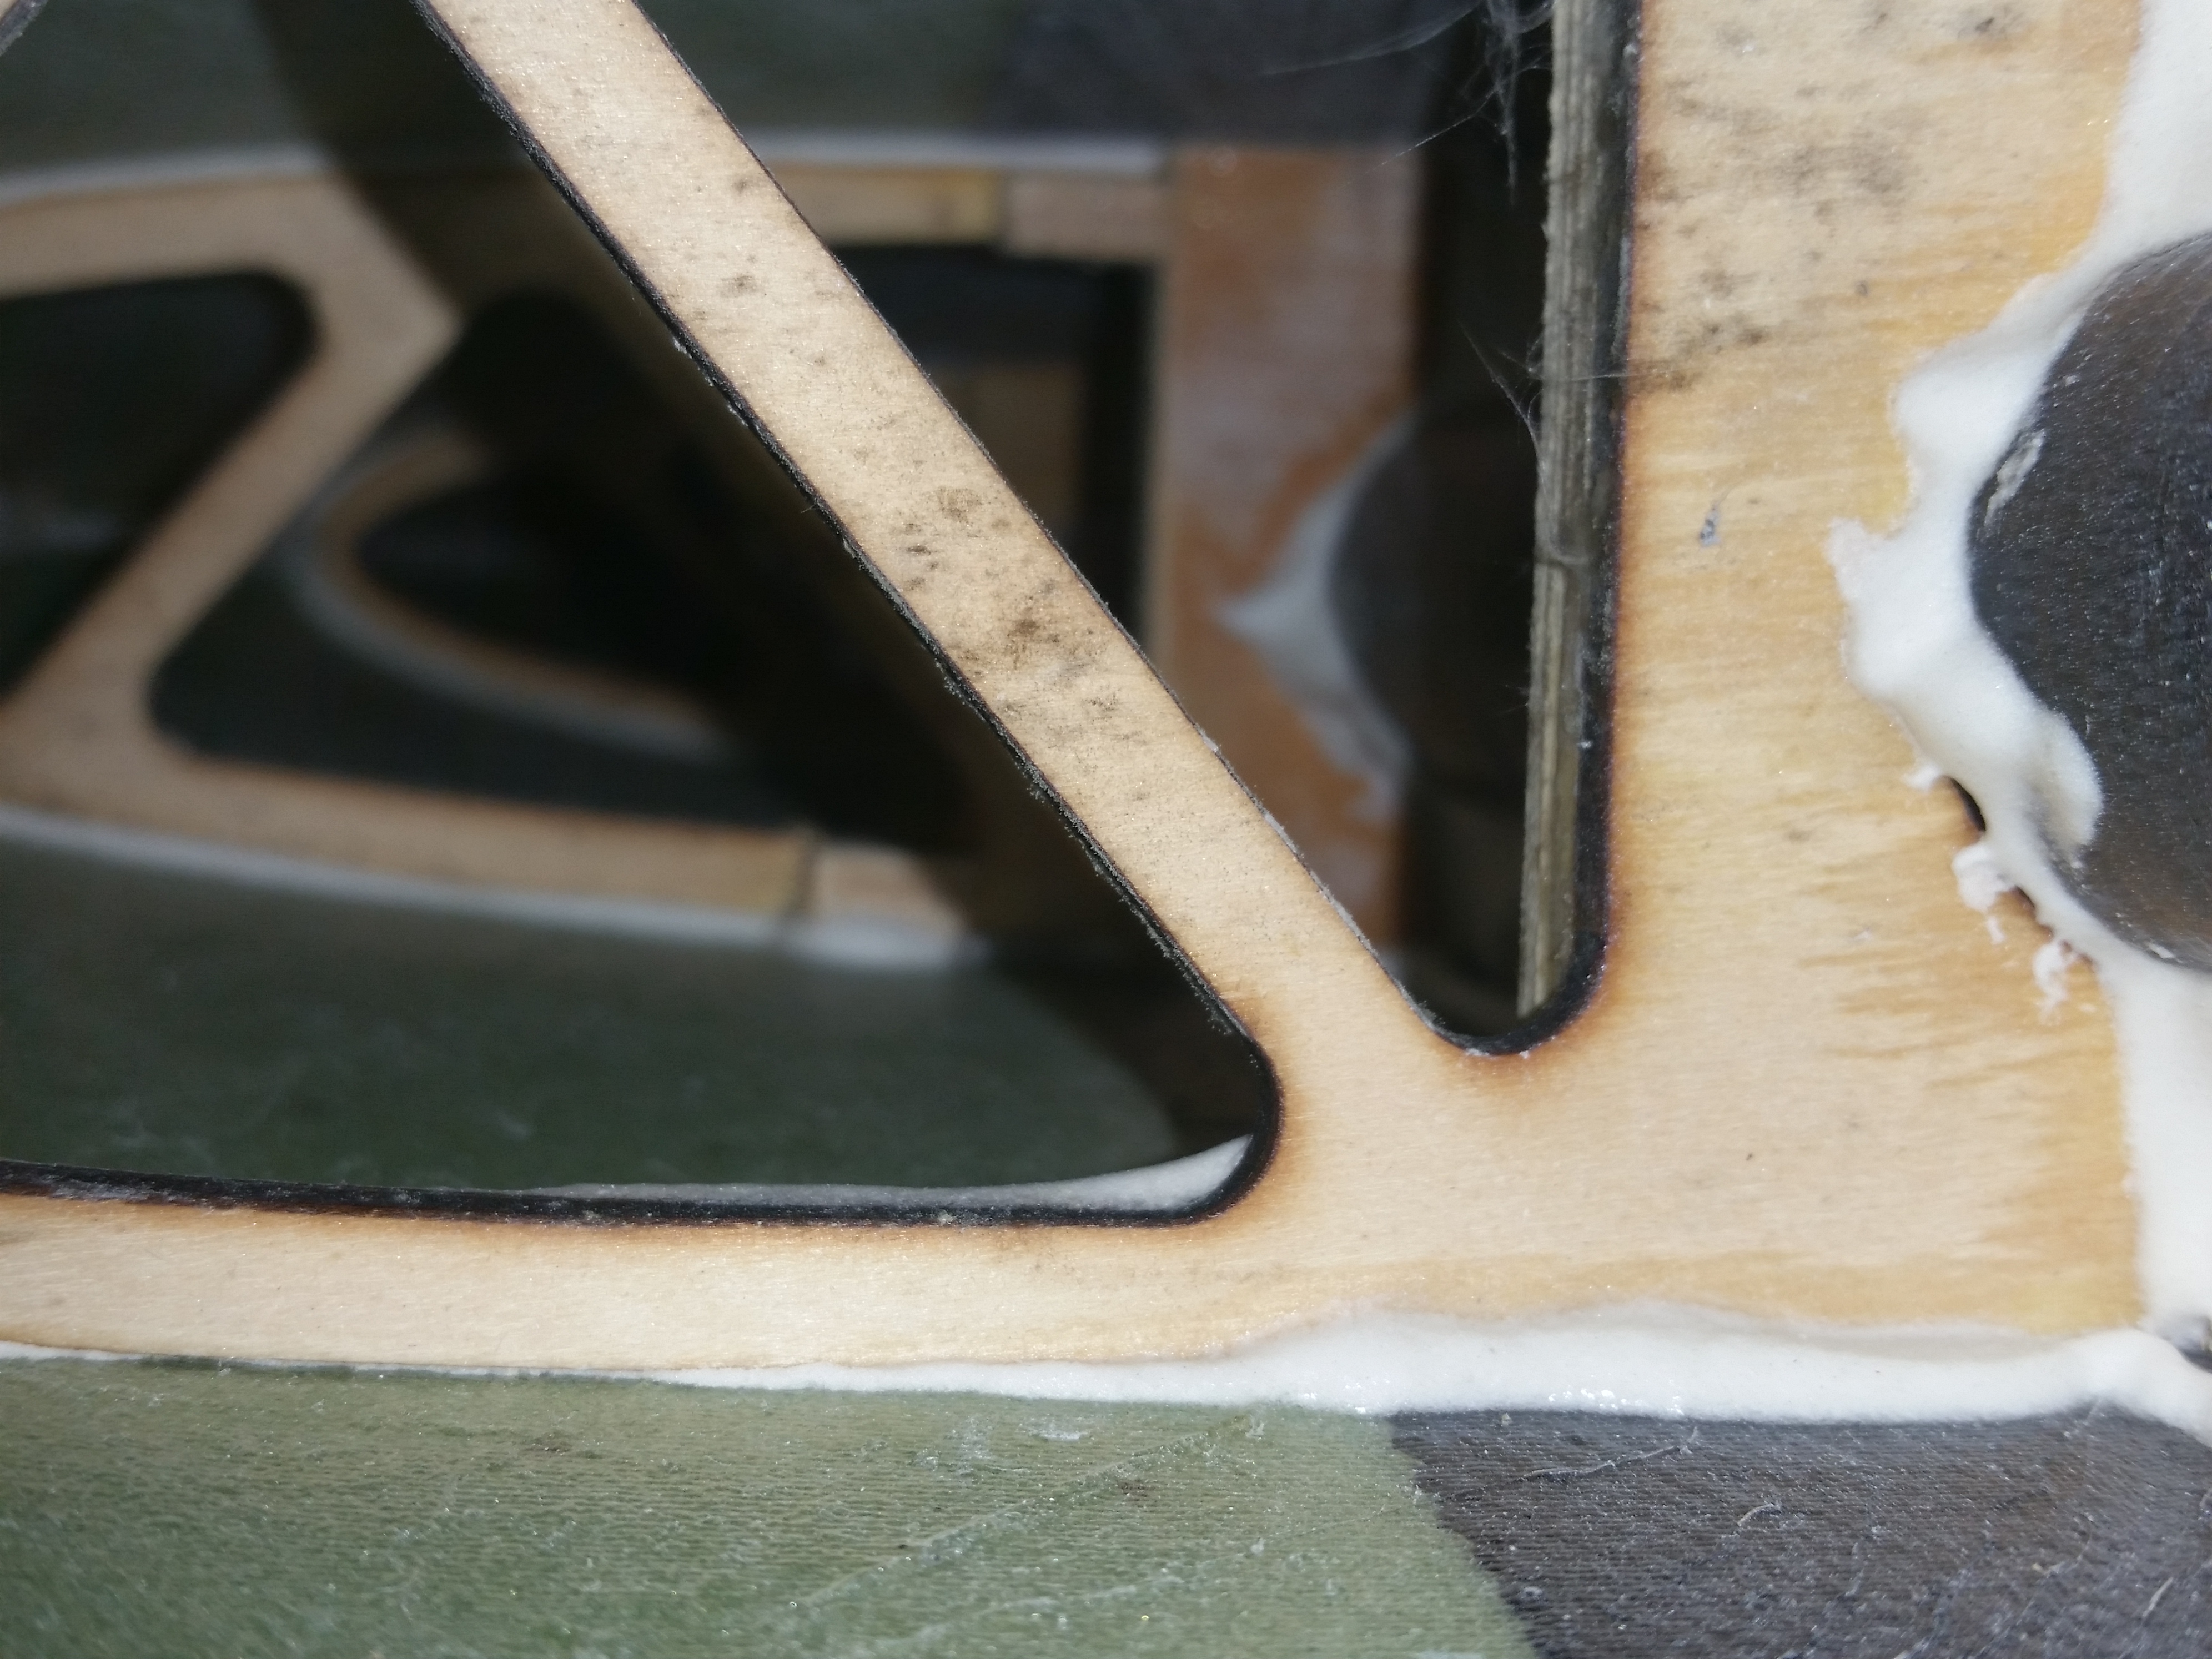
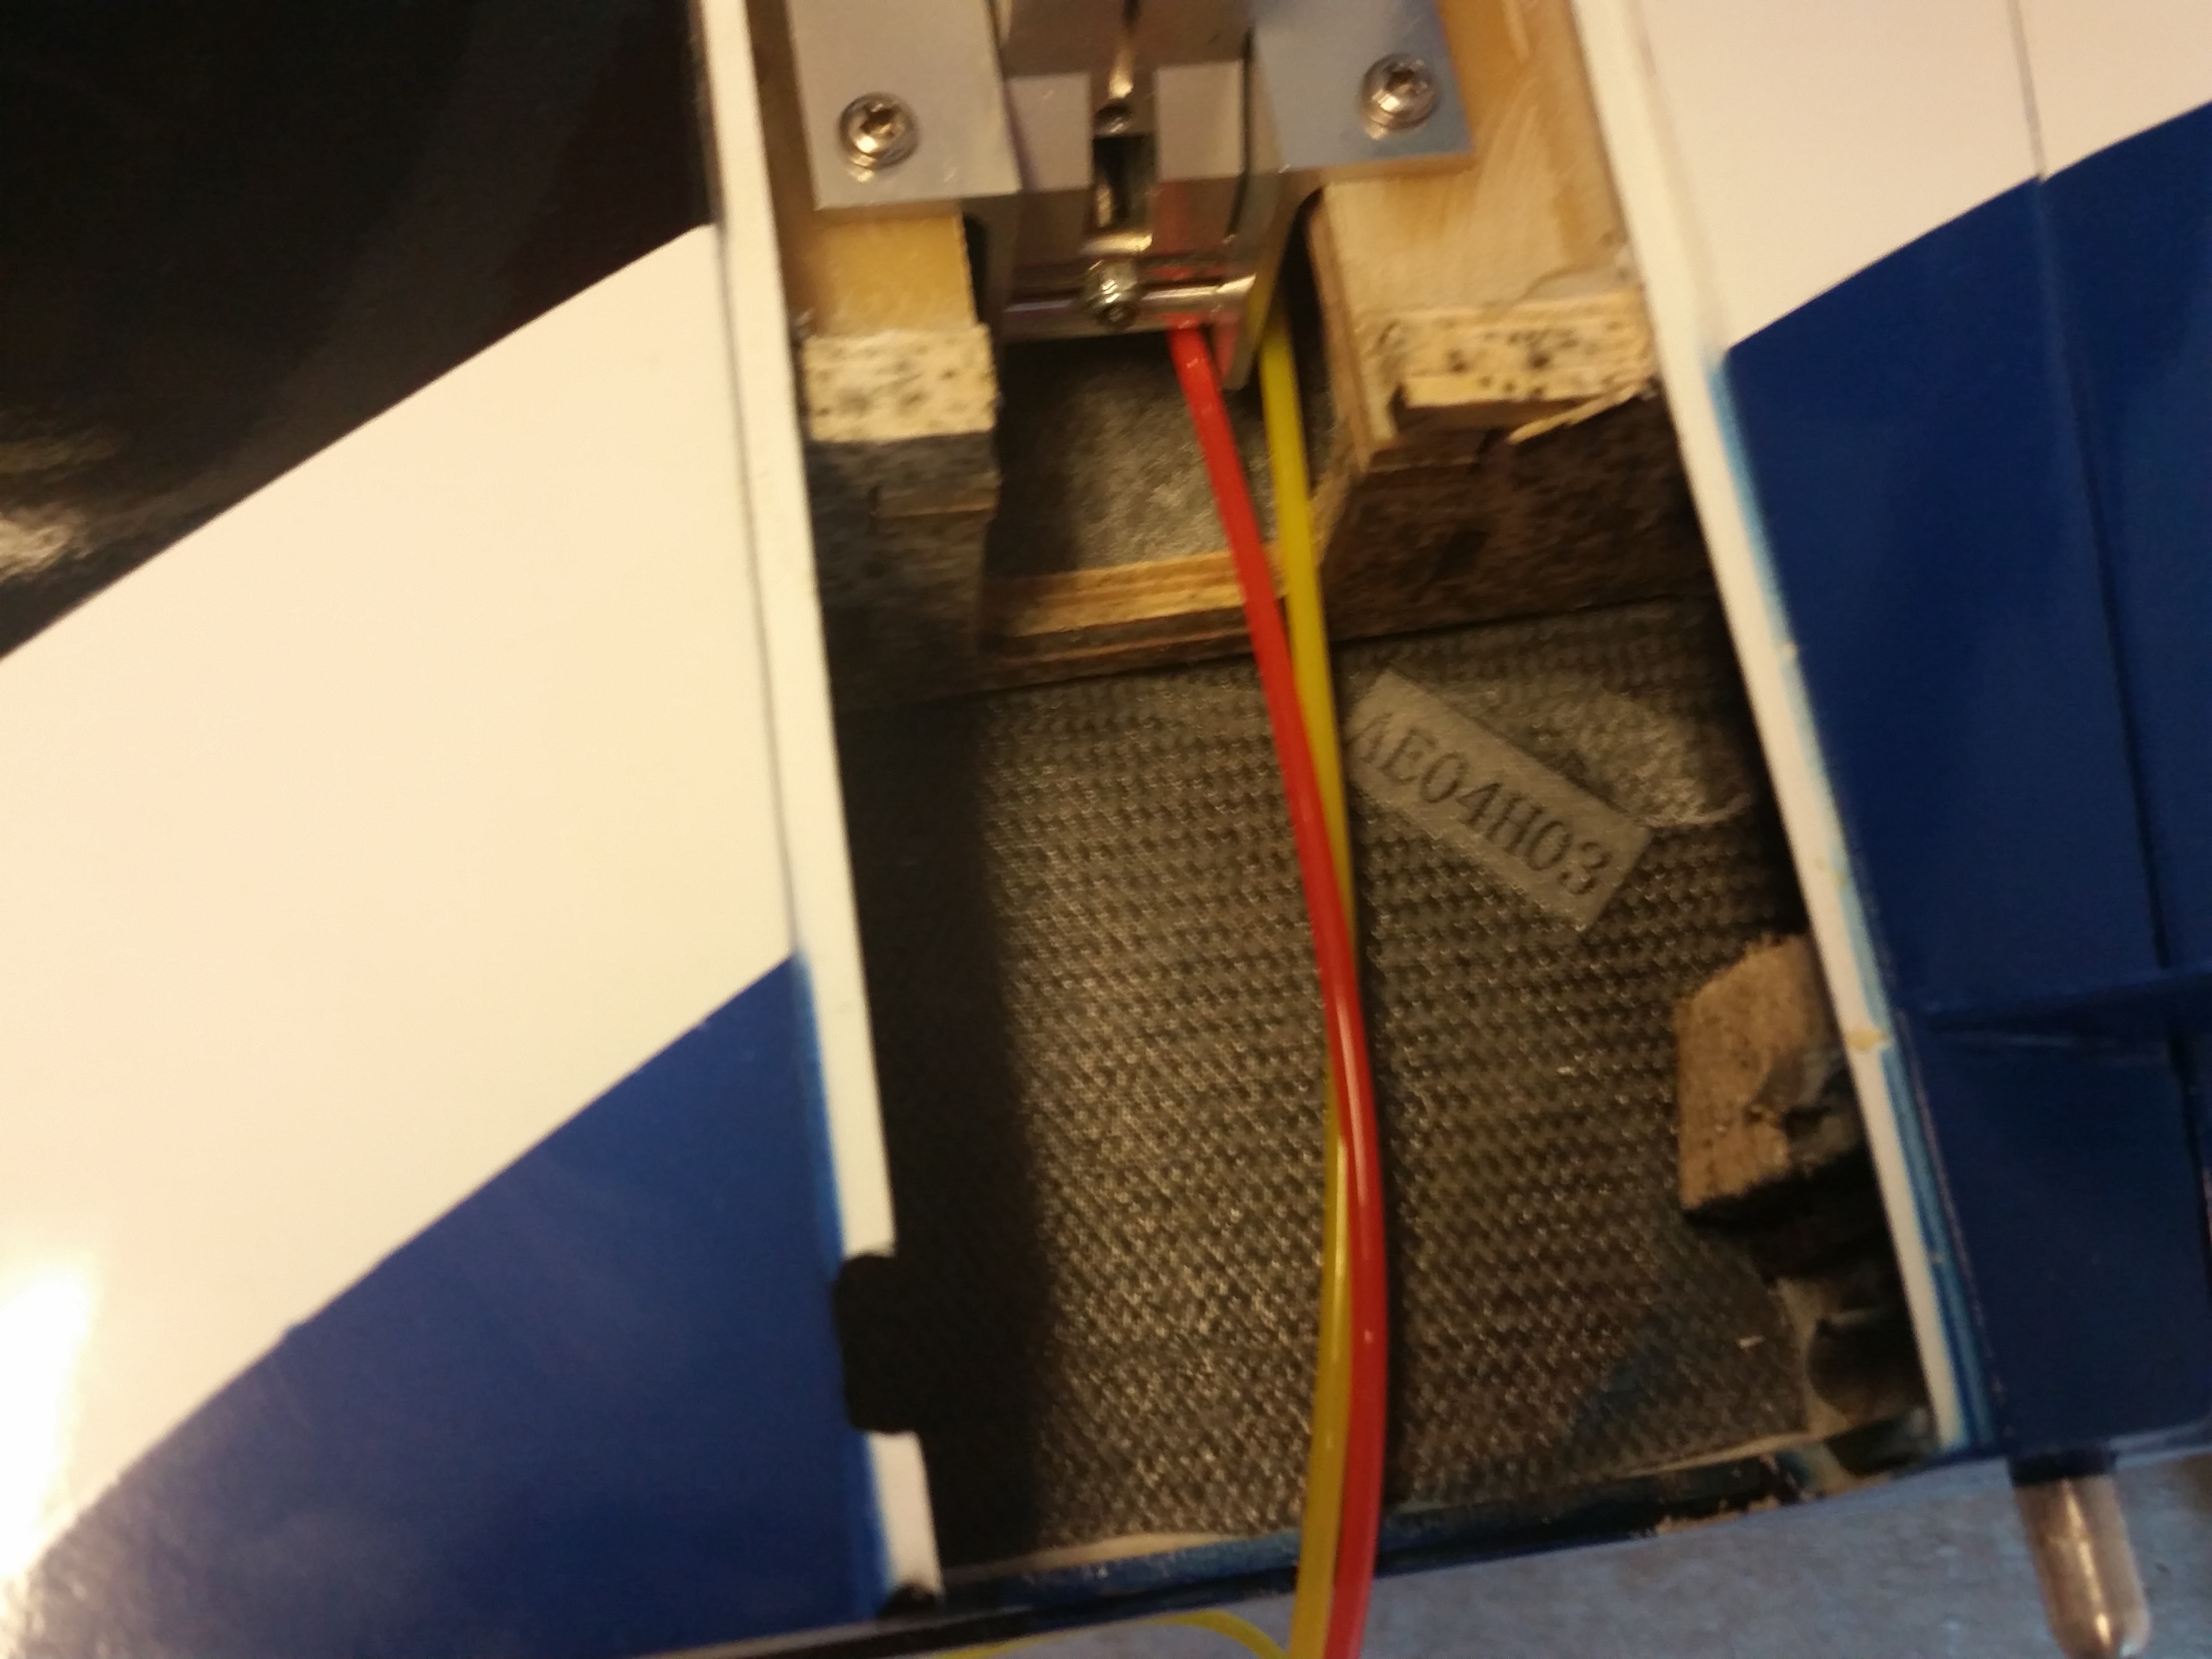
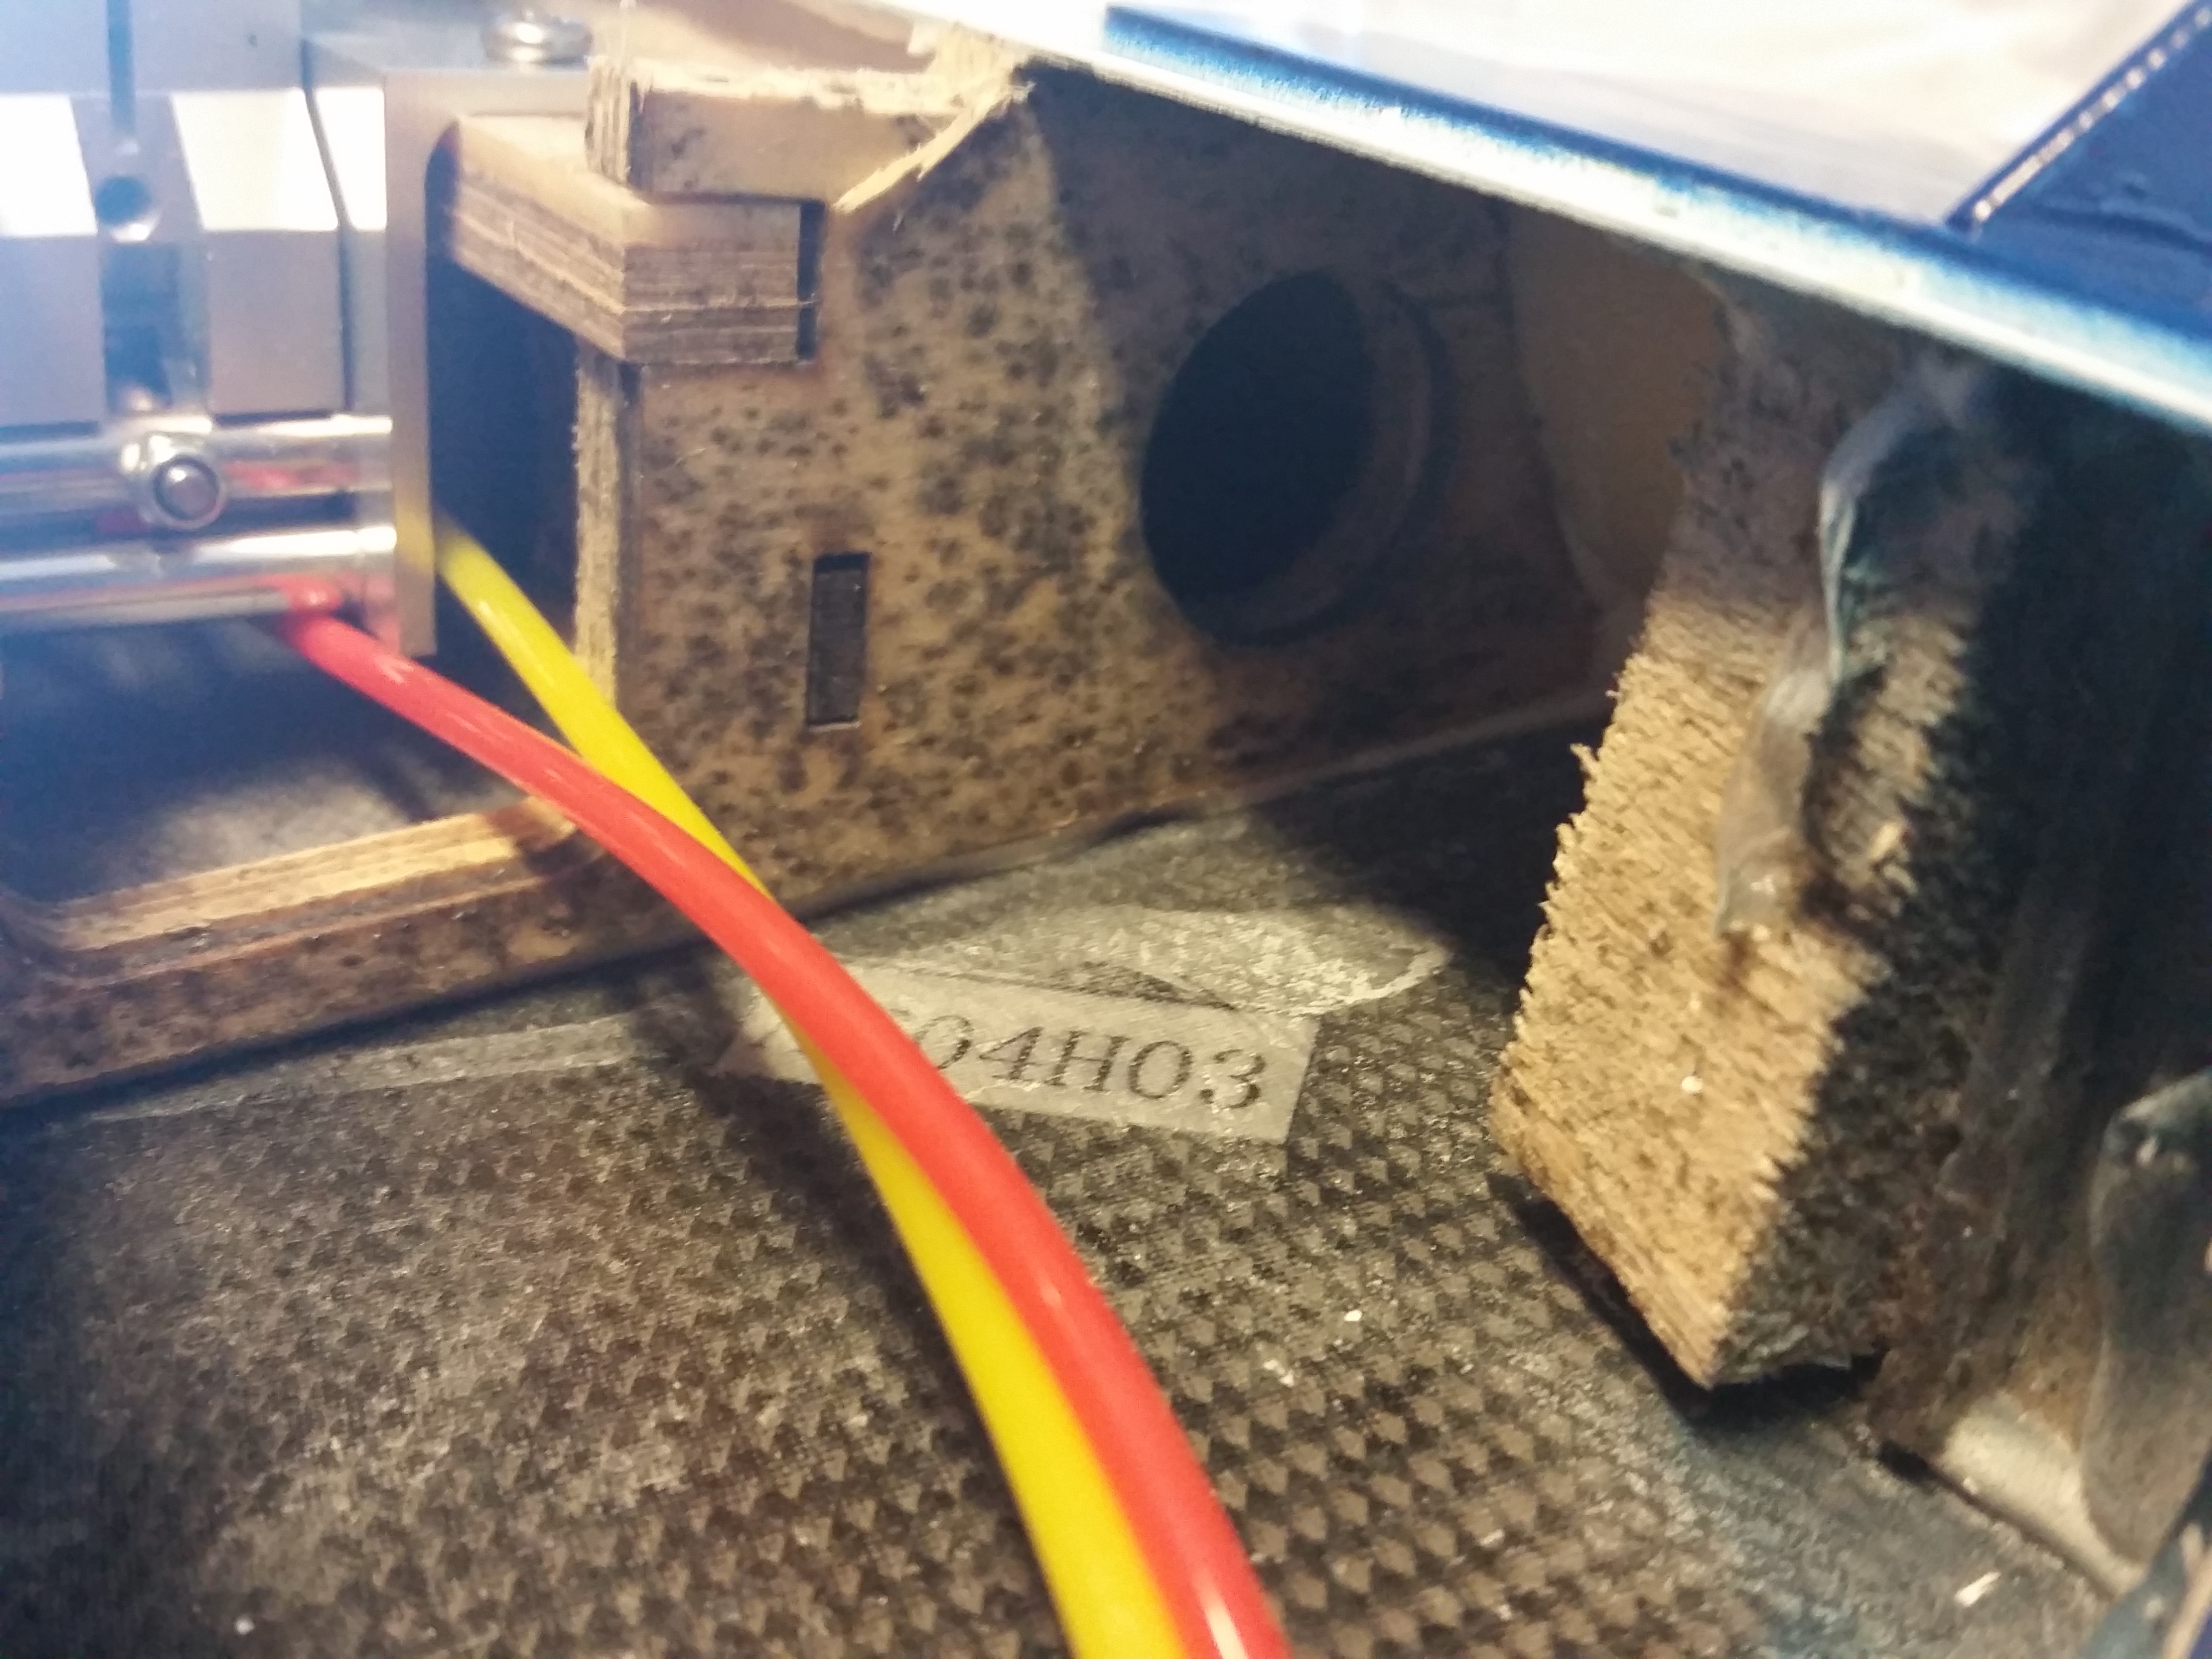
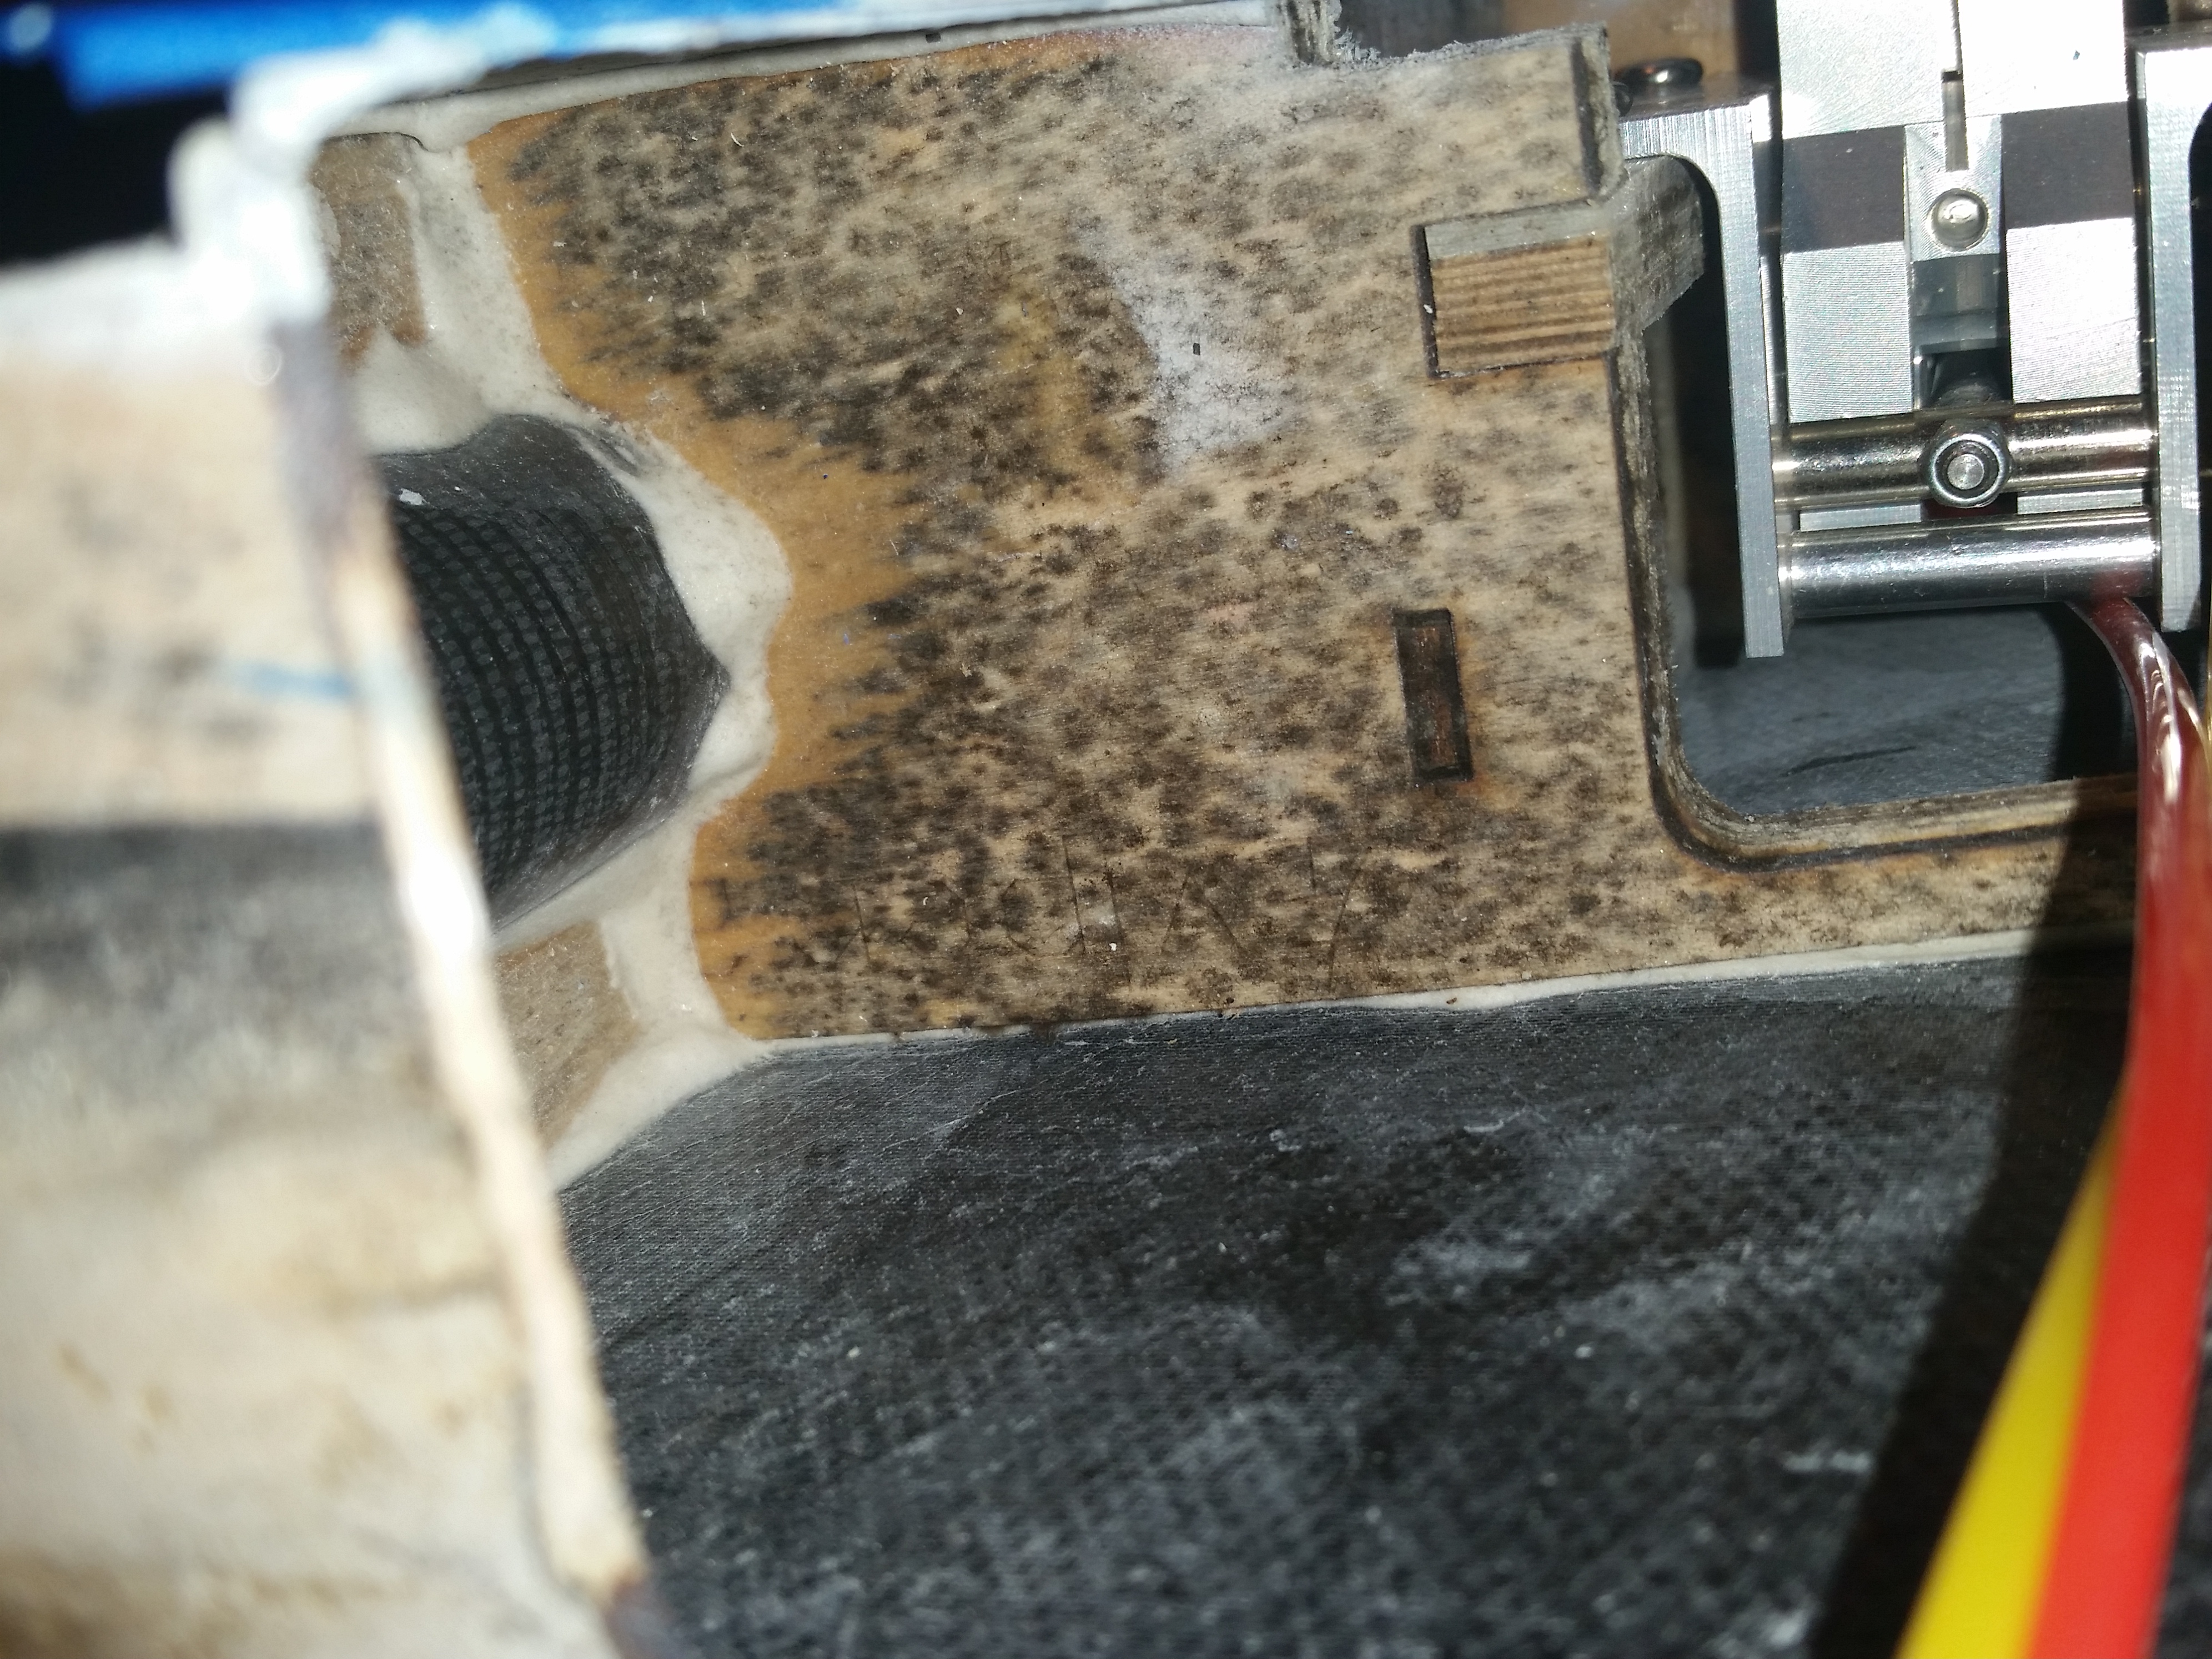
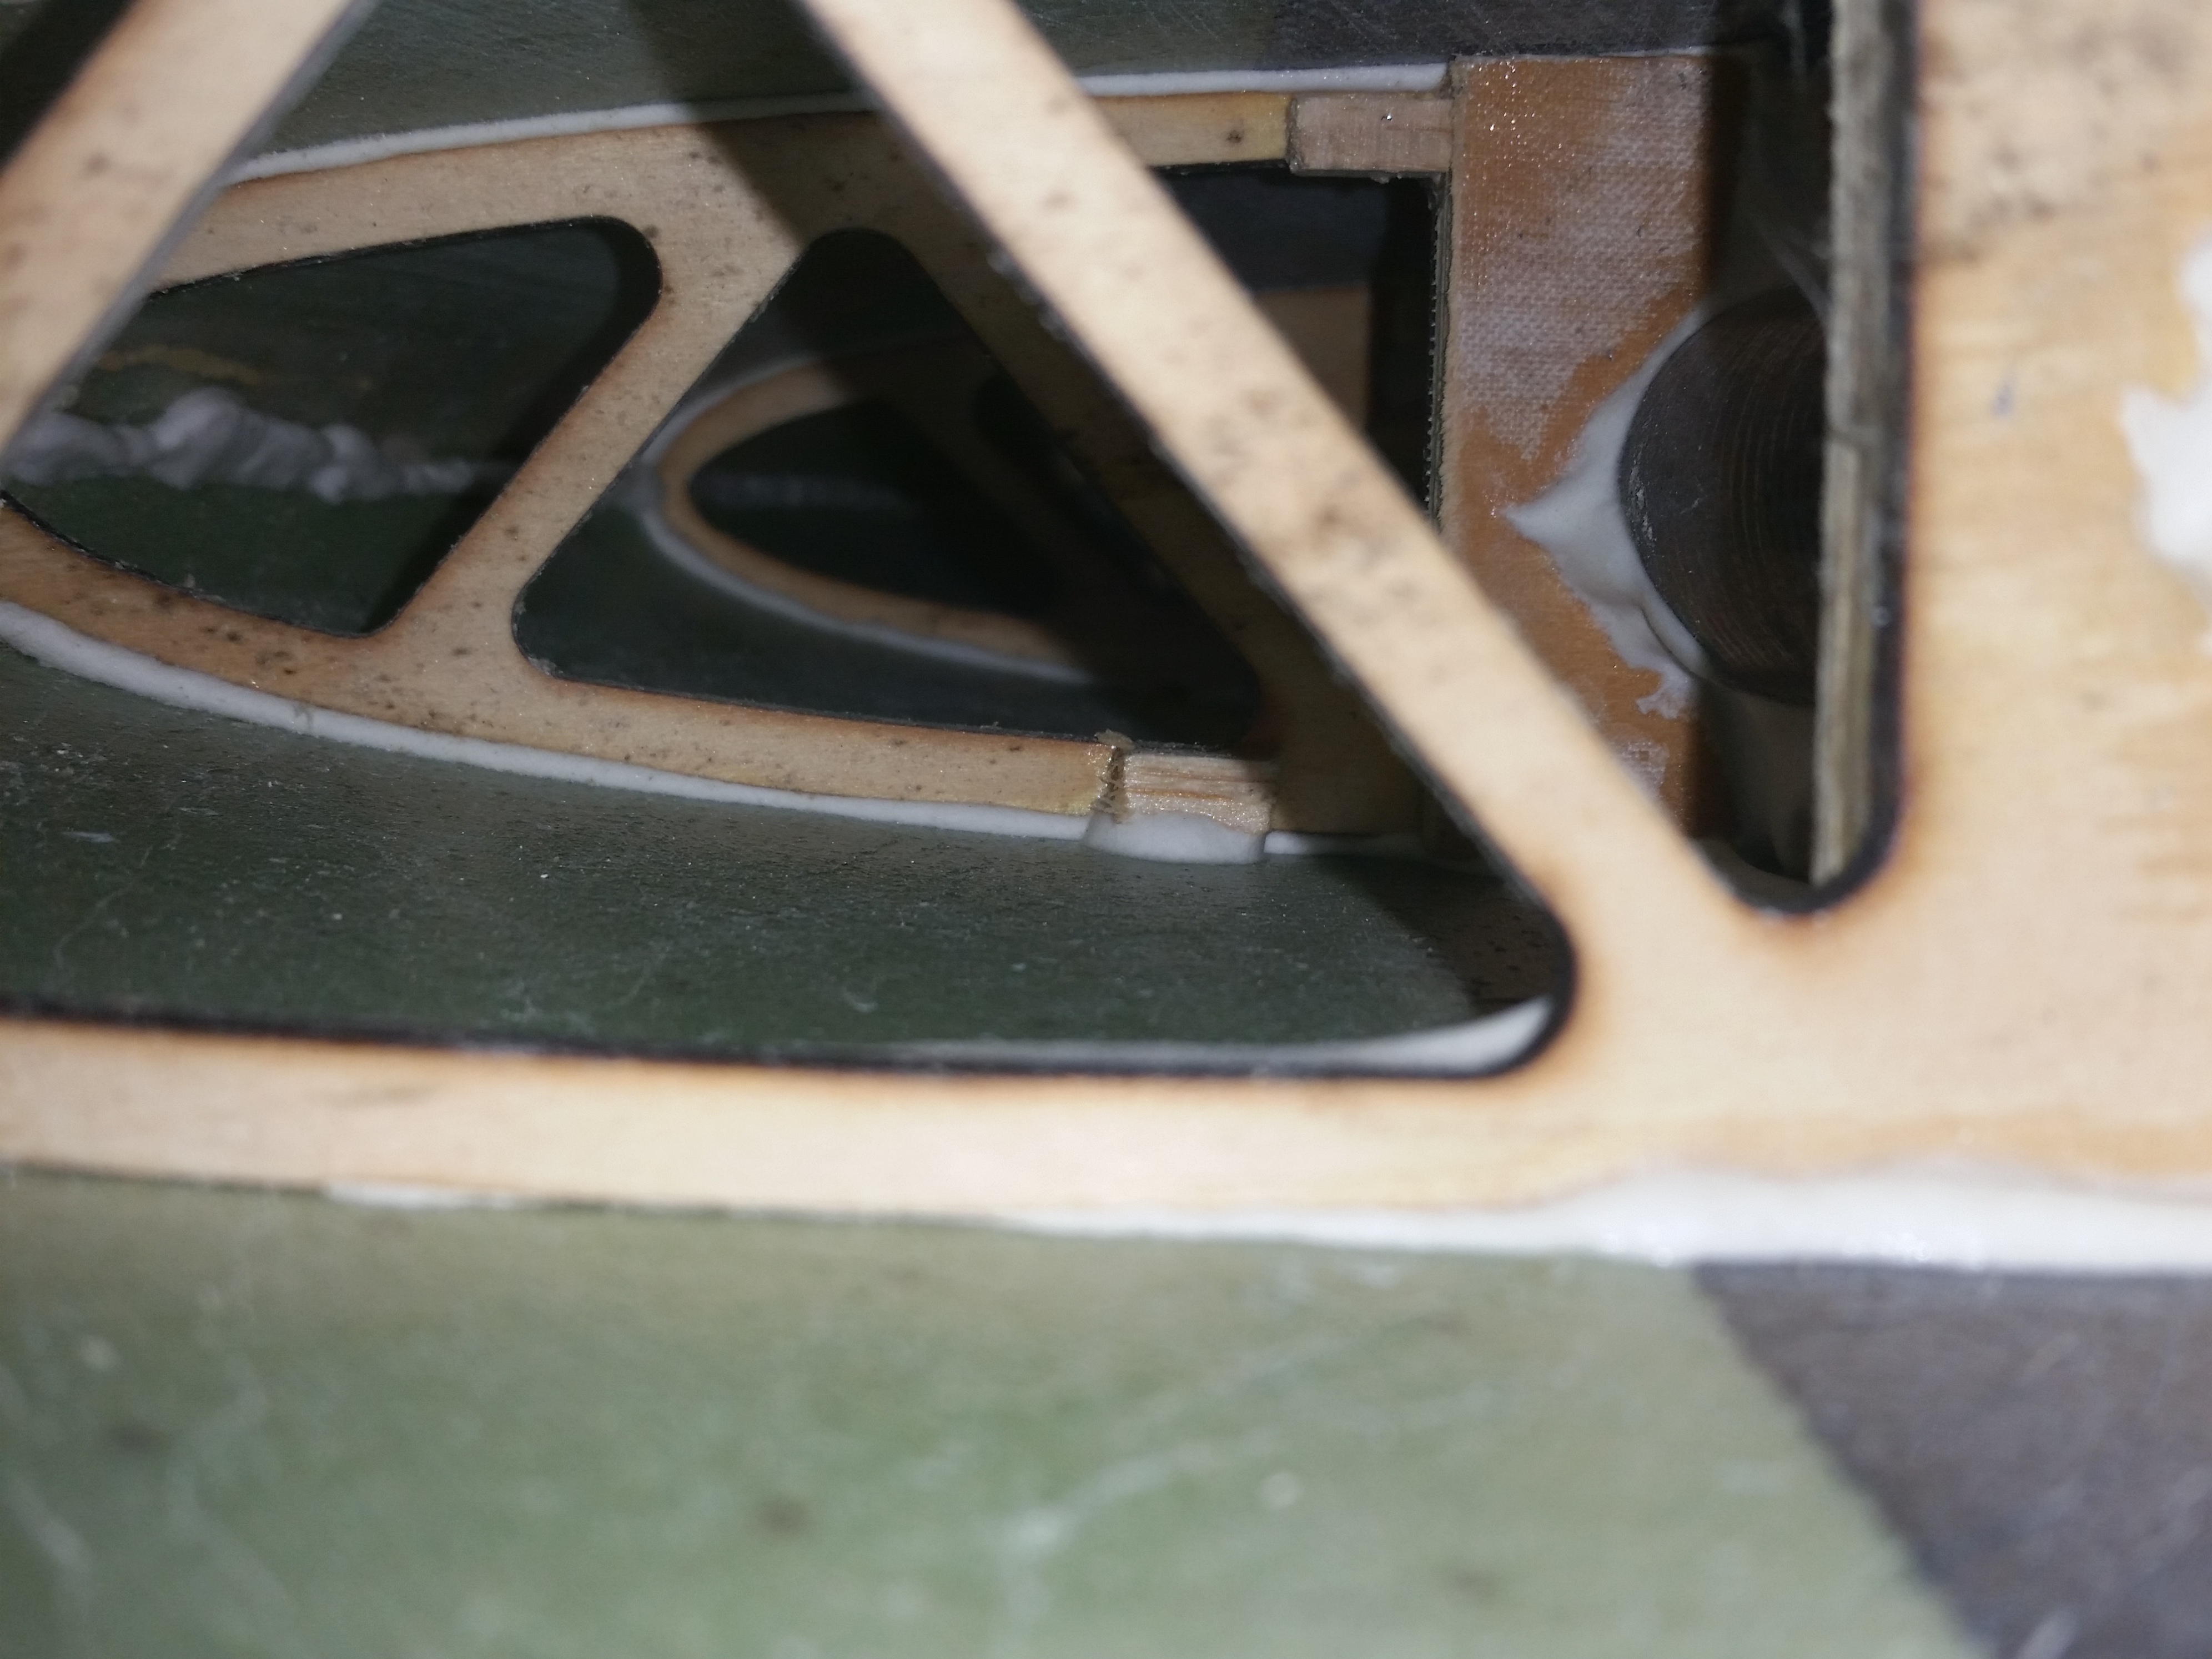
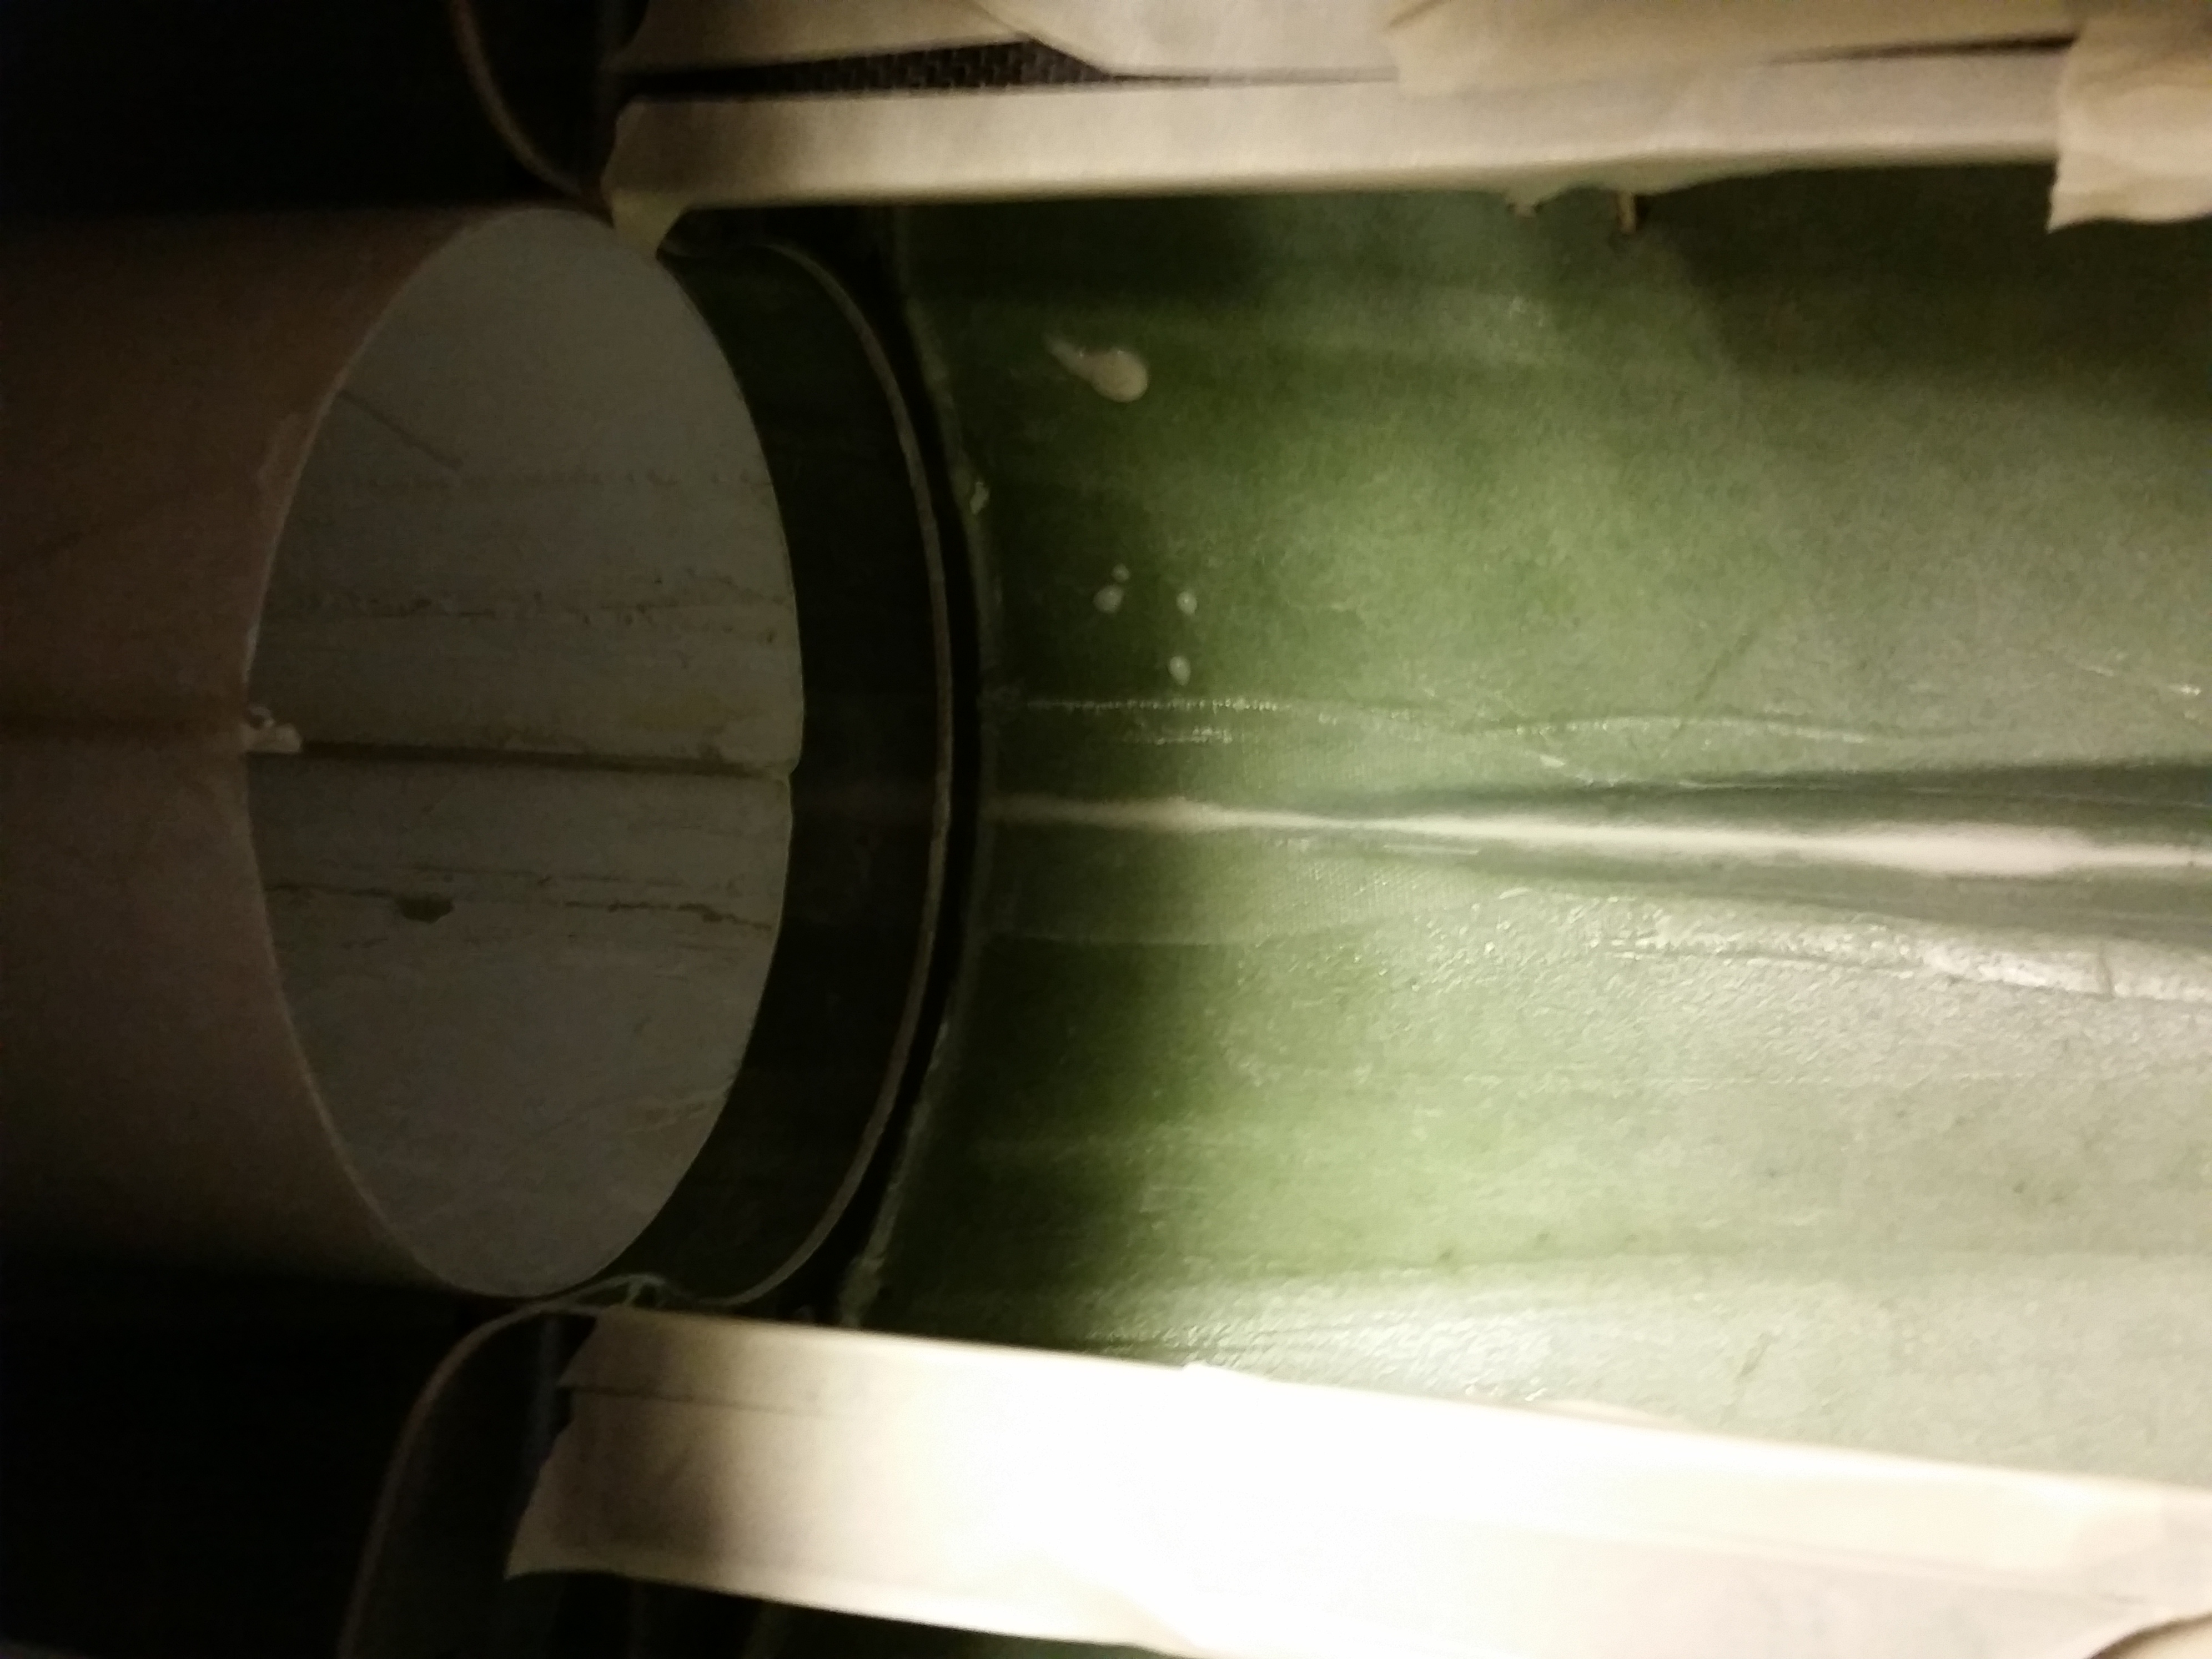
Here is some more pictures of the viper. The picture of the landing gear up shows the wood. It looks like it has a bunch of mold on it. Almost like the wood was wet when they used it. either way I am going to clean that up and make it look nice. Once I start the installation, I am going to start with the heat shield paint and get all that done. Then I will start on the tall section on the servos, wiring, and prewire for lighting. Also I have to take the air cylinders off due them getting paint on them. It kind of stinks. I will clean the shafts for smooth operations and go from there.


02-14-2016 | 04:05 PM
#14
So I'm about to coat the turbine area with heat shield paint. What is the best or recommended cleaner to ensure the inside is clean? do you just use a wet cloth or do you use something else to make sure its clean?
trying to find out what cleaning agent or solution to use inside the fuselage. I want to start putting on the heat shield paint but want to clean the inside first. What are your recommendations?
trying to find out what cleaning agent or solution to use inside the fuselage. I want to start putting on the heat shield paint but want to clean the inside first. What are your recommendations?
Last edited by JoeJr1485; 02-14-2016 at 09:28 PM.
02-15-2016 | 10:12 PM
#15
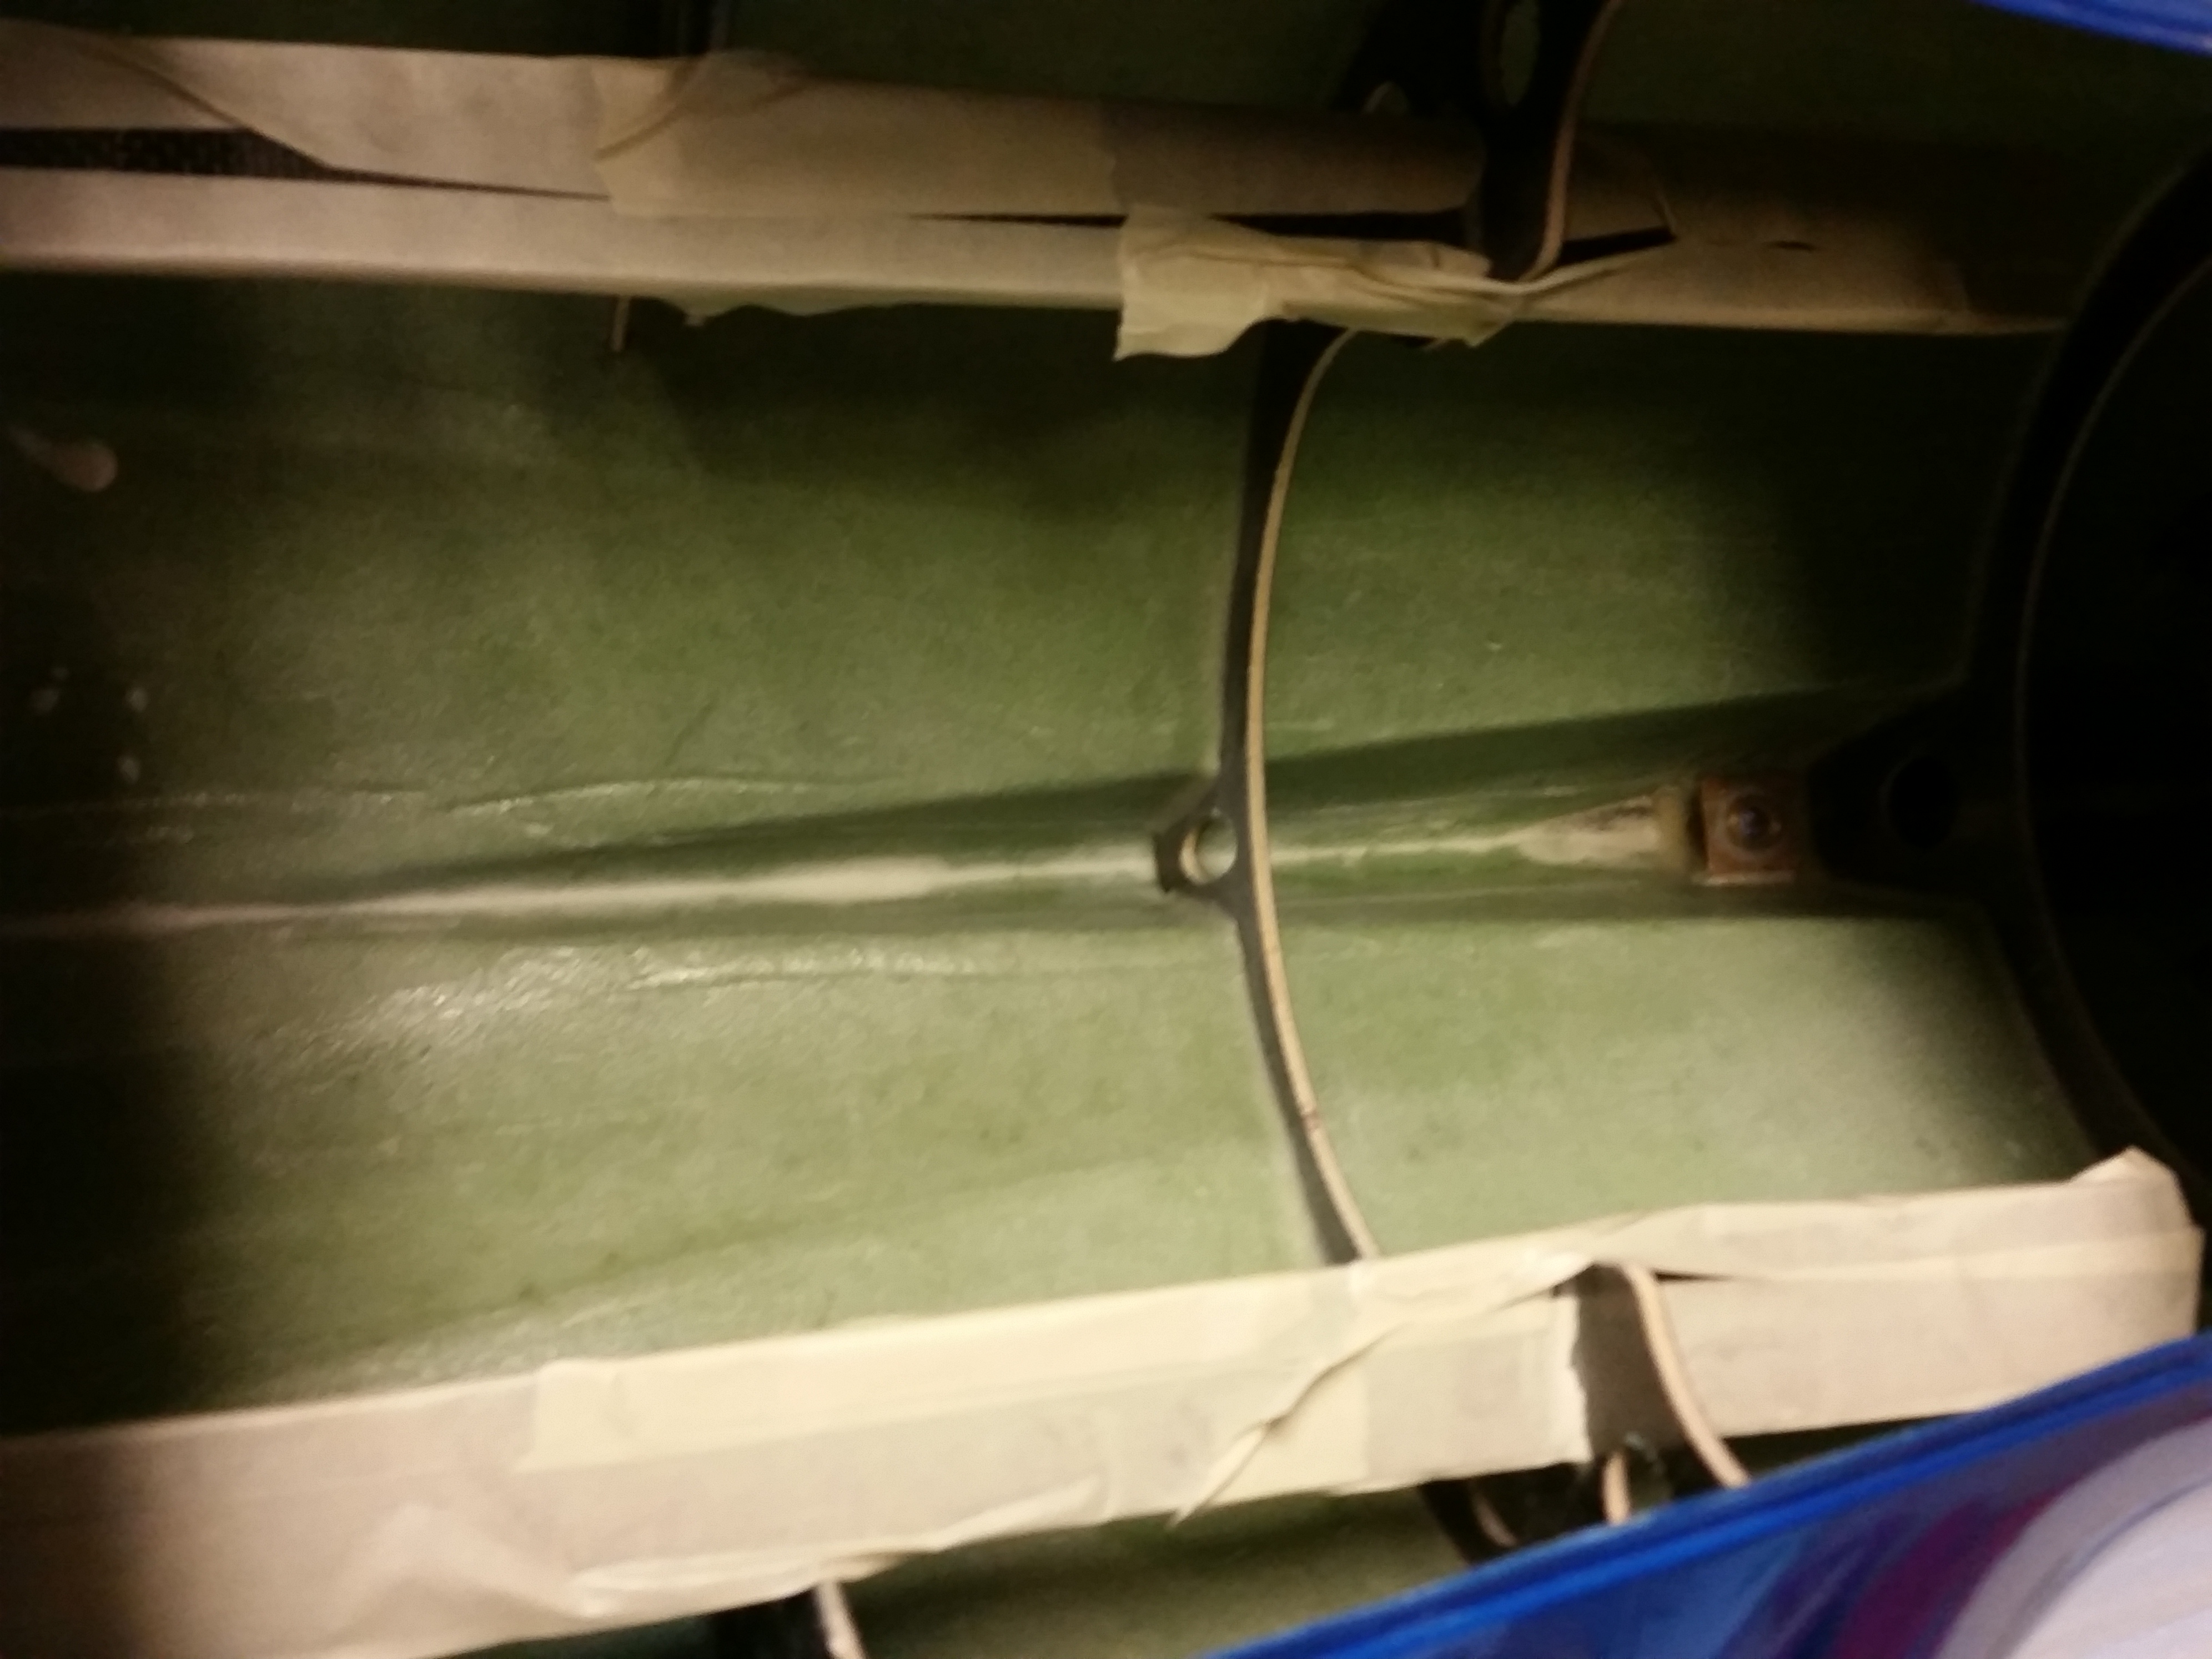
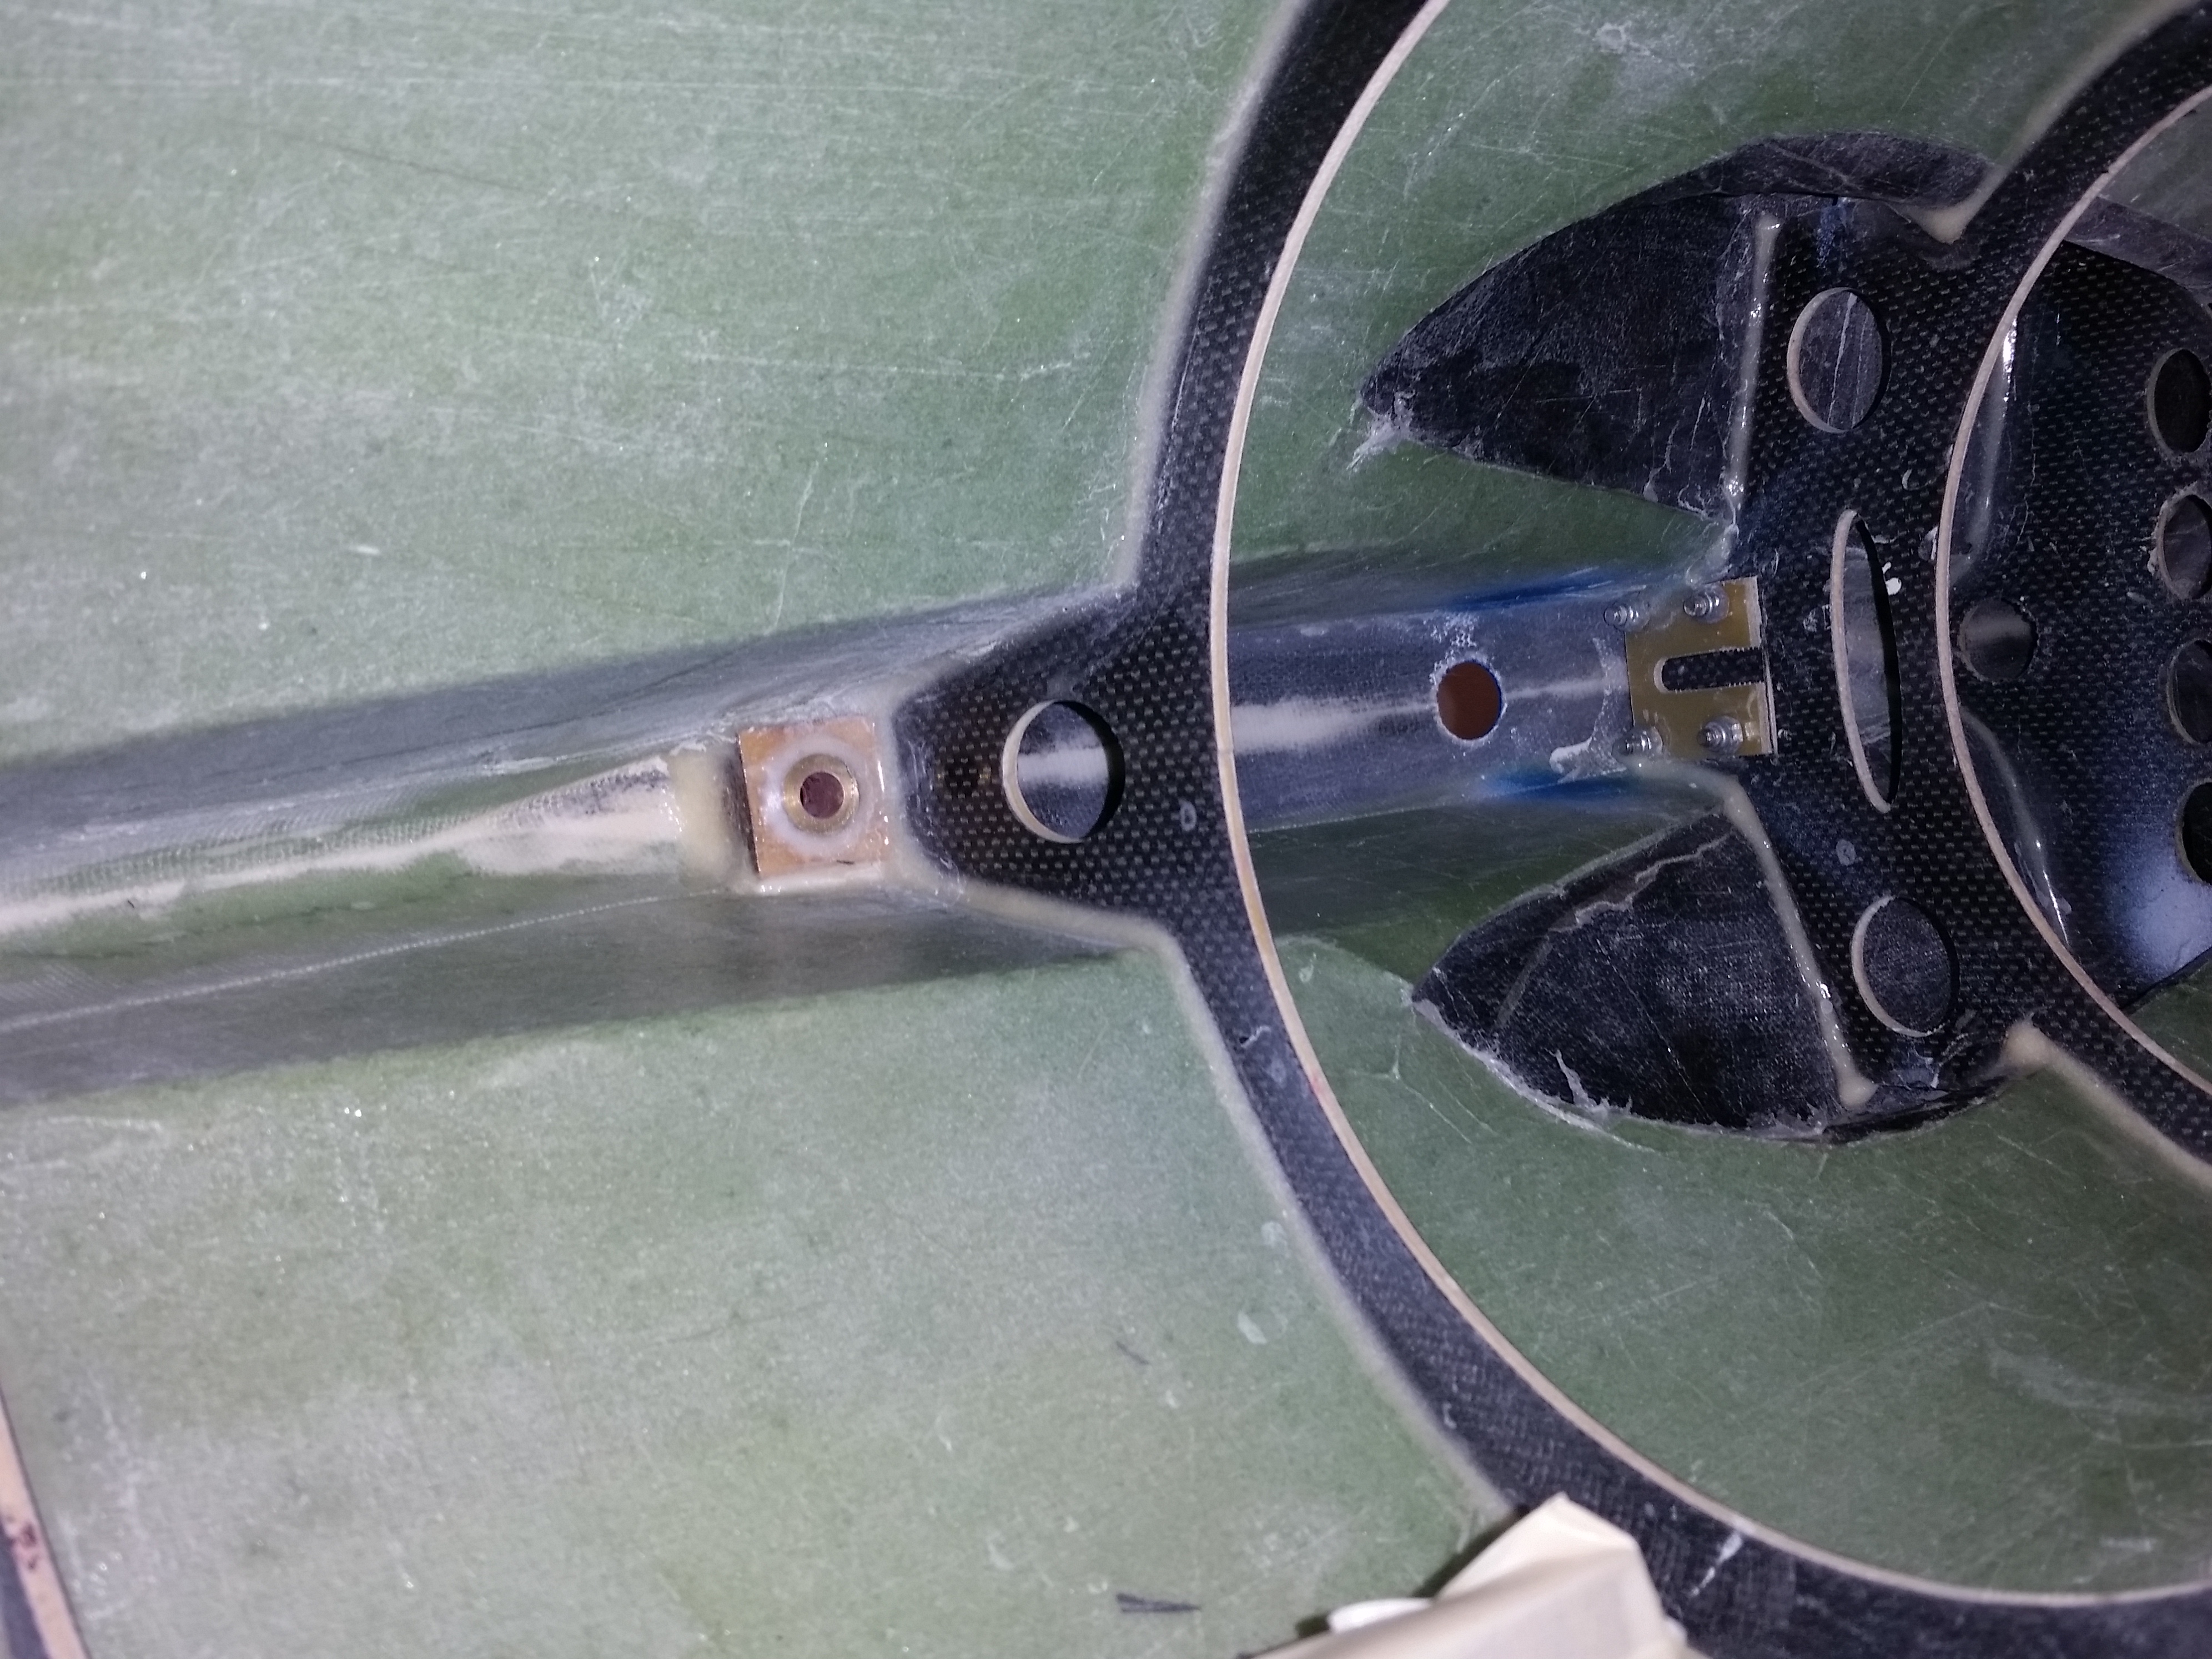
Well I didn't get a response from anyone regarding what to use to clean the inside of the fuselage. So I just used water and a wash cloth. I applied the heat shield paint two coats. I am waiting for the blanket to come in so that I can cut it to fit between the bulkheads. I applied the paint to the bulkheads as well. I forgot to take another picture of the bulkheads that I missed and reapplied.


Last edited by JoeJr1485; 02-16-2016 at 07:17 AM.
02-15-2016 | 10:14 PM
#16
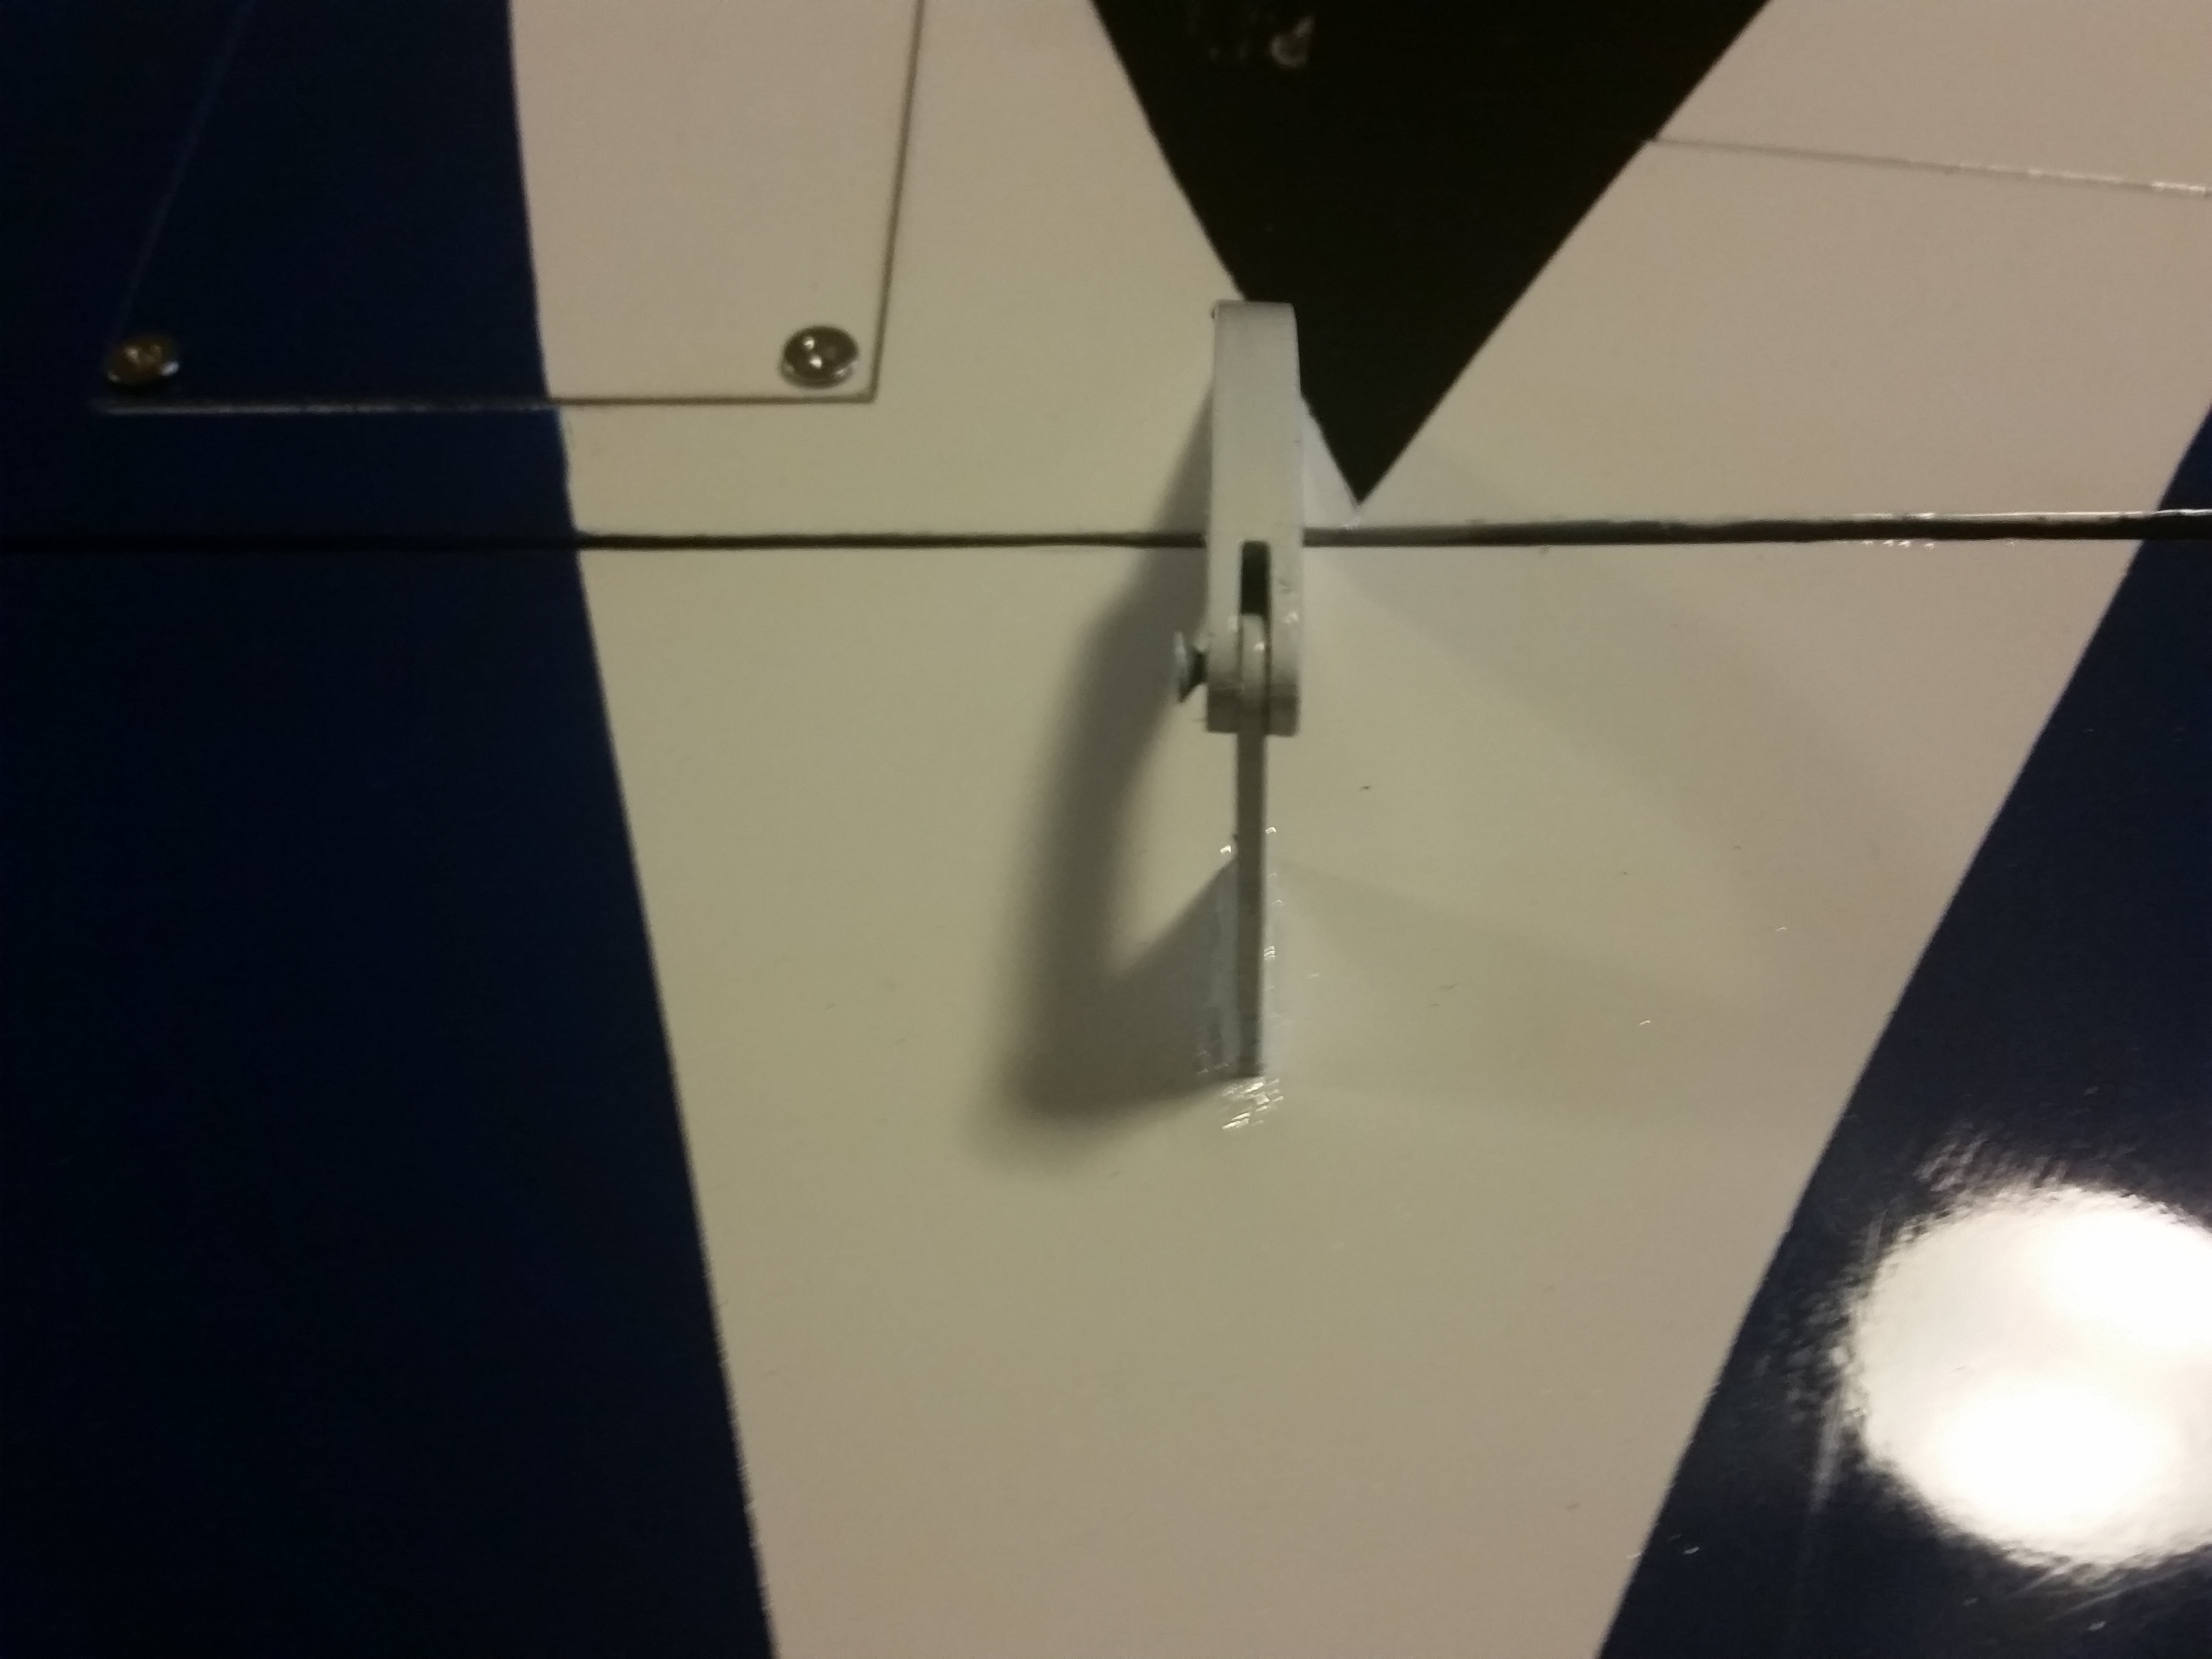
I have a question and need some help. I put the rear belly fins on and one of the screws is not tightening. Its almost as if the whole is striped. How can I fix that? do I fill the hole with CA and then re-drill?
02-16-2016 | 08:26 AM
#17

What bulkheads are you missing?
Also for the future, the ceramic paint is heavy and generally you only need it around the aft part of the turbine and bell mouth area. Lots of room between the turbine and skin in this particular model, other jets that have a tight fit turbine may require more area. I personally wait till the turbine test runs and check for hotspots then add heat protection. The wires in the tail all get heat protection during the build, I just hold the turbine area till its ran.
Last edited by FenderBean; 02-16-2016 at 08:33 AM.
02-16-2016 | 09:32 AM
#18
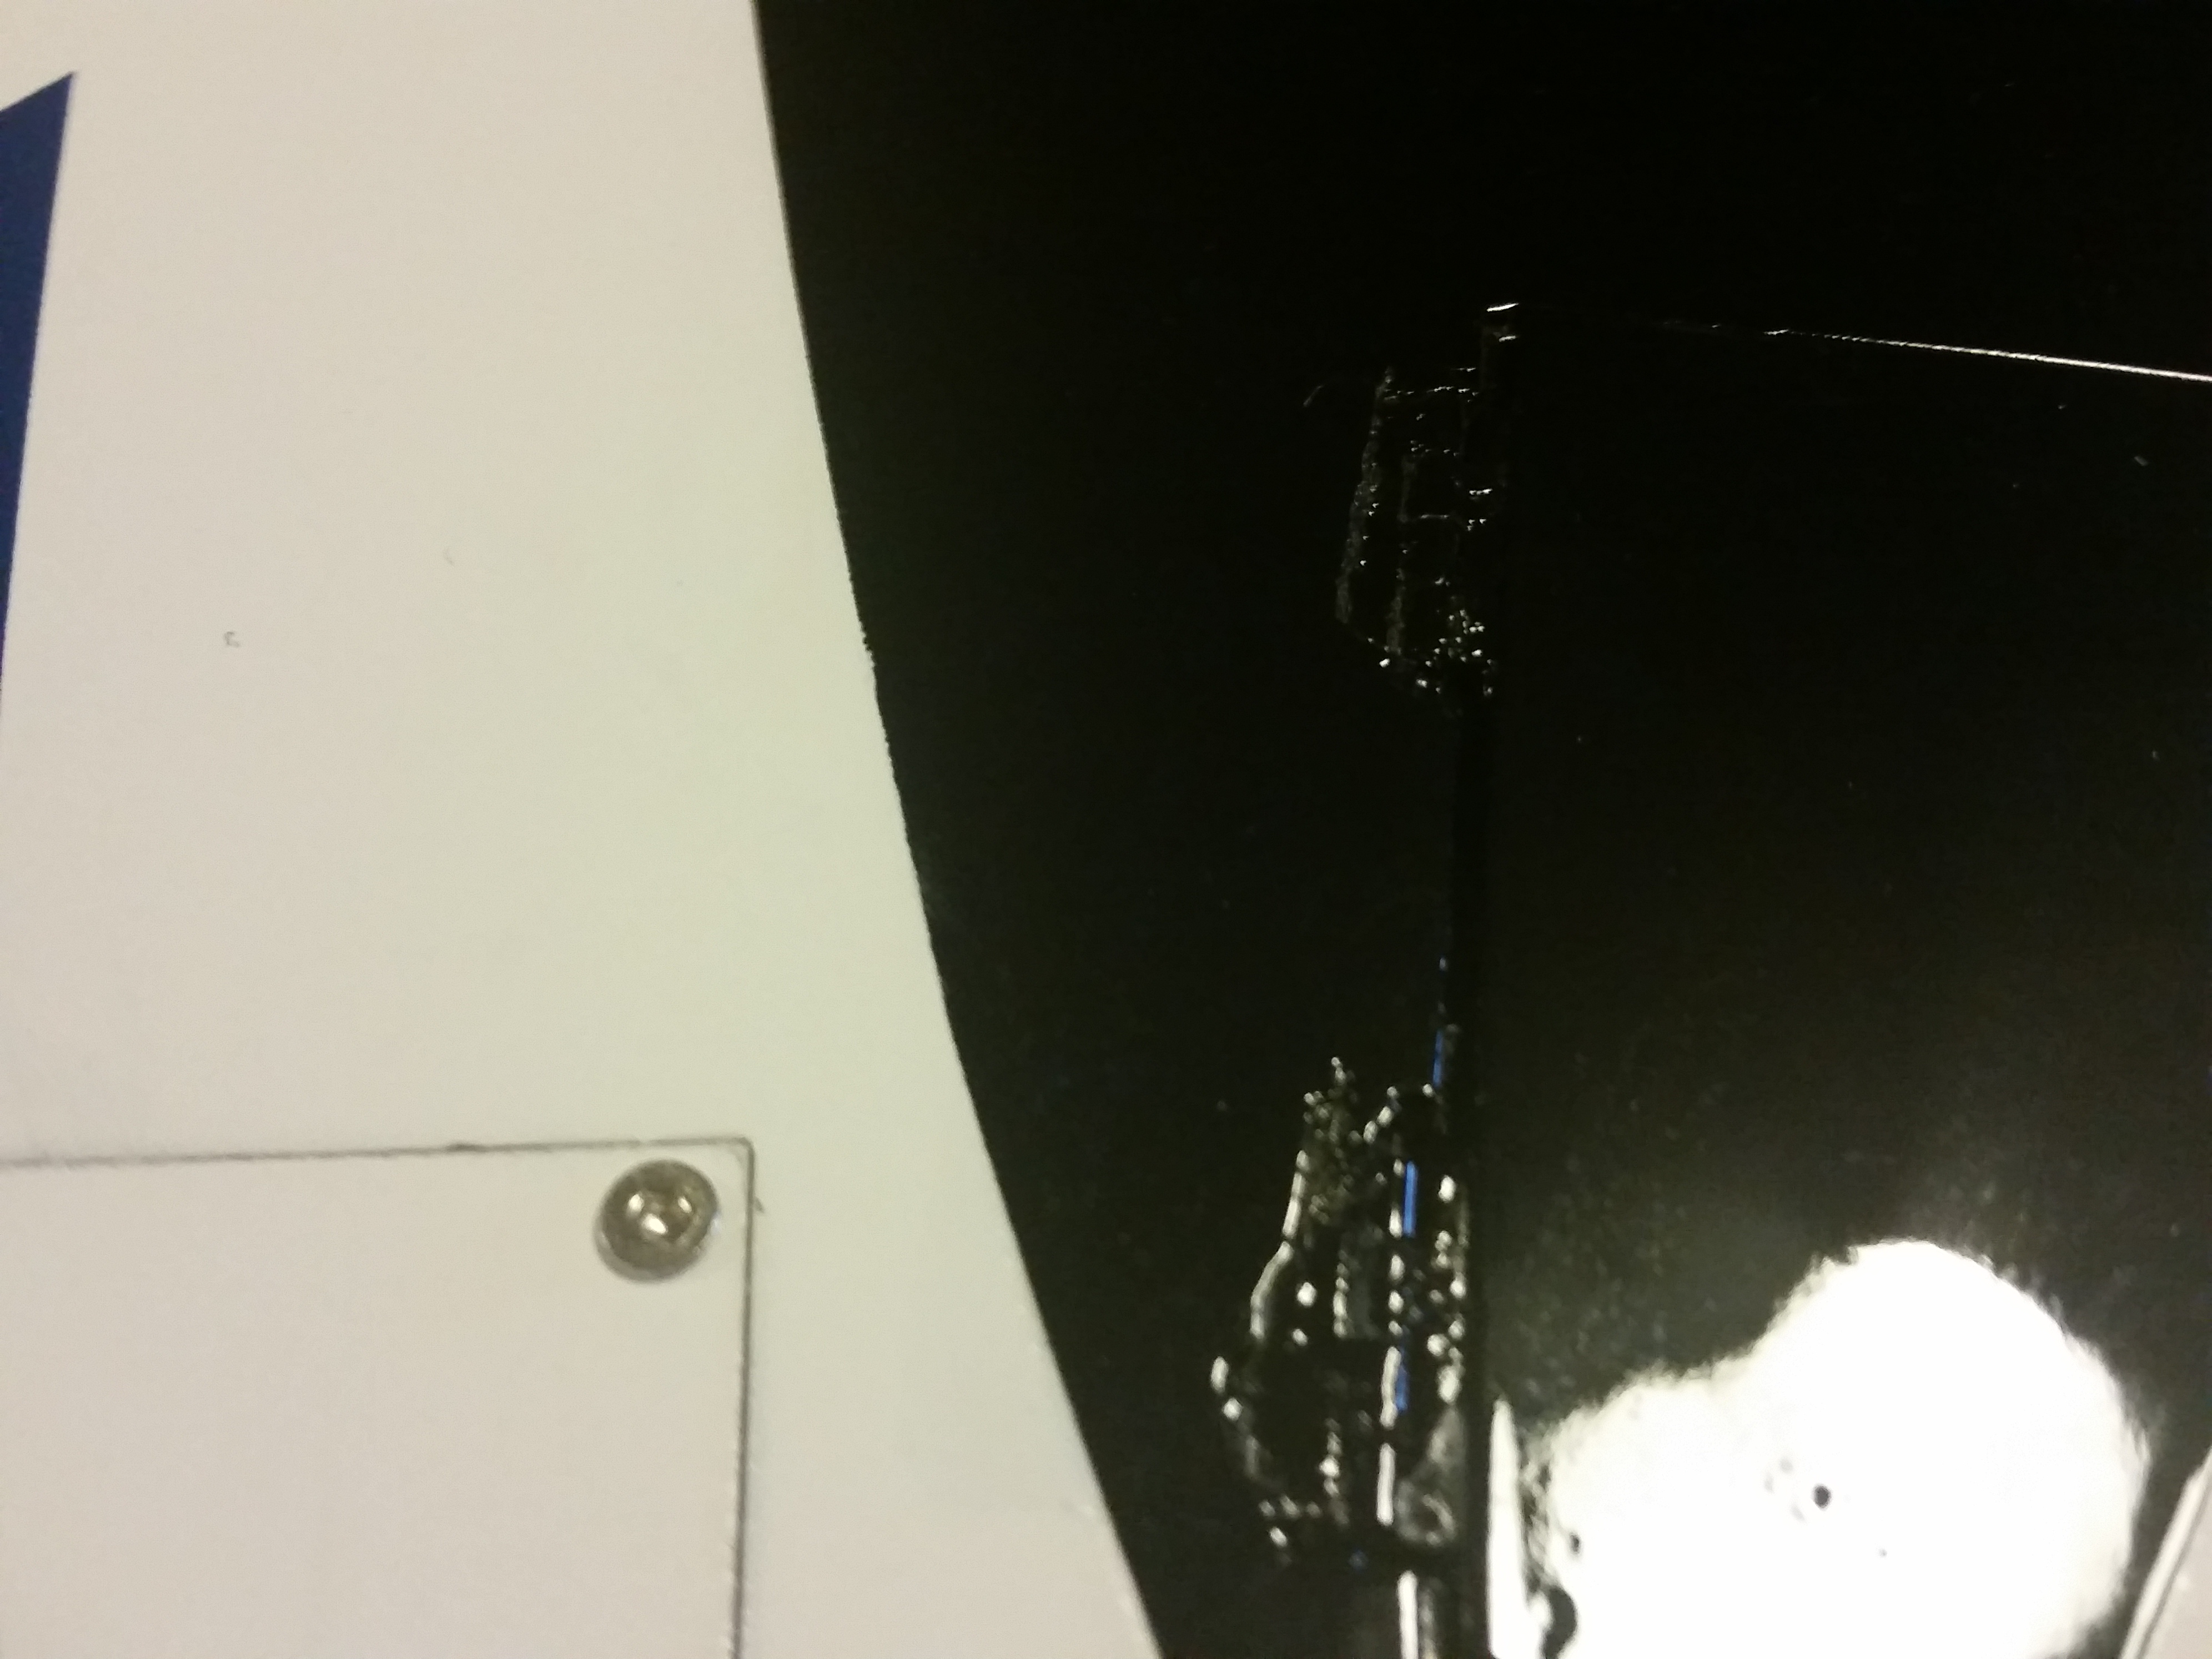
Thanks Keith. I will head over to the hardware store today to get some acetone. I should have waited on the ceramic paint then haha. Ill have to double check and see if there is a peace of wood in the fin. If not I'm going to be upset. I already have to get with FB about the winglit due to a something bouncing around in there. its the bulkhead screws that join the front and rear together. I know they are black screws but When I inventoried everything, those are one of the items missing.
02-16-2016 | 07:40 PM
#20
02-16-2016 | 09:03 PM
#21
HAHA! You would think that the amount of money being spent, a person would have all parts accounted for with a signed parts lists by the QA team. You would also think that they would send out a winglit with debris inside that could put a hole in it if it hit just right. I am trying to get FB to make it right but have to wait until they come back from the new year. I made a Video on it that you can here it. here is the video: https://www.youtube.com/watch?v=JqFjTfNdo5o
02-19-2016 | 10:06 AM
#22
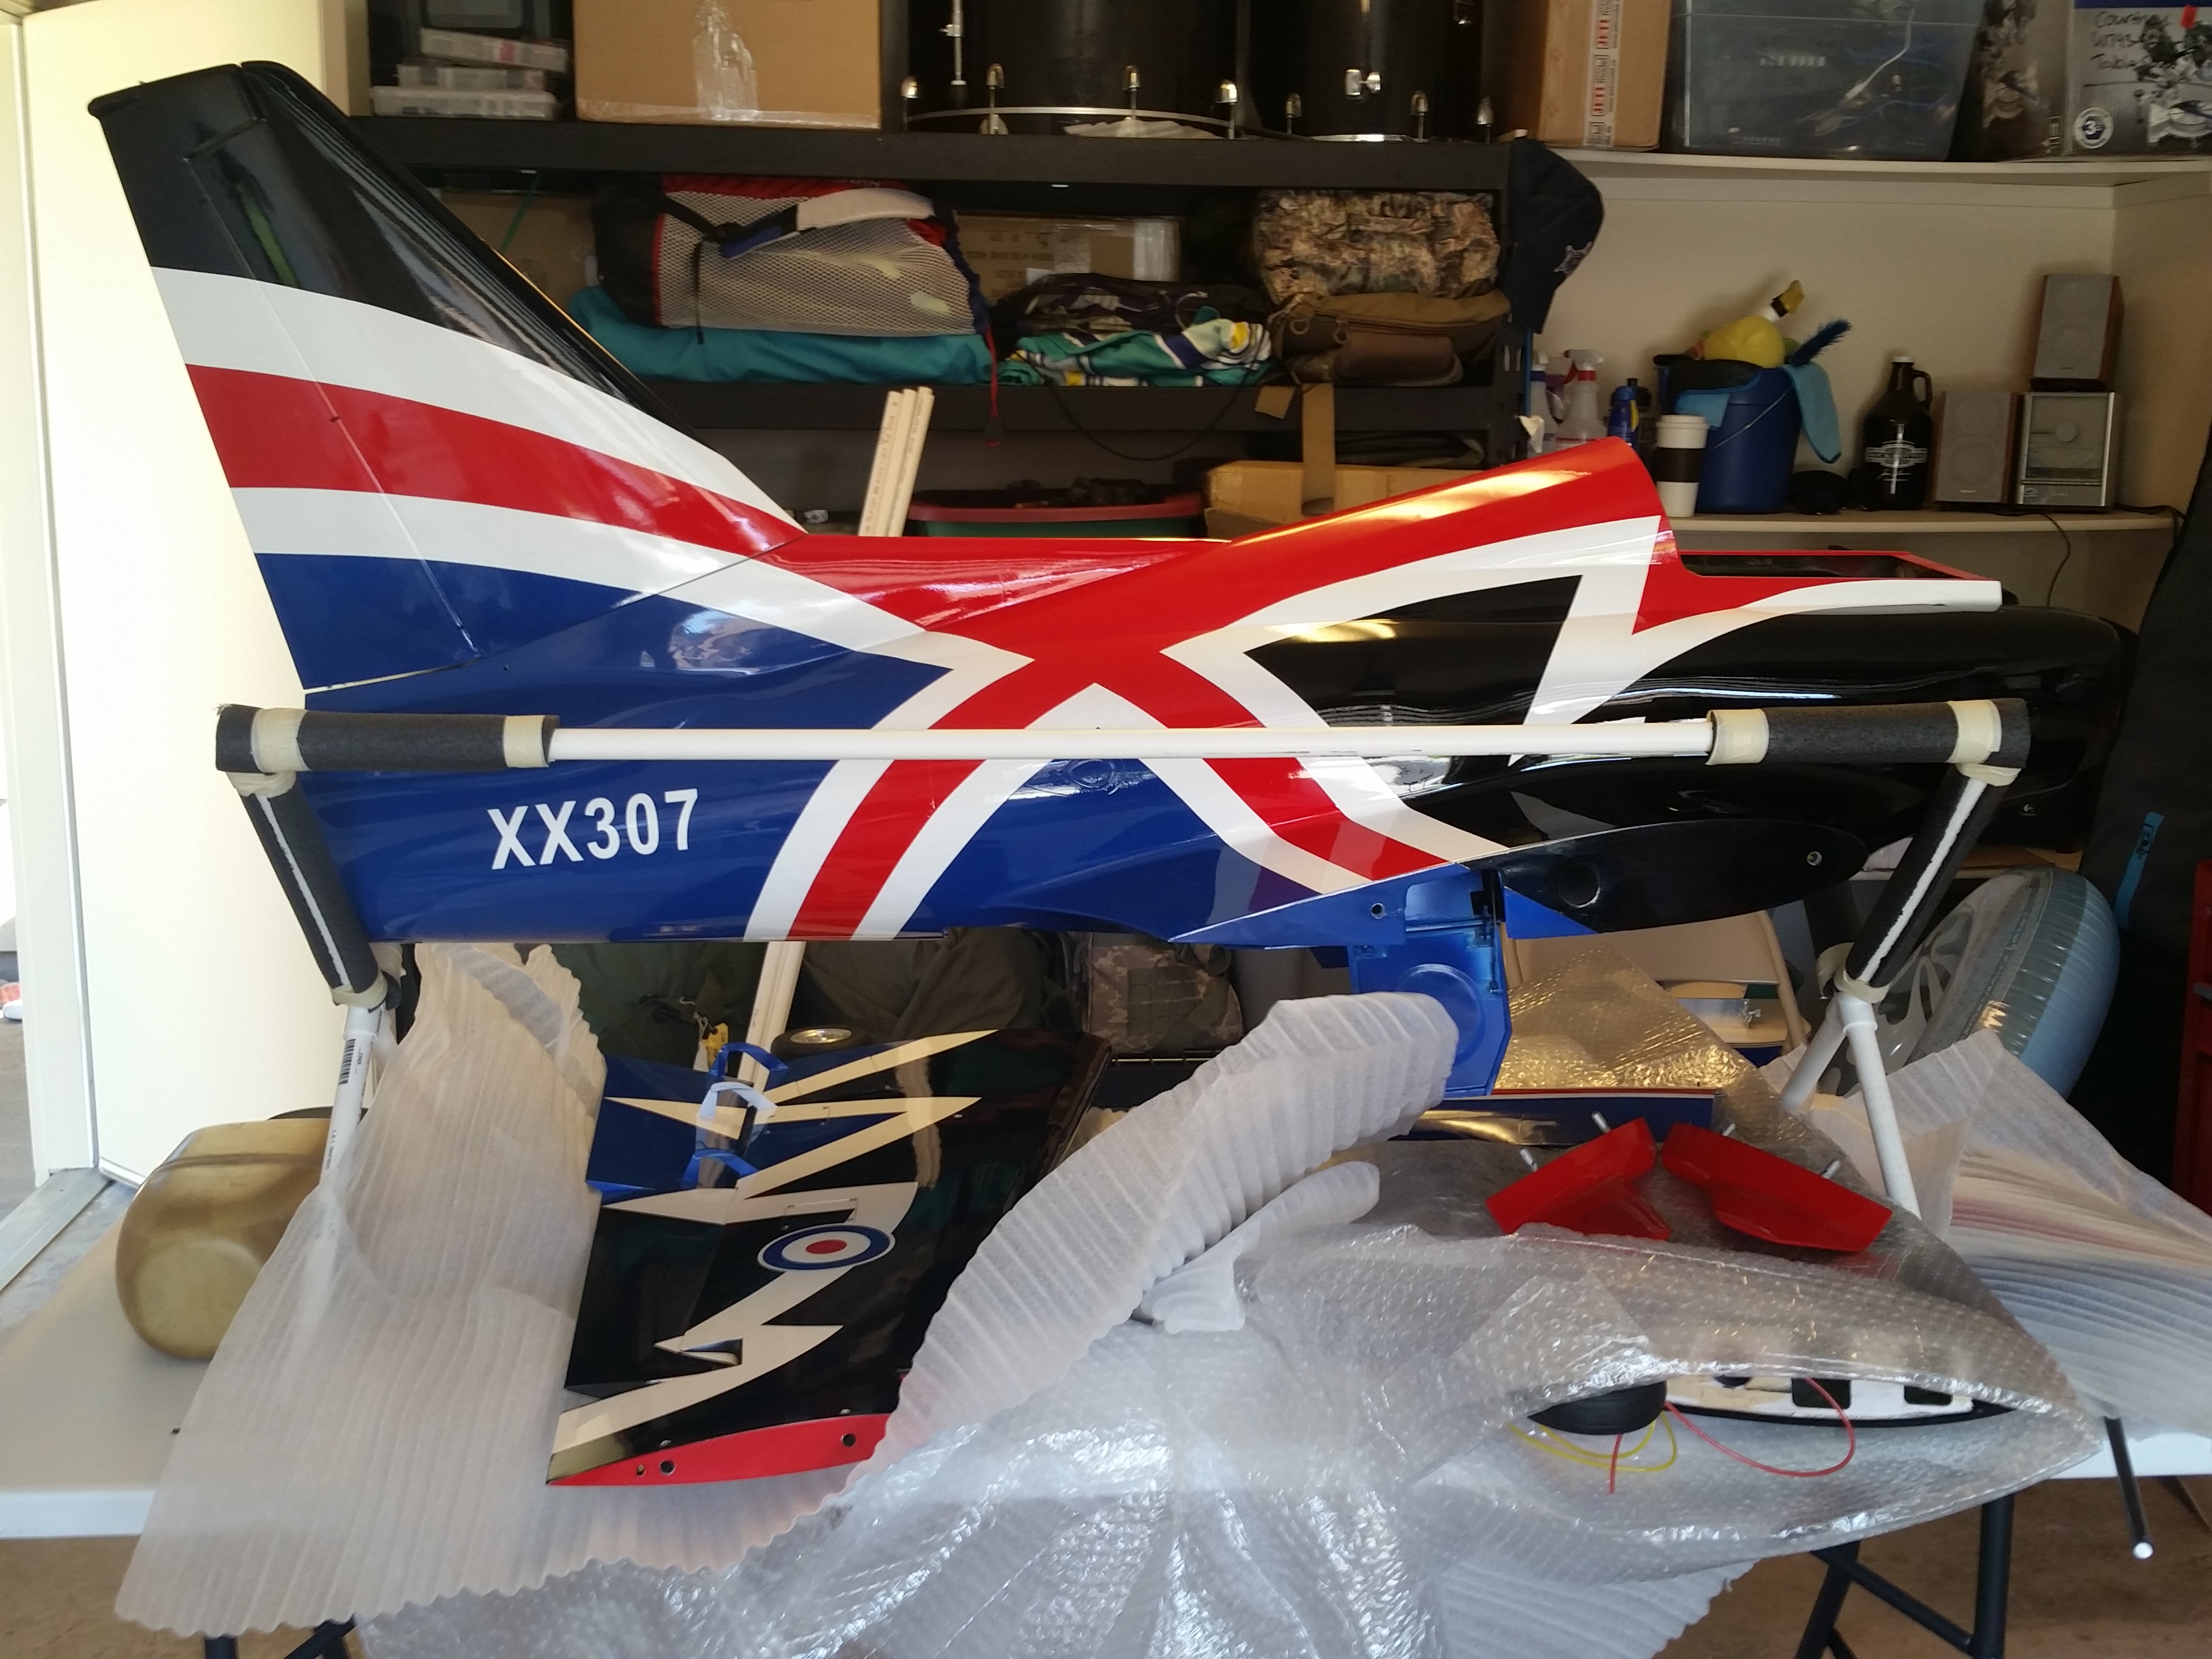
So after having the viper in my hands for a few days now I have noticed that on one of the wings the bottom paint is starting to bubble. I have gotten with FB and I have two options: they will send me paint to fix it and a refund of $250 or send the wing back and have them fix it and no refund but they will pay for shipping. The section is not very big but trying to figure out the best option. What do you guys think I should do? Send the wing back and have to wait a few weeks to month to get it back or get the paint sent to me and have it fixed here? Also I have some more work done. I will add picture soon.
Here is a picture of the bubbling of the paint:
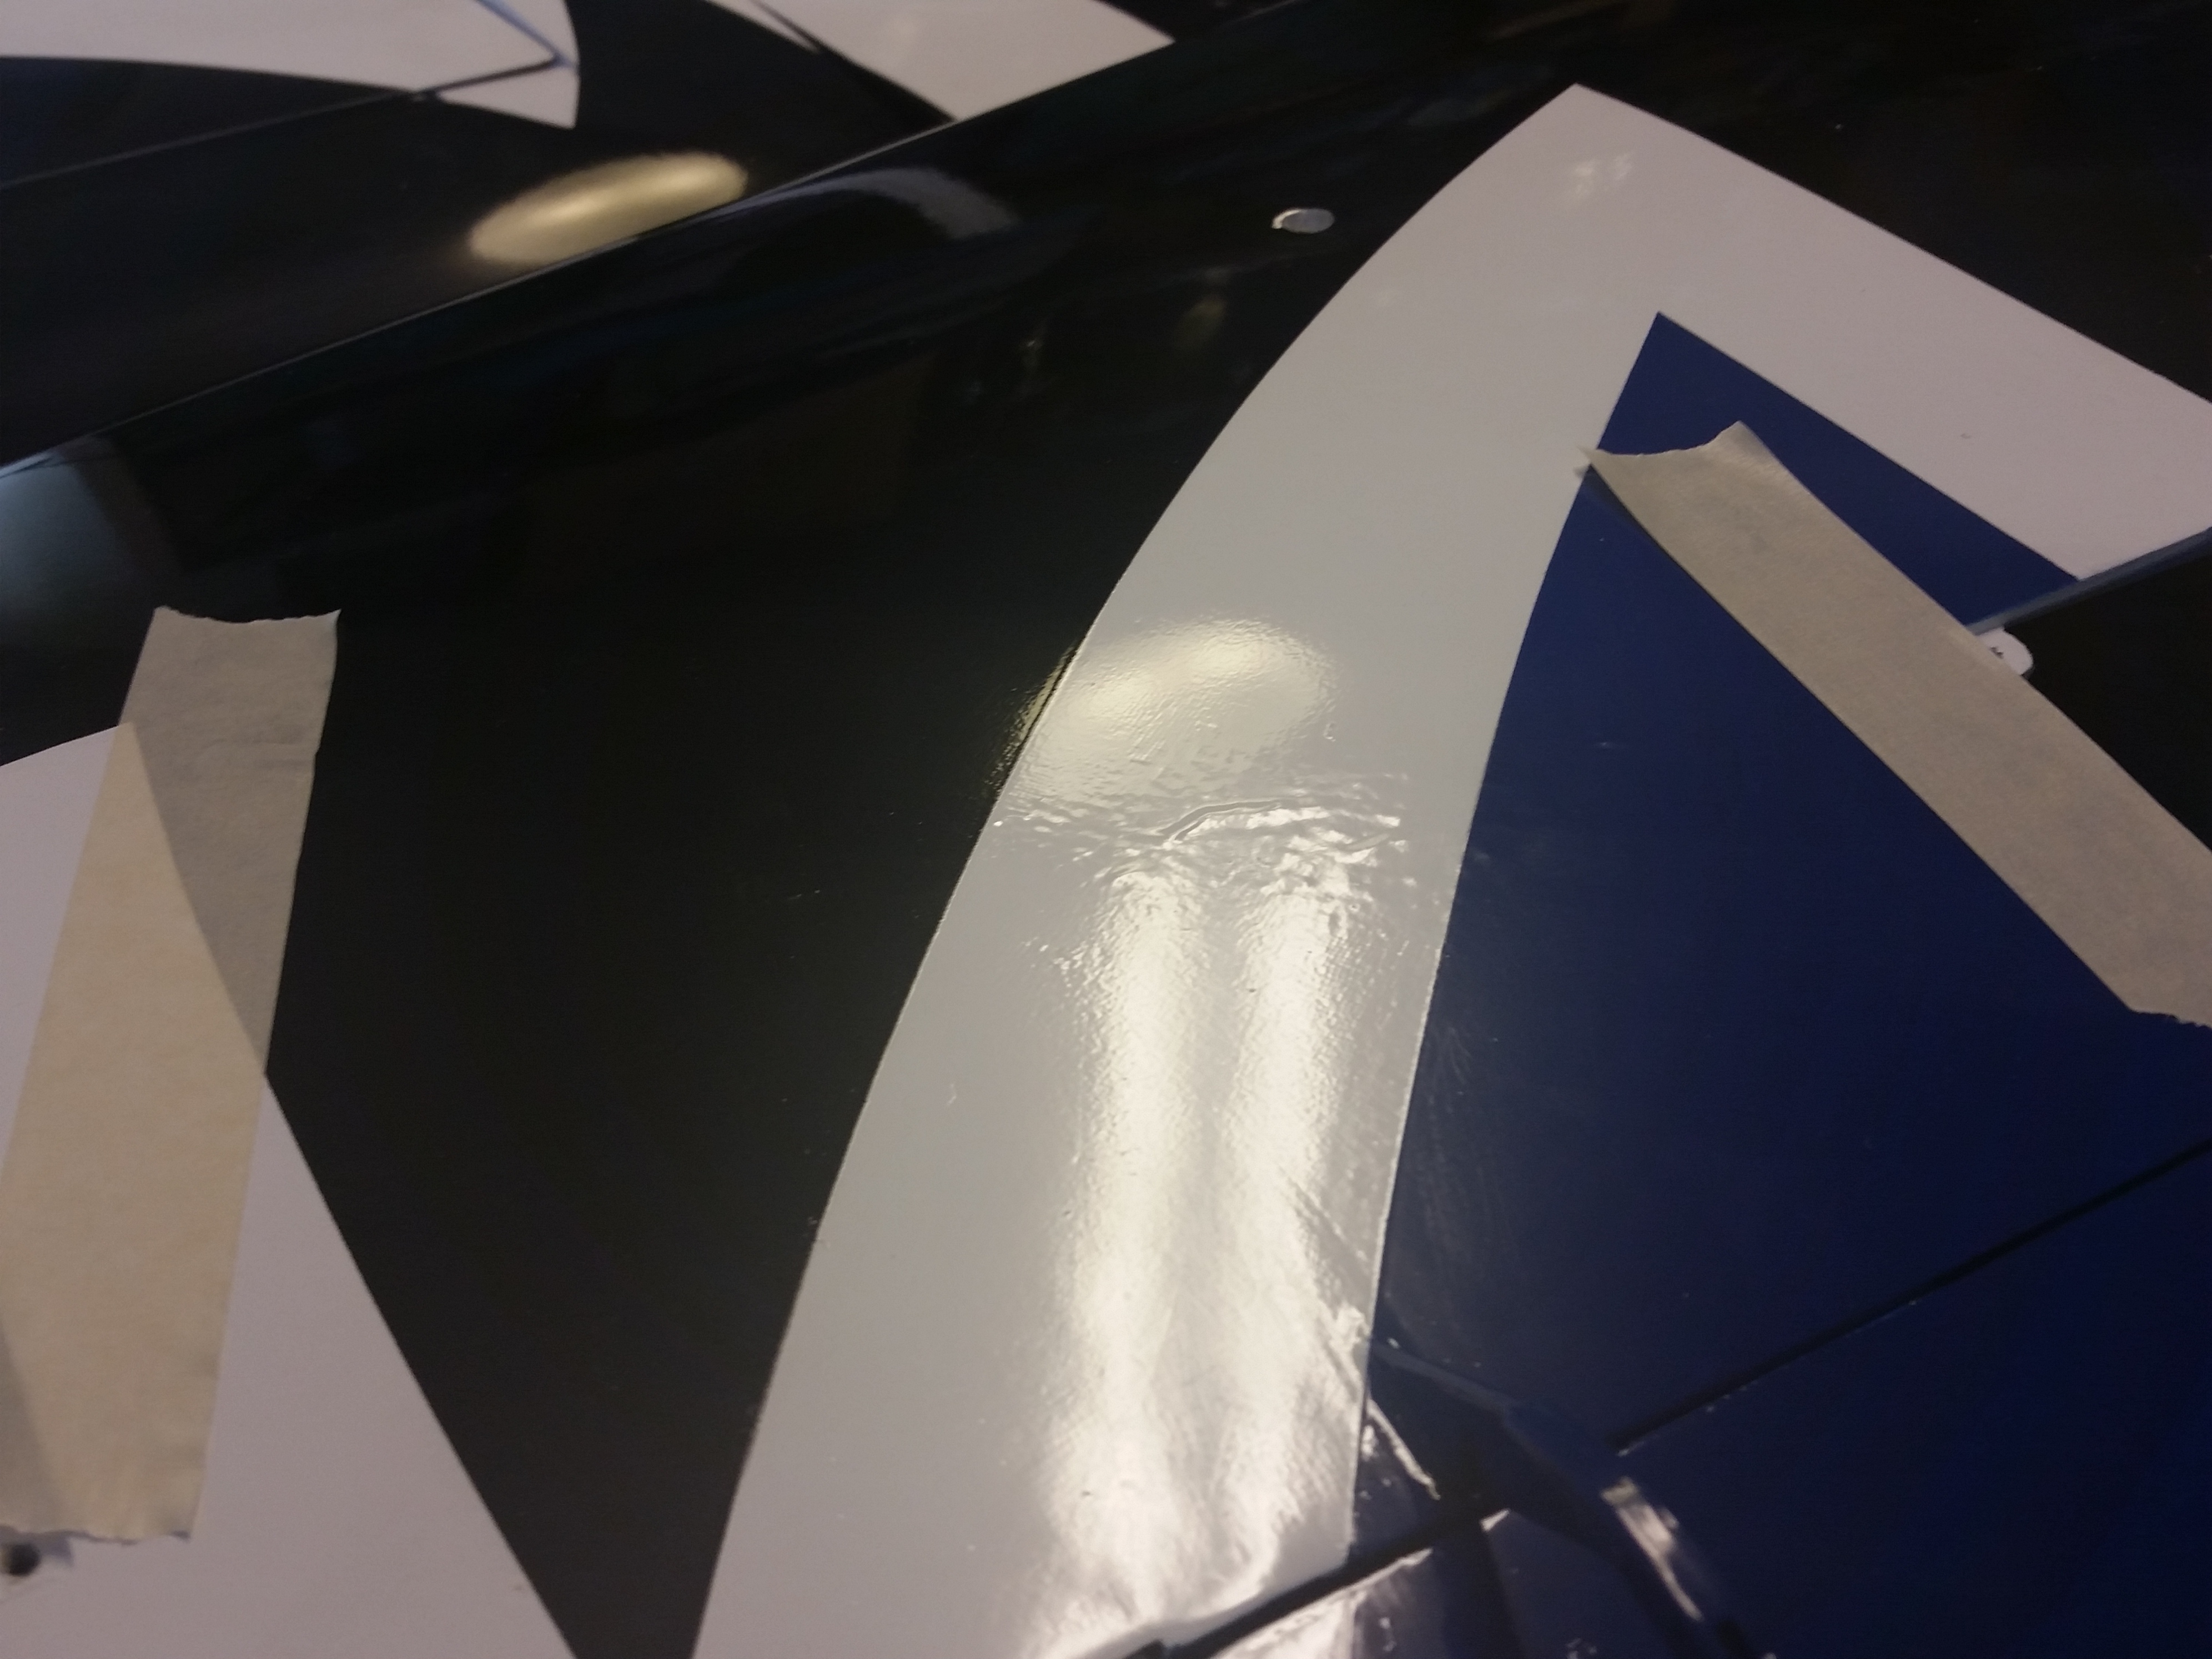
Here is a picture of the bubbling of the paint:
Last edited by JoeJr1485; 02-19-2016 at 10:11 AM.
02-19-2016 | 11:59 AM
#23
Joe, was it that way from the get go? I don't see how it would bubble up this long after the paint process unless something else caused it.
I would not bother getting paint from the factory, I have tried this before and the paint seems to never make it before its ruined. If its something you can deal with being on the bottom it may be more advantageous to either ask for some money back. If you have to fix it your best bet is to find a good painter locally.
My F-14 had to have a new nose due to the paint being messed up, I tried and spent a lot of money trying to find matching paint and fix it locally. Its not very noticeable and you will never see it in the air but I know how particular I am so I completely understand wanting it perfect.
Sorry your having issues, never fun.
Last edited by FenderBean; 02-19-2016 at 12:01 PM.
02-19-2016 | 12:23 PM
#24
Thanks Keith! I was thinking the same thing. Honestly I didn't look at the bottom of that wing when I got it. when I flipped it over to start working on it, I seen it. It is in the house at 70 degrees F and nothing has been on it. I left it in the bubble rap after looking at it as I unpacked it. I will just get the money back. its white paint so I should be able to sand a little and put new layer on it. I am the same way you are. If I am paying this much for something, then yes I want to have it right and no issue. For this amount I can get a nice looking car with no paint issues. overall I still love the Jet and Catherine at FB is great in customer service. Also On one of the landing gear, it is stuck solid. it will not move up or down inside the shaft housing. Looks like I have to take it apart and see what is going on. not sure if the spring is stuck.
02-19-2016 | 01:32 PM
#25
Keith I forgot to add. I talk to FB about the screws being too small for the servo mounts for the wings and they informed me that we are supposed to use wood blocks to fasten to the servo covers and then servos to wood blocks. I told them that in the manual it doesn't show or state that. I will be going to the shop today to get some wood, glass and work on them today. I will post pictures later tonight.

