


FB Viper build!!!!


 02-19-2016 | 08:19 PM
#27

HAHA. I have FB sending me everything that I am missing and needed replaced. Catherine is such as great help from there. Another thing in Hawaii that I can stand is that out of every store that supplies wood here doesn't have what I need. So I just ordered what I needed.
02-19-2016 | 09:17 PM
#29
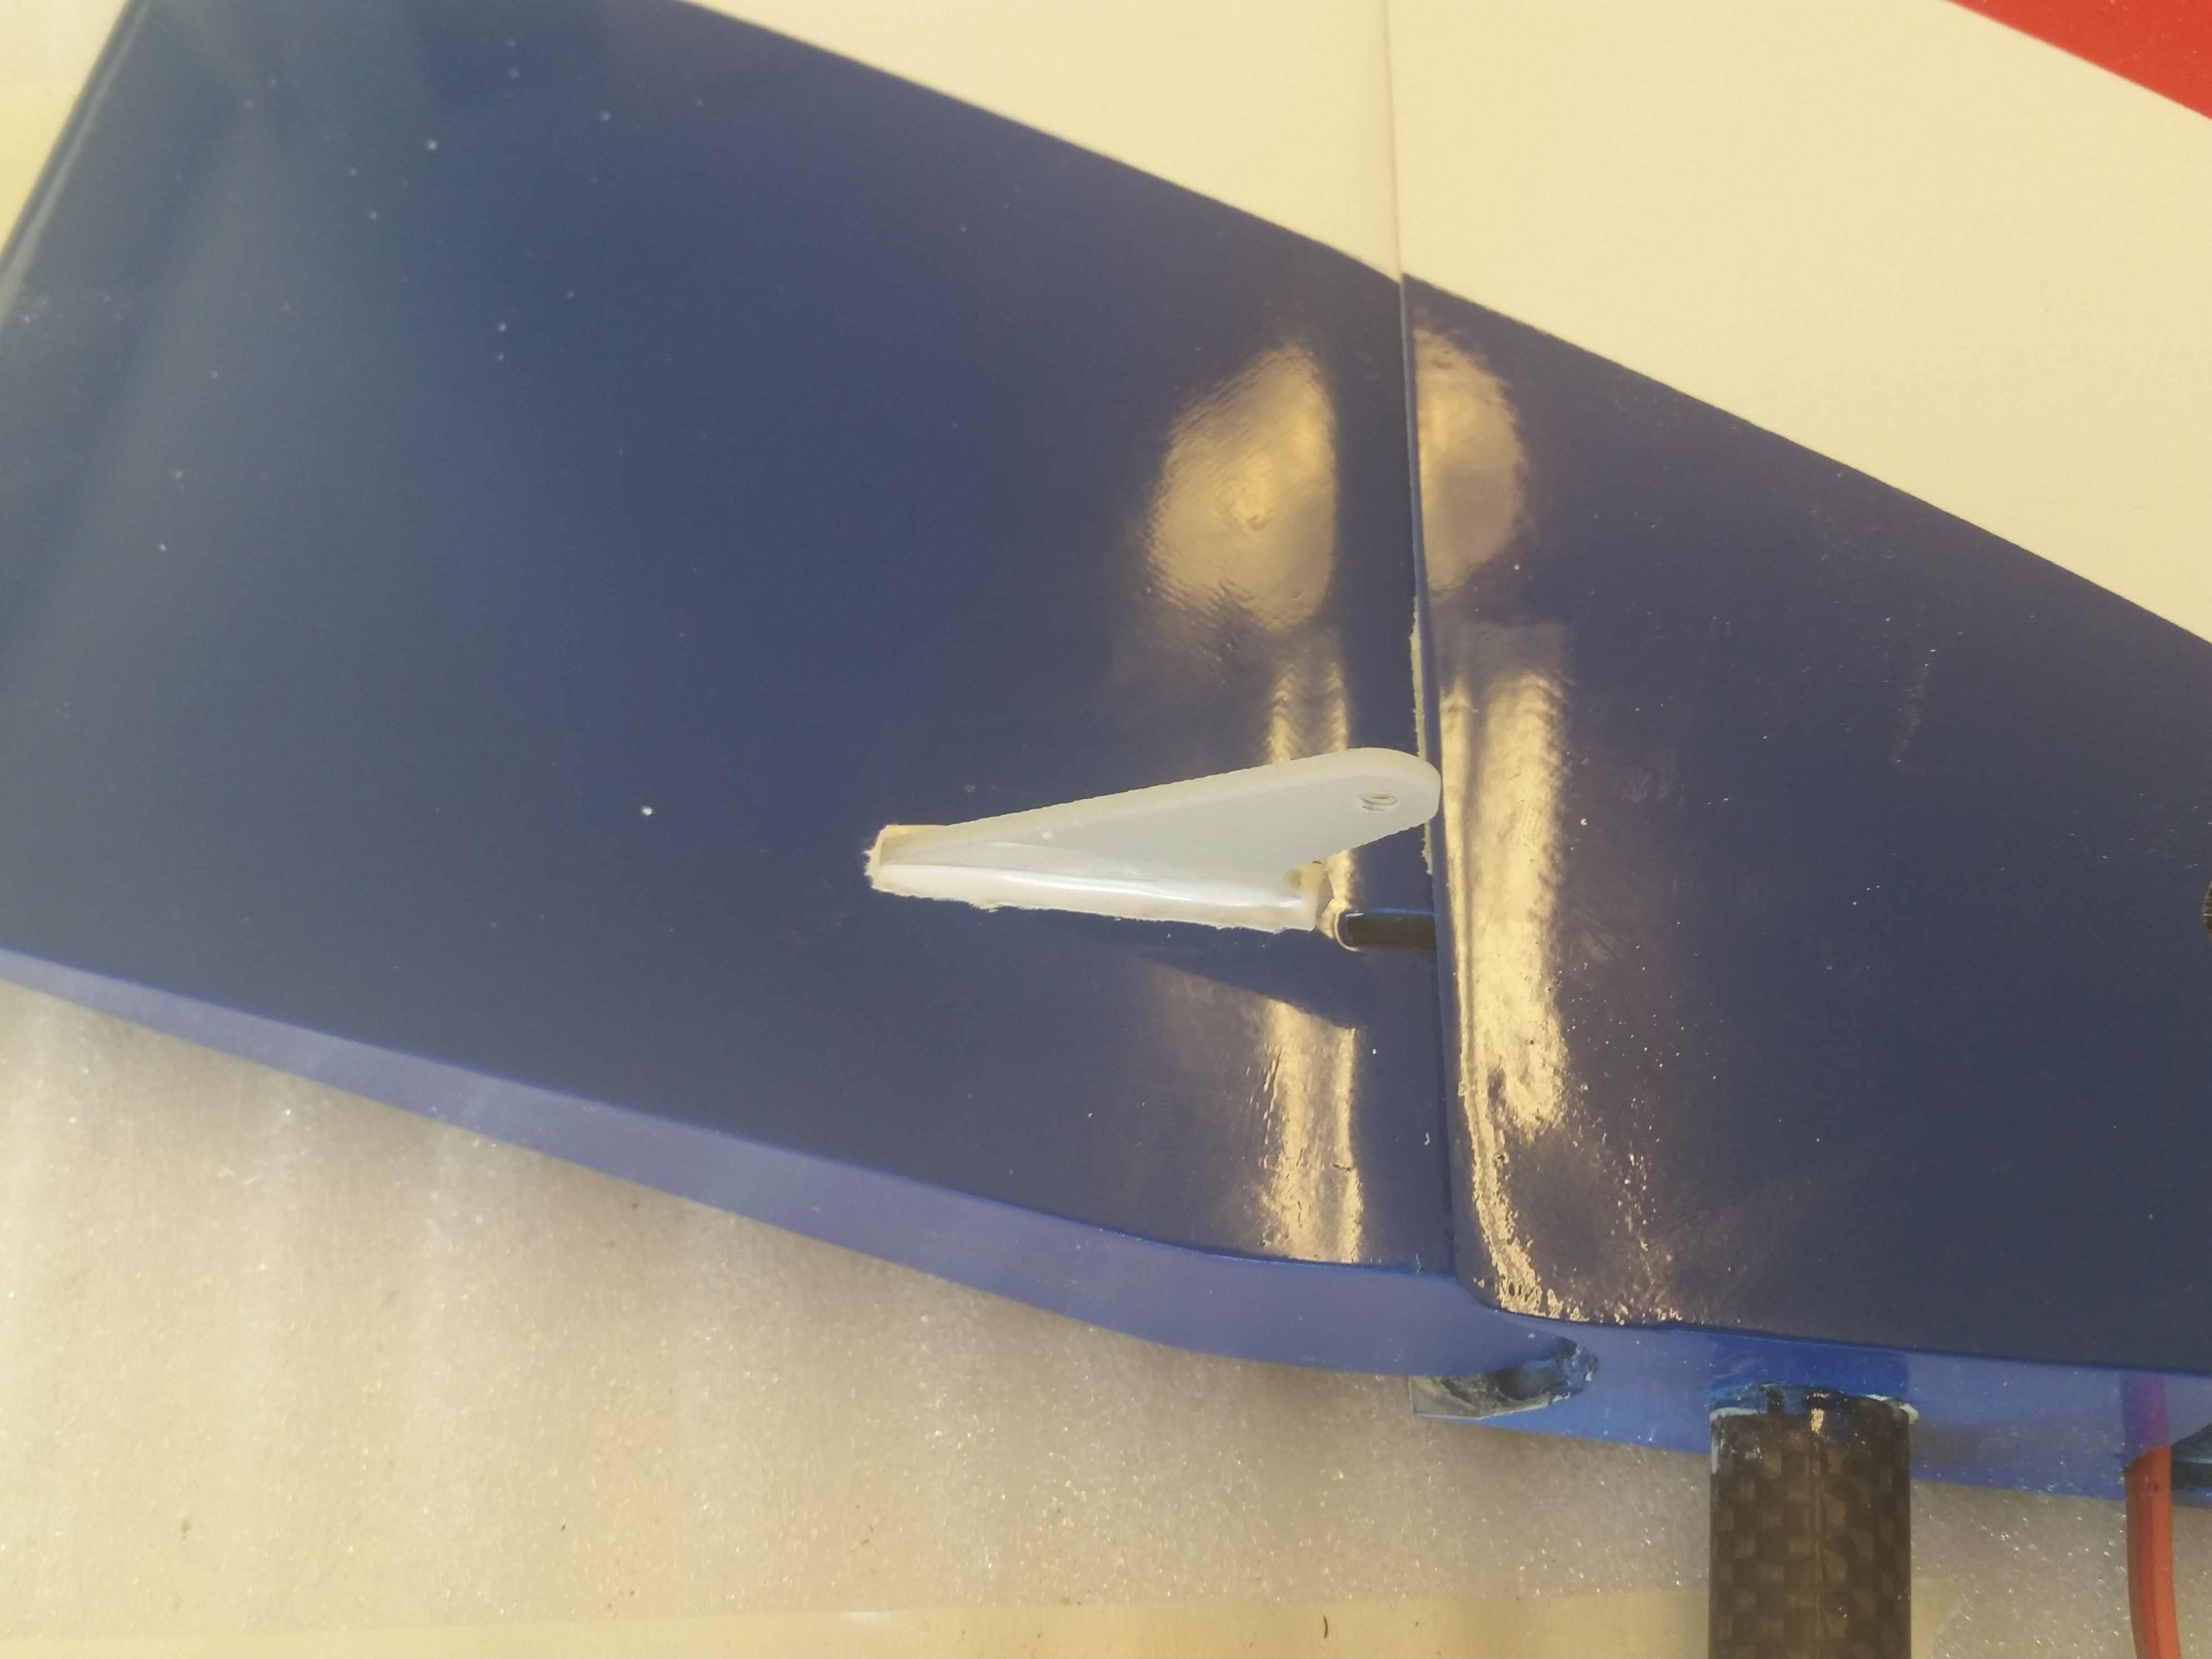
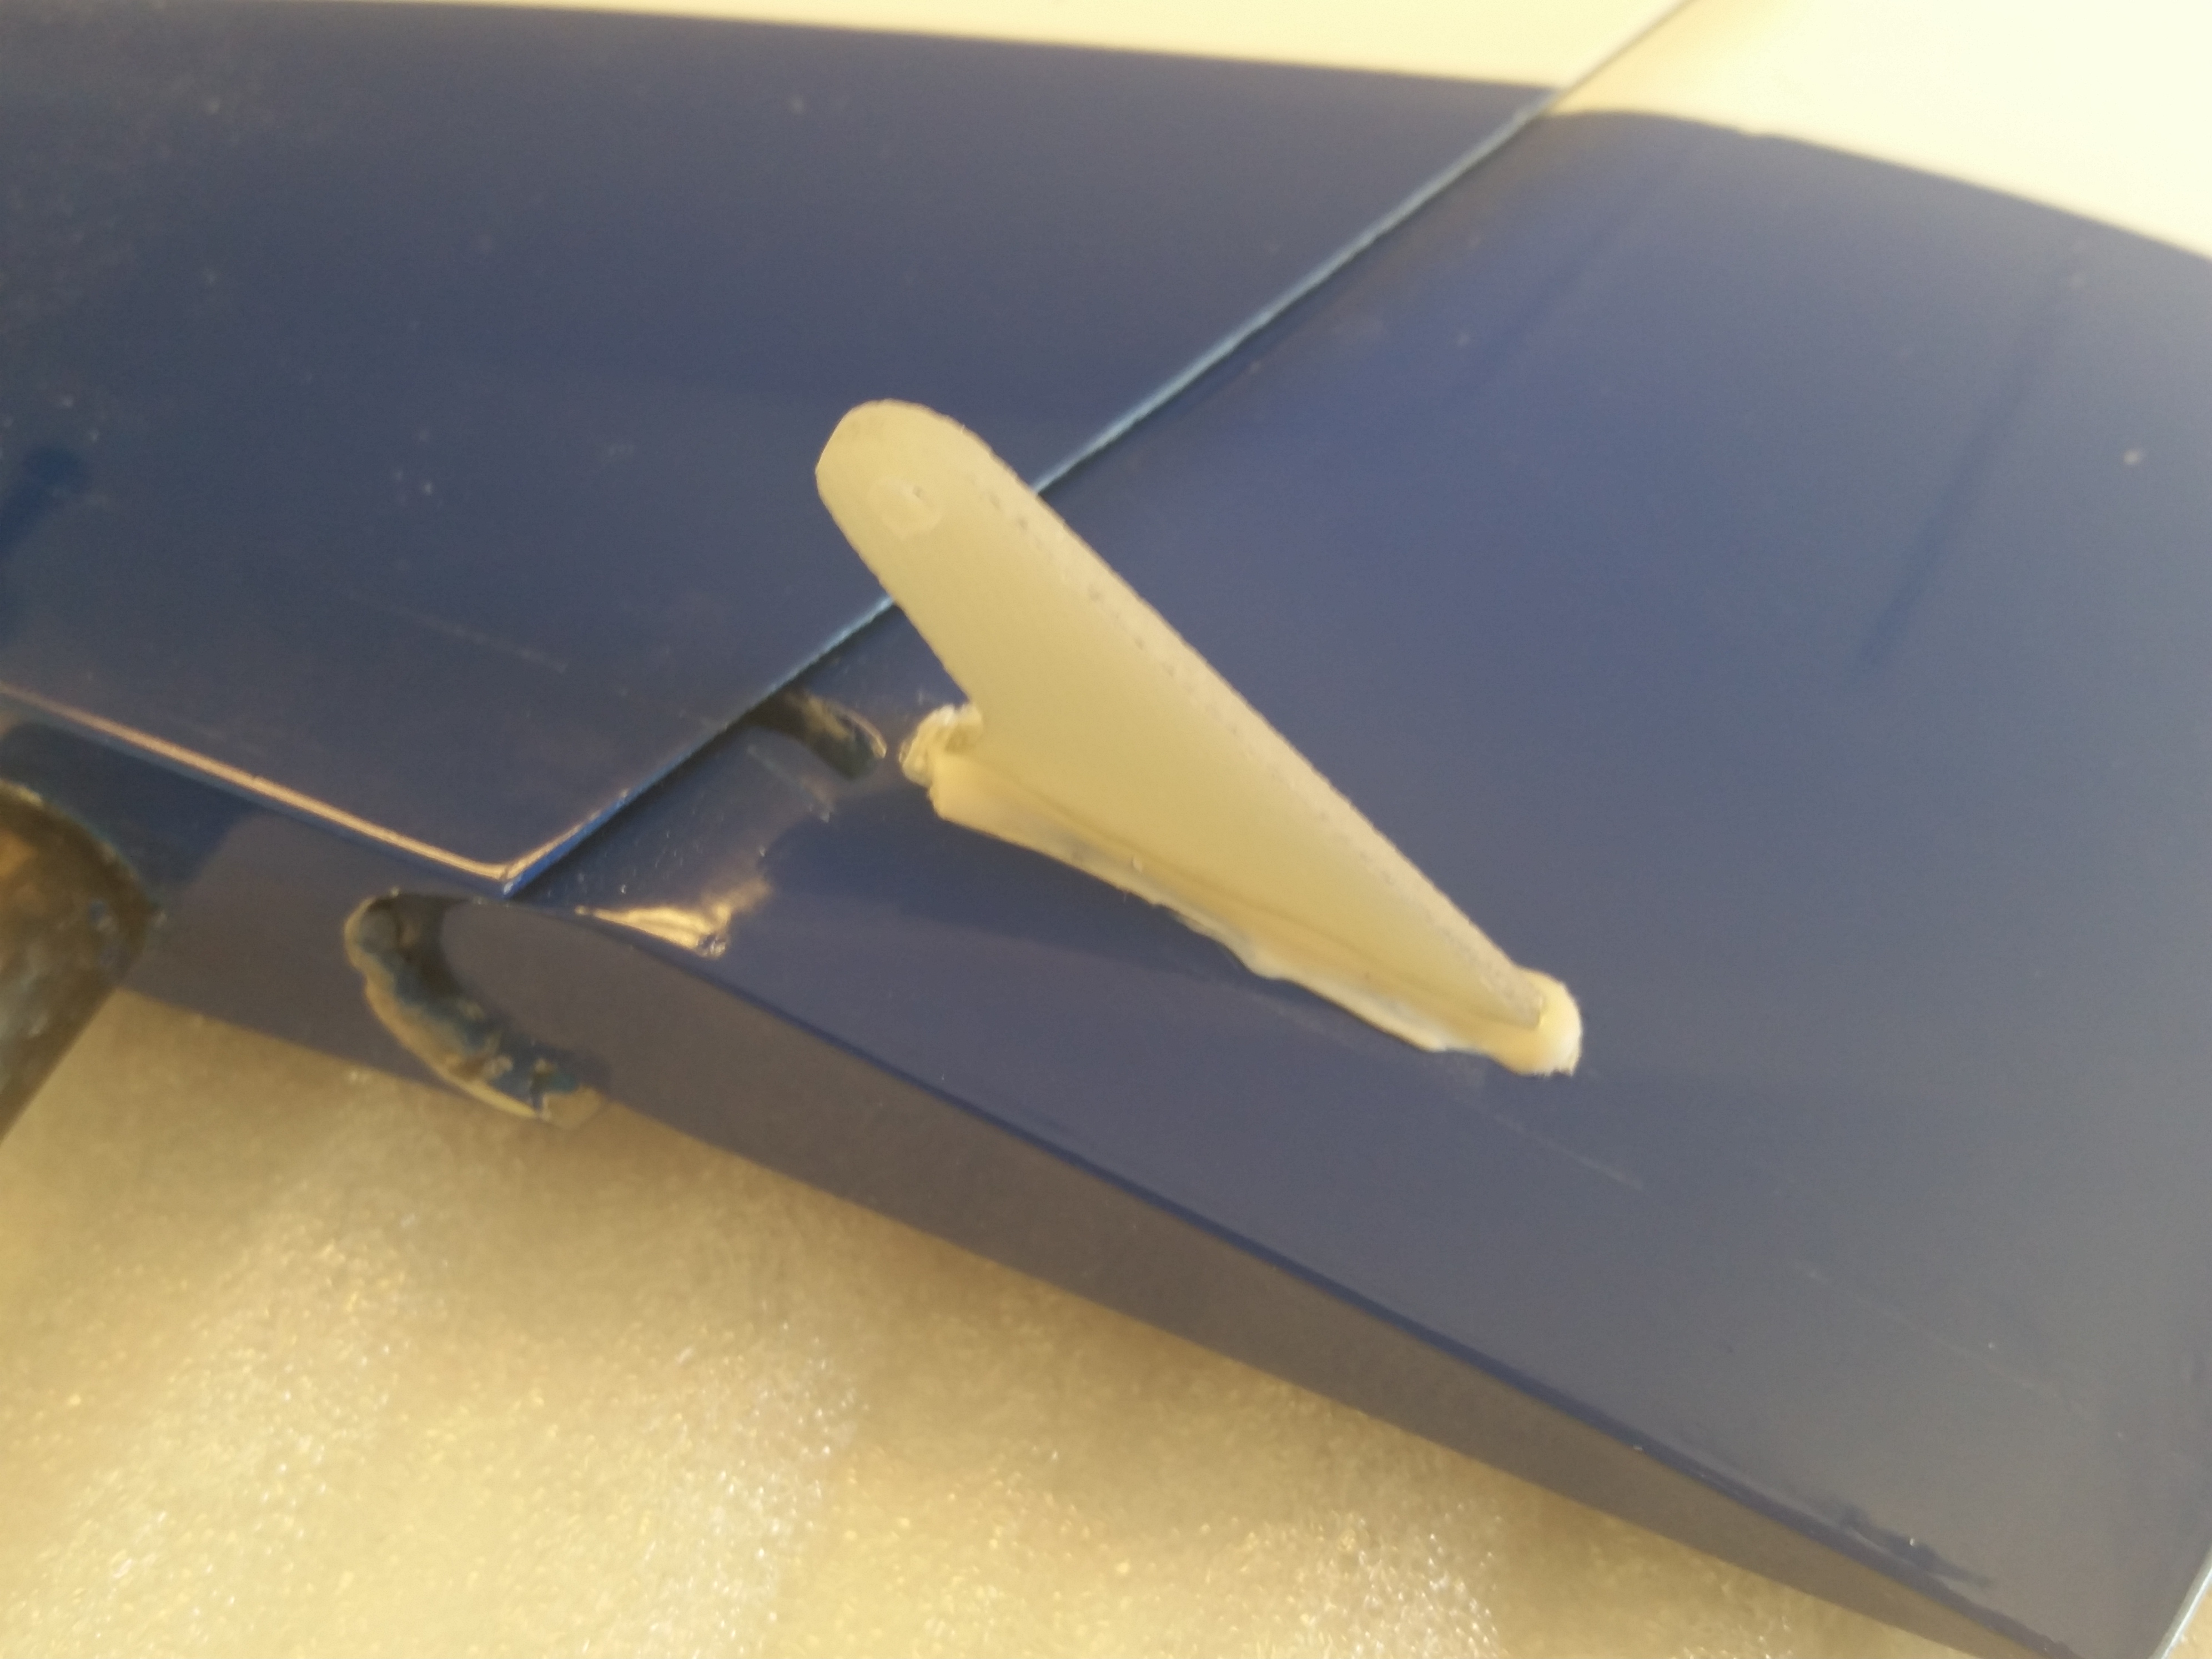
Ha! Me and you Both! I still am waiting on clips from Ultimate Jets, and some other odds and end stuff. I am kind of at a stand still until I get stuff in. I am taking pictures and getting ready to upload a bunch. So on the rudder where the servo installs; I cut a little to large of a slot for the servo arm. I don't think it will be an issue but its a little bigger than I would like. I may try to build up some material on it to close the gap a little. You will see once I add the picture. I had a little too much fun with the dremel !


02-20-2016 | 01:01 PM
#30
So I got a little more done this morning. I had to go out and get a band saw last night. I wanted to get one anyways so good time to get it. I got all my wood block cut, glued in place for my servos. Have to wait until its dry to reinforce with the screws. I am going to apply a thin layer of hysol over the wood blocks to seal the grain.


 02-20-2016 | 06:17 PM
#34
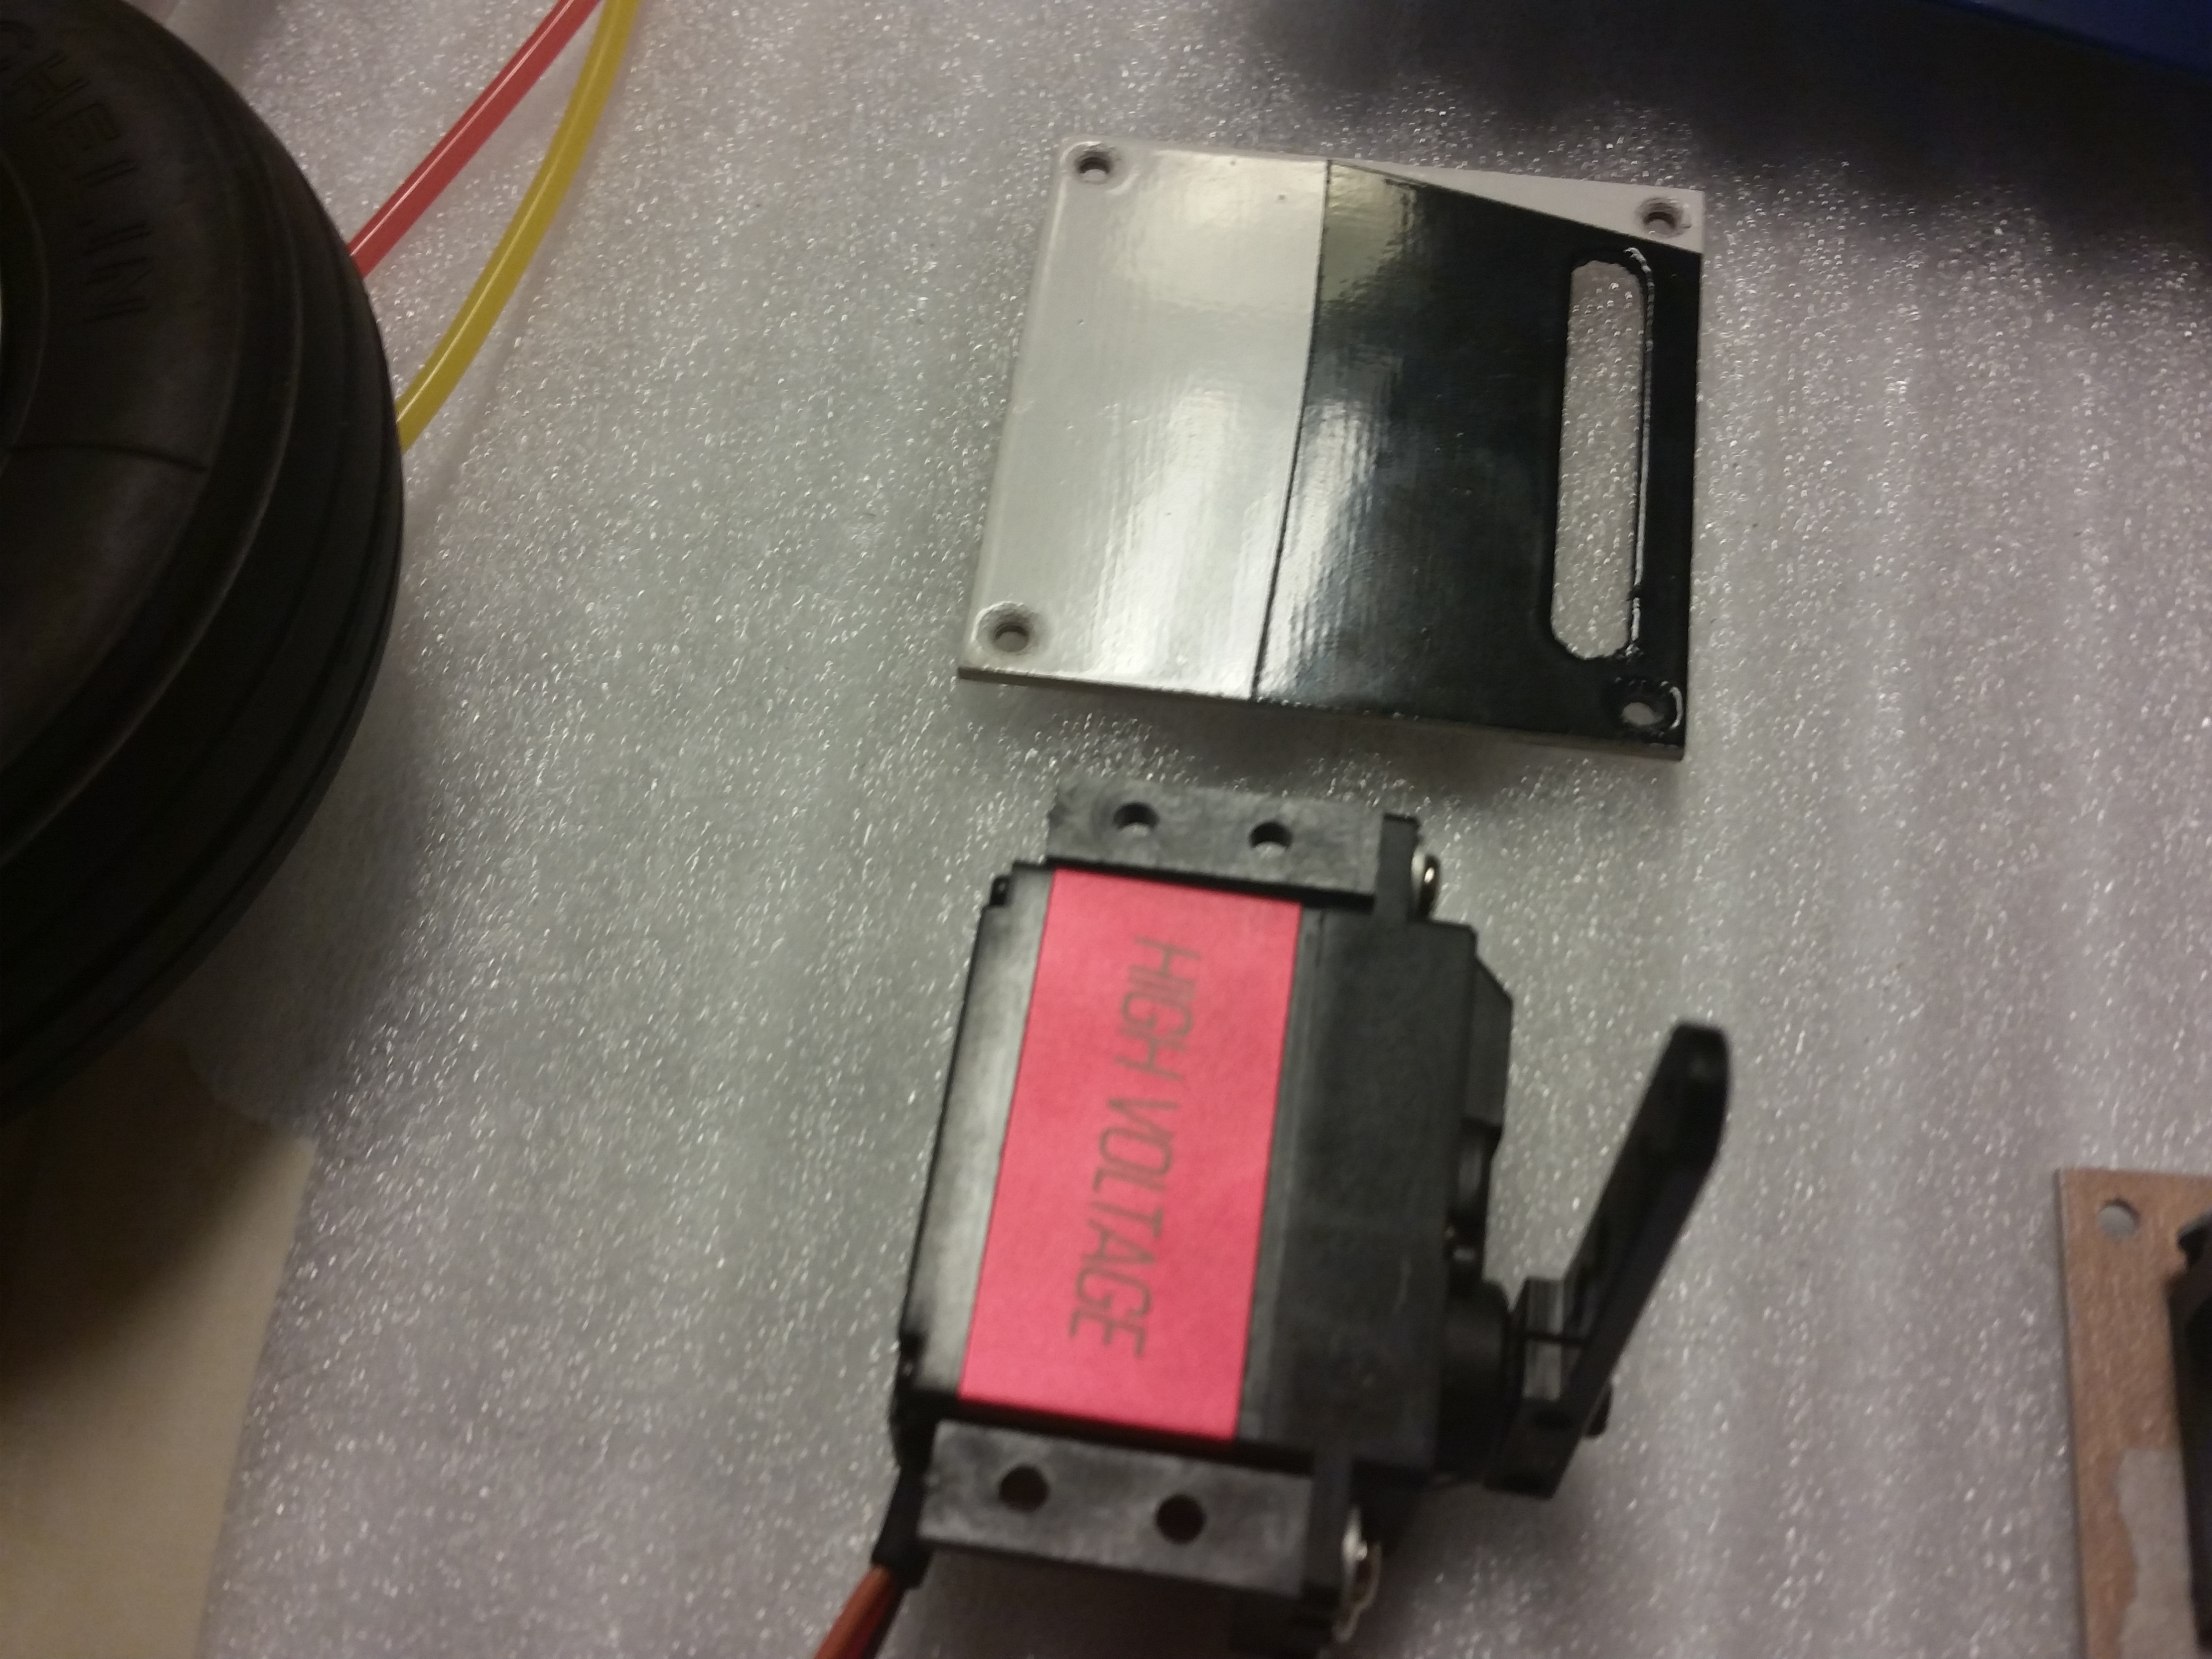
Hey Keith, I was having the same issue with the screws being too small for the holes so when I talk to Catherine at FB she informed me that they are supposed to be screwed into wood blocks. I informed her that in the build manual it doesn't state that and they didn't supply the wood blocks or parts for it so I had to make my own. If you add all the small screws up 8 per servo it comes out right. two for the blocks to plate and two for brackets to block. What I did is I placed the servos on the plate then measured what size I needed. I hysoled one side and put them in place with the servo sitting on top so that I get the correct distance needed. I wait to dry then drill holes from the plate to block, insert screws. Once they are done I will take another picture.
02-20-2016 | 10:59 PM
#35
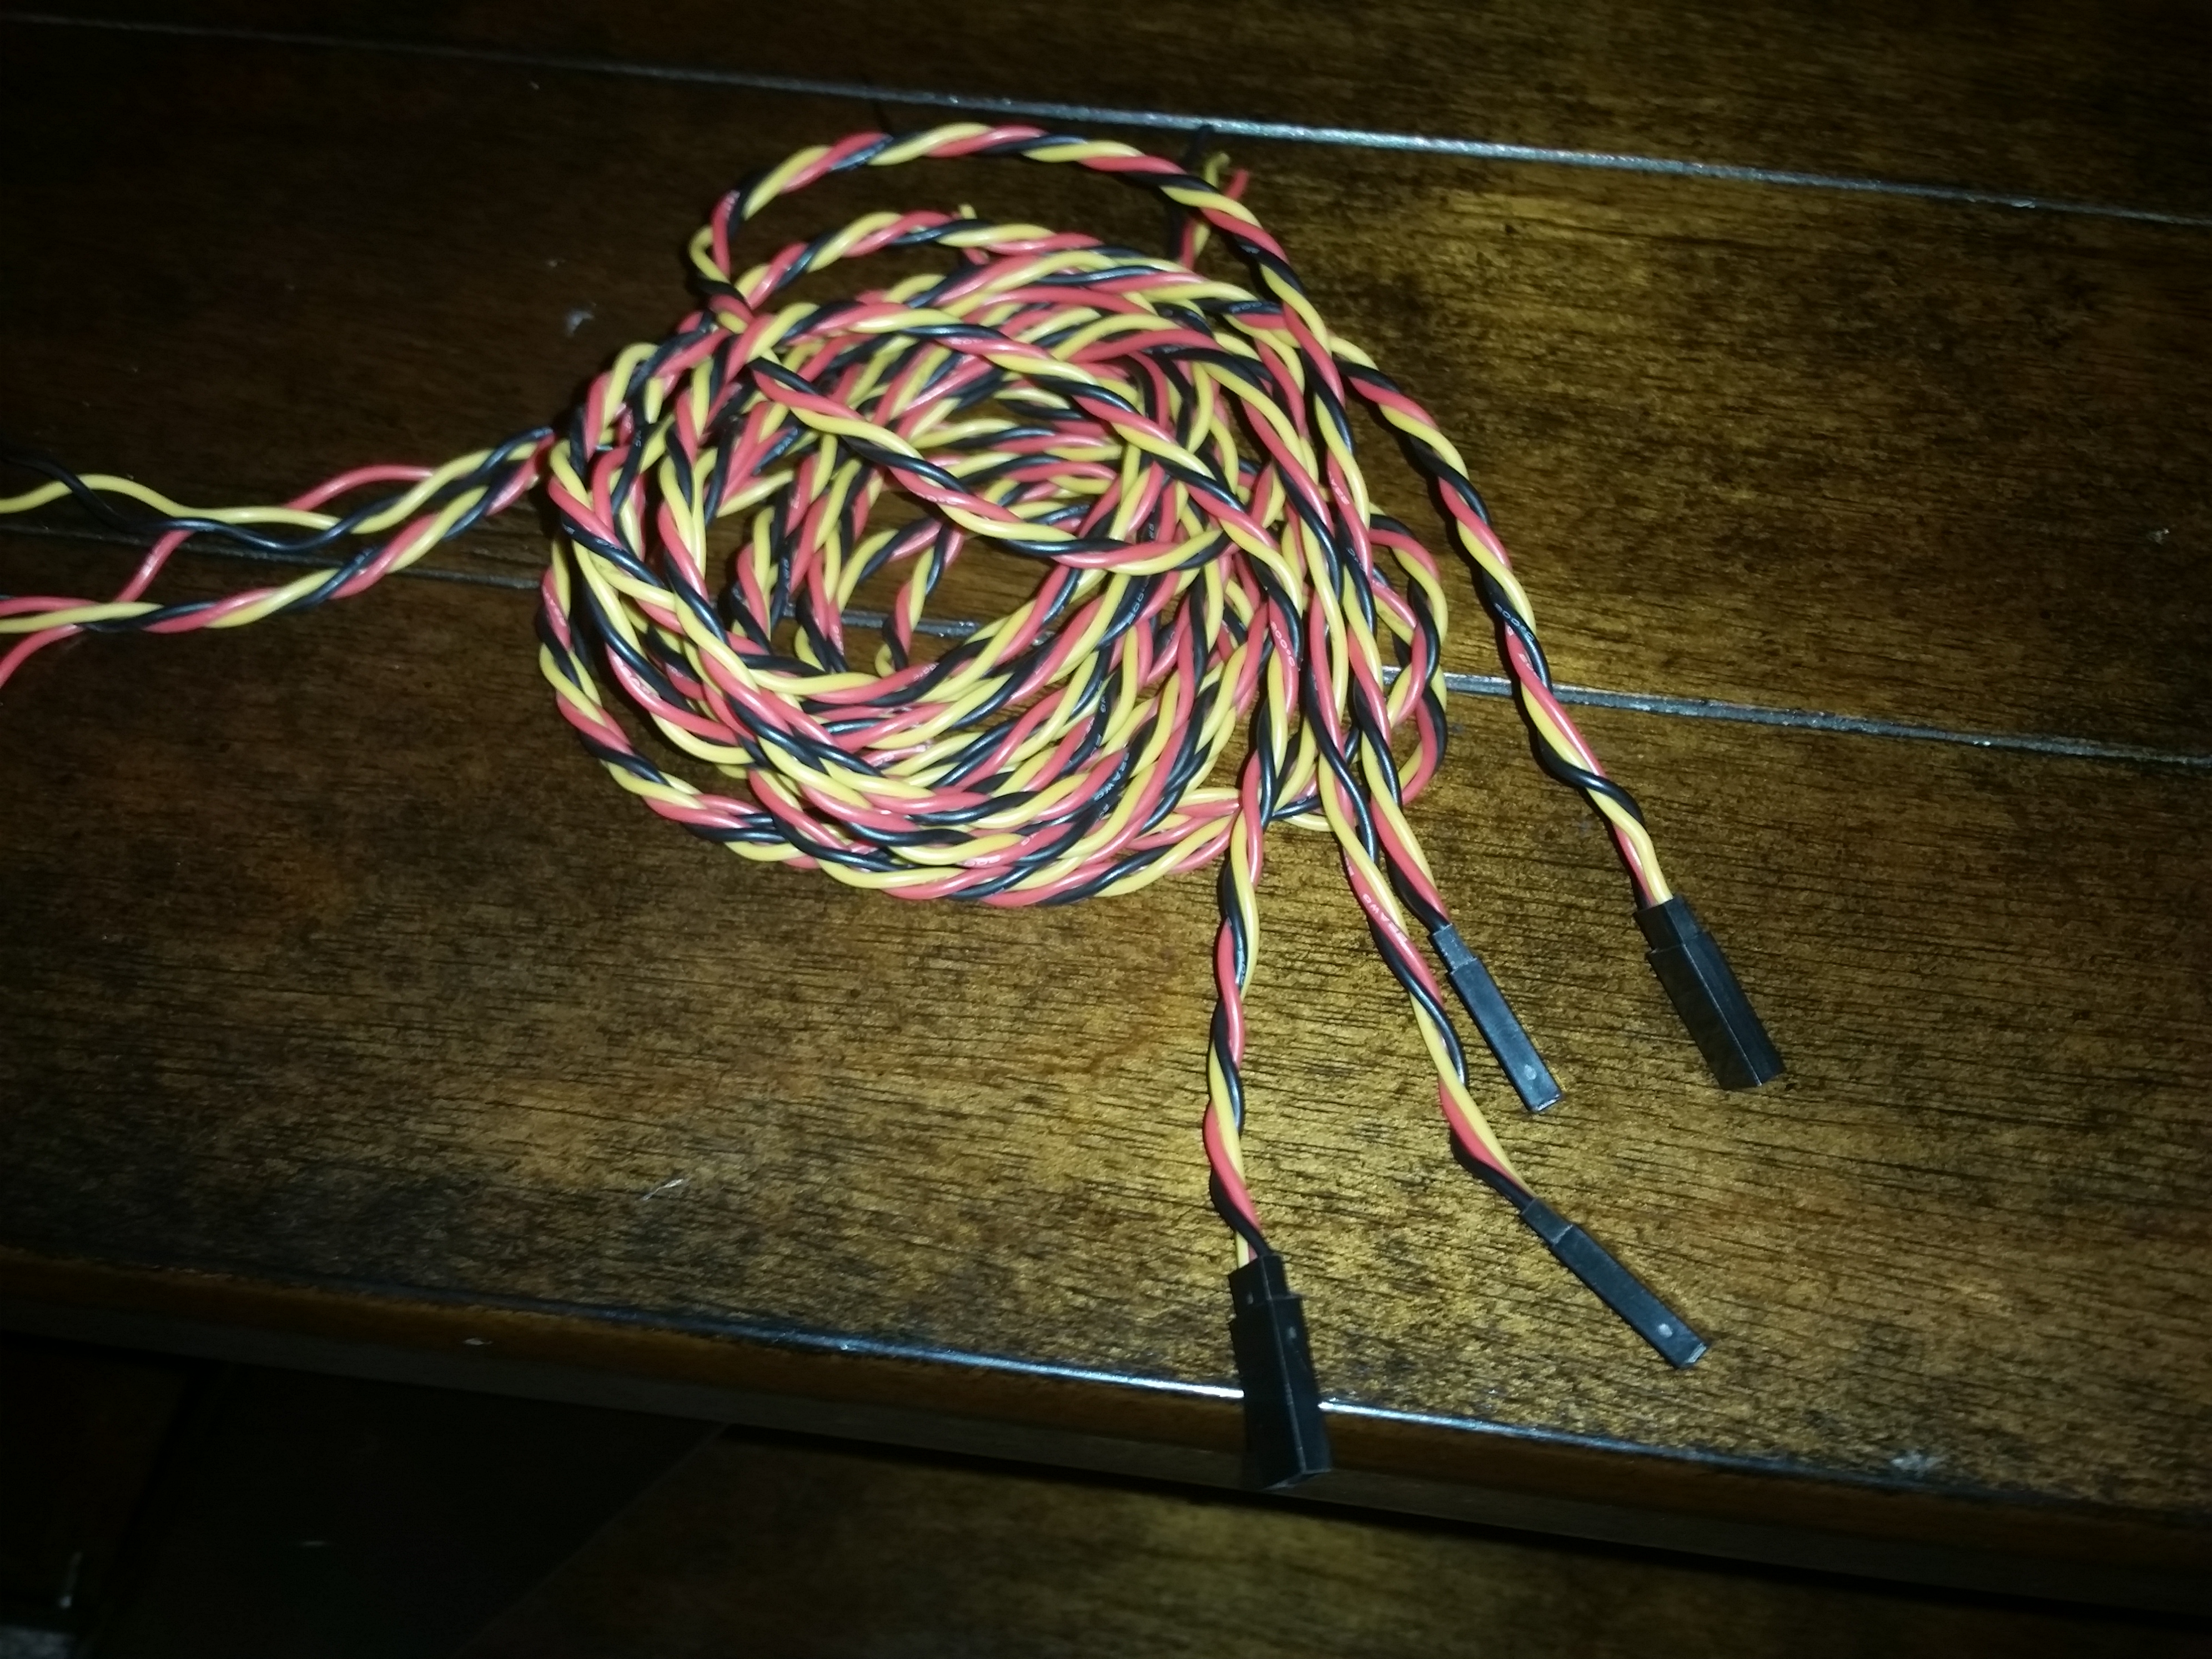
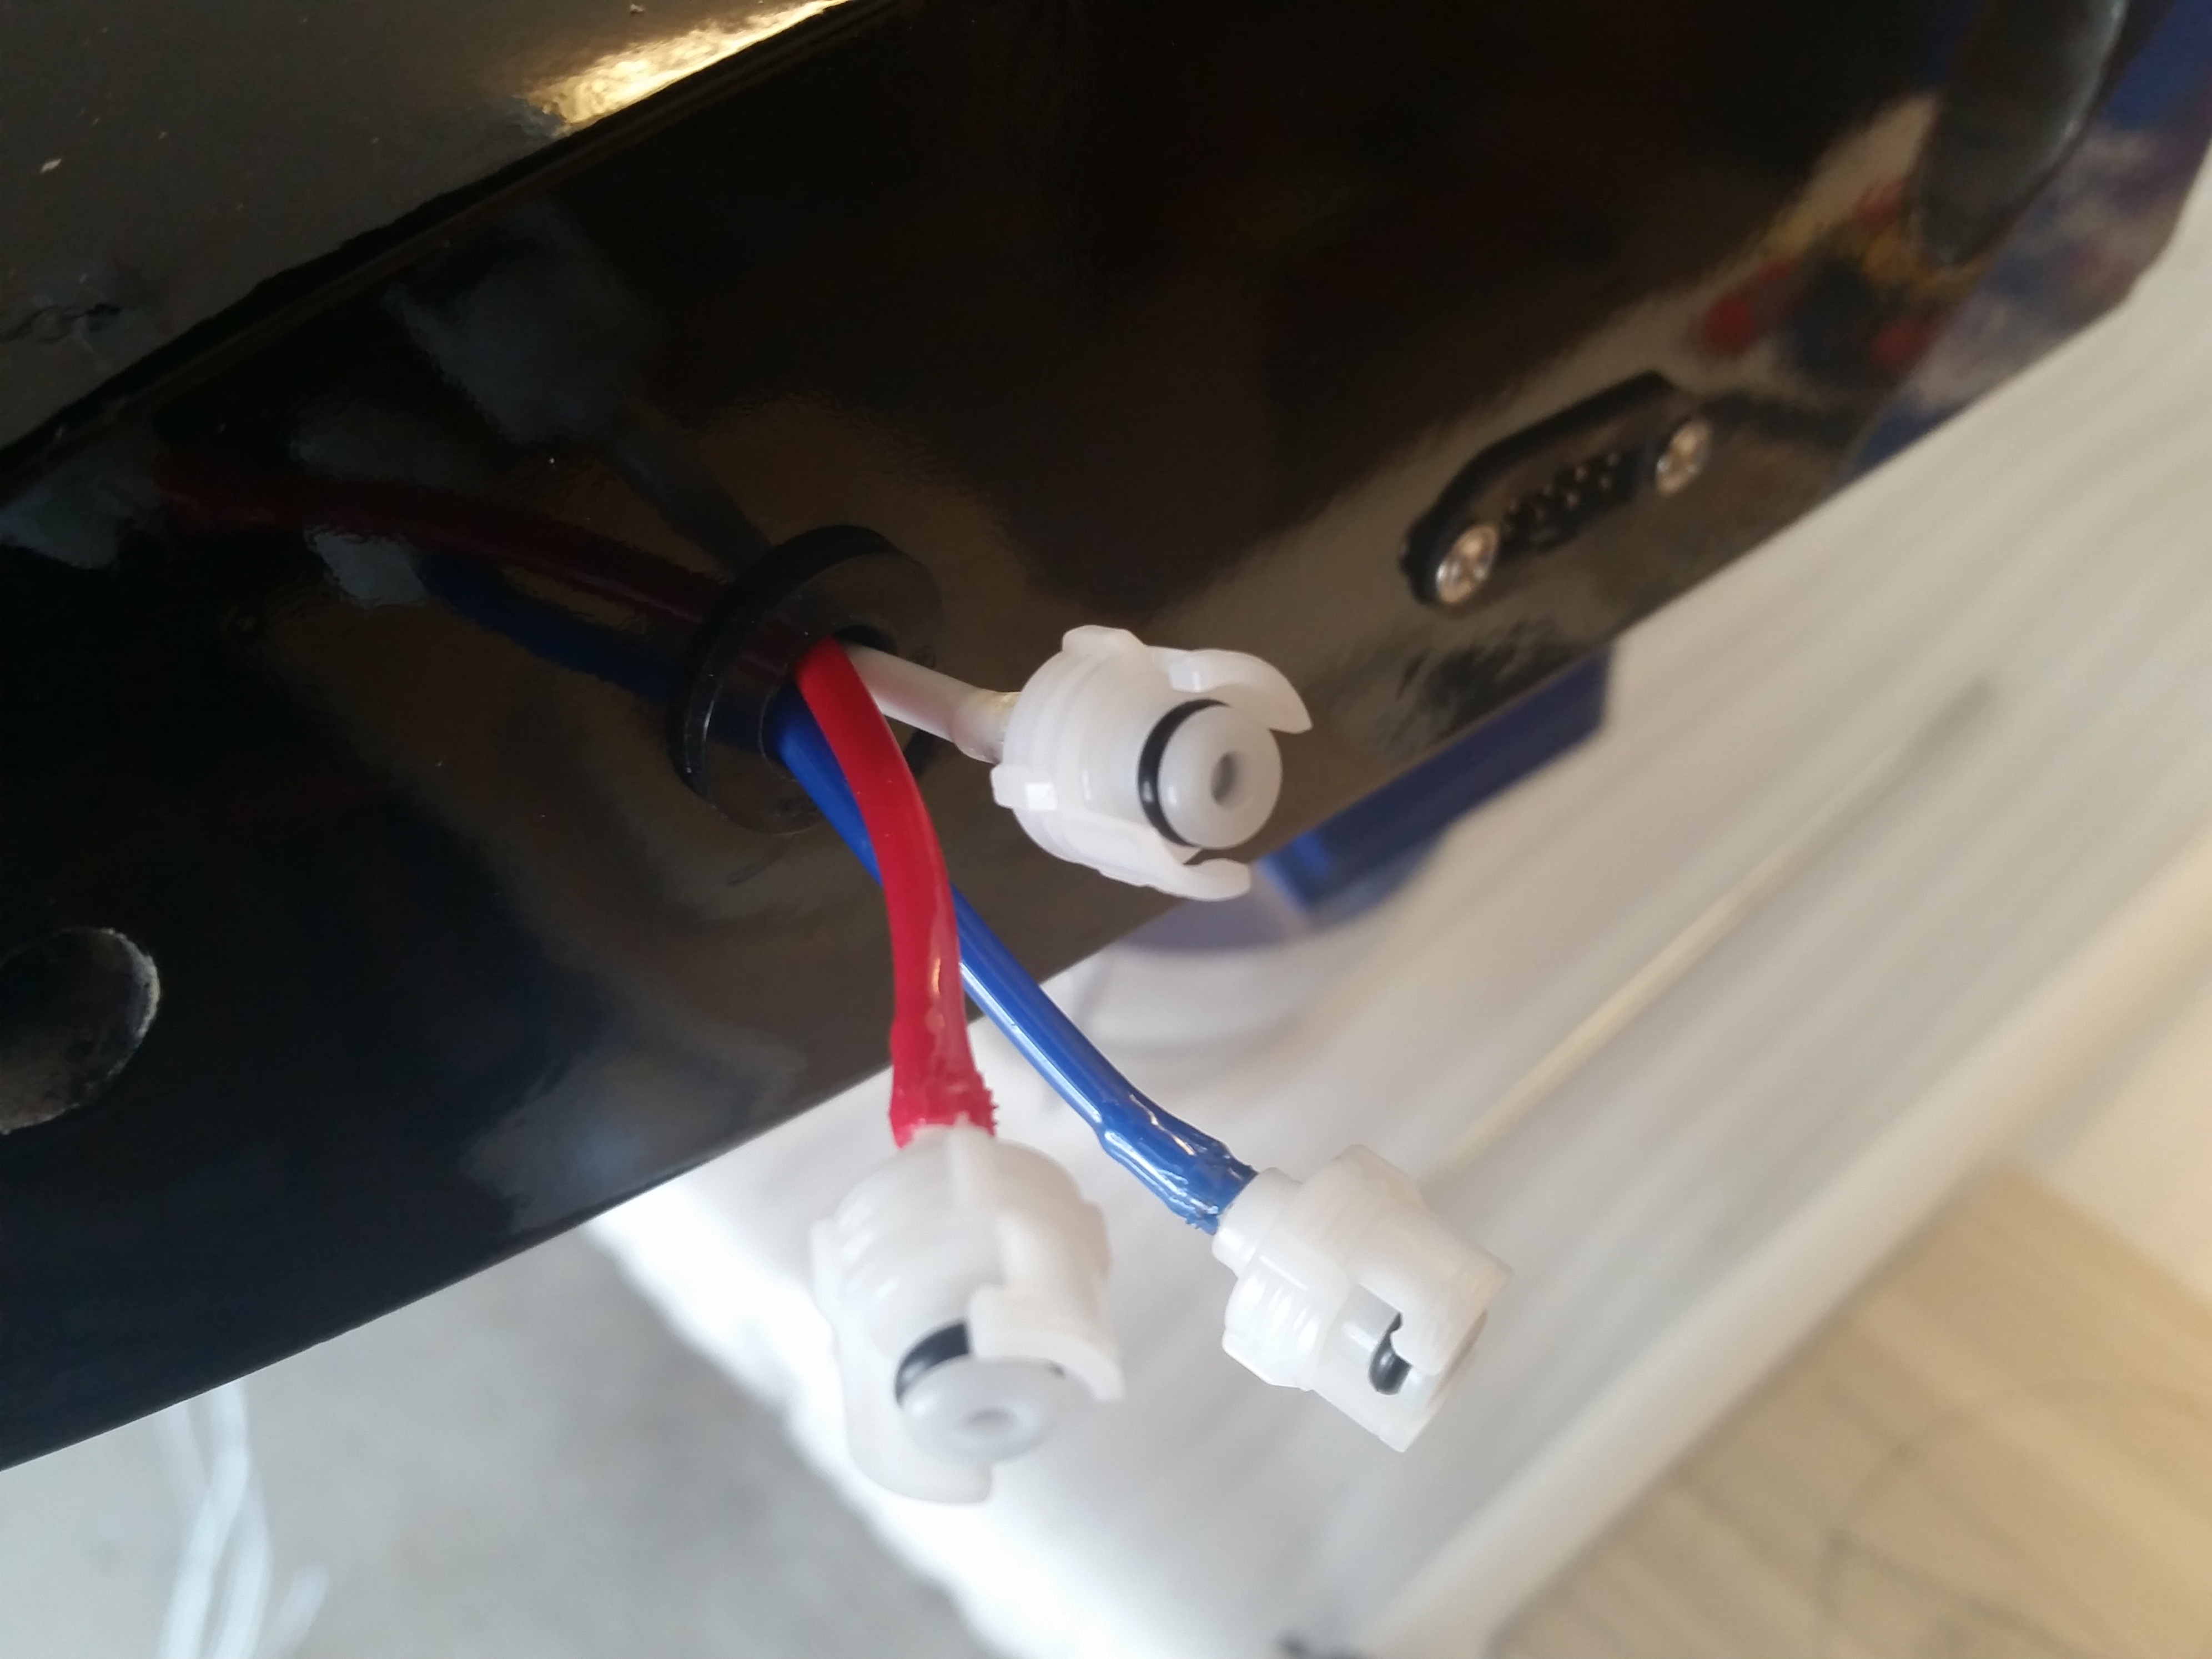
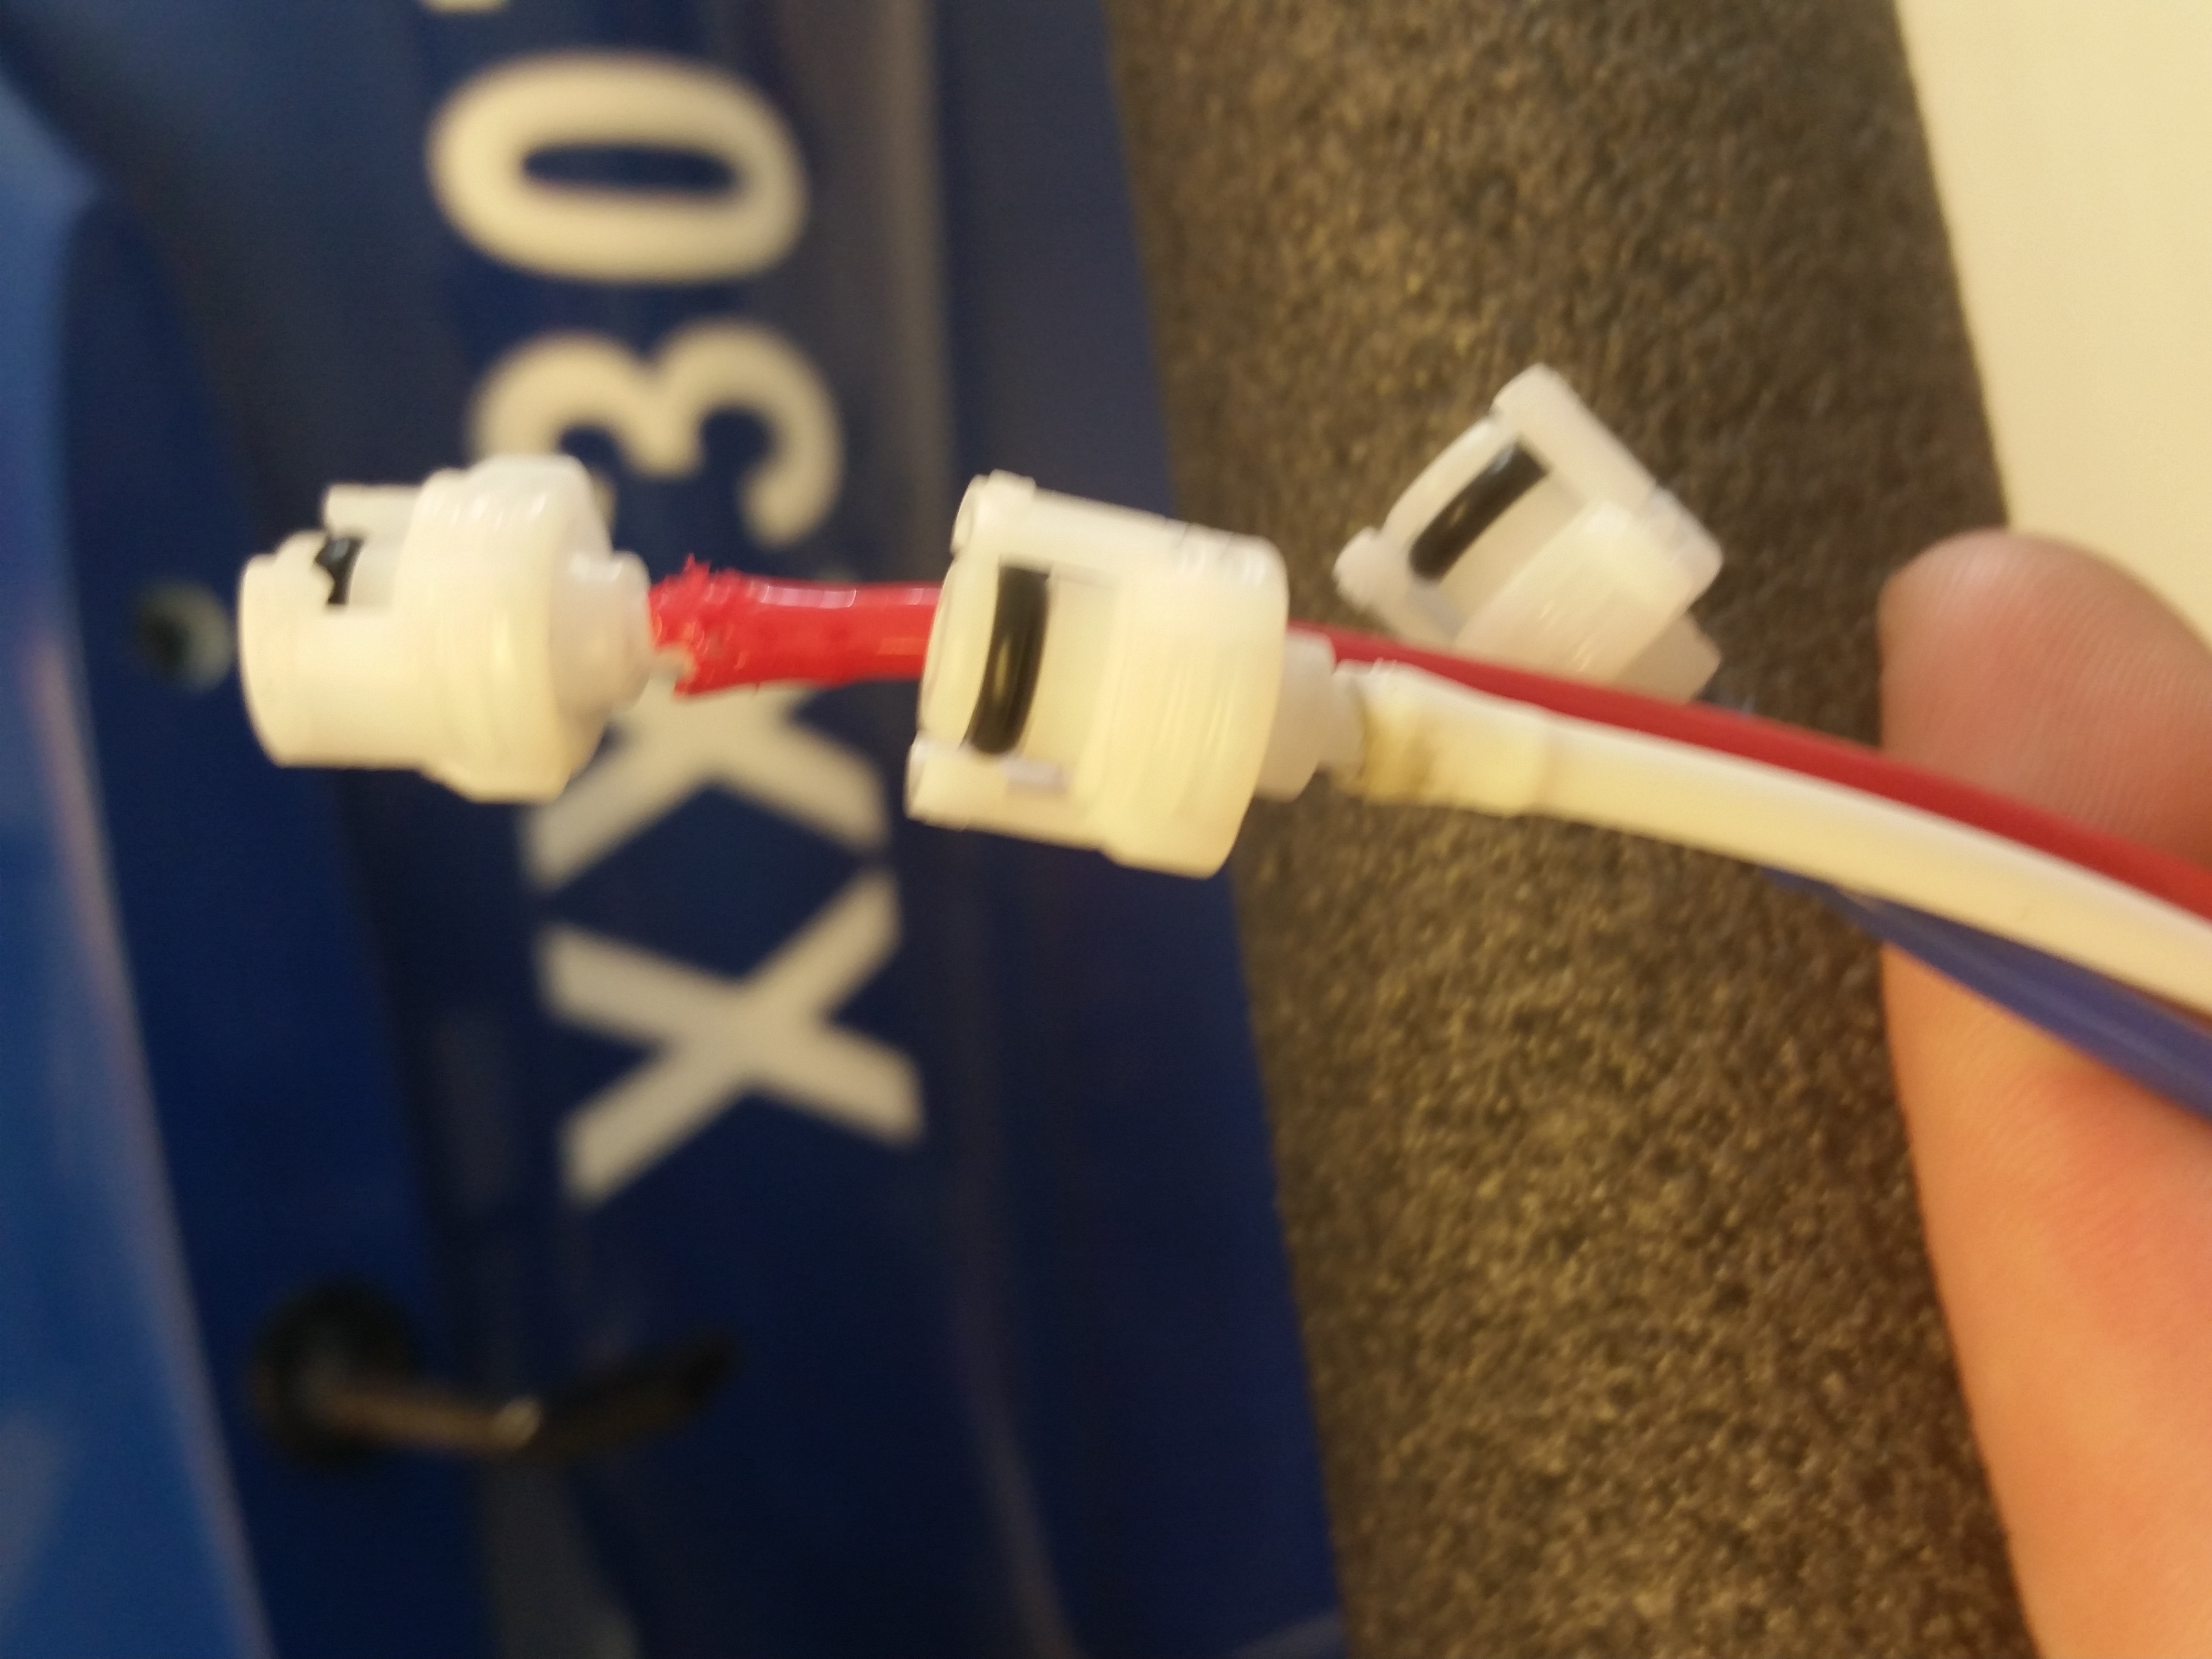
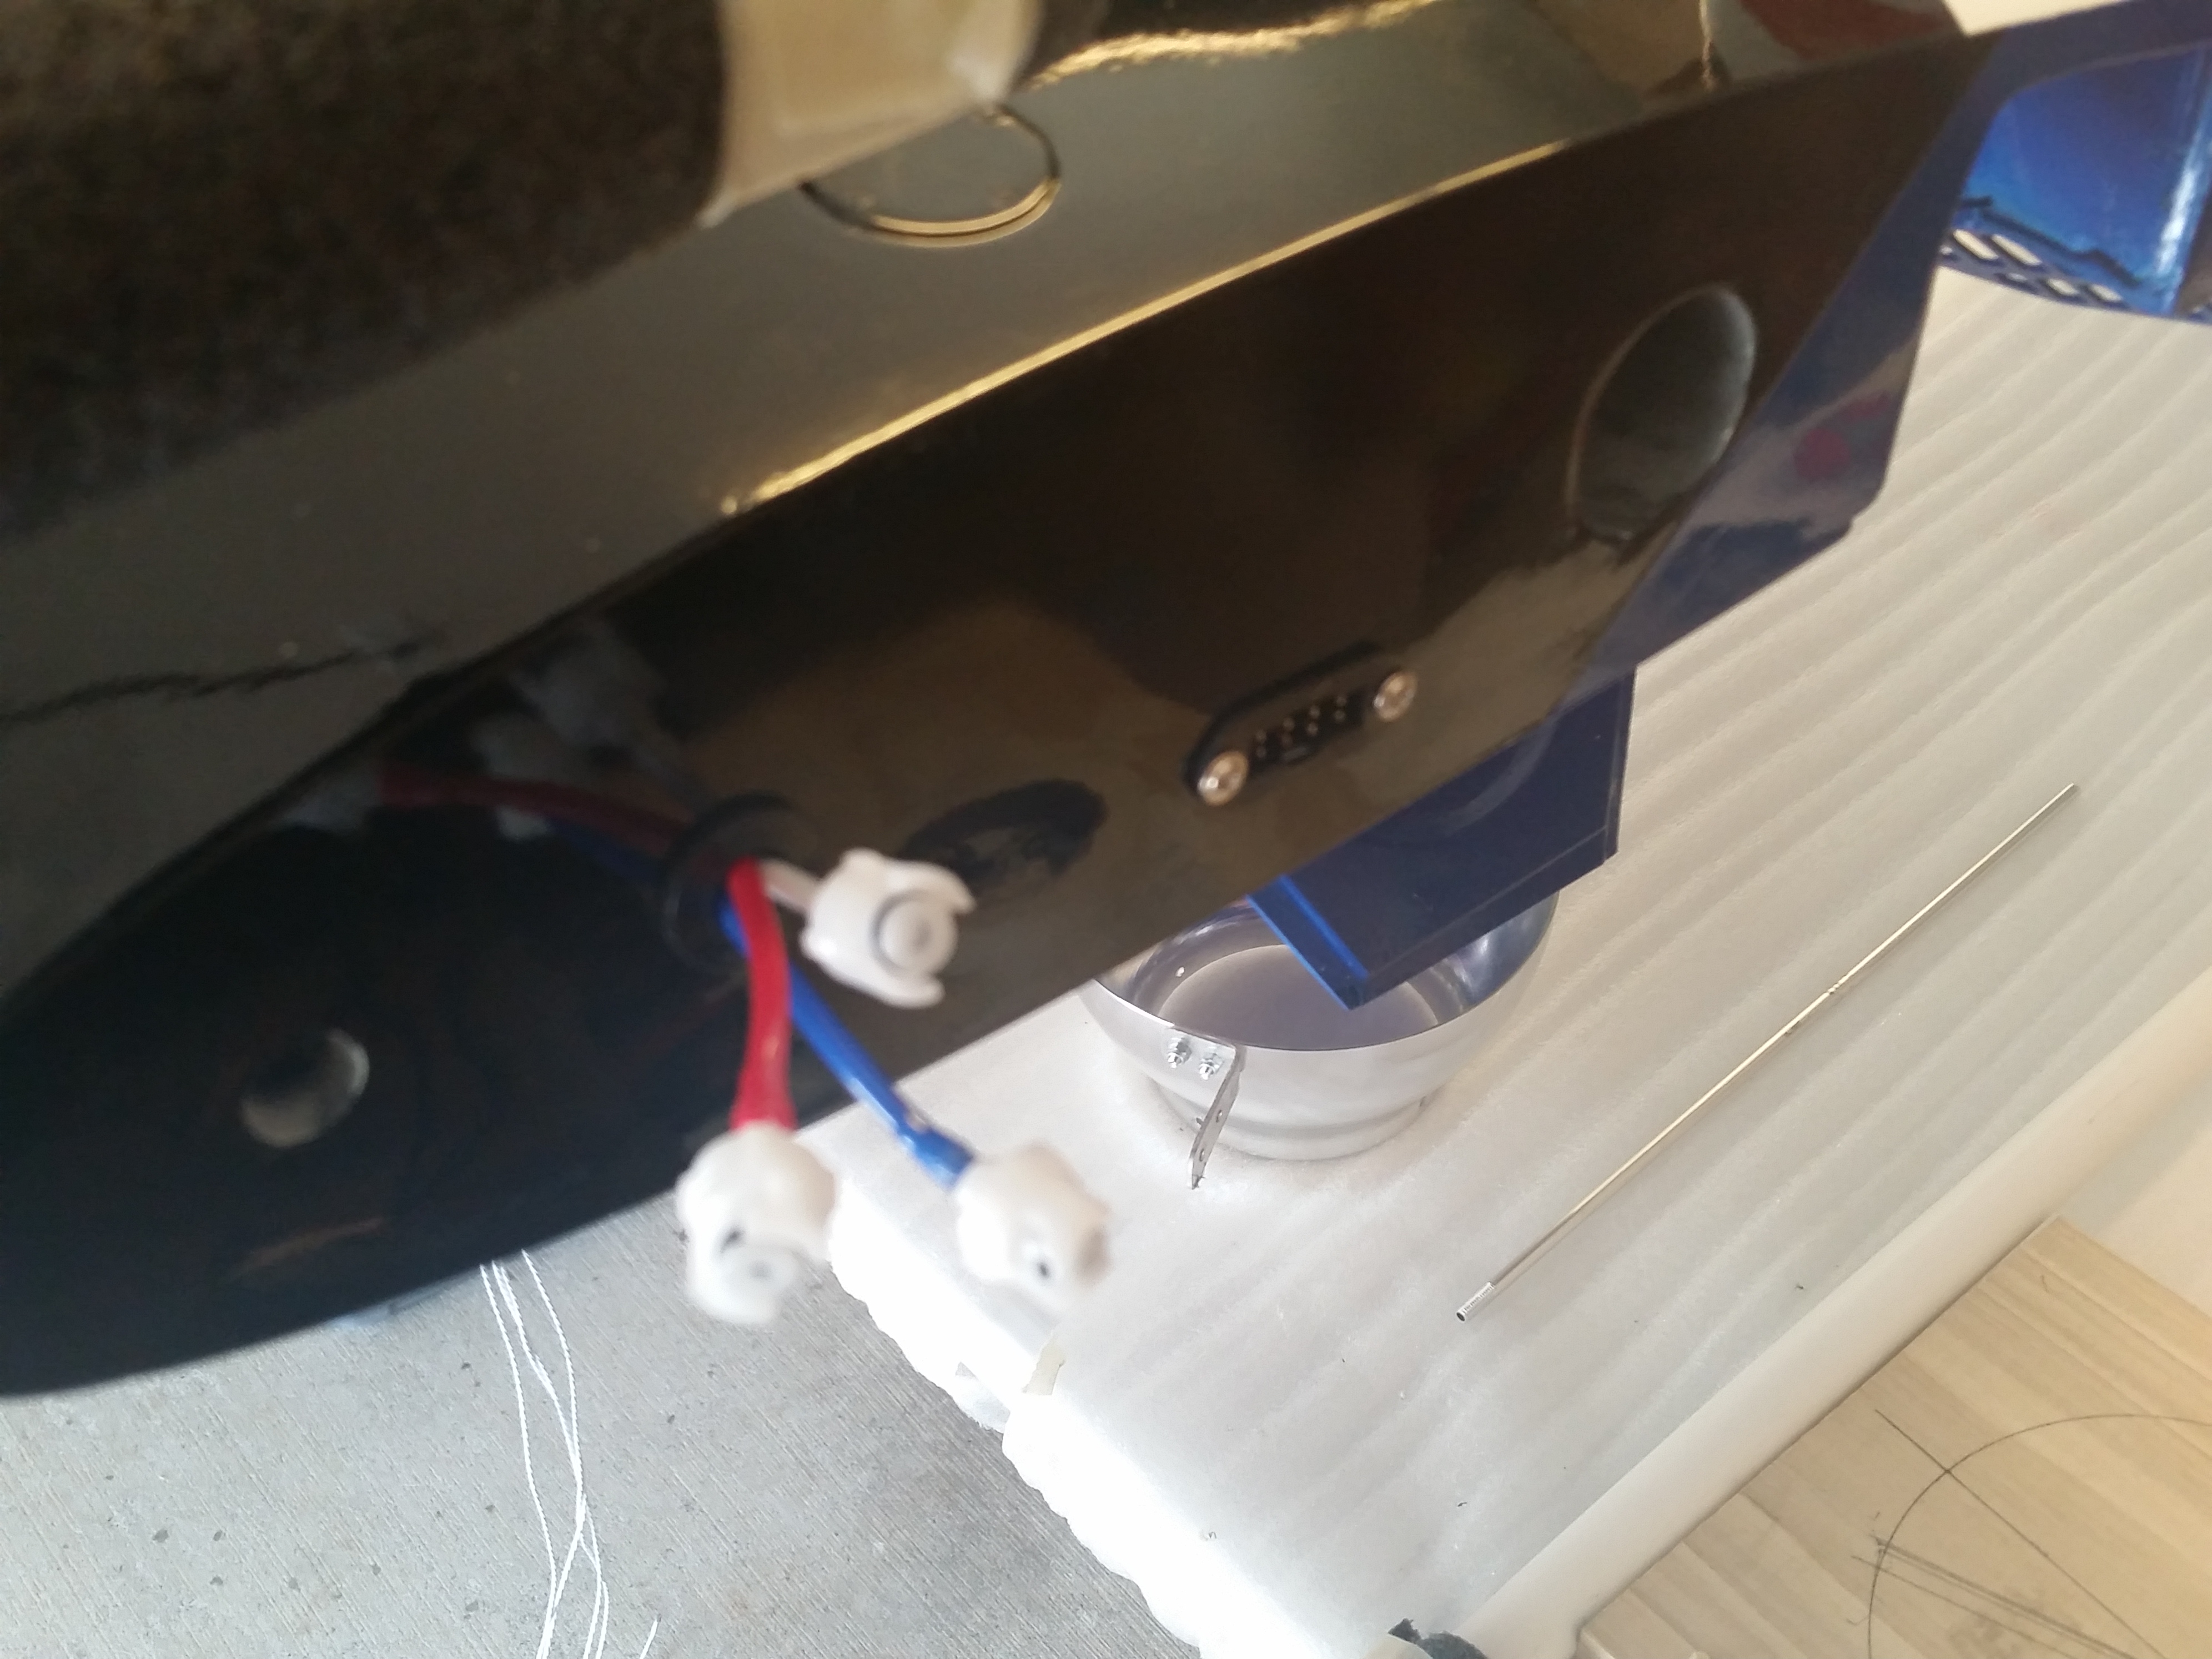
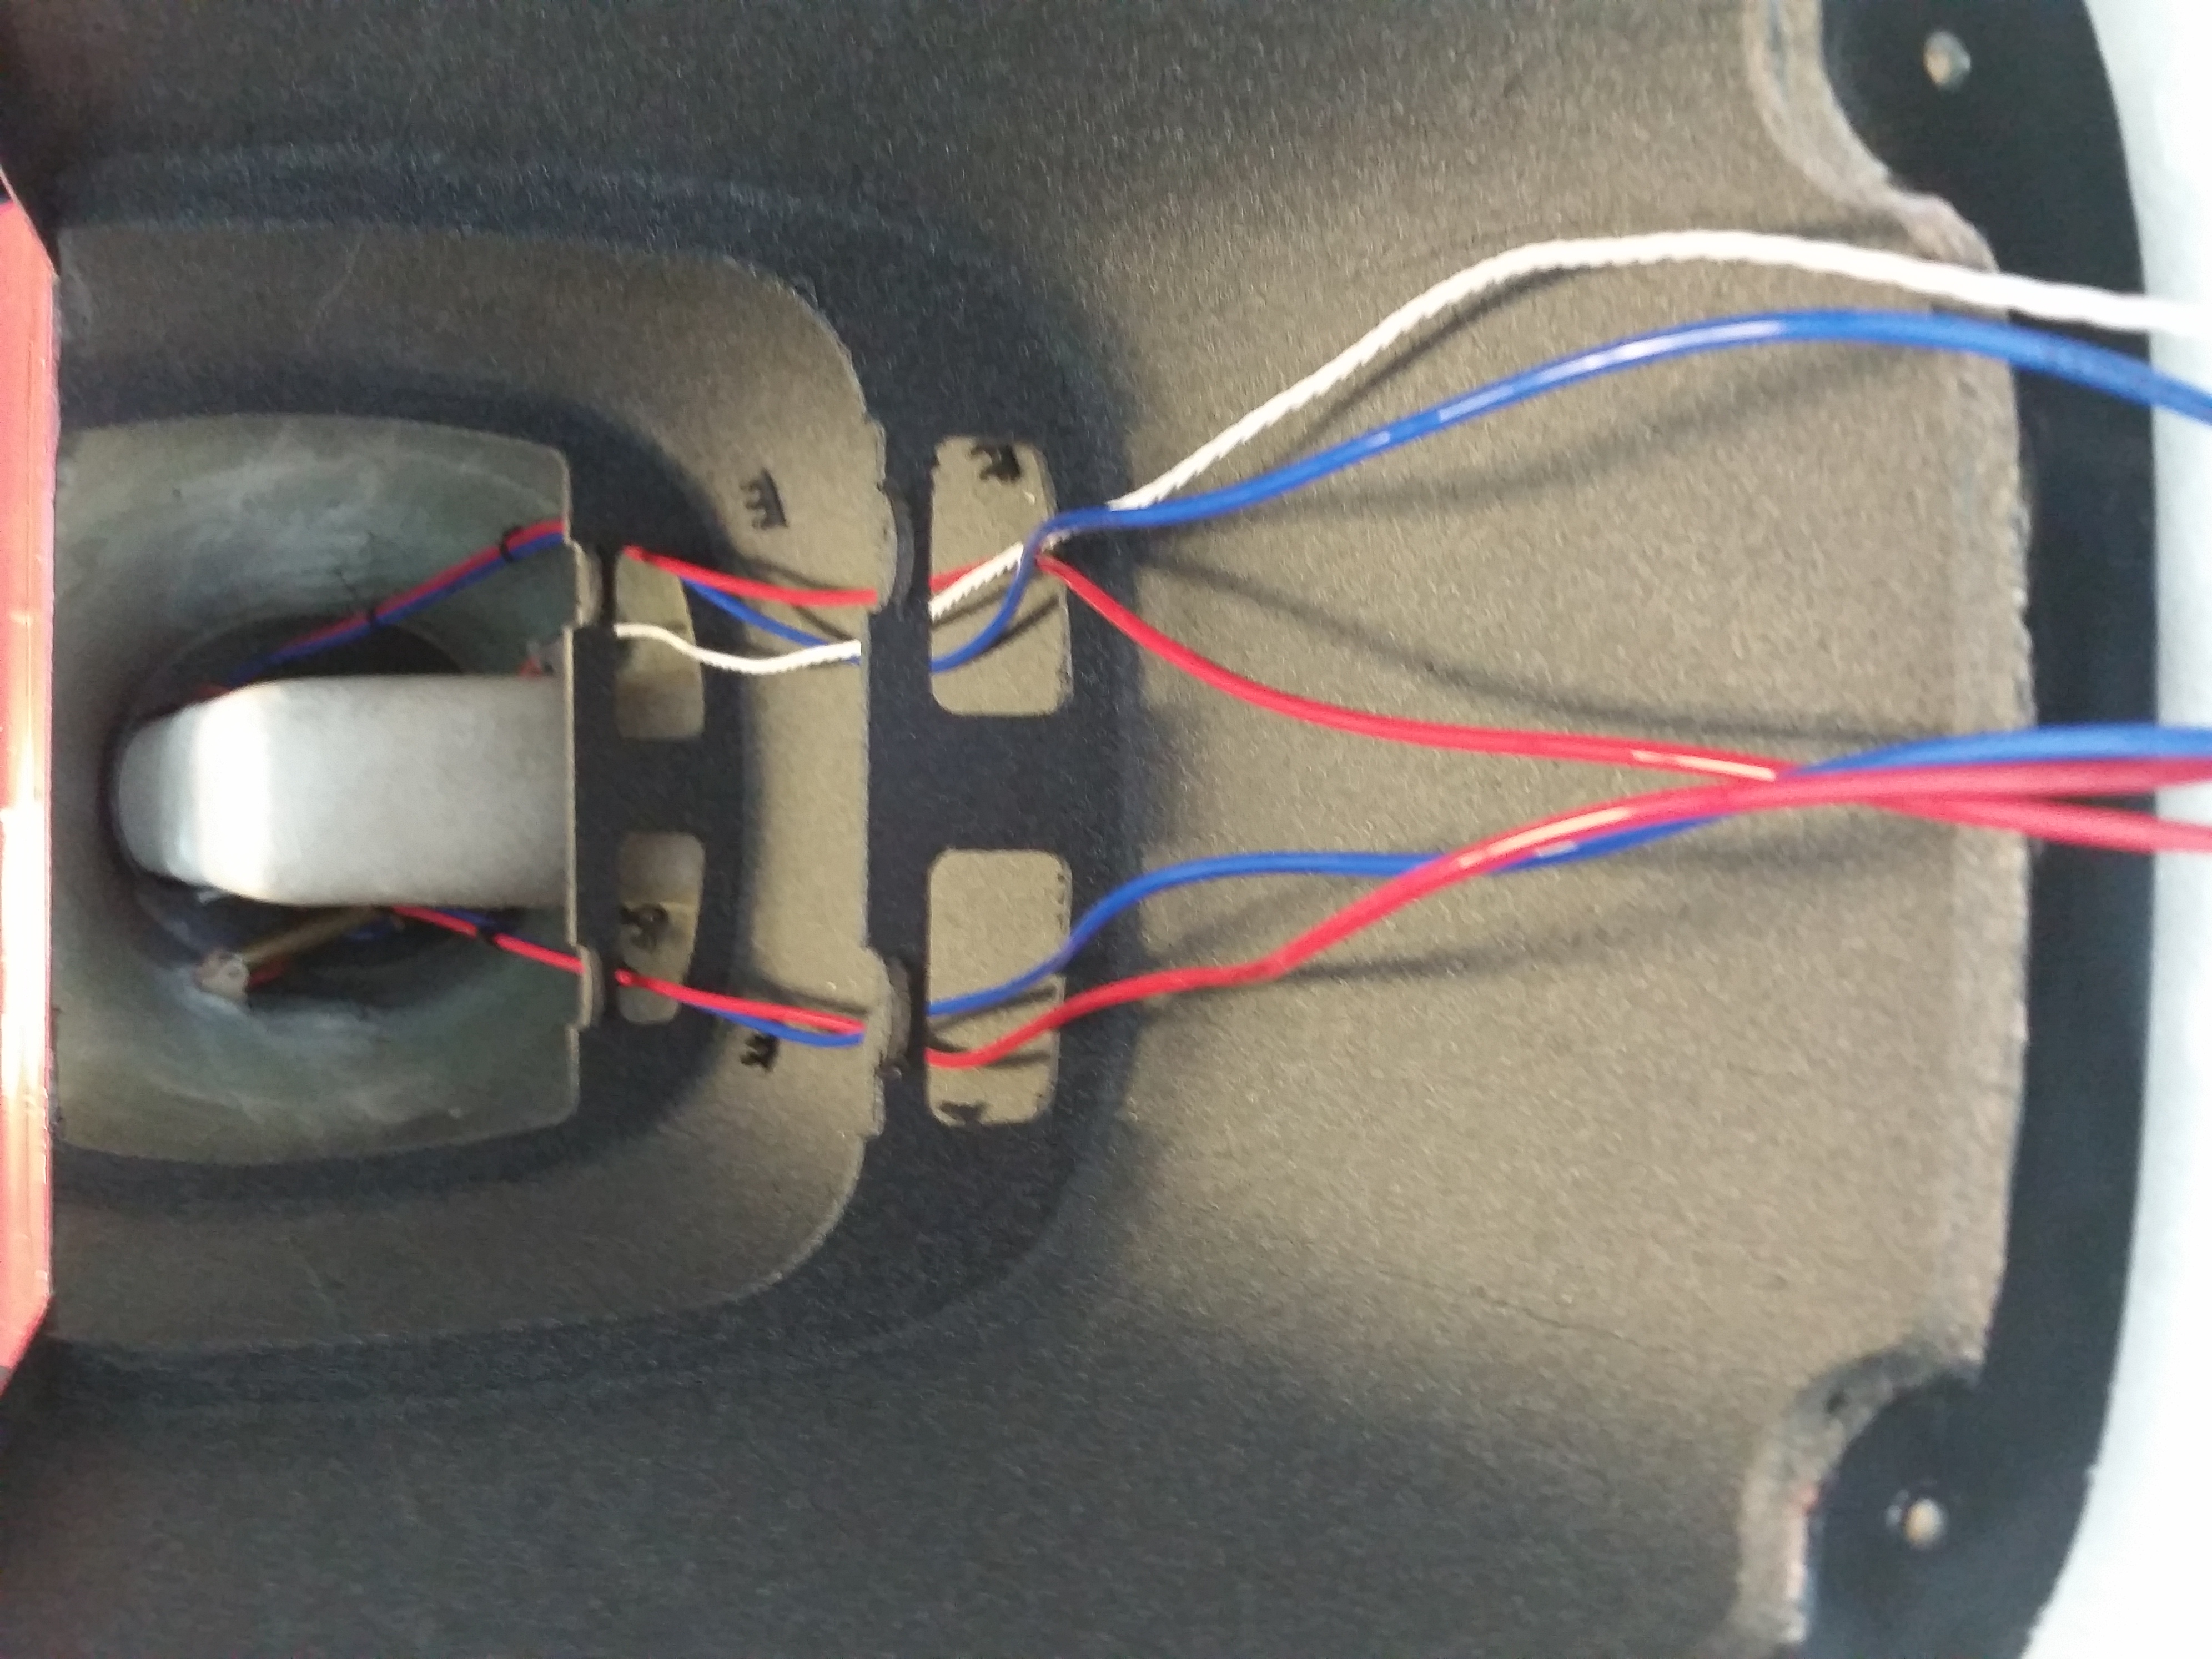
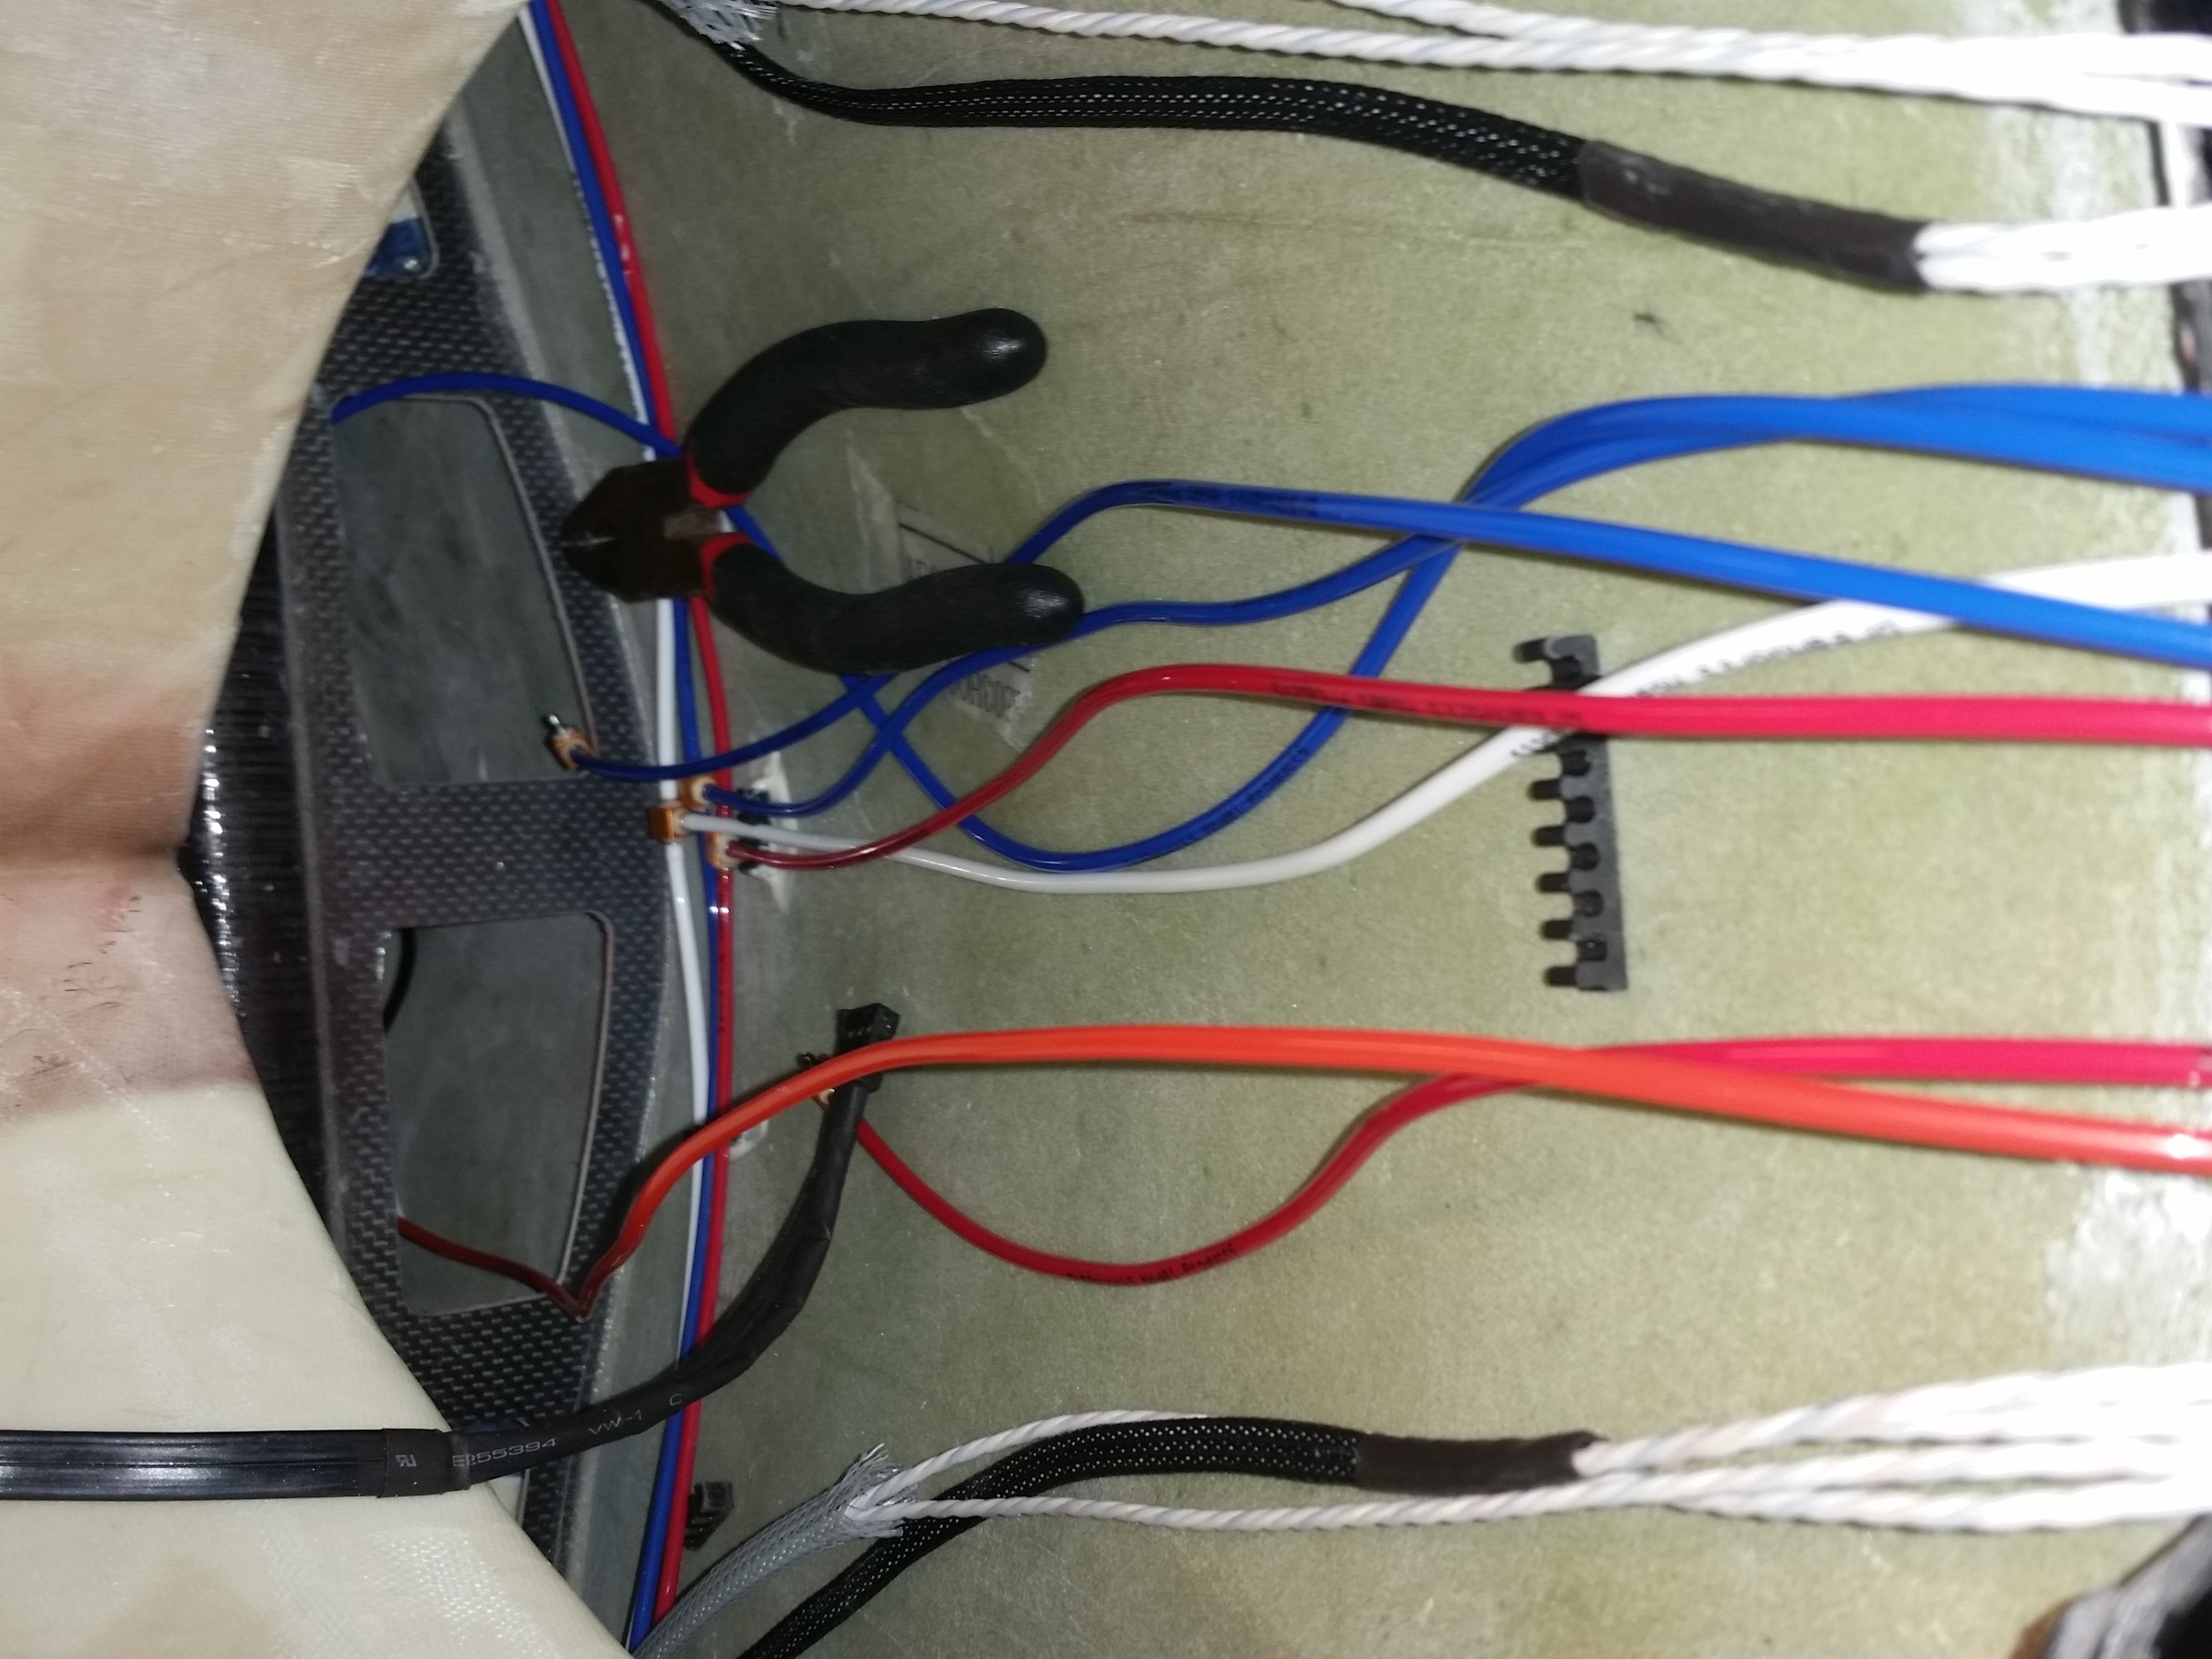
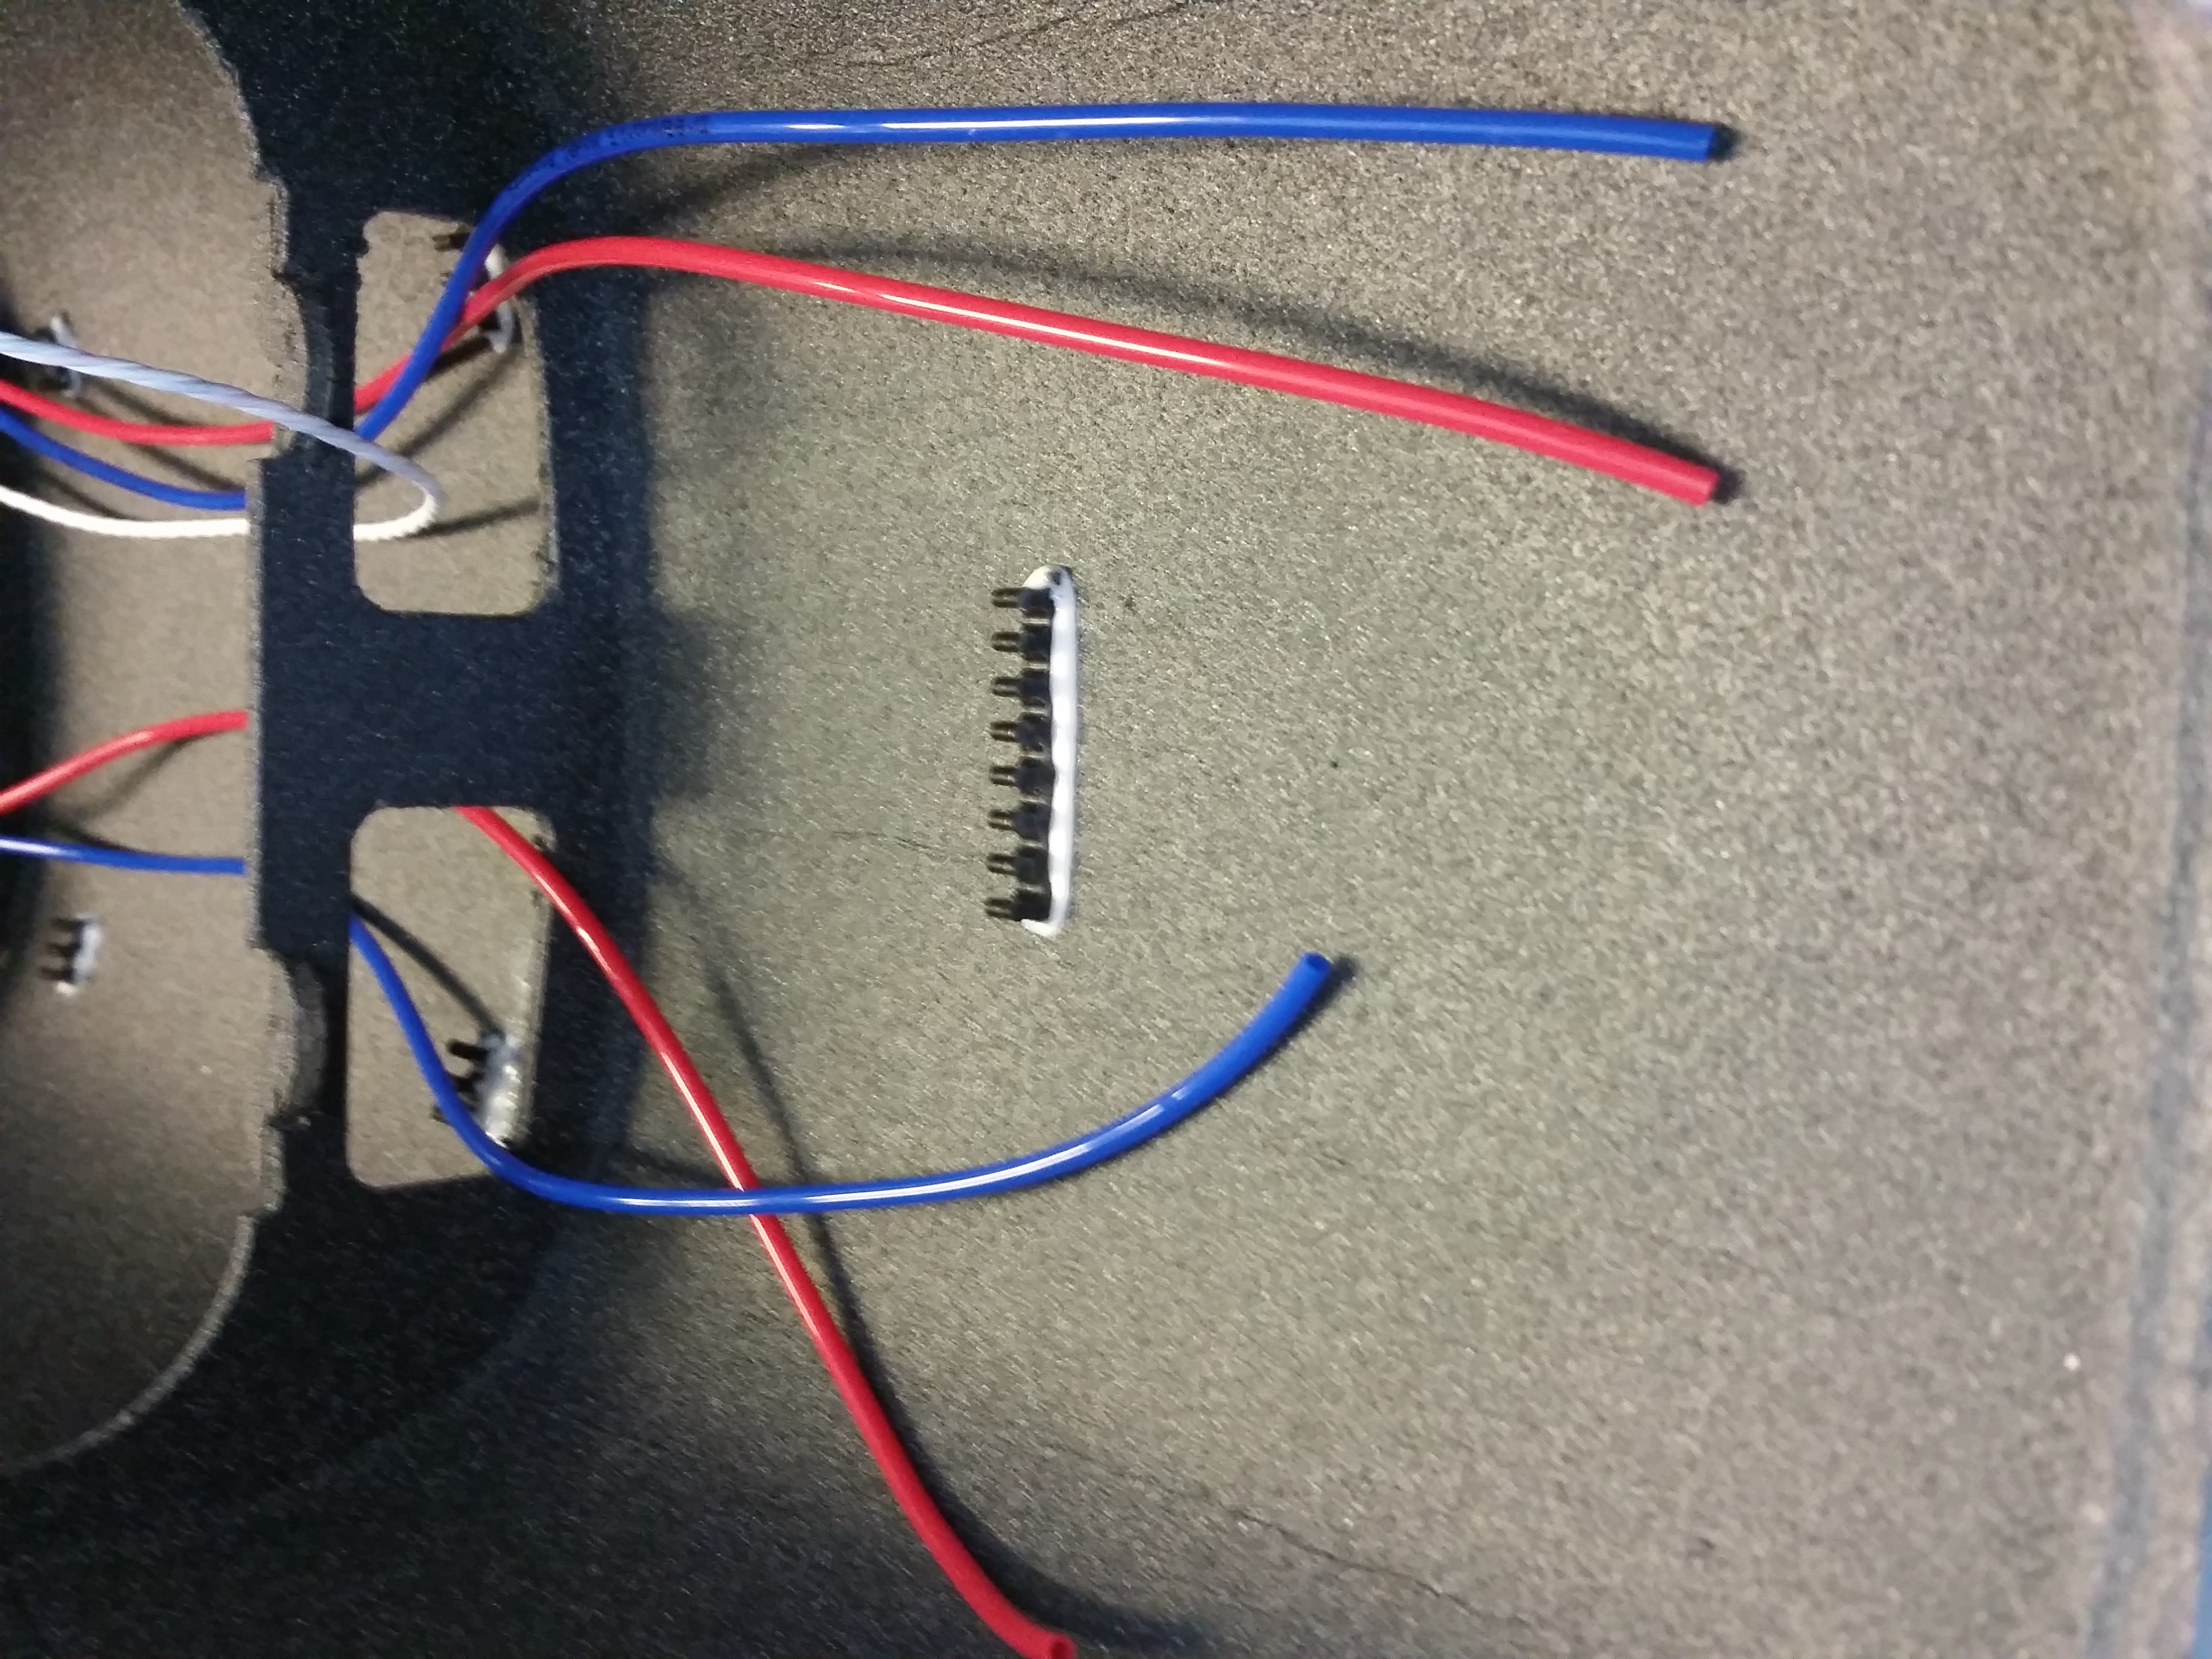
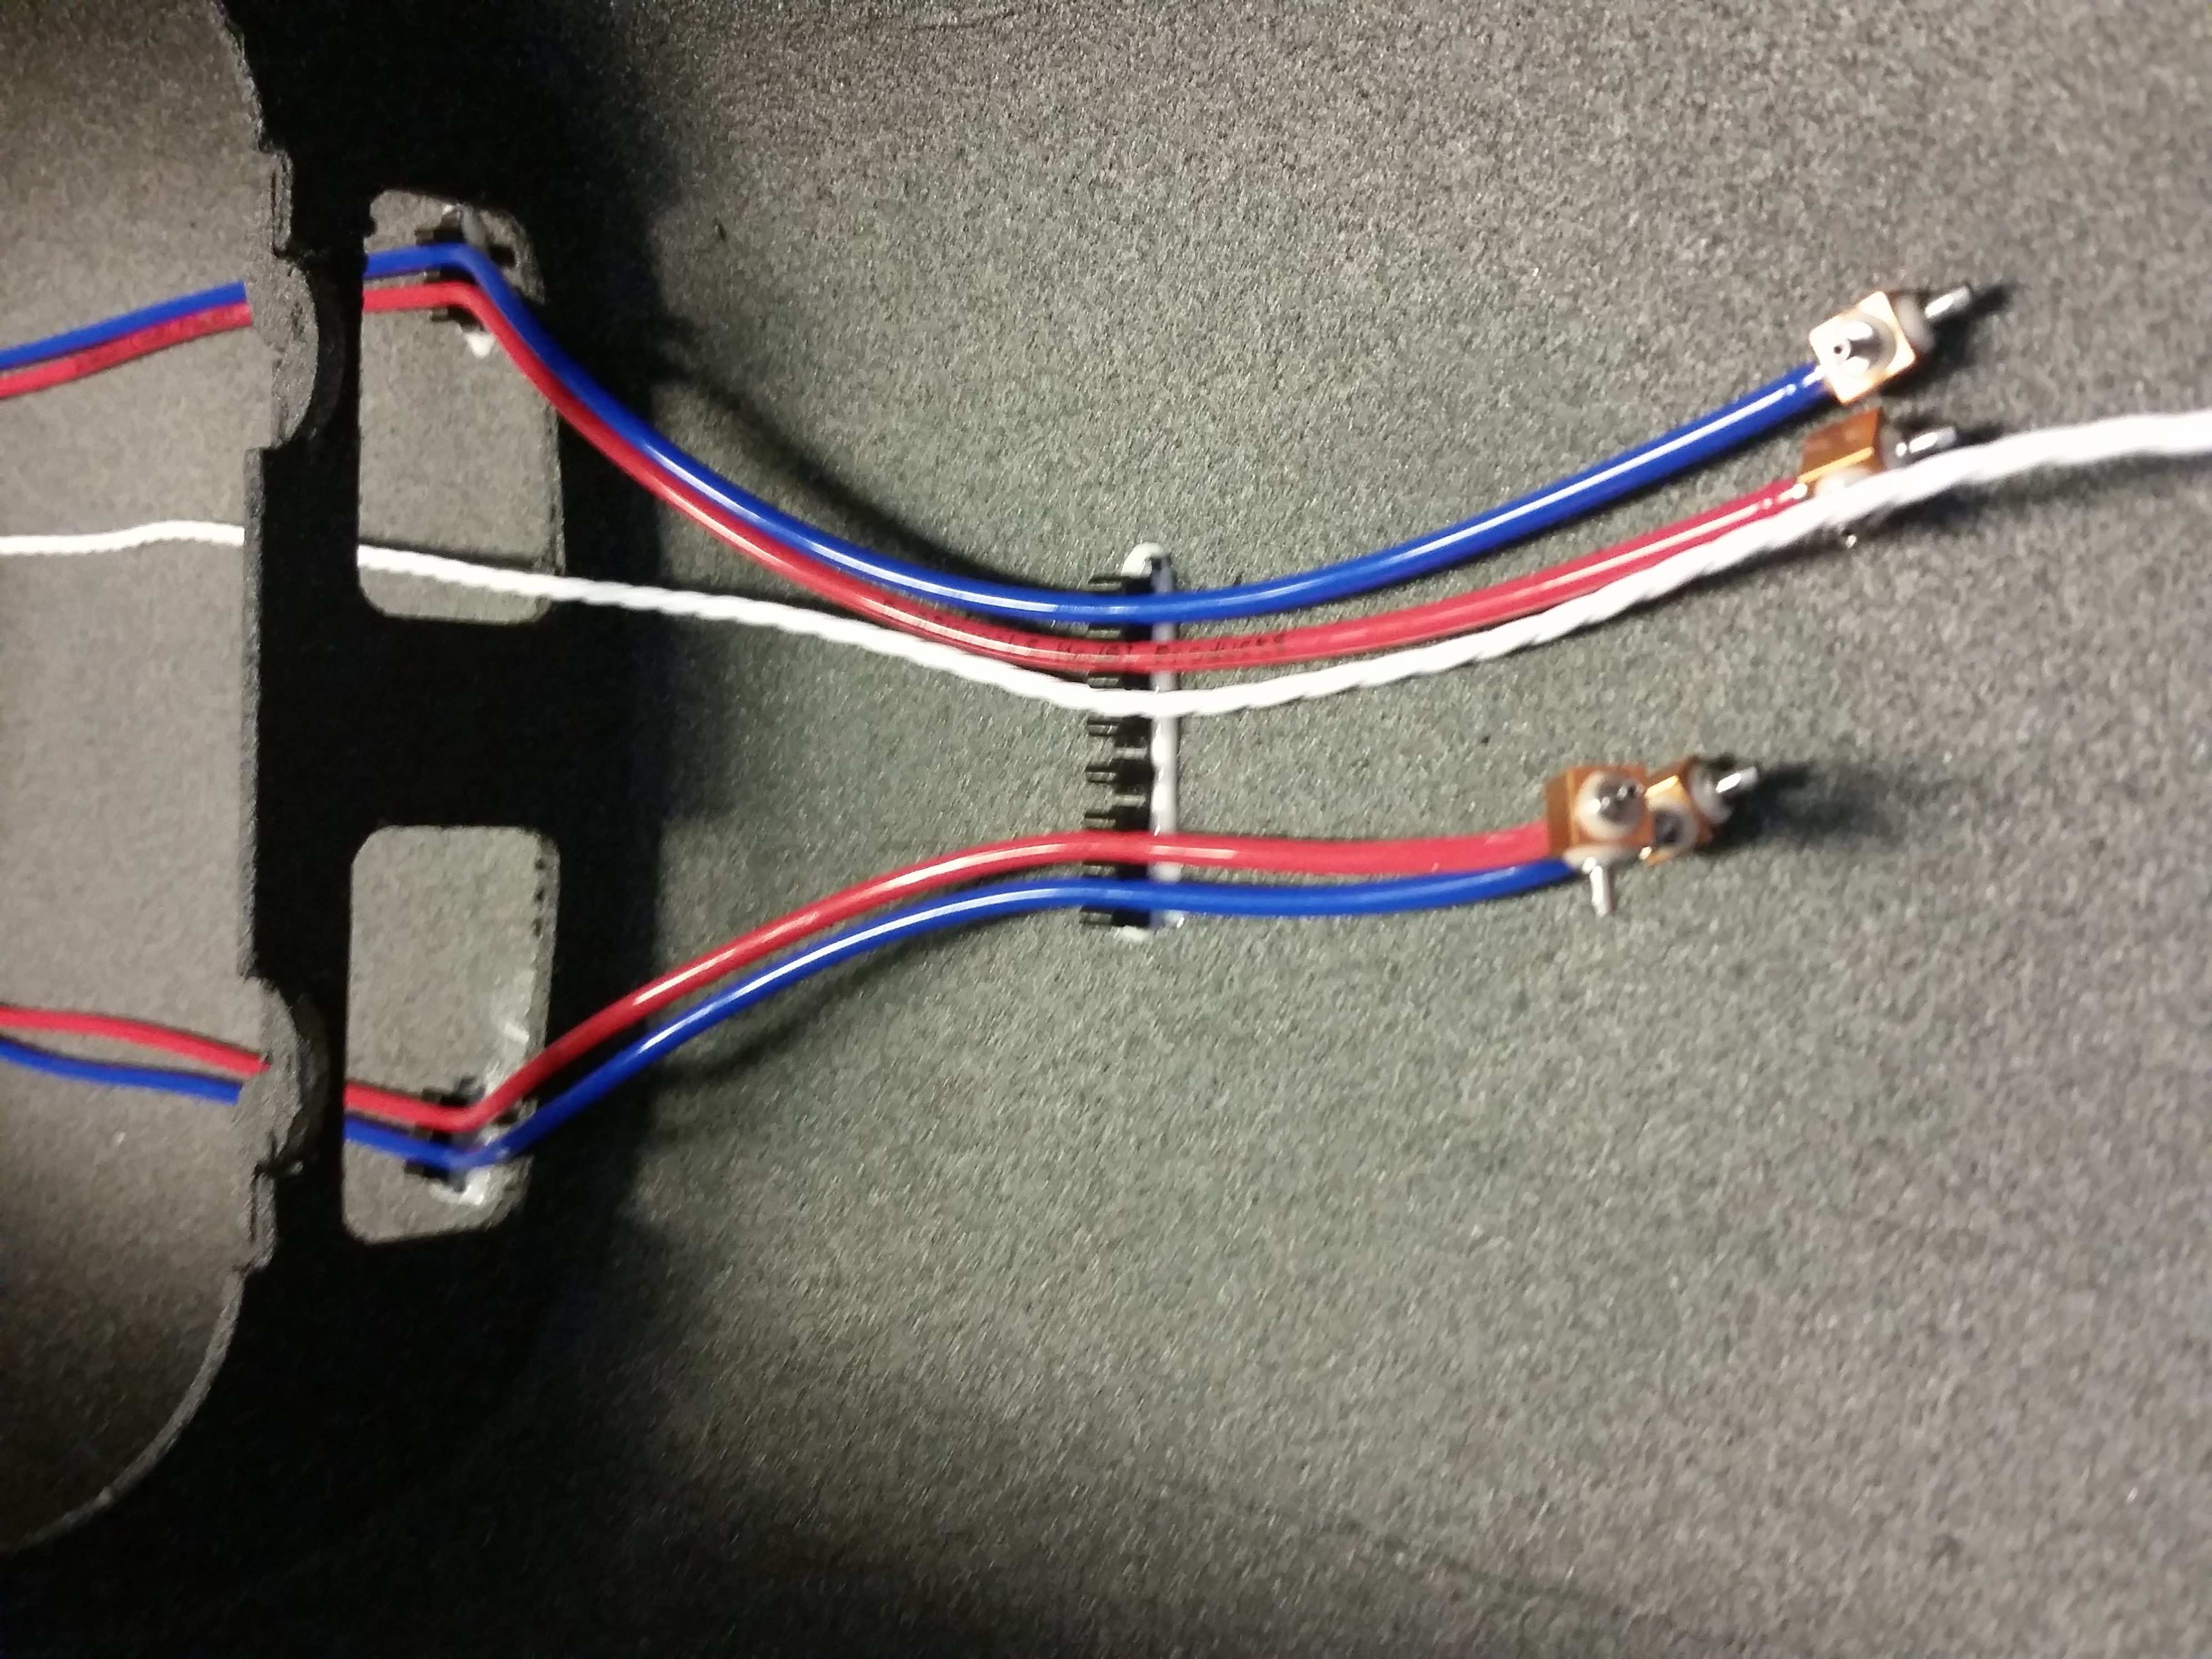
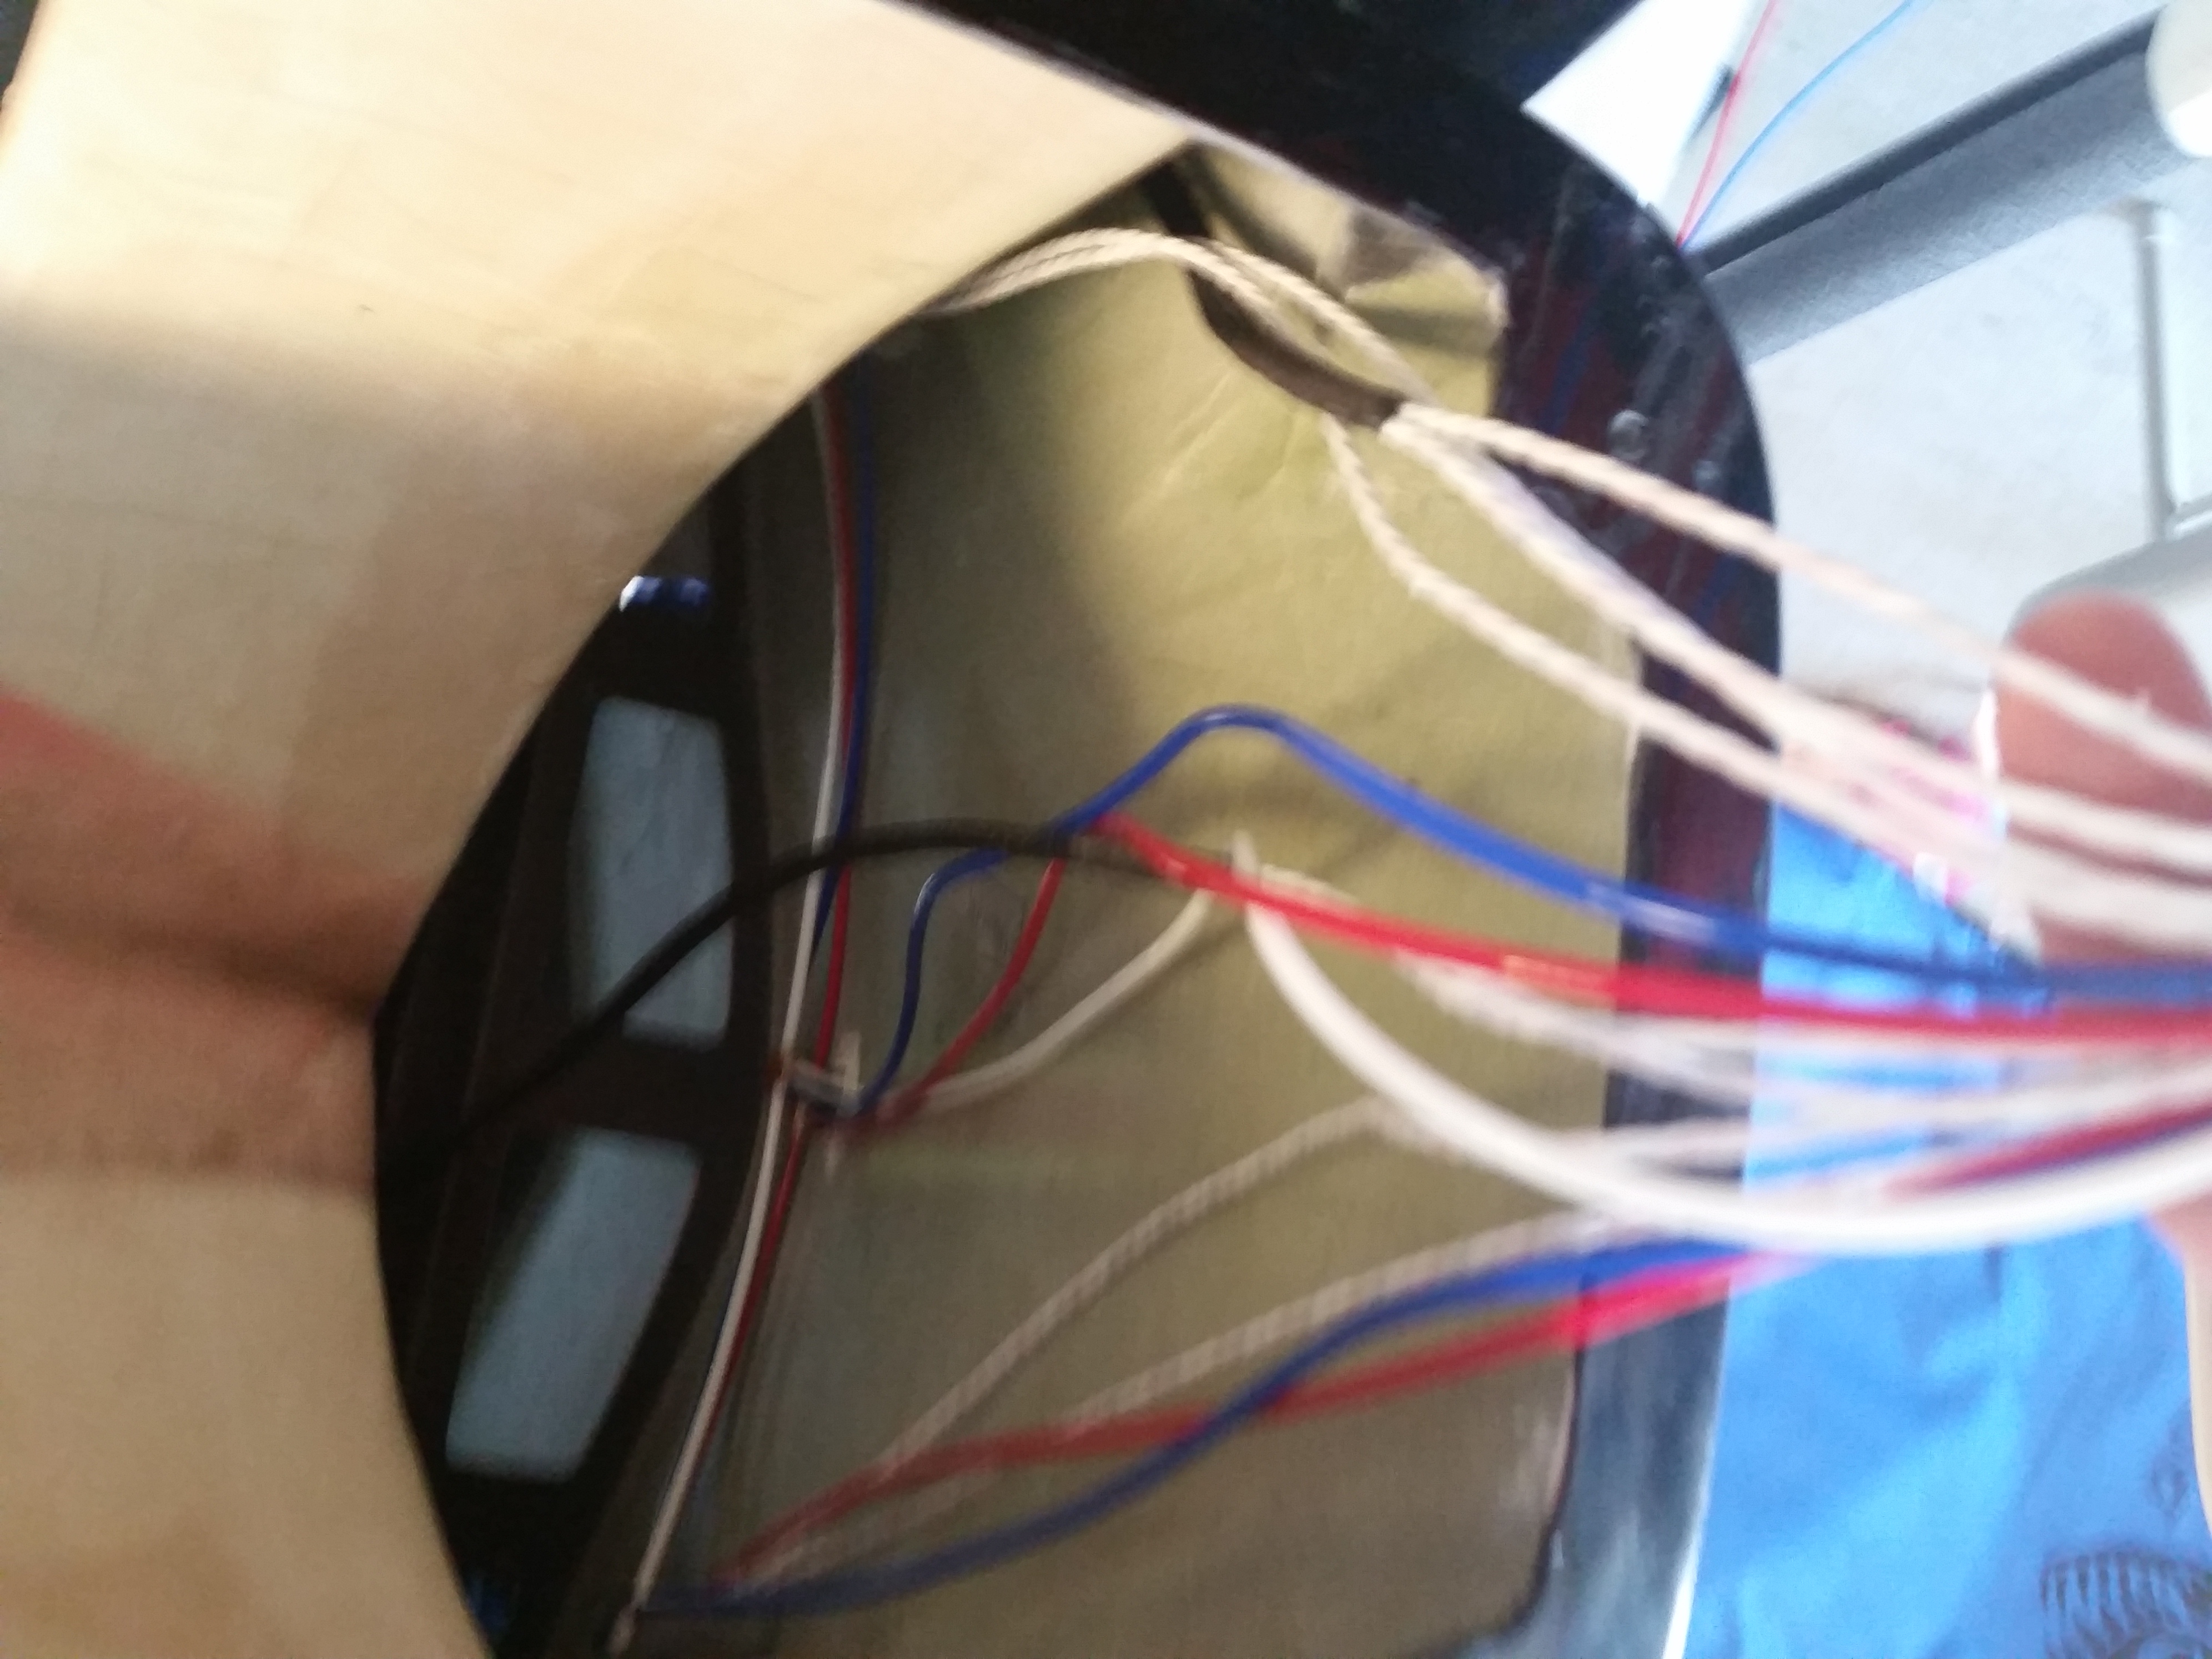
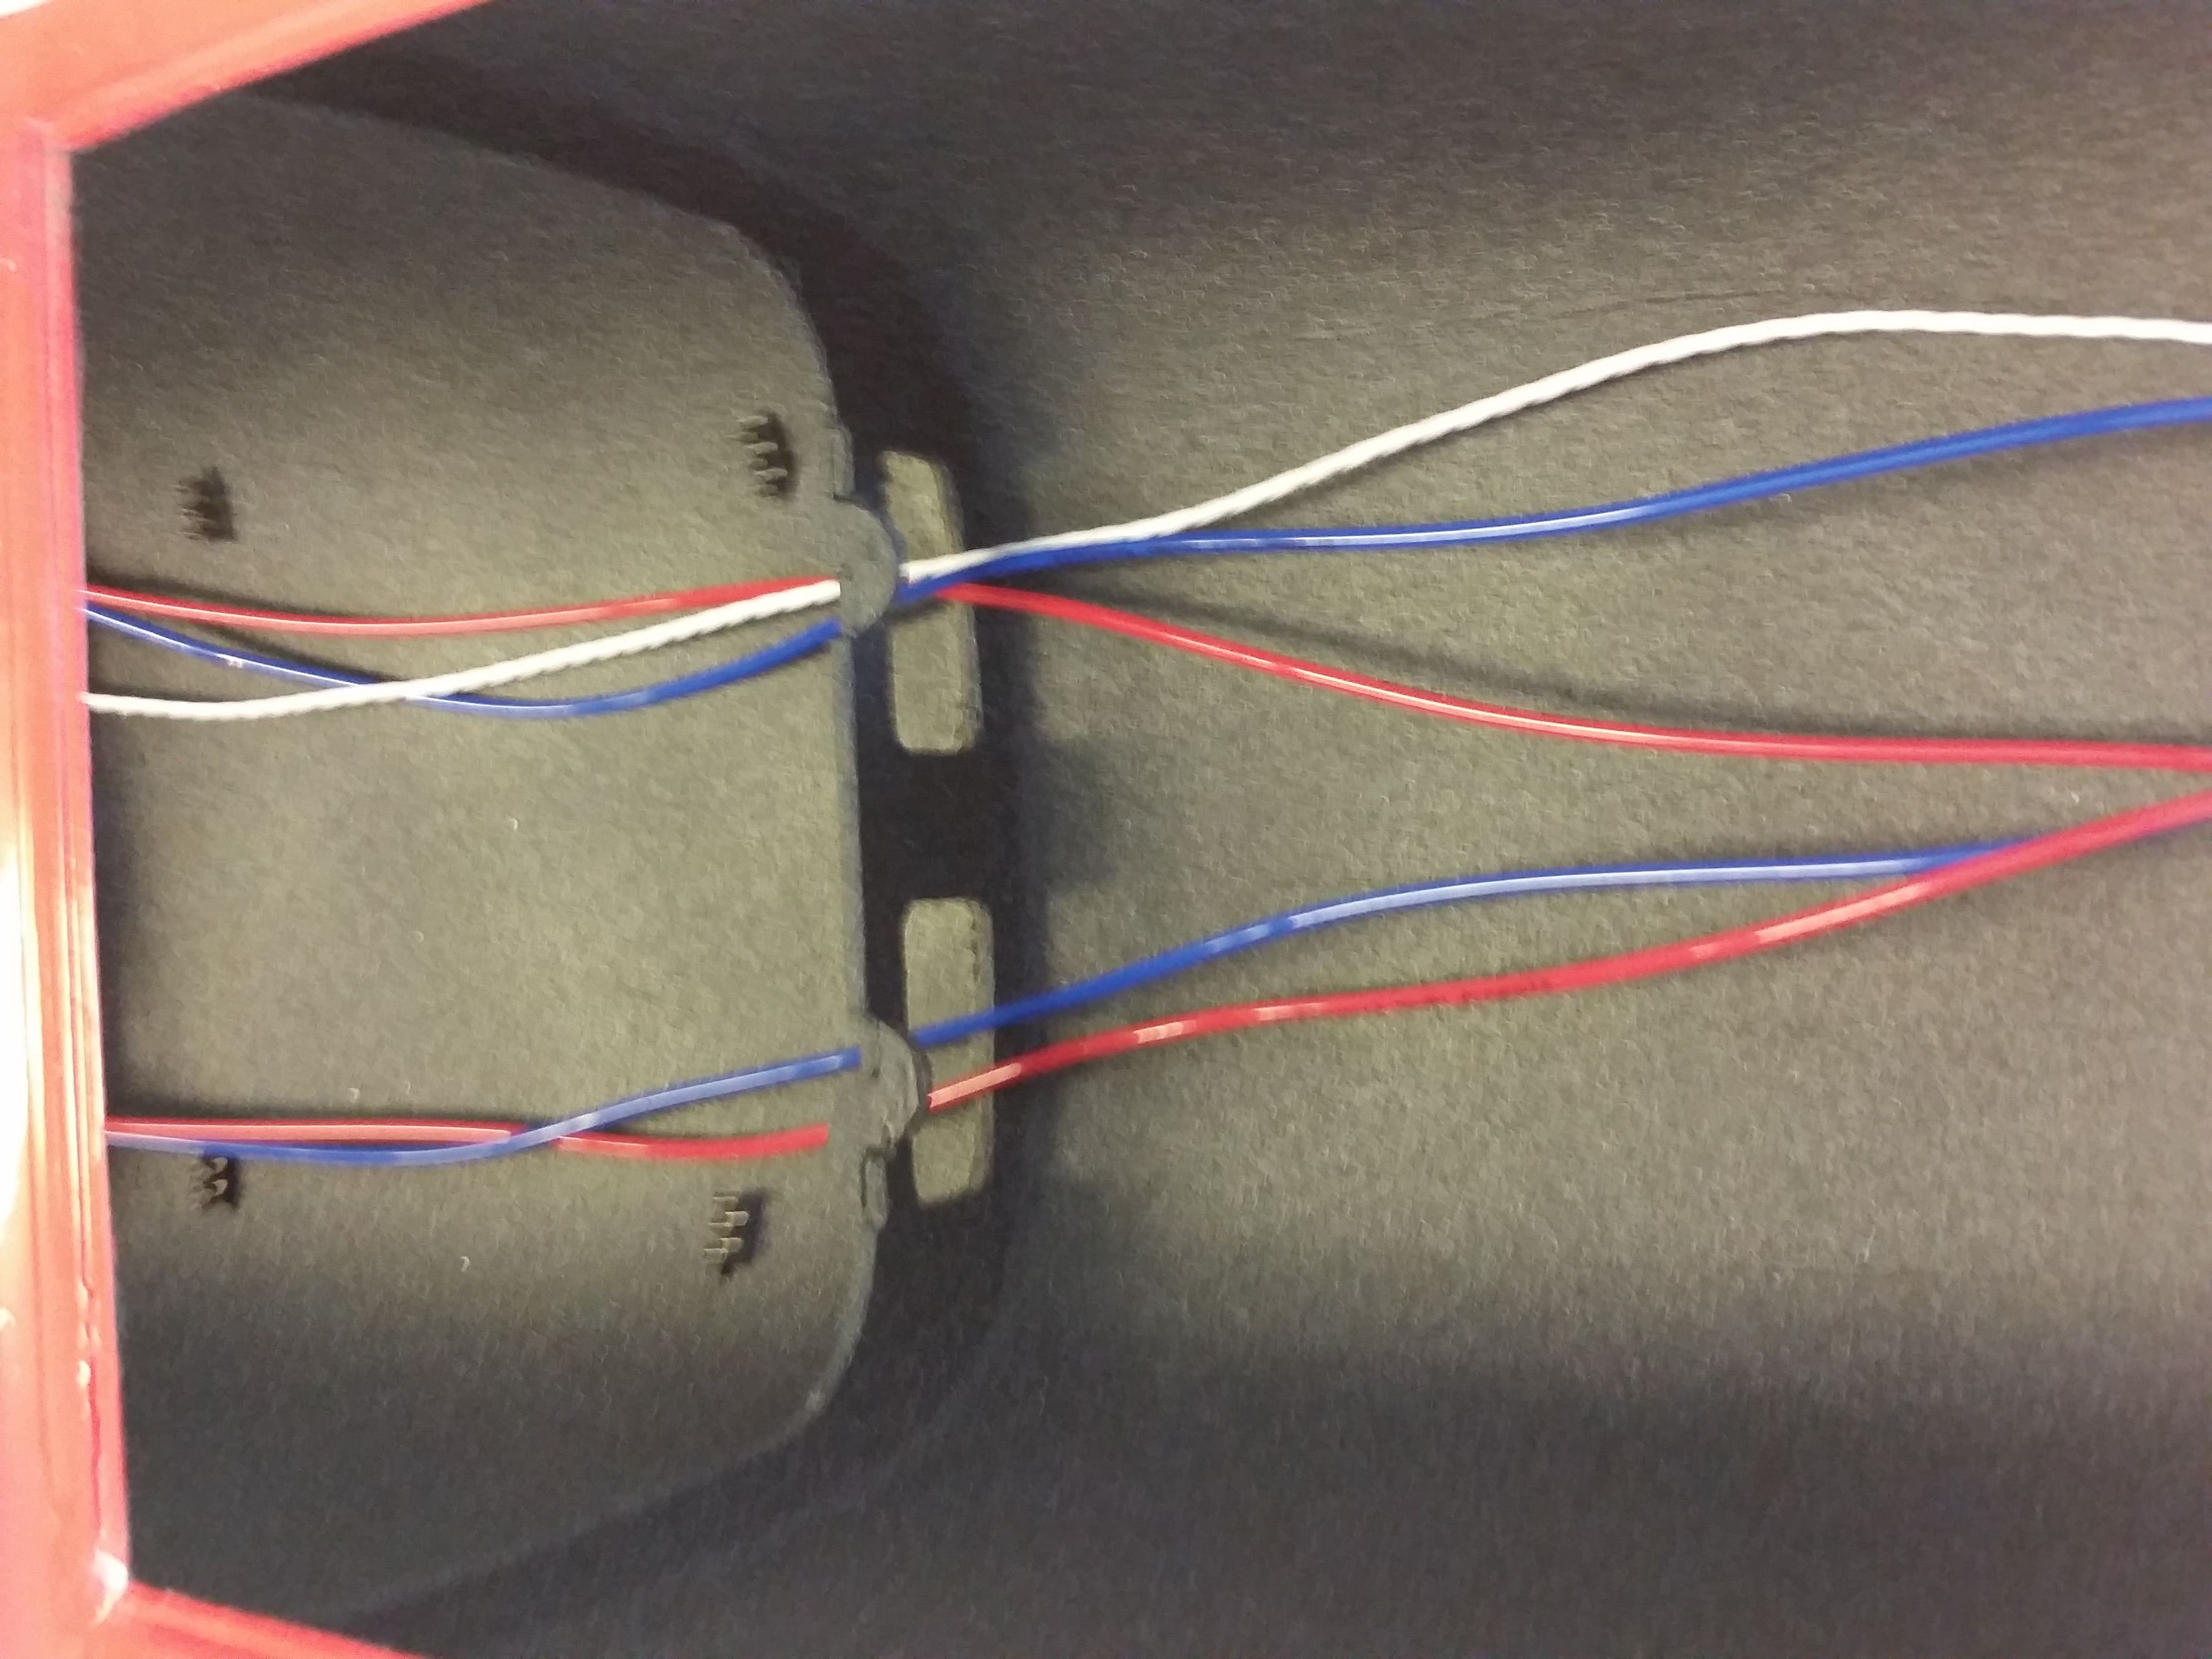
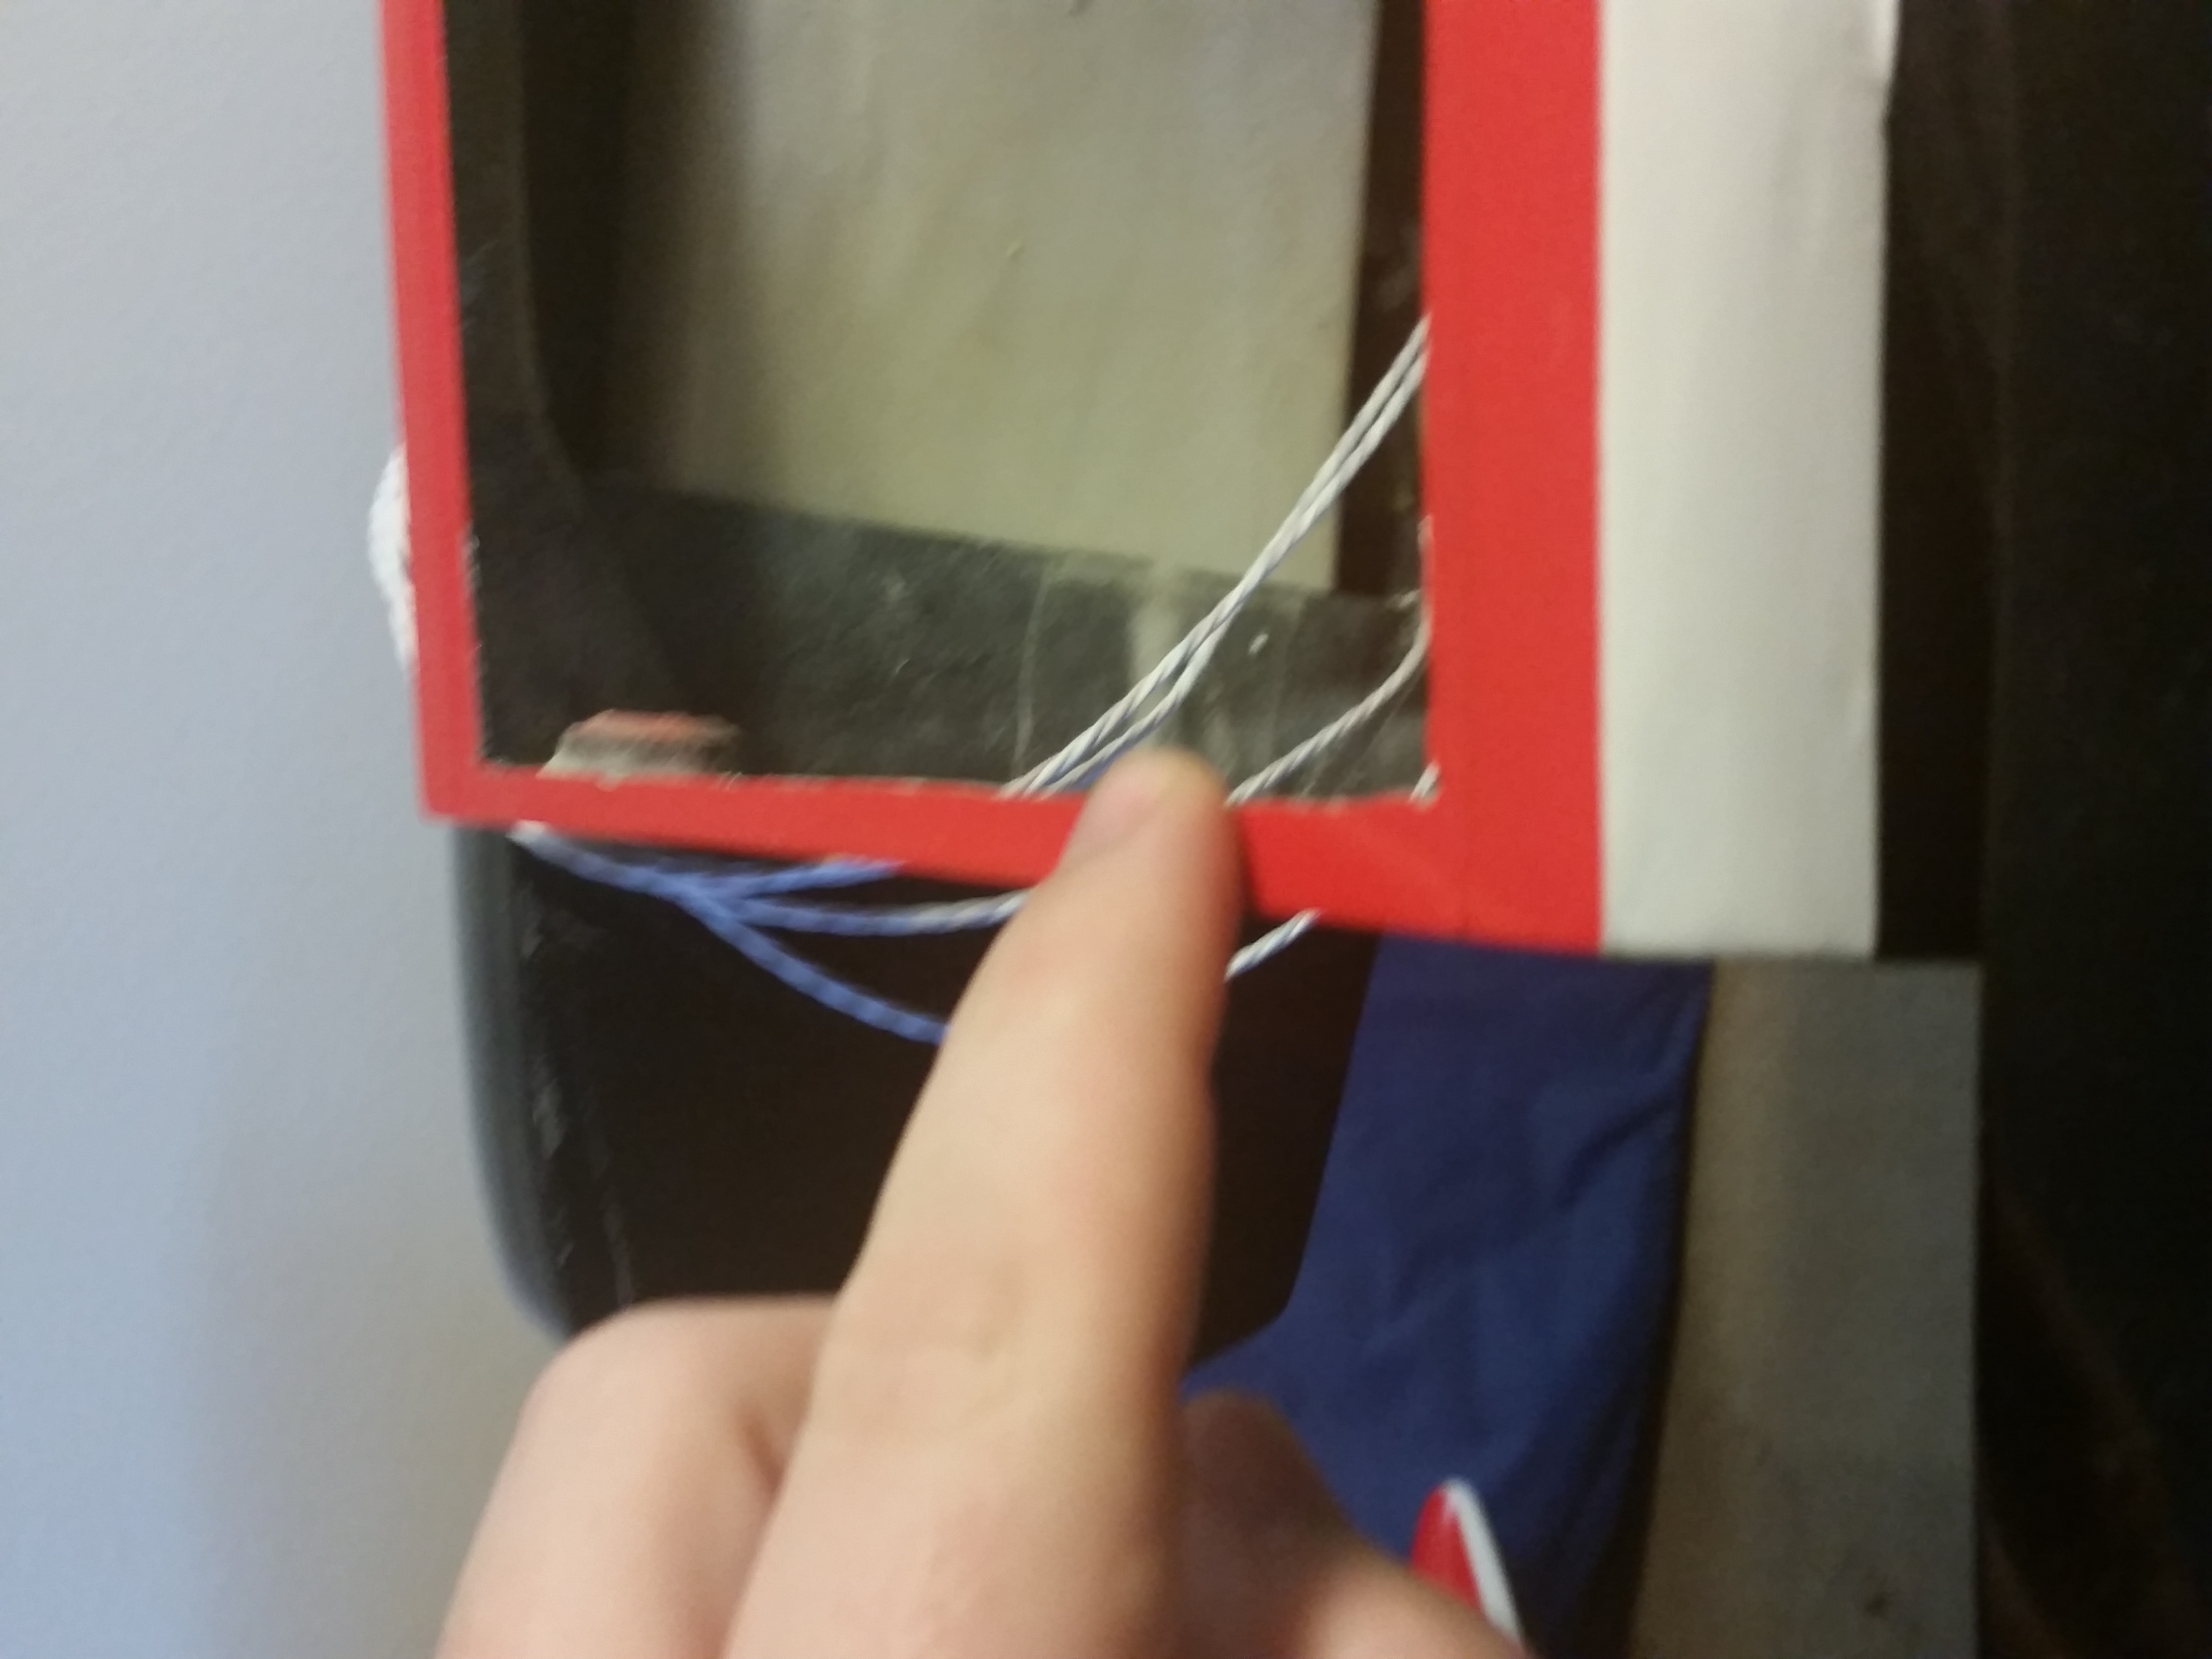
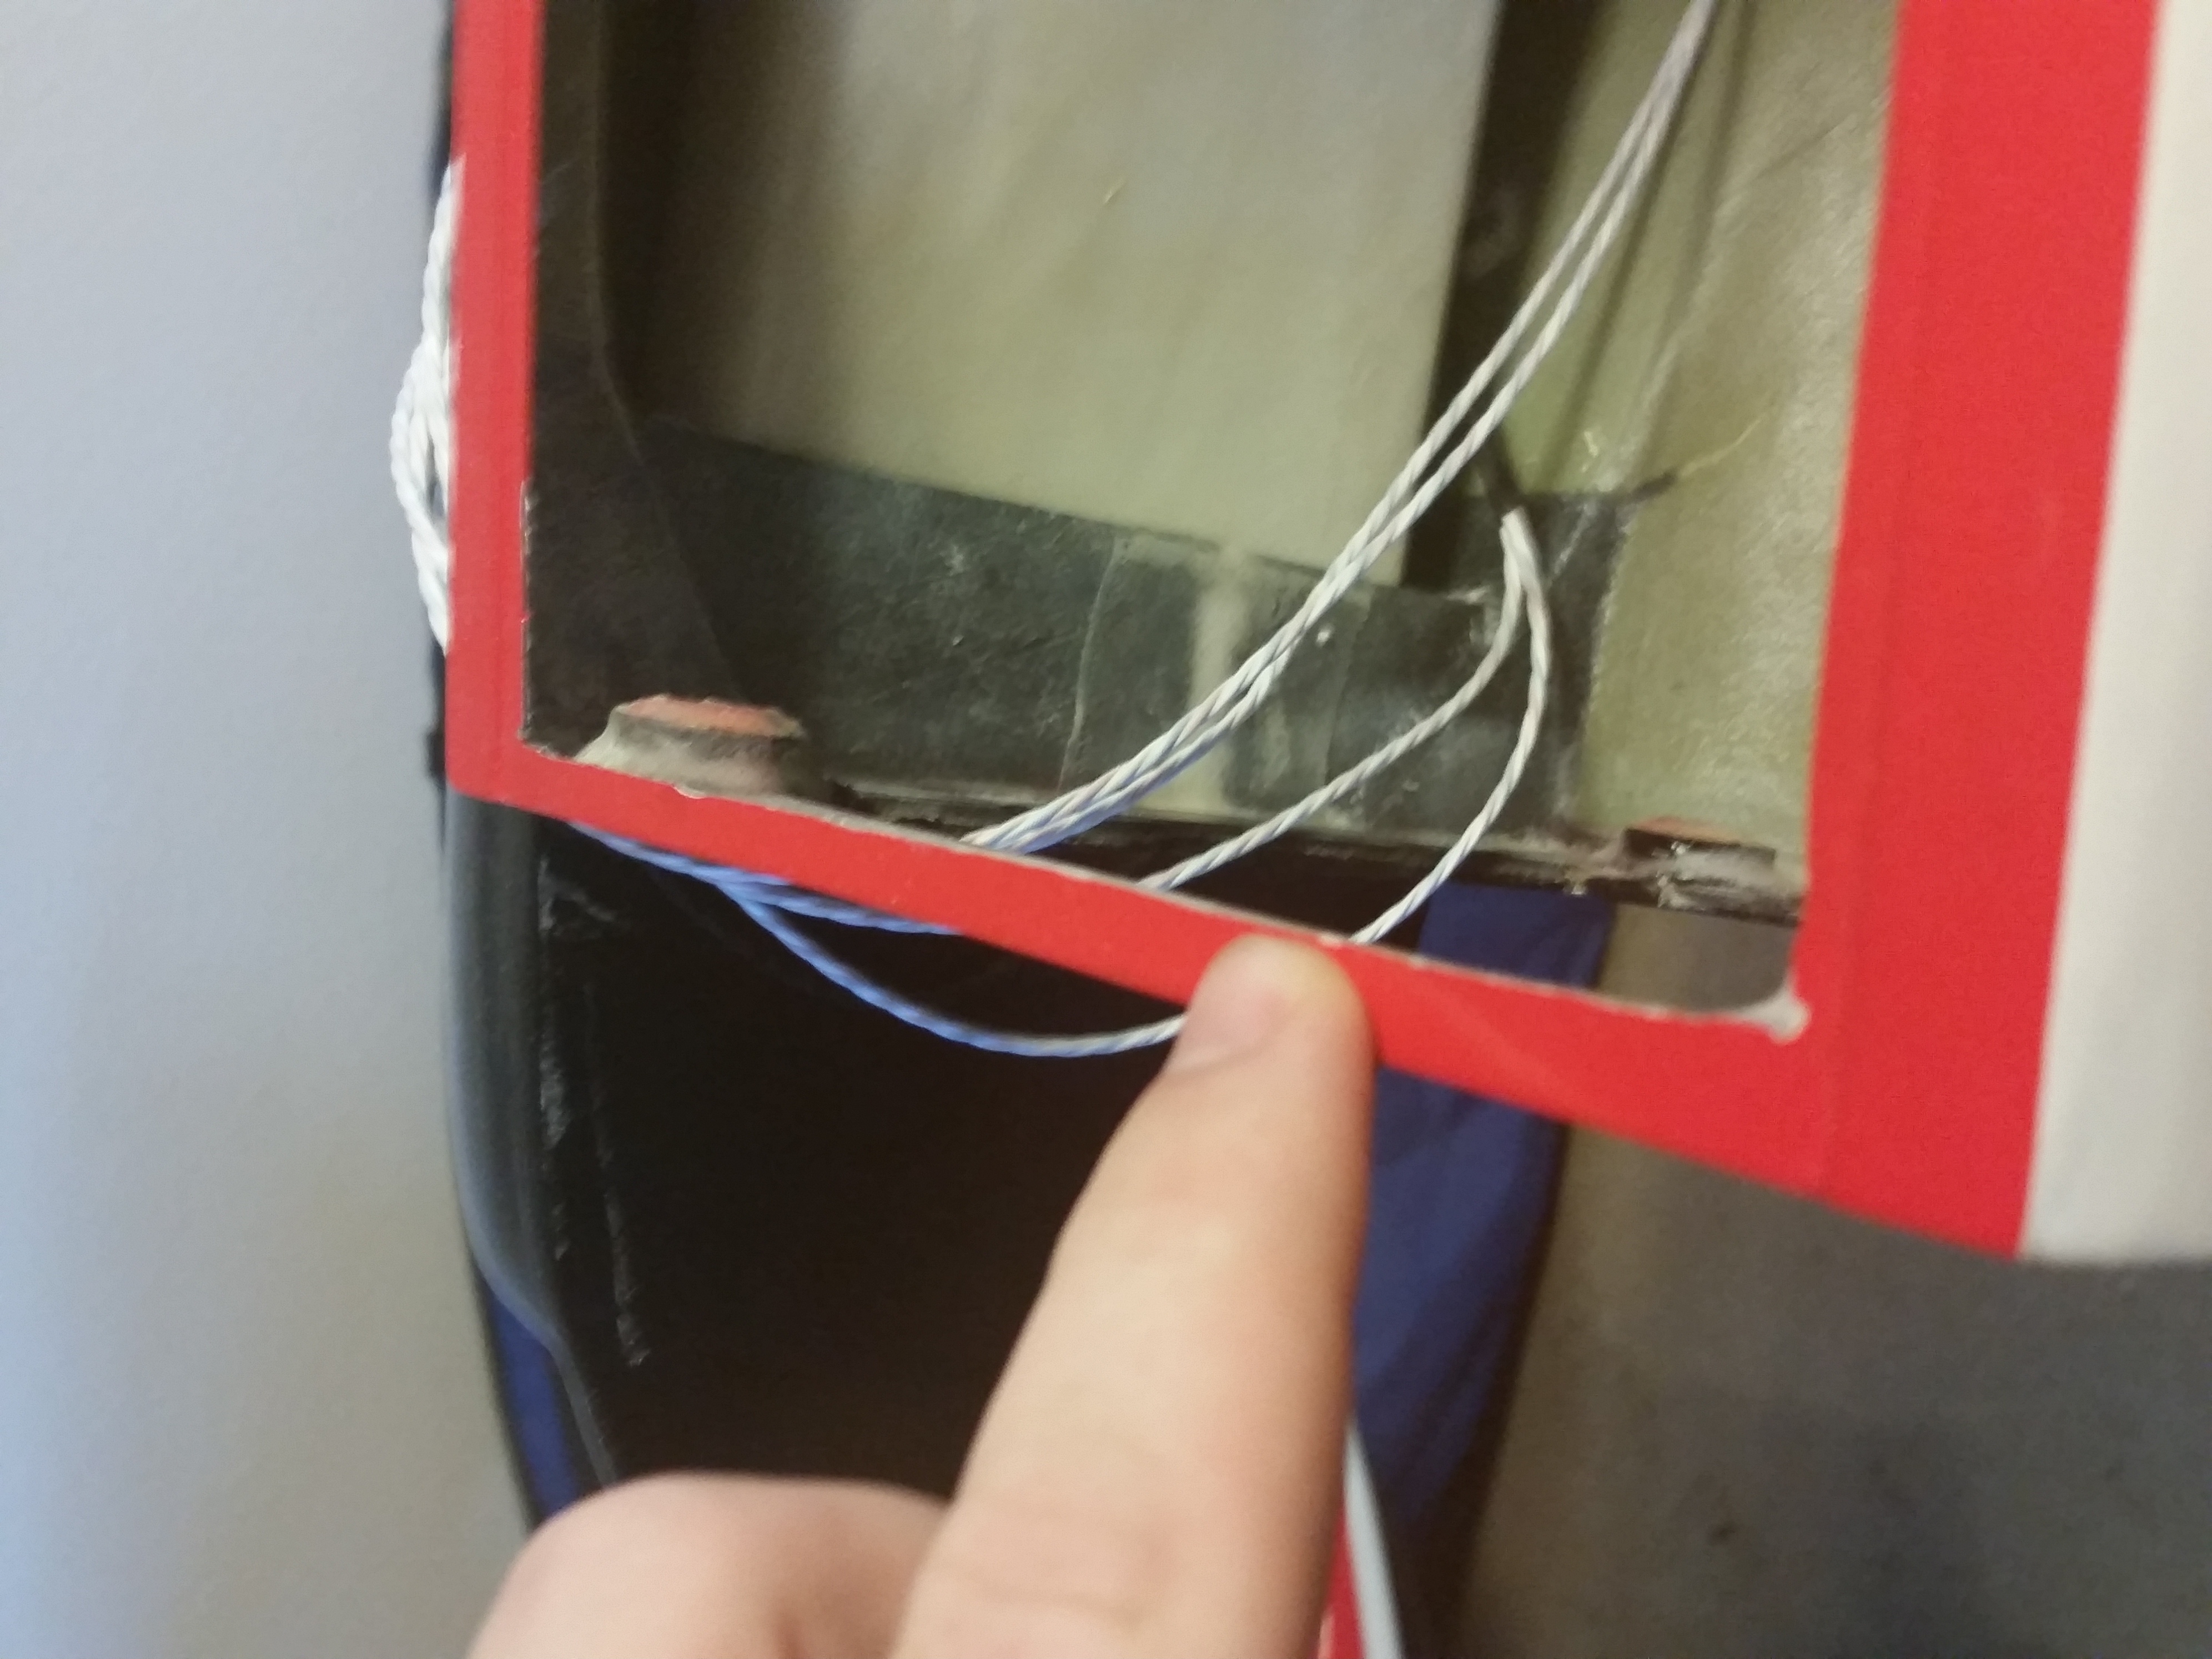
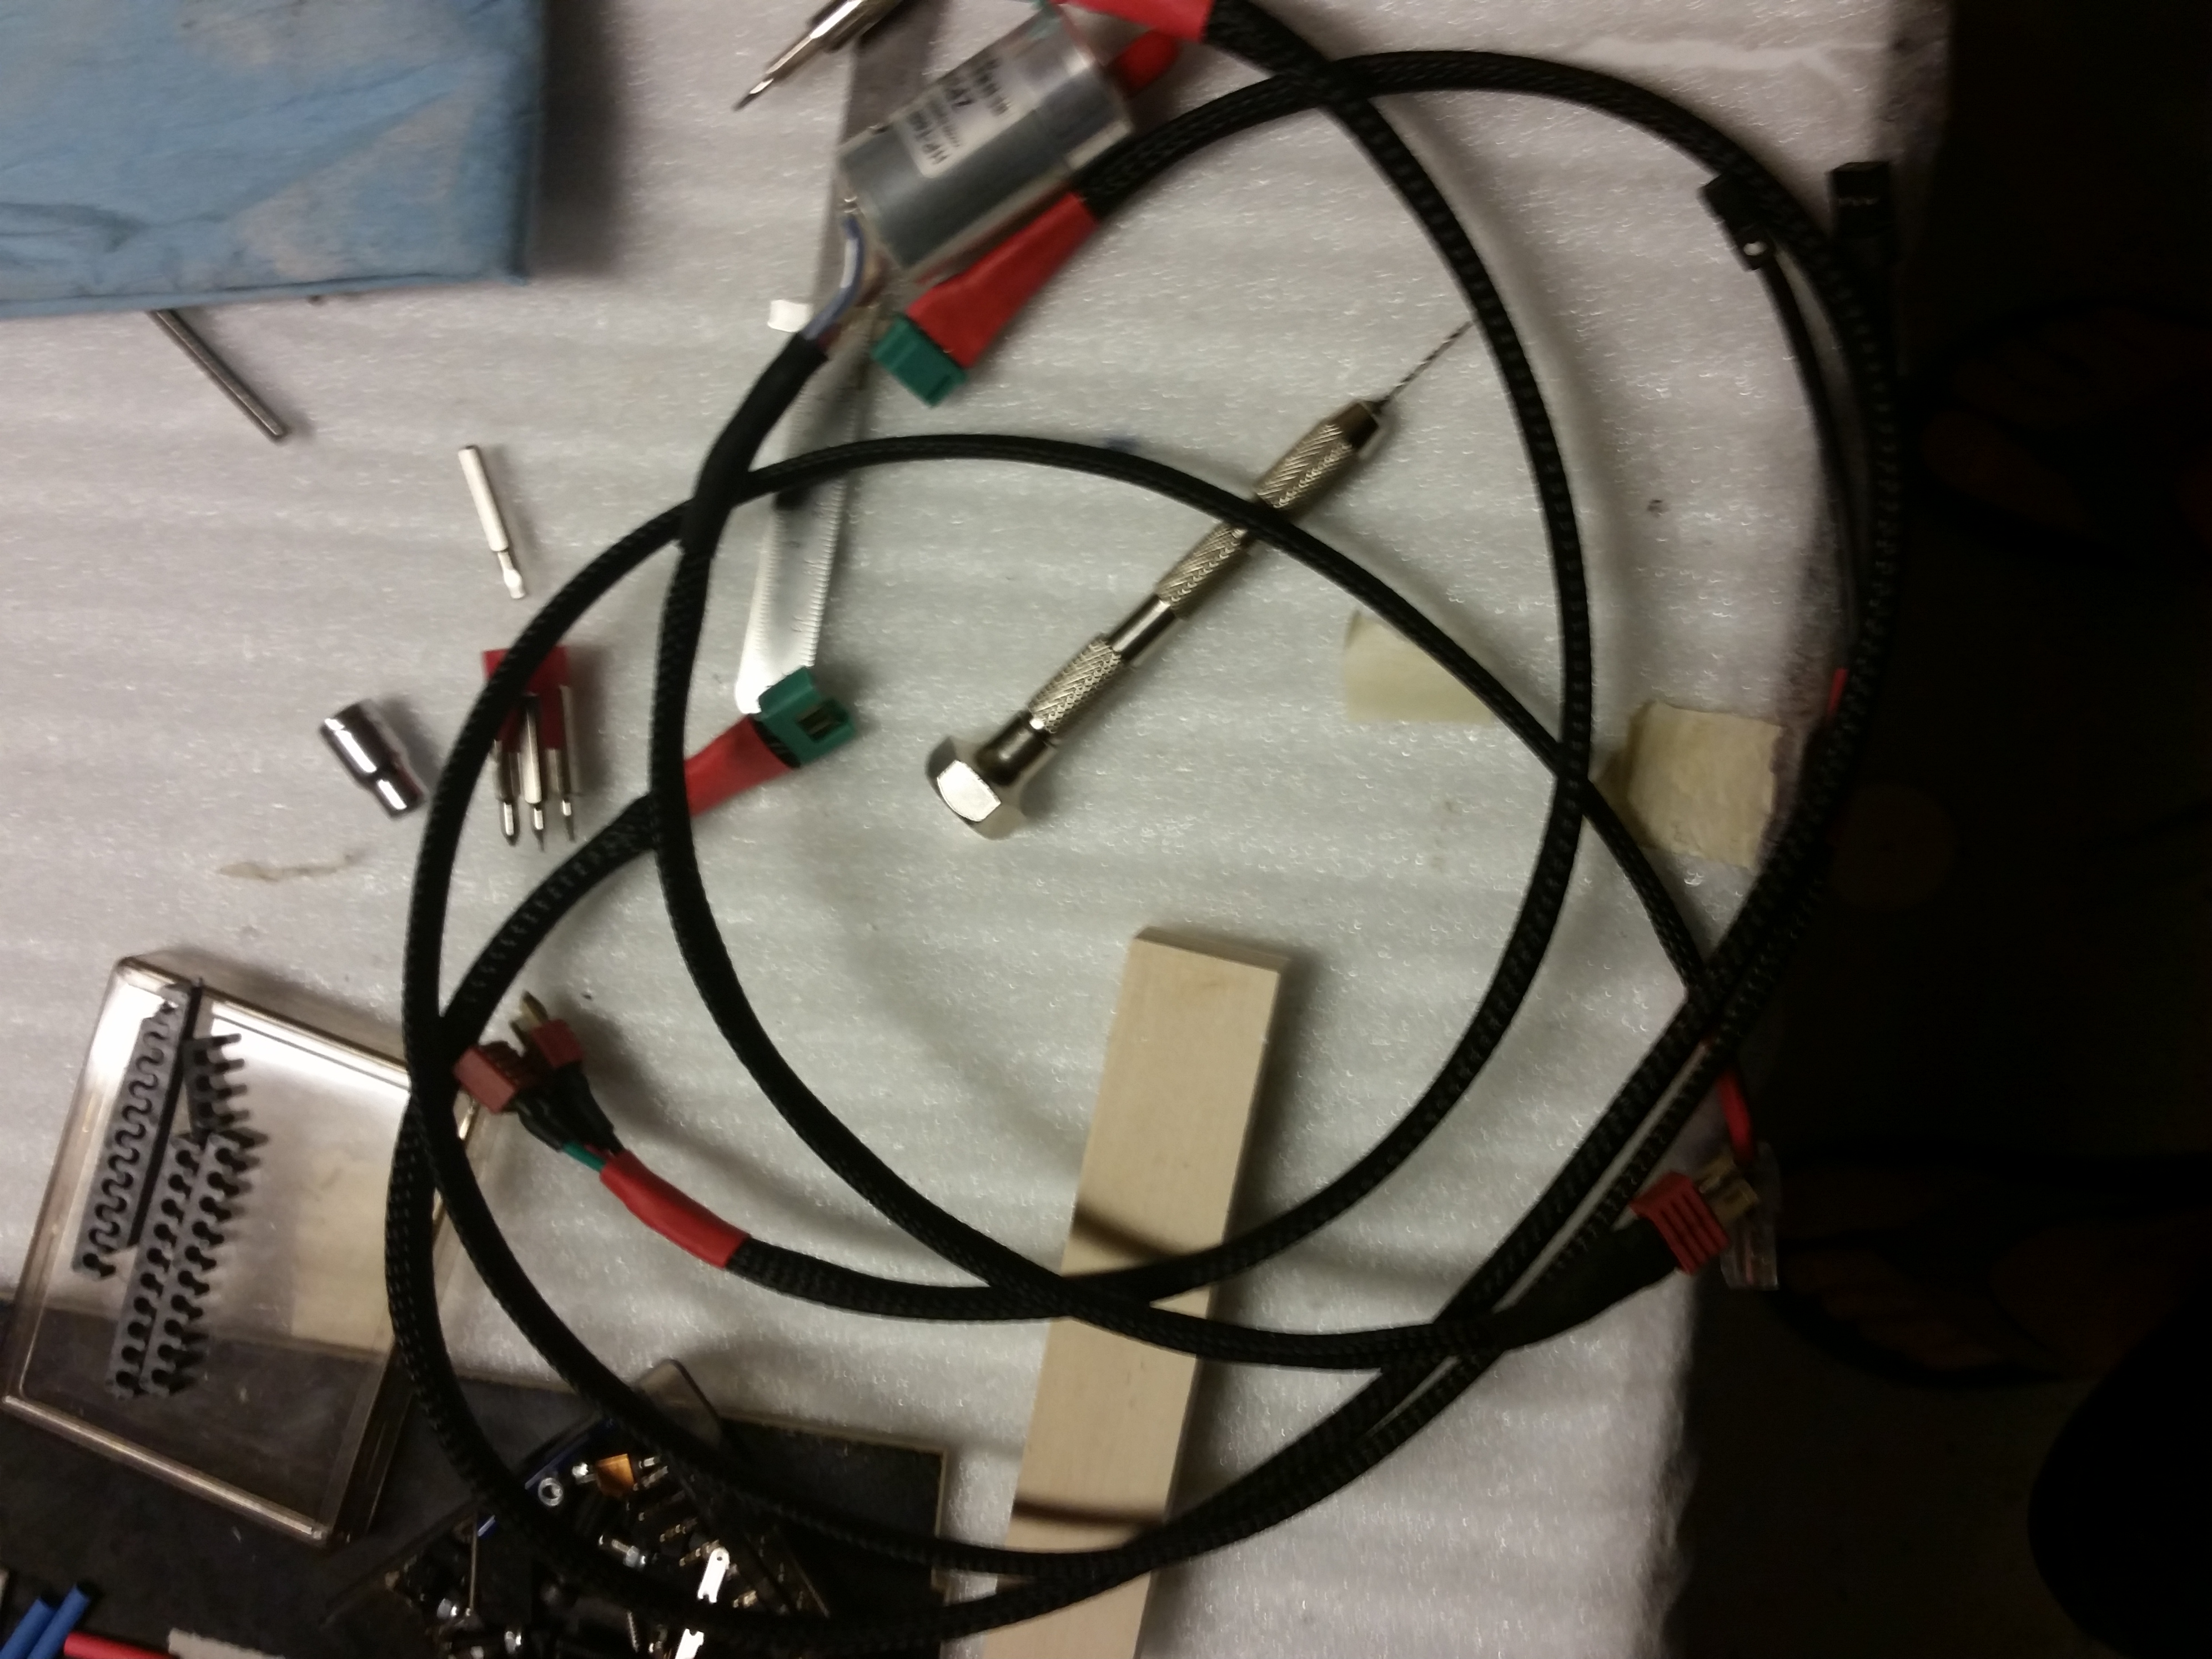
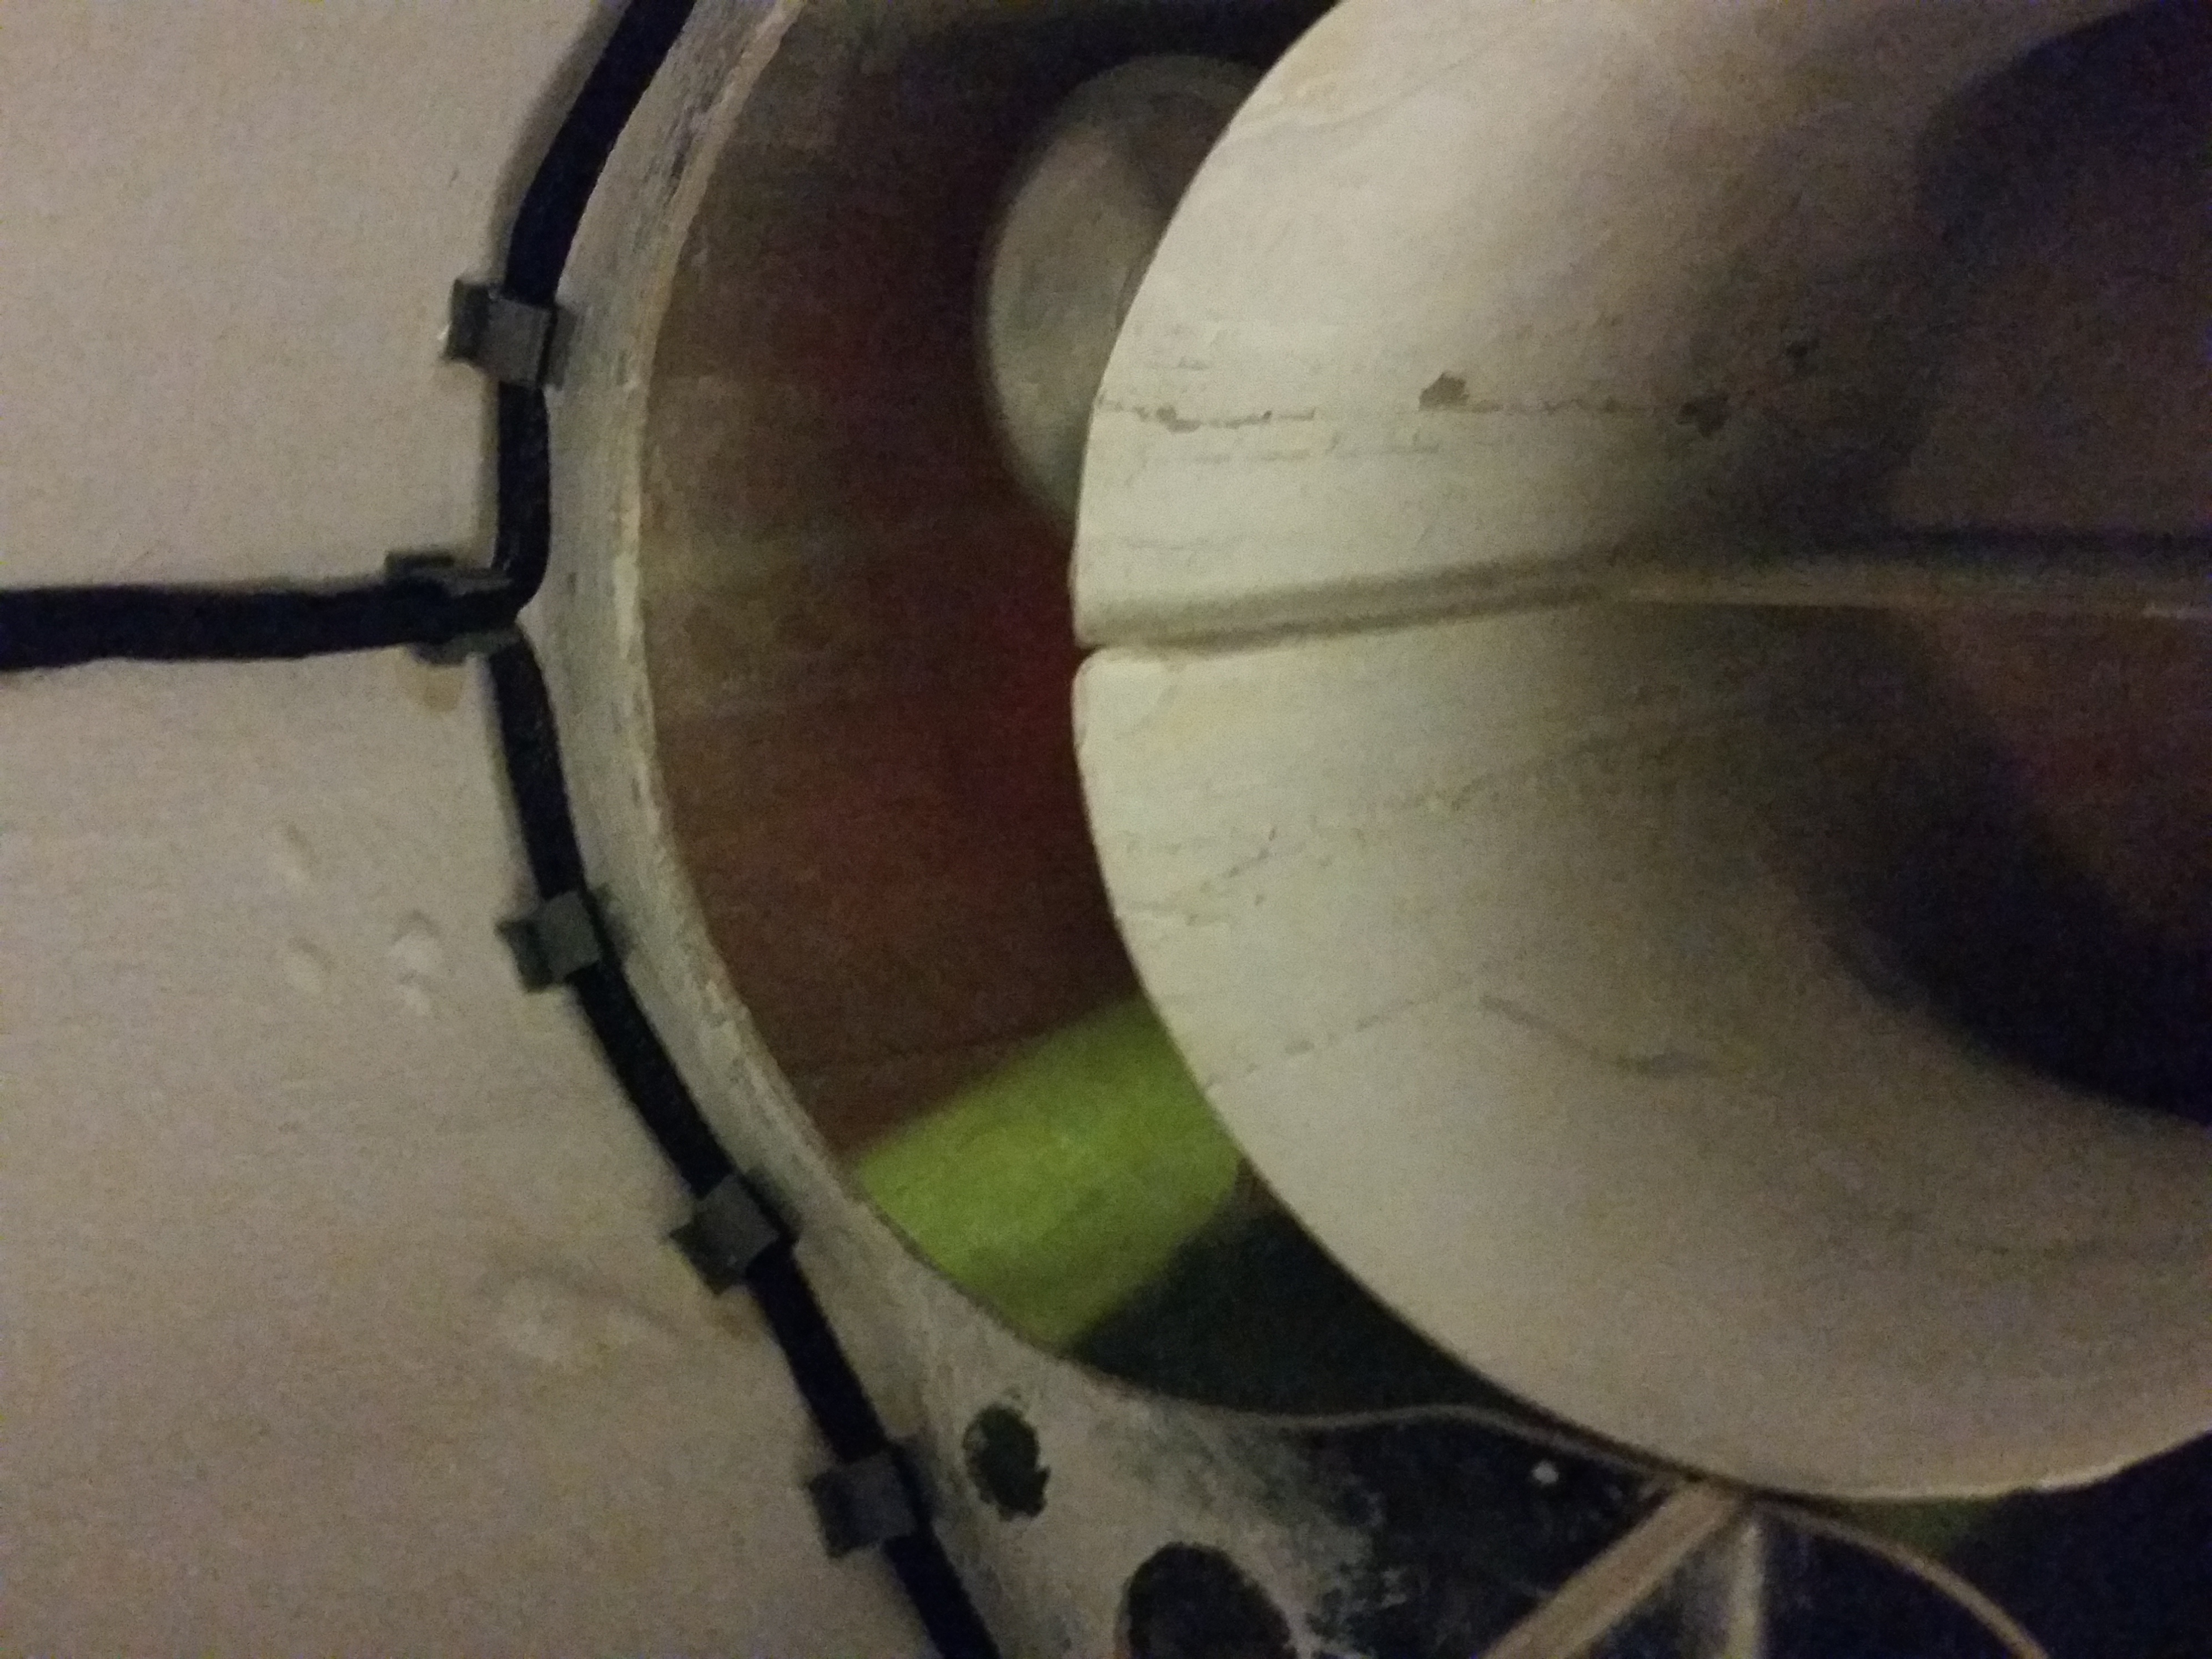
So while waiting for the hysol to dry on the blocks of wood for the servo mounts, my wife made me watch one of her shows. So I decided to make up my extension wires for the wings. The unfixed ends will be soldiered to a 8 pin plug. The connection from the wing will be free hanging and the connection in the fuse will be mounted. The servo wire inside fuse will be all powerbox servo wire from dreamworks. I will take pictures of that part soon and will add to this post. Wires will be incased in braded wire loom. but for now here is my extension.
Last edited by JoeJr1485; 02-20-2016 at 11:17 PM.
02-21-2016 | 09:50 PM
#36
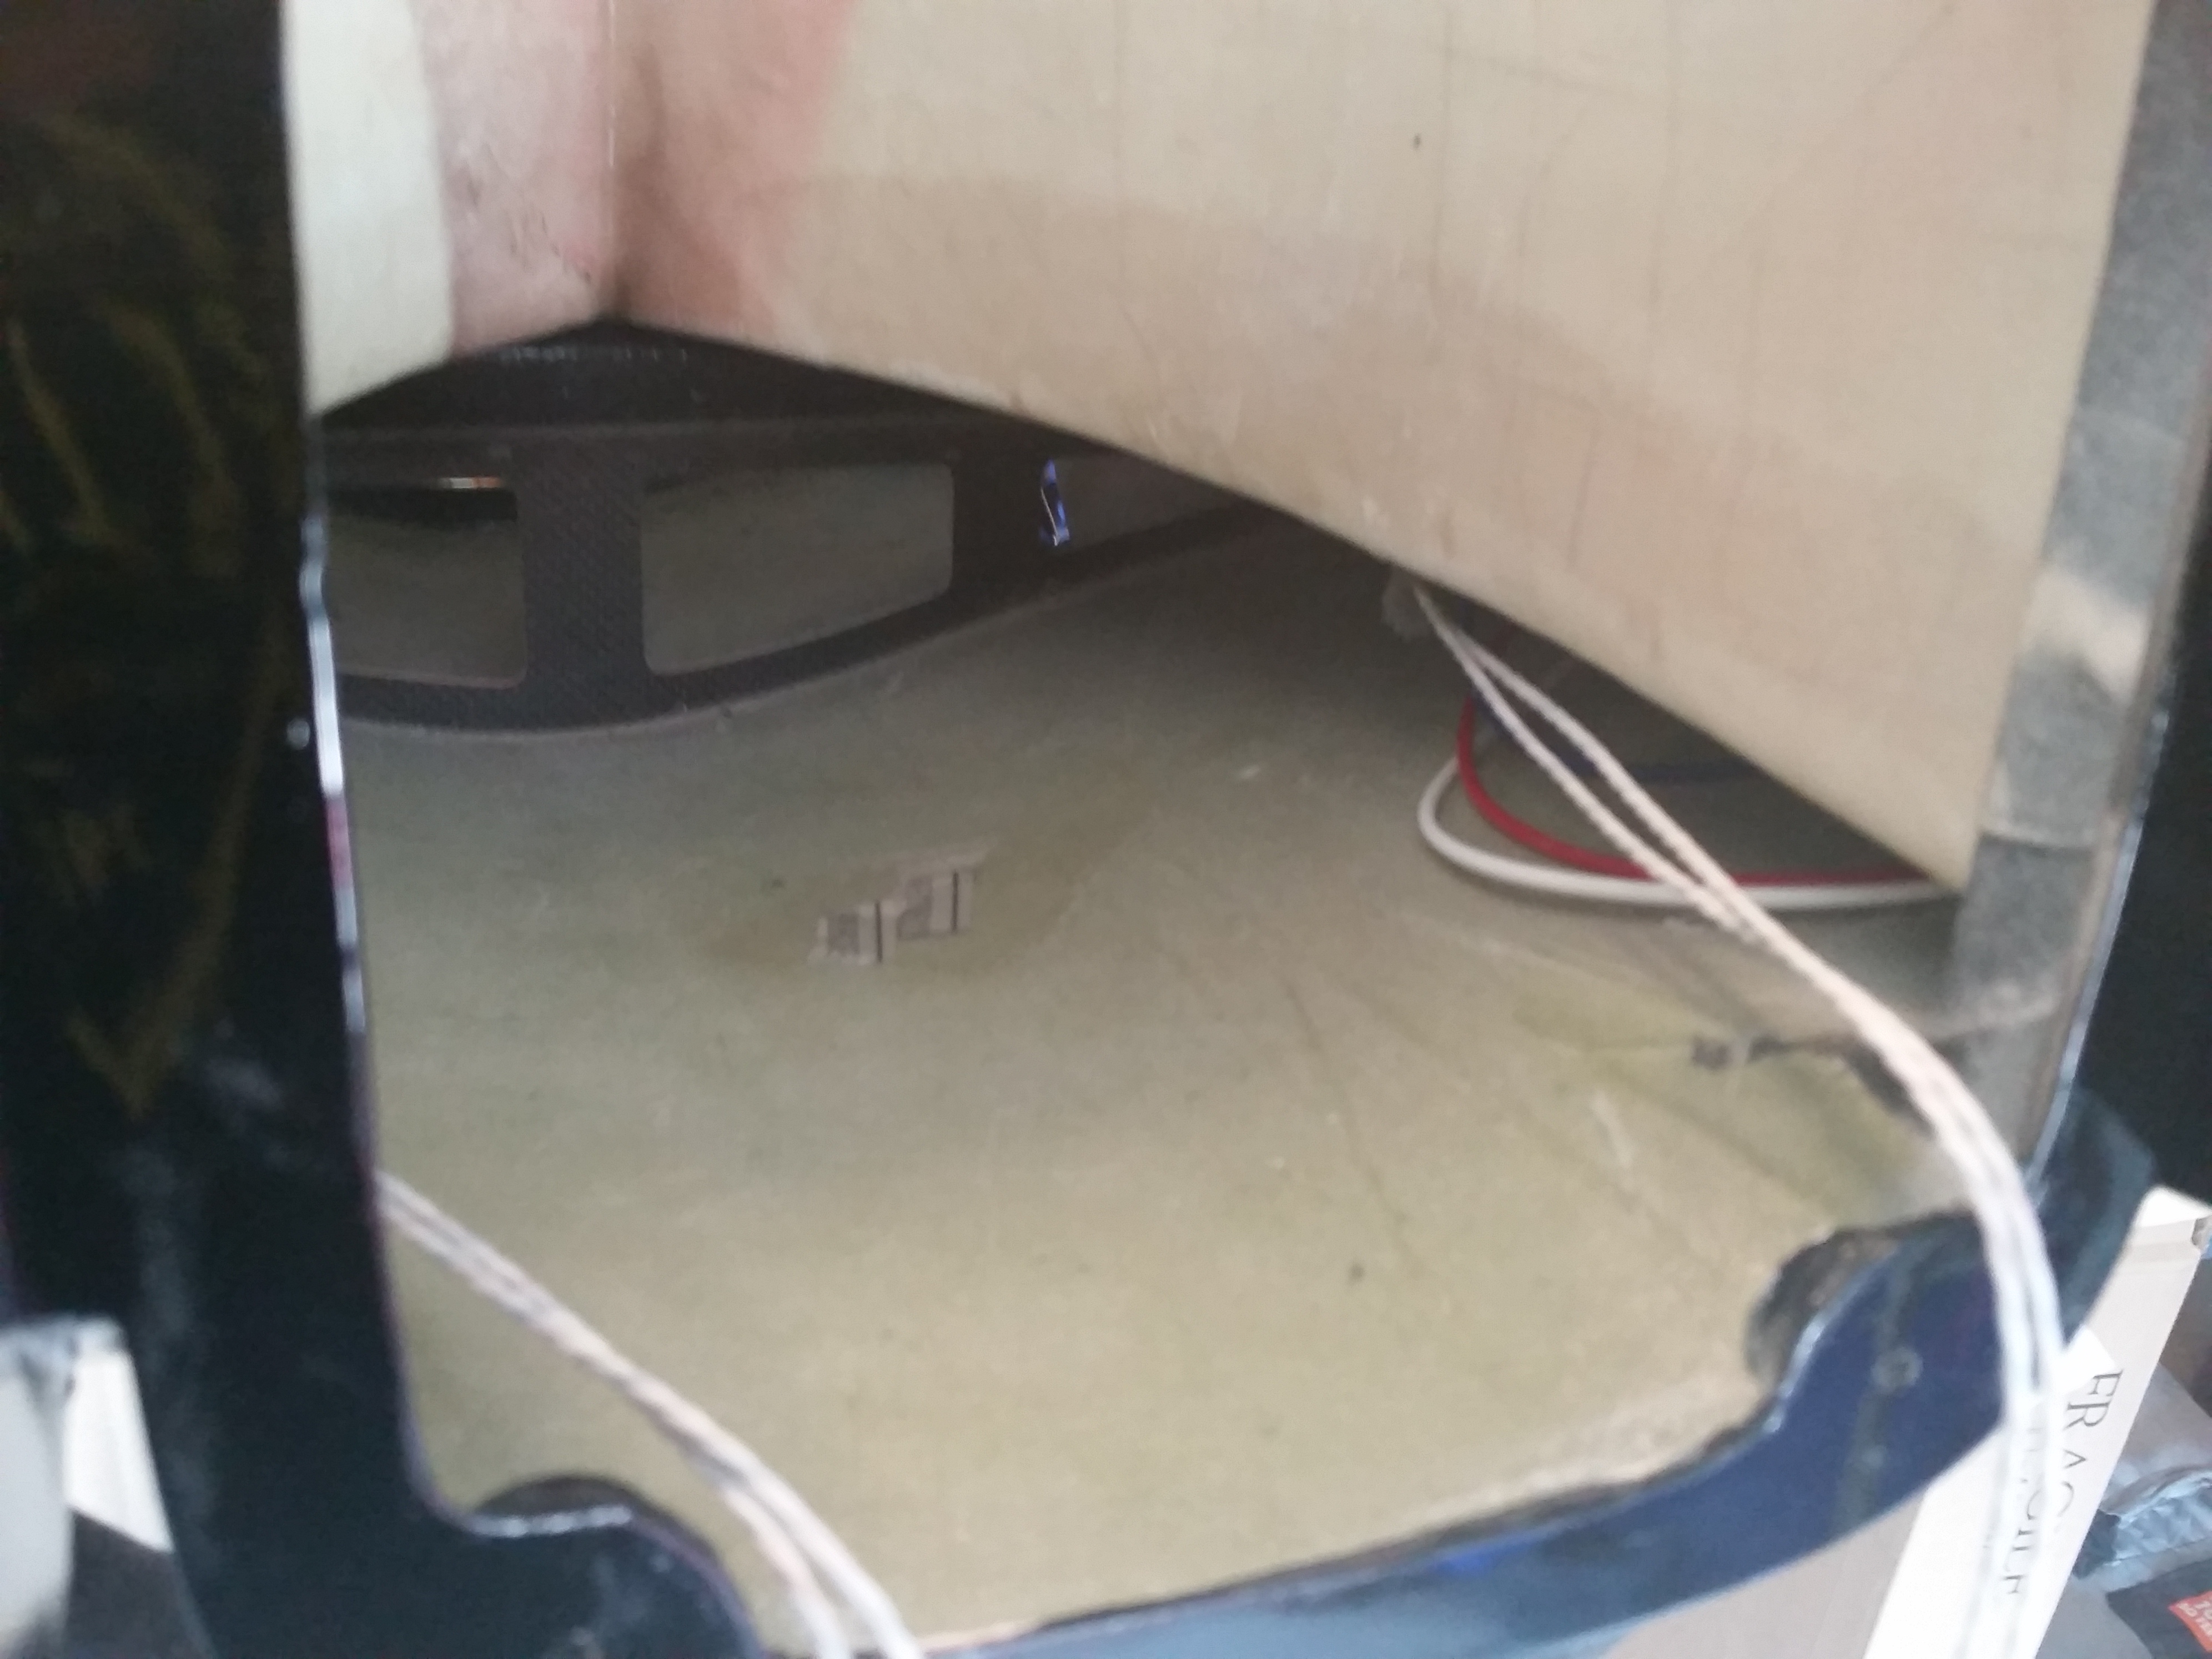
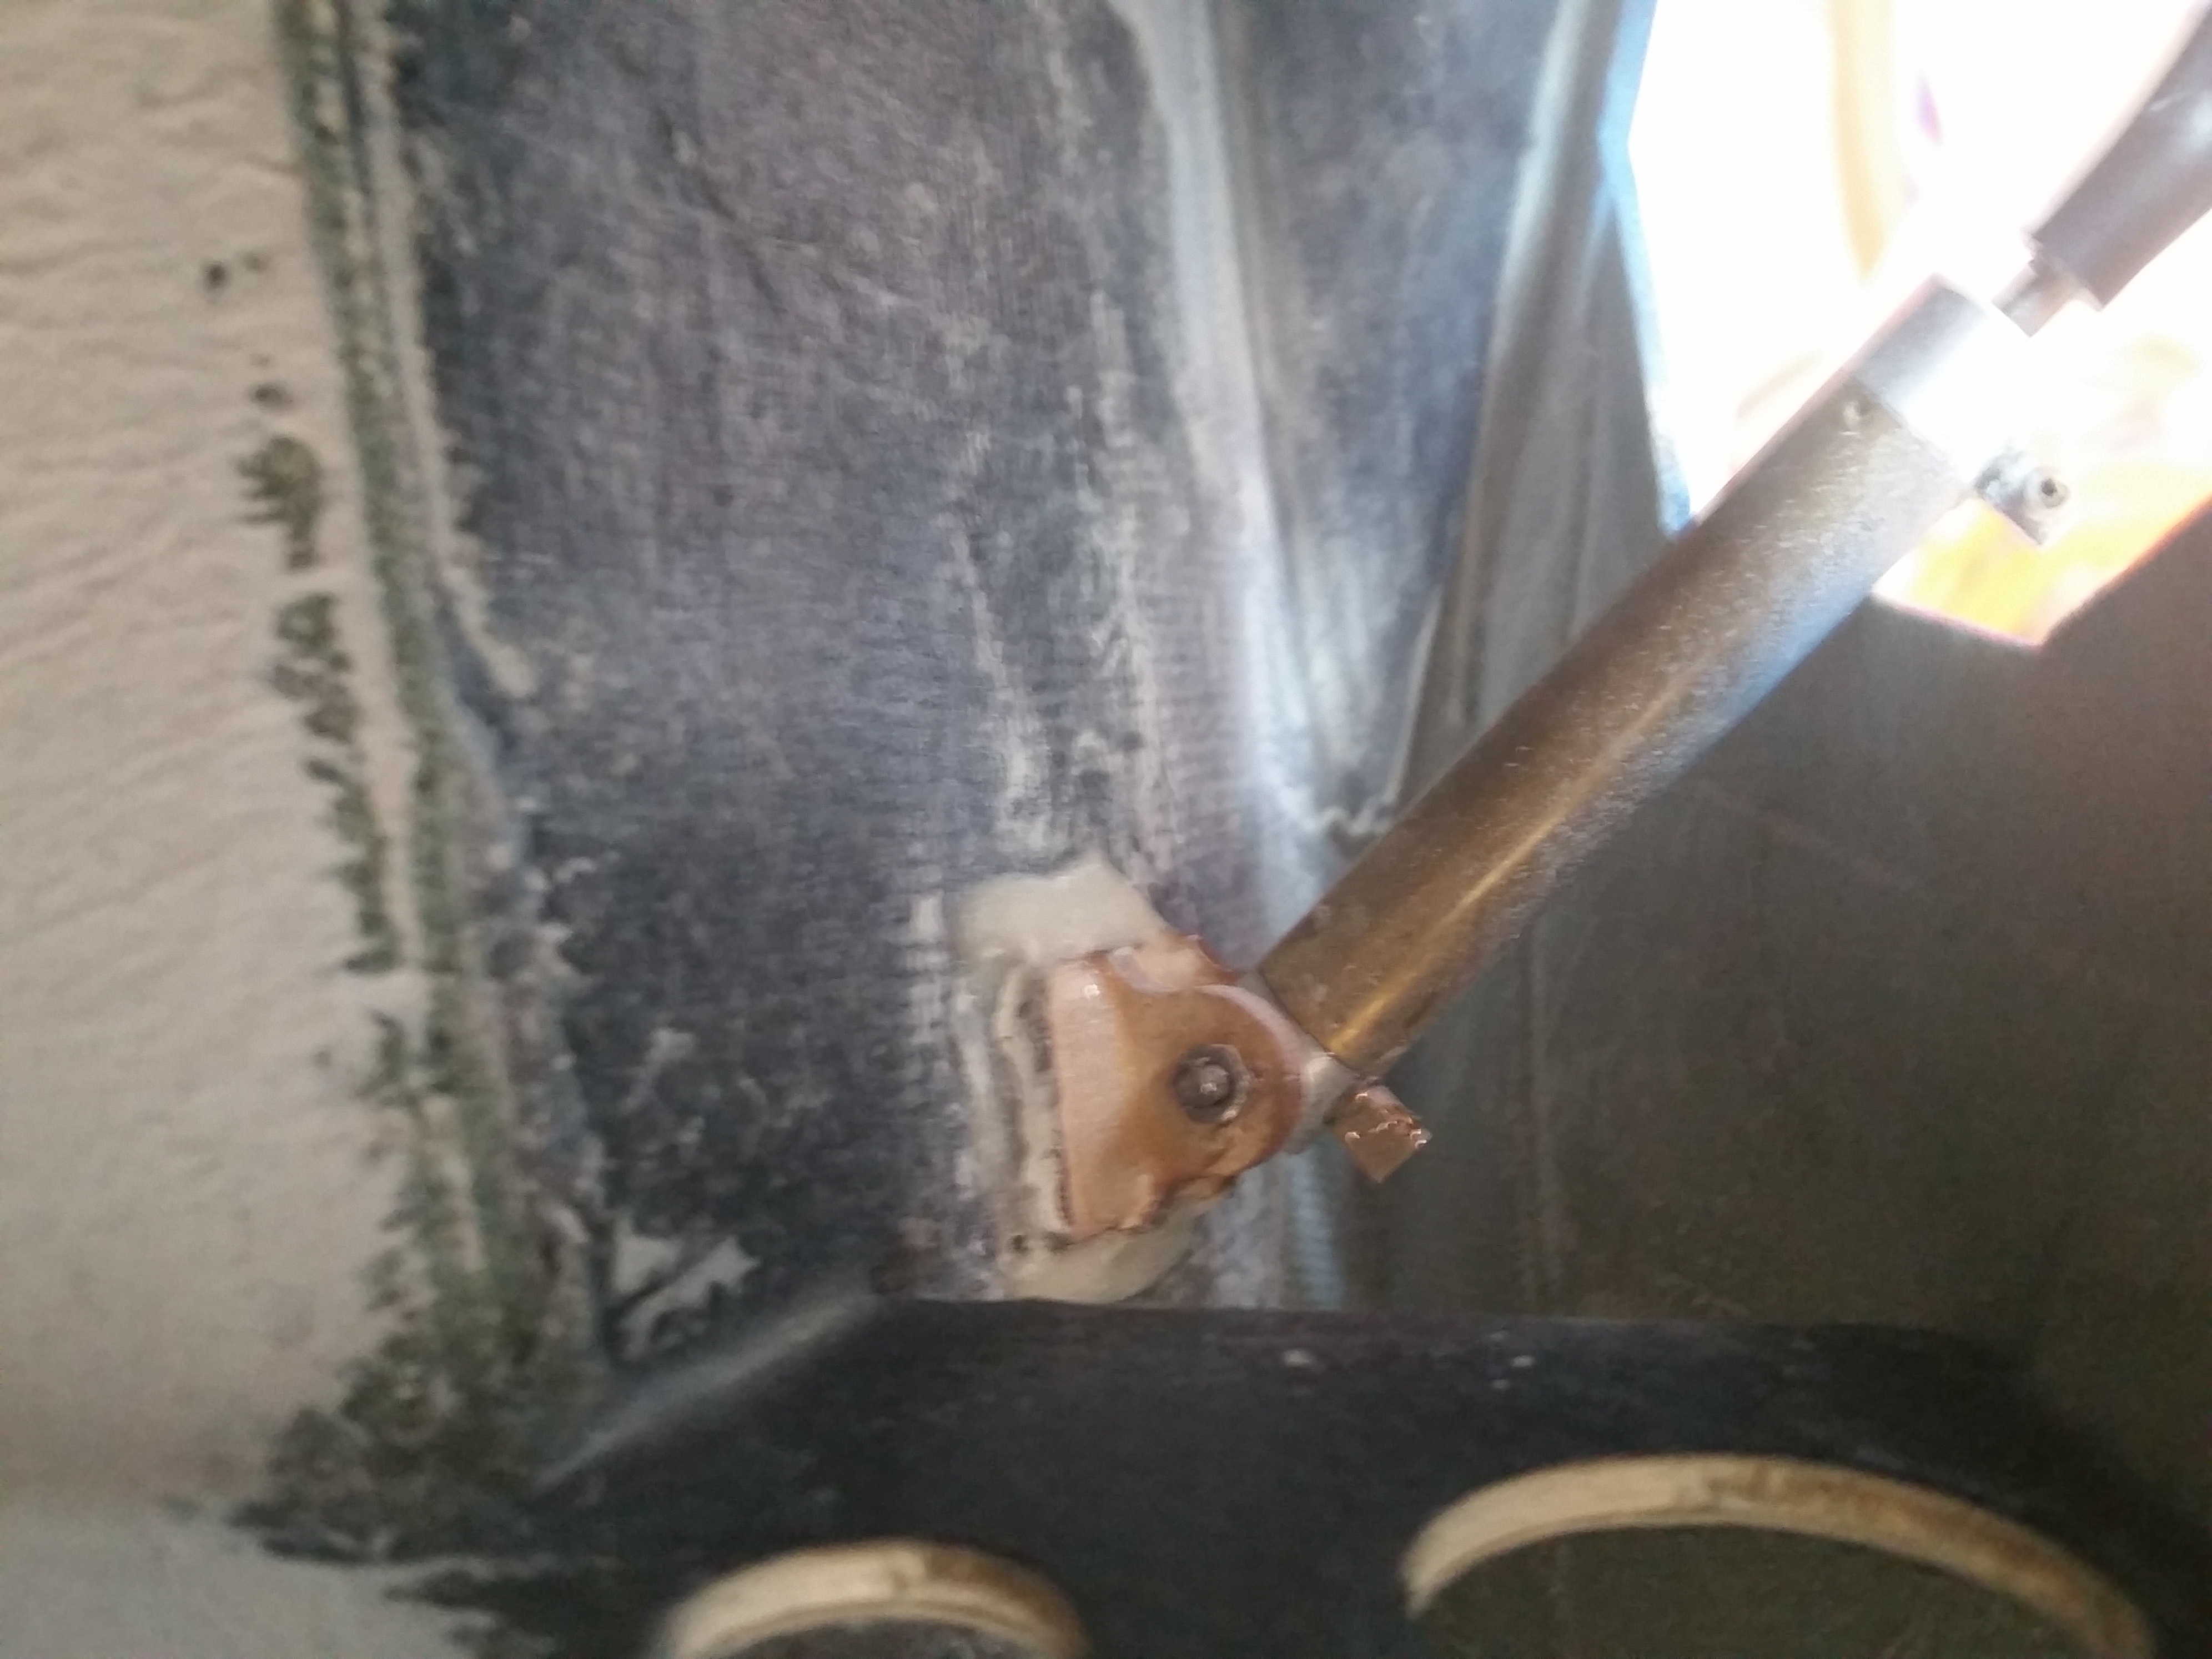
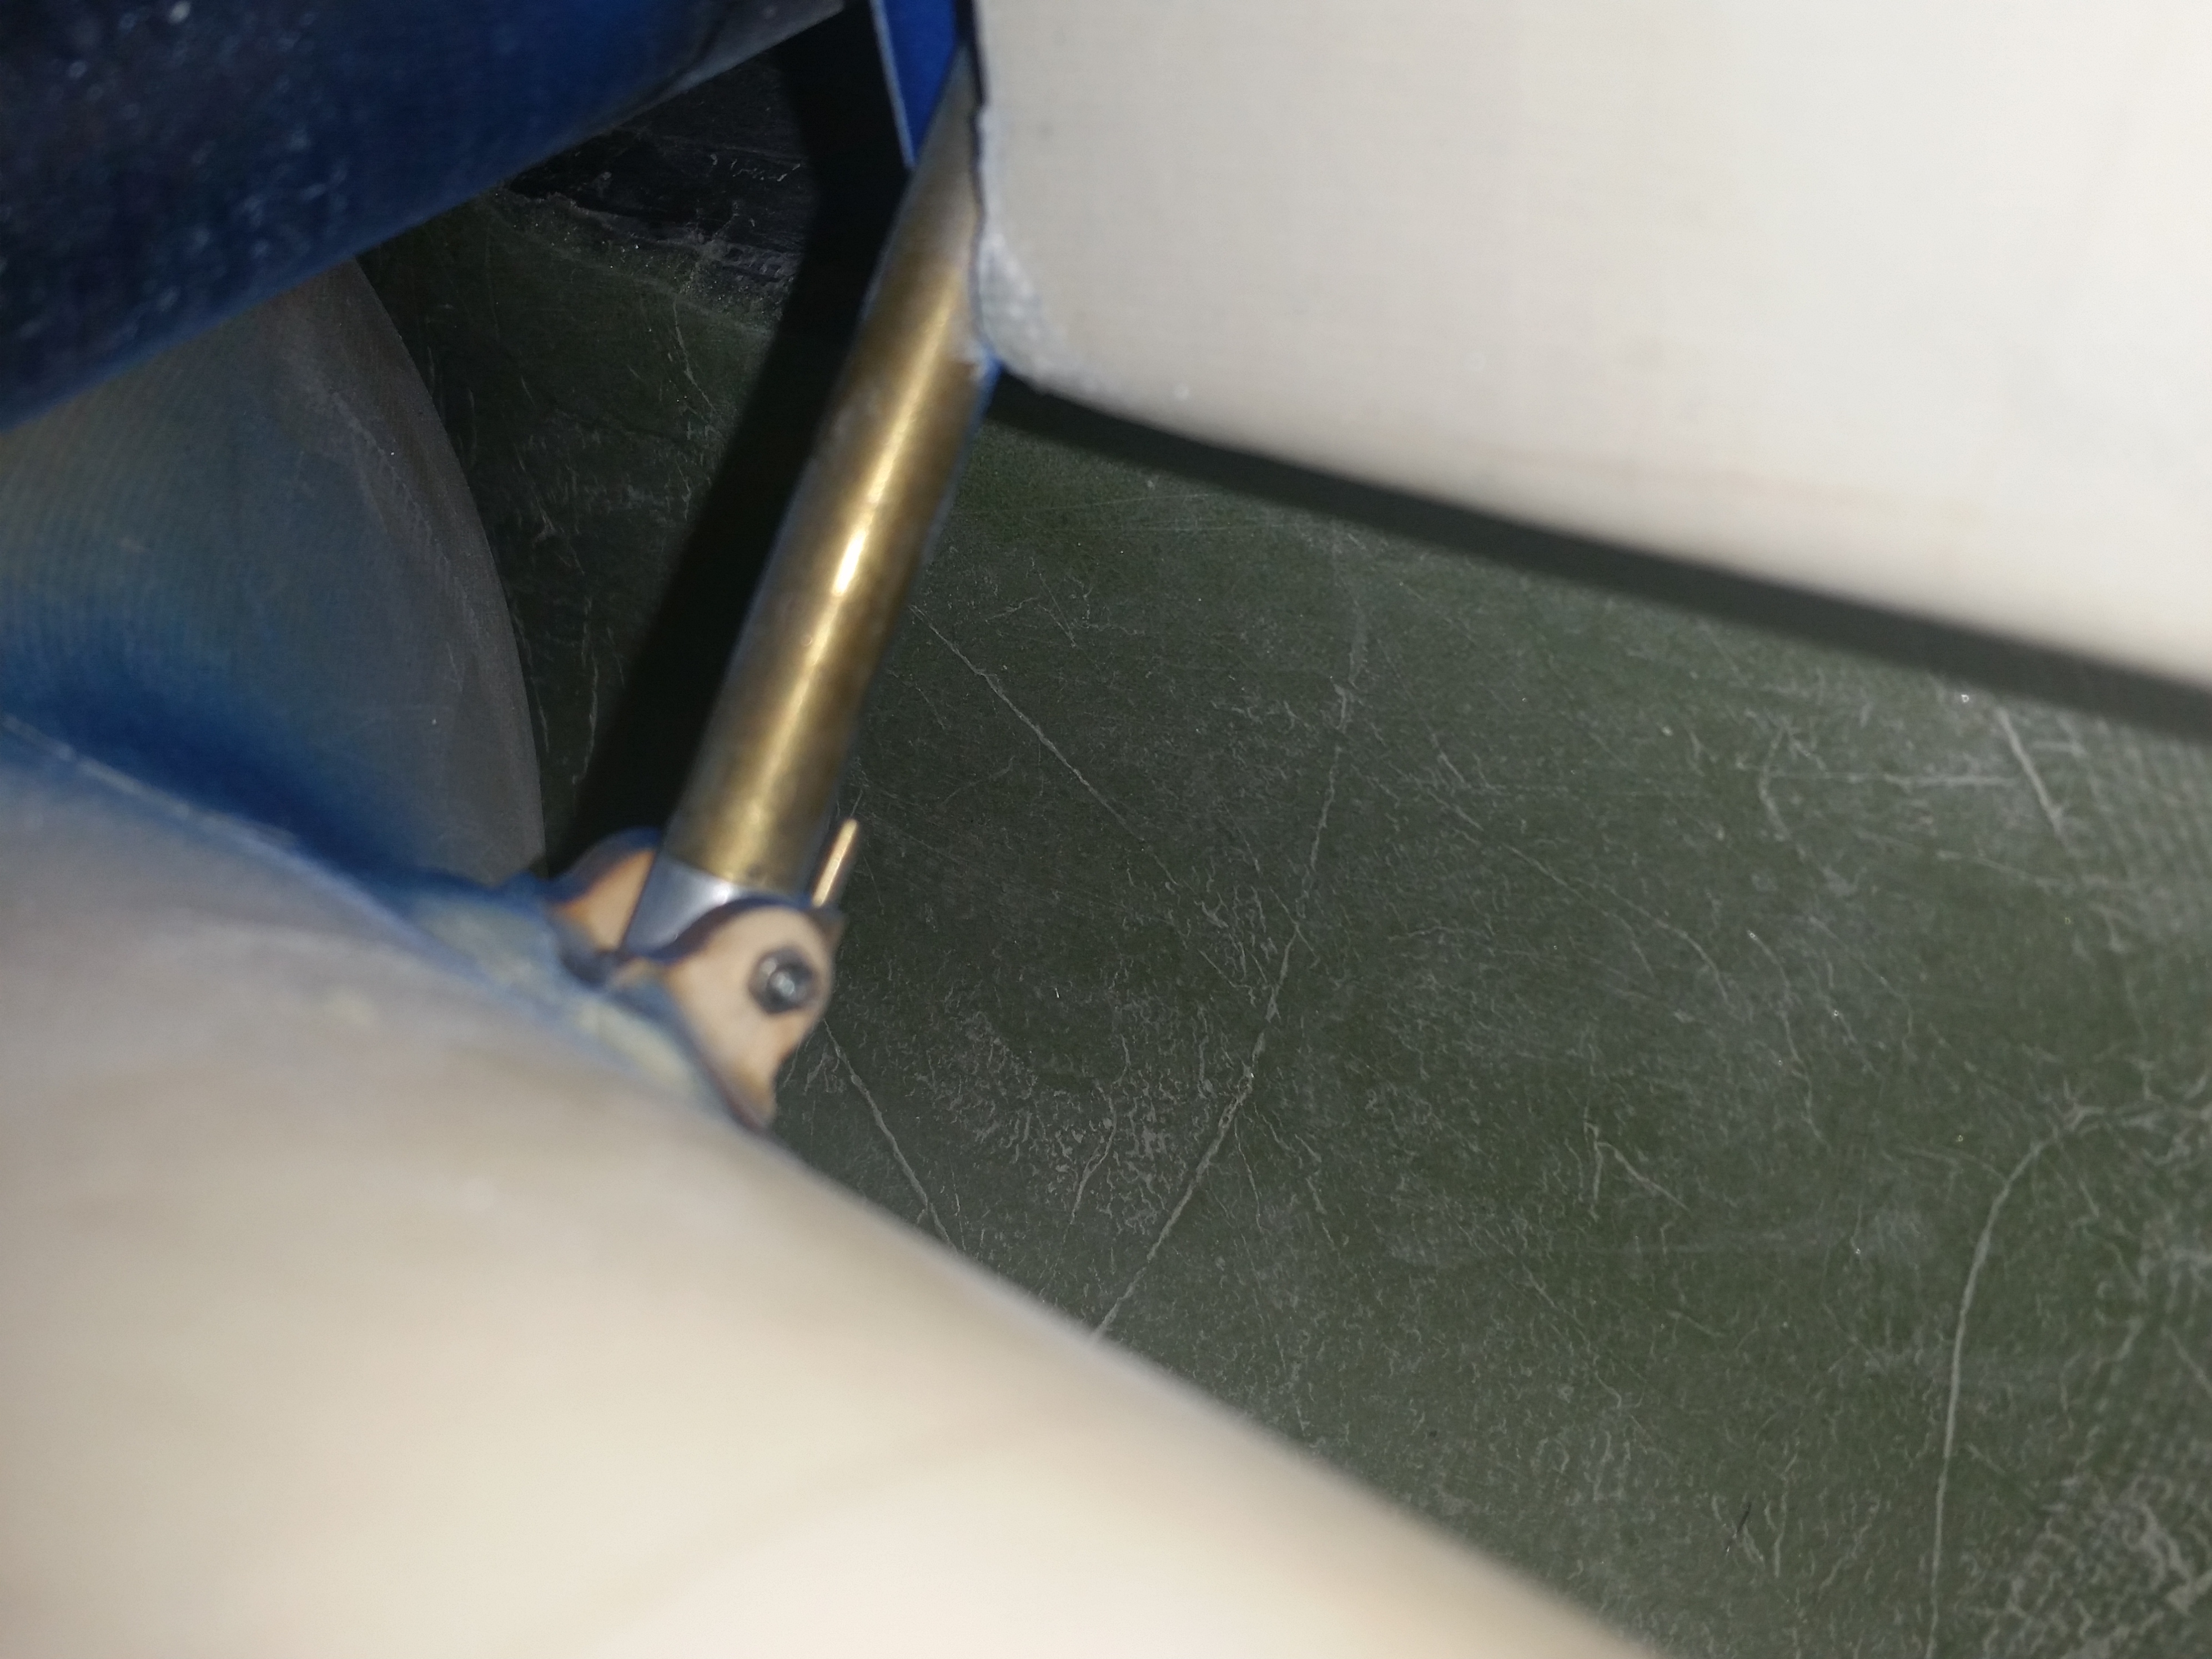
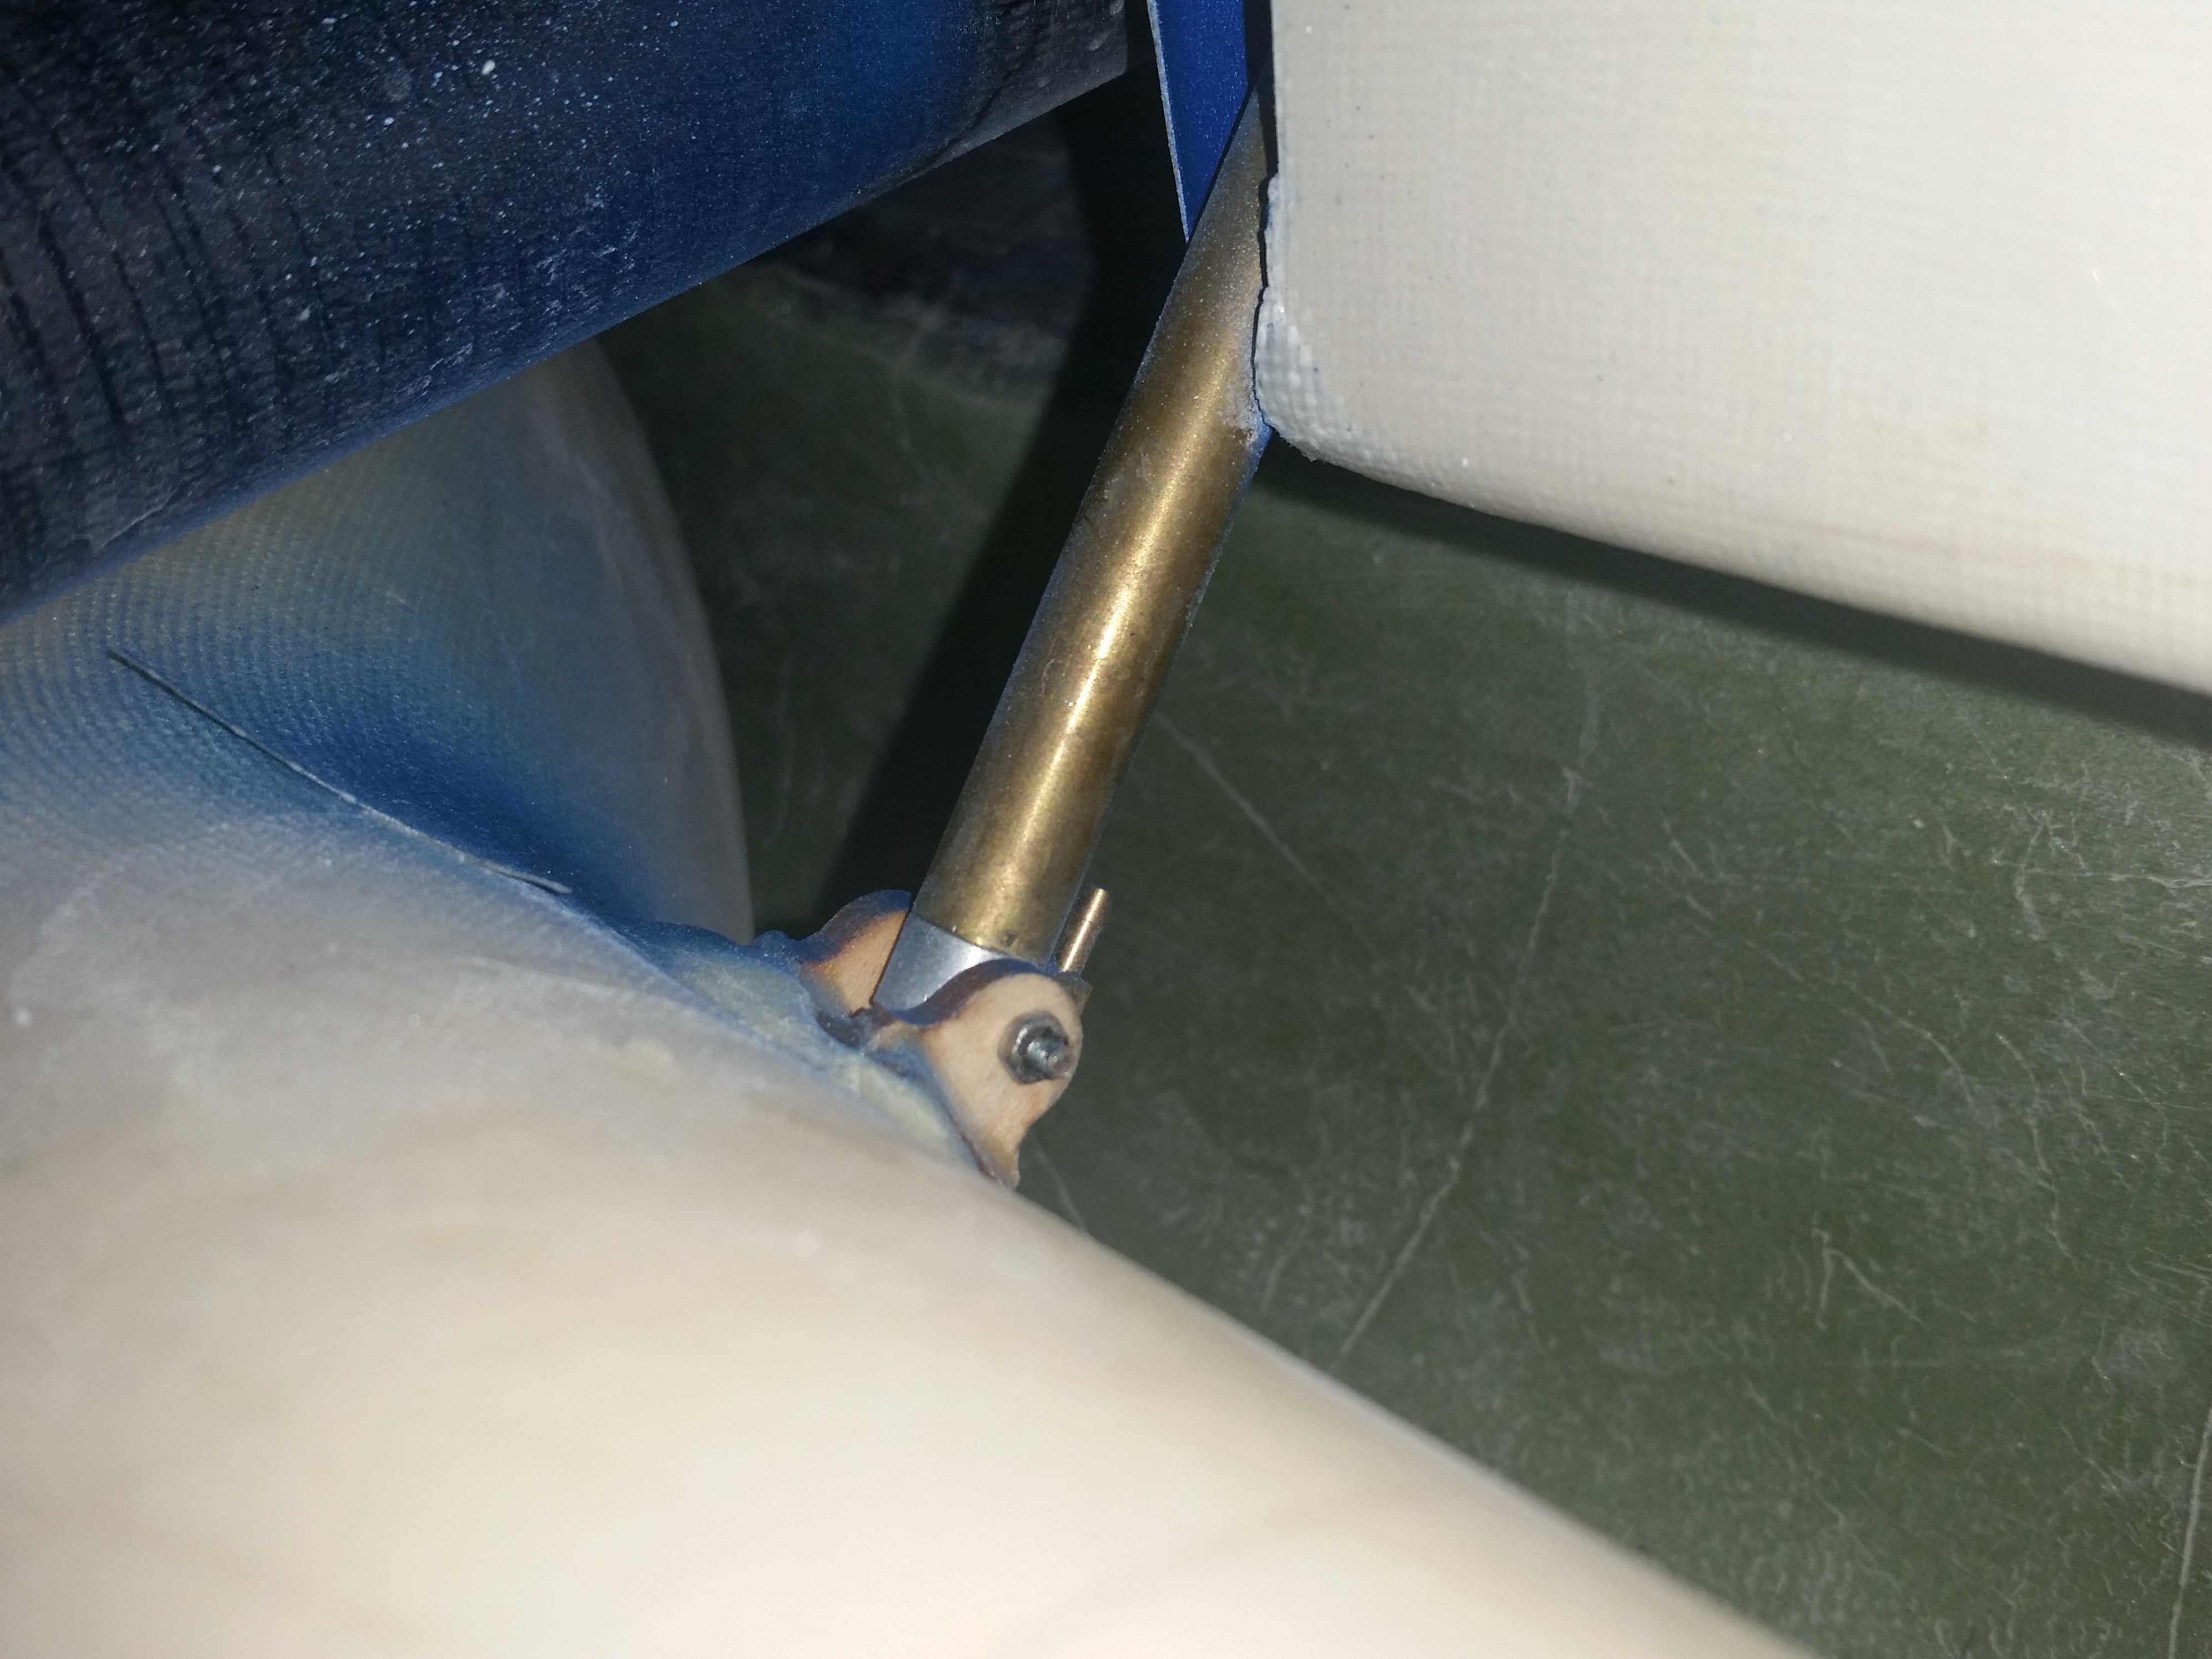
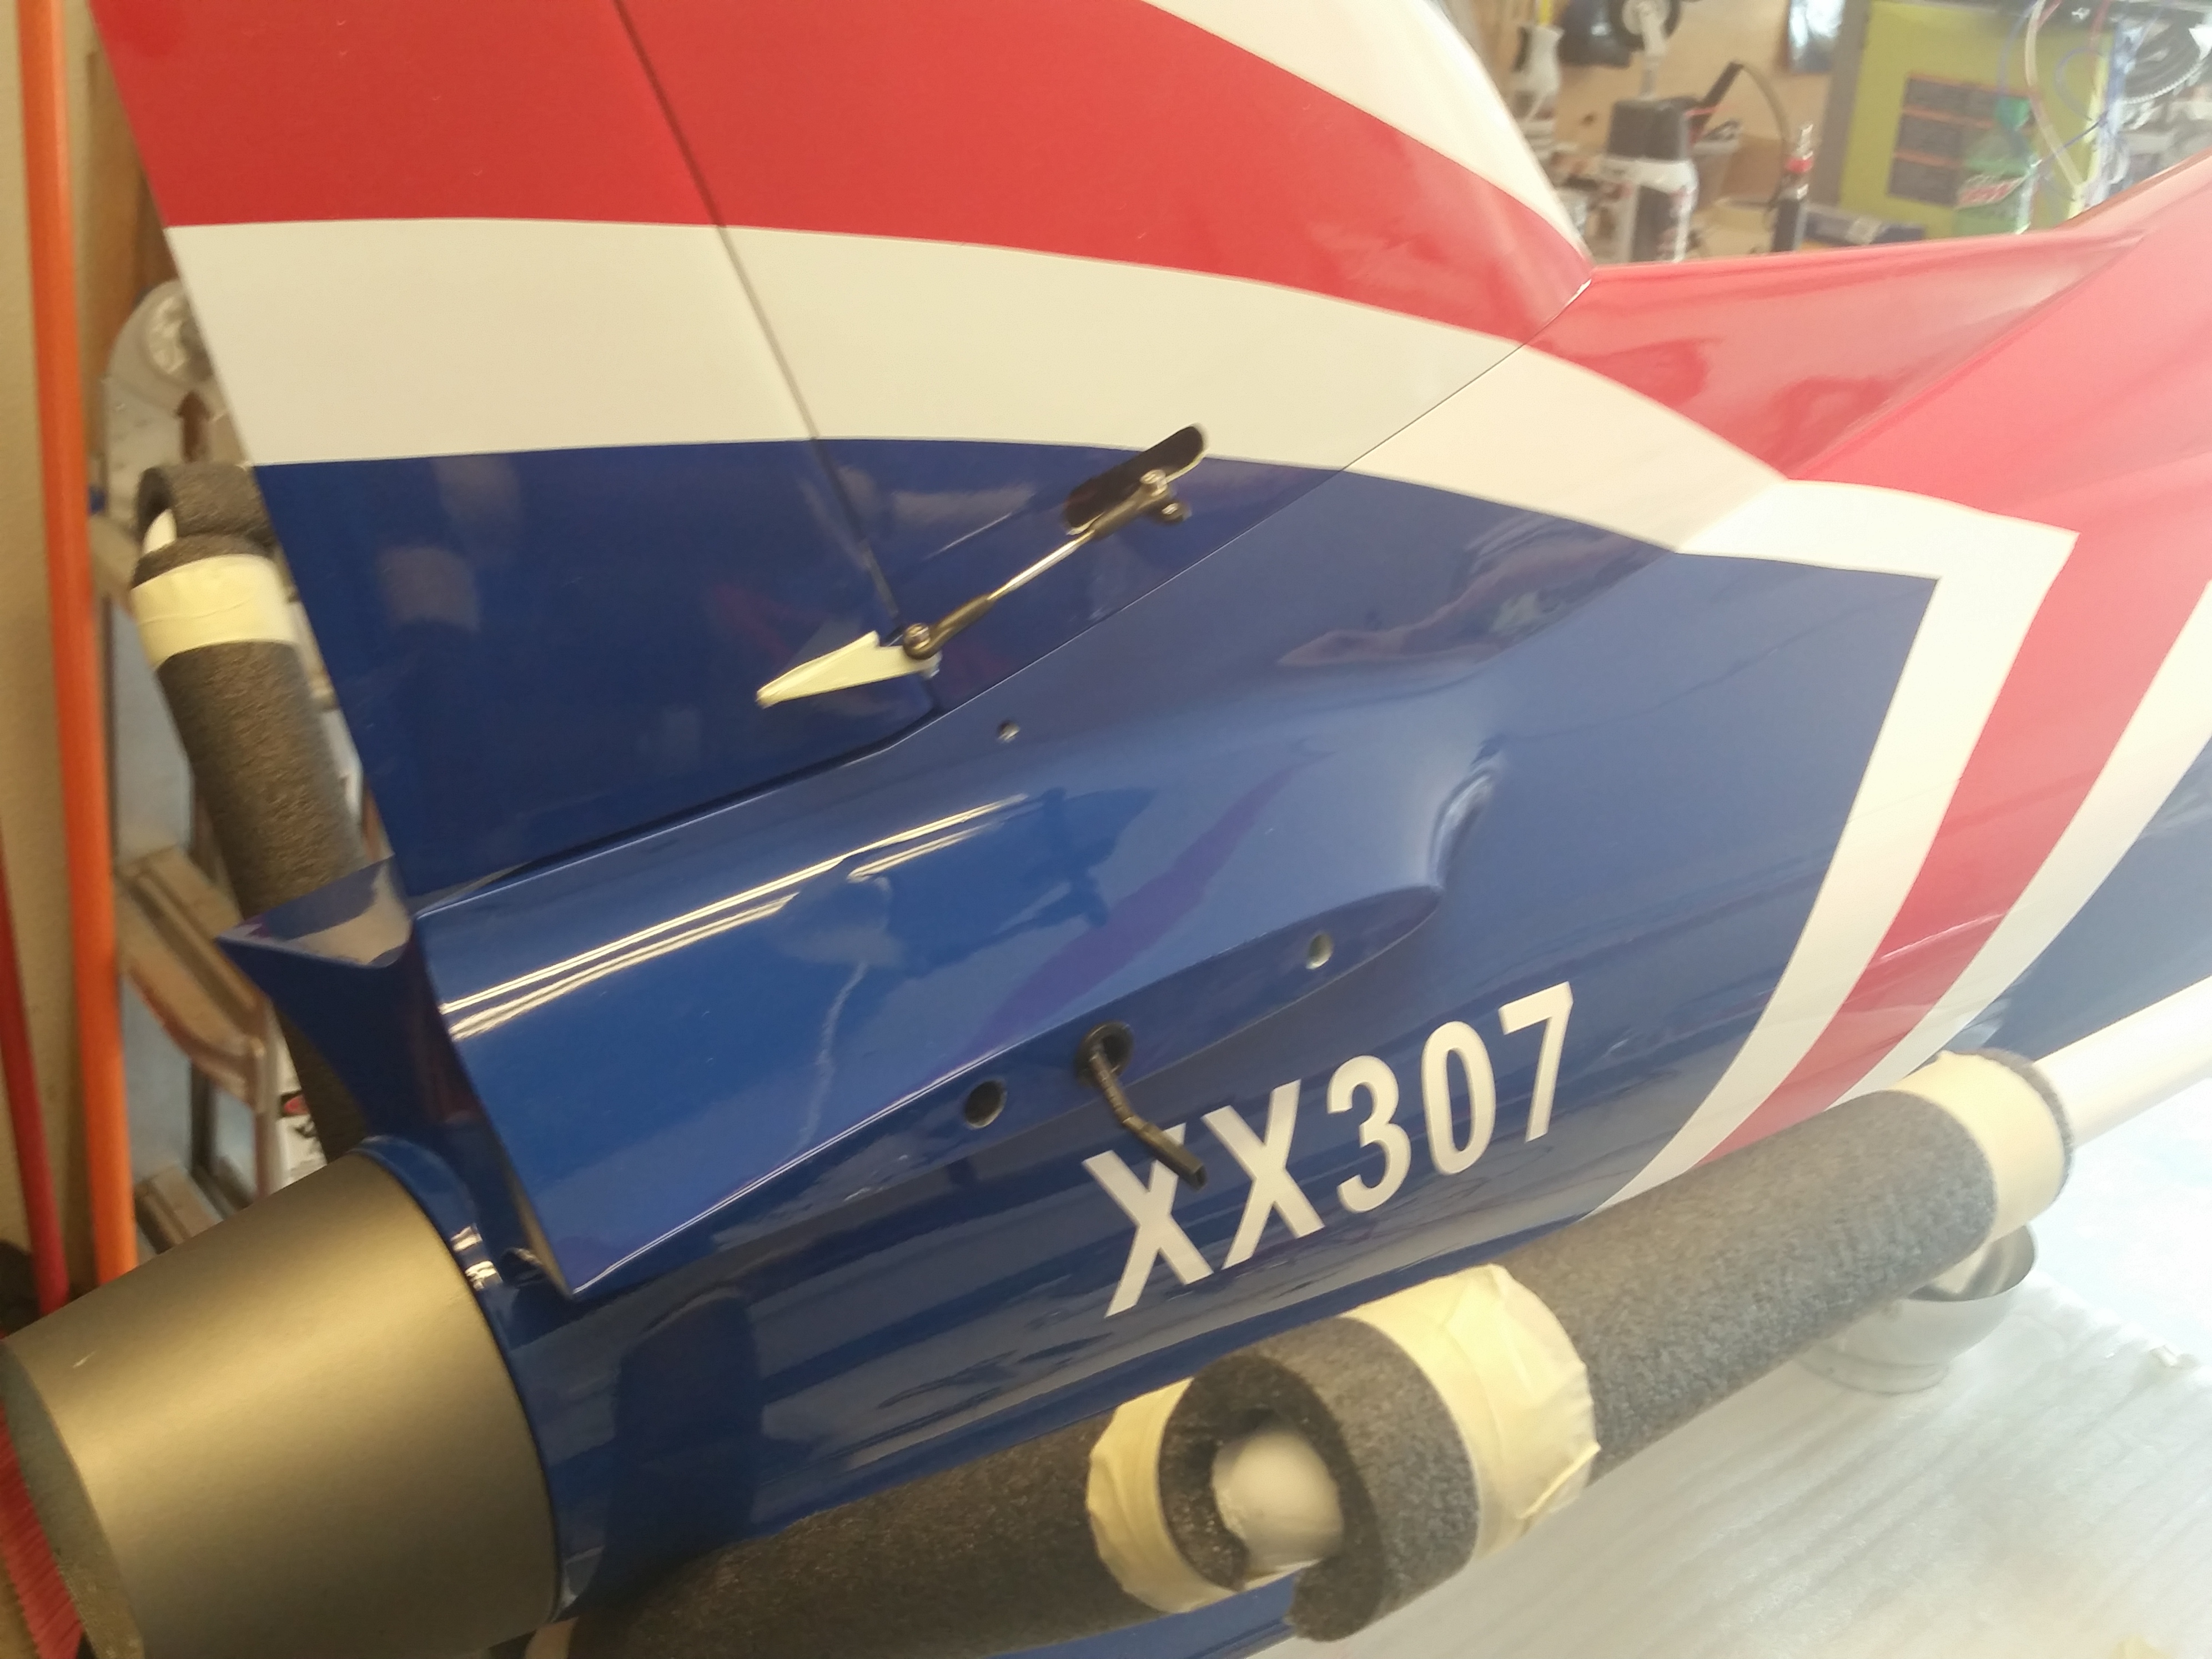
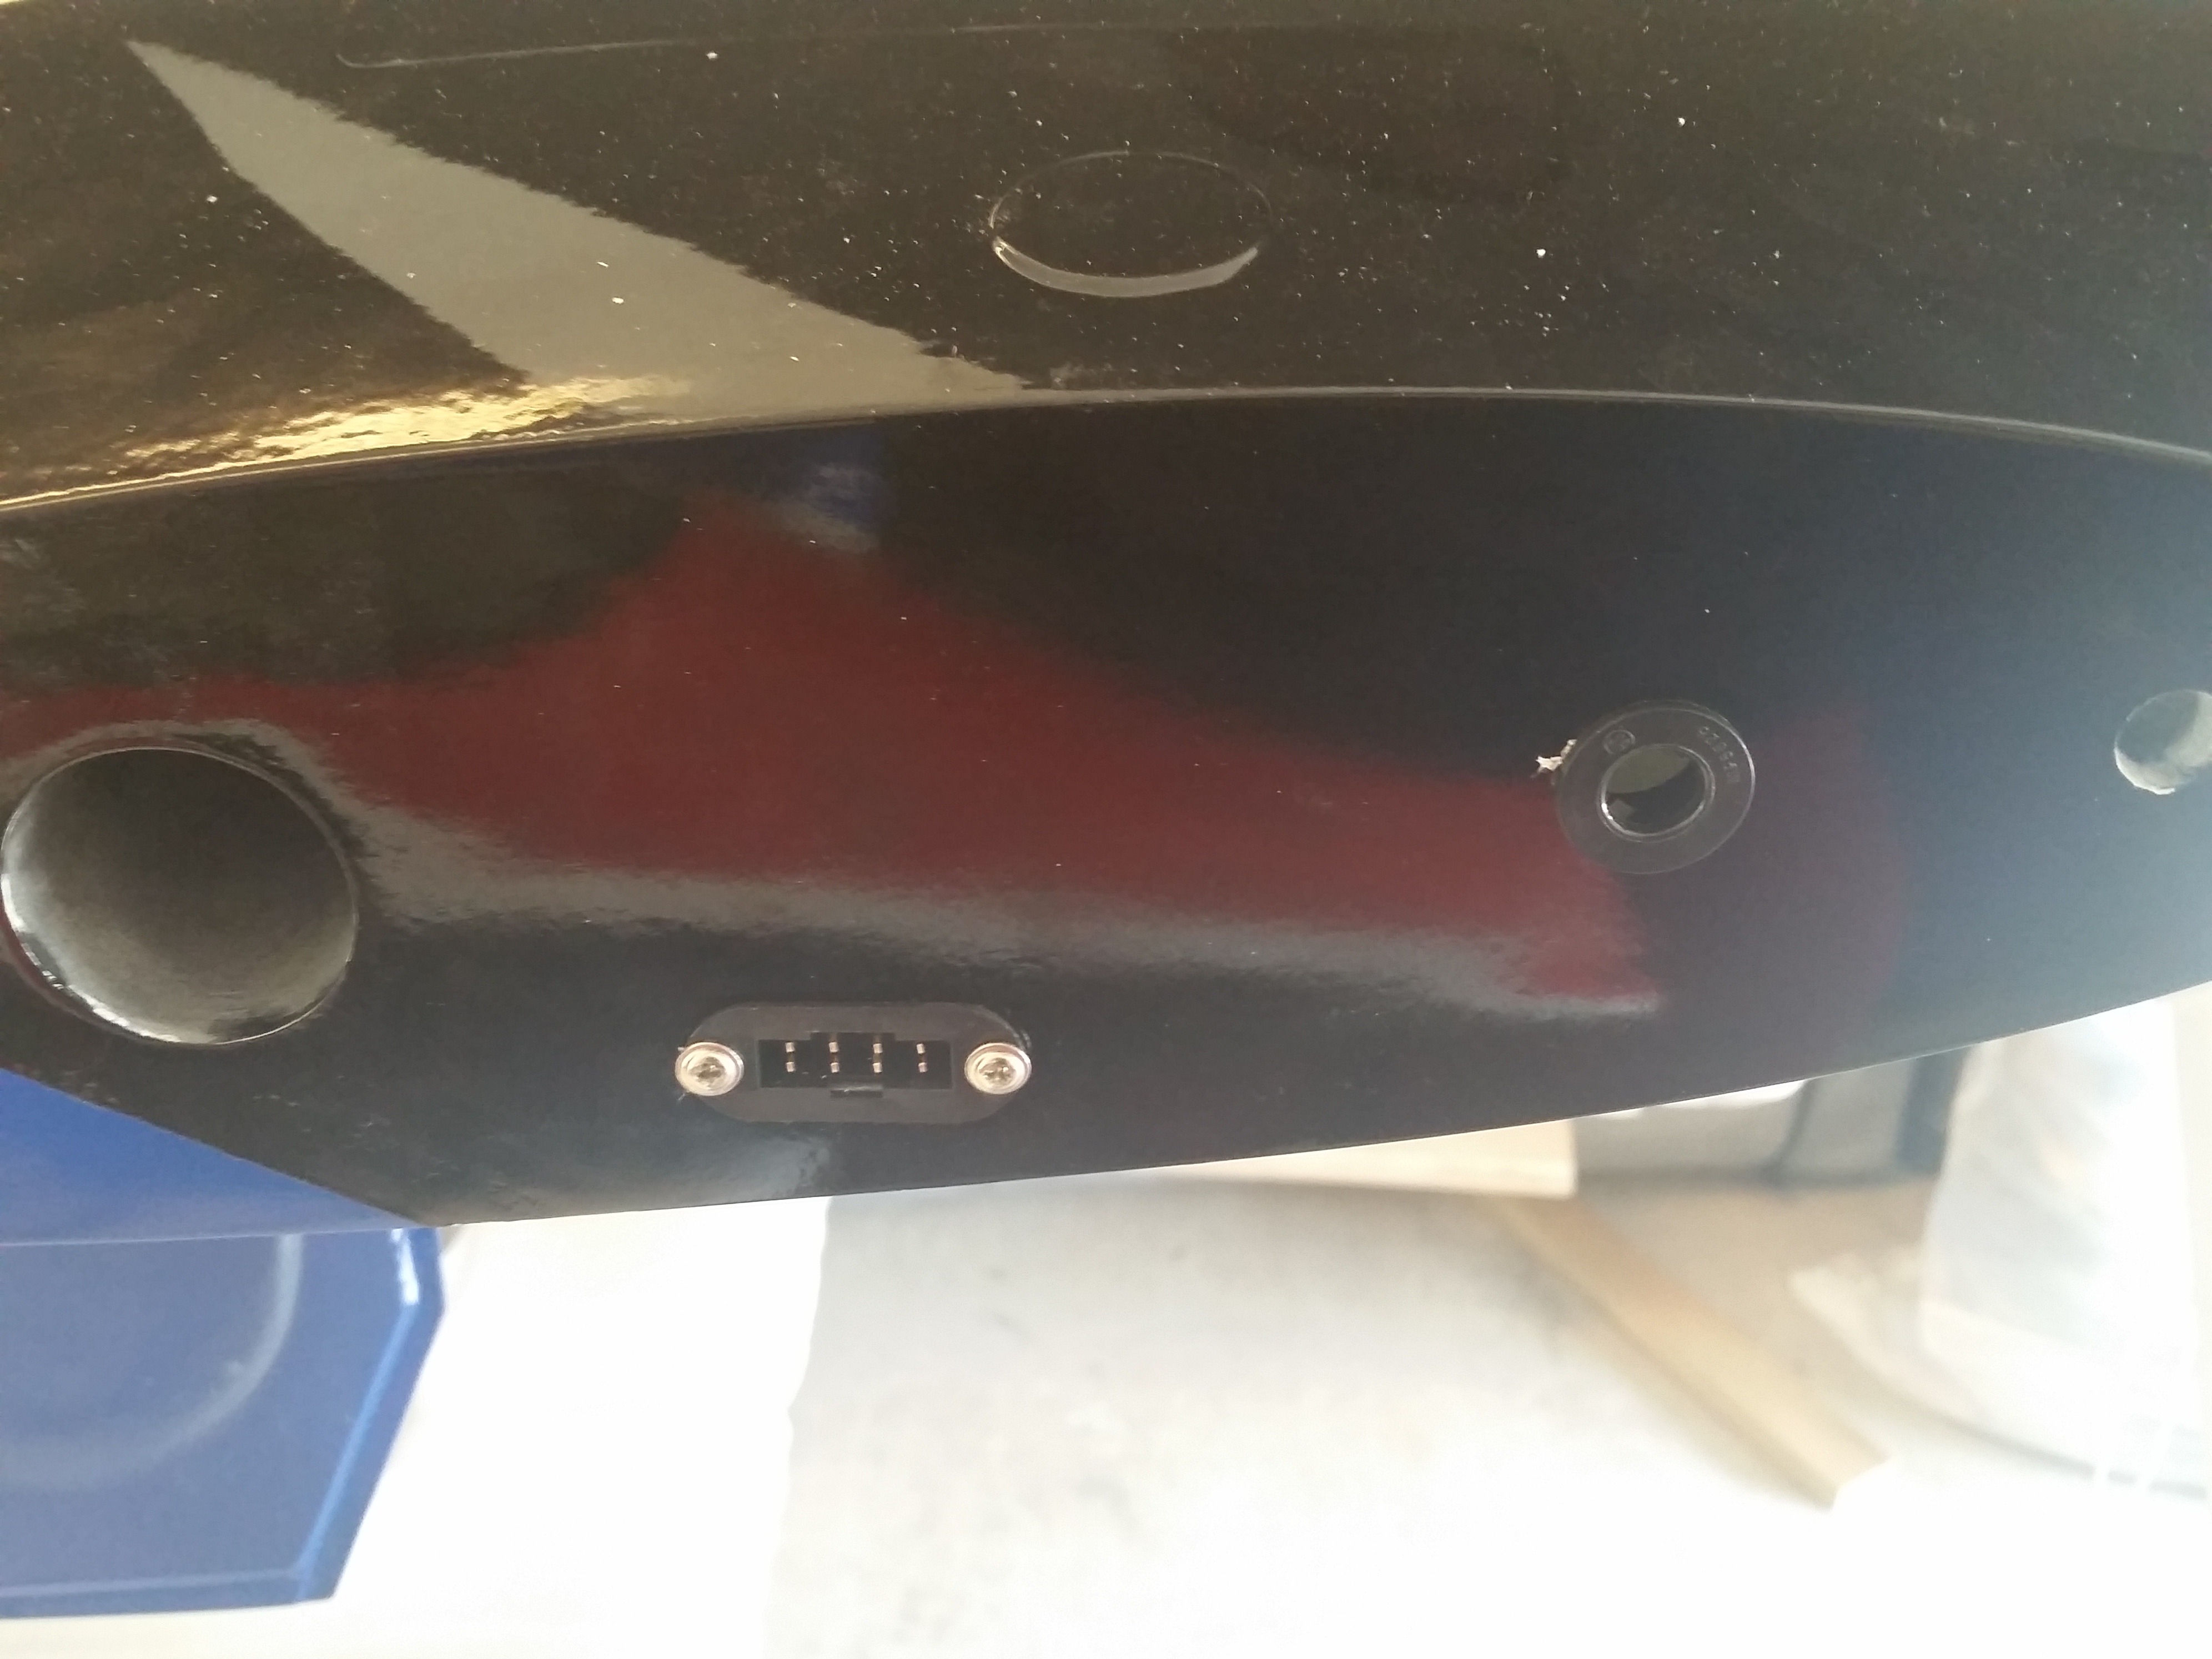
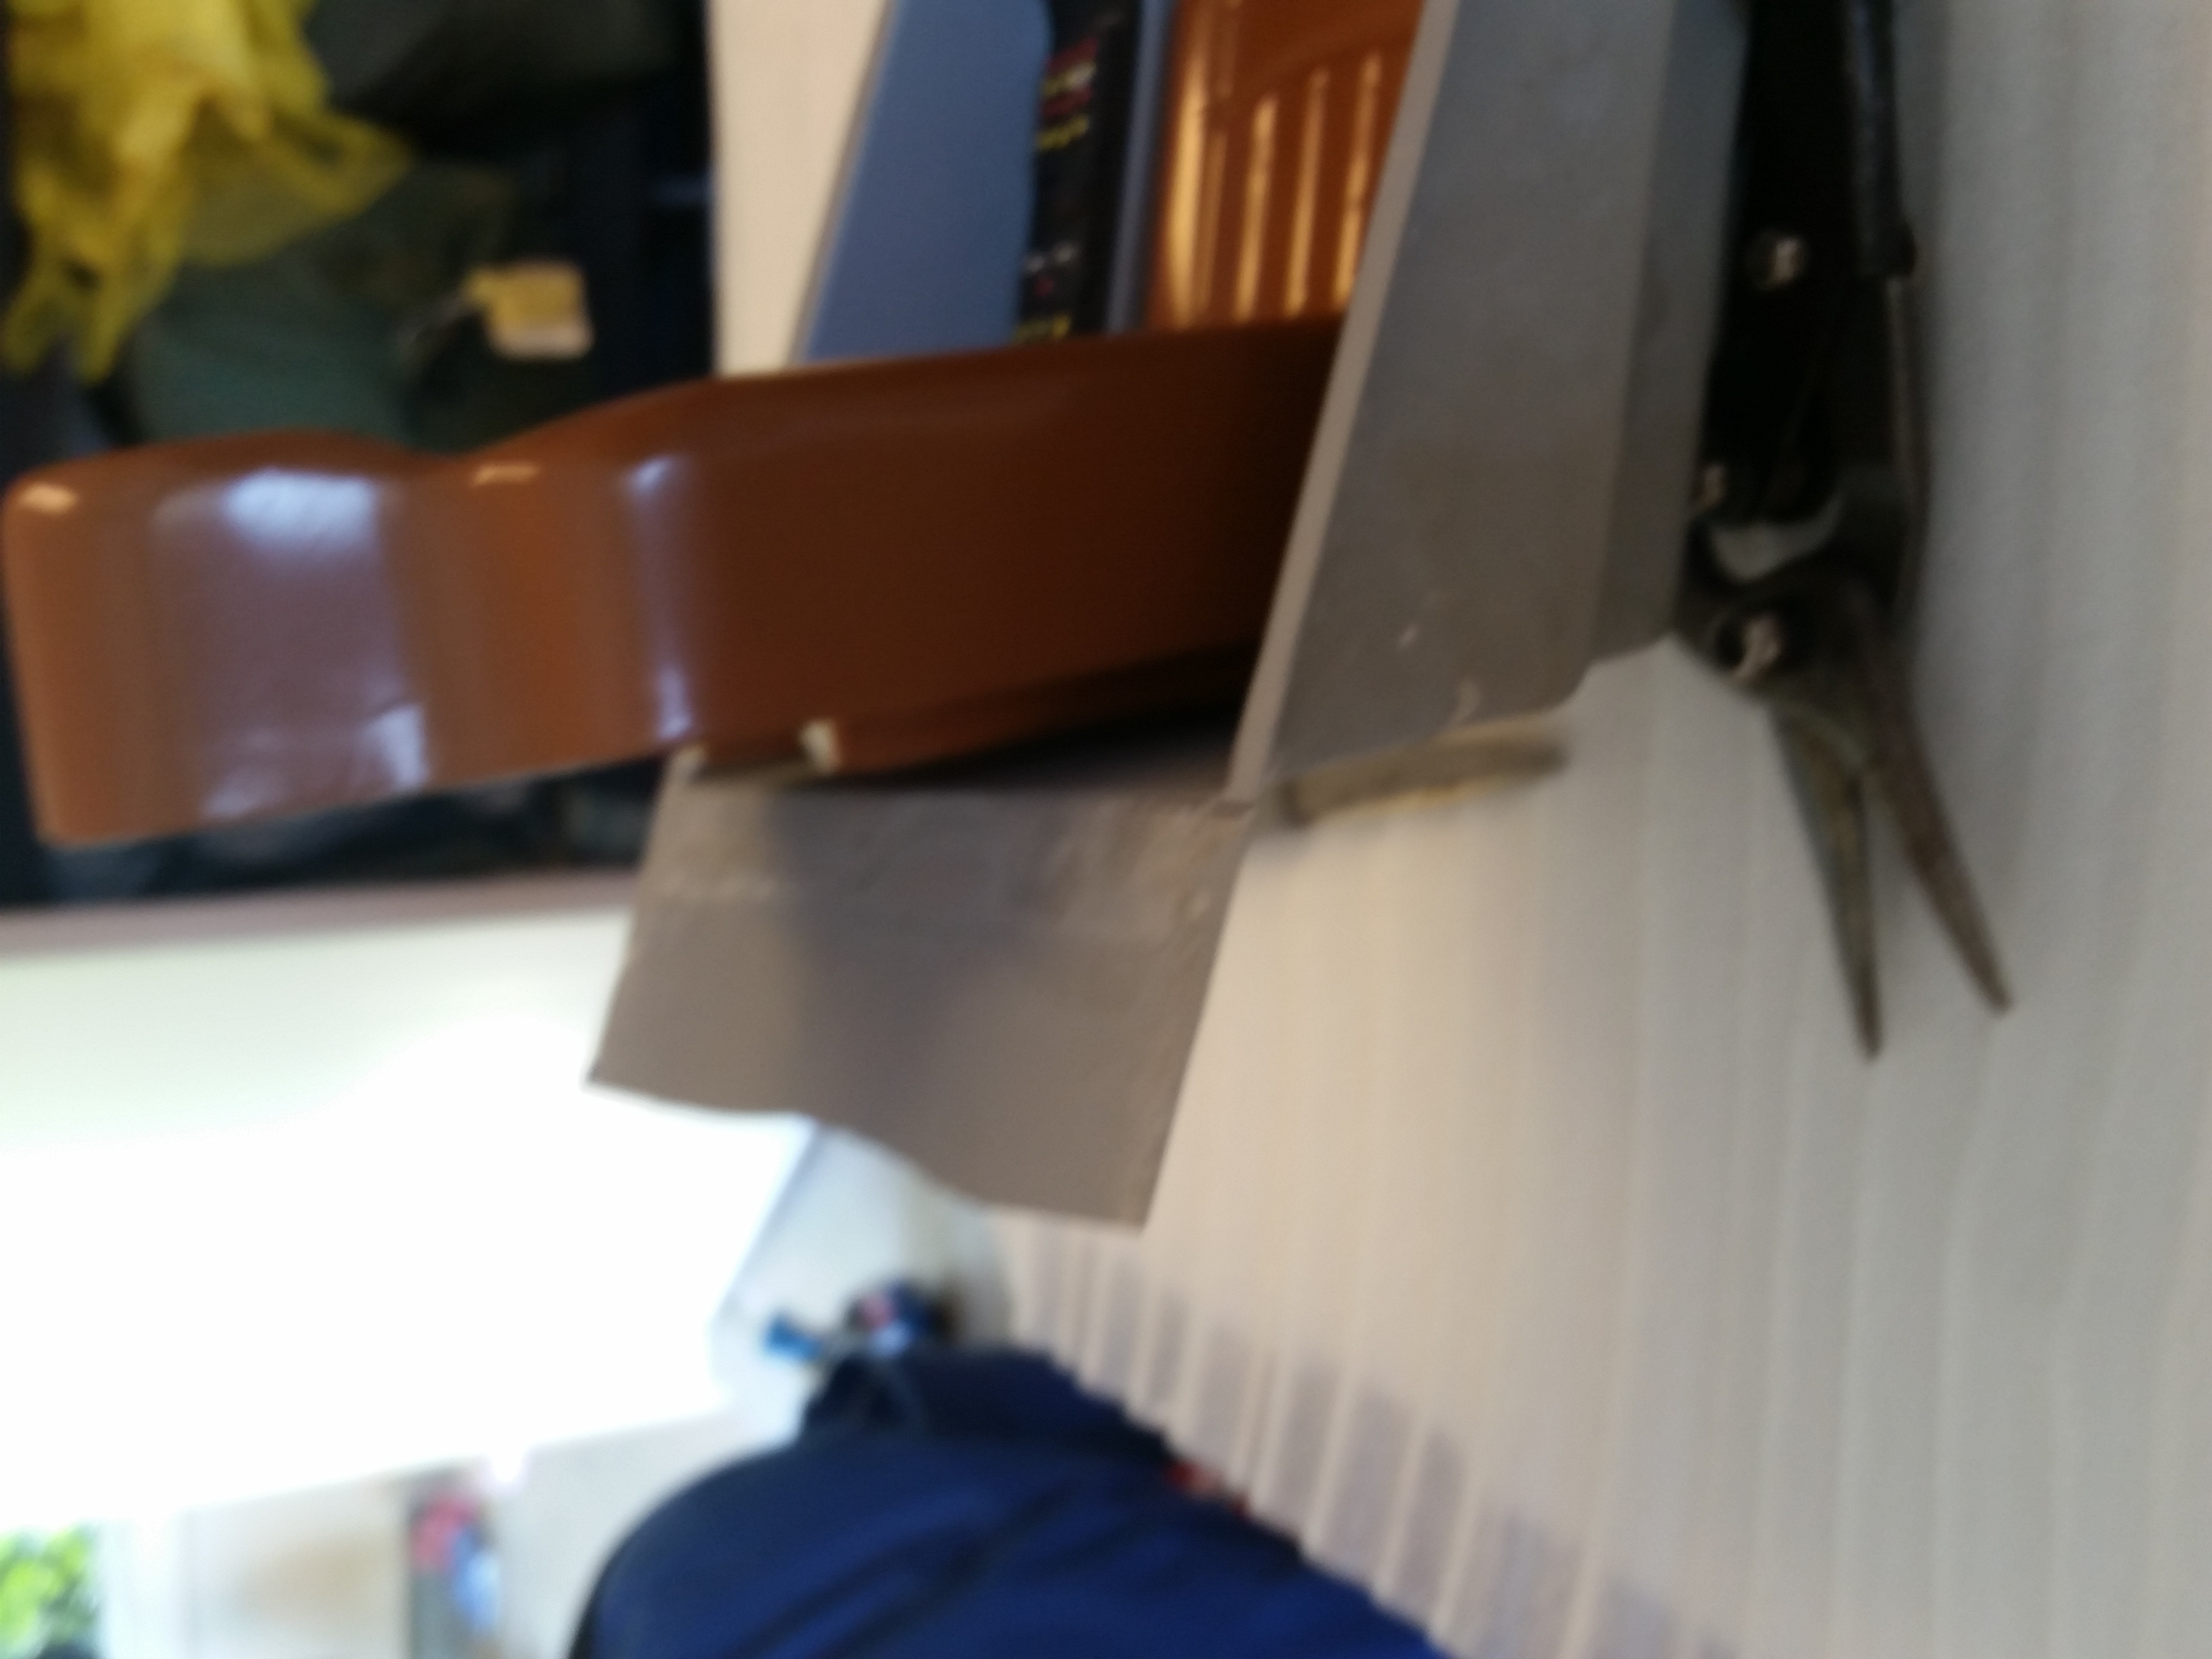
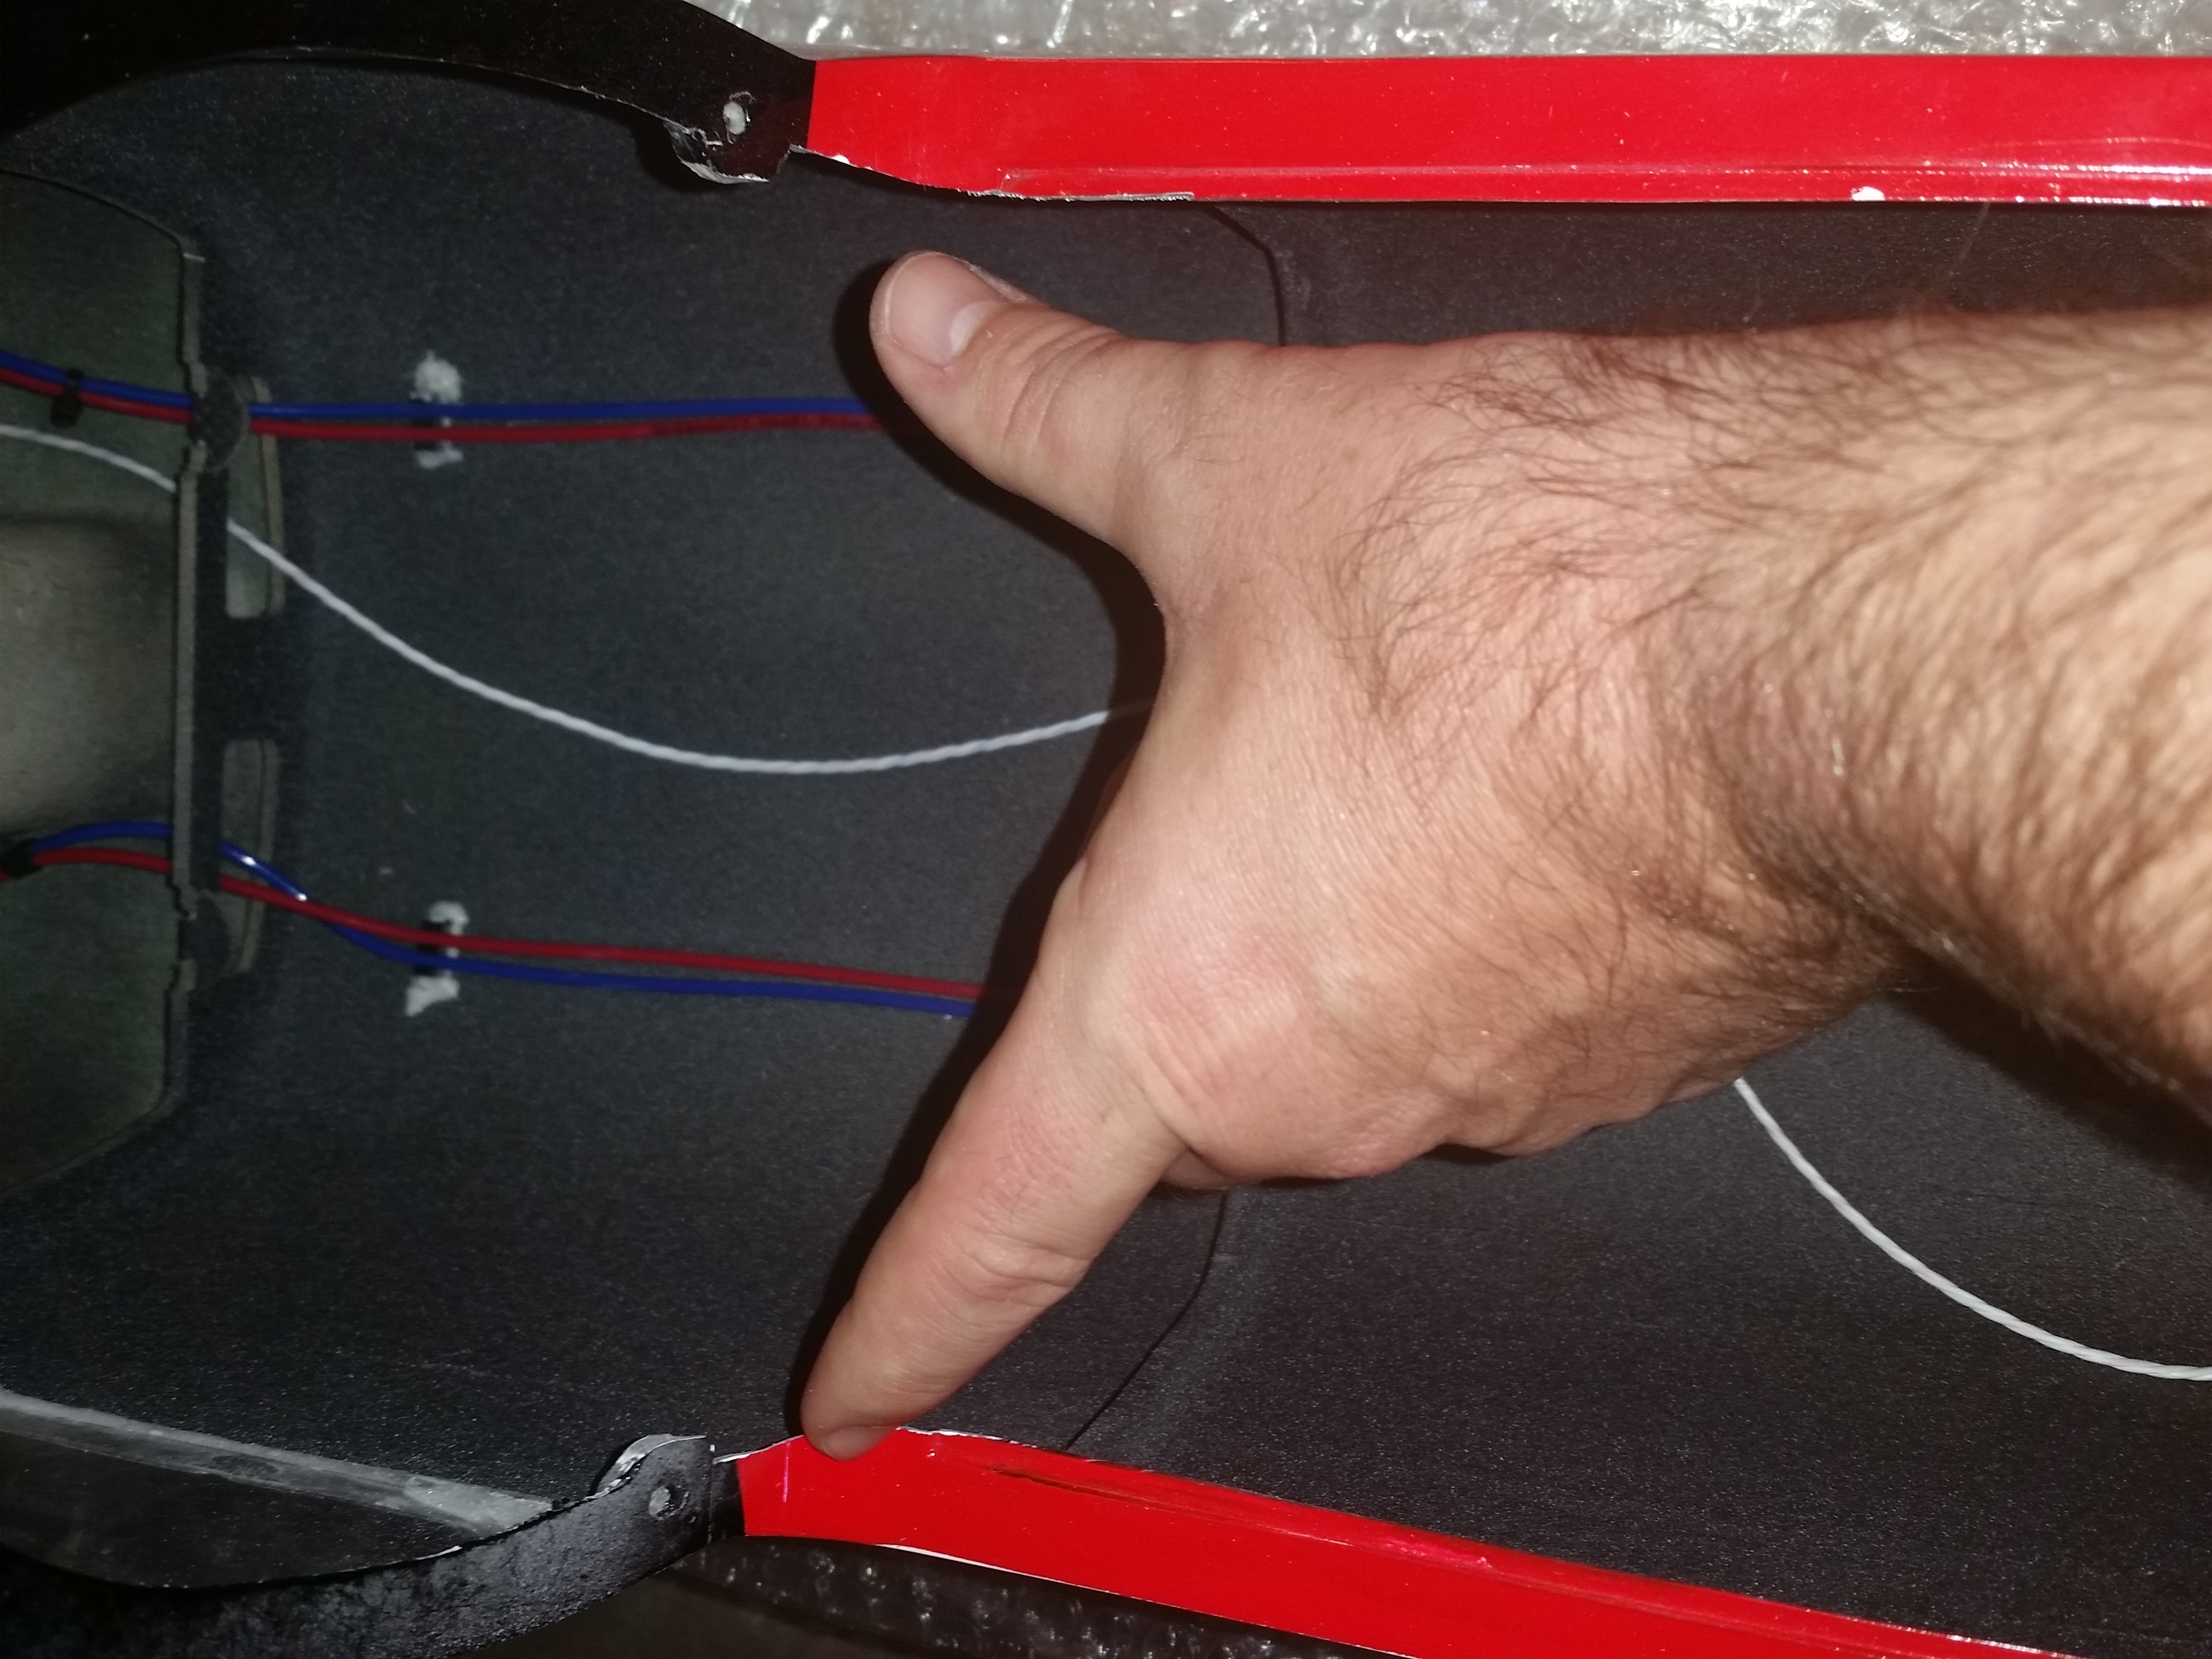
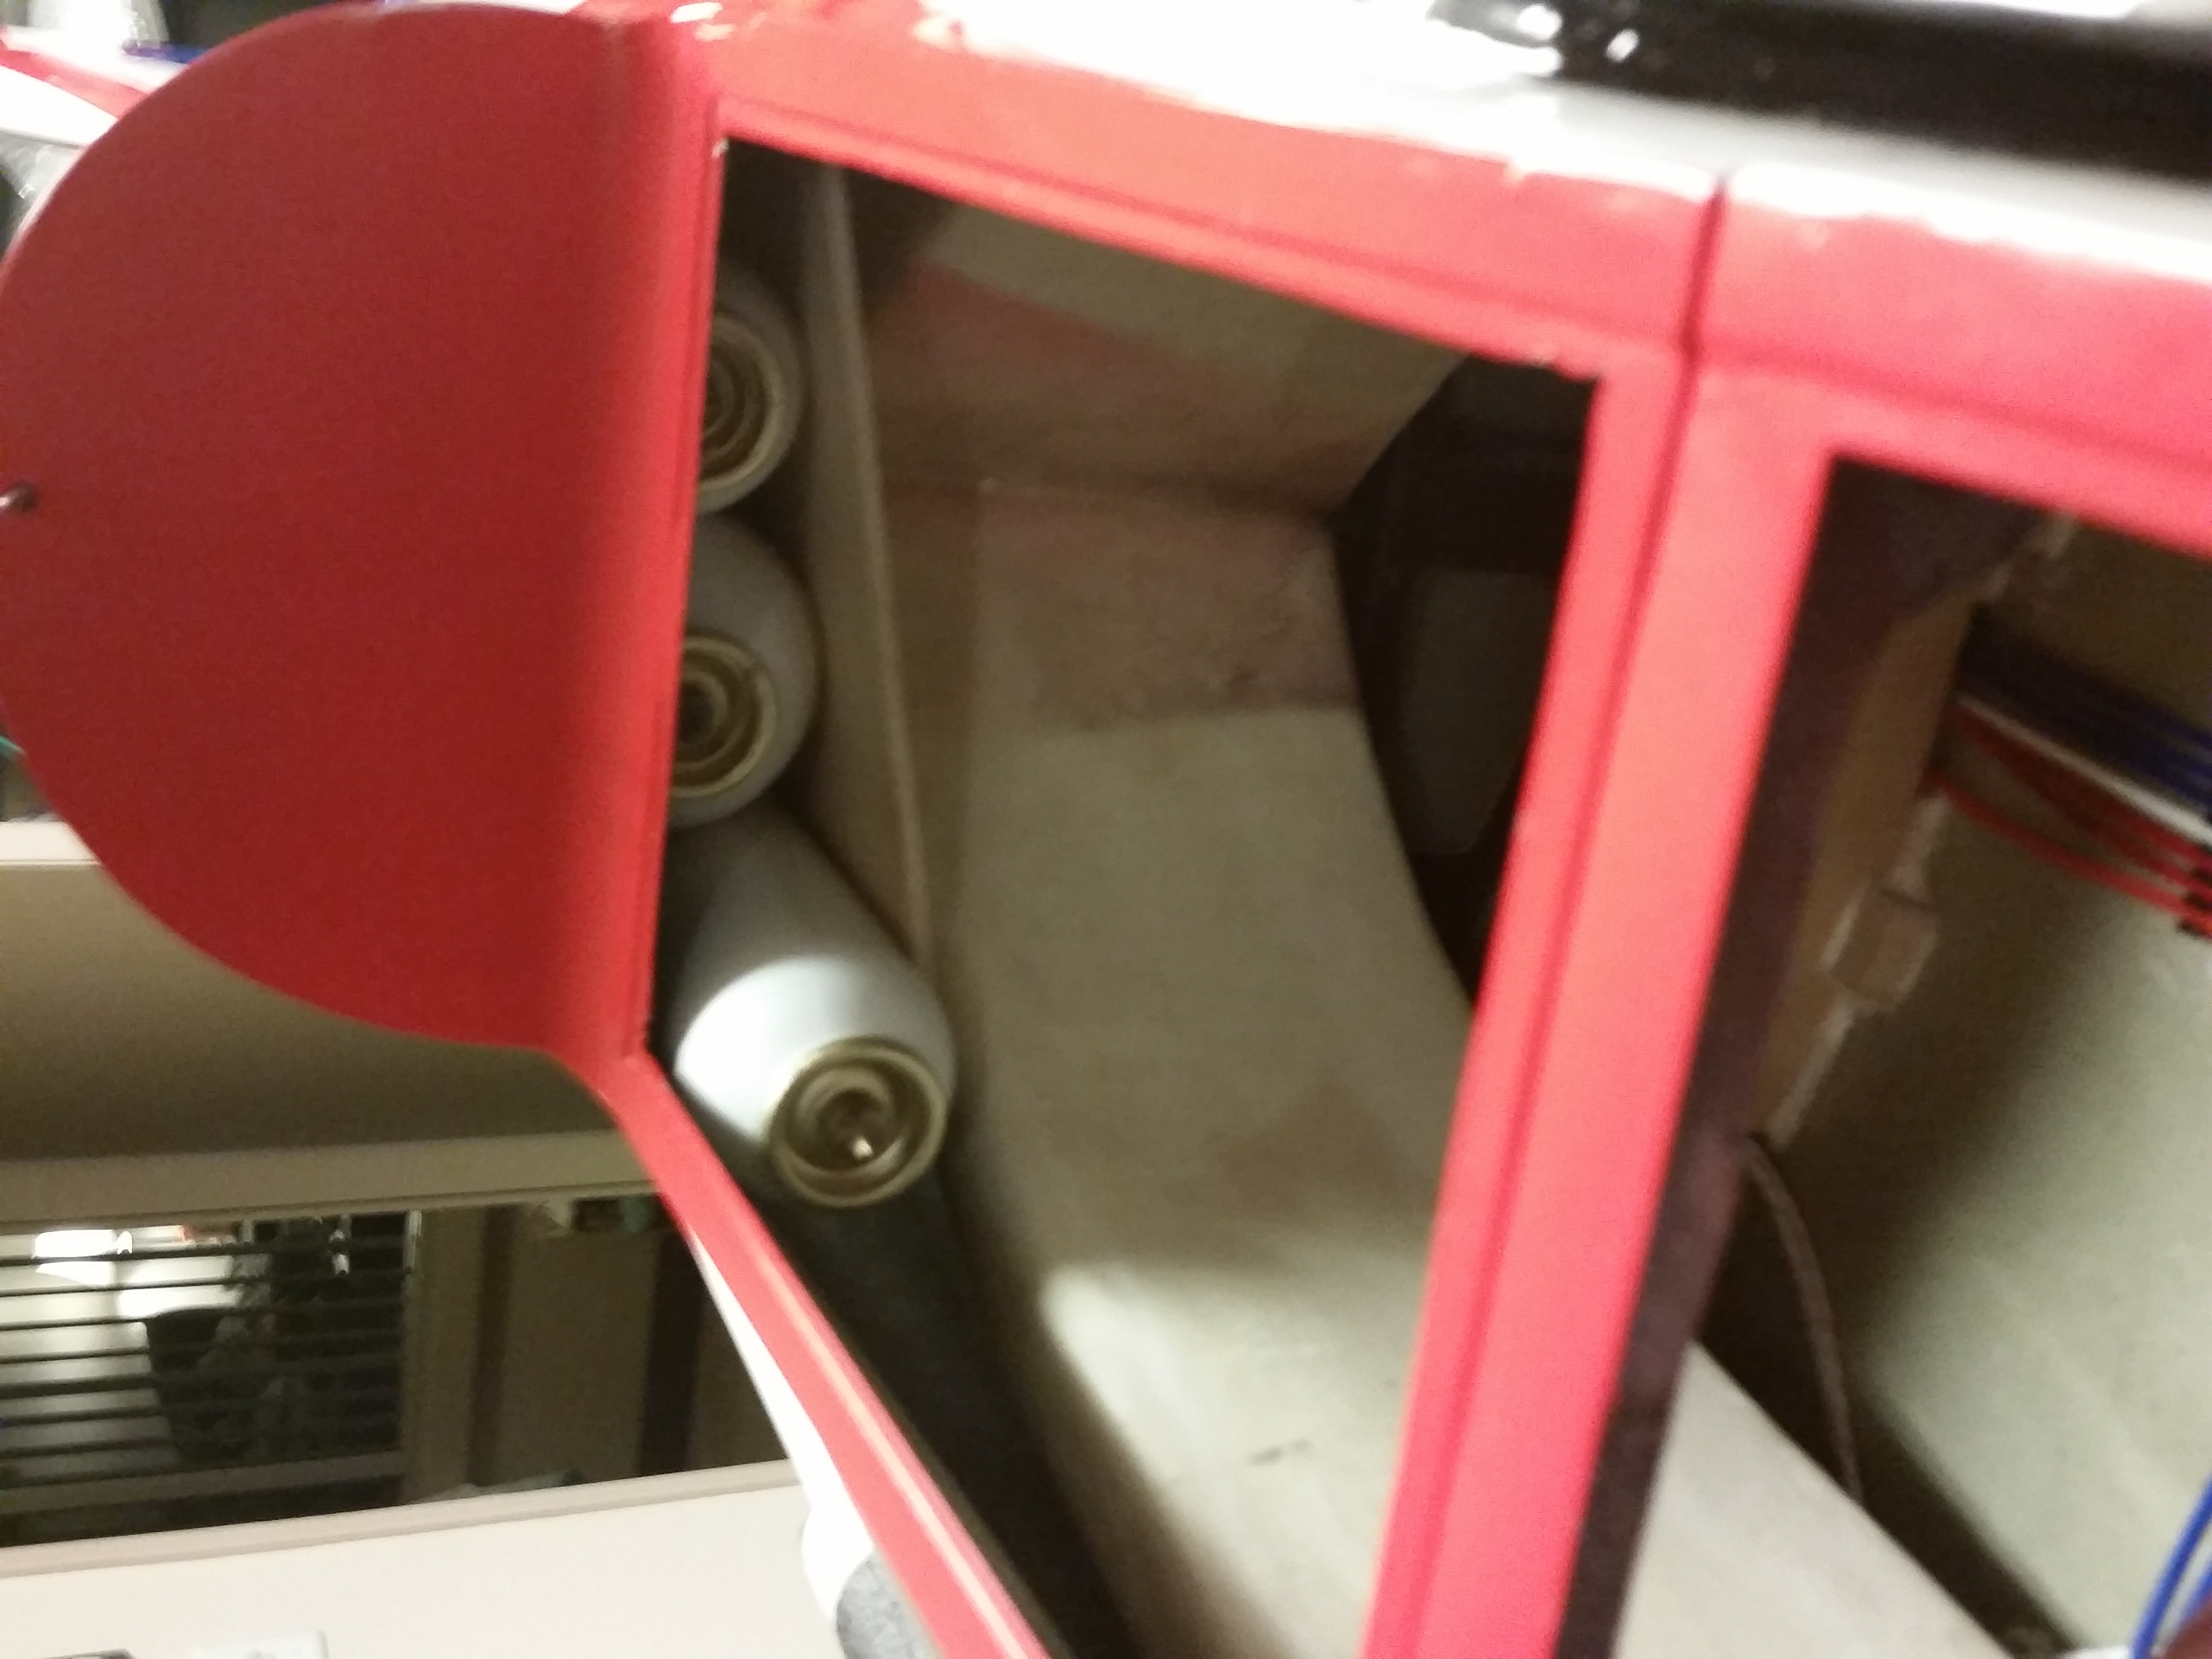
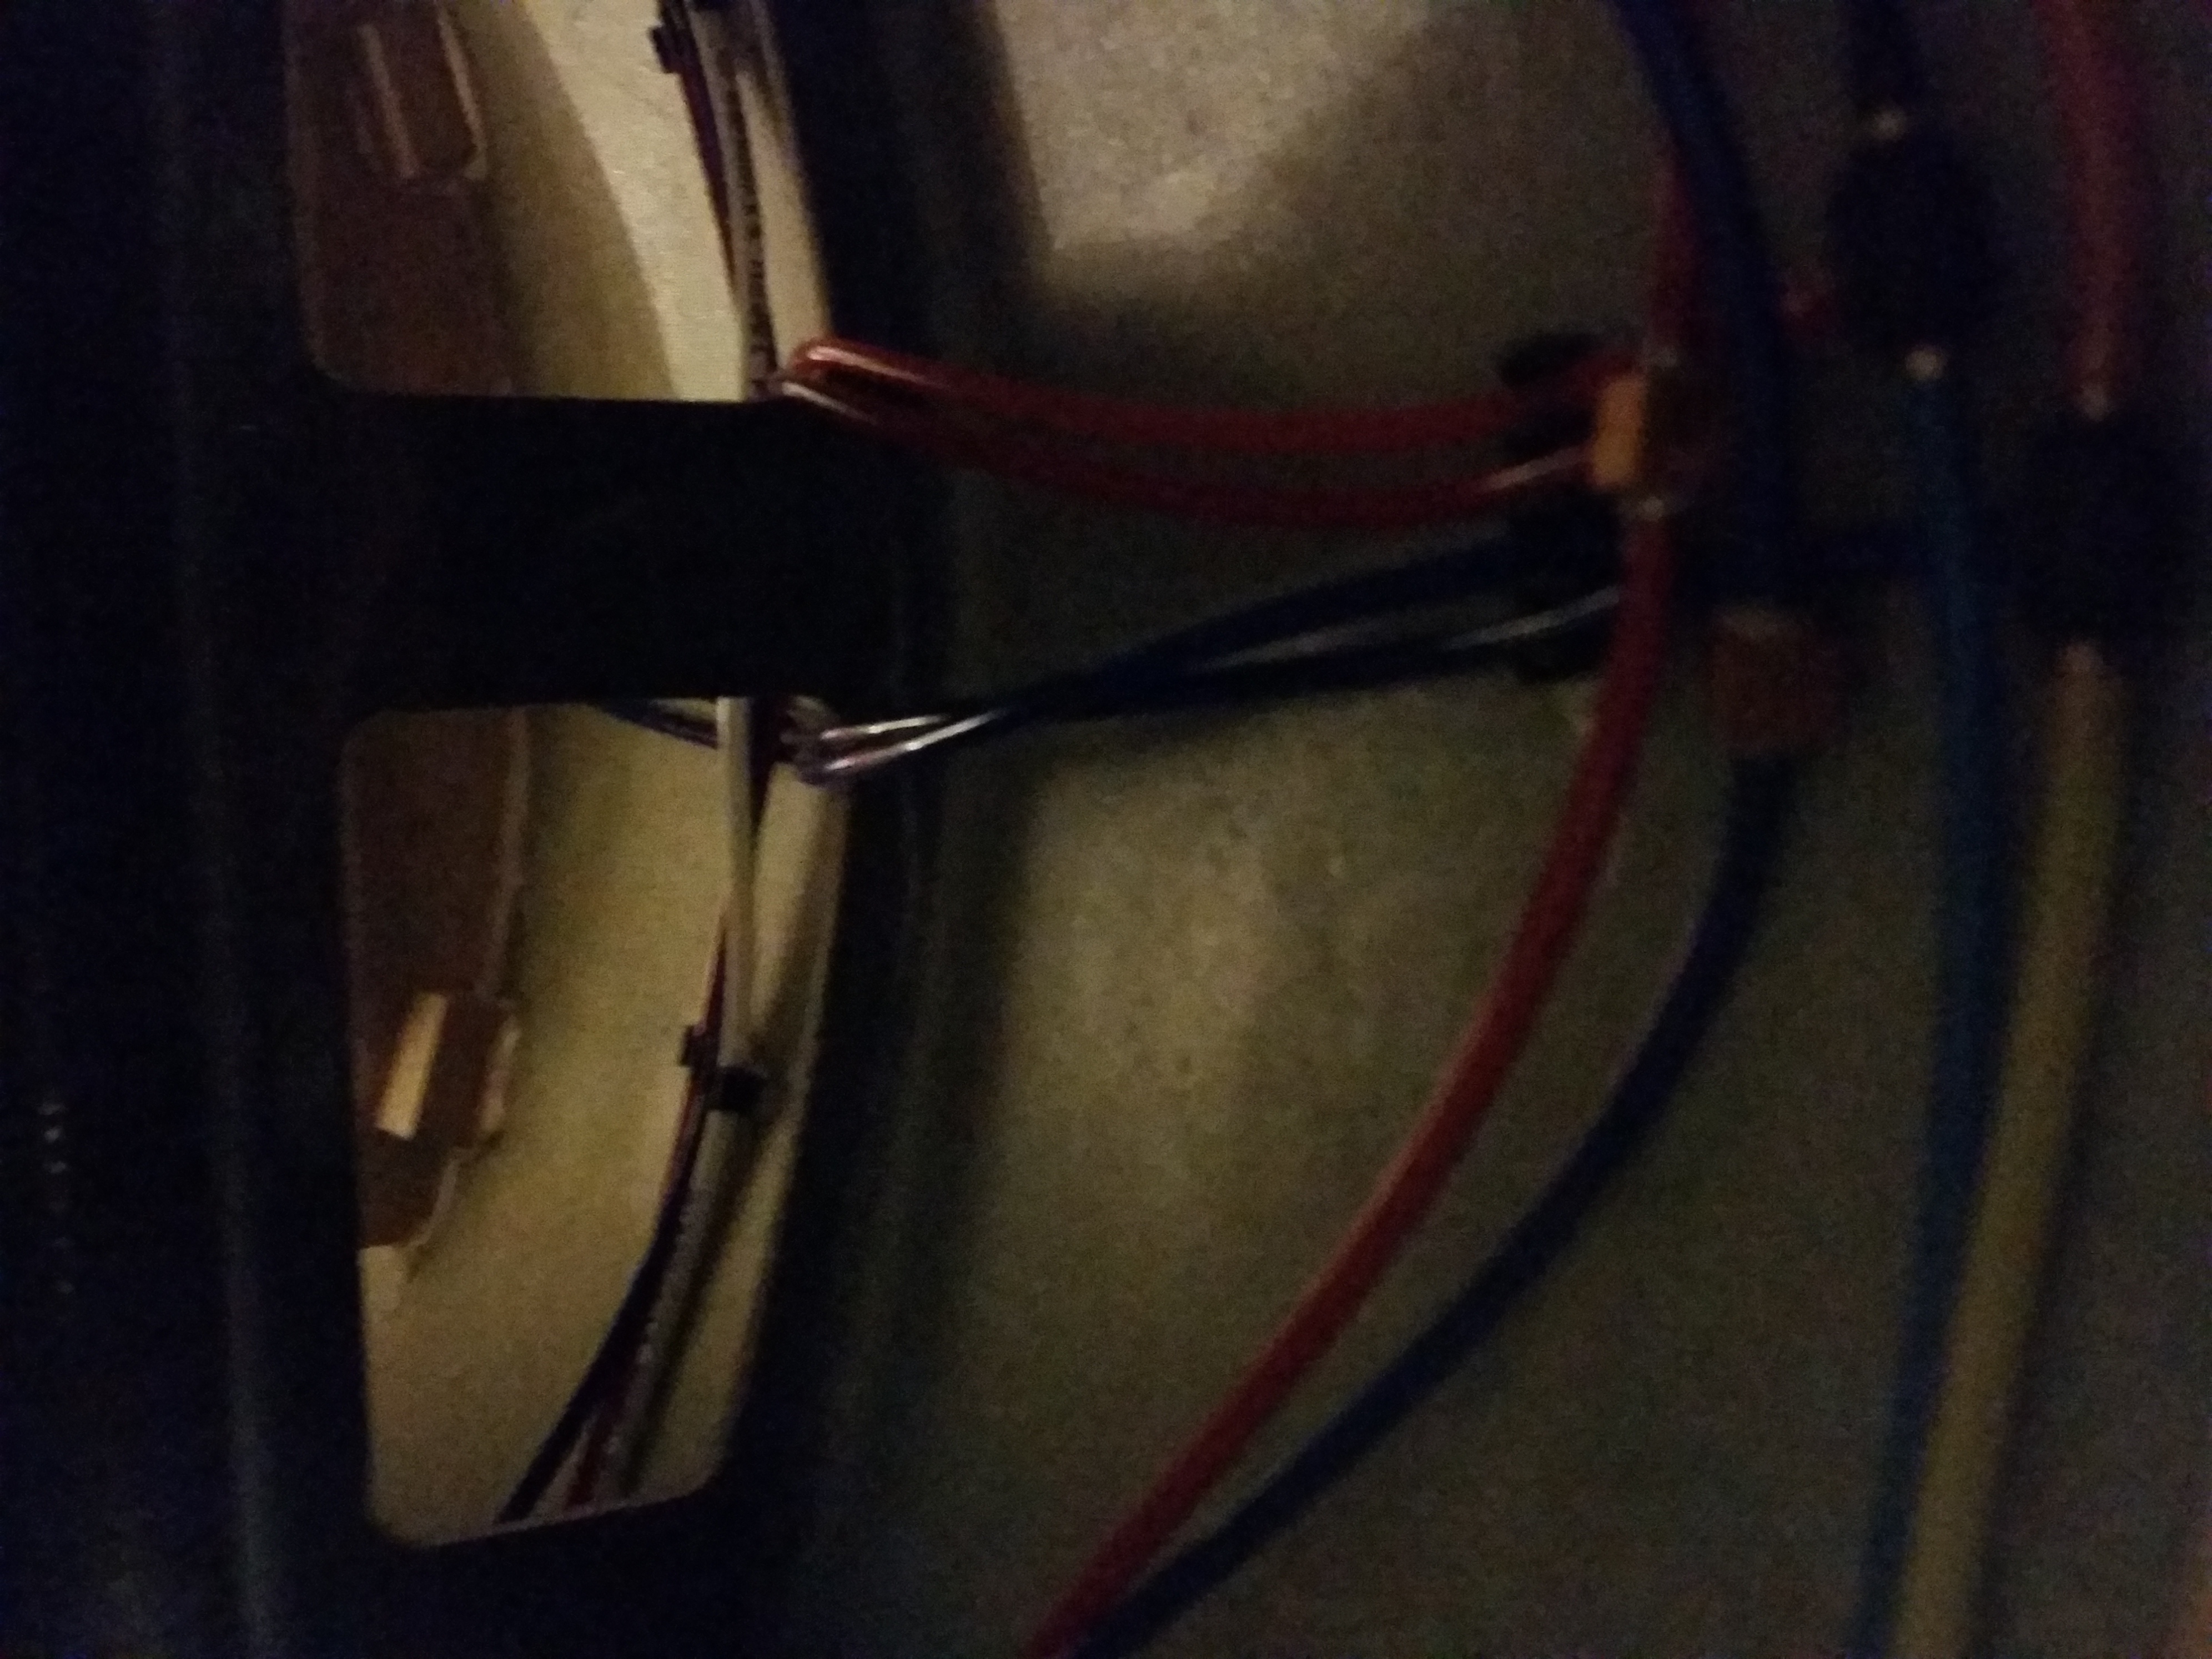
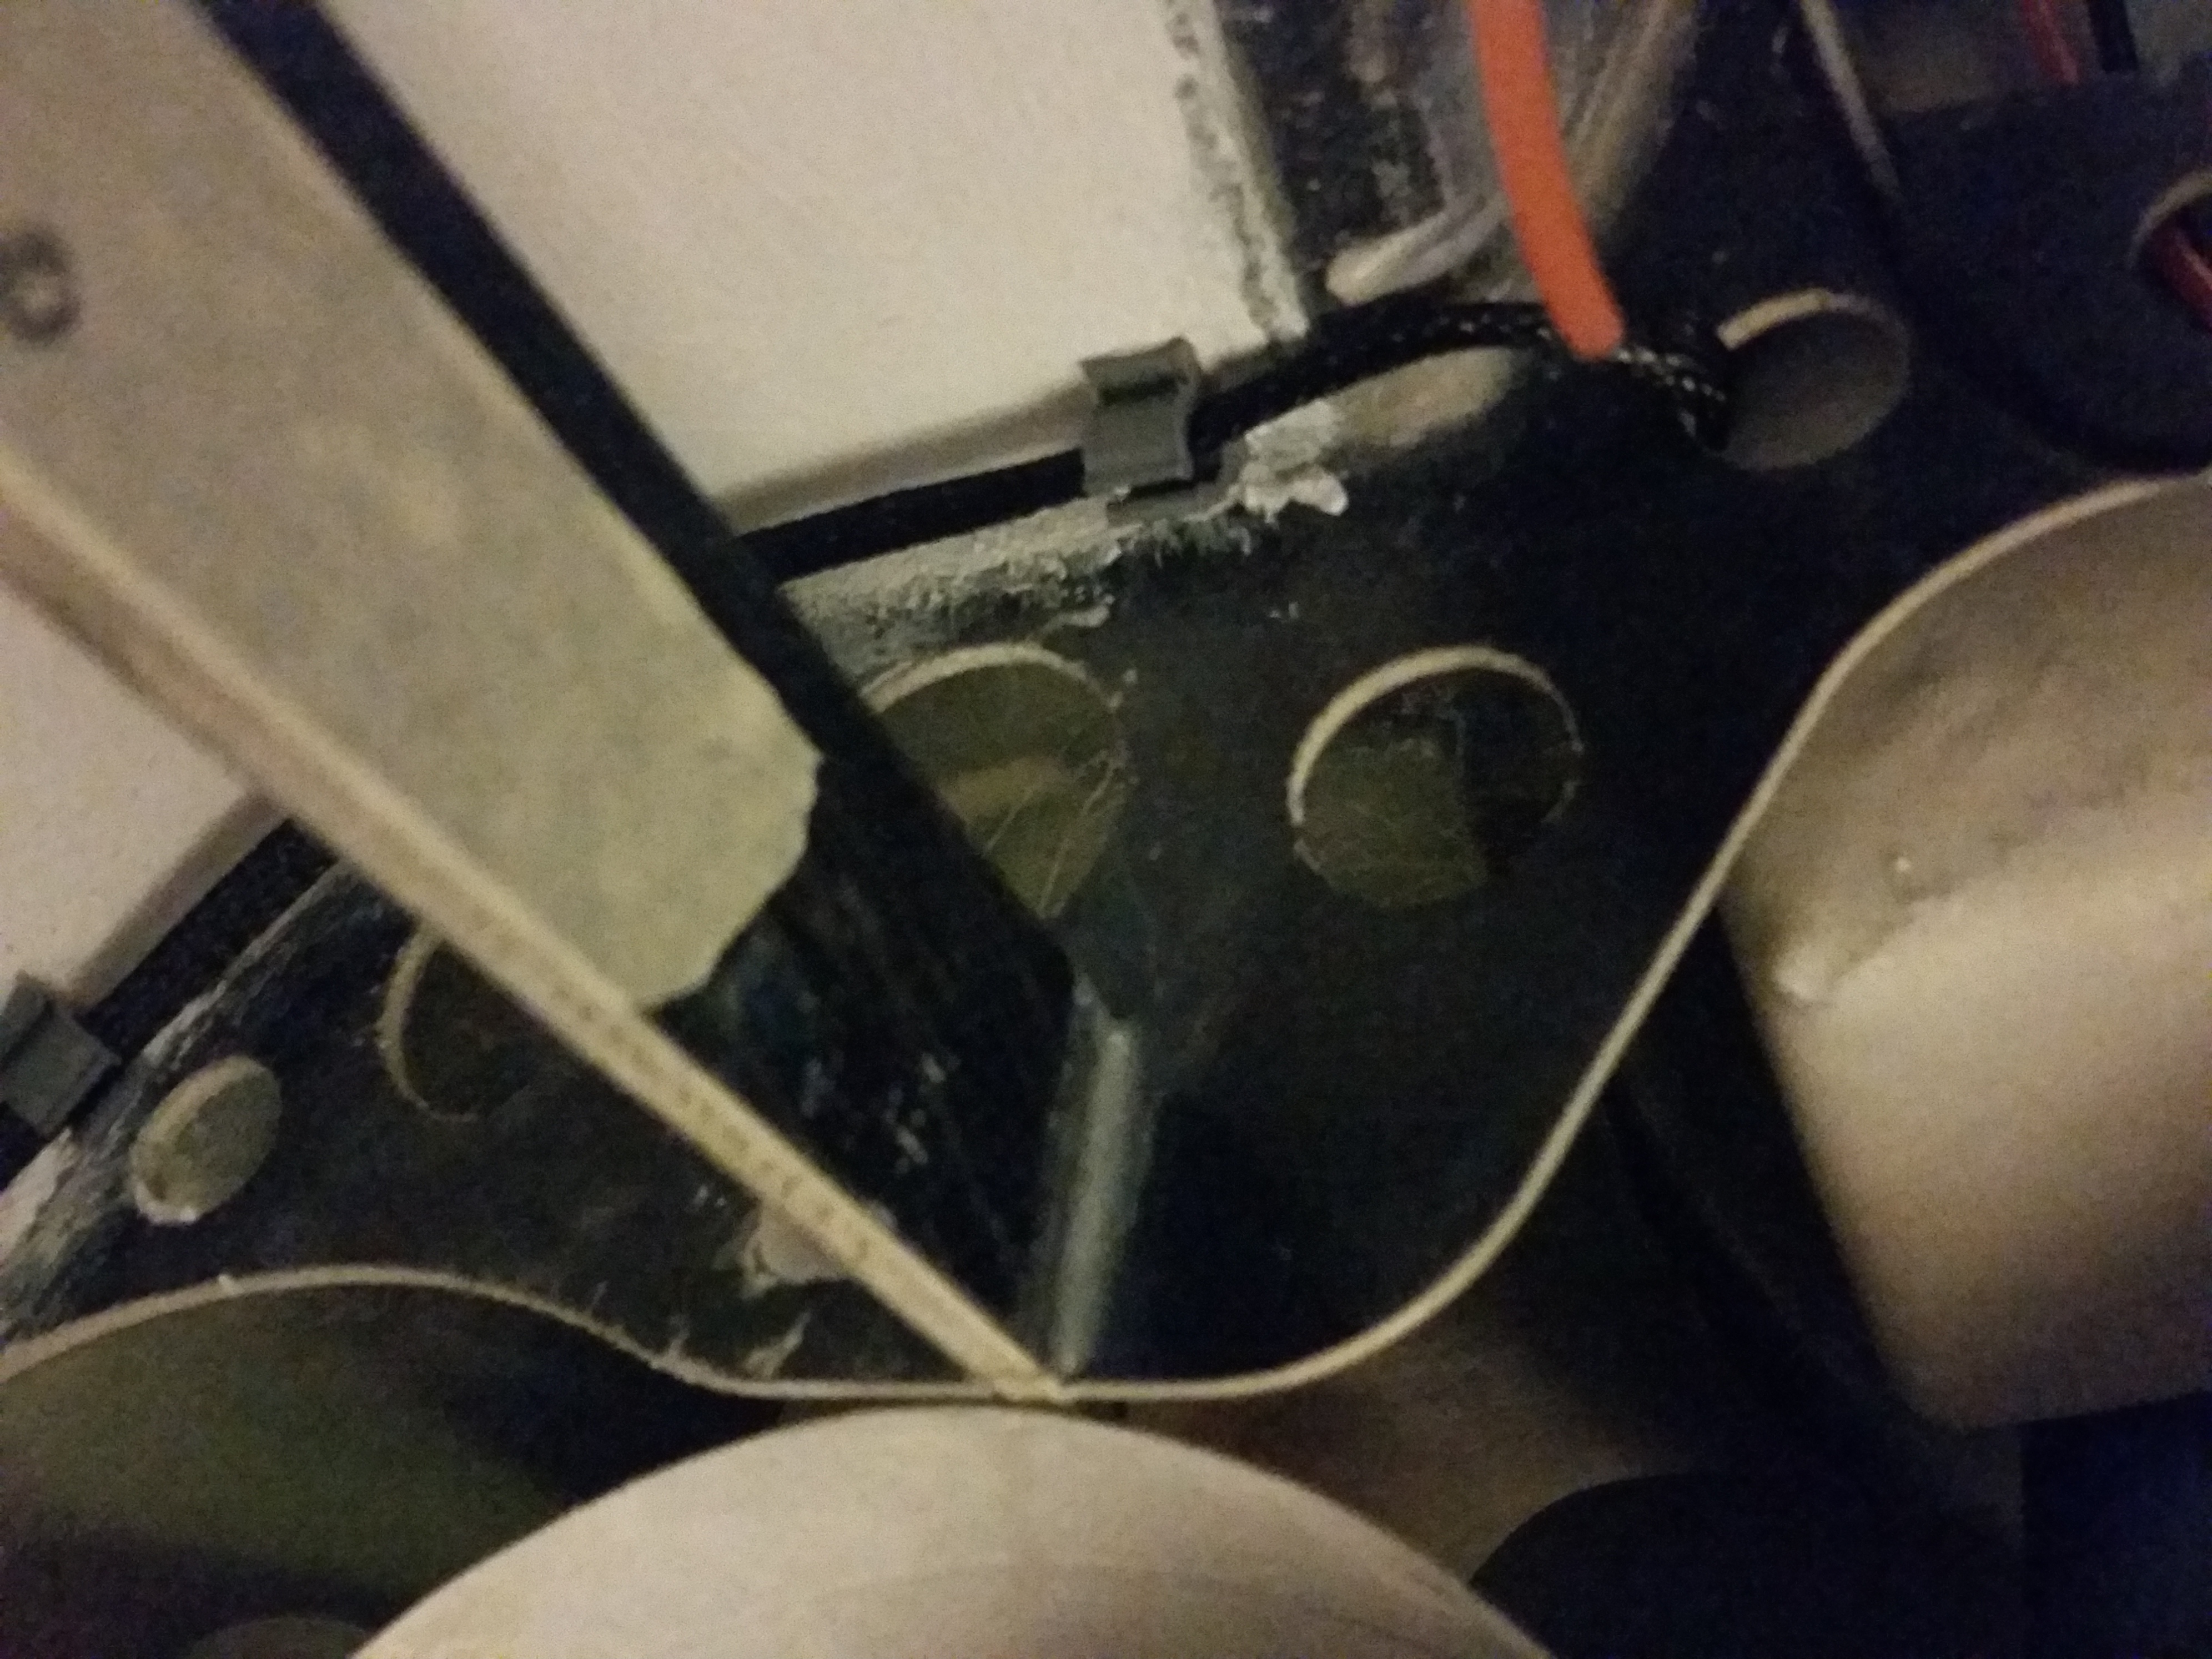
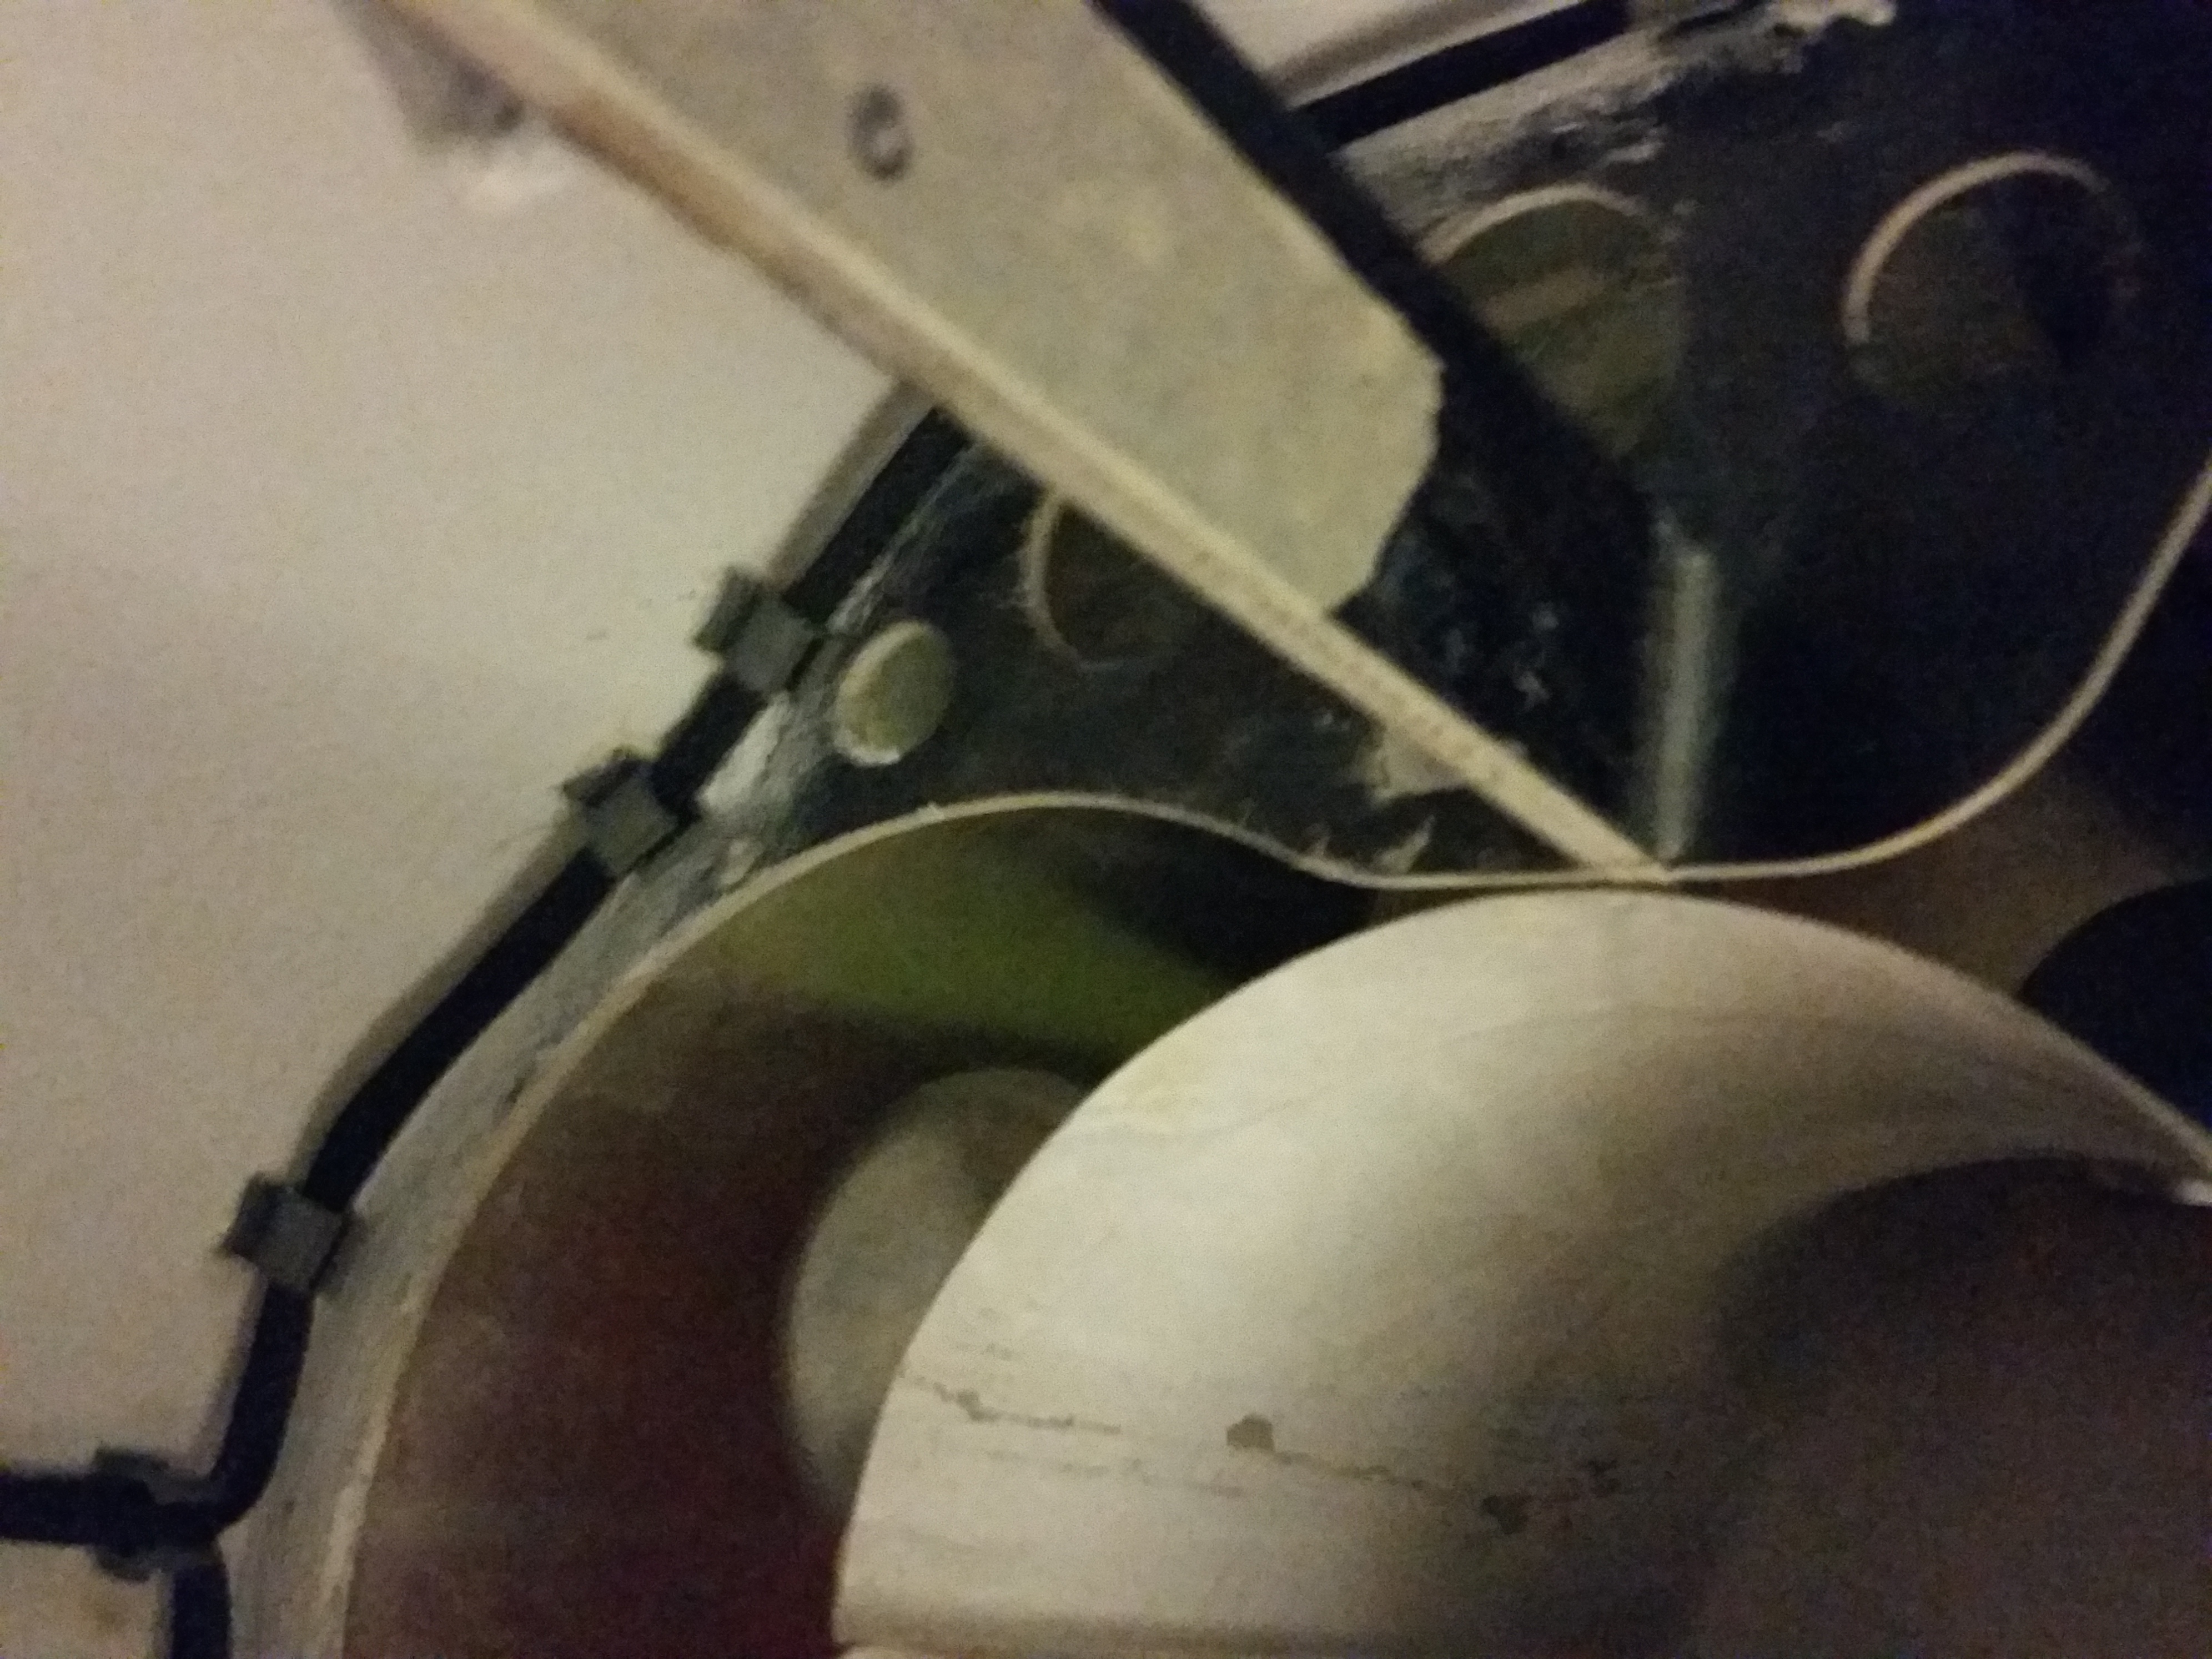
So here is a few more pictures of what is done so far. I got the light lens cut and fitted. I have to find some small black pin screws to hold in place. There will be three on the top and bottom to hold in place. Also you can see that the servo blocks are done. As stated before, I applied some hysol to seal the pores and grain to make it a little stronger. Also I have installed the servo wire/light wire loom holder. I placed small blocks inside to have it inside the wing. The wire connection will be free hanging on the wing but on the fuse will be permit. The connection on the fuse will sit just below the loom holder so the green connection tab will miss it. All wire inside the wings will be in mesh loom just waiting on it to come in. I am still waiting on the wire clips to come in from ultimate jets. Once they arrive I can finish up the tall section (wiring) of the fuse.
02-29-2016 | 07:57 PM
#38
So here are a few more pictures of the work I have done. It is coming along slow but I'm getting it. Currently I am very upset. I am trying to get my exhust pipe put in but it will not fit. I am been trying everything to the point that I broke a piece of wood that holds the bottom plate on. Now I have to fix that. Can anyone assist on how to get this thing in. I have tried to go in from the tale end but will not fit.


02-29-2016 | 10:02 PM
#39
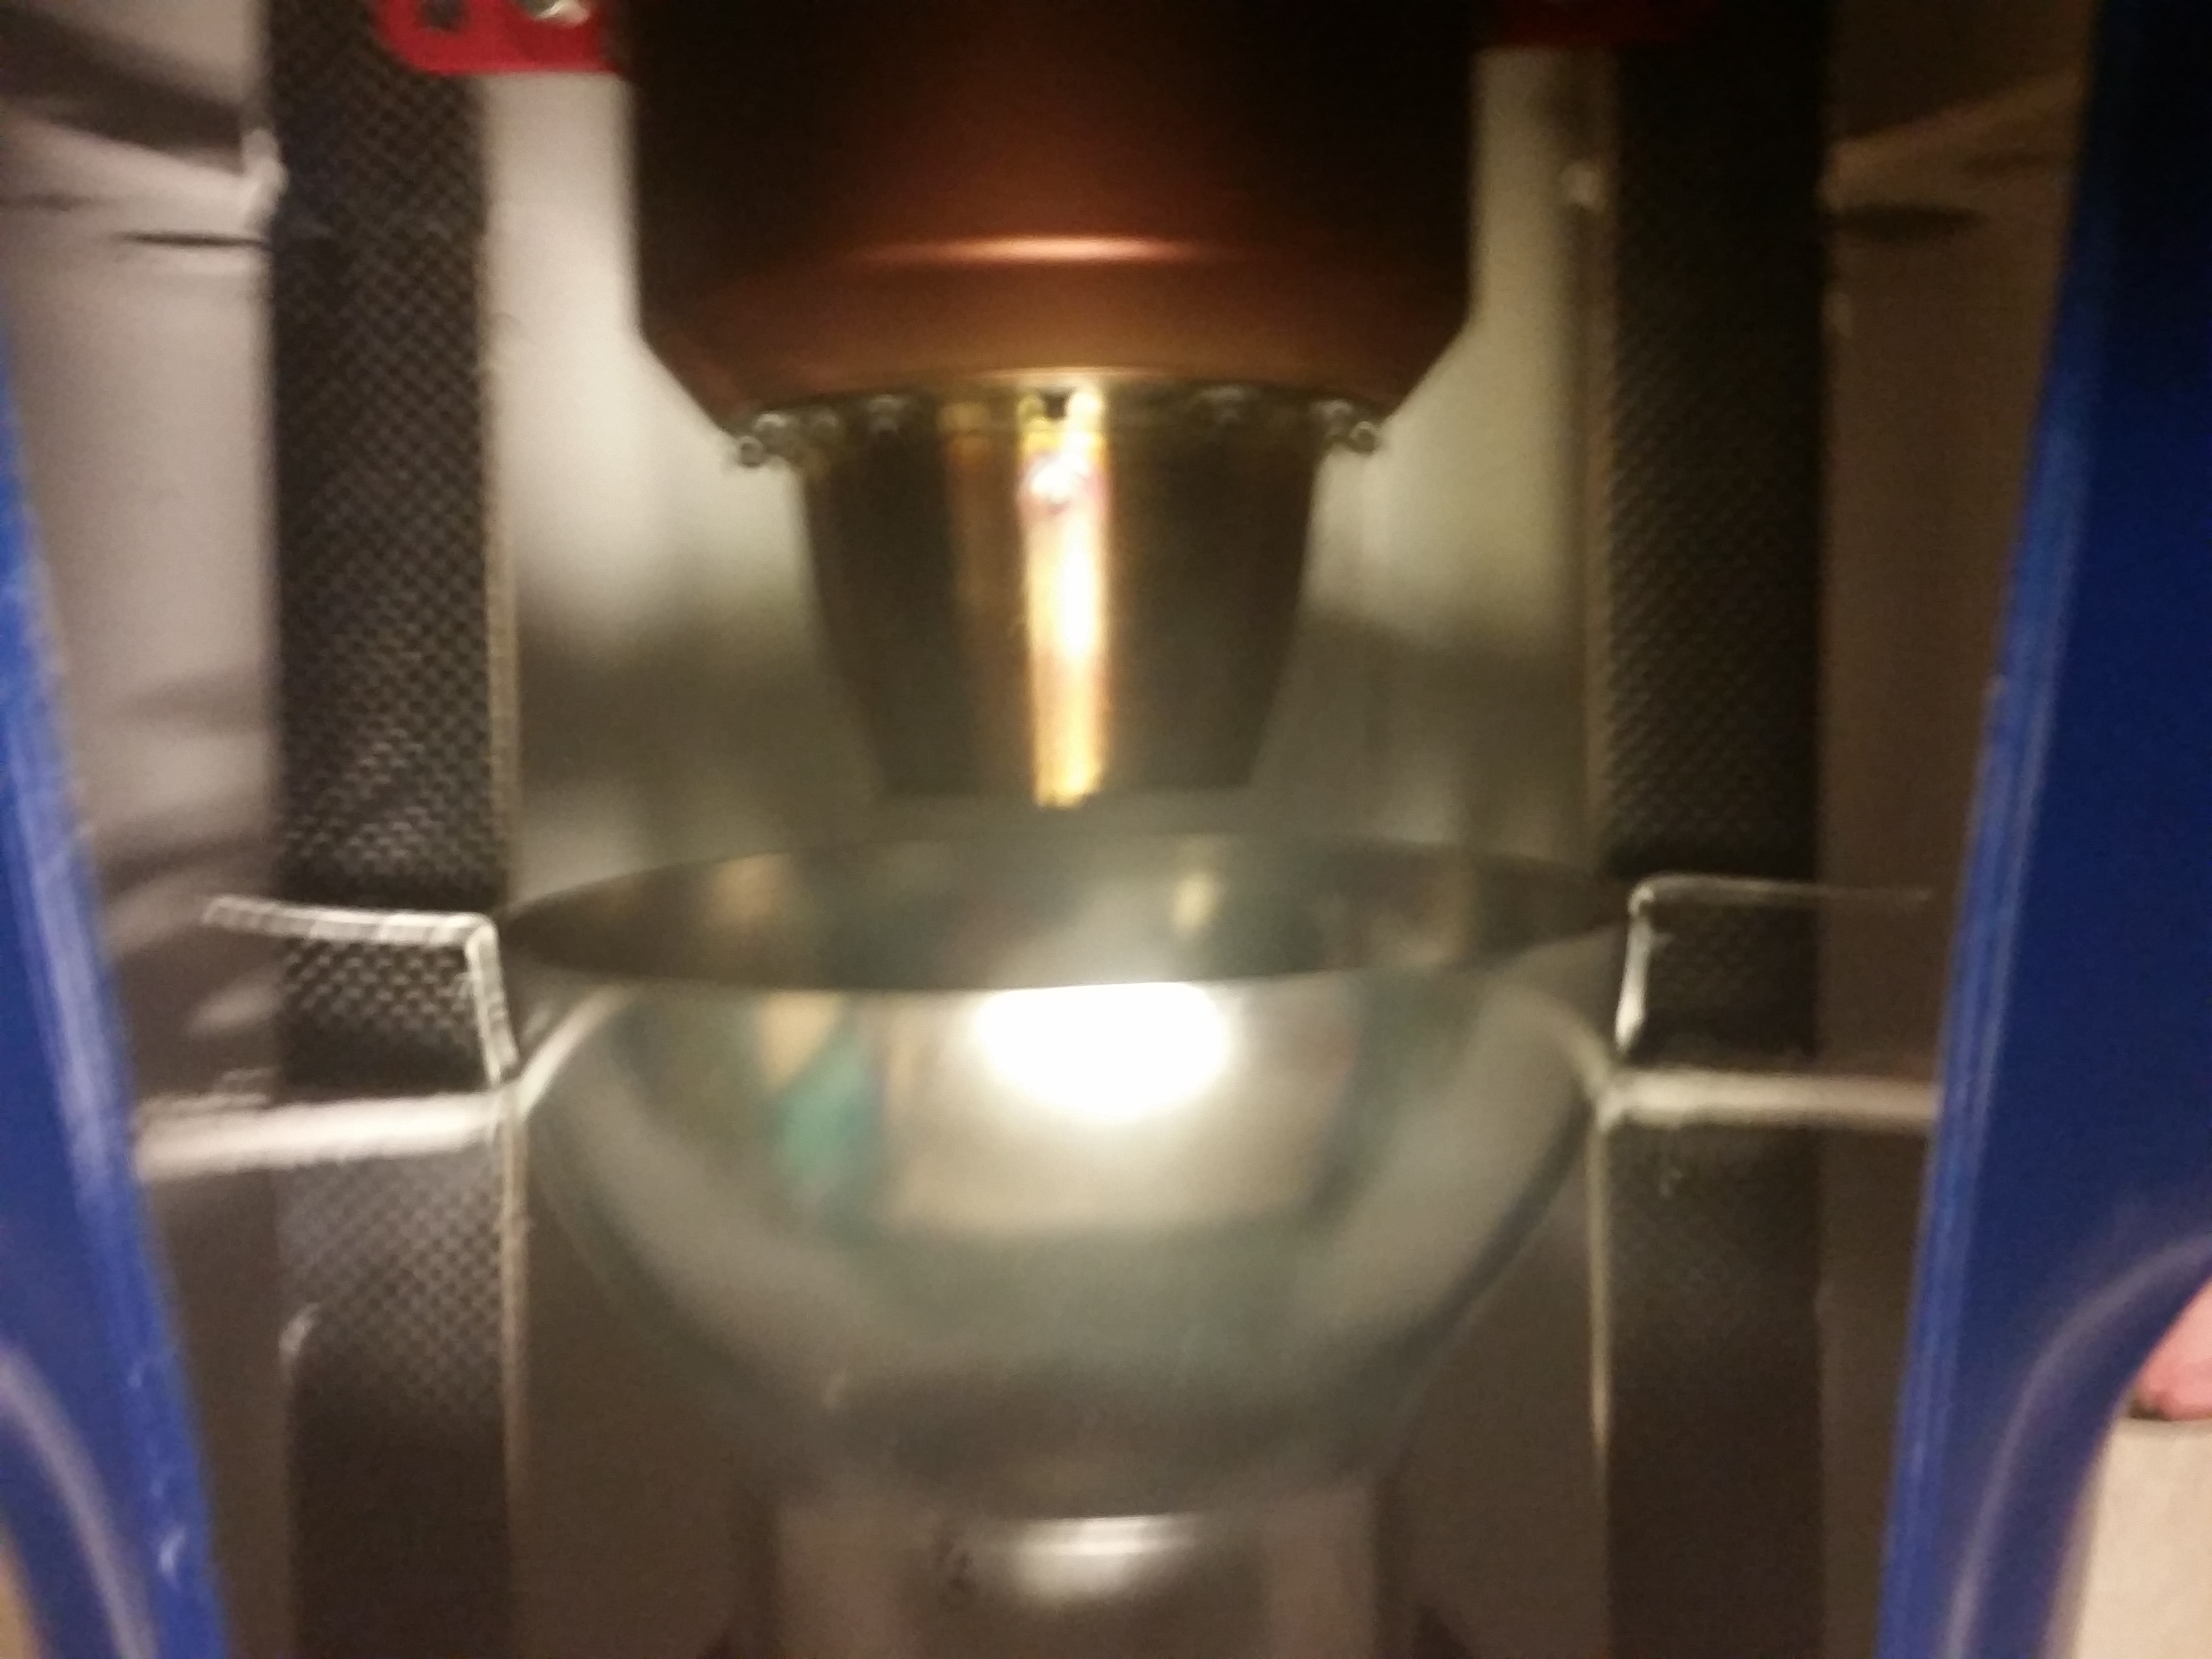
Okay so I am a dummy. Keep in mind this is my first Turbine build so please bare with me. I wasn't thinking that I needed to sand away a little of the tail bulkhead to slide in the SS pipe. I didn't realize that the tale cone also holds the pipe in. So I cut away just enough so that it could slide in. I could have done that in the first place and not broke on of the fasteners off that holds the bottom hatch on. Well I'm learning. Now that I have it in. I have to play around with the placement of the pipe and the turbine. I did notice that in order to have the pipe flush with the tale cone, I have to place the turbine pretty much in the intake duct. Does this look right or is there supposed to be some pipe hanging past the tale cone? Please see attached pics. Also I need to make some mounting rails for the turbine but not sure if I need to place then behind the carbon rail or just put them on top then the turbine on that? When looking at centering the turbine with the pipe, the turbine needs to sit right on the carbon rails. I need help please to figure this out.


03-01-2016 | 08:17 AM
#40
Hey Joe, I sent you a message but it looks like you figured out the pipe. I told you the wrong info, the turbine rails come with the SM jet the FB uses what you have installed. From the pictures it looks like your turbine fits just fine, as long as your screws have a few millimeters clearance from the edge of the rail your good.
Where did you get your wire wrap to protect the tail wires?
Where did you get your wire wrap to protect the tail wires?
03-01-2016 | 10:04 AM
#41
Hey Joe, I sent you a message but it looks like you figured out the pipe. I told you the wrong info, the turbine rails come with the SM jet the FB uses what you have installed. From the pictures it looks like your turbine fits just fine, as long as your screws have a few millimeters clearance from the edge of the rail your good.
Where did you get your wire wrap to protect the tail wires?
Where did you get your wire wrap to protect the tail wires?
03-03-2016 | 07:28 PM
#42
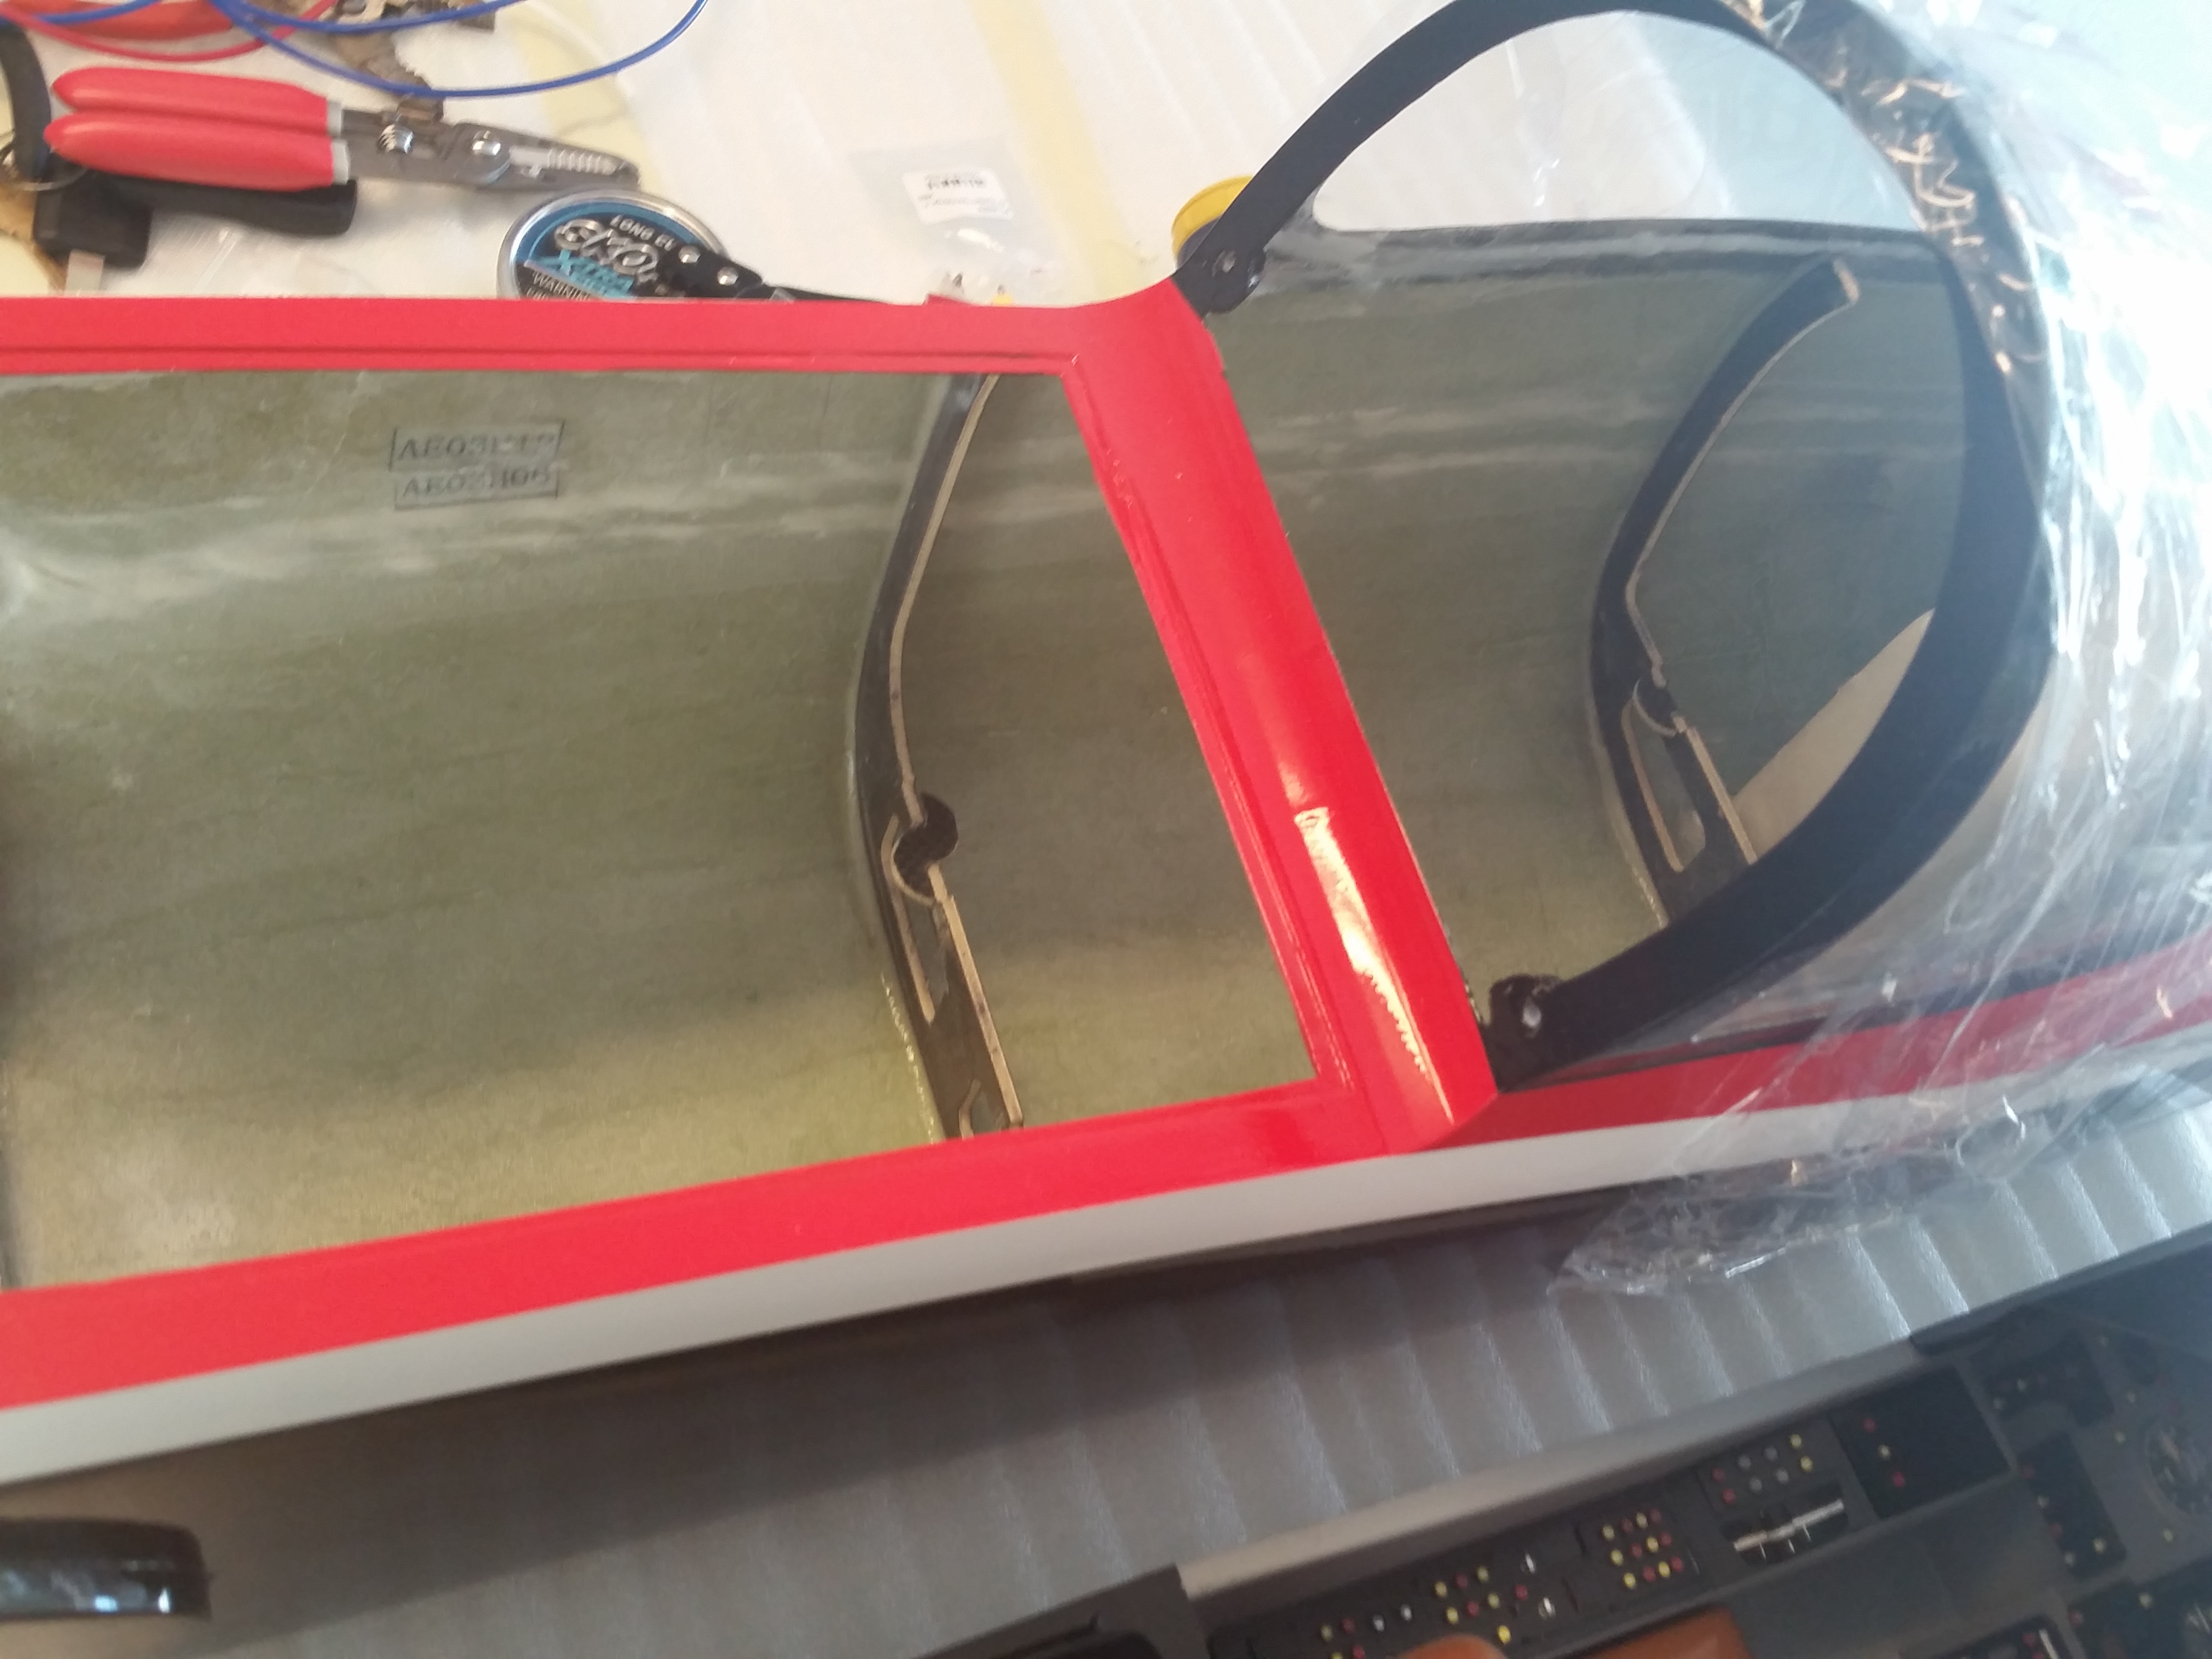
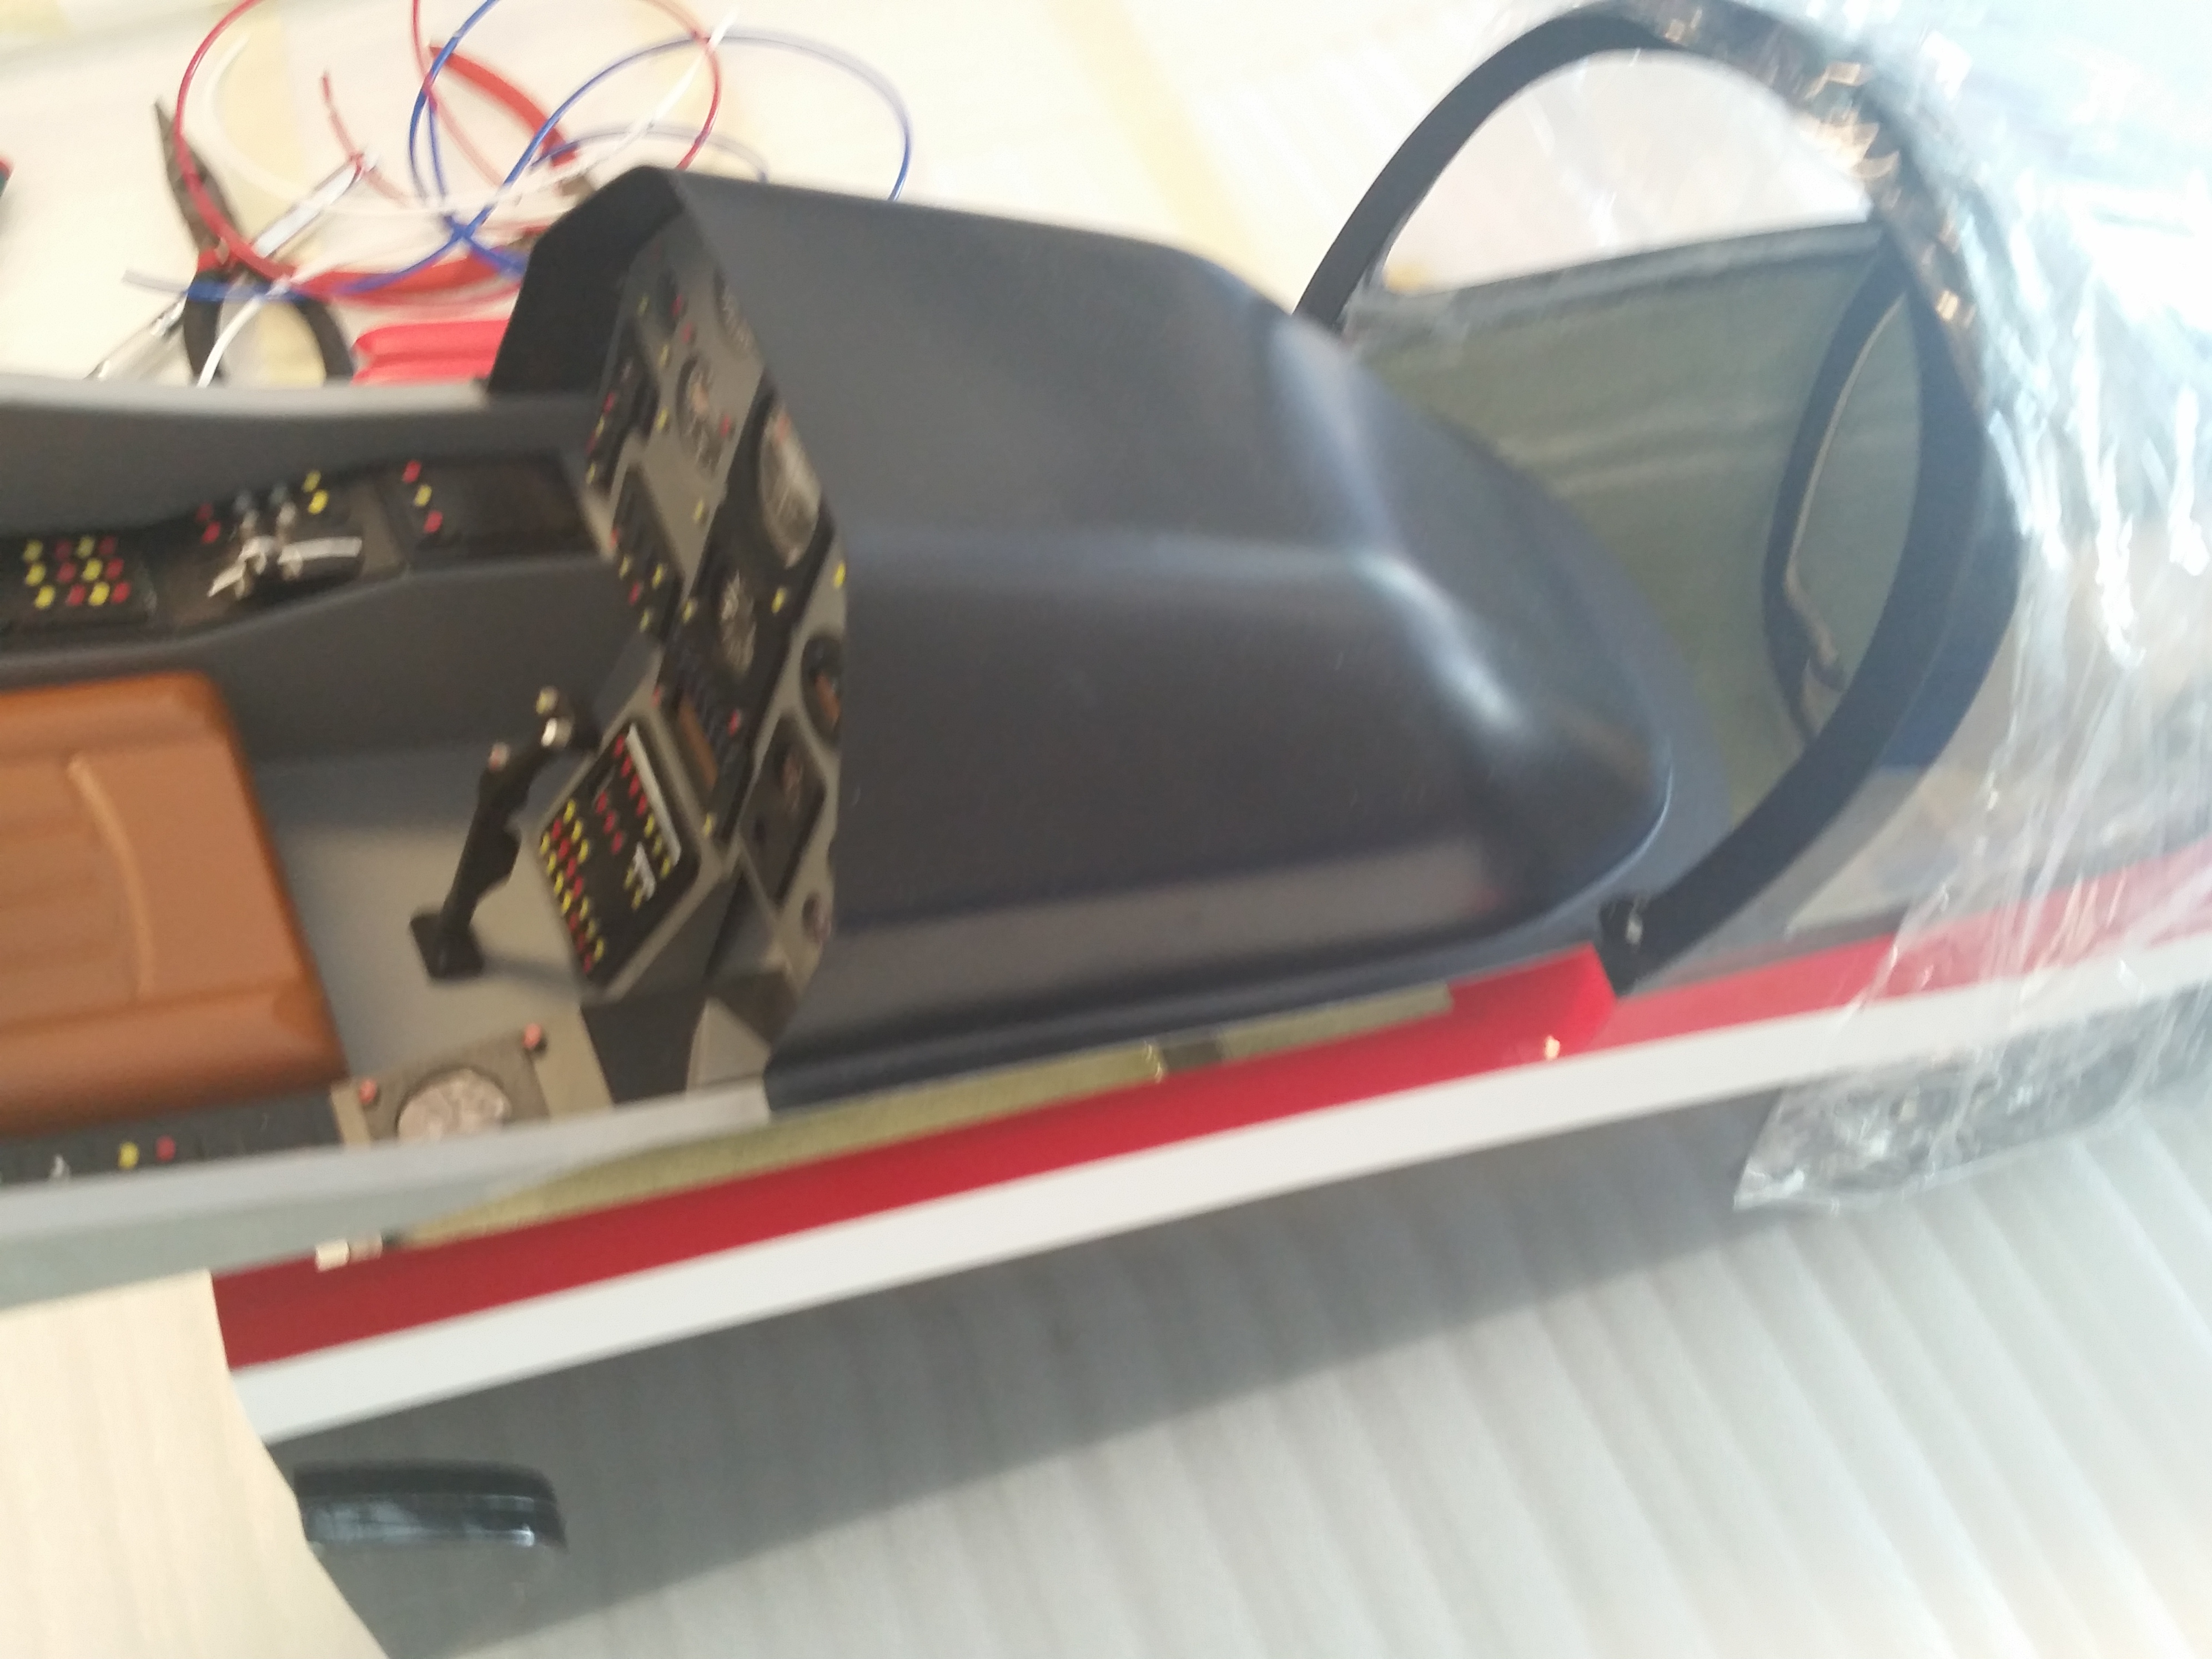
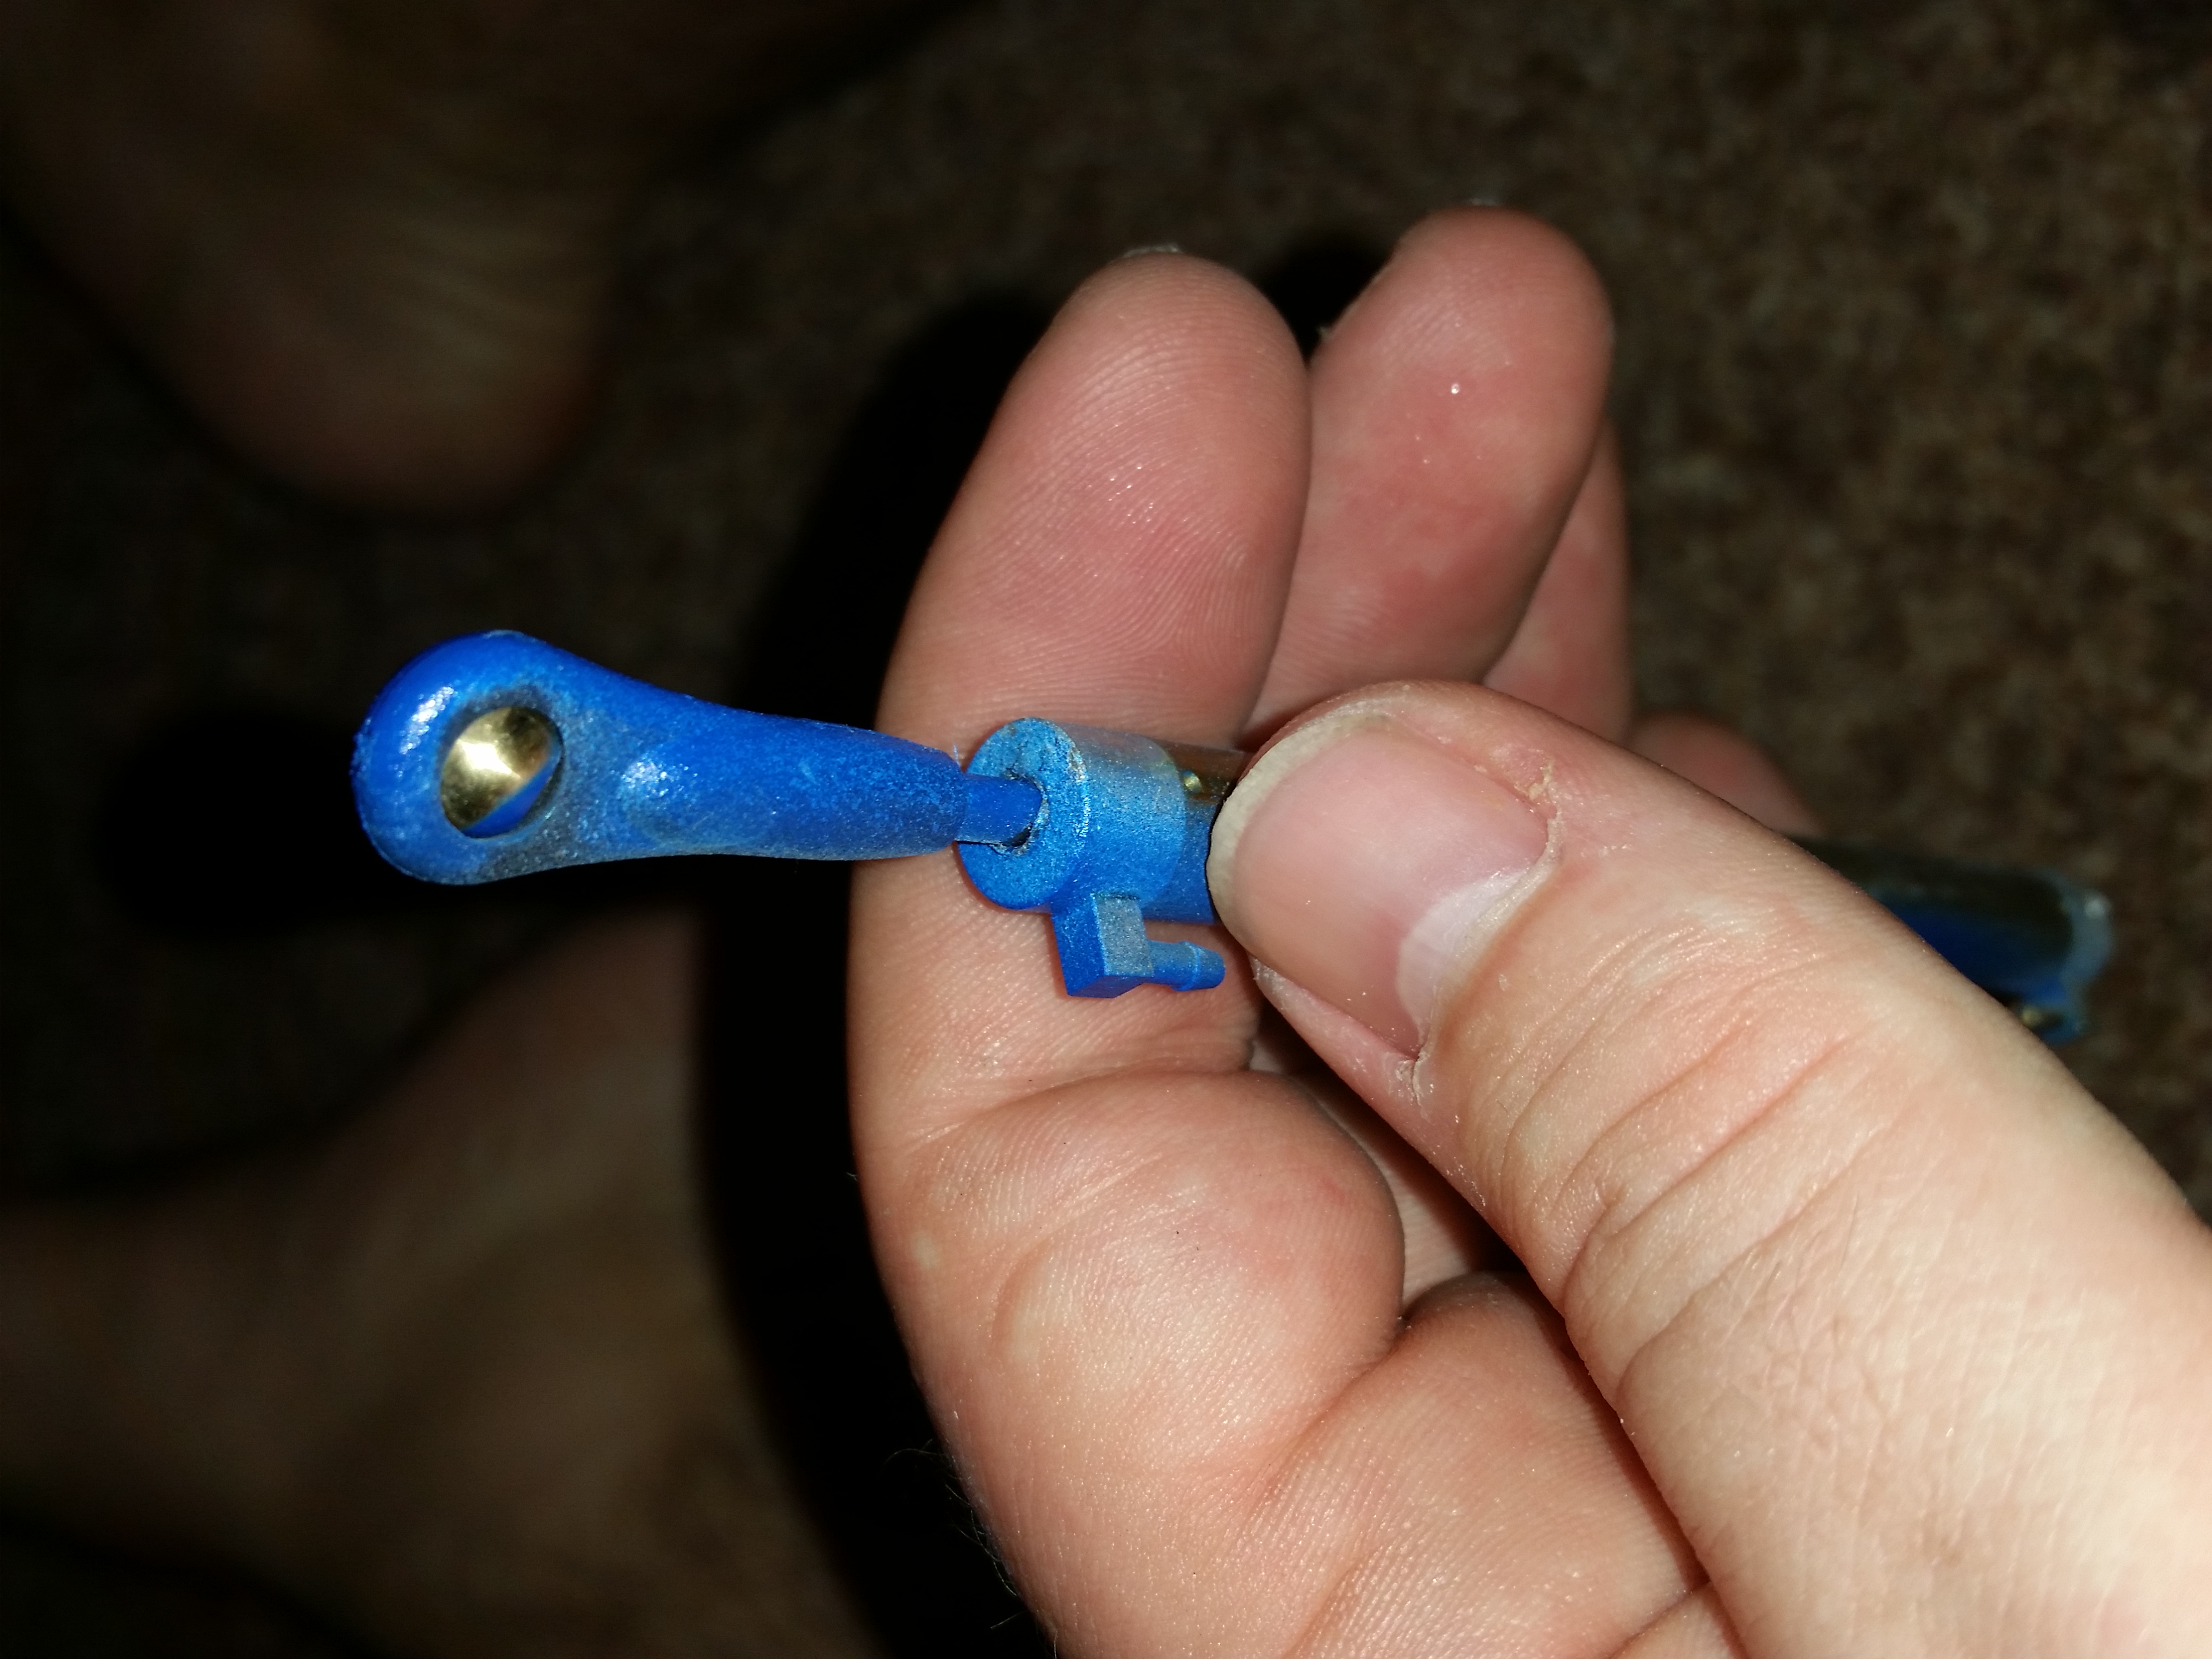
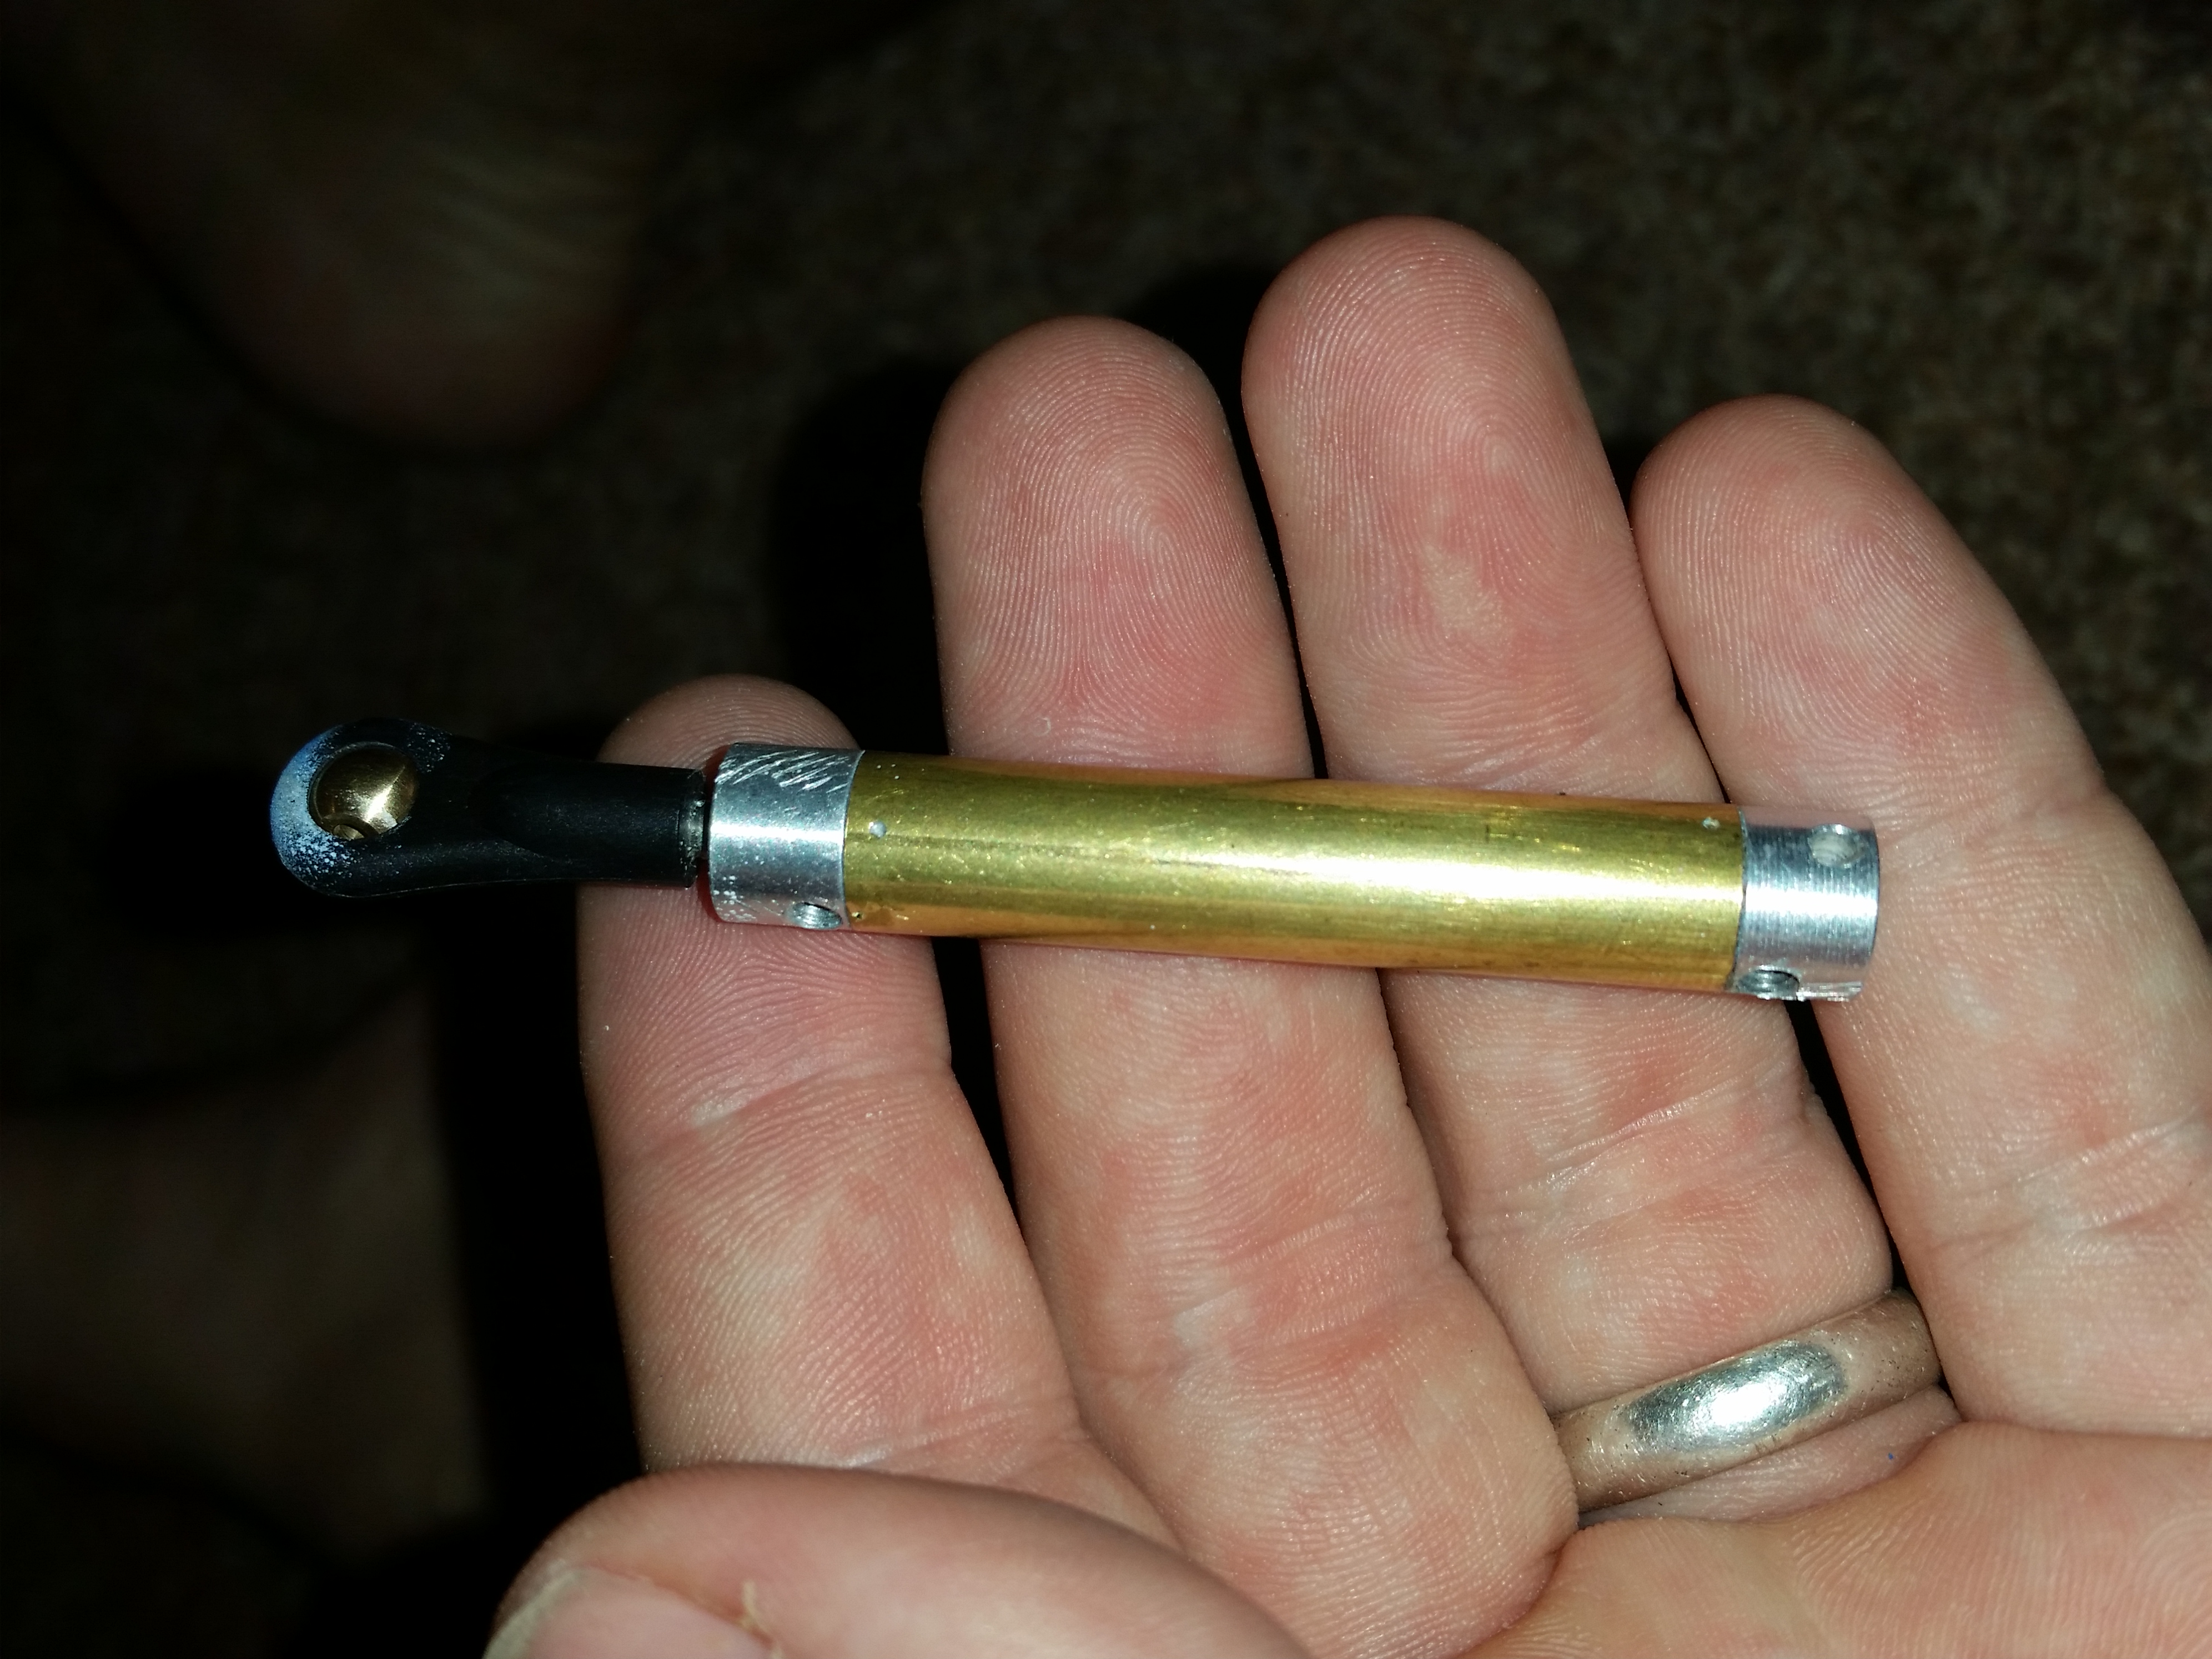
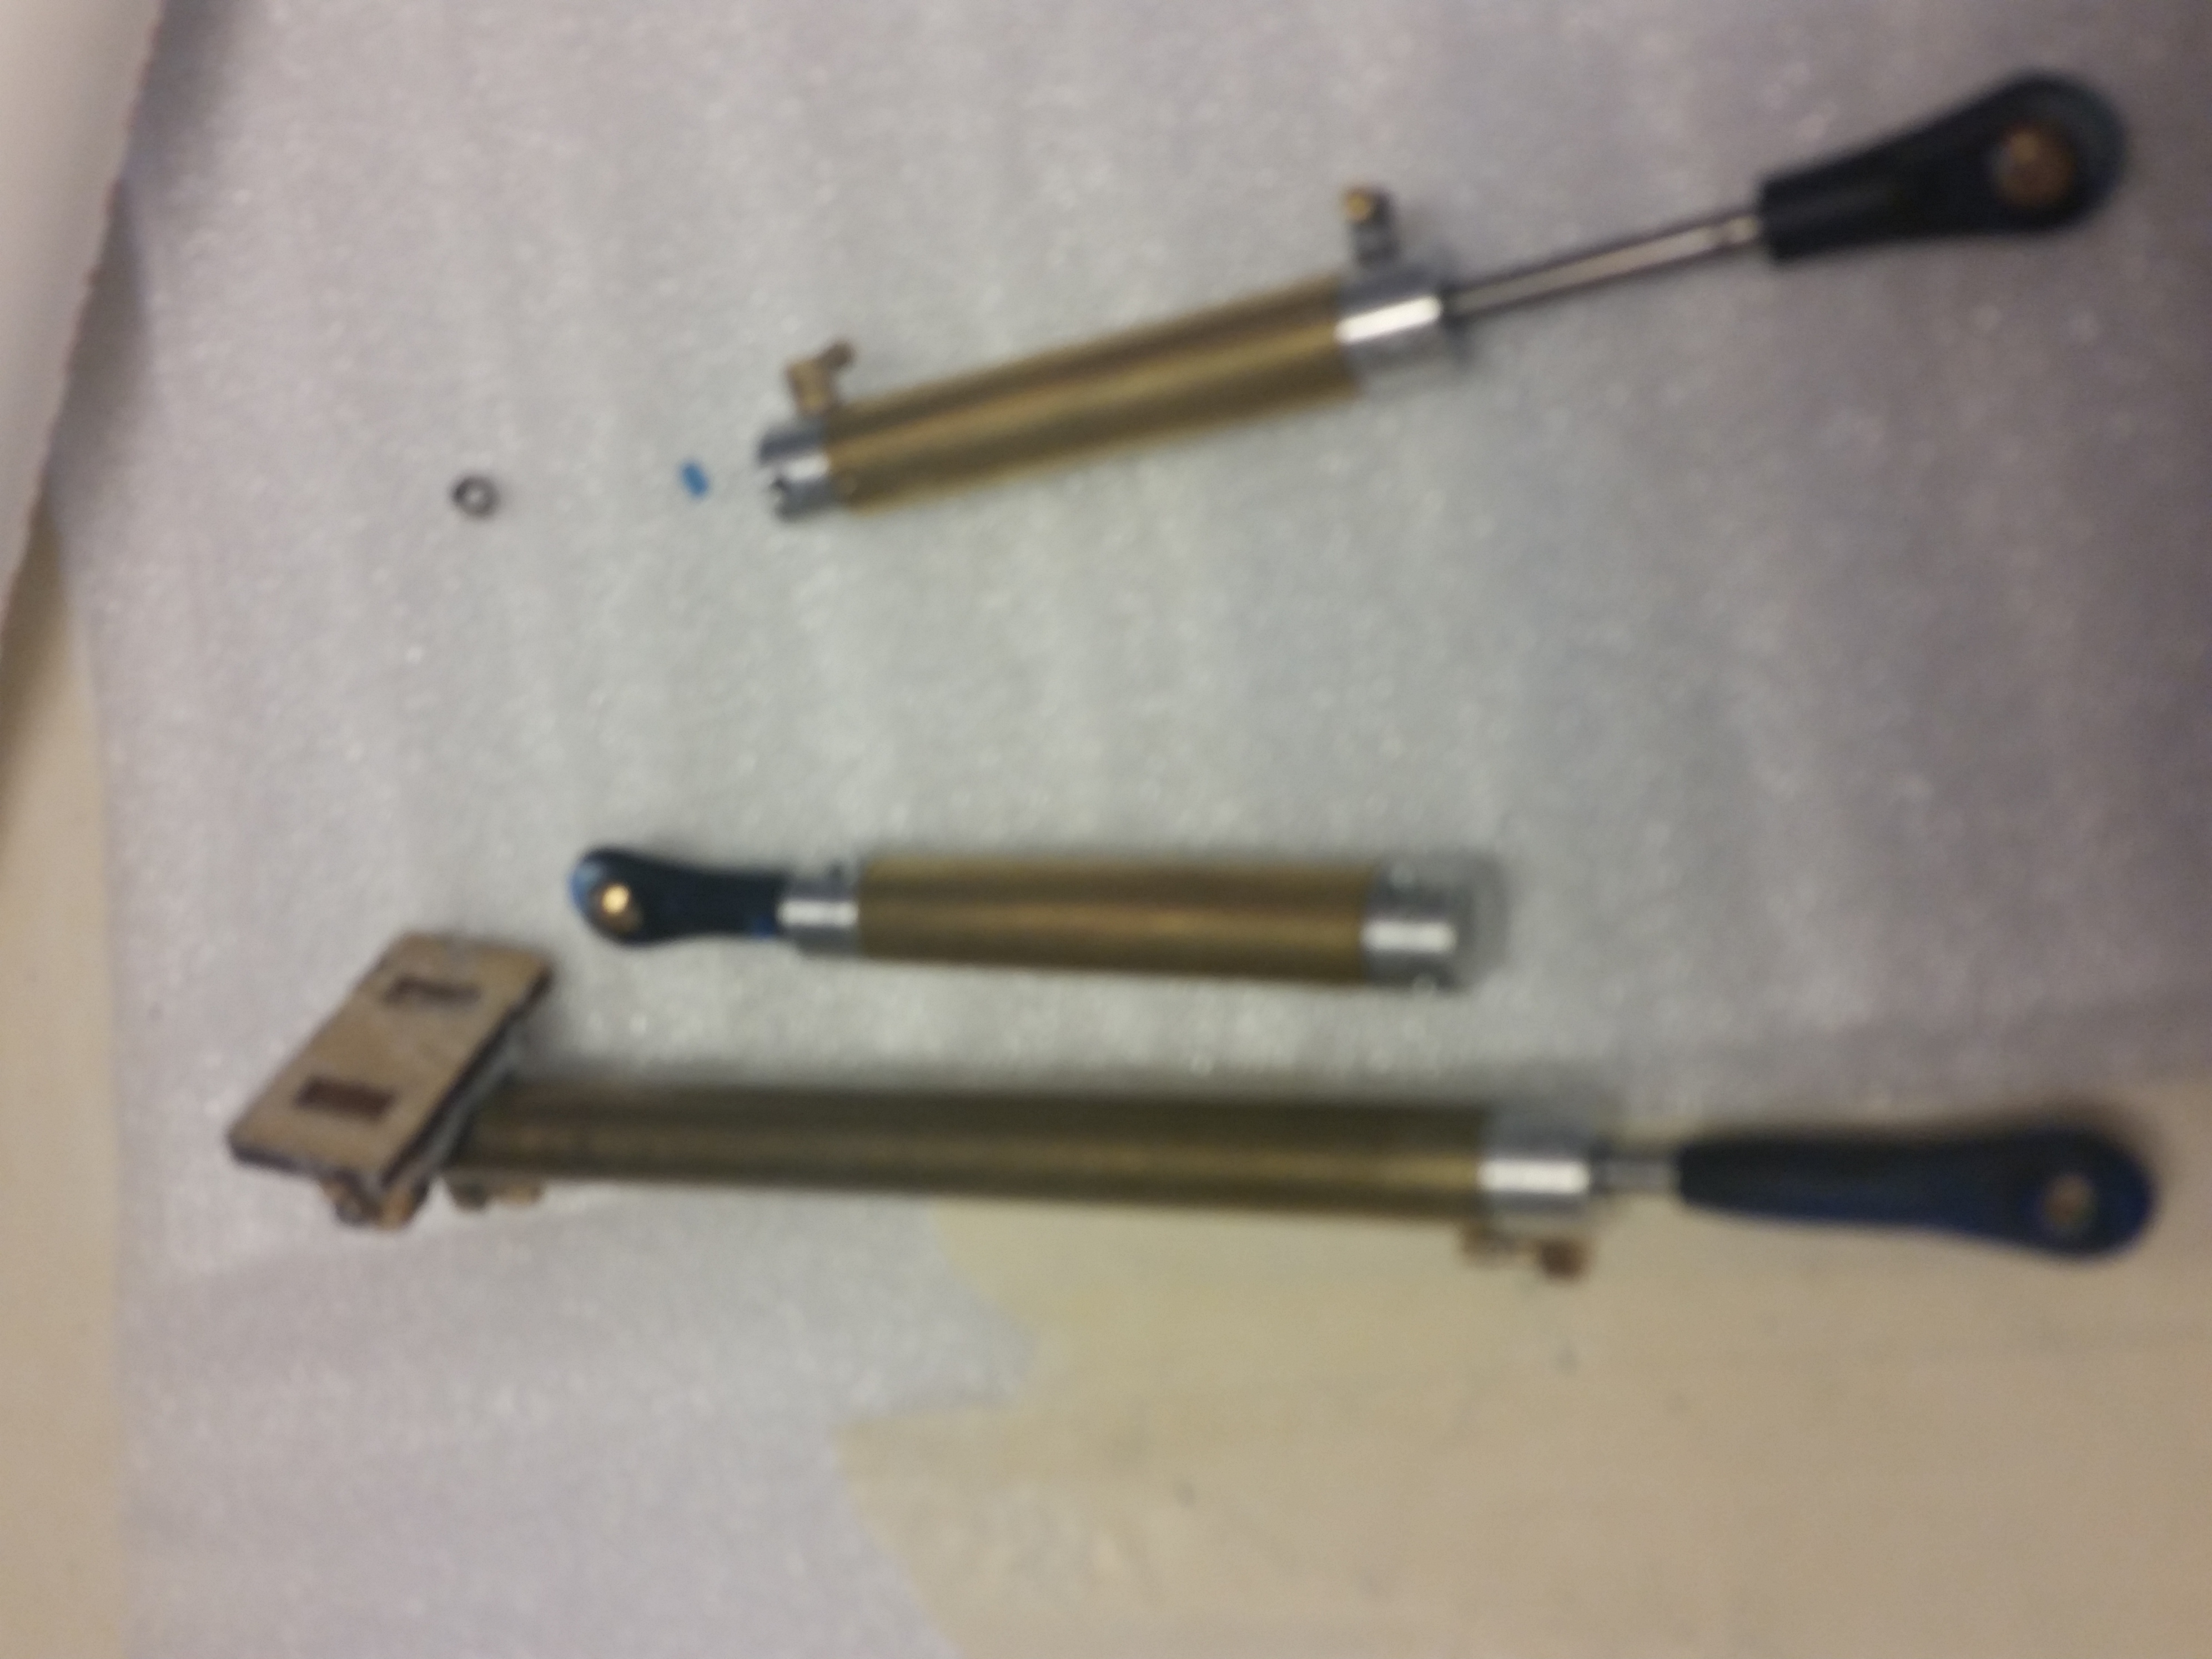
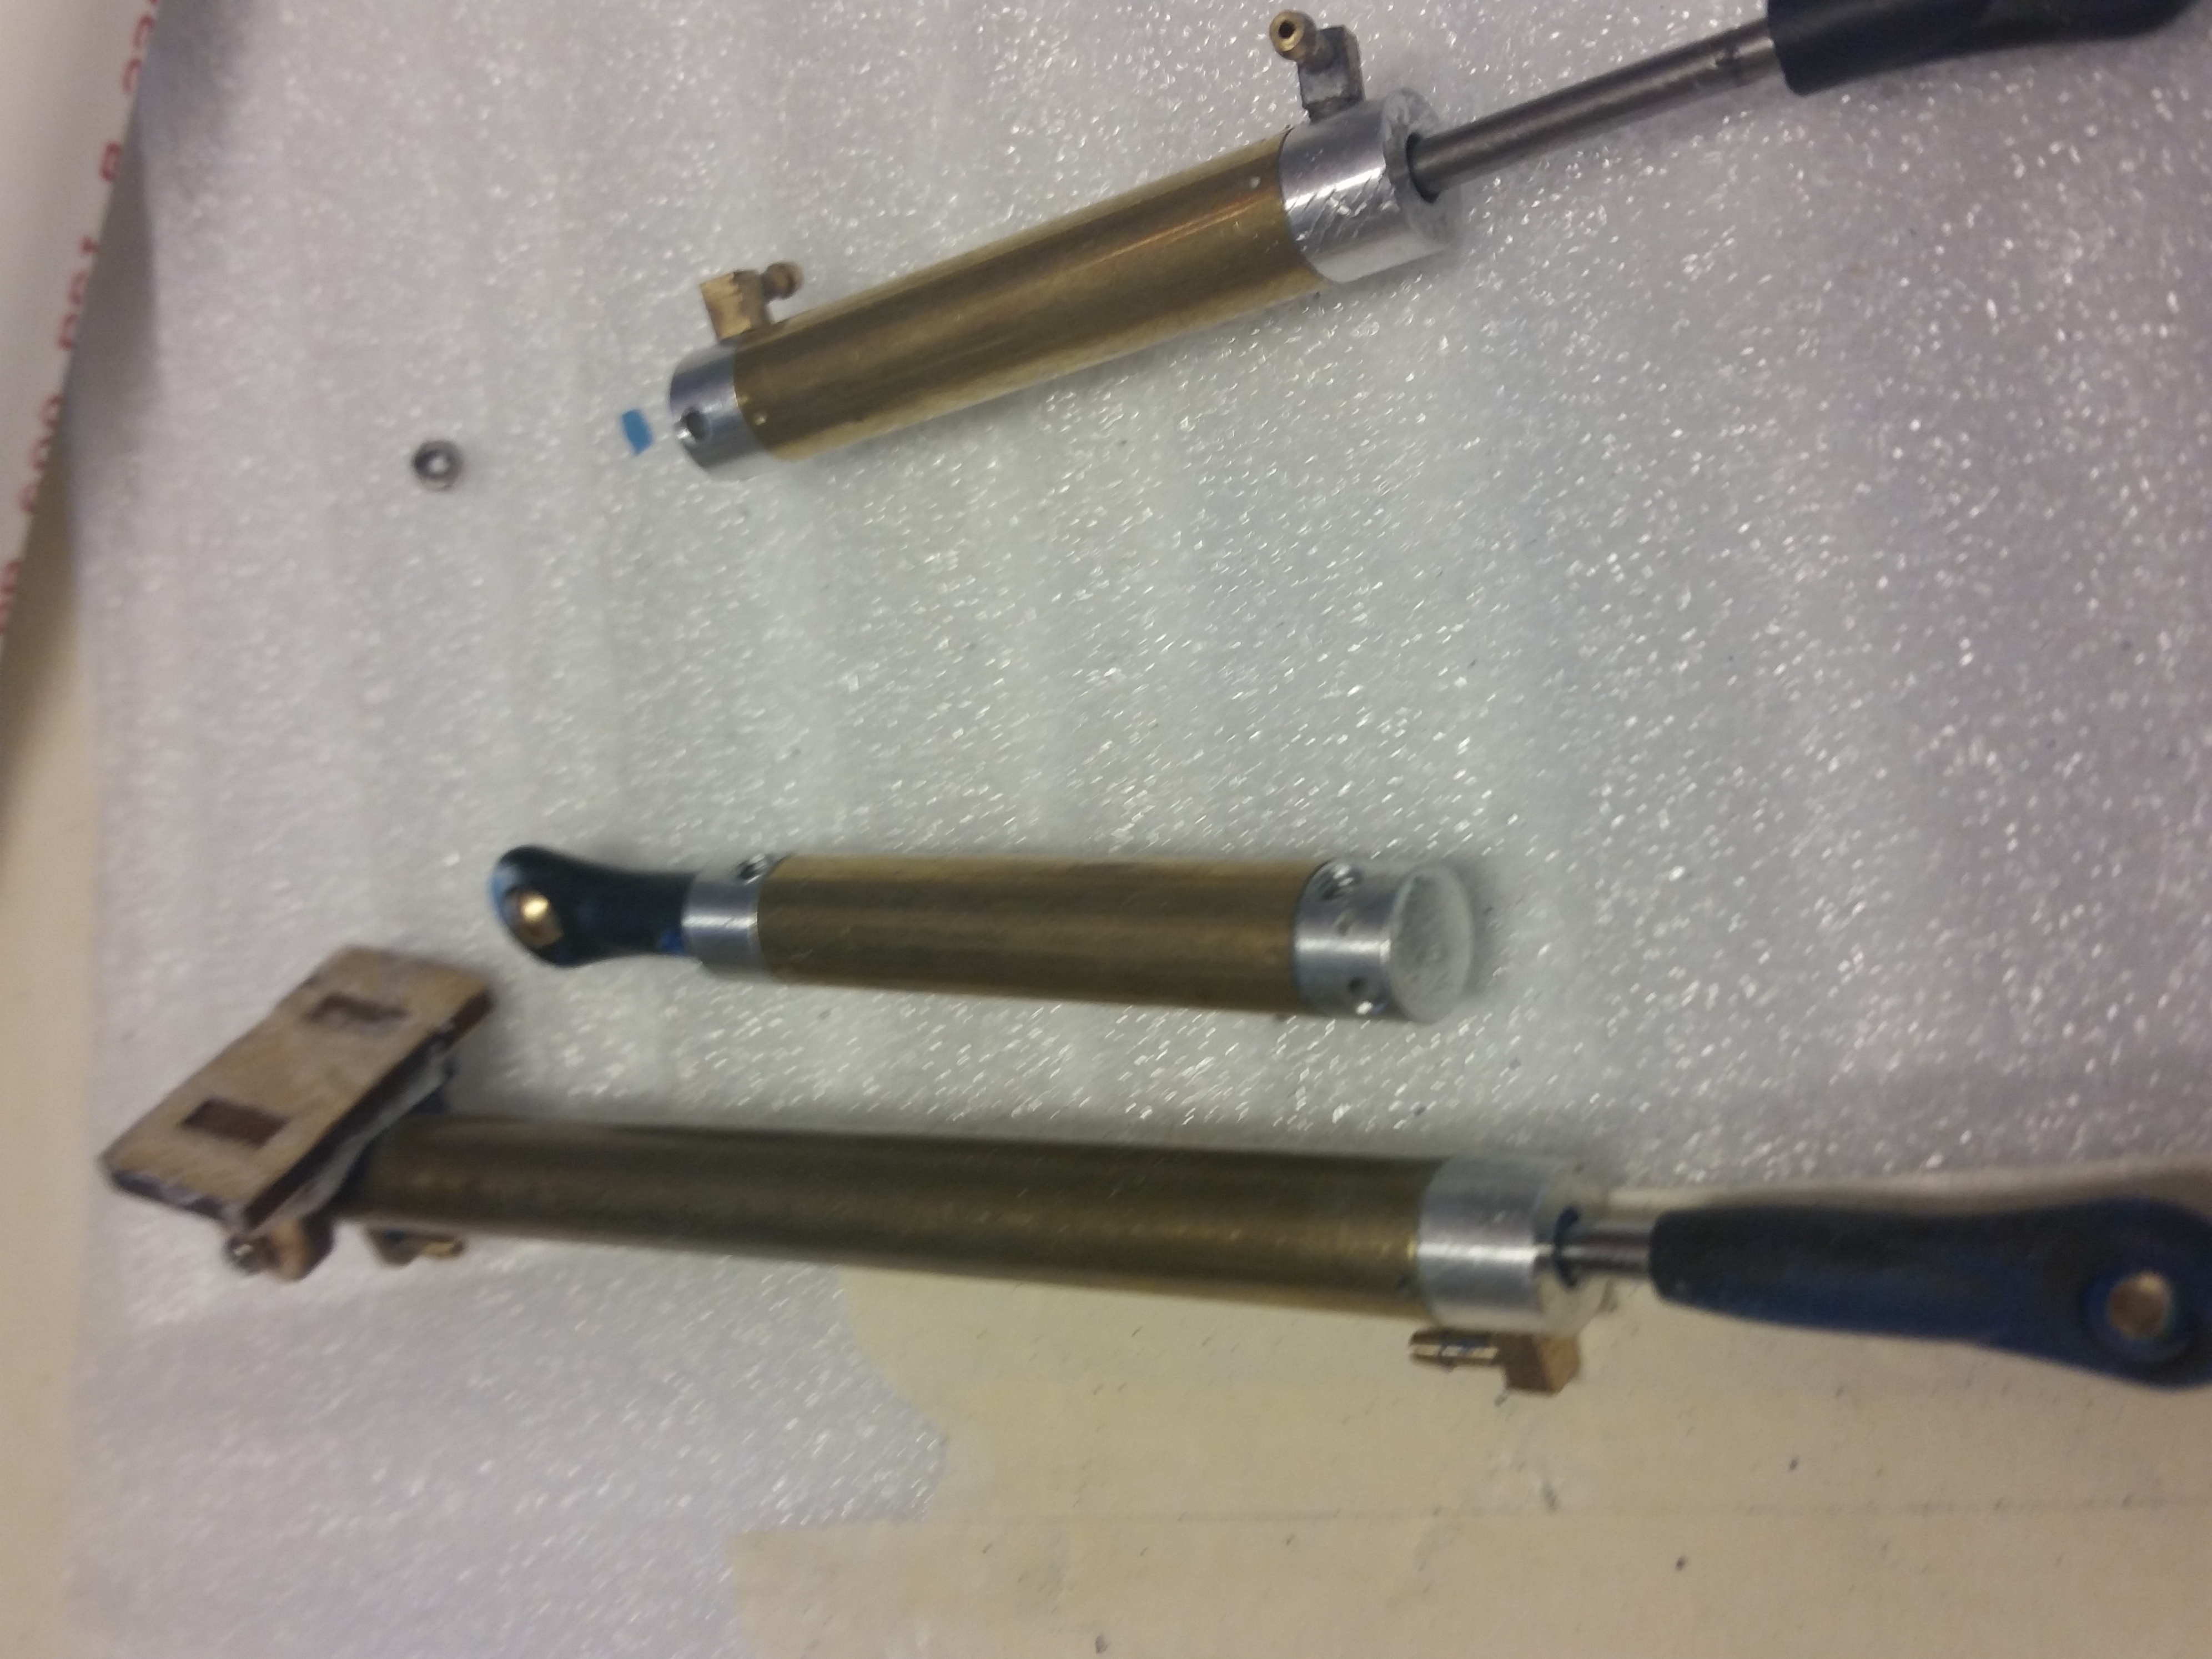
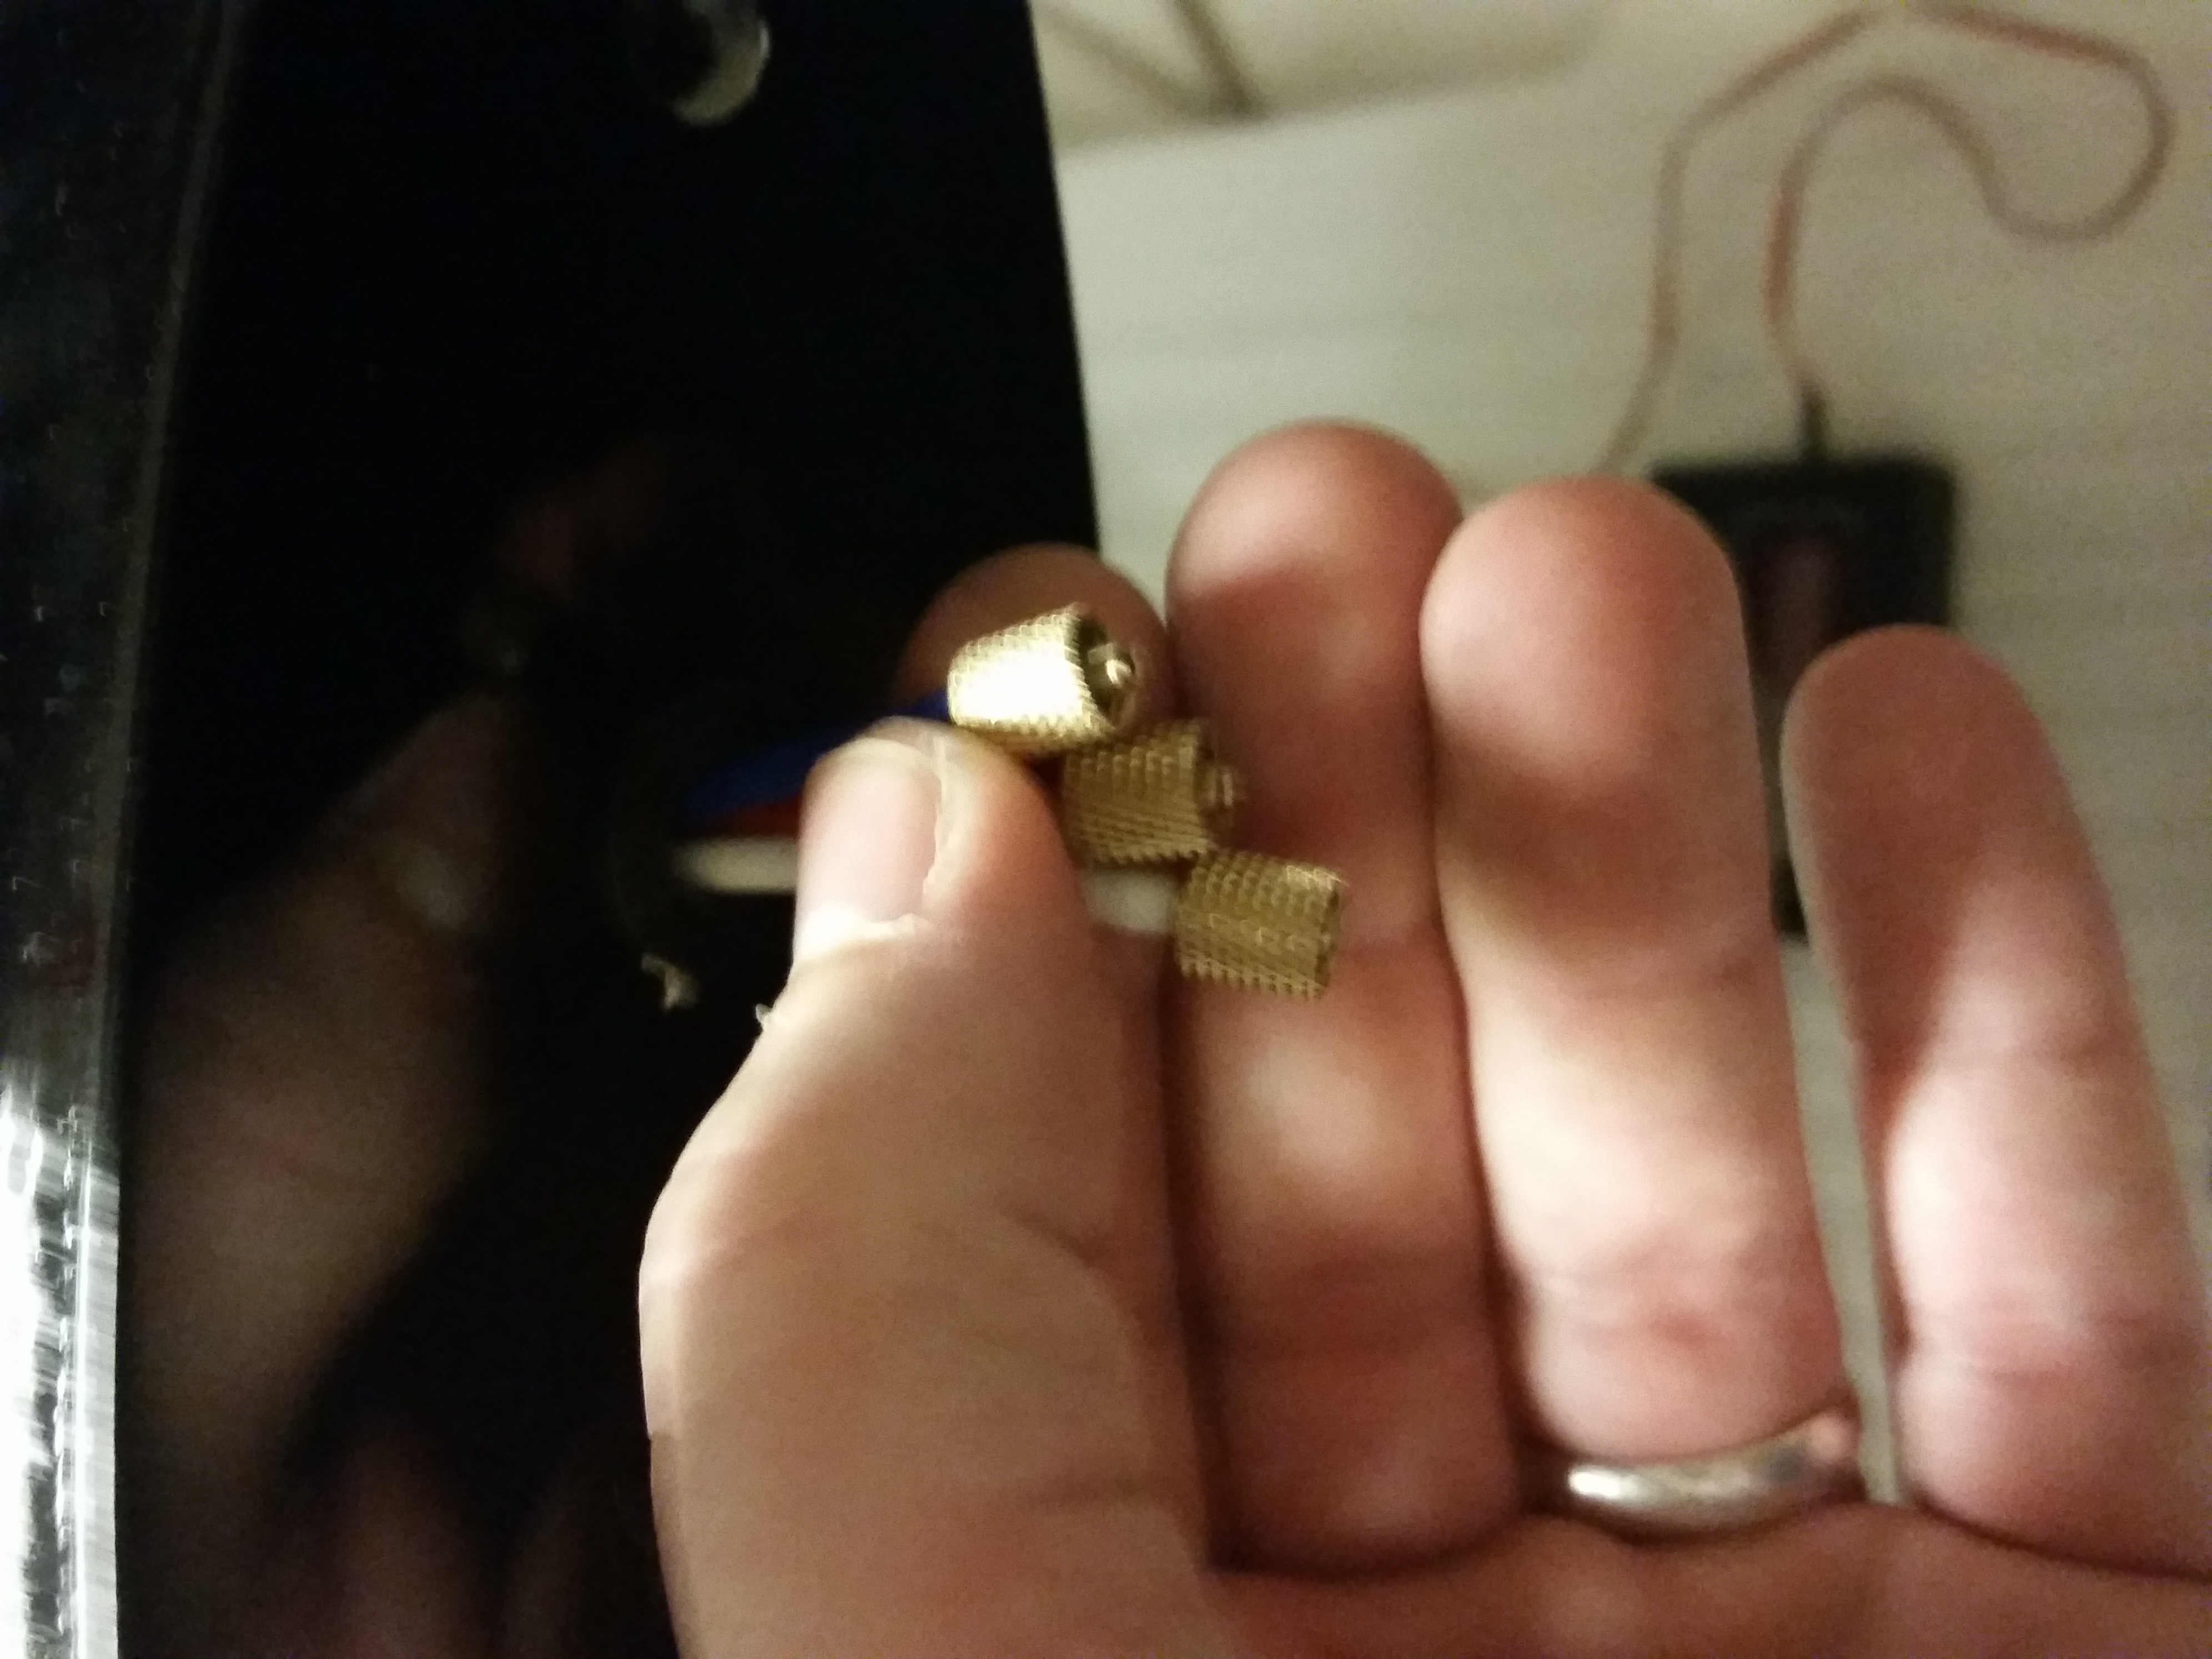
So I am in the process of installing the airline on the speed brakes and the gear doors. well I have a major issue that is just pi@#ing me off that I can stand it. FB doesn't know how to install screws in the correct orientation so that some could get them out. I also noticed that one of the nipples on the speed brakes is broke off but I cant get the cylinder out due to the screw head being in the wrong direction to get to. Its the same thing on the landing gear door. I am not sure how I am going to get them out without messing up the area. I just emailed Catherine at FB to let her know that she needs assist in this issue. Also I am working on the setting up the cockpit but I am trying to figure out how I need to cut it. Do I need to cut on the fuse. also? I am not sure. Please help. Please see photos of the screws for cylinders and the cockpit. Also I got the quick disconnects for the airline and man it was tough to get them on. See picture for that. I hope it looks okay. I can tell you that lines are not coming off them at all. I almost felt as if they were too big for the 3m line but on dreamworks its says it fits 3m.
03-04-2016 | 11:54 AM
#43
Can anyone assist me in how I need to cut the cockpit and or the fuse to fit the cockpit in. I don't want to start hacking away until I can get some one that already has done it and fitted.
03-04-2016 | 03:15 PM
#44
The jet I'm building for a friend is just like yours, my plan is to take front section and mount it then mount the two buckets to the canopy frame. So when you take the canopy off the forward dash stays in the jet and everything else come out. Or you could just cut the cross beam out on both. My SM viper doesn't have a cross beam in that area.
03-07-2016 | 08:11 PM
#46
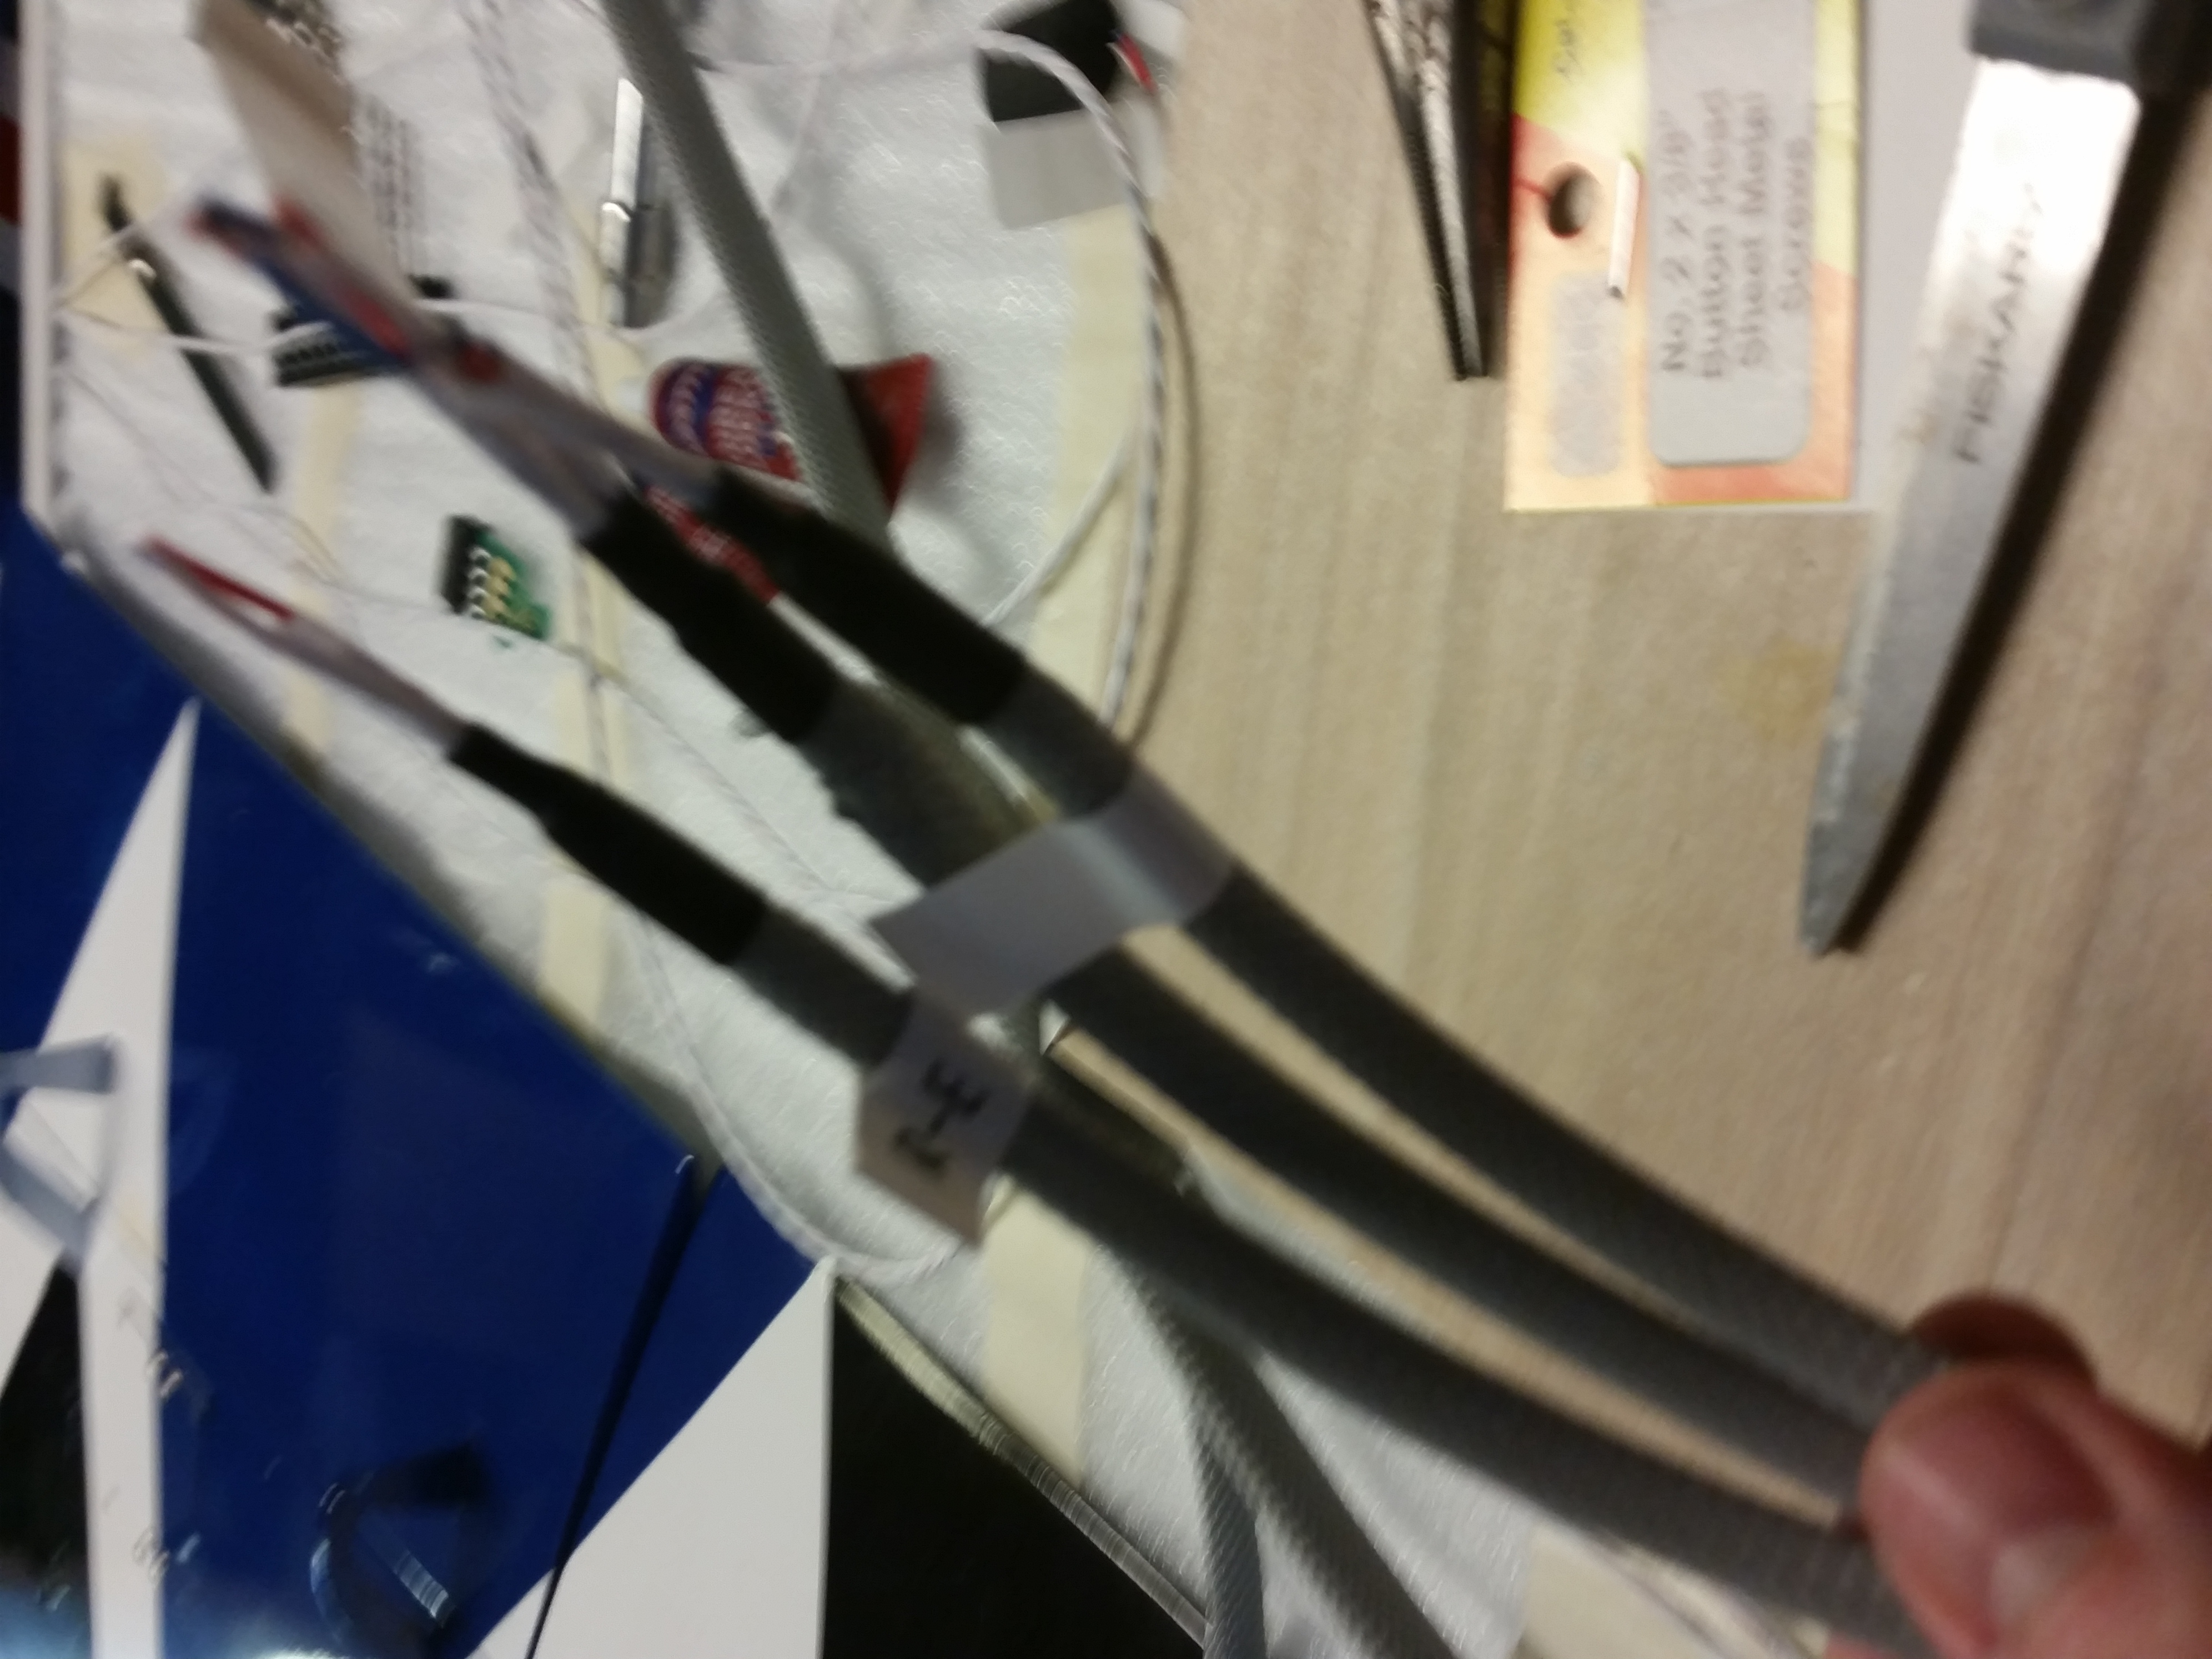
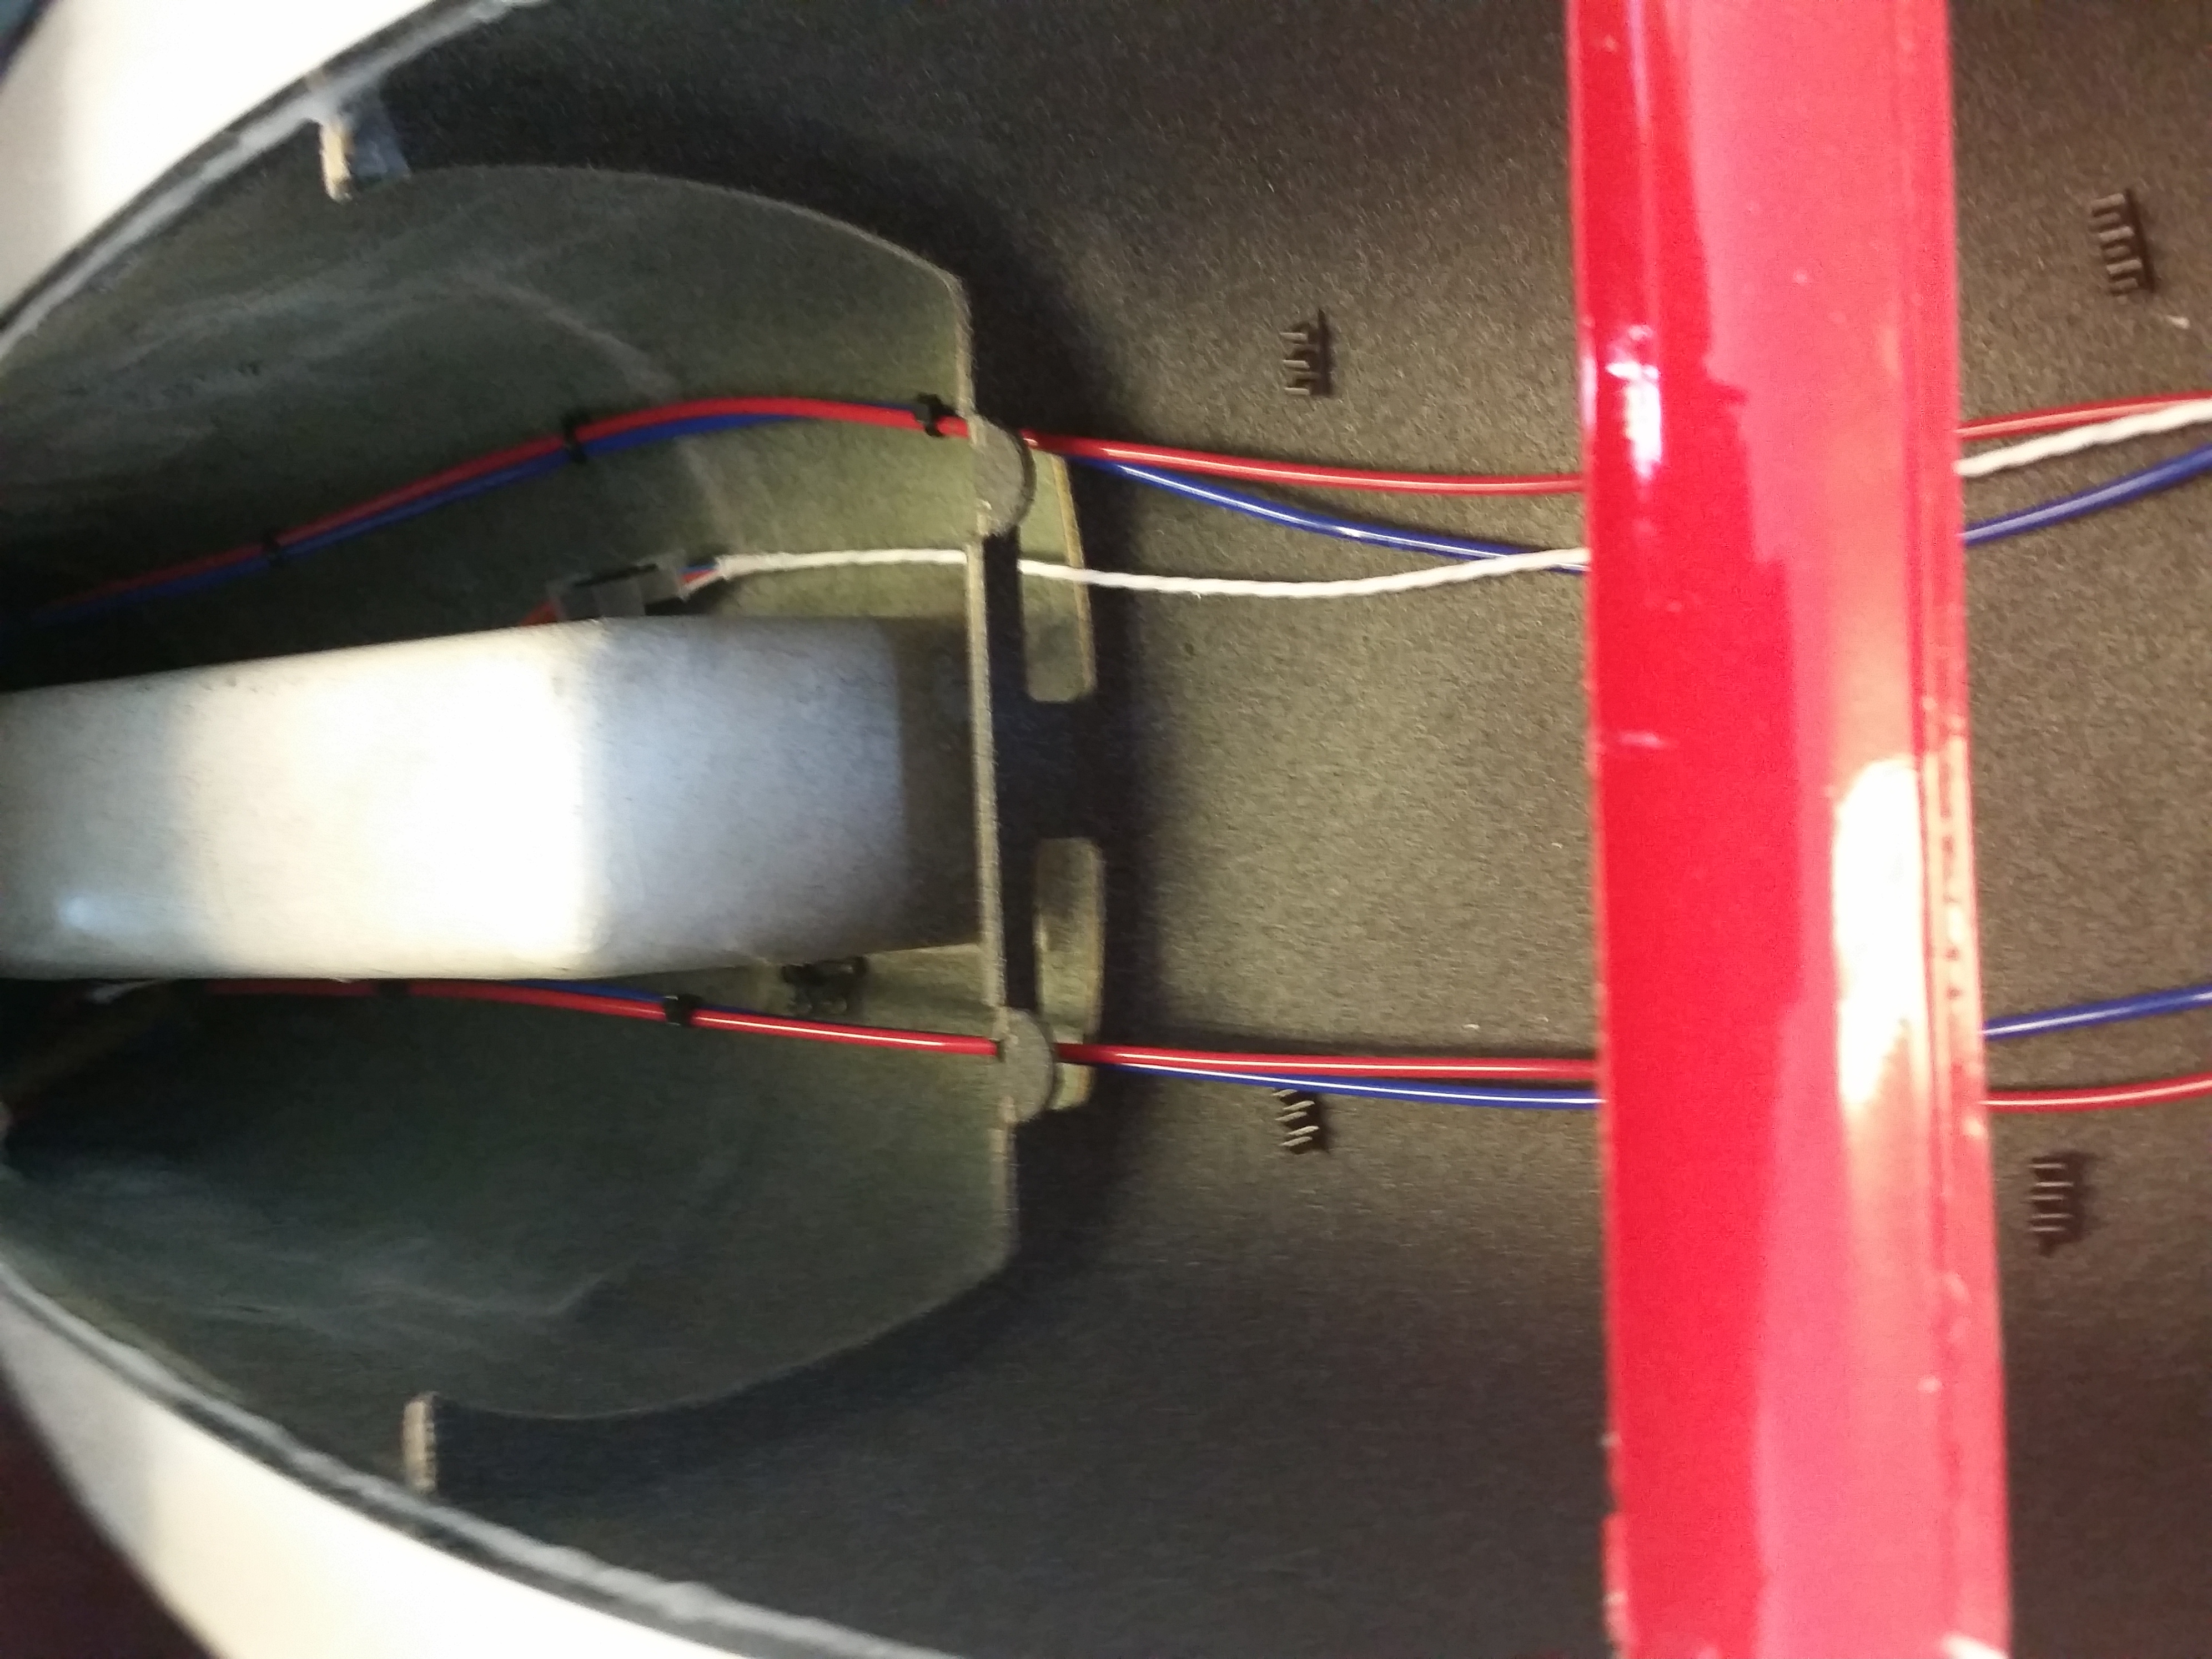
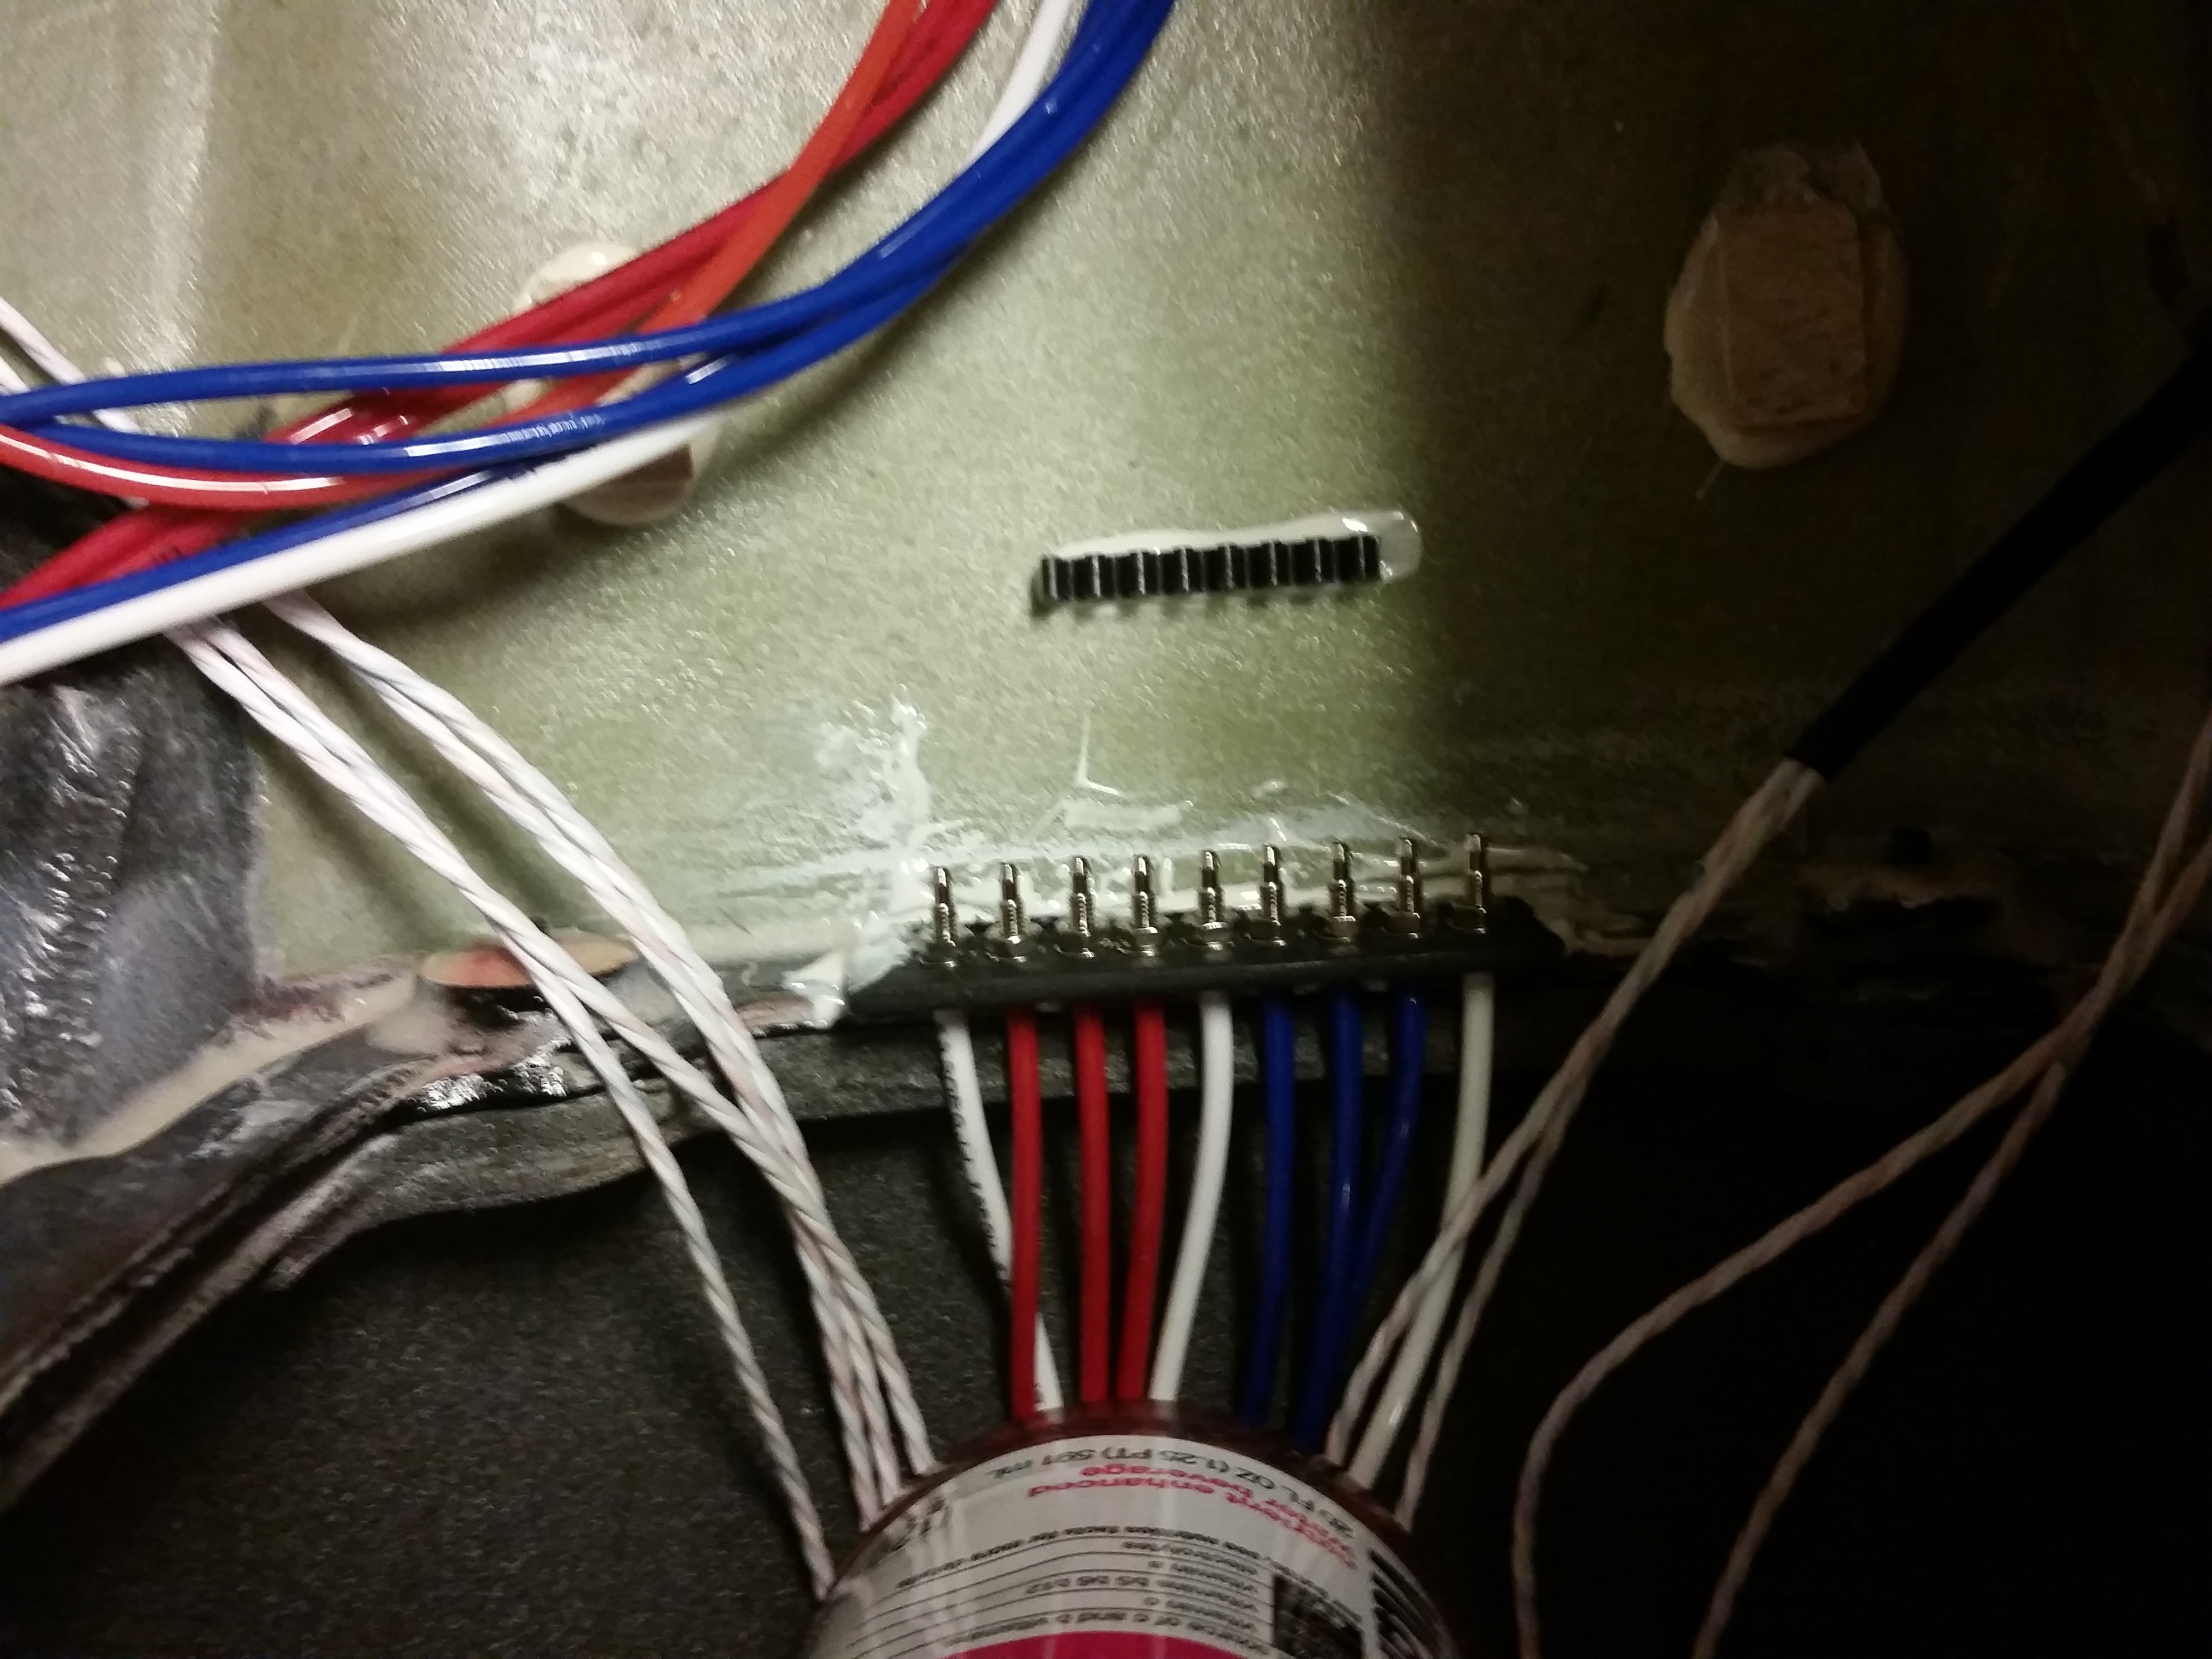
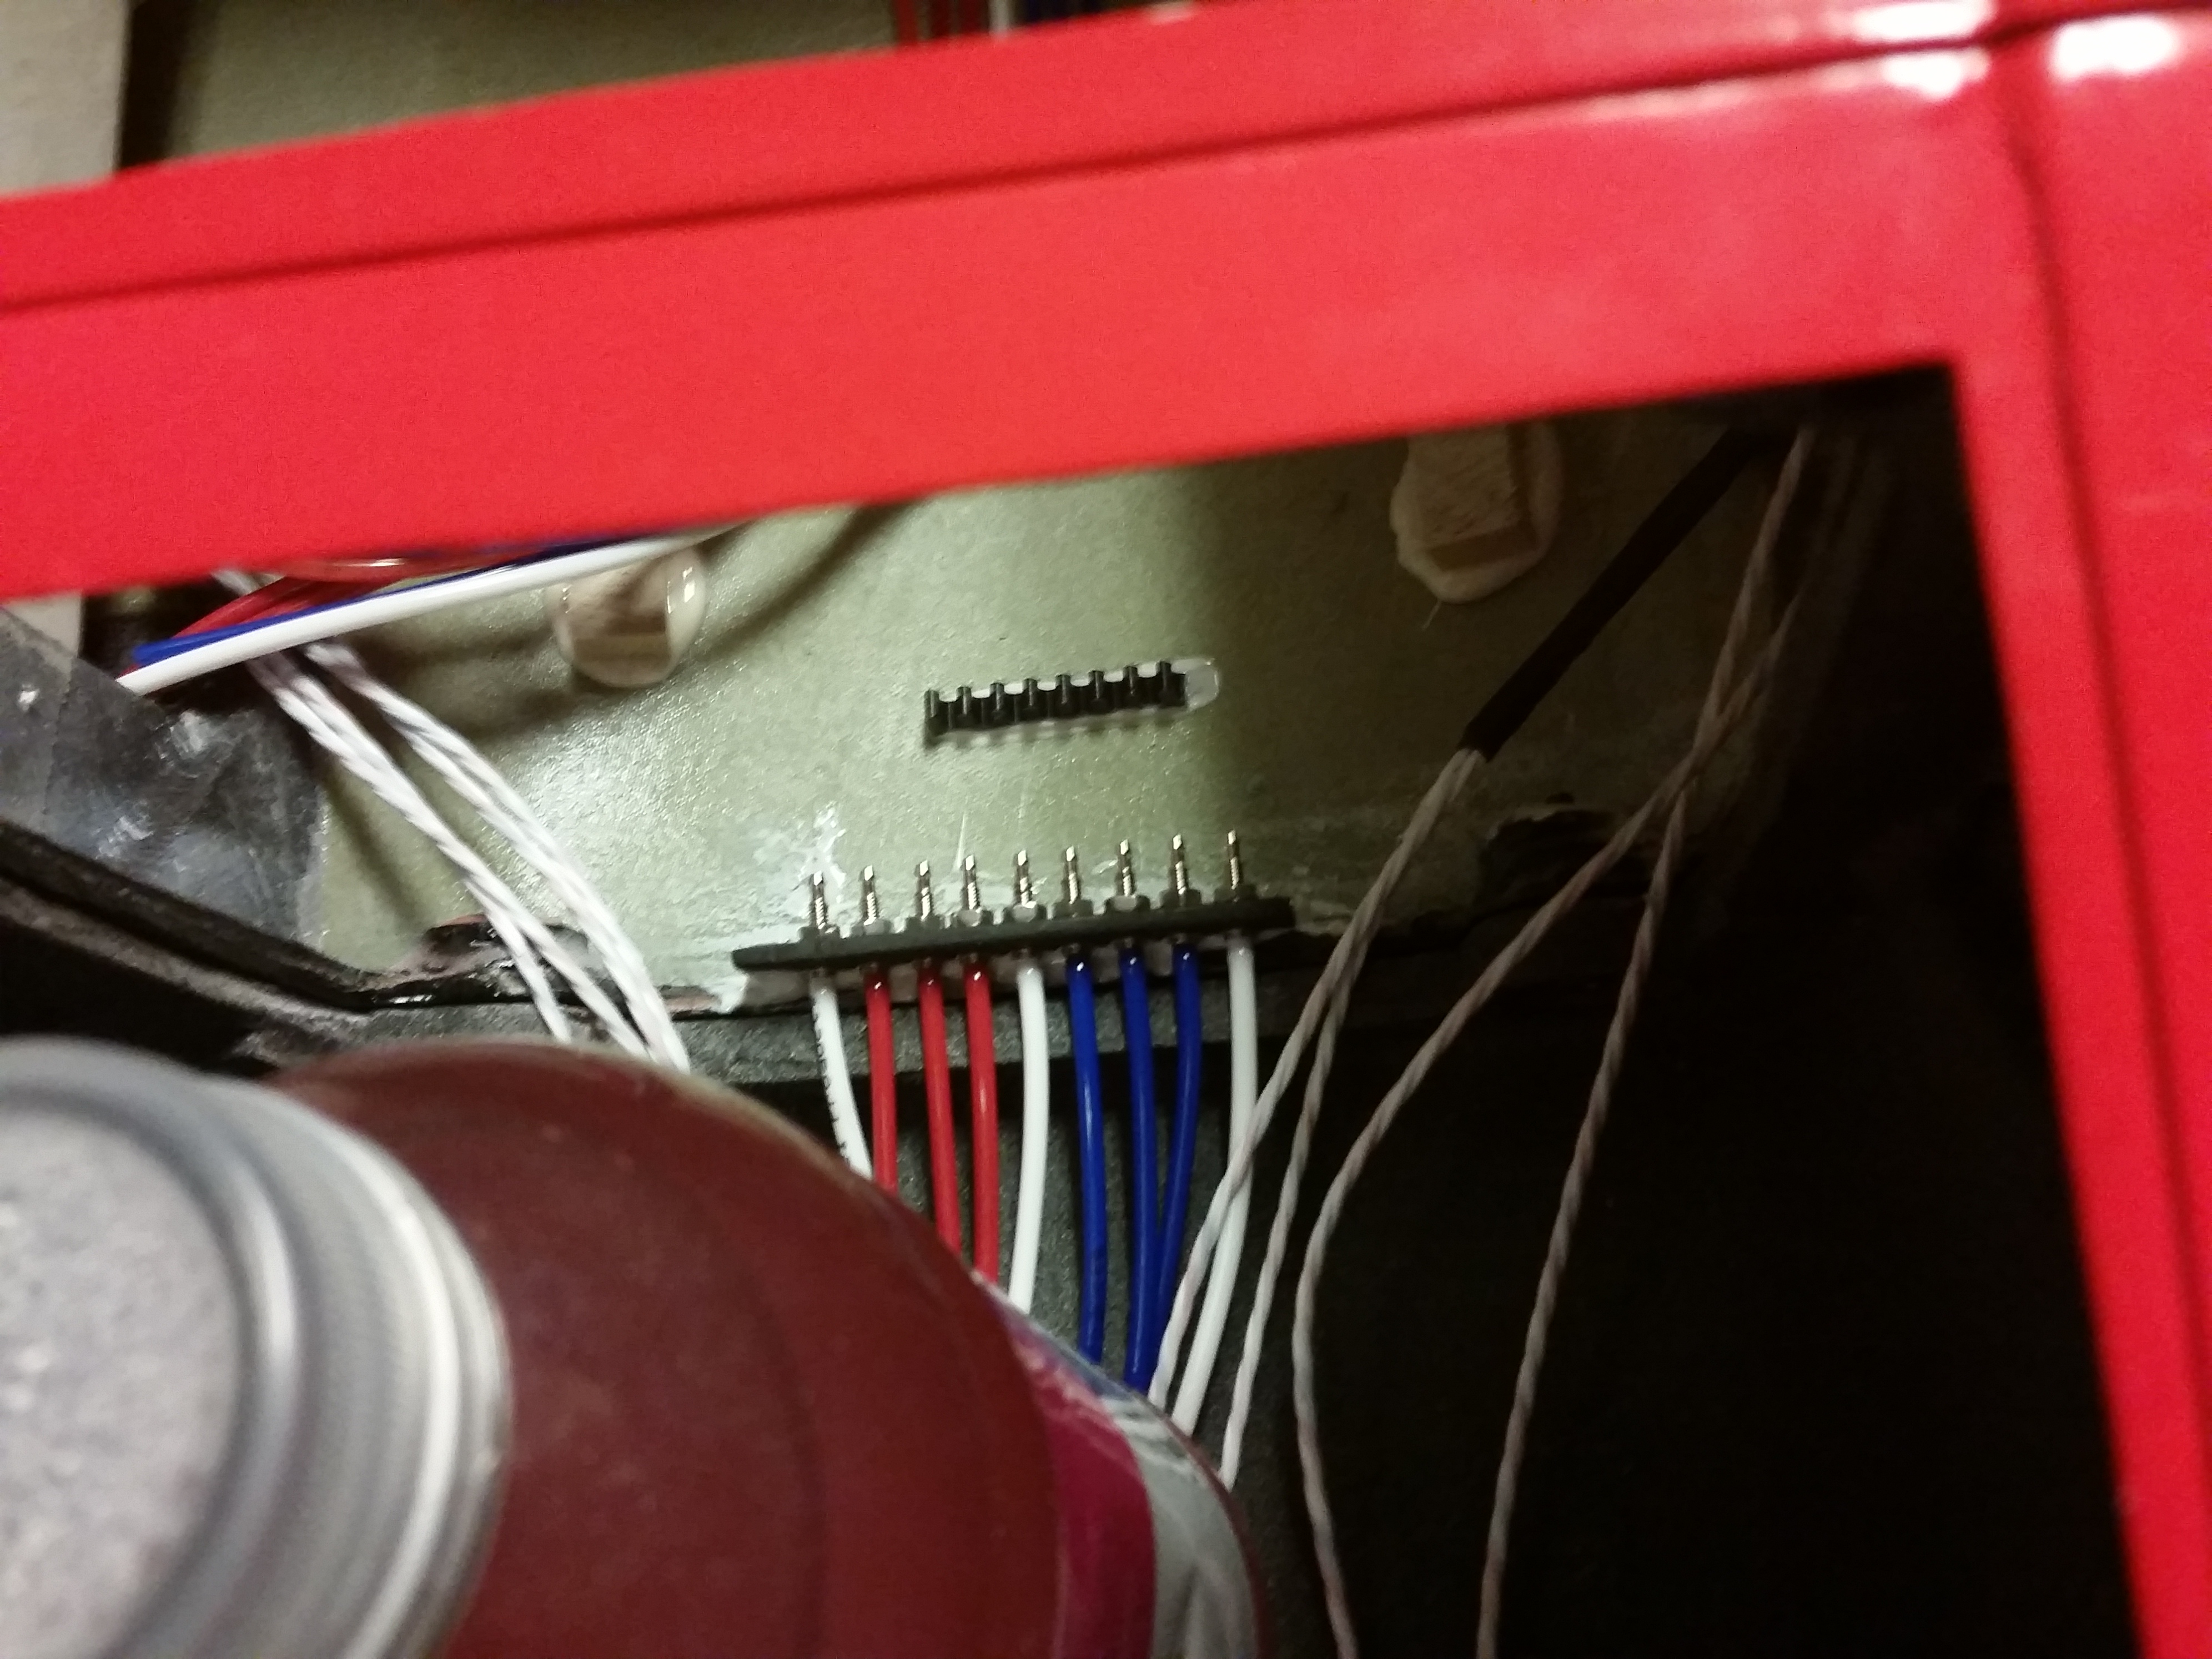
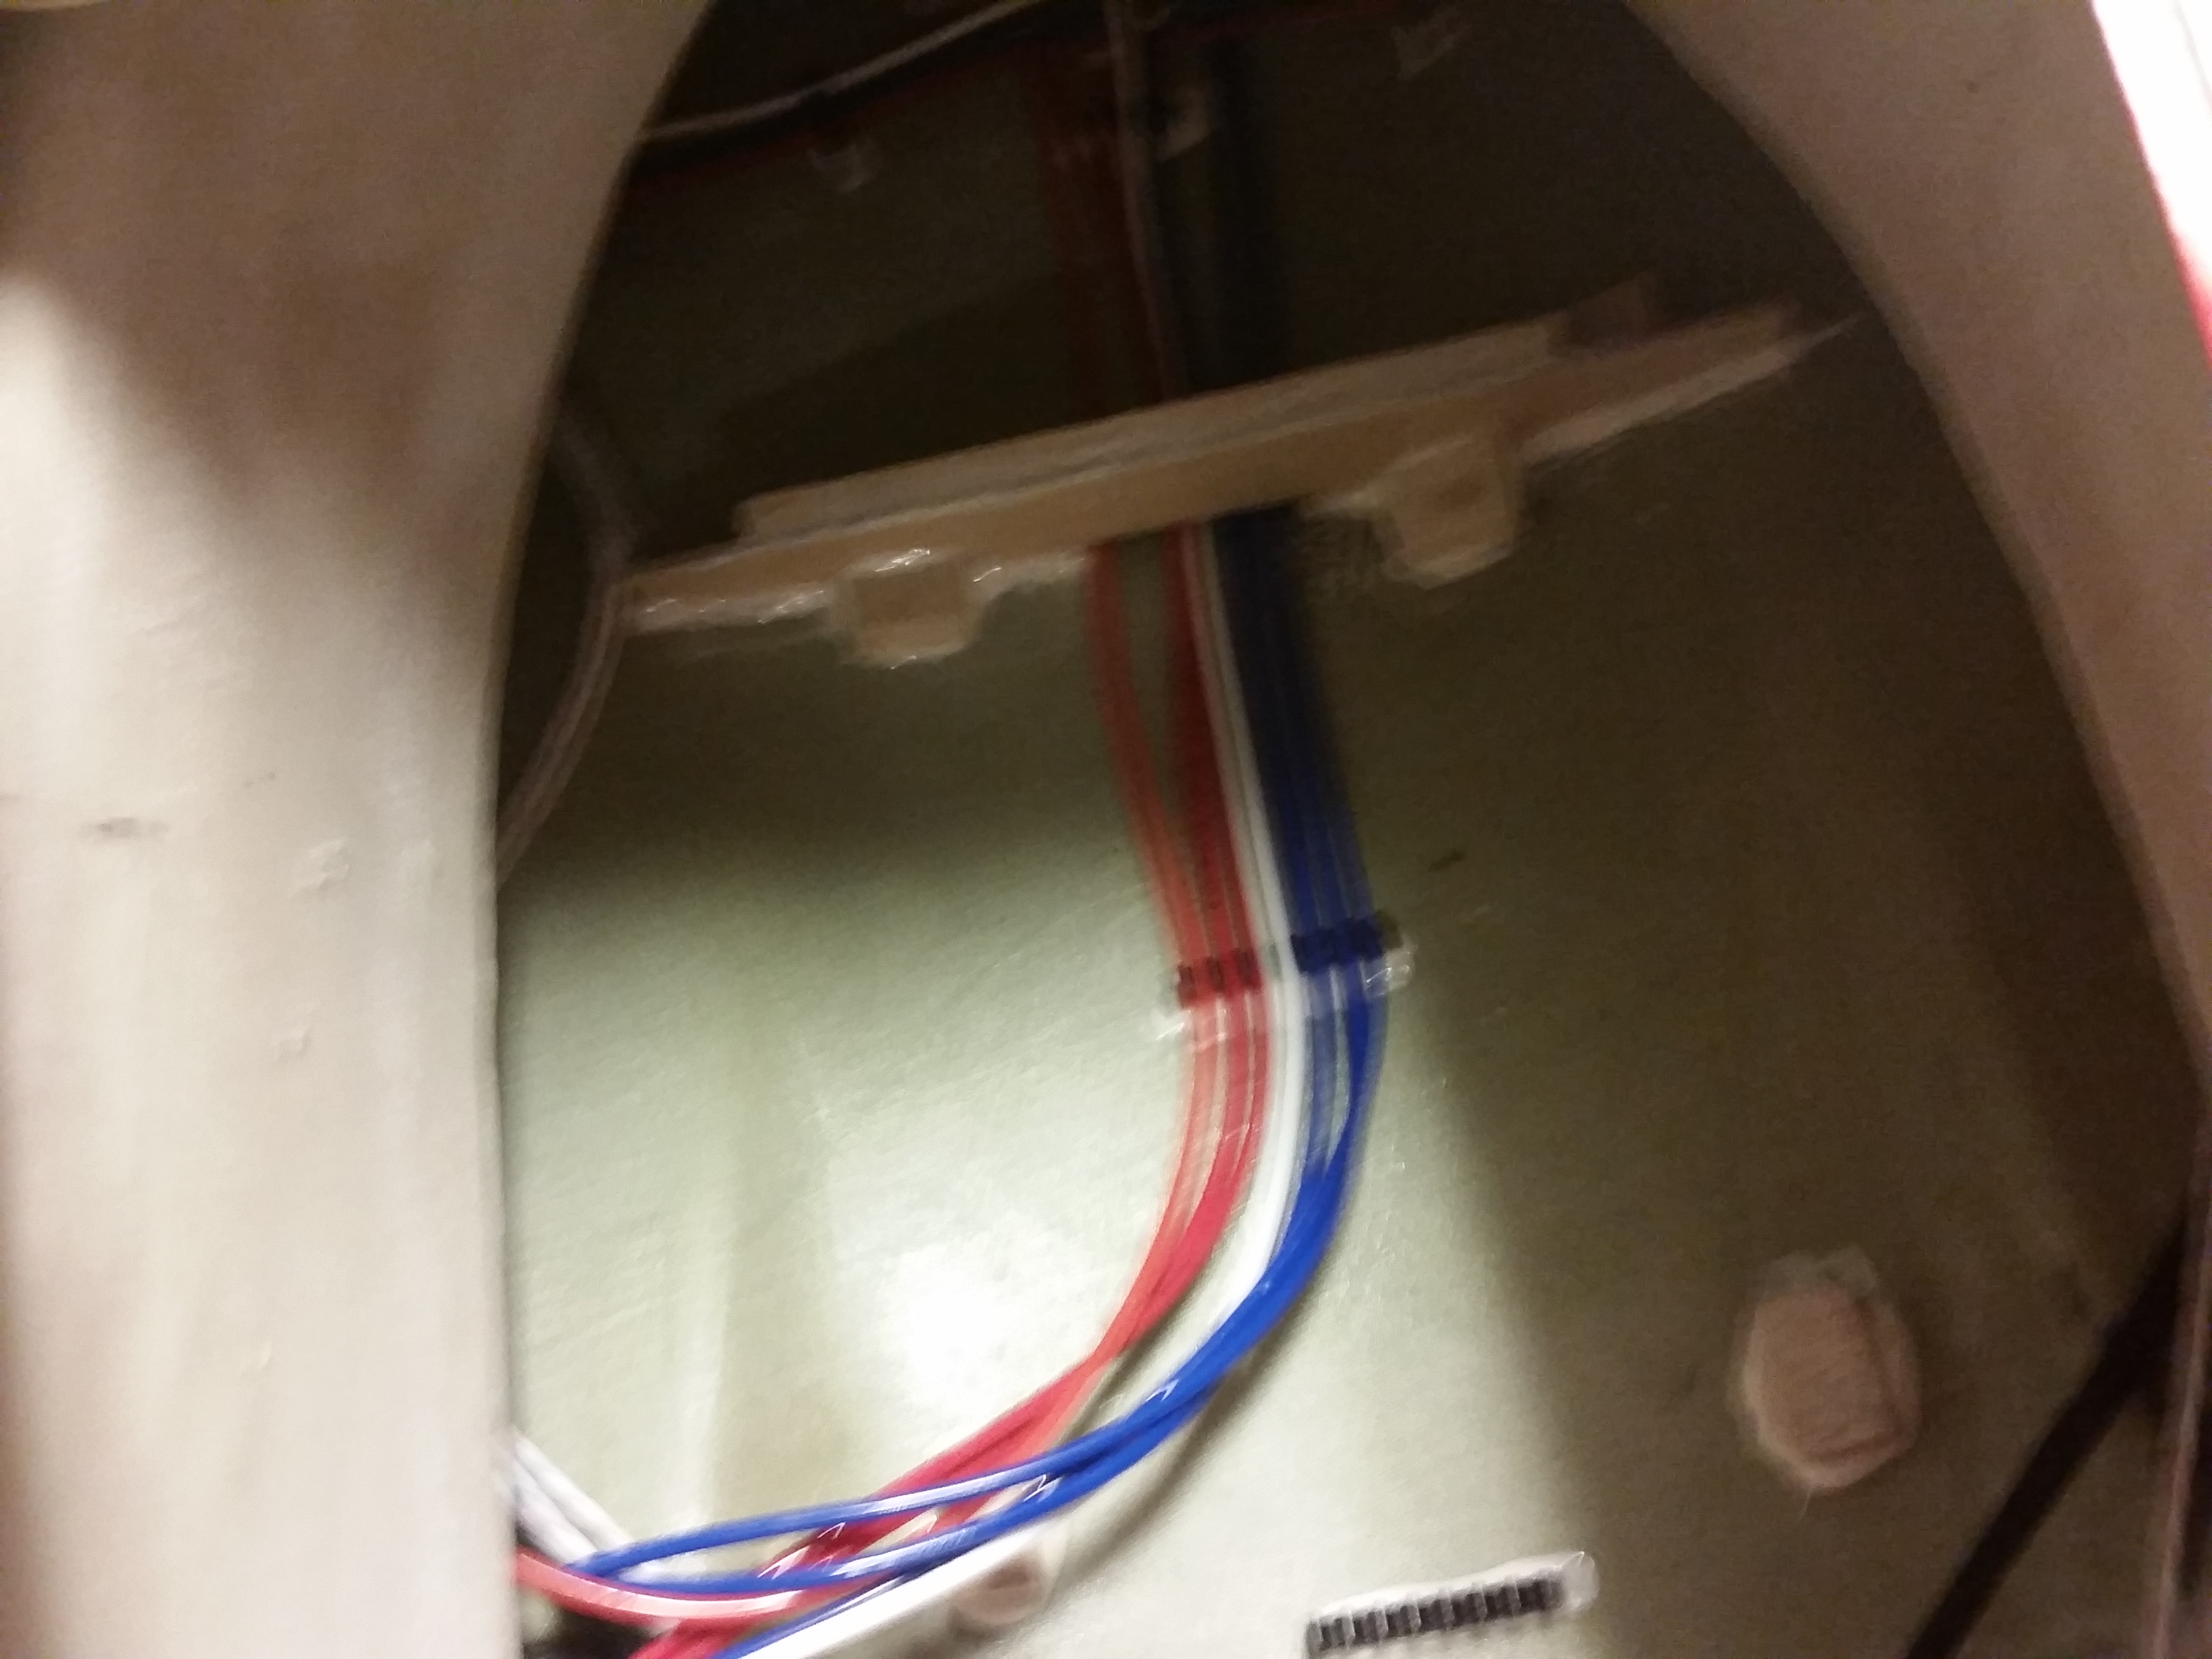
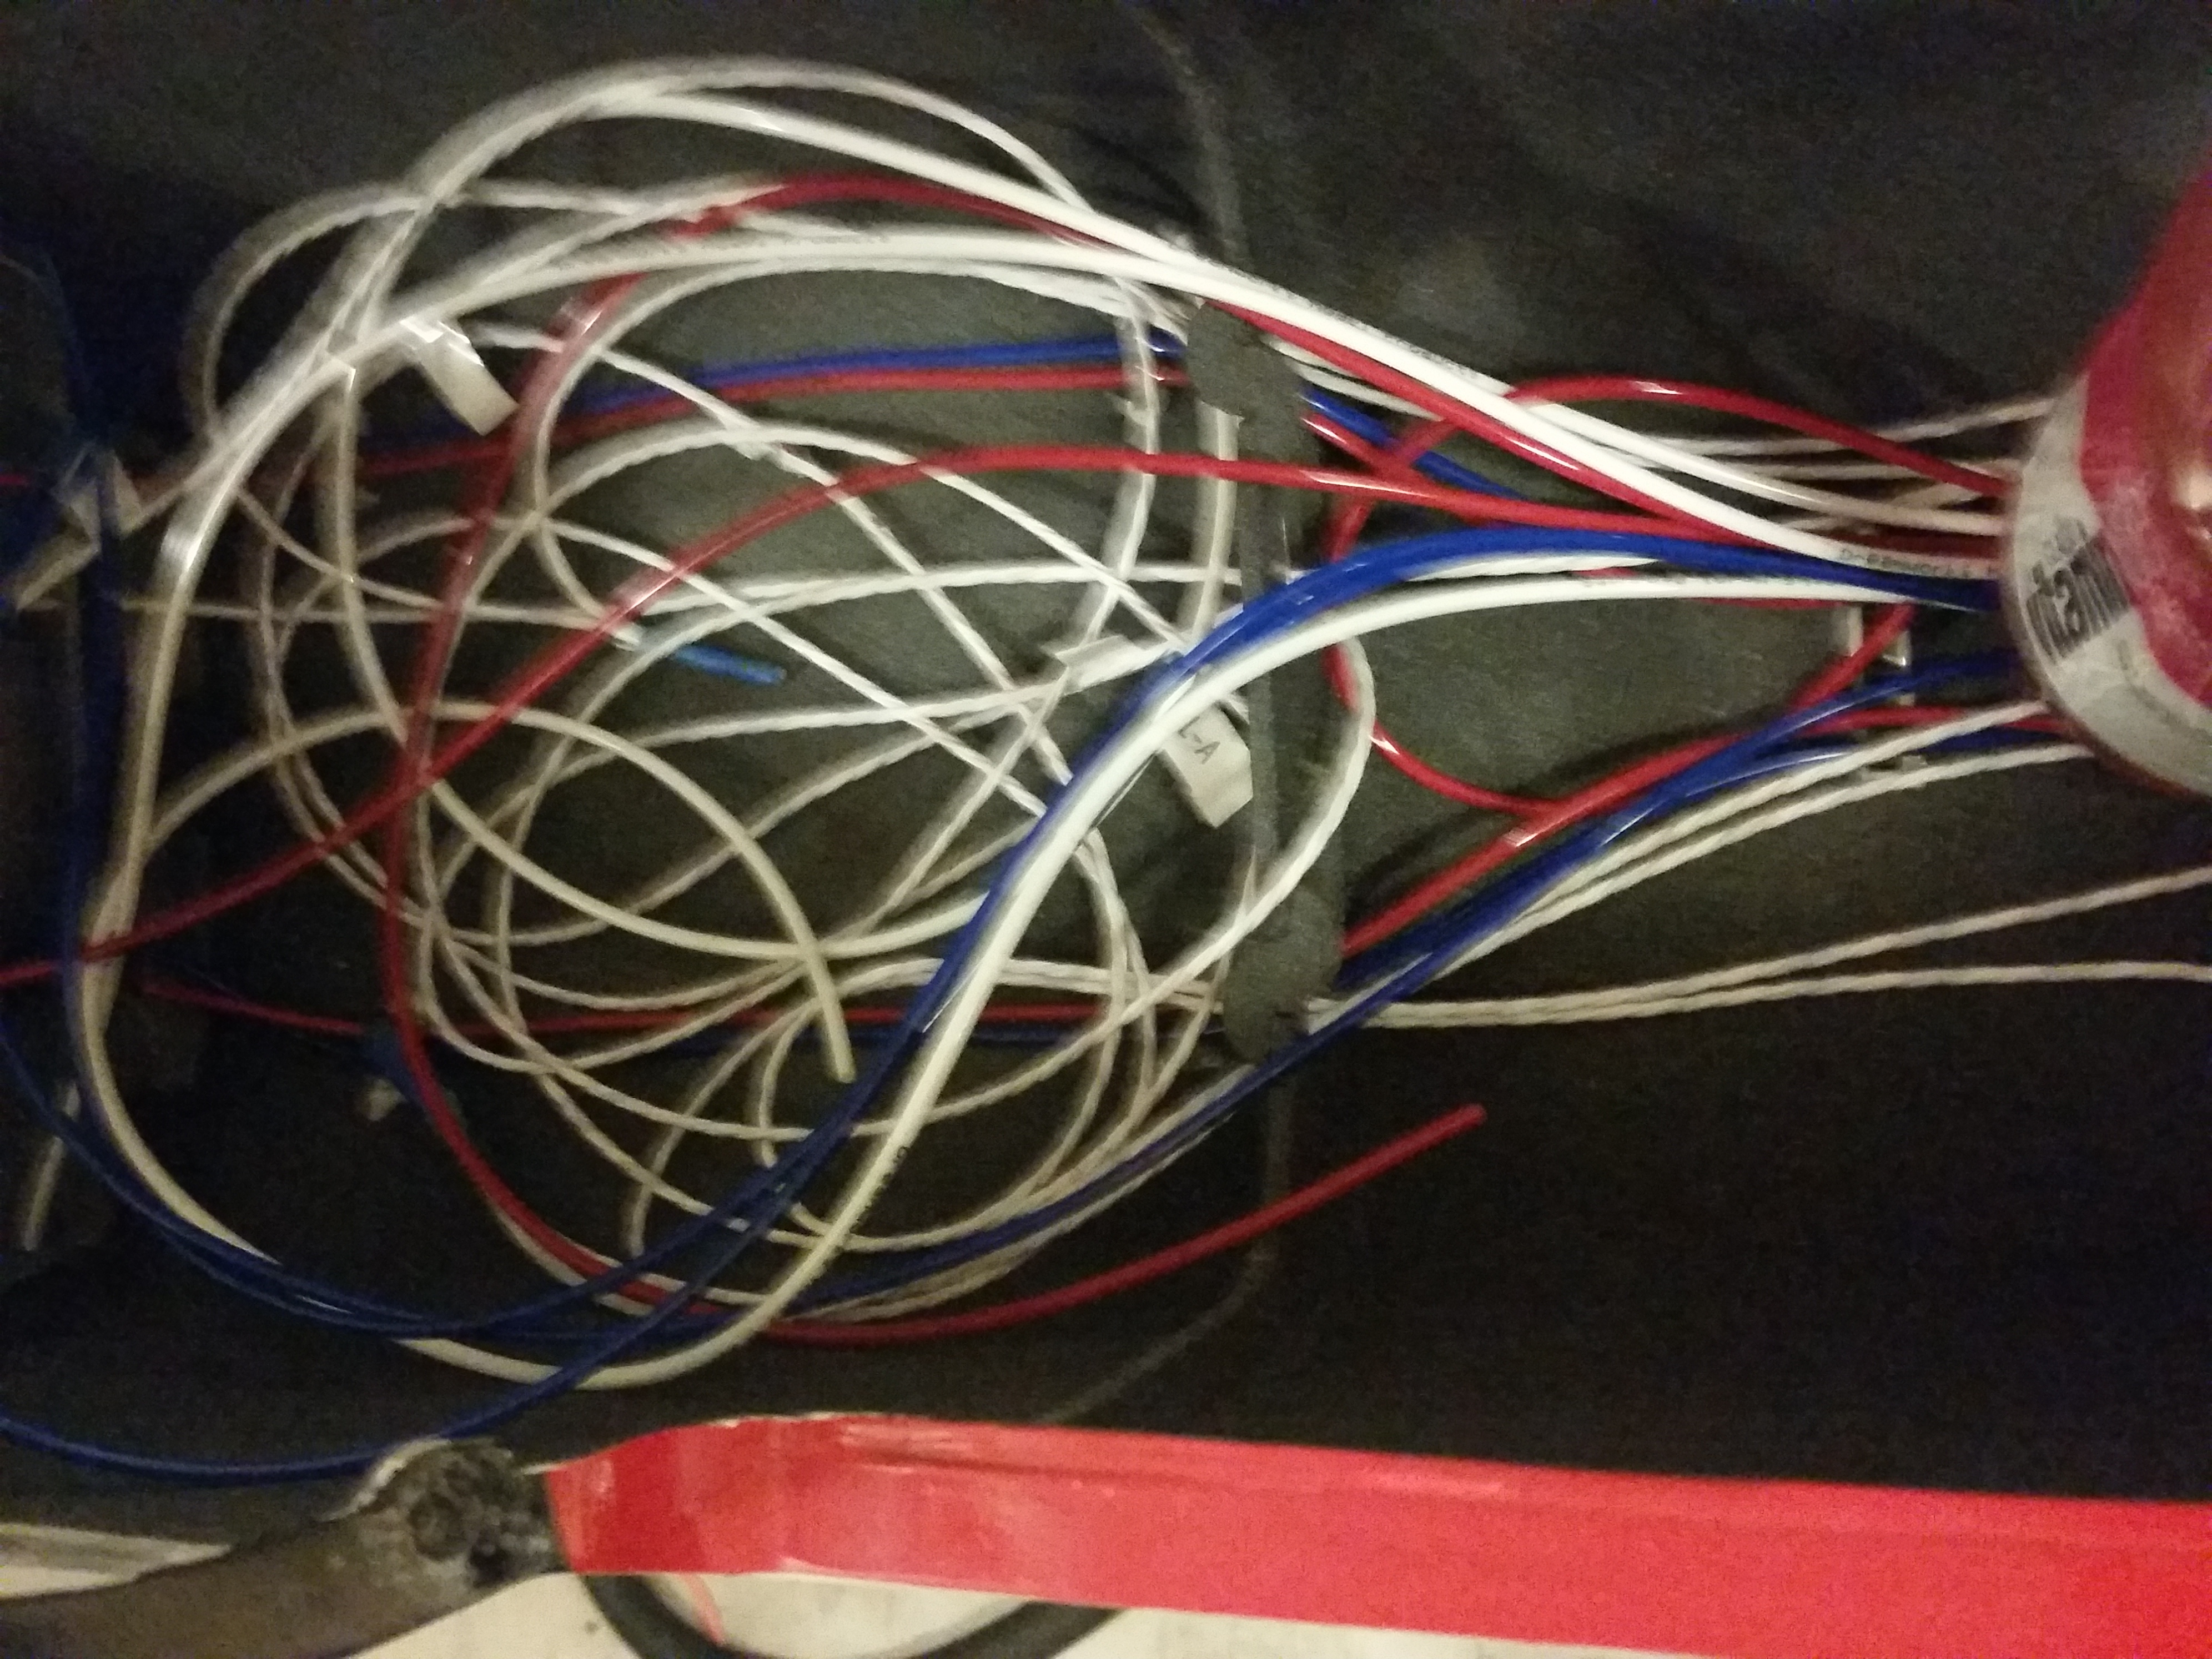
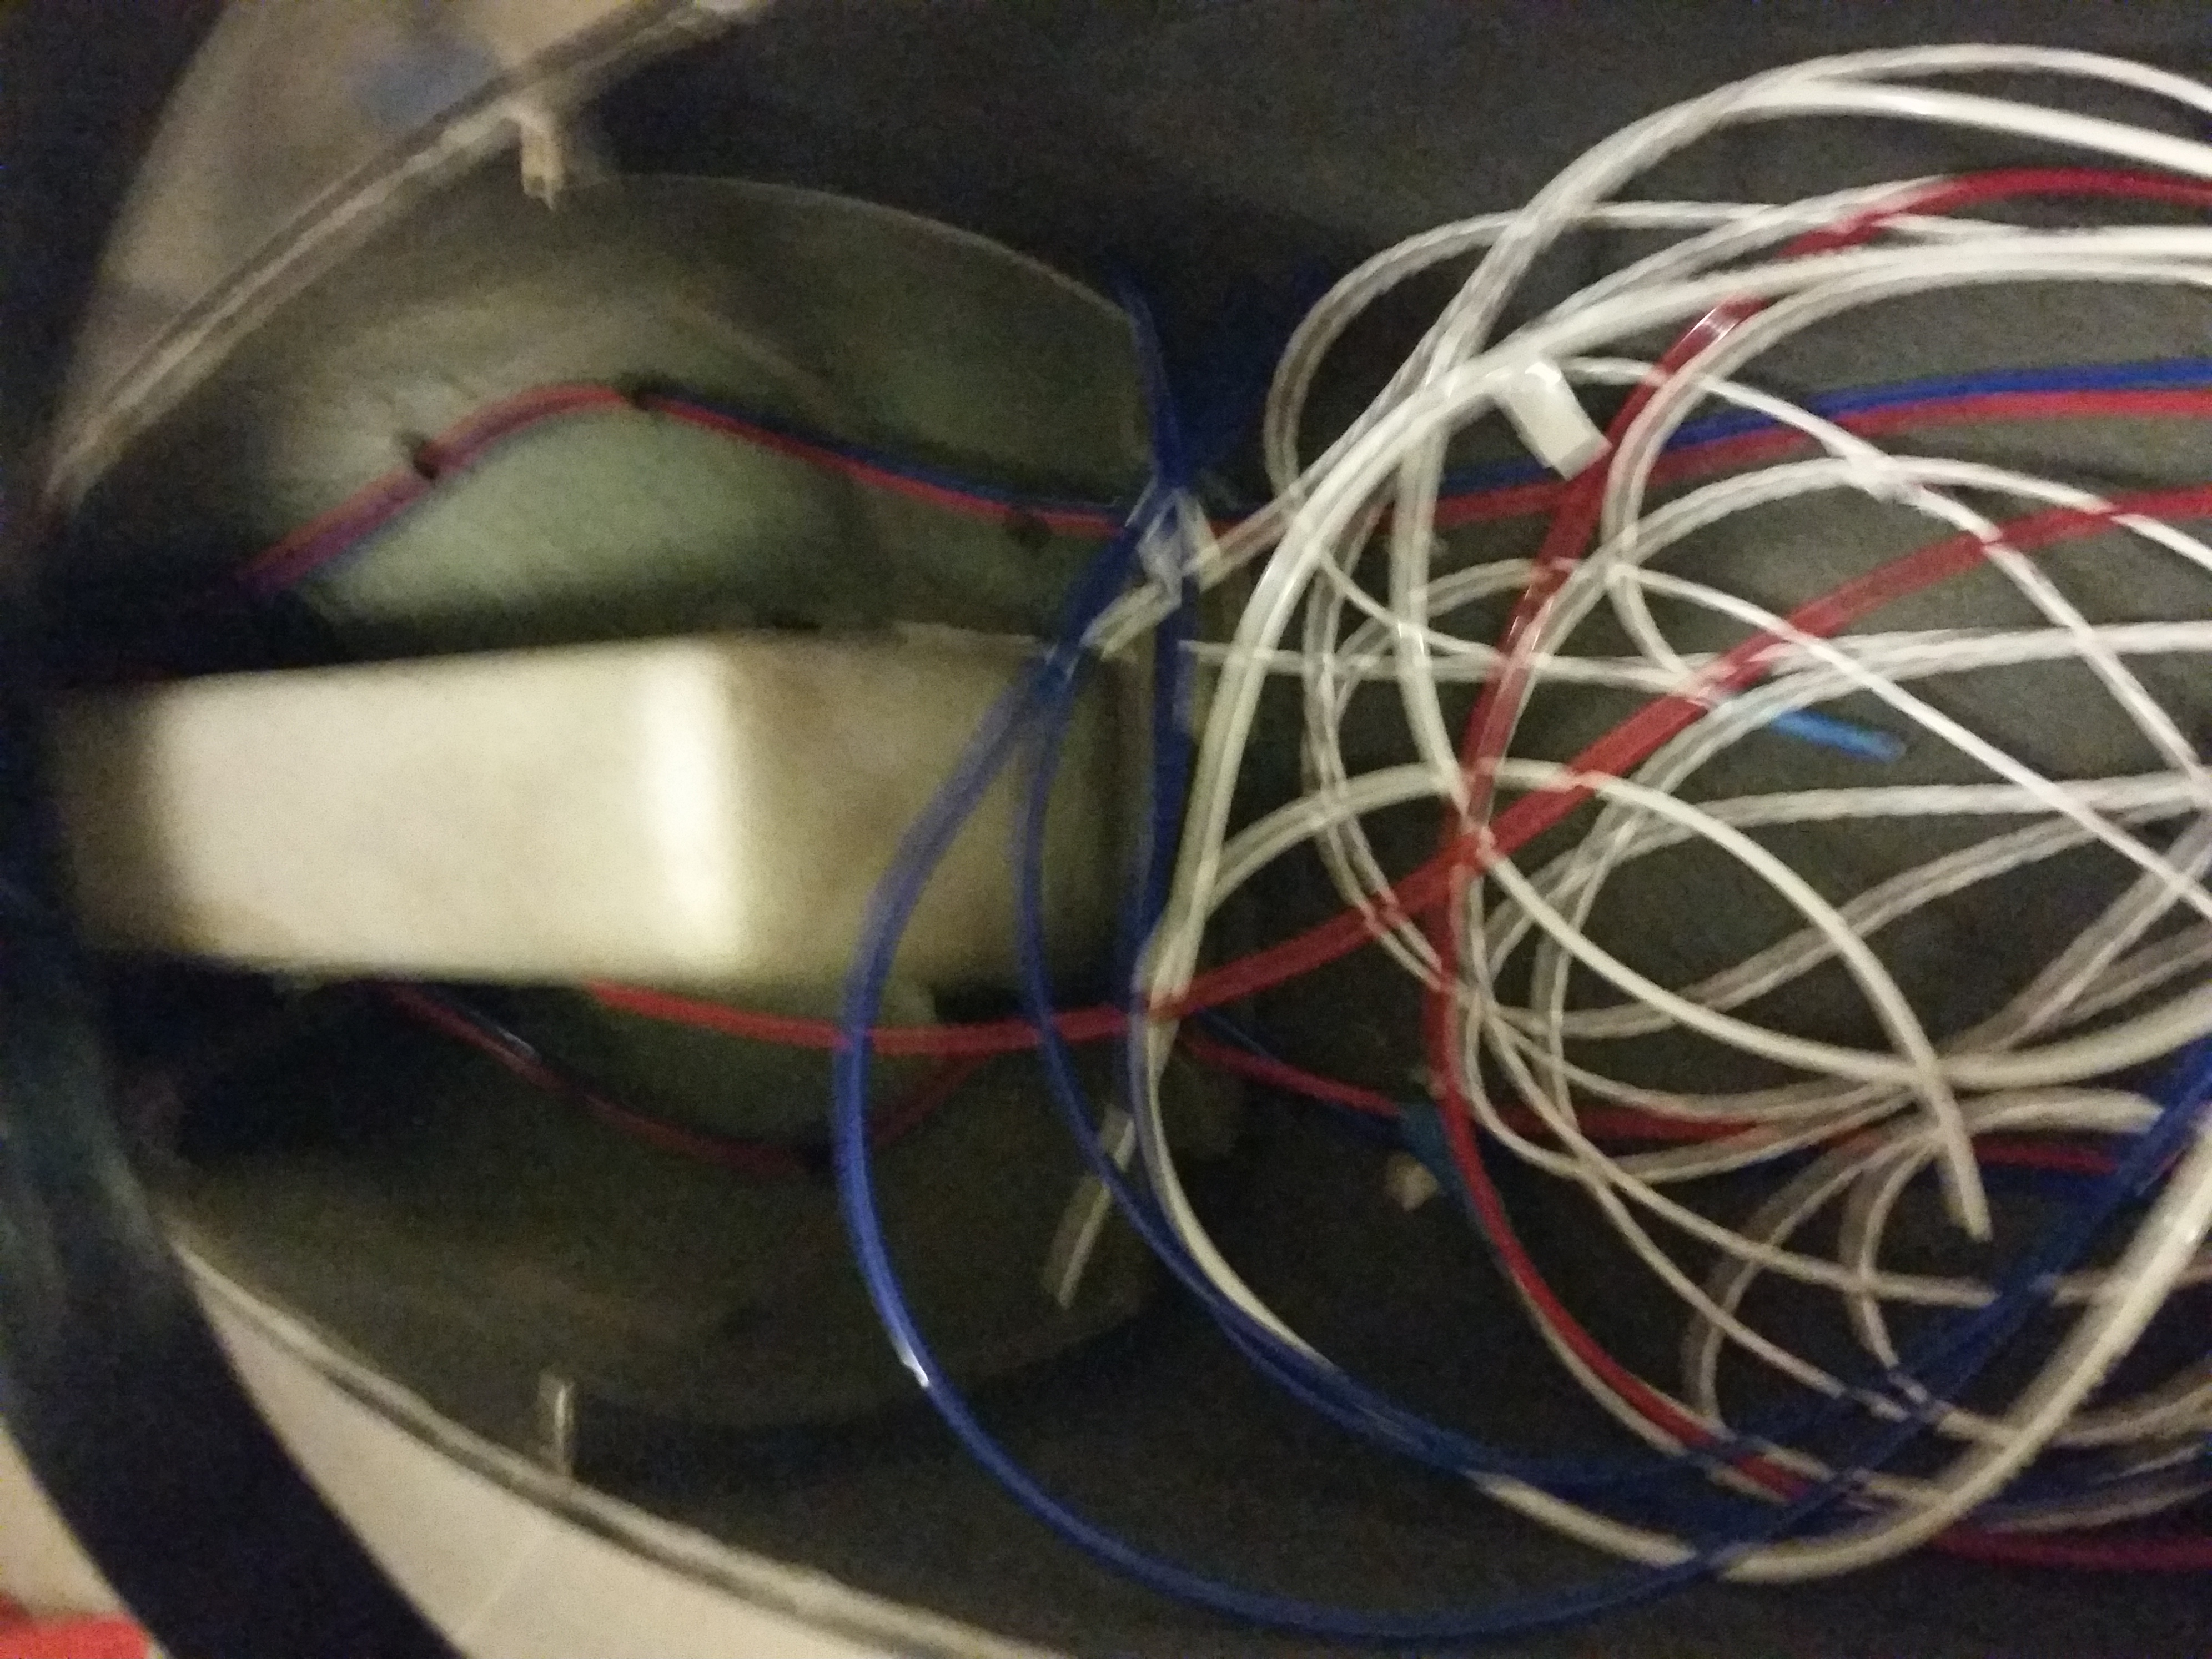
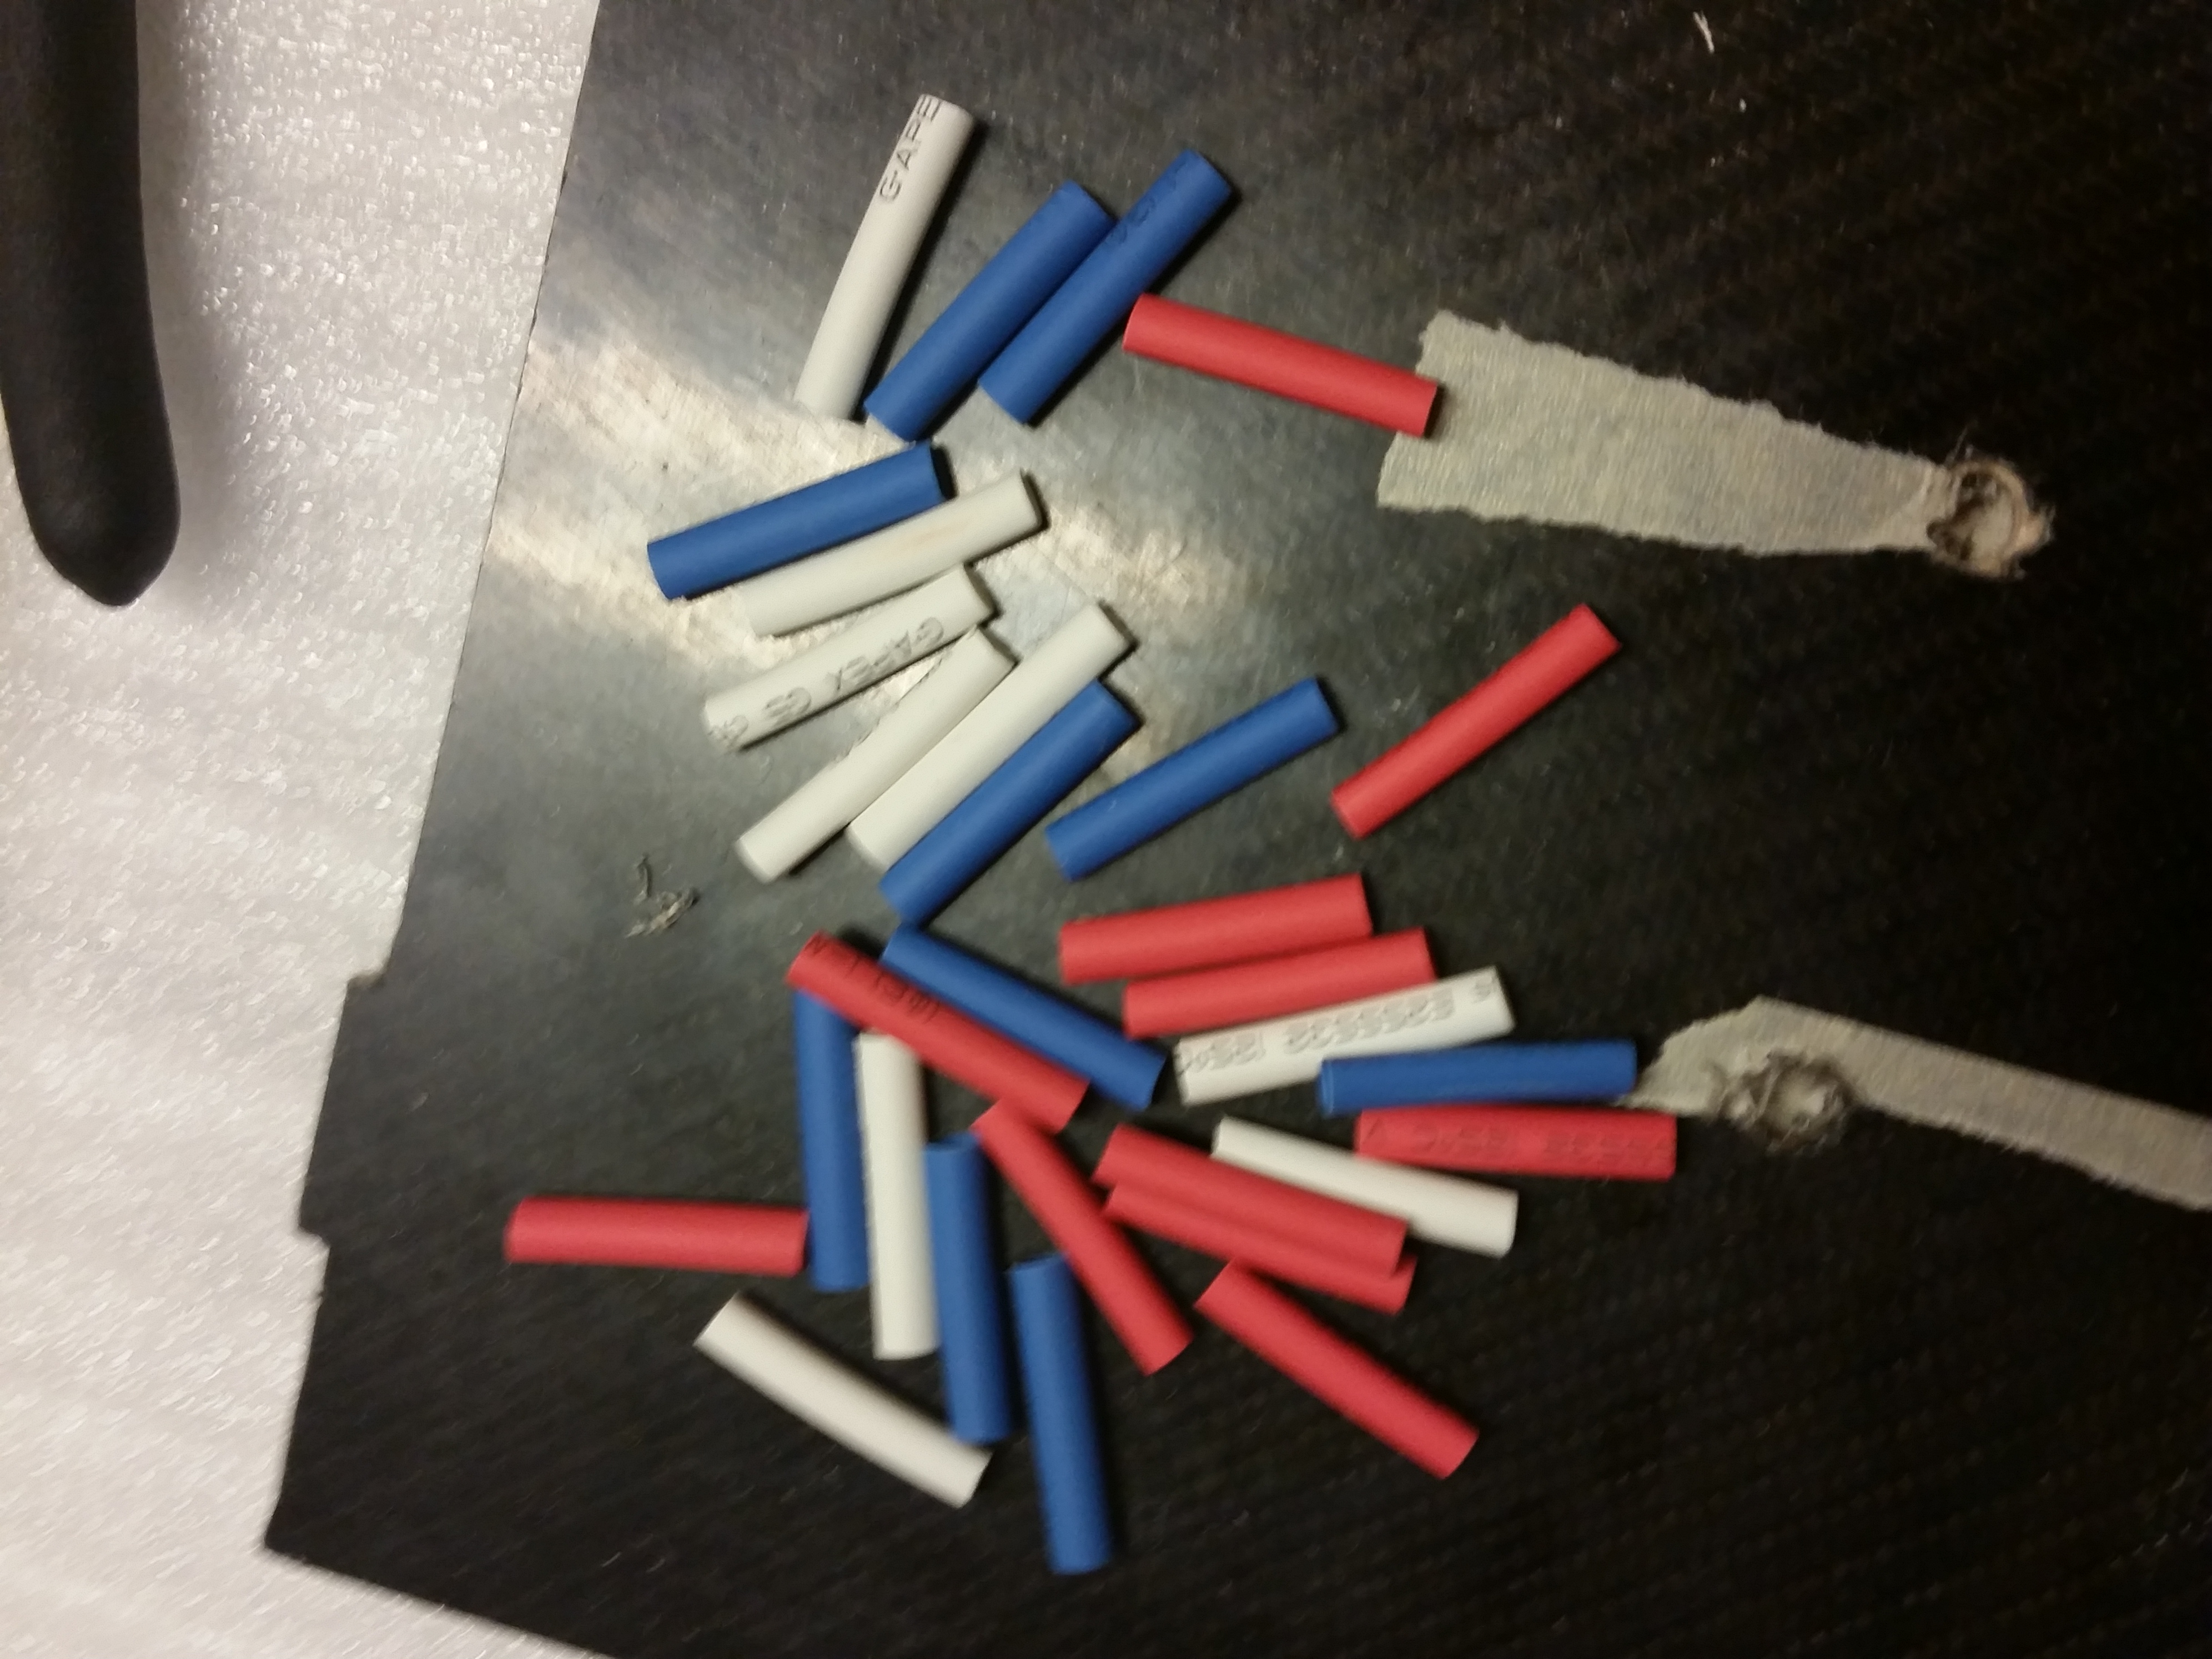
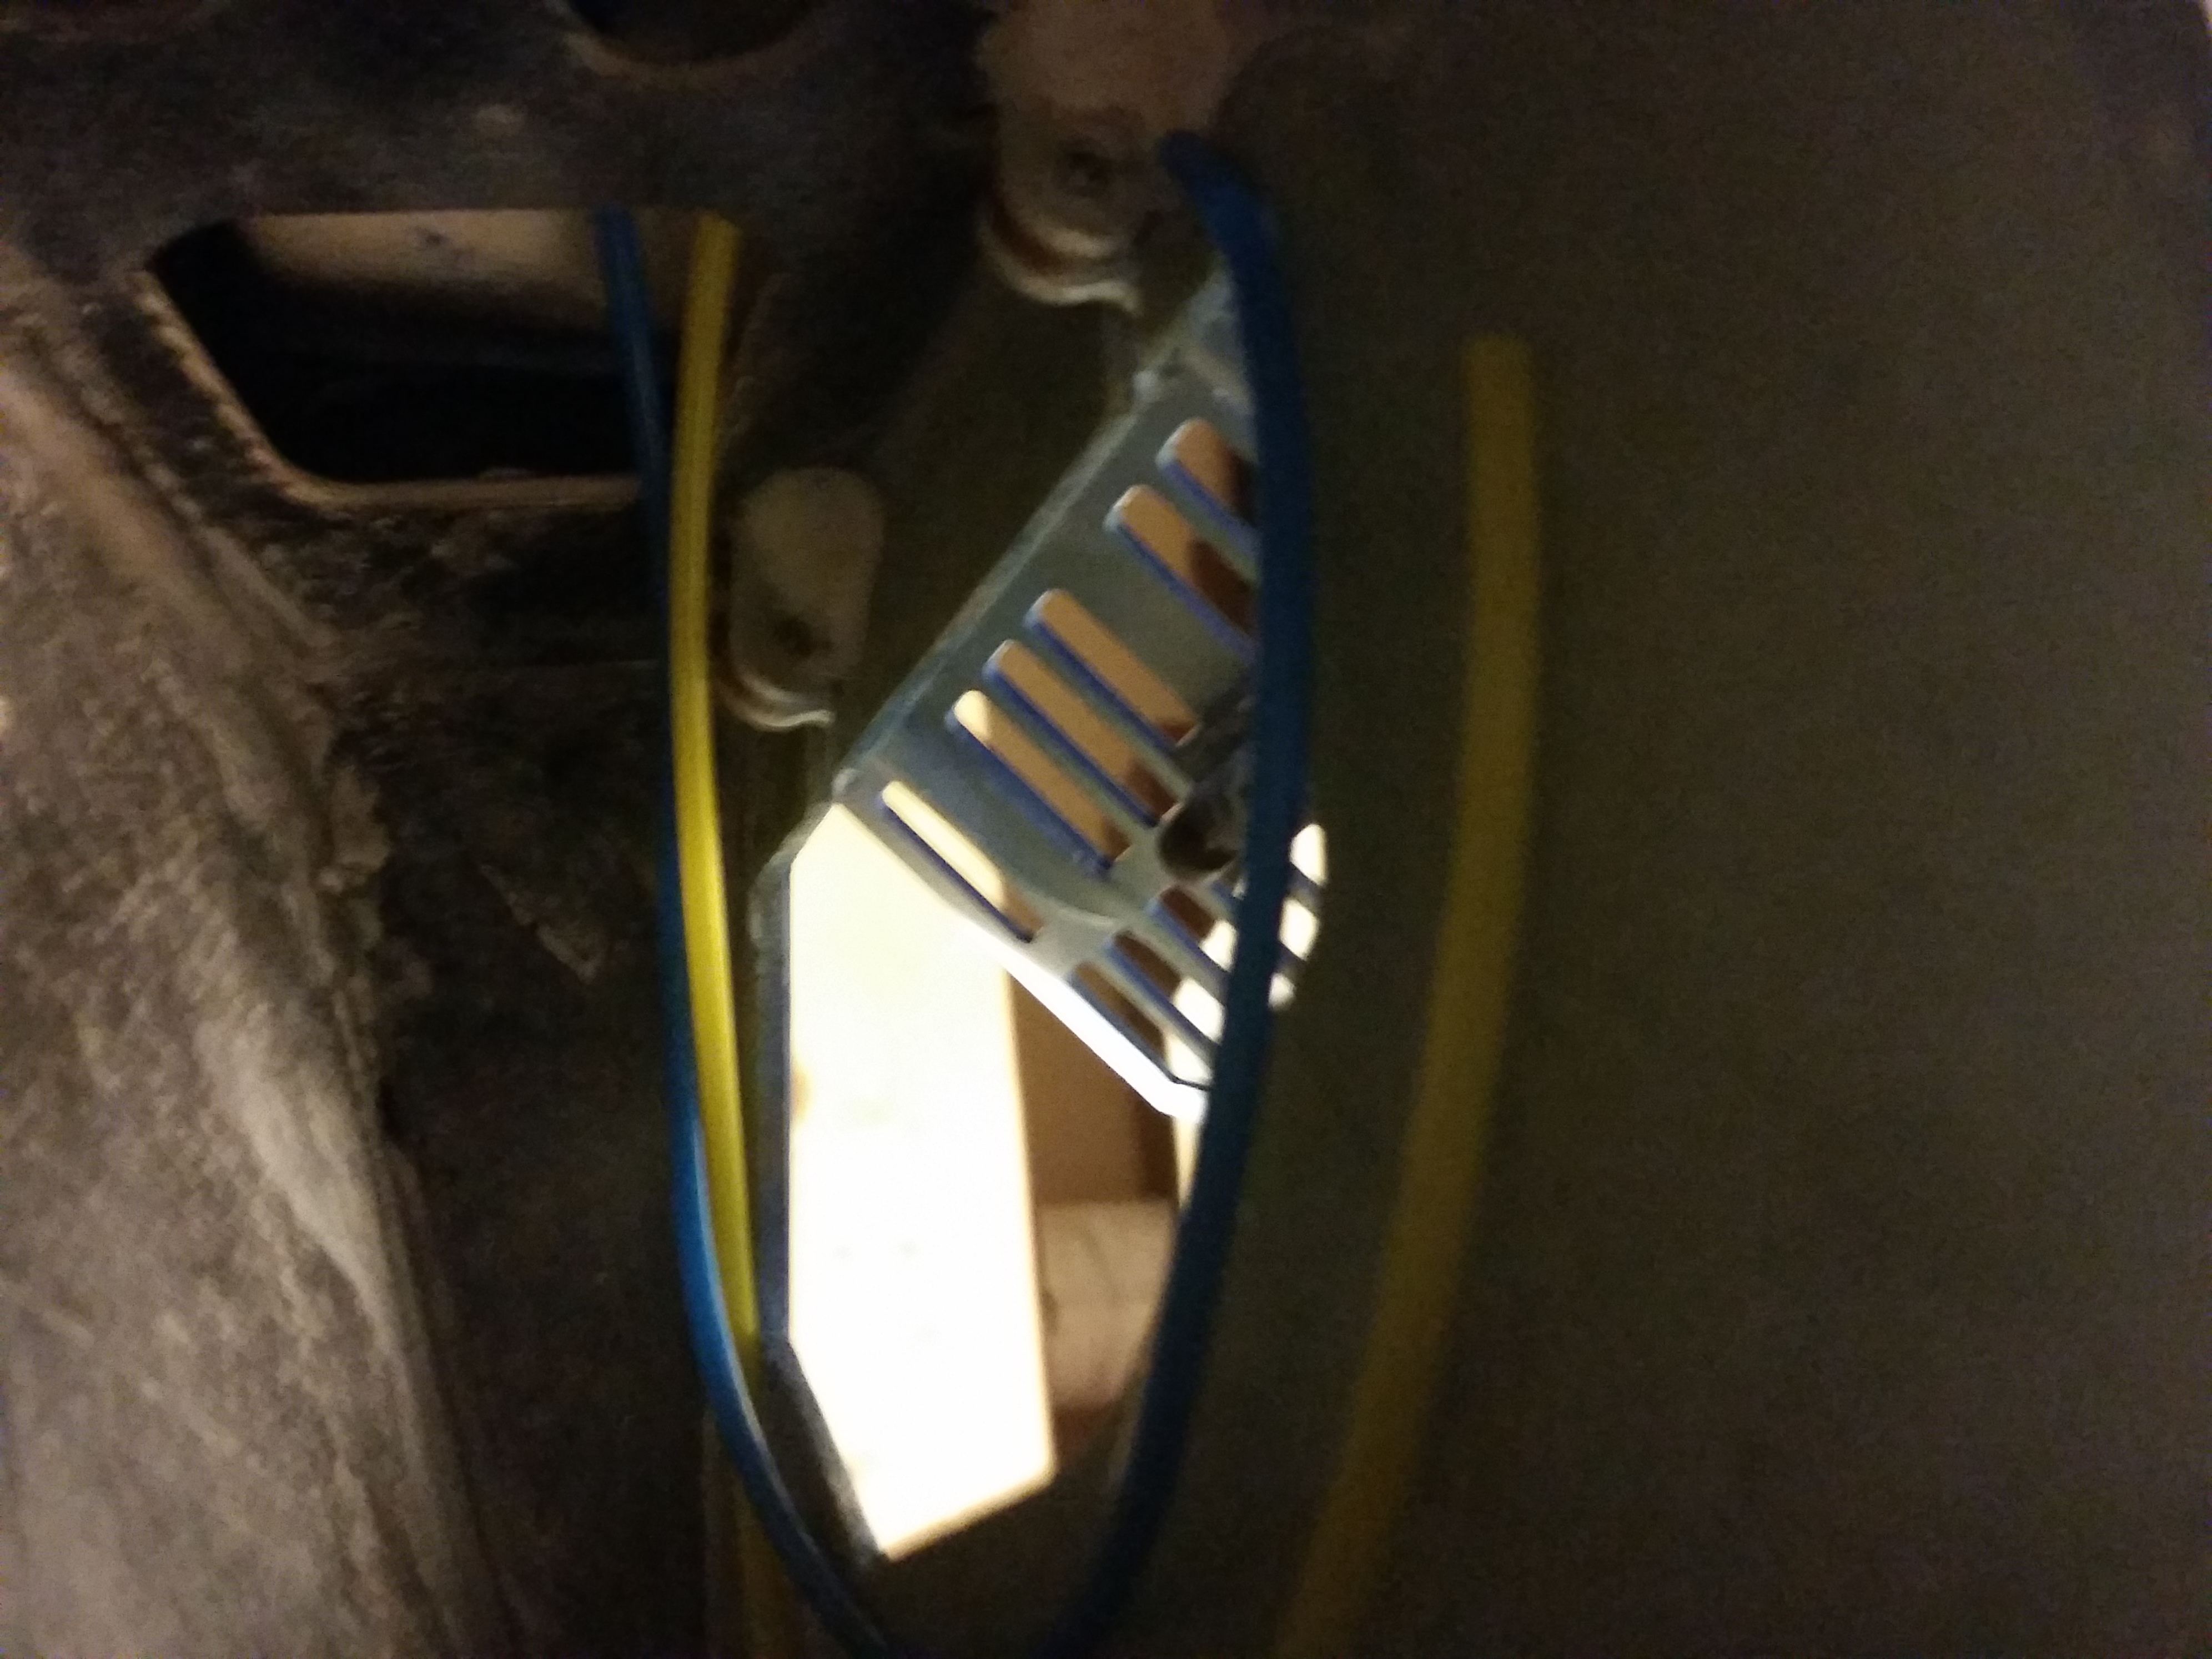
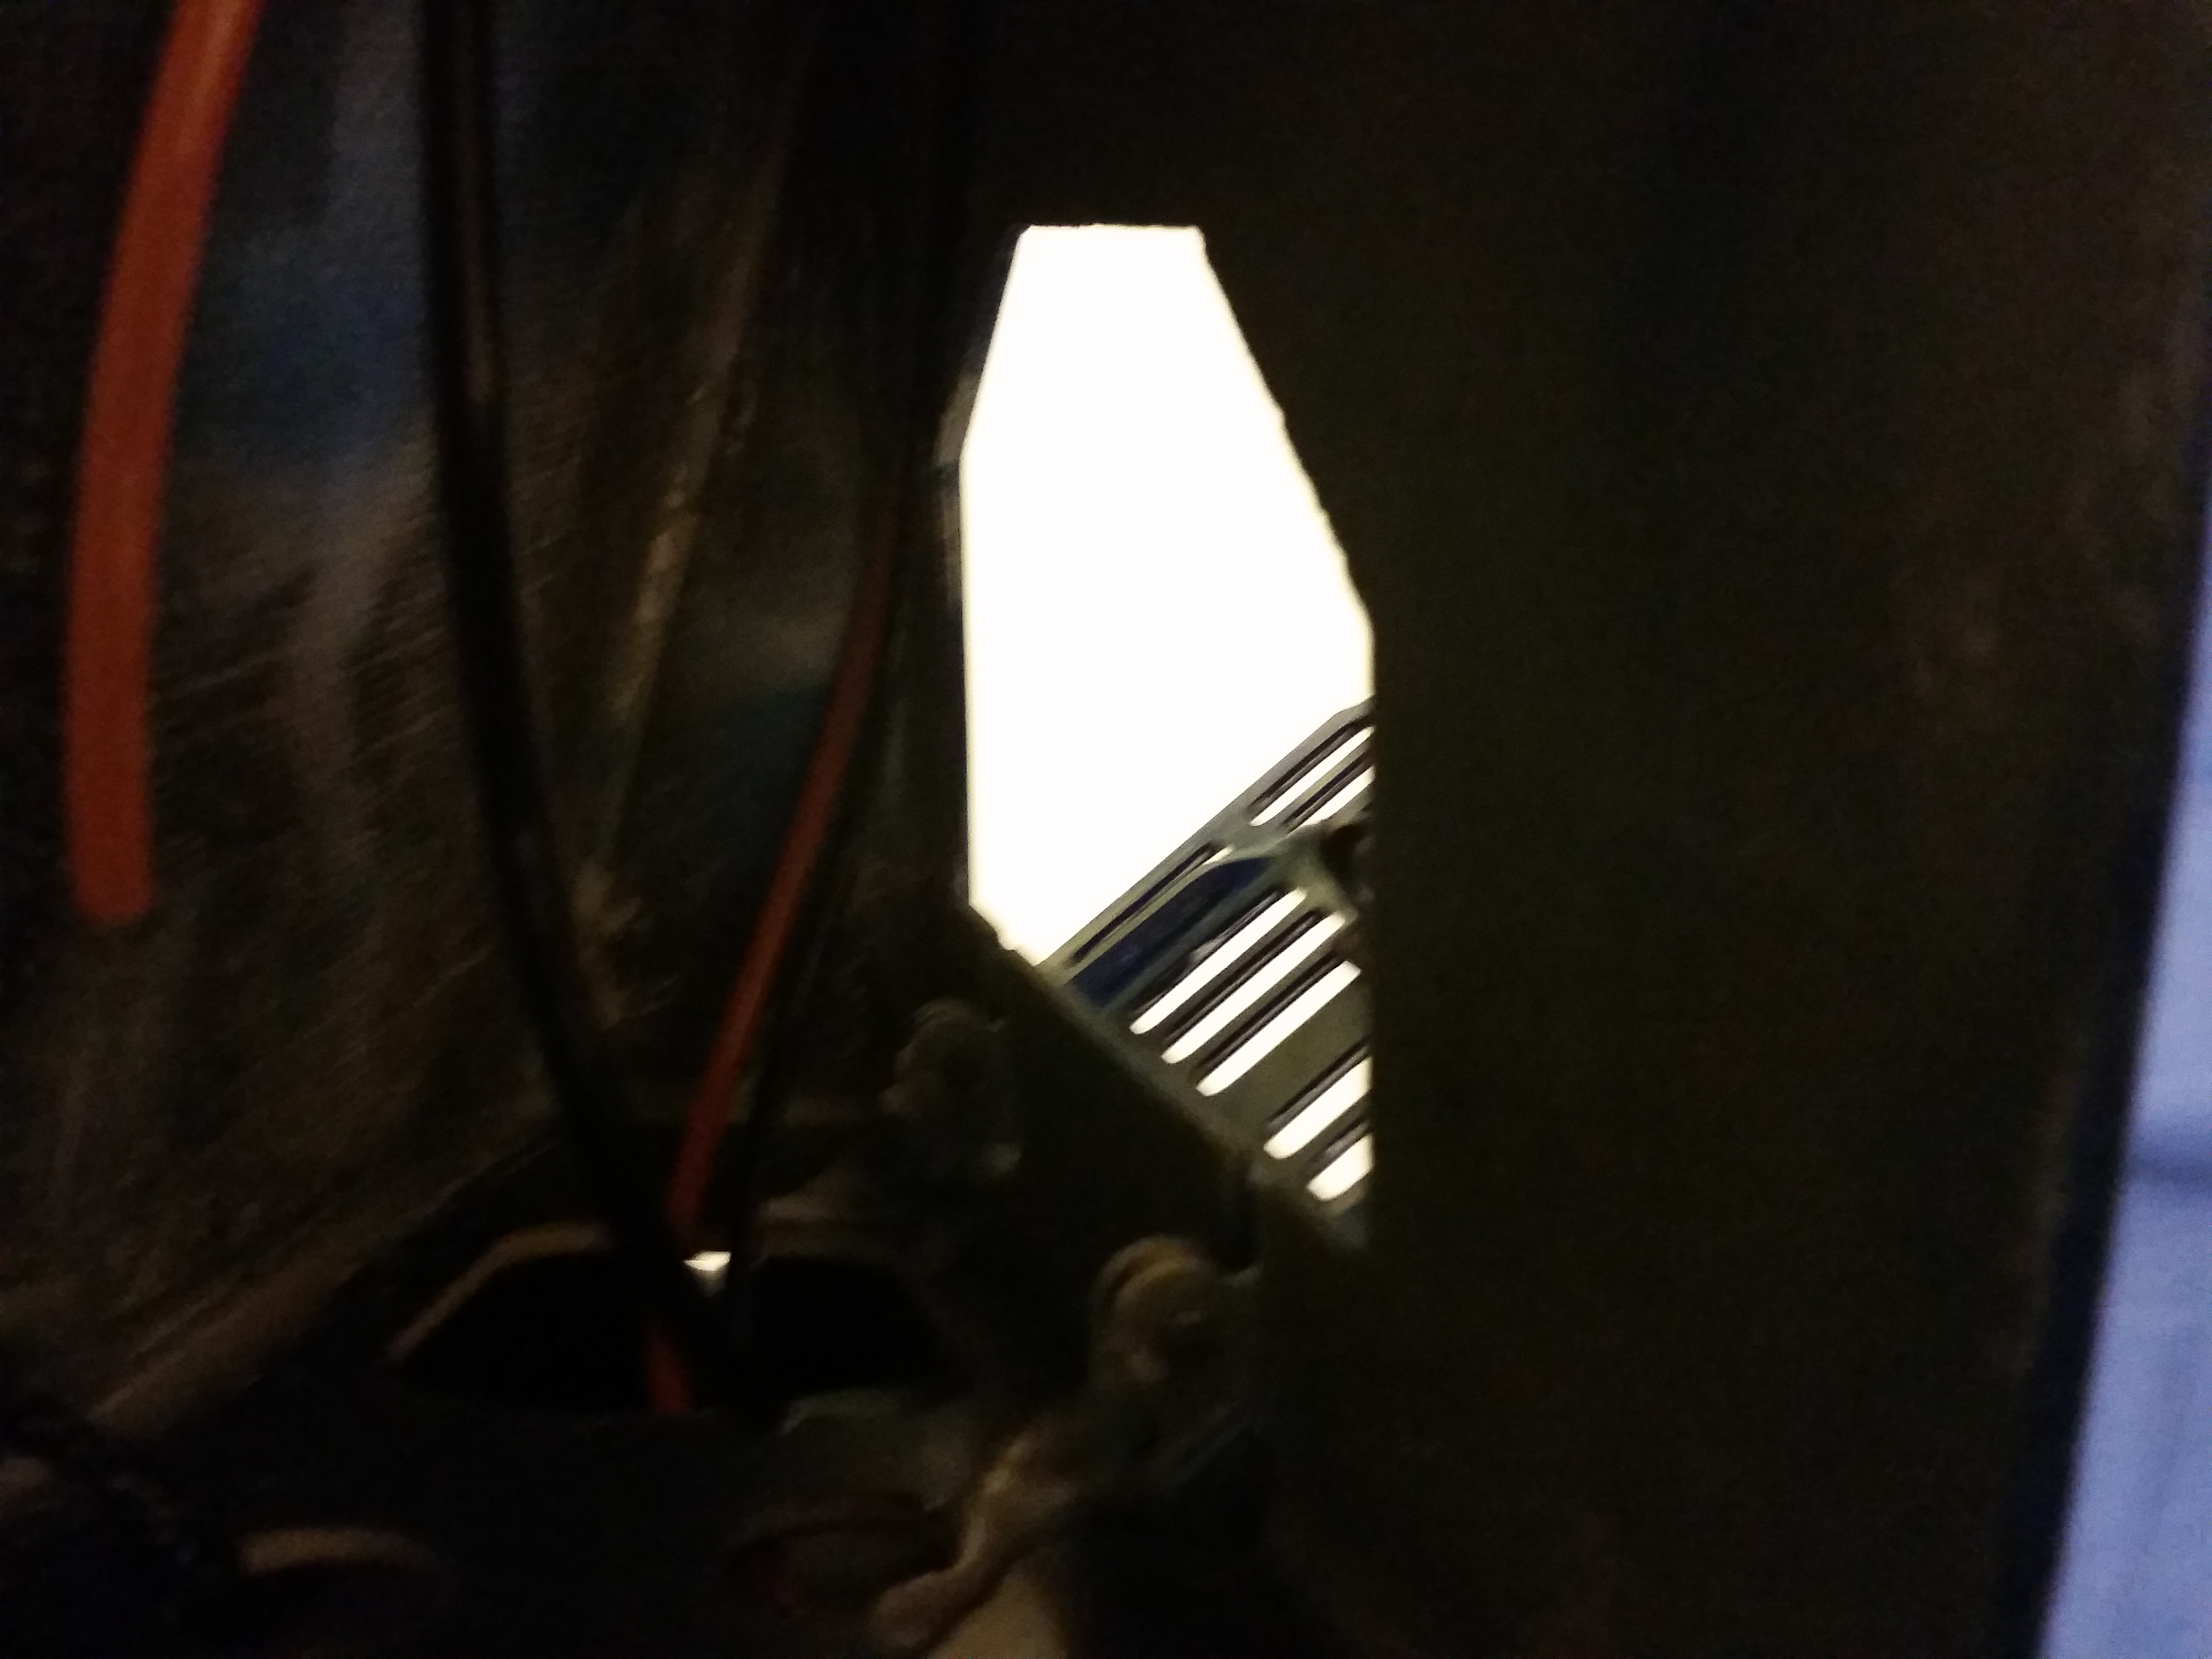
So here are a few more pictures of what I have done. Currently I am running all airlines, servo wires, and etc. I am trying to keep it as clean as possible. I am trying to figure out if I want to do the bulkhead airline adaptors. or just run the lines over the bulkhead. If I do the adaptors then I will have a total of 7 that will run at the bottom but not sure how big they are in OD that may have issues with the overall structure strength of the bulkheads. Also I am still waiting on wire loom that will be here on the 14th. I have a range in sizes from 1/8 to 3/8 and most of it will be in patriot which is red/white/blue. I will look good with the colors of my fuse. Once I get all the airlines and servo wires ran and put in place, I will start on the fuel tank. I know I need to raise it up a little and level it. But I am trying to figure out what to use to do that. The airlines will be running under the tank so I need to be high enough so that the lines are cleared. In the front fuse I have the lines run and clean. I have T adaptors on them so that it runs to the back and from the T's to the valves.

03-09-2016 | 12:47 AM
#47
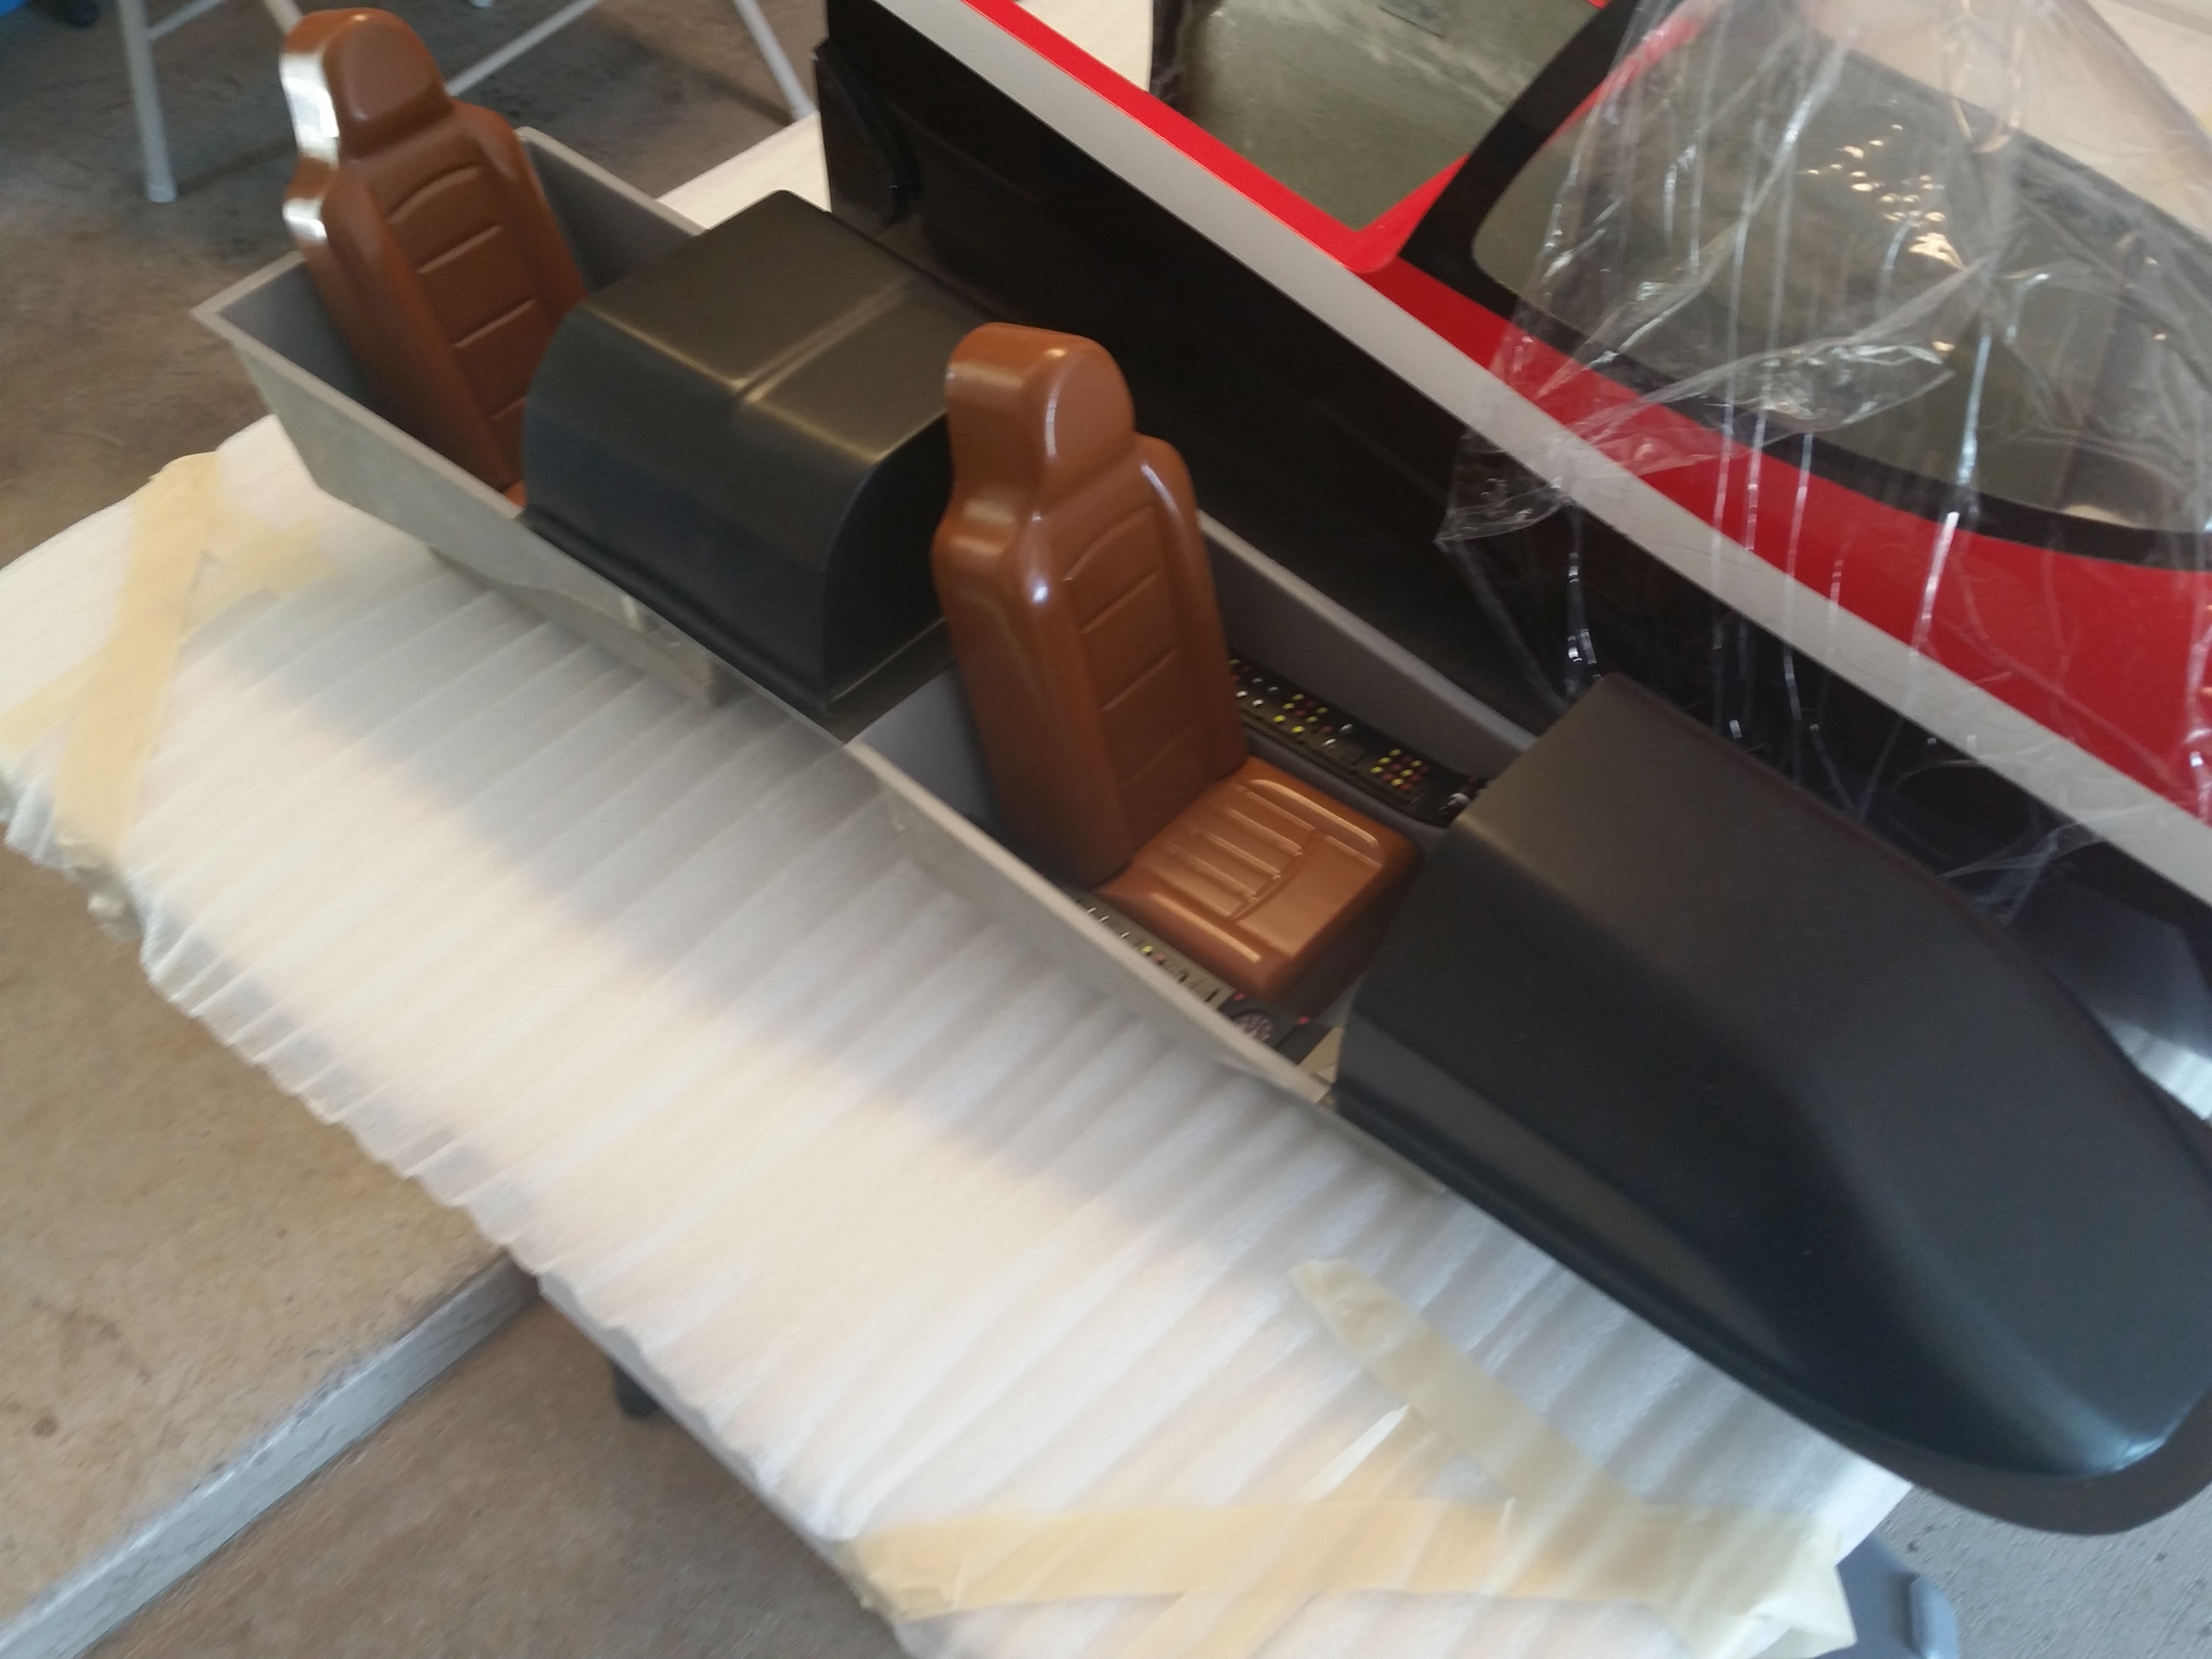
So after having a discussion with Keith " FenderBean" which is also putting together a FB Viper and talking with FB, " DO NOT CUT YOUR COCKPIT INTO PIECES". I am sure most of you already know that but it was a rookie mistake that I did and shouldn't have. On the front of the fuse, cut the thin rail or fiberglass off. It may look like its providing support but it is meant to be cut off. Also on the rear fuse where the second cockpit bucket goes, cut away enough of the lip away were the two halves meet so it will slide in. The cockpit will look like its too long between the two but that's why you cut the front strip off and sand were needed so that the front of the cockpit slides into the very front parts of the fuse. I cant show you current what I am talking about until I get a new cockpit. but I will post pics of the fuse cuts to ensure the cockpit fits. I am hoping that the on Monday I will have more parts in. I would like to complete the airlines, and wiring up to the point for connections to my CB. I am still on the fence on how I want to run the airlines from the rear fuse to the front. I have the airlines installed to the point that they are hanging out of the front side of the rear fuse but I am not sure if I want to put though bulkhead fittings in or not. I am hoping that someone on here can chime in and give some advice whether or not this will weaken the bulkhead. There will be 7 that I will need.
Last edited by JoeJr1485; 03-12-2016 at 11:25 PM.
03-09-2016 | 06:23 AM
#48
Hey joe I am still planning to trim the front section of the front seat bucket. I plan to mount the front dash(black piece) in the front and it will stay in the jet with the cockpit off. Depending on how you trimmed it you may be able to save your cockpit. You are correct the instructions show sliding the front piece into a slot when you install the canopy. This just seems like a lot of wear and tear on very brittle parts.
03-09-2016 | 10:14 AM
#49
Hey joe I am still planning to trim the front section of the front seat bucket. I plan to mount the front dash(black piece) in the front and it will stay in the jet with the cockpit off. Depending on how you trimmed it you may be able to save your cockpit. You are correct the instructions show sliding the front piece into a slot when you install the canopy. This just seems like a lot of wear and tear on very brittle parts.
03-12-2016 | 11:41 PM
#50
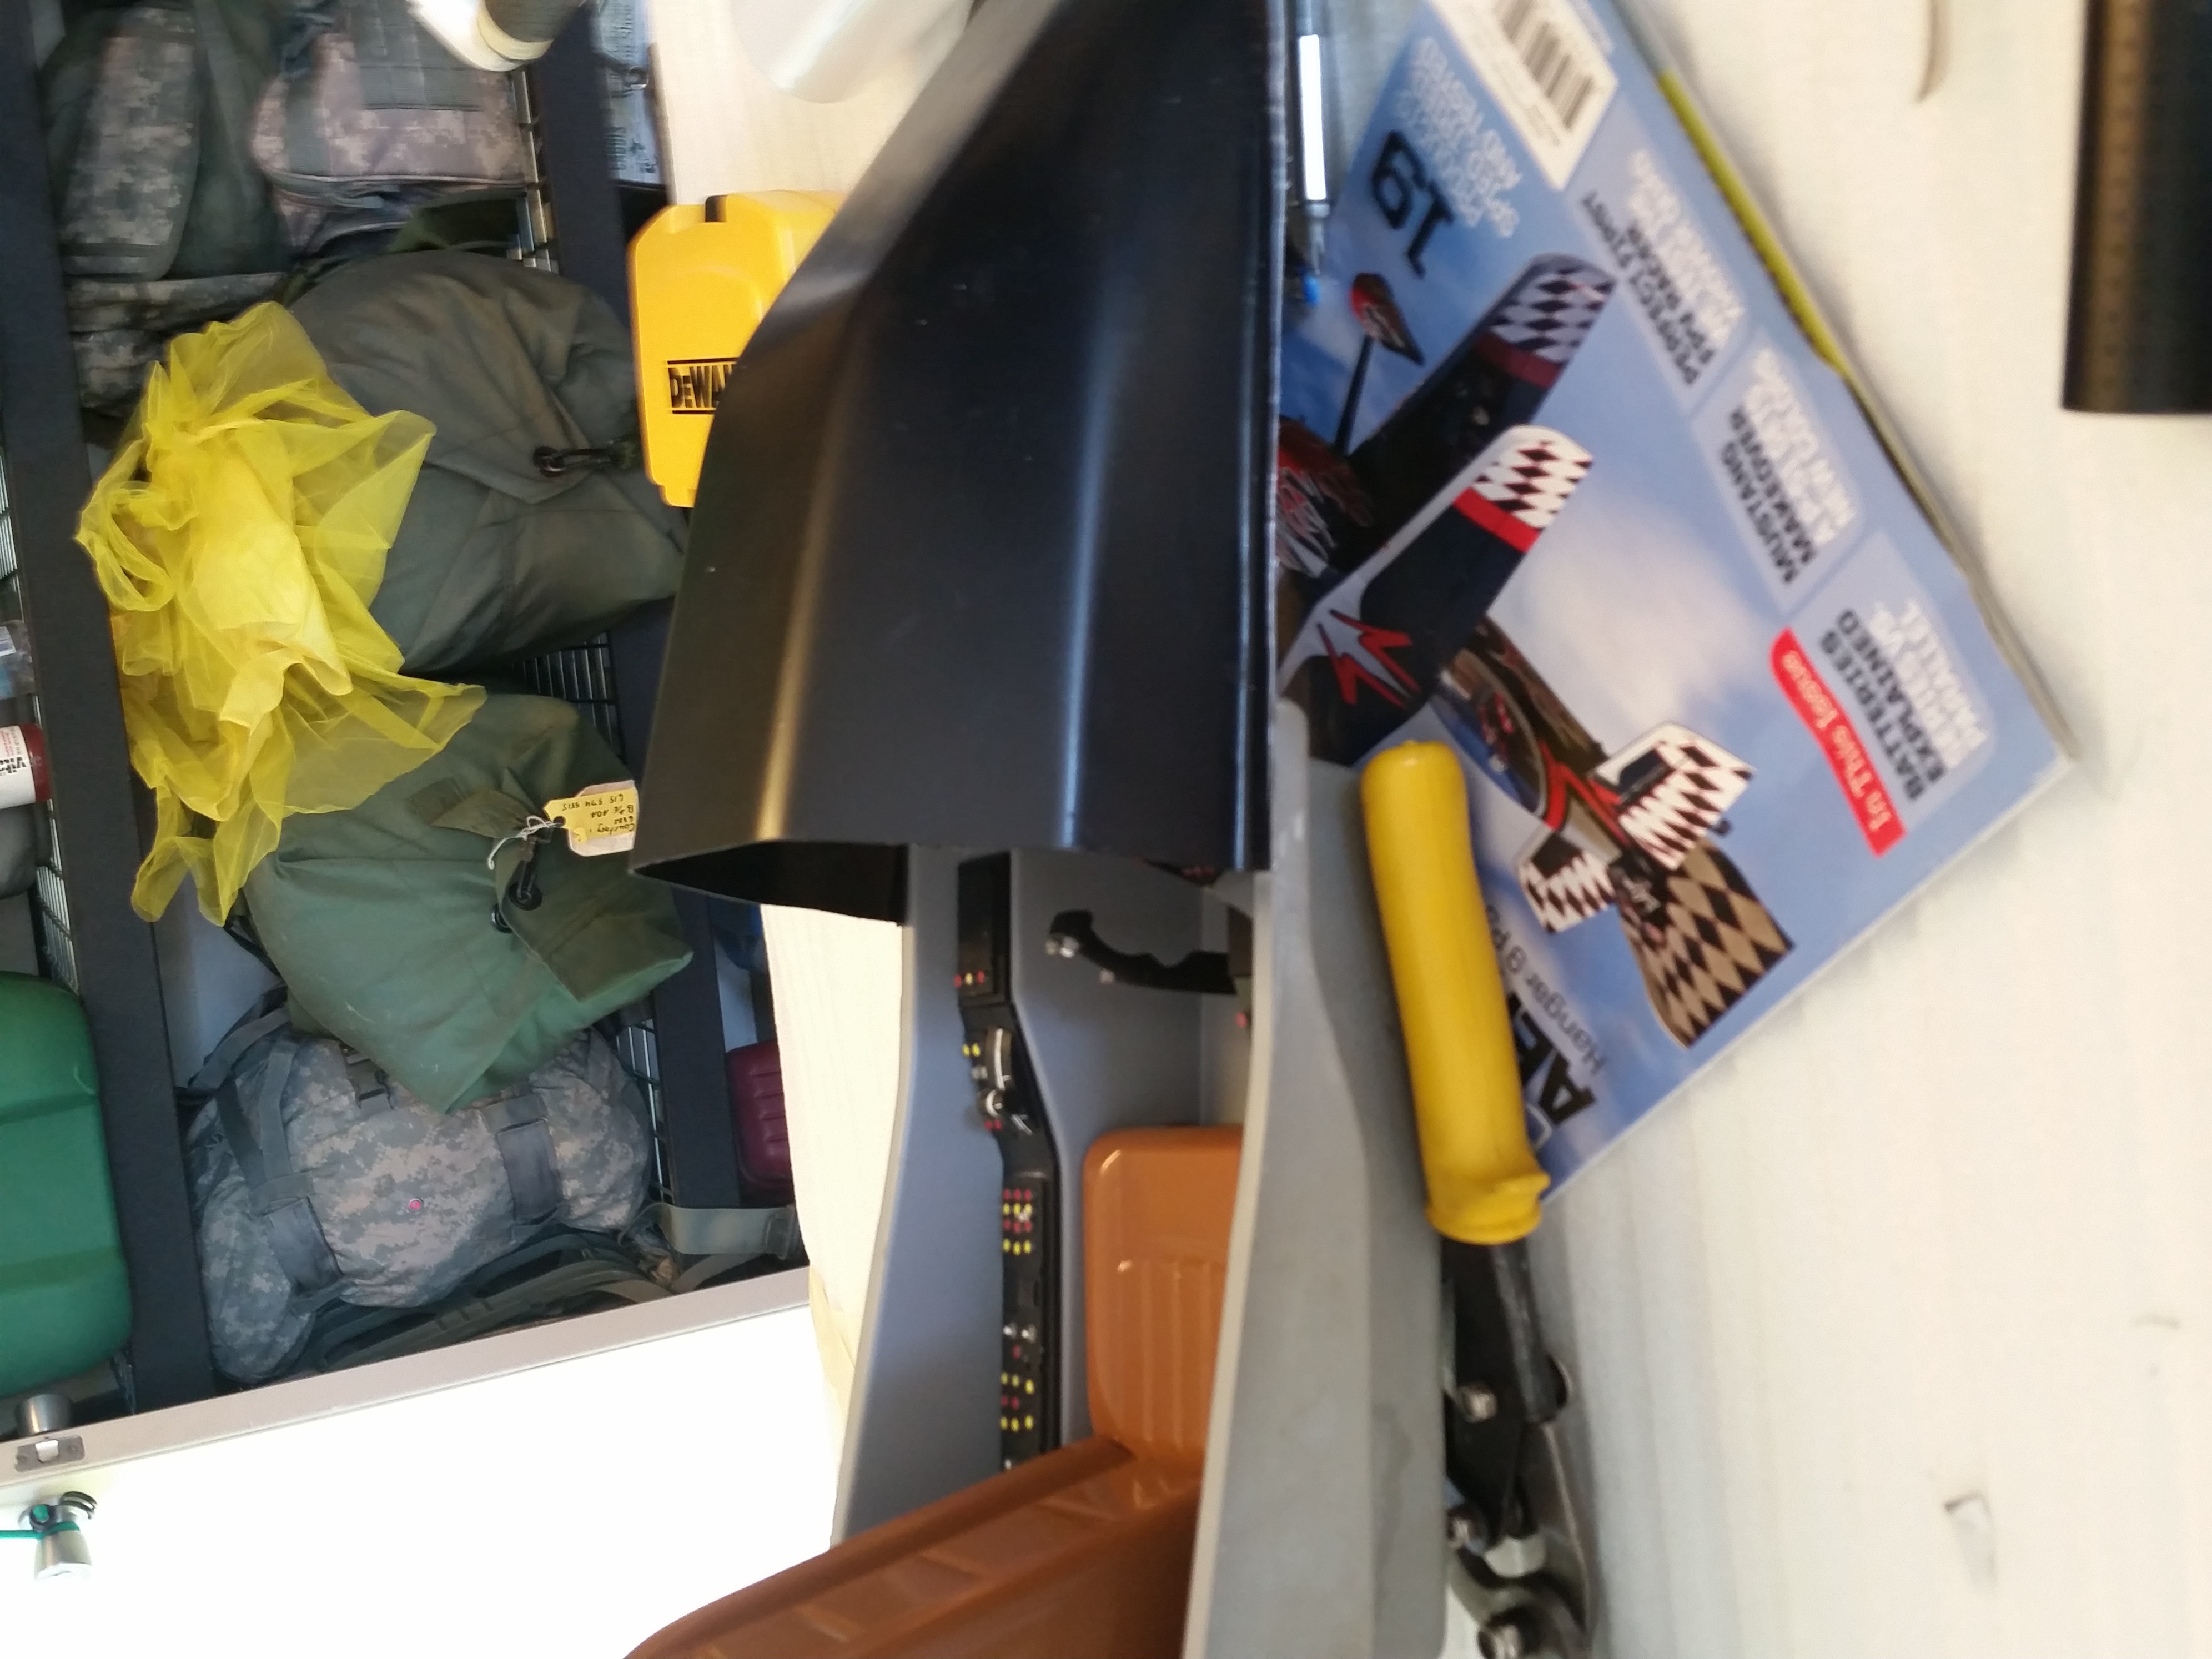
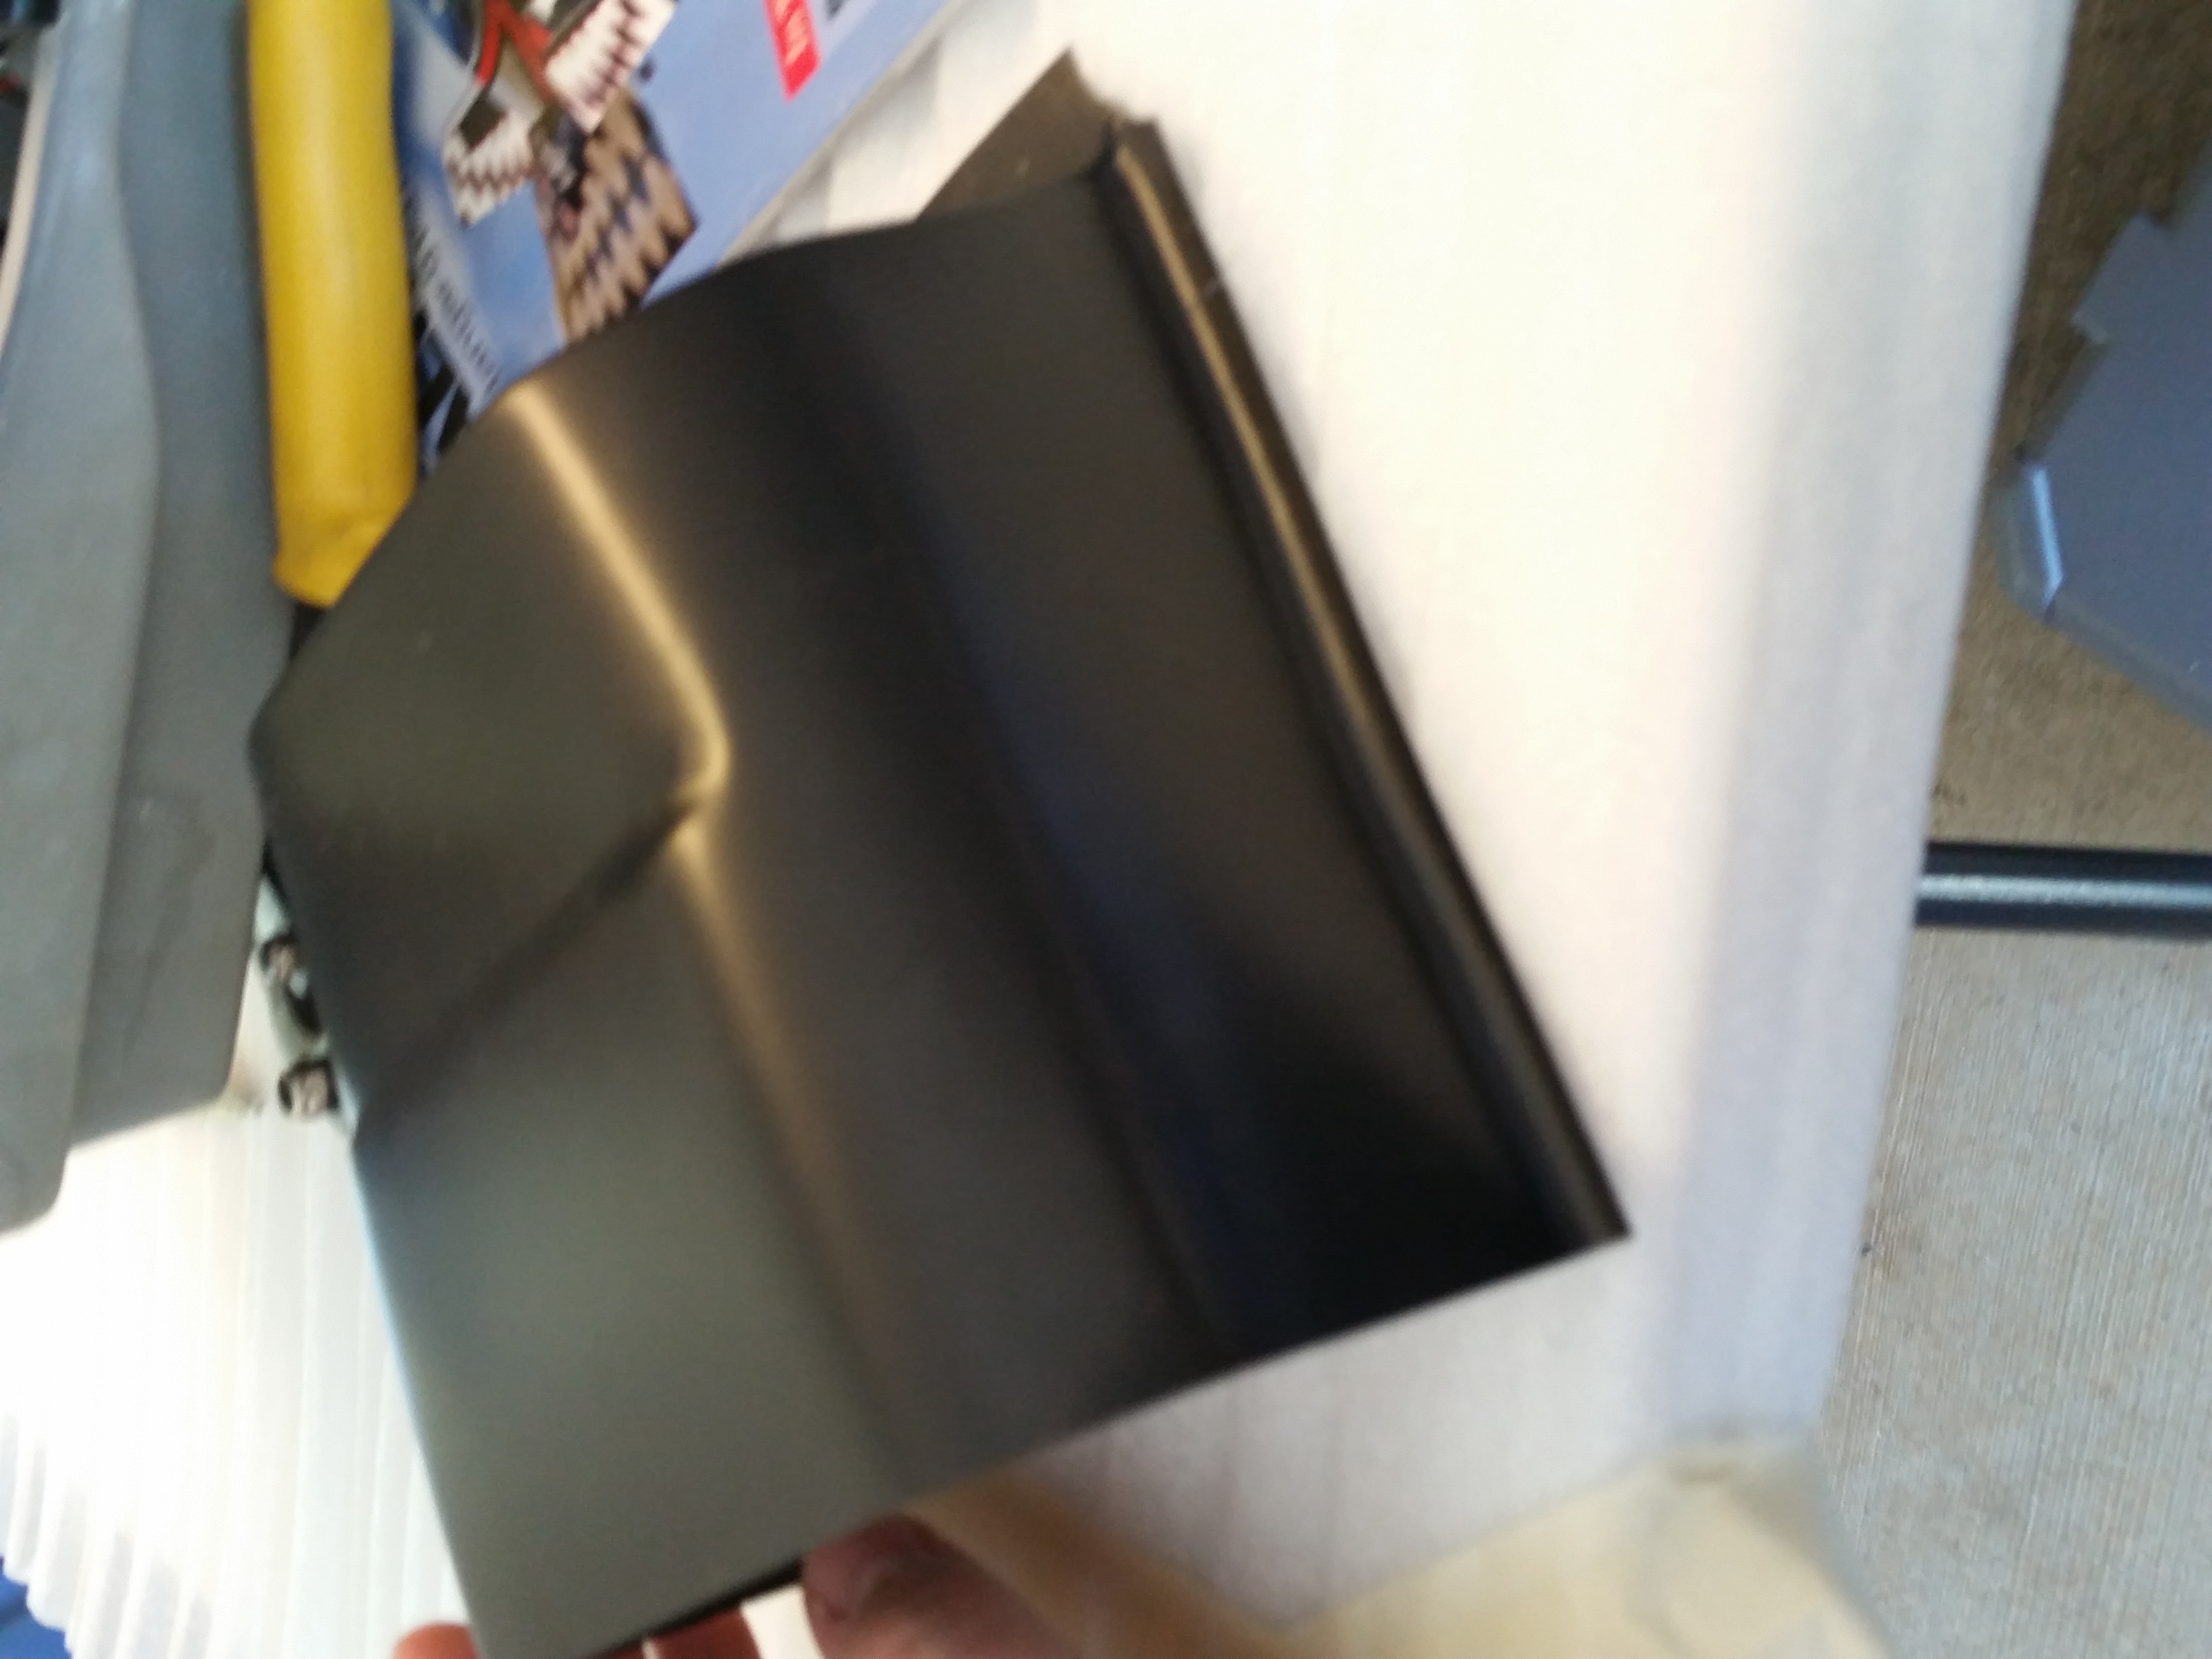
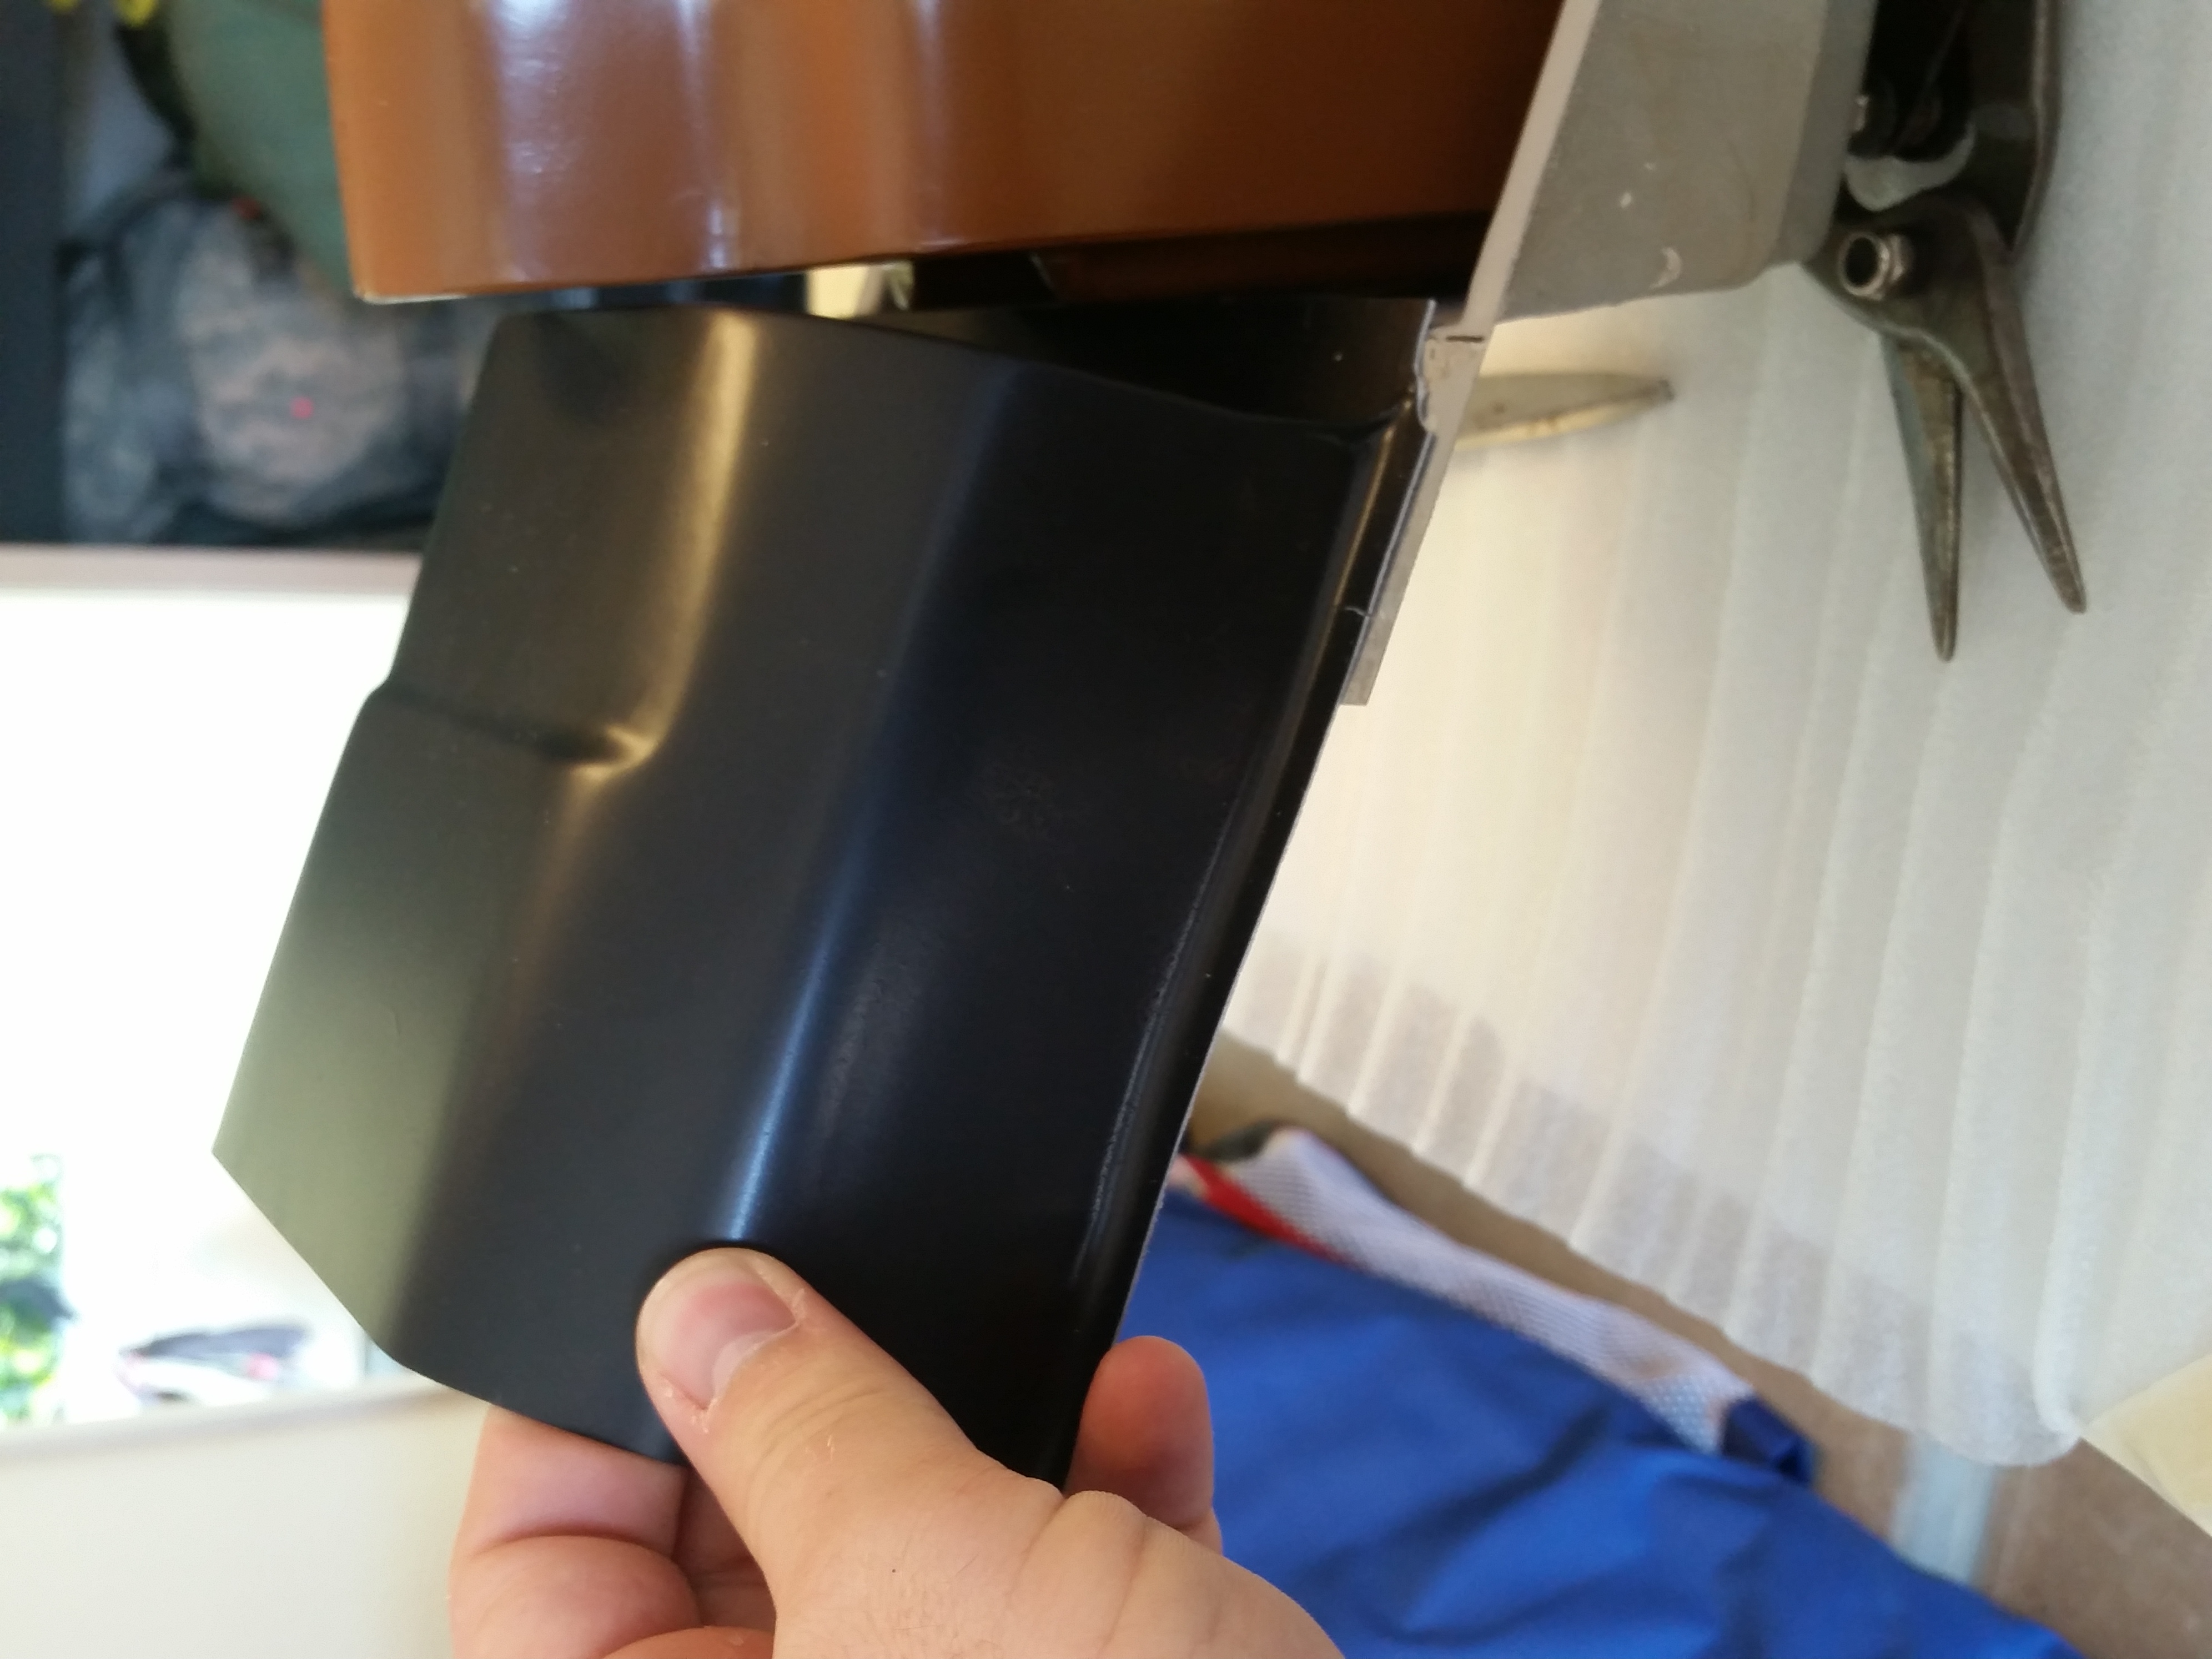
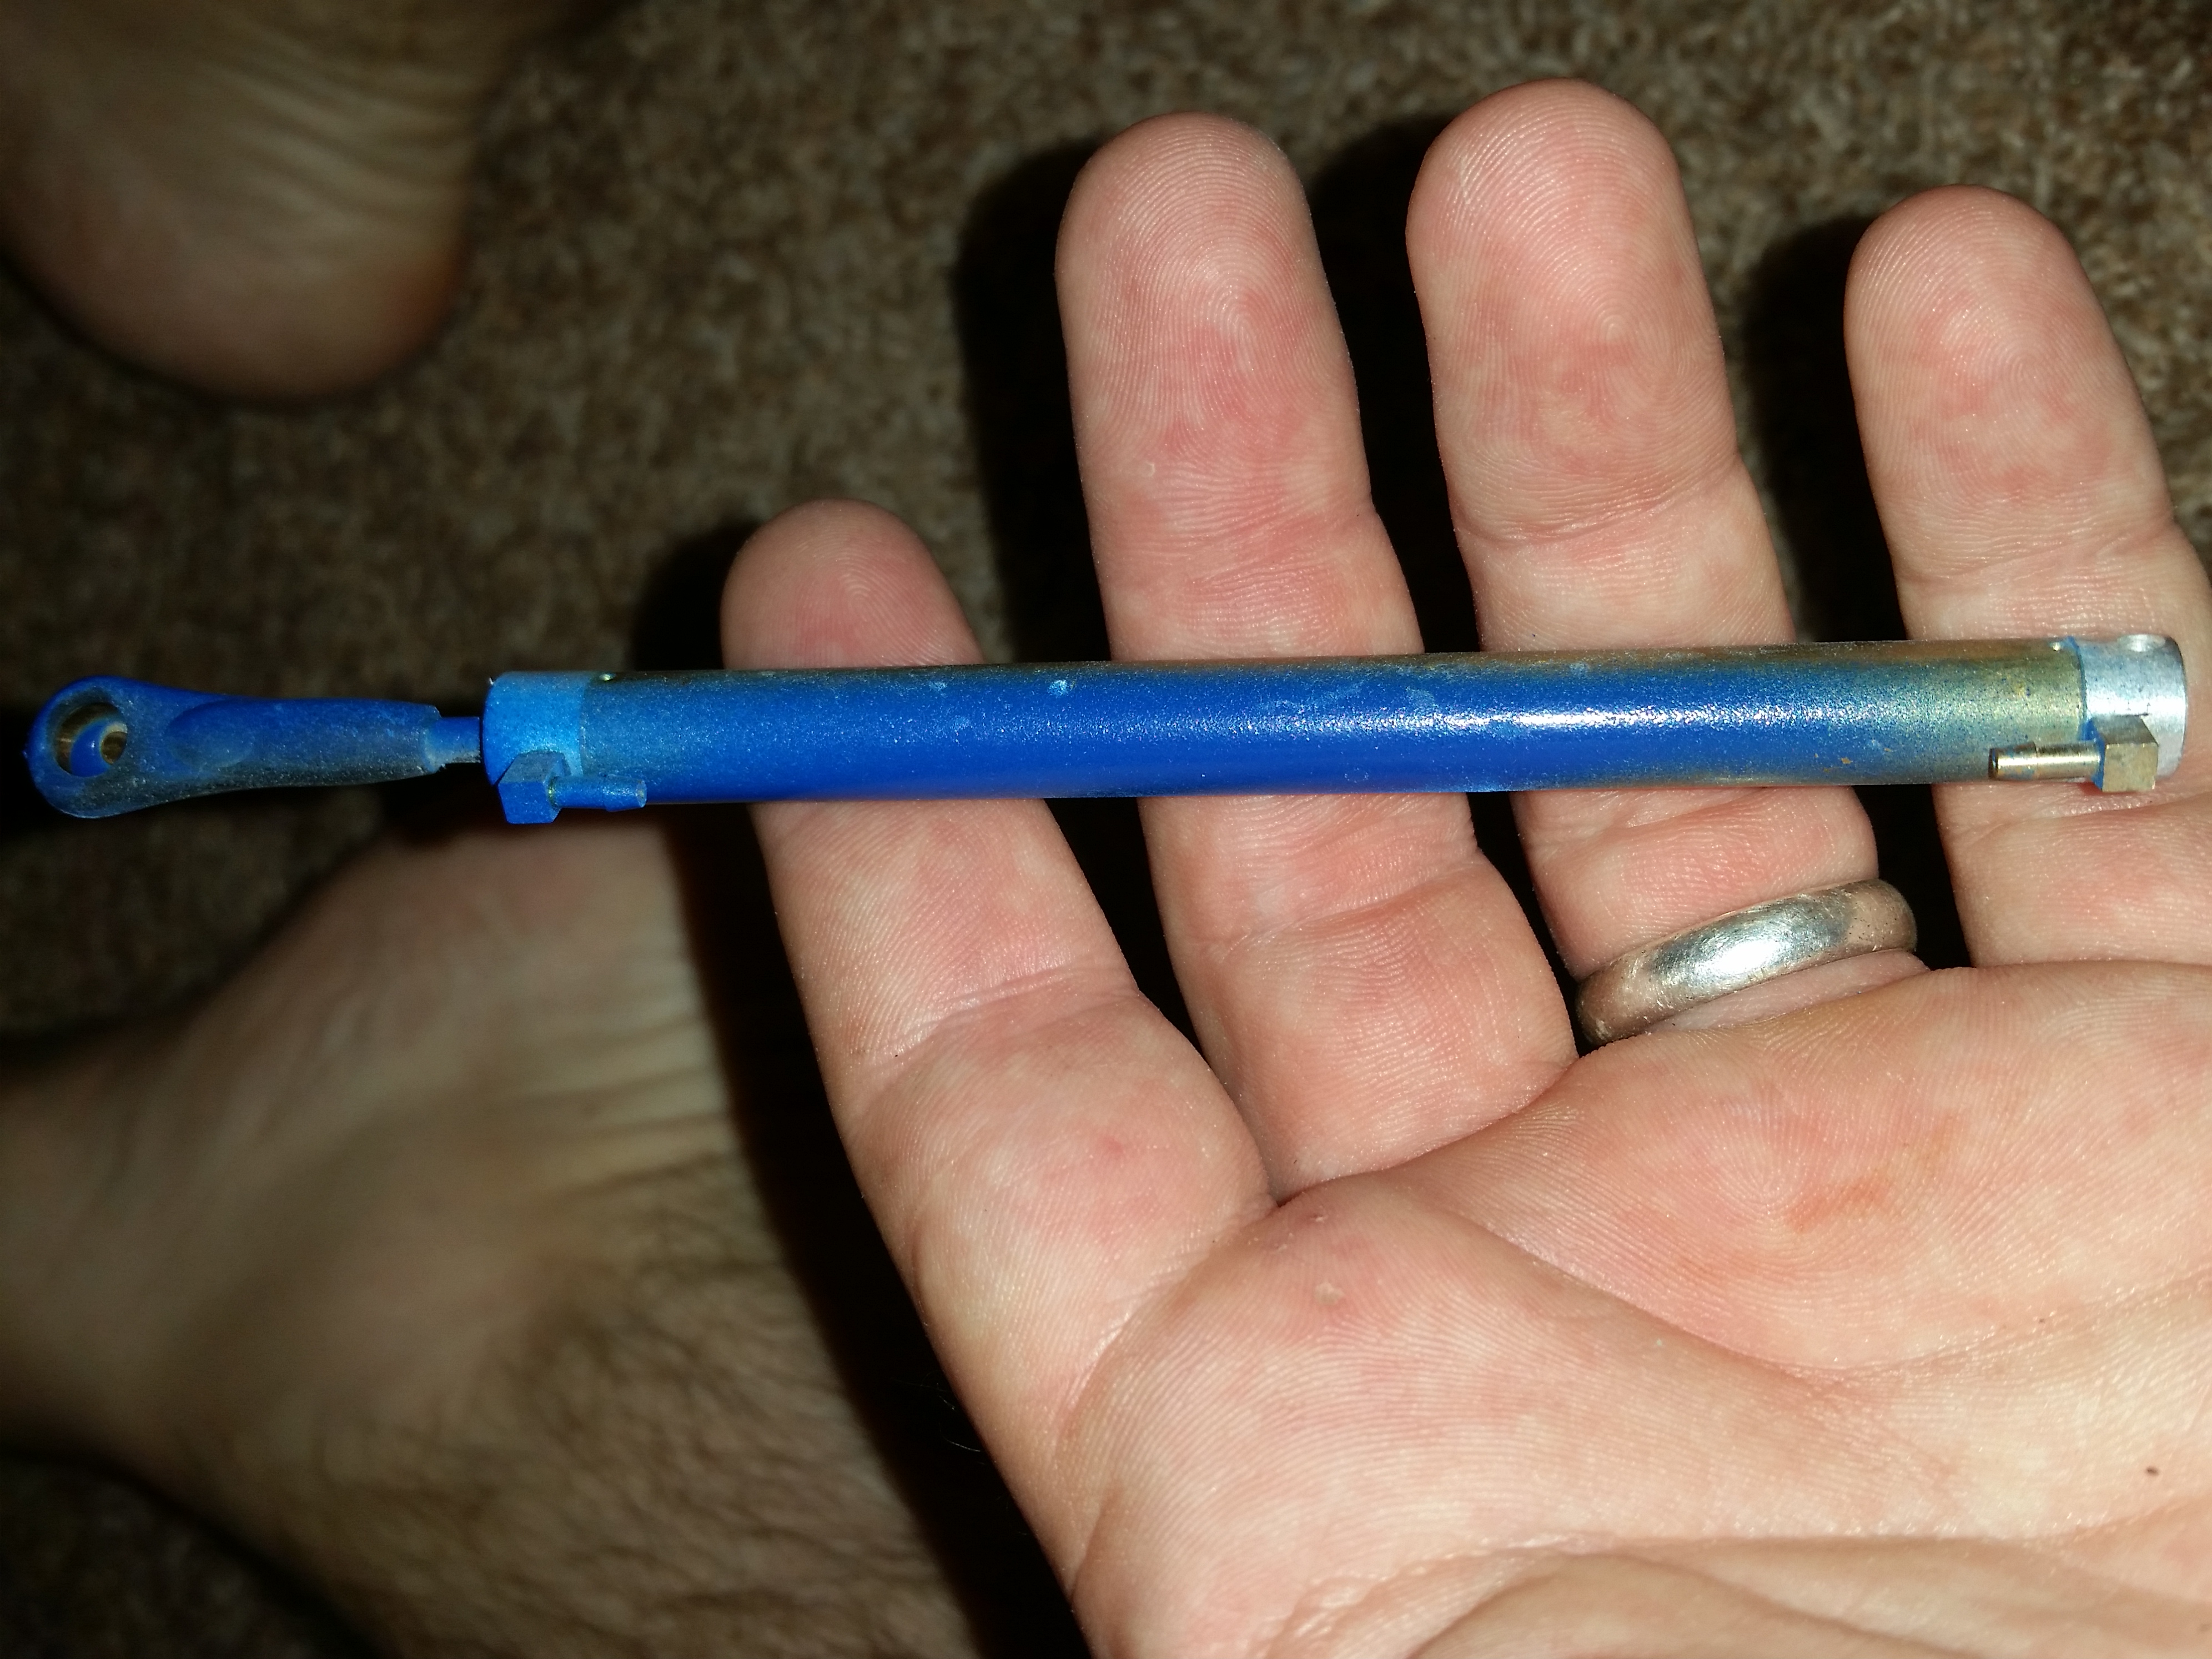
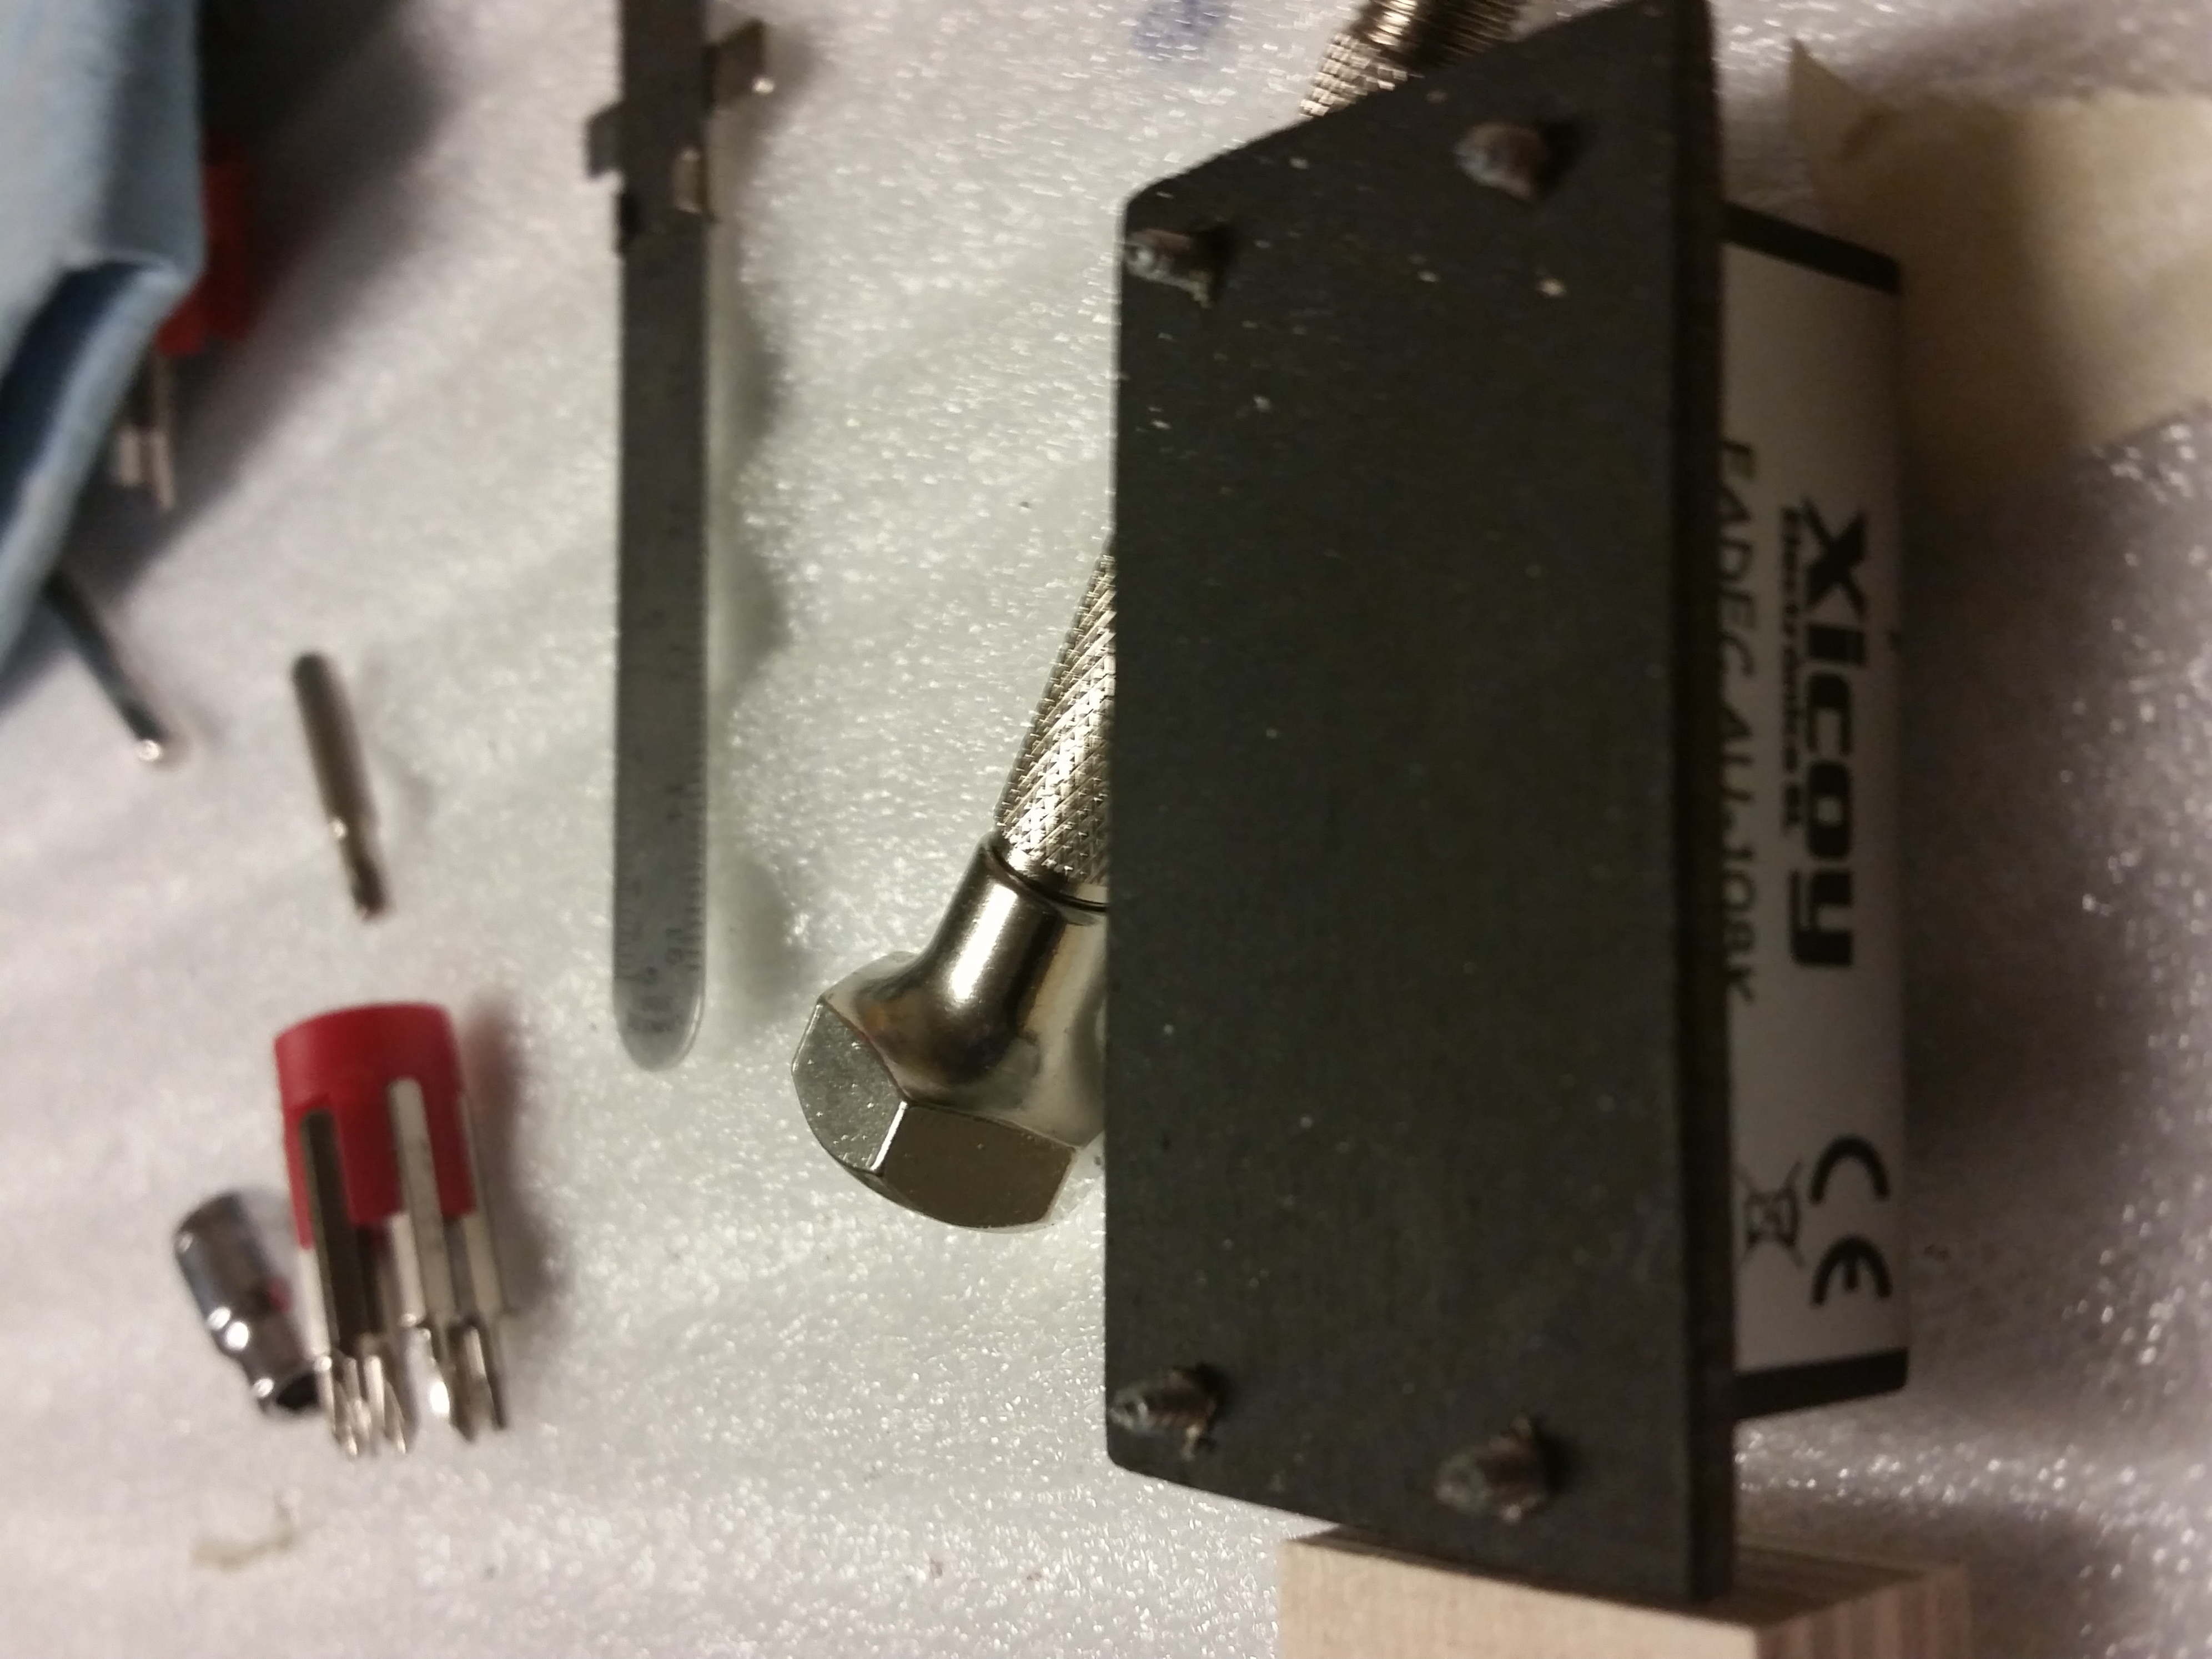
I have a few more things done. So I ordered the mini bulkhead fittings from DreamWorks thinking that they would be a little bigger than what they were so I couldn't use them on how I wanted. What I did instead was cut a piece of 3 ply and drilled the holes for all my airlines. I used hysol to glue it to the rear bottom section of the fuse. I have the tank supports in the bottom with rubber pads from DreamWorks on them. I am working on installing the air cylinders but still have to finish the tray to hold them. On Monday I will have the missing and replacement parts from FB. USPS didn't deliver it today  . My wire loom will also be in on Monday! I am hopping the Esprit Models get a supply of the CB 200's in this week so that I can order one. I also need one more valve for the speed brakes.
I still have to order a new cockpit from FB but that will be at a later date. Here are a few more pictures. I also changed out the airline fittings to the wings.


. My wire loom will also be in on Monday! I am hopping the Esprit Models get a supply of the CB 200's in this week so that I can order one. I also need one more valve for the speed brakes. I still have to order a new cockpit from FB but that will be at a later date. Here are a few more pictures. I also changed out the airline fittings to the wings.
Last edited by JoeJr1485; 03-12-2016 at 11:46 PM.

