


*** Ultra Sport Brotherhood ***
 01-01-2015, 01:04 AM
#2626
Senior Member
My Feedback: (1)
Join Date: Jul 2003
Location: SeaTac - Angle Lake, WA
Posts: 1,057
Likes: 0
Received 0 Likes
on
0 Posts
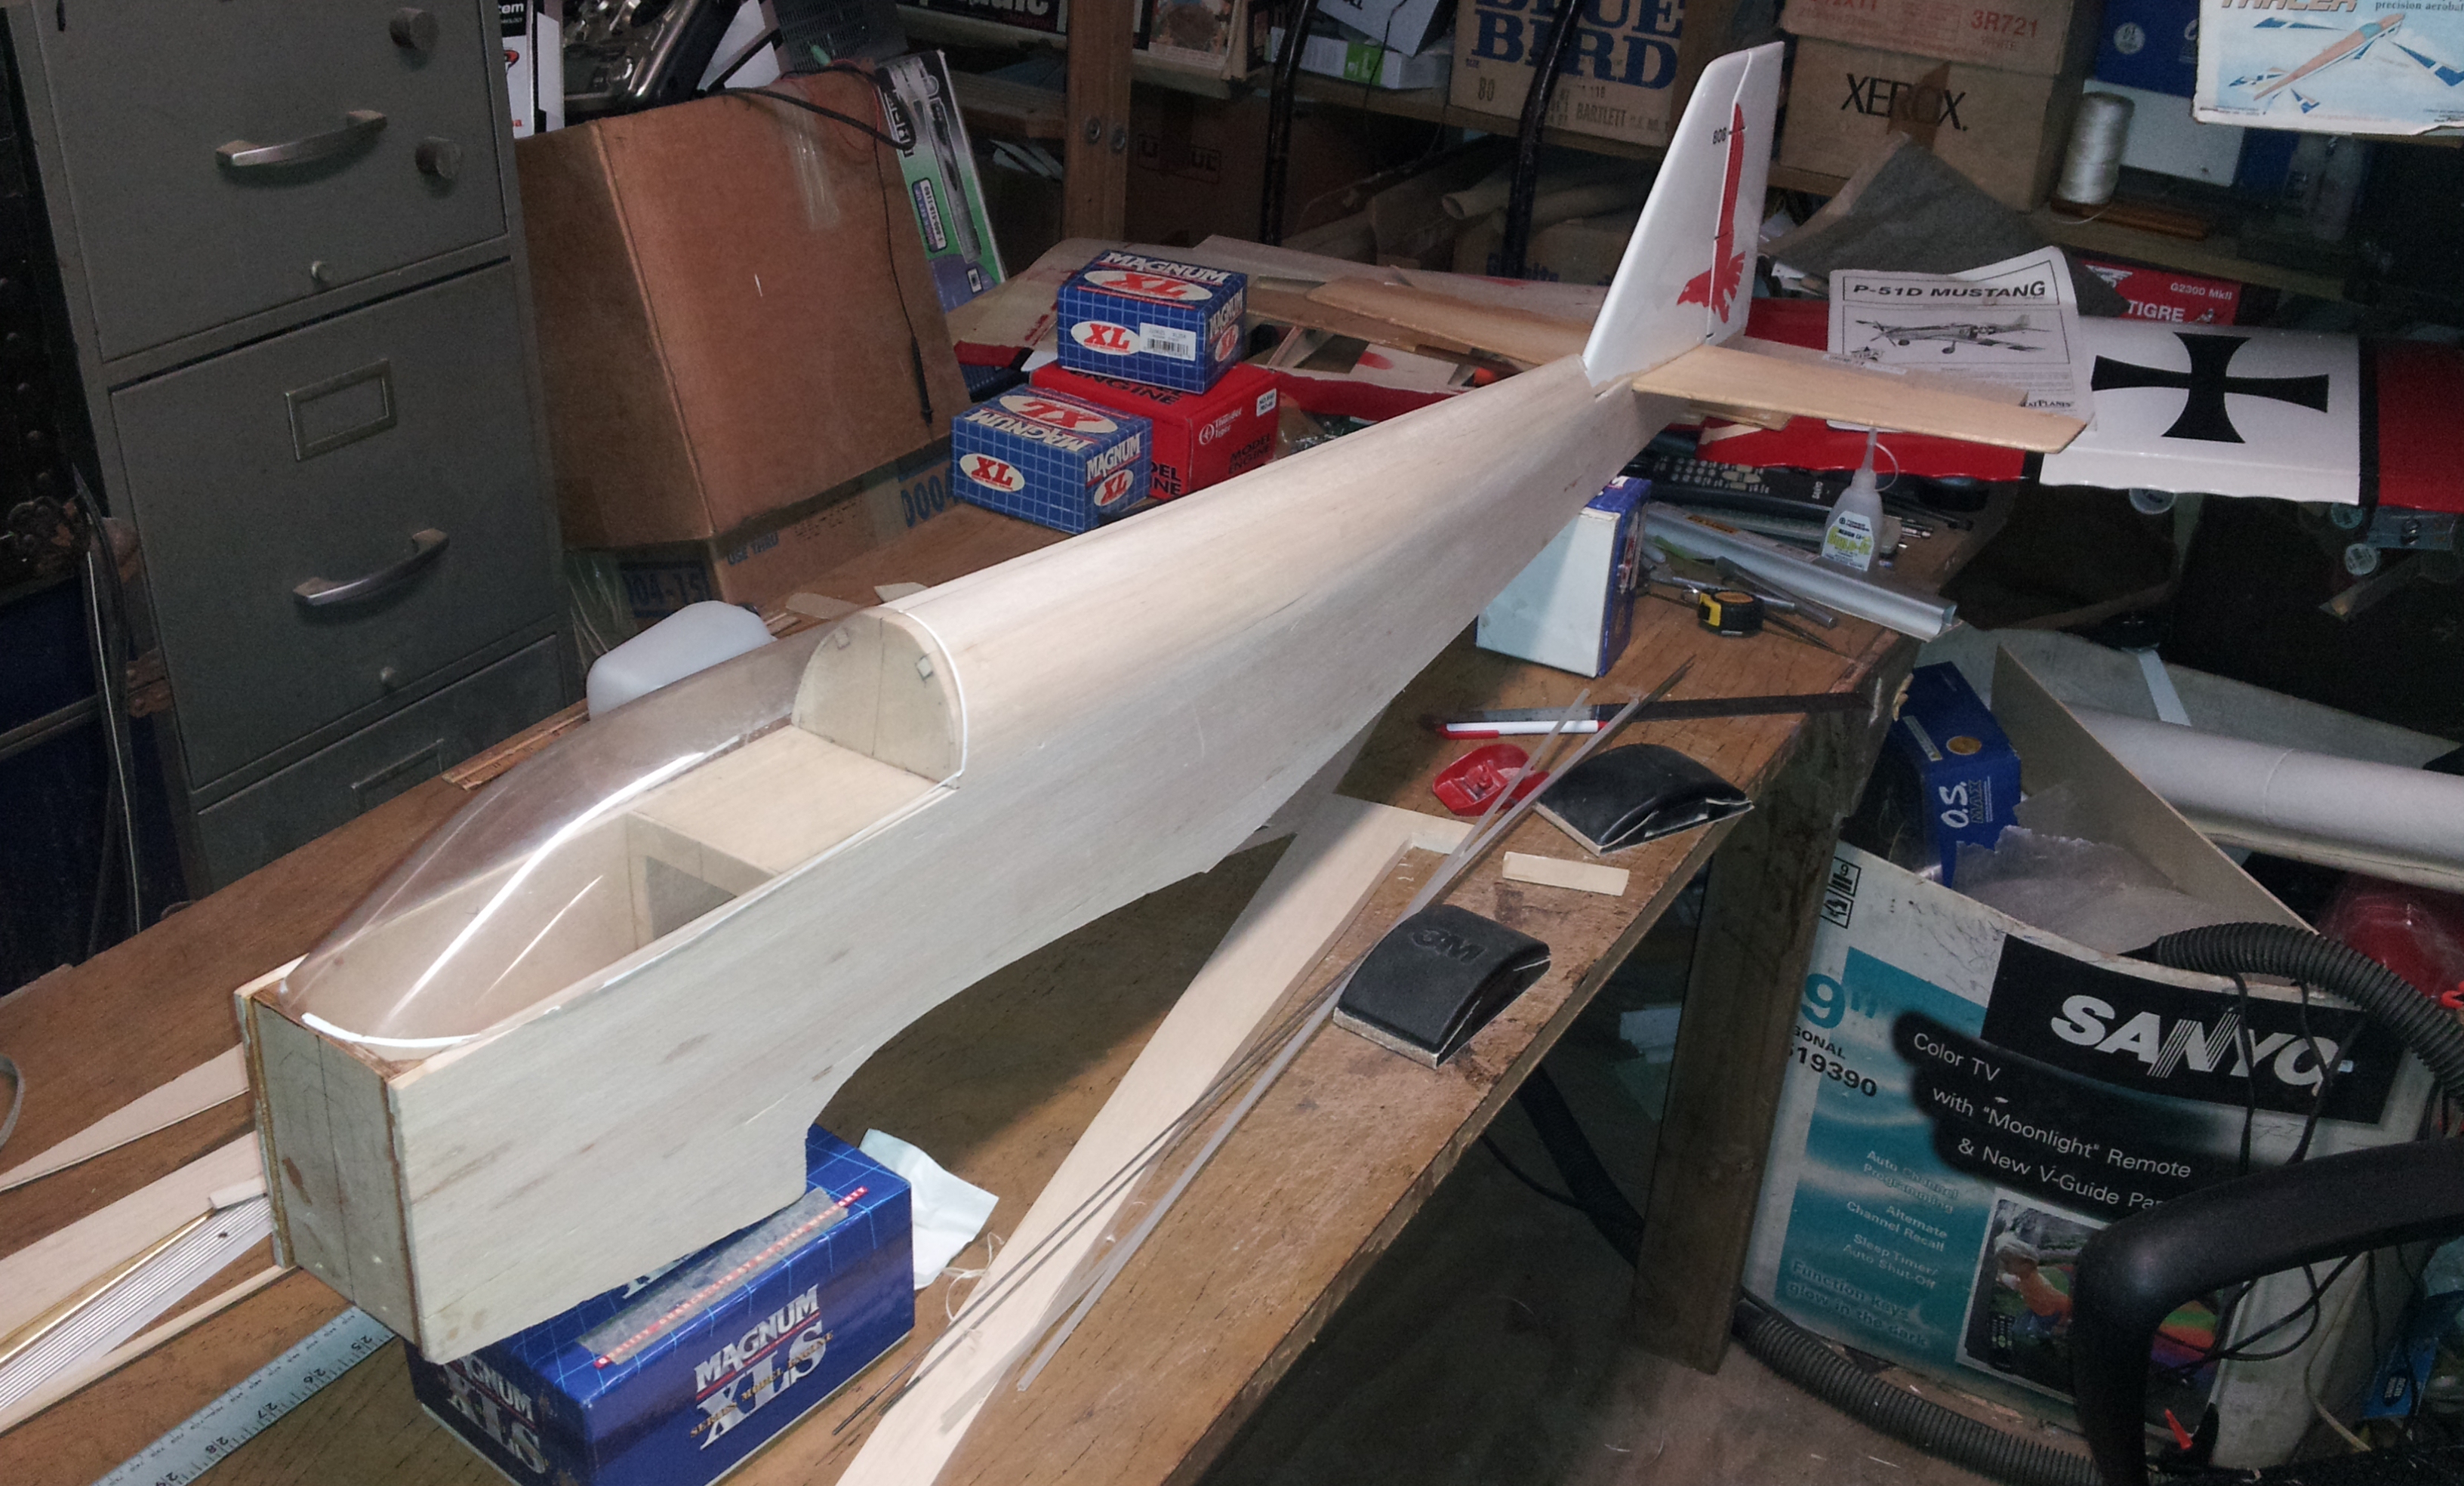
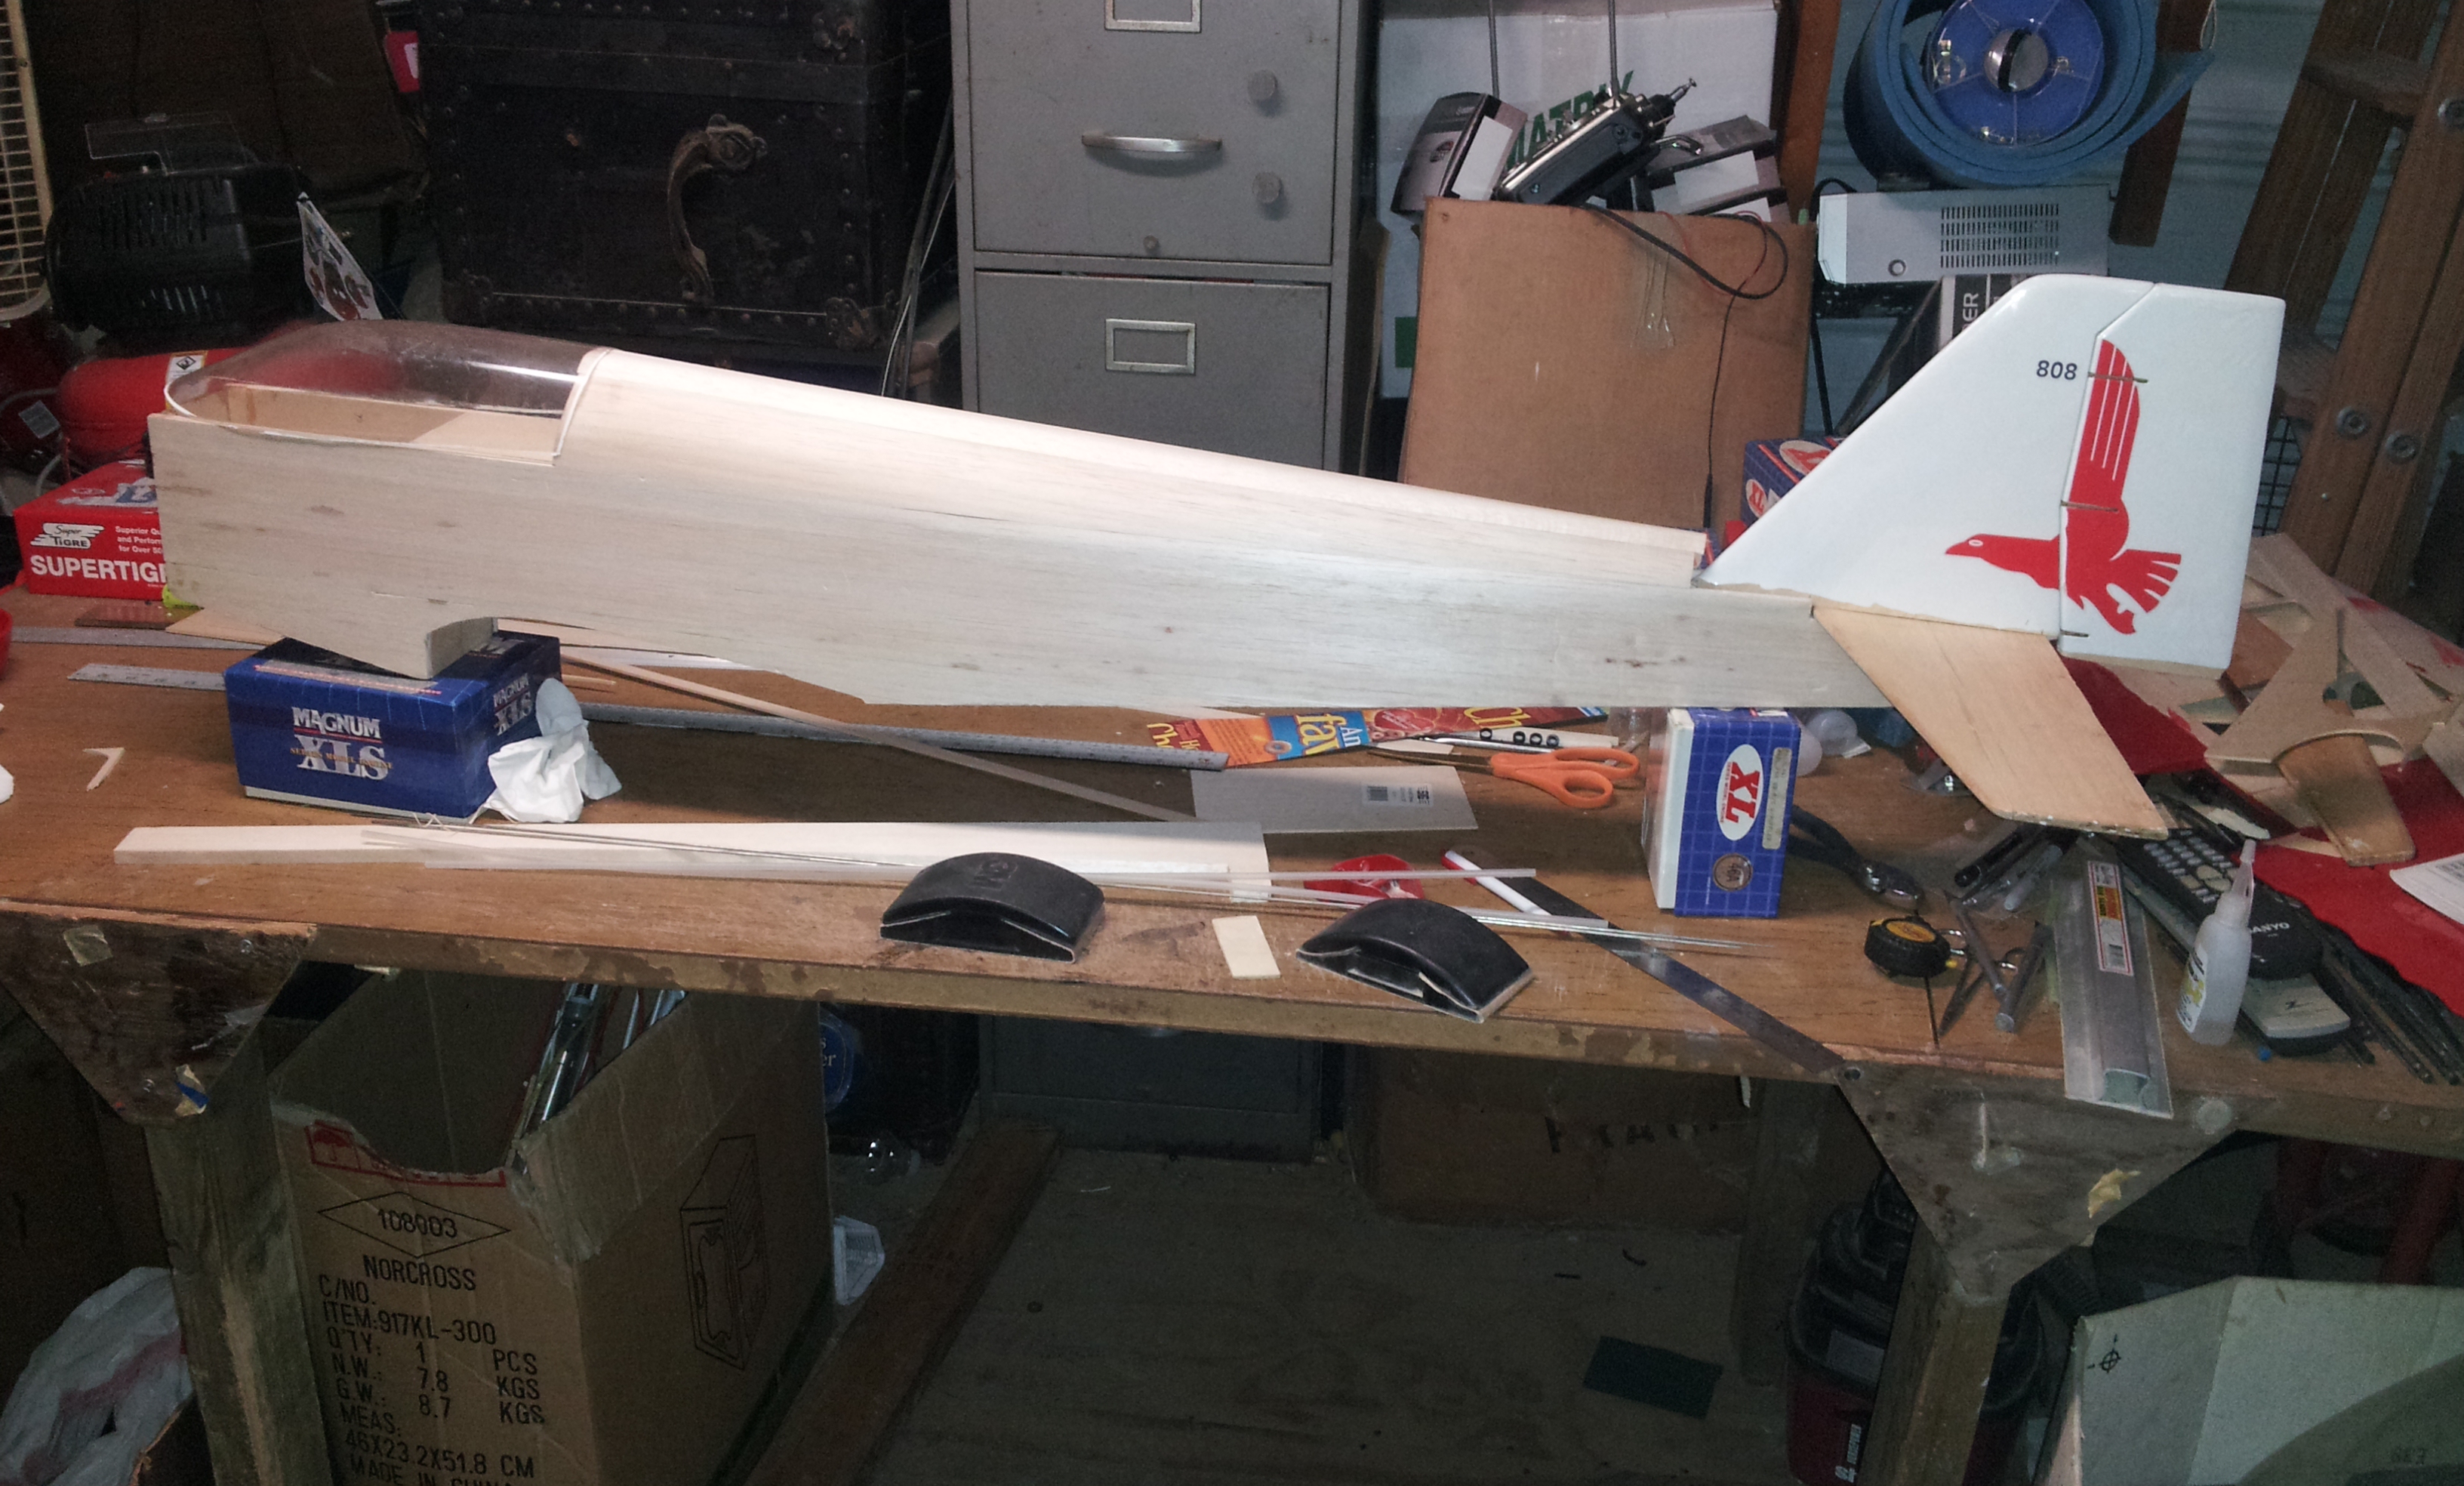
I saw that the Titebond III was the waterproof type glue. But they list the Titebond II as Premium Type (or extended type) glue. My ignorance is showing through on this stuff, but I welcome the education. Thank you 😃. Curious to what others have used to laminate pieces of wood together and make the spars for the UltraSport 1000 or for any airplane kit that required one to laminate sections of wood to build their spars. I thought that the standard type 1 Titebond glue was just too flexible to use. So looked into something a bit more stiff when cured. I asked my brother the master wood worker and my dad. They both said the Titebond 2 was good stuff. Better then the type 1. I don't see the need for the type 3 as it states the major difference is that it was water proof. Why would one need that if there was no plan to fly off water. The wing would be covered and sealed with the film and sealed wheel wells for the retracts. I was going to mix a batch of resin and coat my wheel wells. Keeps it clean and offers additional strength when hardened. Going to use air for my retracts and line the wheel well area with balsa and seal with resin. Done it before. Takes time and patience to get it done, but well worth the effort. Looked pretty on my Bridi XLT and BTE Reaction 54. The resin coating really helped with sealing the area and added some strength to the balsa sheeting that lined the wheel wells. I guess thin ply would work well too. But I already shaped the balsa skin around a paint can and it worked well for me....
HAPPY NEW YEAR to everyone! My wish to you and your family is much success and happiness for the year 2015!!!
Let it be your best!!!
Cheers,
HAPPY NEW YEAR to everyone! My wish to you and your family is much success and happiness for the year 2015!!!
Let it be your best!!!
Cheers,
 01-01-2015, 07:05 AM
#2627

I've always used the titebond or 30 min epoxy for laminating depending on what I was making. I picked up a gallon of the titebond 2 and it lasted for 4 or 5 years, I used it for everything from building airplanes, laminating wing sheeting to foam cores, gluing the paneling to the walls in my RV to building deck furniture. It lasted so long that I began wonder about whether it was still good, I've since gone back to just buying the smaller bottles. Most of the time if I'm building something out of wood, I reach for the titebond 2. I believe that the SIG wood glue is the same thing as the titebond.
01-01-2015, 08:01 AM
#2628
Senior Member
My Feedback: (1)
Join Date: Jul 2003
Location: SeaTac - Angle Lake, WA
Posts: 1,057
Likes: 0
Received 0 Likes
on
0 Posts
Thank you KaP2011,
Awesome information and greatly appreciated. Type 2 Titebond it is. Will glue up the spars today. I have some aluminum square and bar stock that is straigh as an arrow and will mask and clamp the Bass wood supplied with the kit. Should turn out nice.
cheers,
Awesome information and greatly appreciated. Type 2 Titebond it is. Will glue up the spars today. I have some aluminum square and bar stock that is straigh as an arrow and will mask and clamp the Bass wood supplied with the kit. Should turn out nice.
cheers,
01-01-2015, 08:49 AM
#2629
Have you read through the US 60 build thread by Minnflyer? There is a ton of good info as well as some modifications that make the Ultra Sport a better airplane such as moving the retracts out 1 bay, adding flaps and so on. It's well worth the read.
http://www.rcuniverse.com/forum/kit-...ld-thread.html
http://www.rcuniverse.com/forum/kit-...ld-thread.html
01-01-2015, 11:04 AM
#2630
Senior Member
My Feedback: (1)
Join Date: Jul 2003
Location: SeaTac - Angle Lake, WA
Posts: 1,057
Likes: 0
Received 0 Likes
on
0 Posts
Have you read through the US 60 build thread by Minnflyer? There is a ton of good info as well as some modifications that make the Ultra Sport a better airplane such as moving the retracts out 1 bay, adding flaps and so on. It's well worth the read.
http://www.rcuniverse.com/forum/kit-...ld-thread.html
http://www.rcuniverse.com/forum/kit-...ld-thread.html
Thank you Mike (MinnFlyer) for the awesome build thread. I'm building the UltraSport 1000 but many of your ideas will work nicely with my build. I do have one of the US 60 kits too. After the US 1000 is off the table :-).
01-01-2015, 01:01 PM
#2631

How about Ambroids? That is what all of my Ultra Sports were built with. It is water proof, fuel proof and sandable.
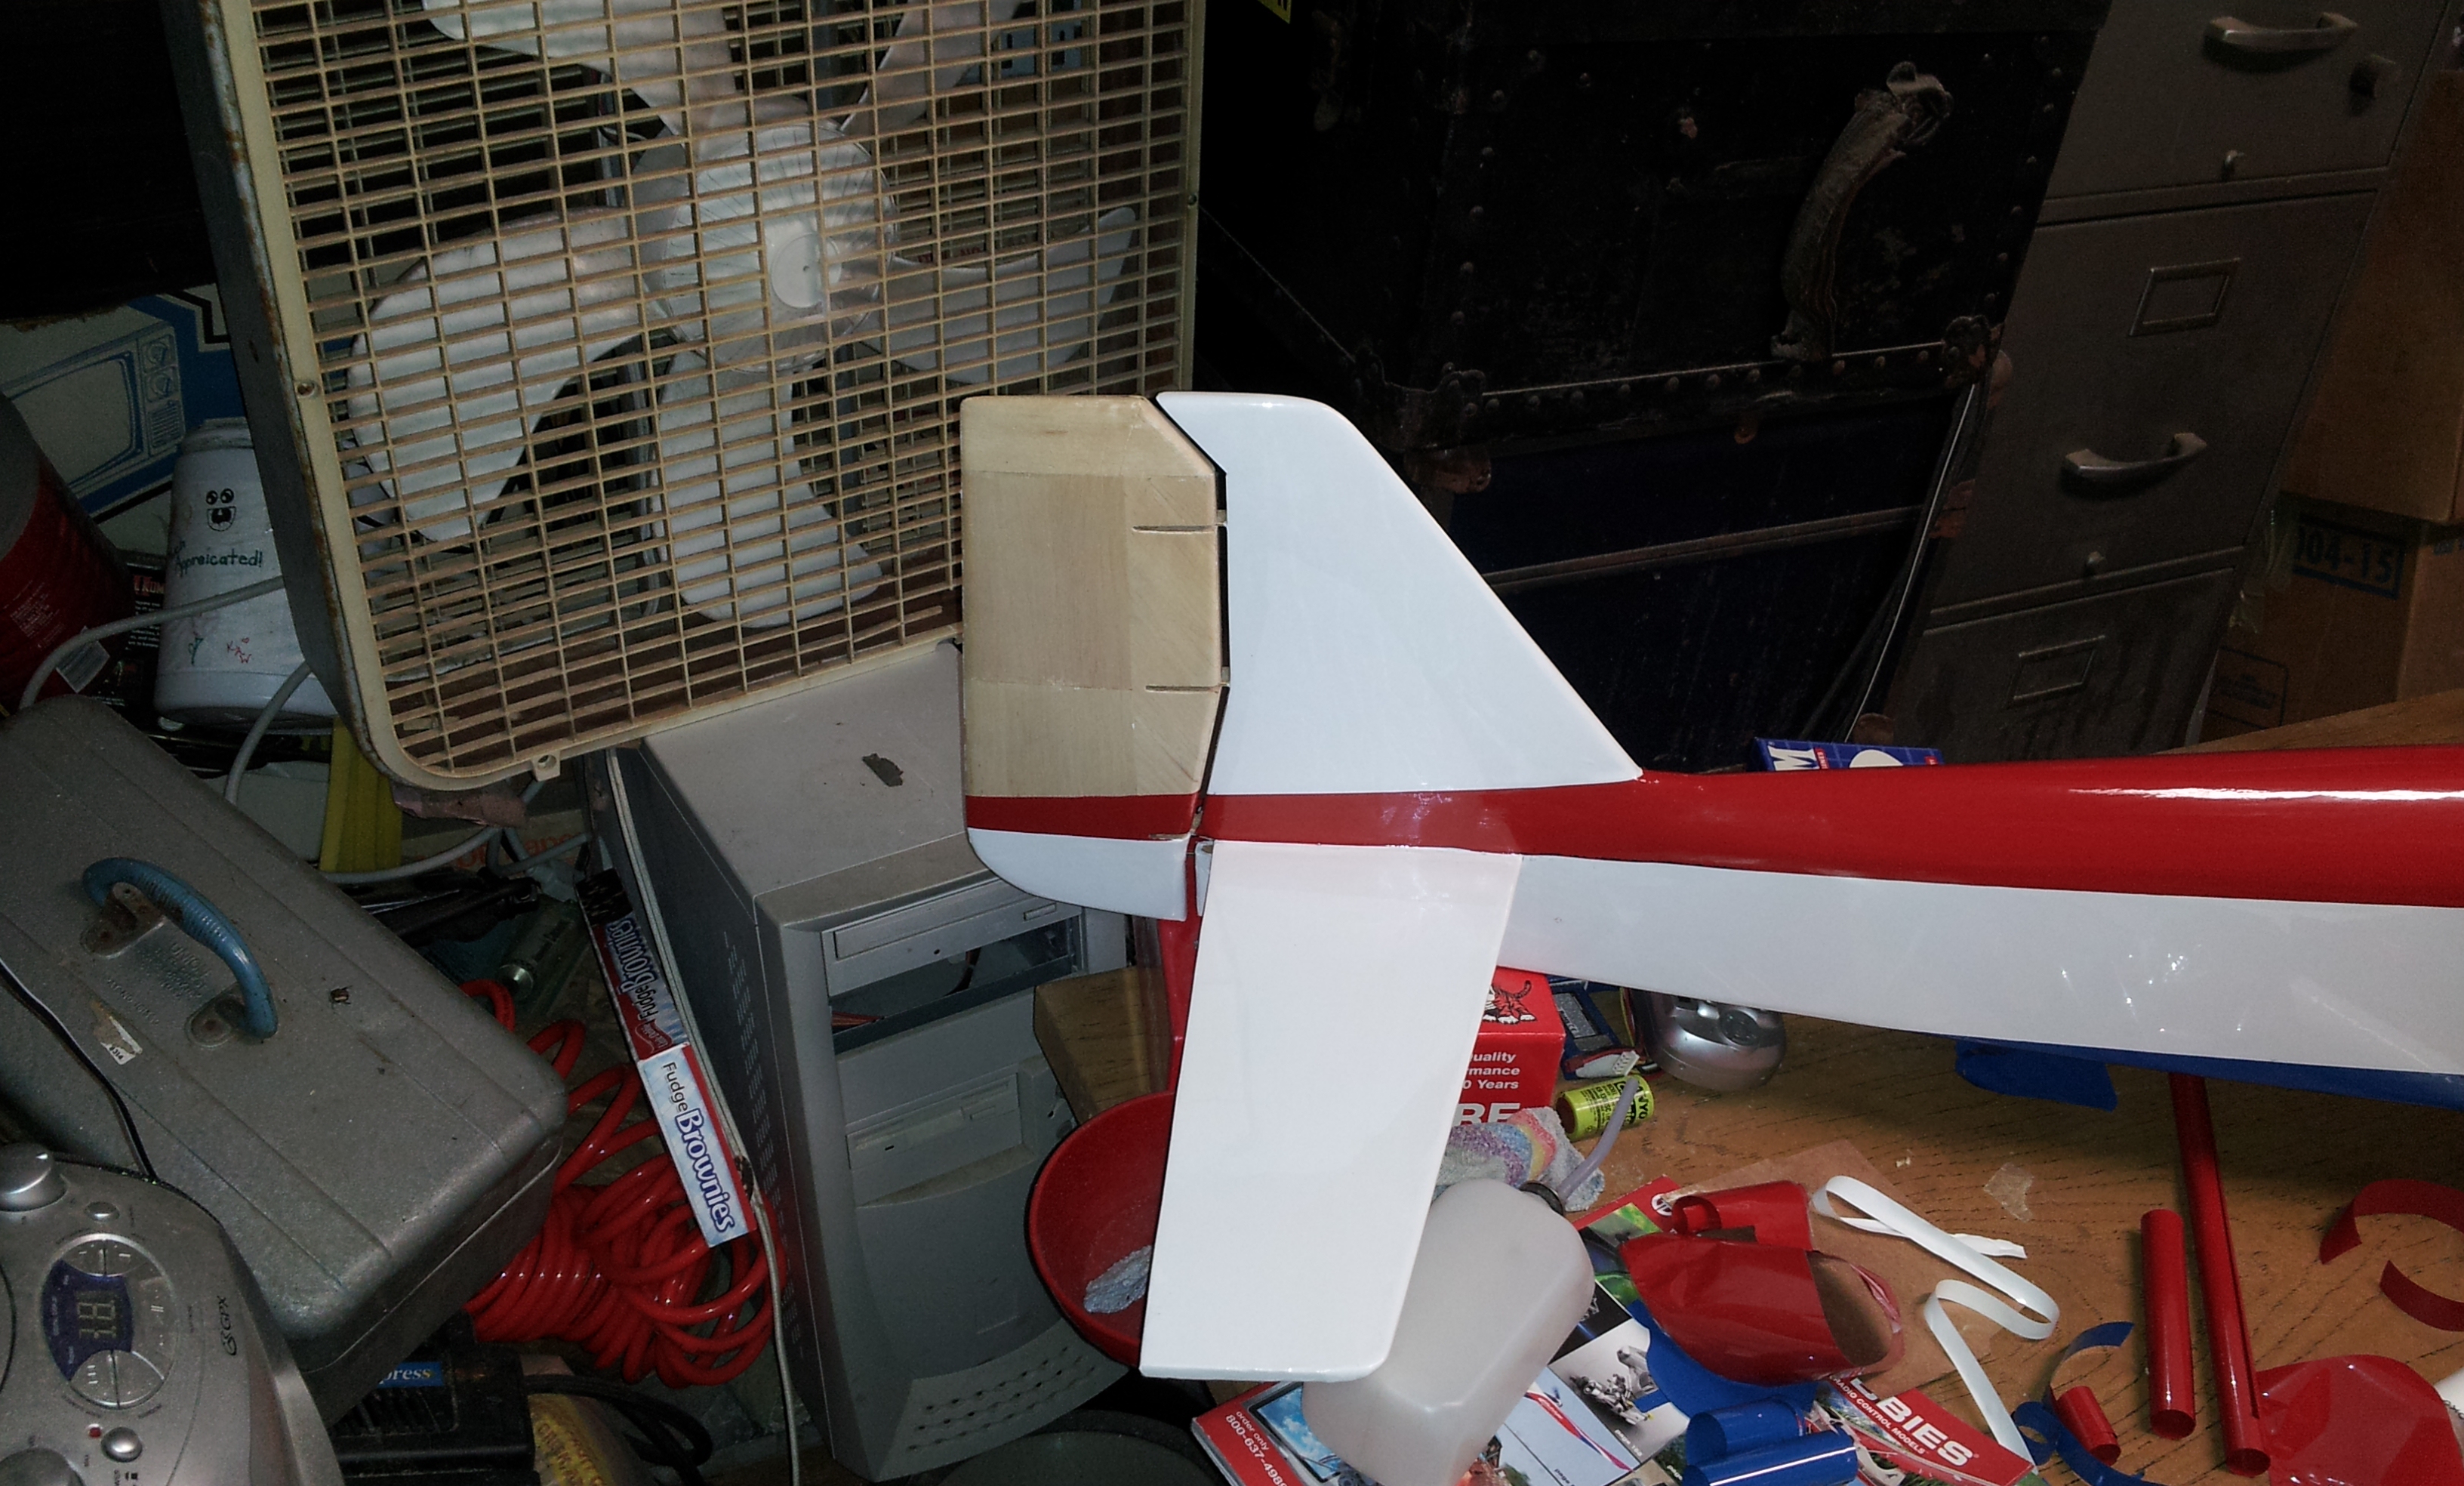
Just use a Great Planes sanding bar to taper the control edges. I have two, one with a fine grit, the other a medium. I don't want to sound like a GP ad, but they have a centering tool too. It presses into the balsa, creating a center line. Then I use a pencil to highlight the line. Using these two items is a real easy way to taper the rudder and elevator
Where a belt sander is really handy, is cutting down the belly block on the US. It sure saves a lot of cutting and sanding
happy new year
bob
 01-01-2015, 05:36 PM
#2633
Ambroid sort of disappeared for a while but seems to be back. The LHS seems to sell a lot of it. Not cheap, but nothing is. I remember the 60's when my a Dad, brother and I were all building. We would go to Skelly's in York,Pa to buy it by the quart. We had a stainless steel syringe we filled. I think I have built 4-5 Ultra Sports with Ambroids
bob
bob
01-01-2015, 06:41 PM
#2634
I've never used Ambroid glue myself but I've rebuilt a couple of airframes that were built with it. In both cases the glue was very brittle and the joints broke apart easily. Not sure if that was due to age or something else. Both planes were about 20 yrs old.
01-01-2015, 07:42 PM
#2635
Senior Member
My Feedback: (1)
Join Date: Jul 2003
Location: SeaTac - Angle Lake, WA
Posts: 1,057
Likes: 0
Received 0 Likes
on
0 Posts
I used Ambroid glue in the past as well. But gave it up because of the fumes. Cleanup and excess wipe off was rather messy too. Went to Titebond, Epoxy and CA and never went back to Ambroid.
01-02-2015, 05:46 AM
#2637
Join Date: Mar 2013
Location: Winnipeg,
MB, CANADA
Posts: 751
Likes: 0
Received 0 Likes
on
0 Posts
I am sure the results are worth the effort Lonestoner . Myself I have ruined a few parts on the belt disc sander, it is a very usefull tool, just not so for tapering. Lets see some pics of your progress.
Calvi
. Myself I have ruined a few parts on the belt disc sander, it is a very usefull tool, just not so for tapering. Lets see some pics of your progress.Calvi
01-03-2015, 03:19 AM
#2638
Senior Member
My Feedback: (1)
Join Date: Jul 2003
Location: SeaTac - Angle Lake, WA
Posts: 1,057
Likes: 0
Received 0 Likes
on
0 Posts
How about Ambroids? That is what all of my Ultra Sports were built with. It is water proof, fuel proof and sandable.
Just use a Great Planes sanding bar to taper the control edges. I have two, one with a fine grit, the other a medium. I don't want to sound like a GP ad, but they have a centering tool too. It presses into the balsa, creating a center line. Then I use a pencil to highlight the line. Using these two items is a real easy way to taper the rudder and elevator
Where a belt sander is really handy, is cutting down the belly block on the US. It sure saves a lot of cutting and sanding
happy new year
bob
Cheers,
 01-03-2015, 10:21 PM
#2640
Senior Member
My Feedback: (1)
Join Date: Jul 2003
Location: SeaTac - Angle Lake, WA
Posts: 1,057
Likes: 0
Received 0 Likes
on
0 Posts
I used block planes at times but had better results with using like 40 or 60 grit sanding paper and progressively finer grit as I got closer to the final shape. Planes and I sometimes don't get along with each other. On larger surfaces I found that the removal of material goes more uniform with the 12" or larger sanding bars. It's up to the individual user and what they are most comfortable with using. I like the sanding bars with the stick on sand paper. Gotten better results with I thought greater control. I setup a jig at the edge of my building table that holds the surface in place. It allows an angled approach to remove the surface material. Worked great and I didn't remove too much. Though it does create a lot of dust. But that is why one has the Shop Vac.
01-15-2015, 11:05 AM
#2644

that looks a LOT like a bashed eflite leader 480...
http://www.e-fliterc.com/Products/De...ProdID=EFL3000
http://www.e-fliterc.com/Products/De...ProdID=EFL3000
01-16-2015, 05:54 PM
#2645

My Feedback: (7)
Nice guess Jim, but no it is a scratch built fuse that I built to follow the ultra sport lines and construction technique, a reused horizontal stab from a crashed trainer plane that I built 12 years ago but crashed about 4 years ago, a reused vertical stab from my dads crashed DC3 that my dad dumb thumbed and crashed 14 years ago so I kept the vertical stab and rudder with the sole intentions of using it on a scratch build and the wing is reused from a 40 size great planes Big Stik but I then equipped it with trike retracts. Its my understanding that when big stik owners goes and builds their big stik planes and makes the plane with the wing on the bottom they then rename that plane a sweet-n-low, I have named my scratch build Sweetly Lowered.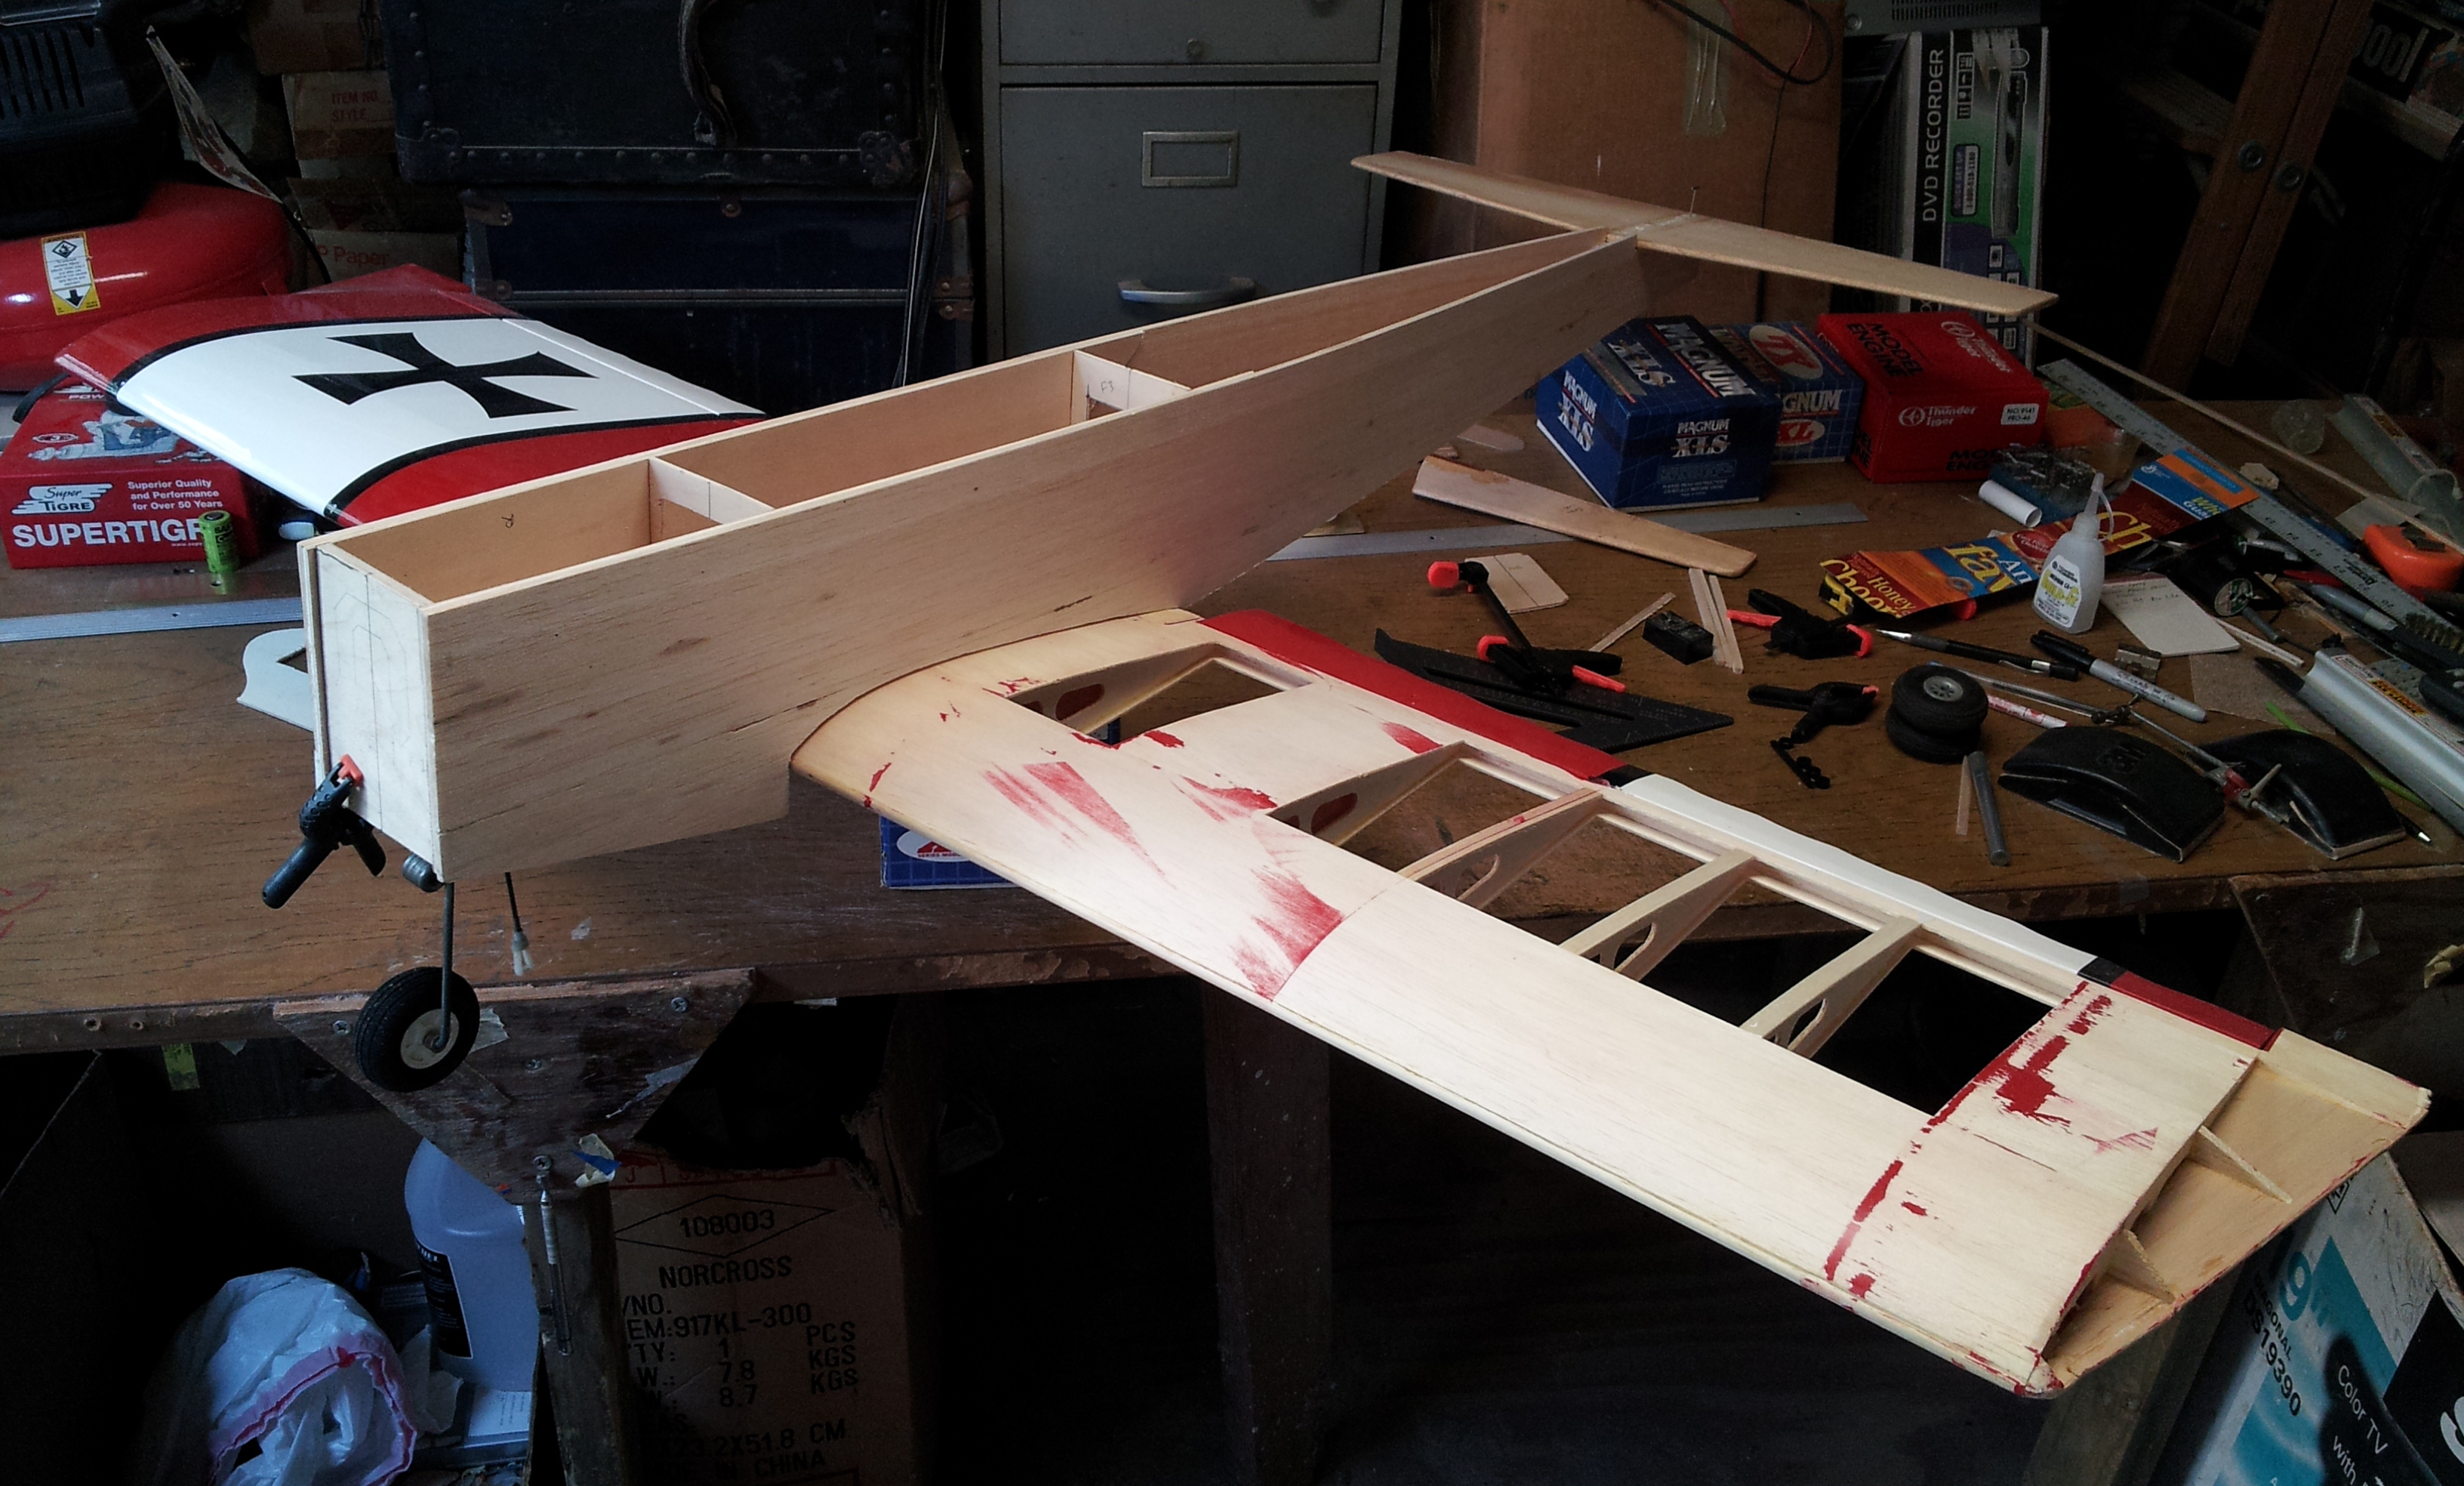
01-16-2015, 06:11 PM
#2646
Senior Member
My Feedback: (1)
Join Date: Jul 2003
Location: SeaTac - Angle Lake, WA
Posts: 1,057
Likes: 0
Received 0 Likes
on
0 Posts
Certainly a mash up of parts, but hey it works and looks pretty nice!!! How's it fly? Short wing which would mean it would roll pretty quick. Small stab which would mean stabilizer tracking at slower speeds is wandering a bit but depends on the size of the elevators. Good bash!
Cheers,
Cheers,
01-17-2015, 04:23 AM
#2647
My Feedback: (2)
Join Date: Jul 2010
Location: caledonia, MI
Posts: 191
Likes: 0
Received 0 Likes
on
0 Posts
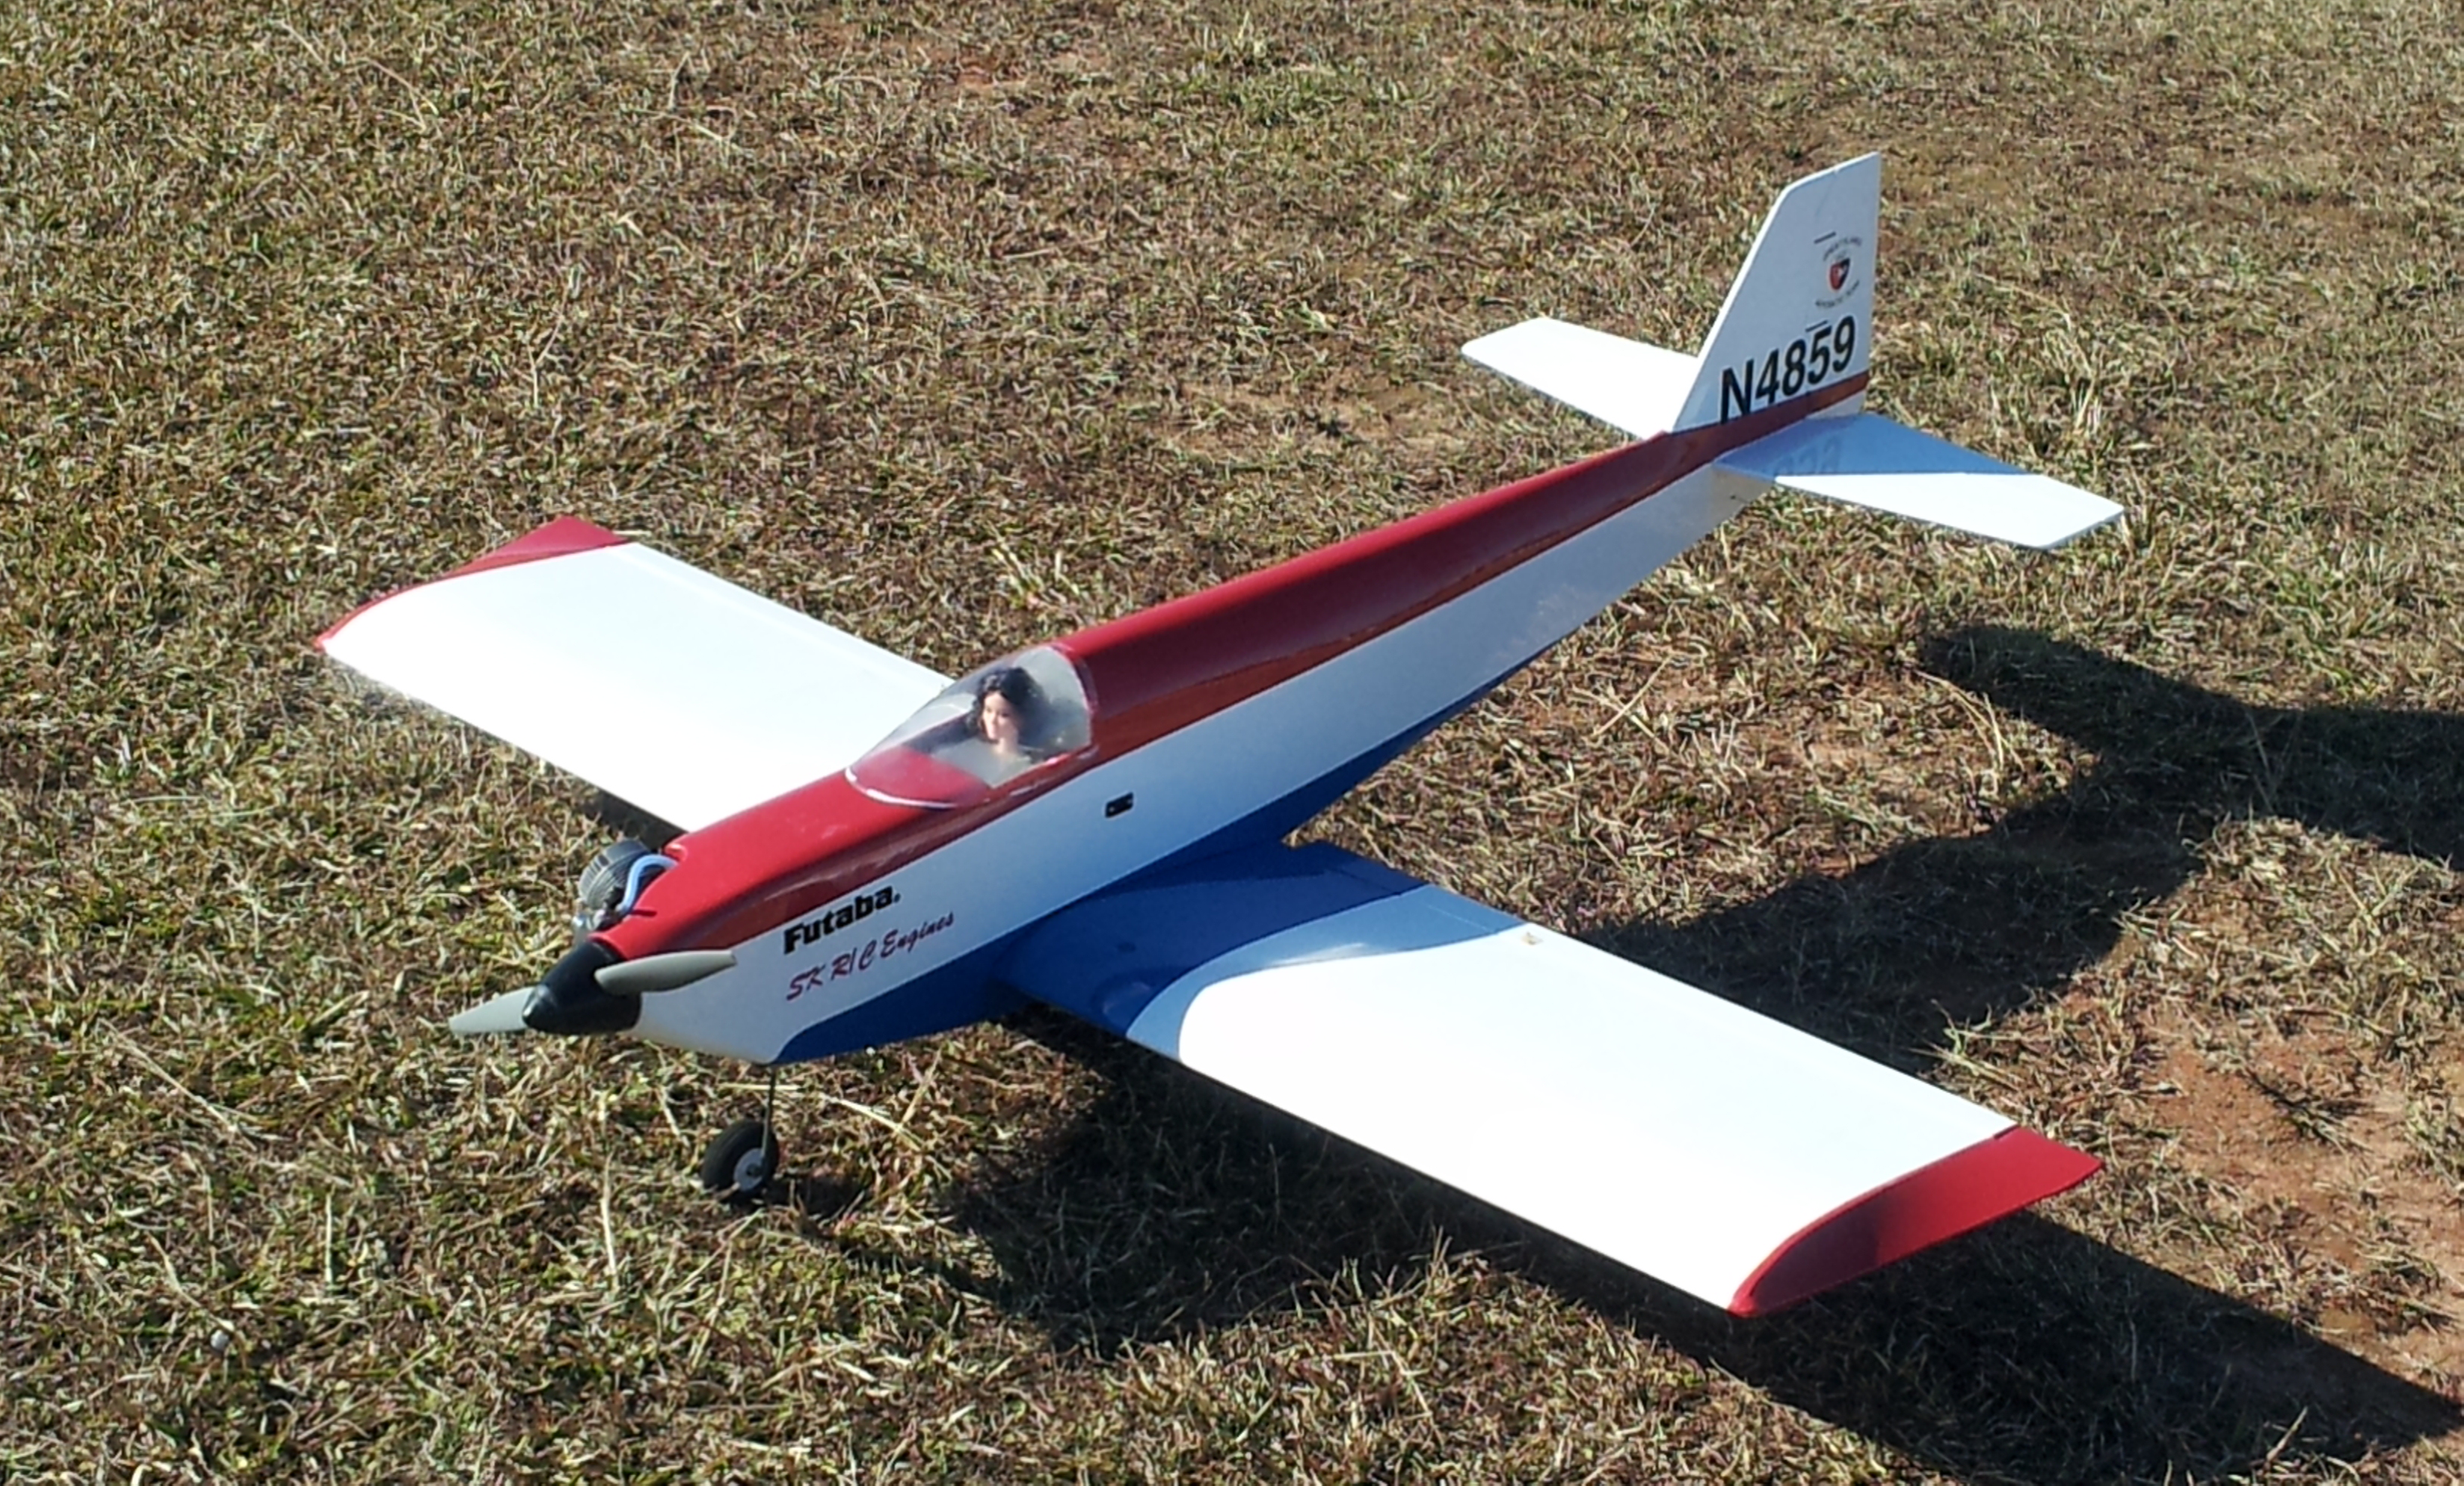
just finished repairing my us .40 from a forced bad landing.") Won't do that again.
Won't do that again. Anyways she is ready to go. Love this plane. Flys so good. Wife and daughter picked the colors. Phil
Won't do that again. Anyways she is ready to go. Love this plane. Flys so good. Wife and daughter picked the colors. Phil
01-17-2015, 05:53 AM
#2649
Join Date: Mar 2013
Location: Winnipeg,
MB, CANADA
Posts: 751
Likes: 0
Received 0 Likes
on
0 Posts
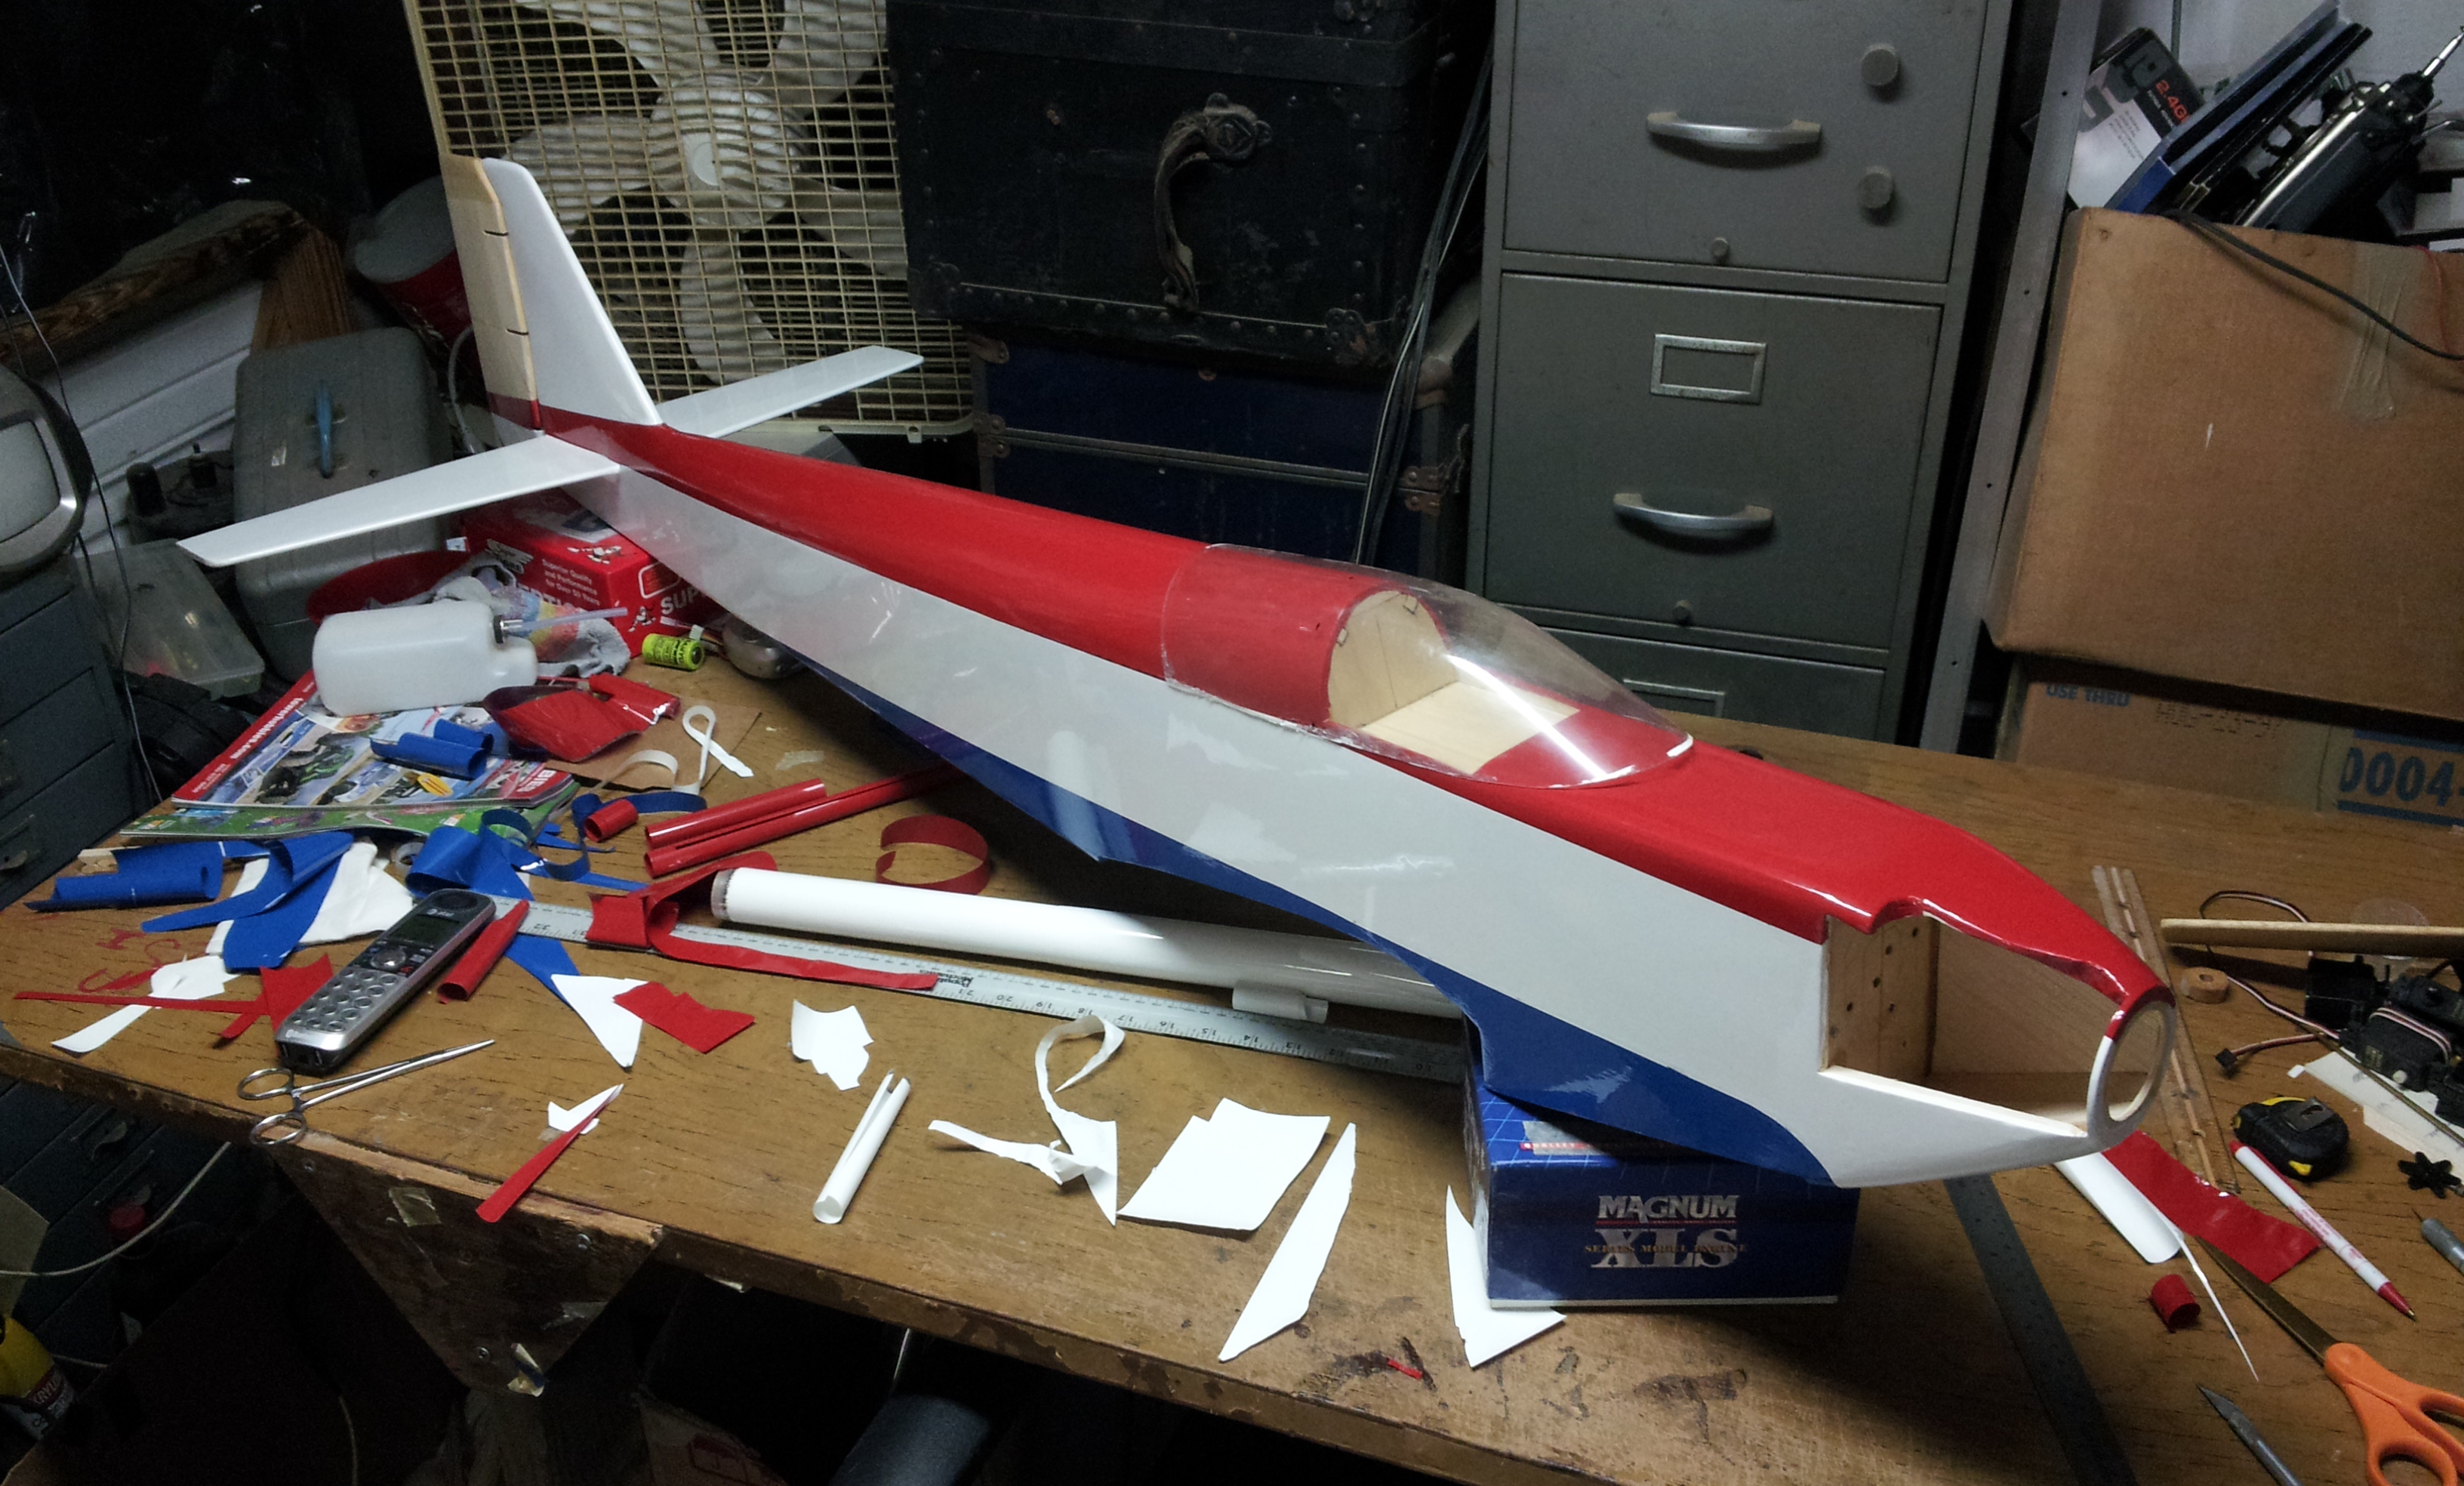
Very nice mrshea, I wish I could manage a covering job like that, how did you do it? Did you cover the aircraft with a base color first, then lay on the other colors? Please reveal your secrets .
Looks good Lonestoner, are you working on the wing or the fuse now?
Calvi
.Looks good Lonestoner, are you working on the wing or the fuse now?
Calvi
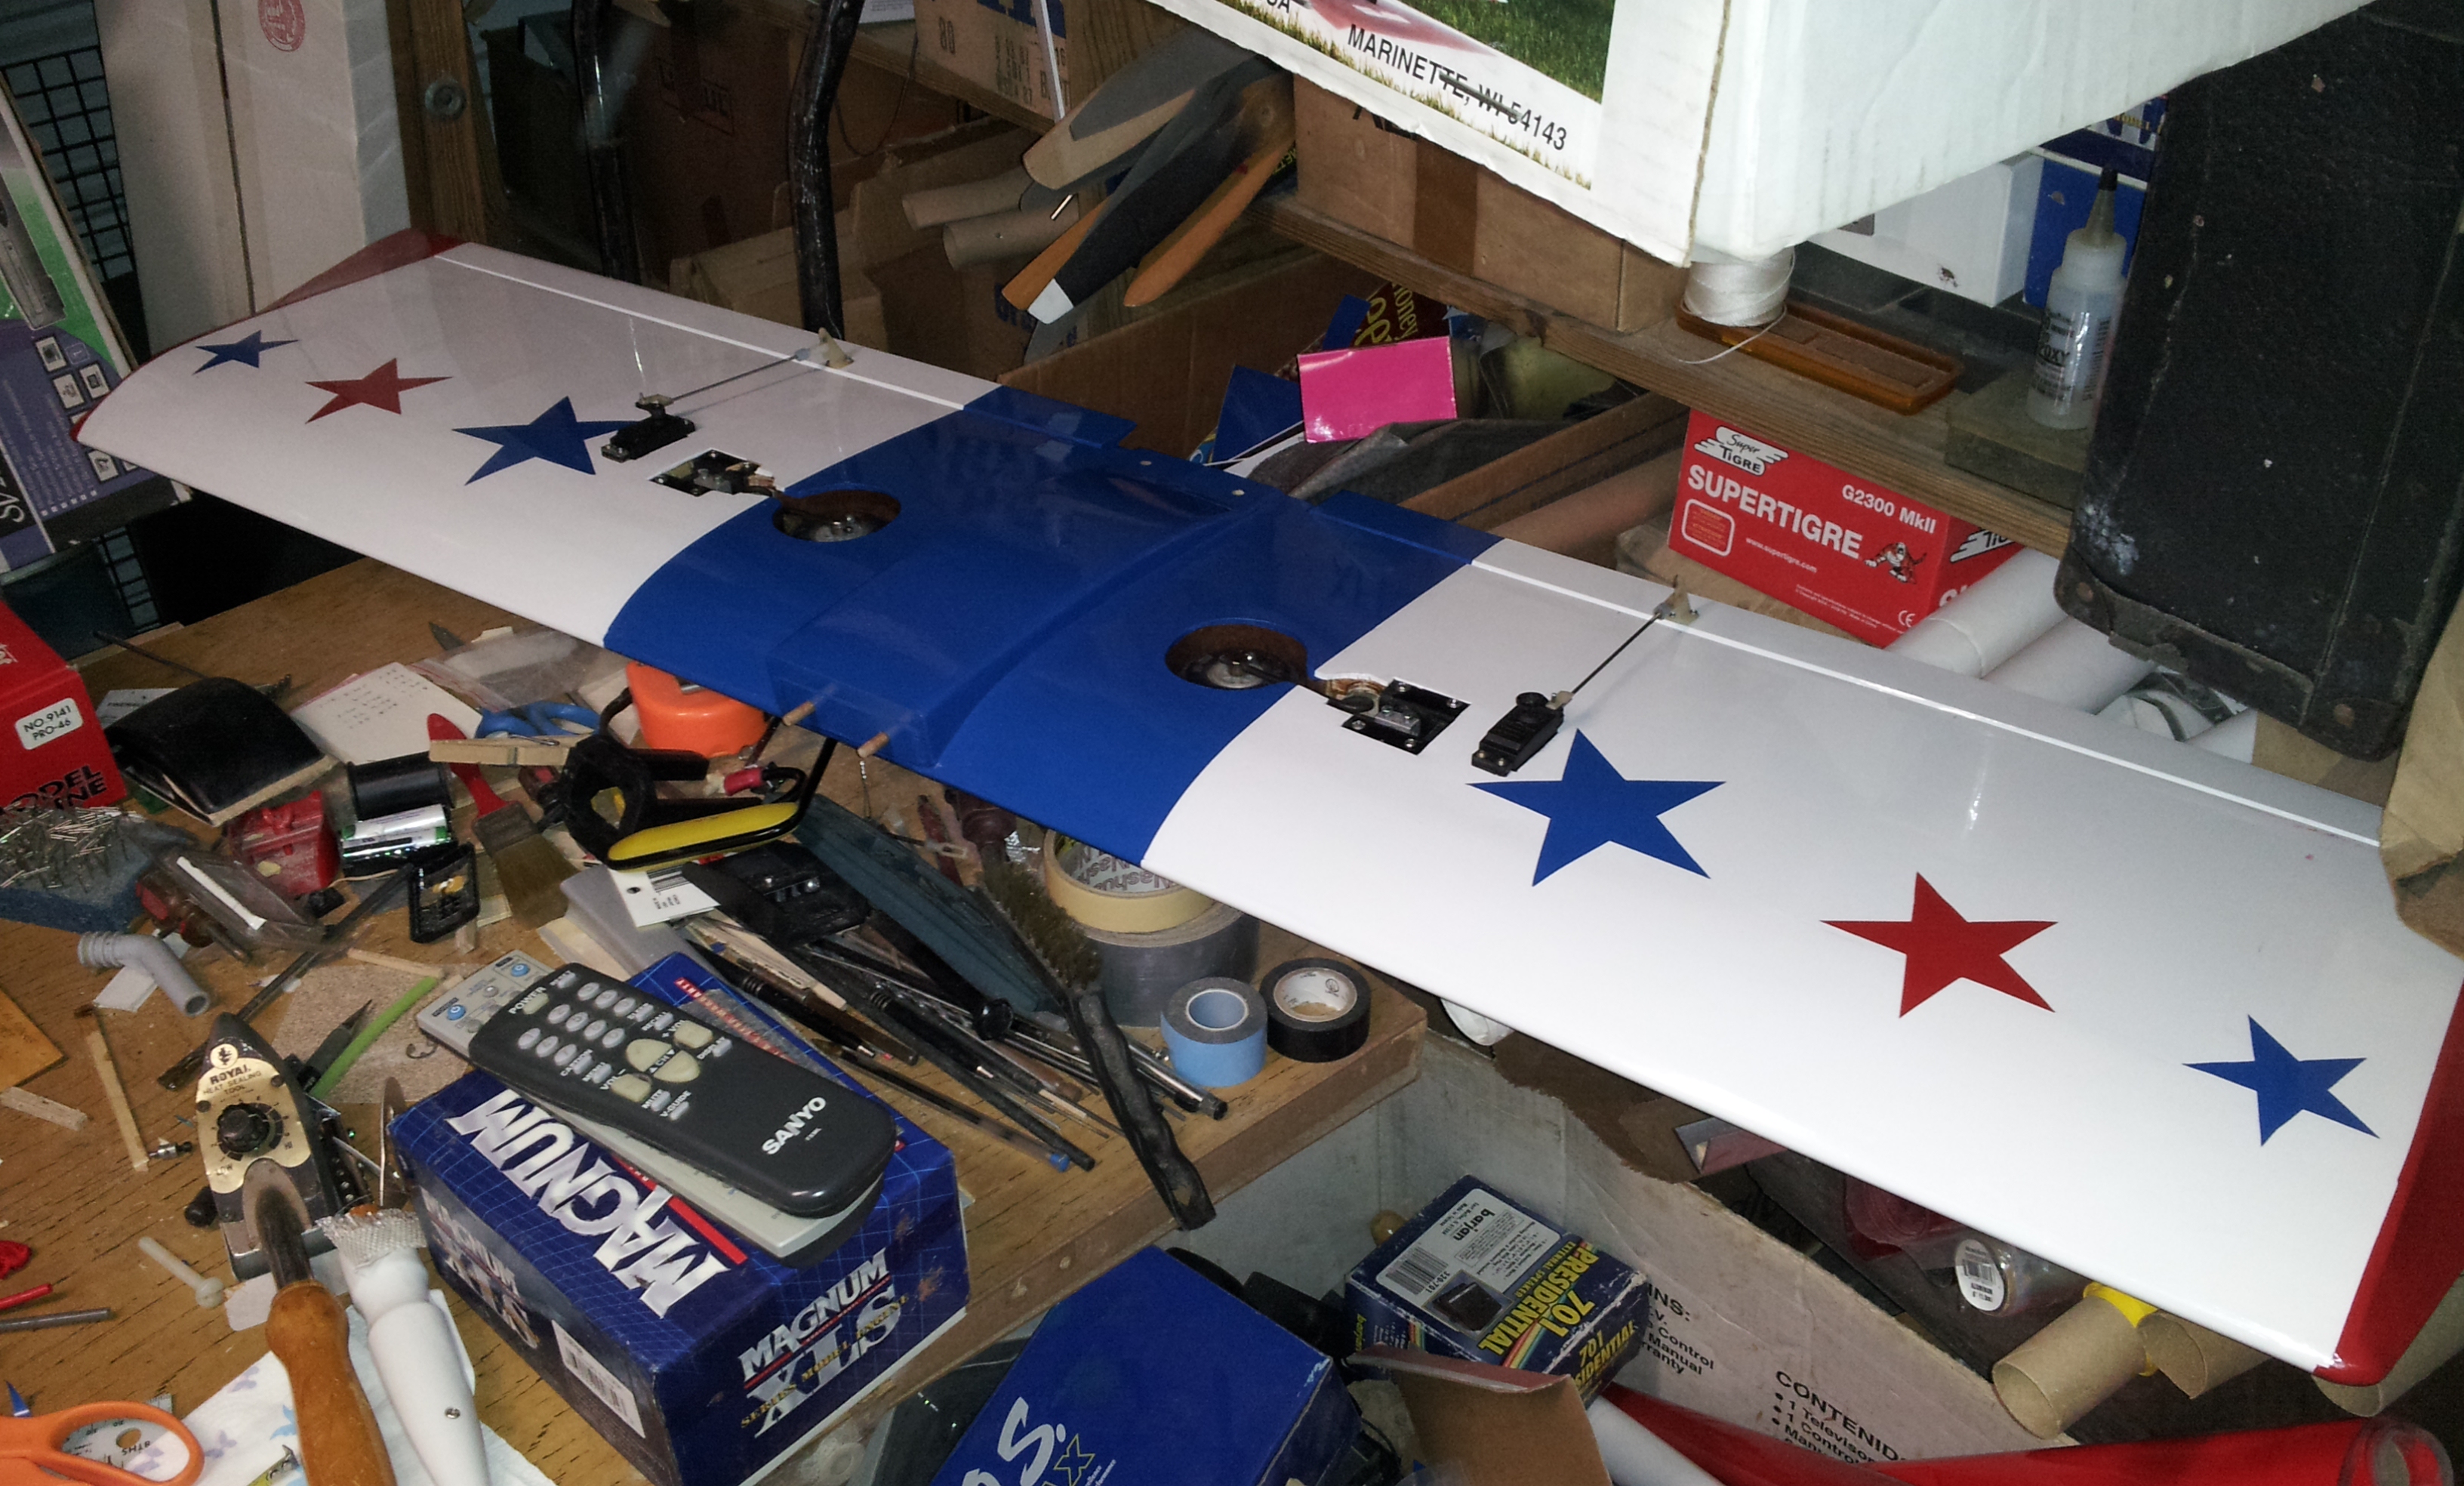
01-17-2015, 06:13 AM
#2650
My Feedback: (2)
Join Date: Jul 2010
Location: caledonia, MI
Posts: 191
Likes: 0
Received 0 Likes
on
0 Posts
thanks guy's. It's all monokote covered I first laid it out like i was going to paint it with masking tape( the cheap masking tape for this) and then applied the white up to the tape lines. Then i applied the "wine" colored monokote up to where the white left off. Then the purple was applied like a stripe at low heat and when i had it all laid down went over the entire airframe with a heat gun rubbing it down as i went. The wing well i had to apply the wine and purple and silver stripes at low heat over the white and then go over with a heat gun once it was in place. I will also attach a pic of the bottom. No real secrets to the covering just stretch and pull and use proper heat. I love monokote. Phil