


New big Ripmax Xcalibur (Xcalibur+)

 10-05-2015, 01:38 AM
#302

Thread Starter
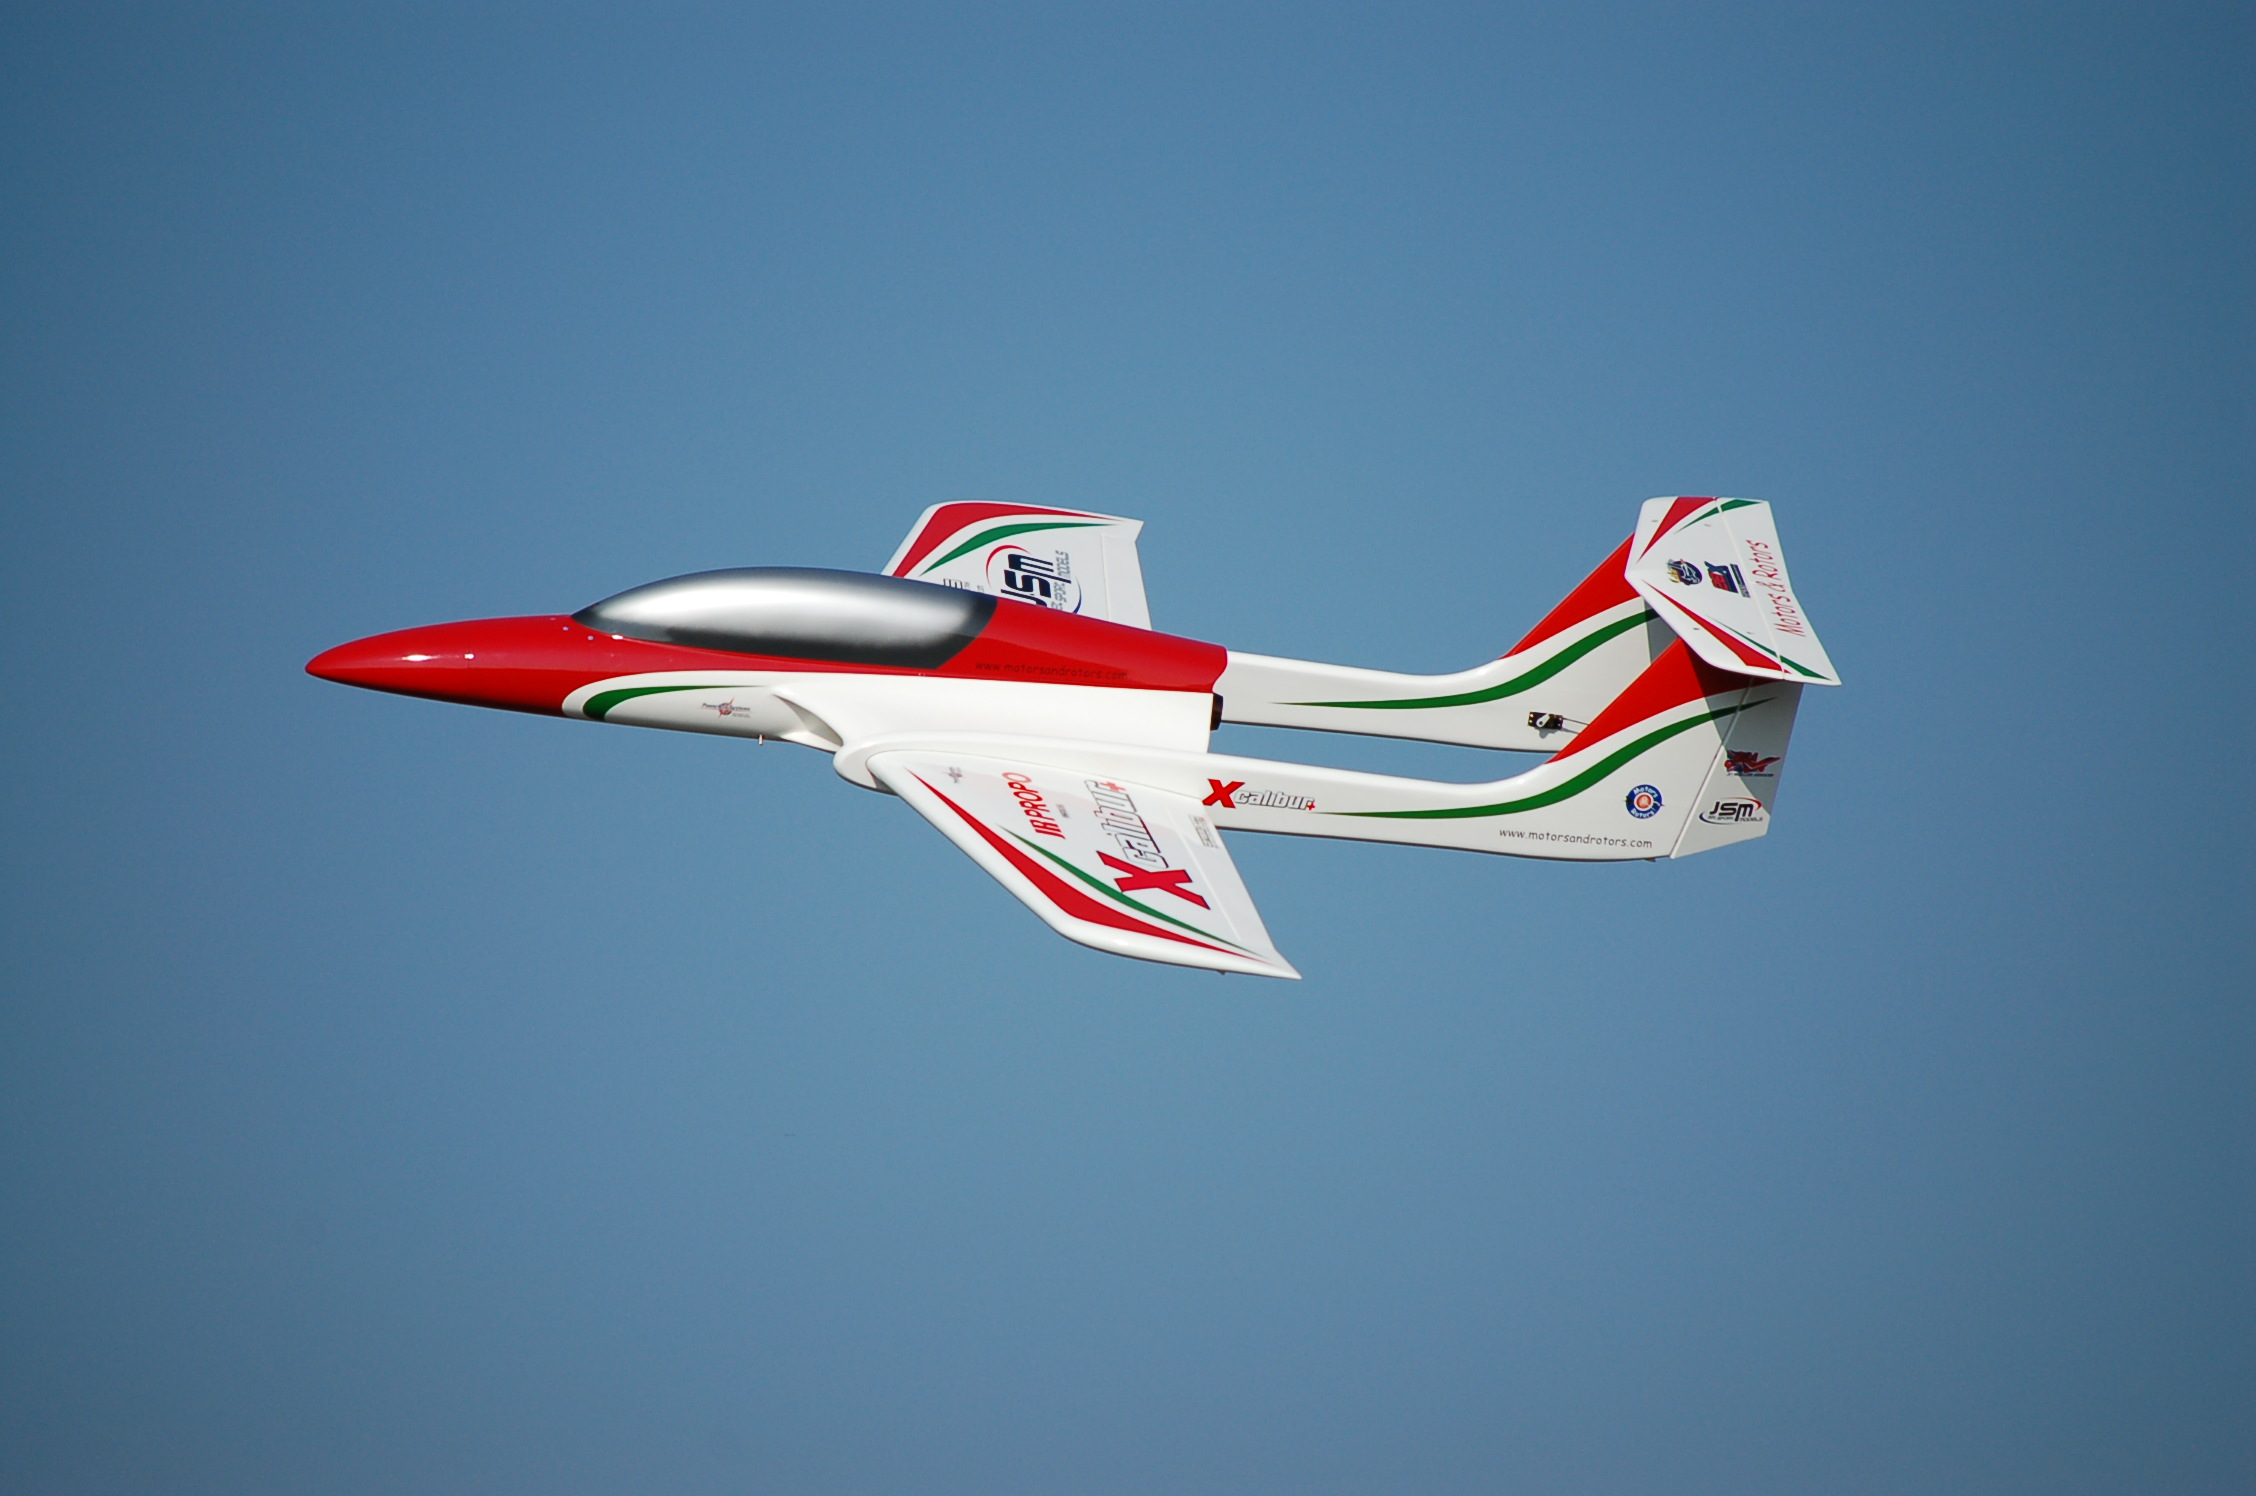
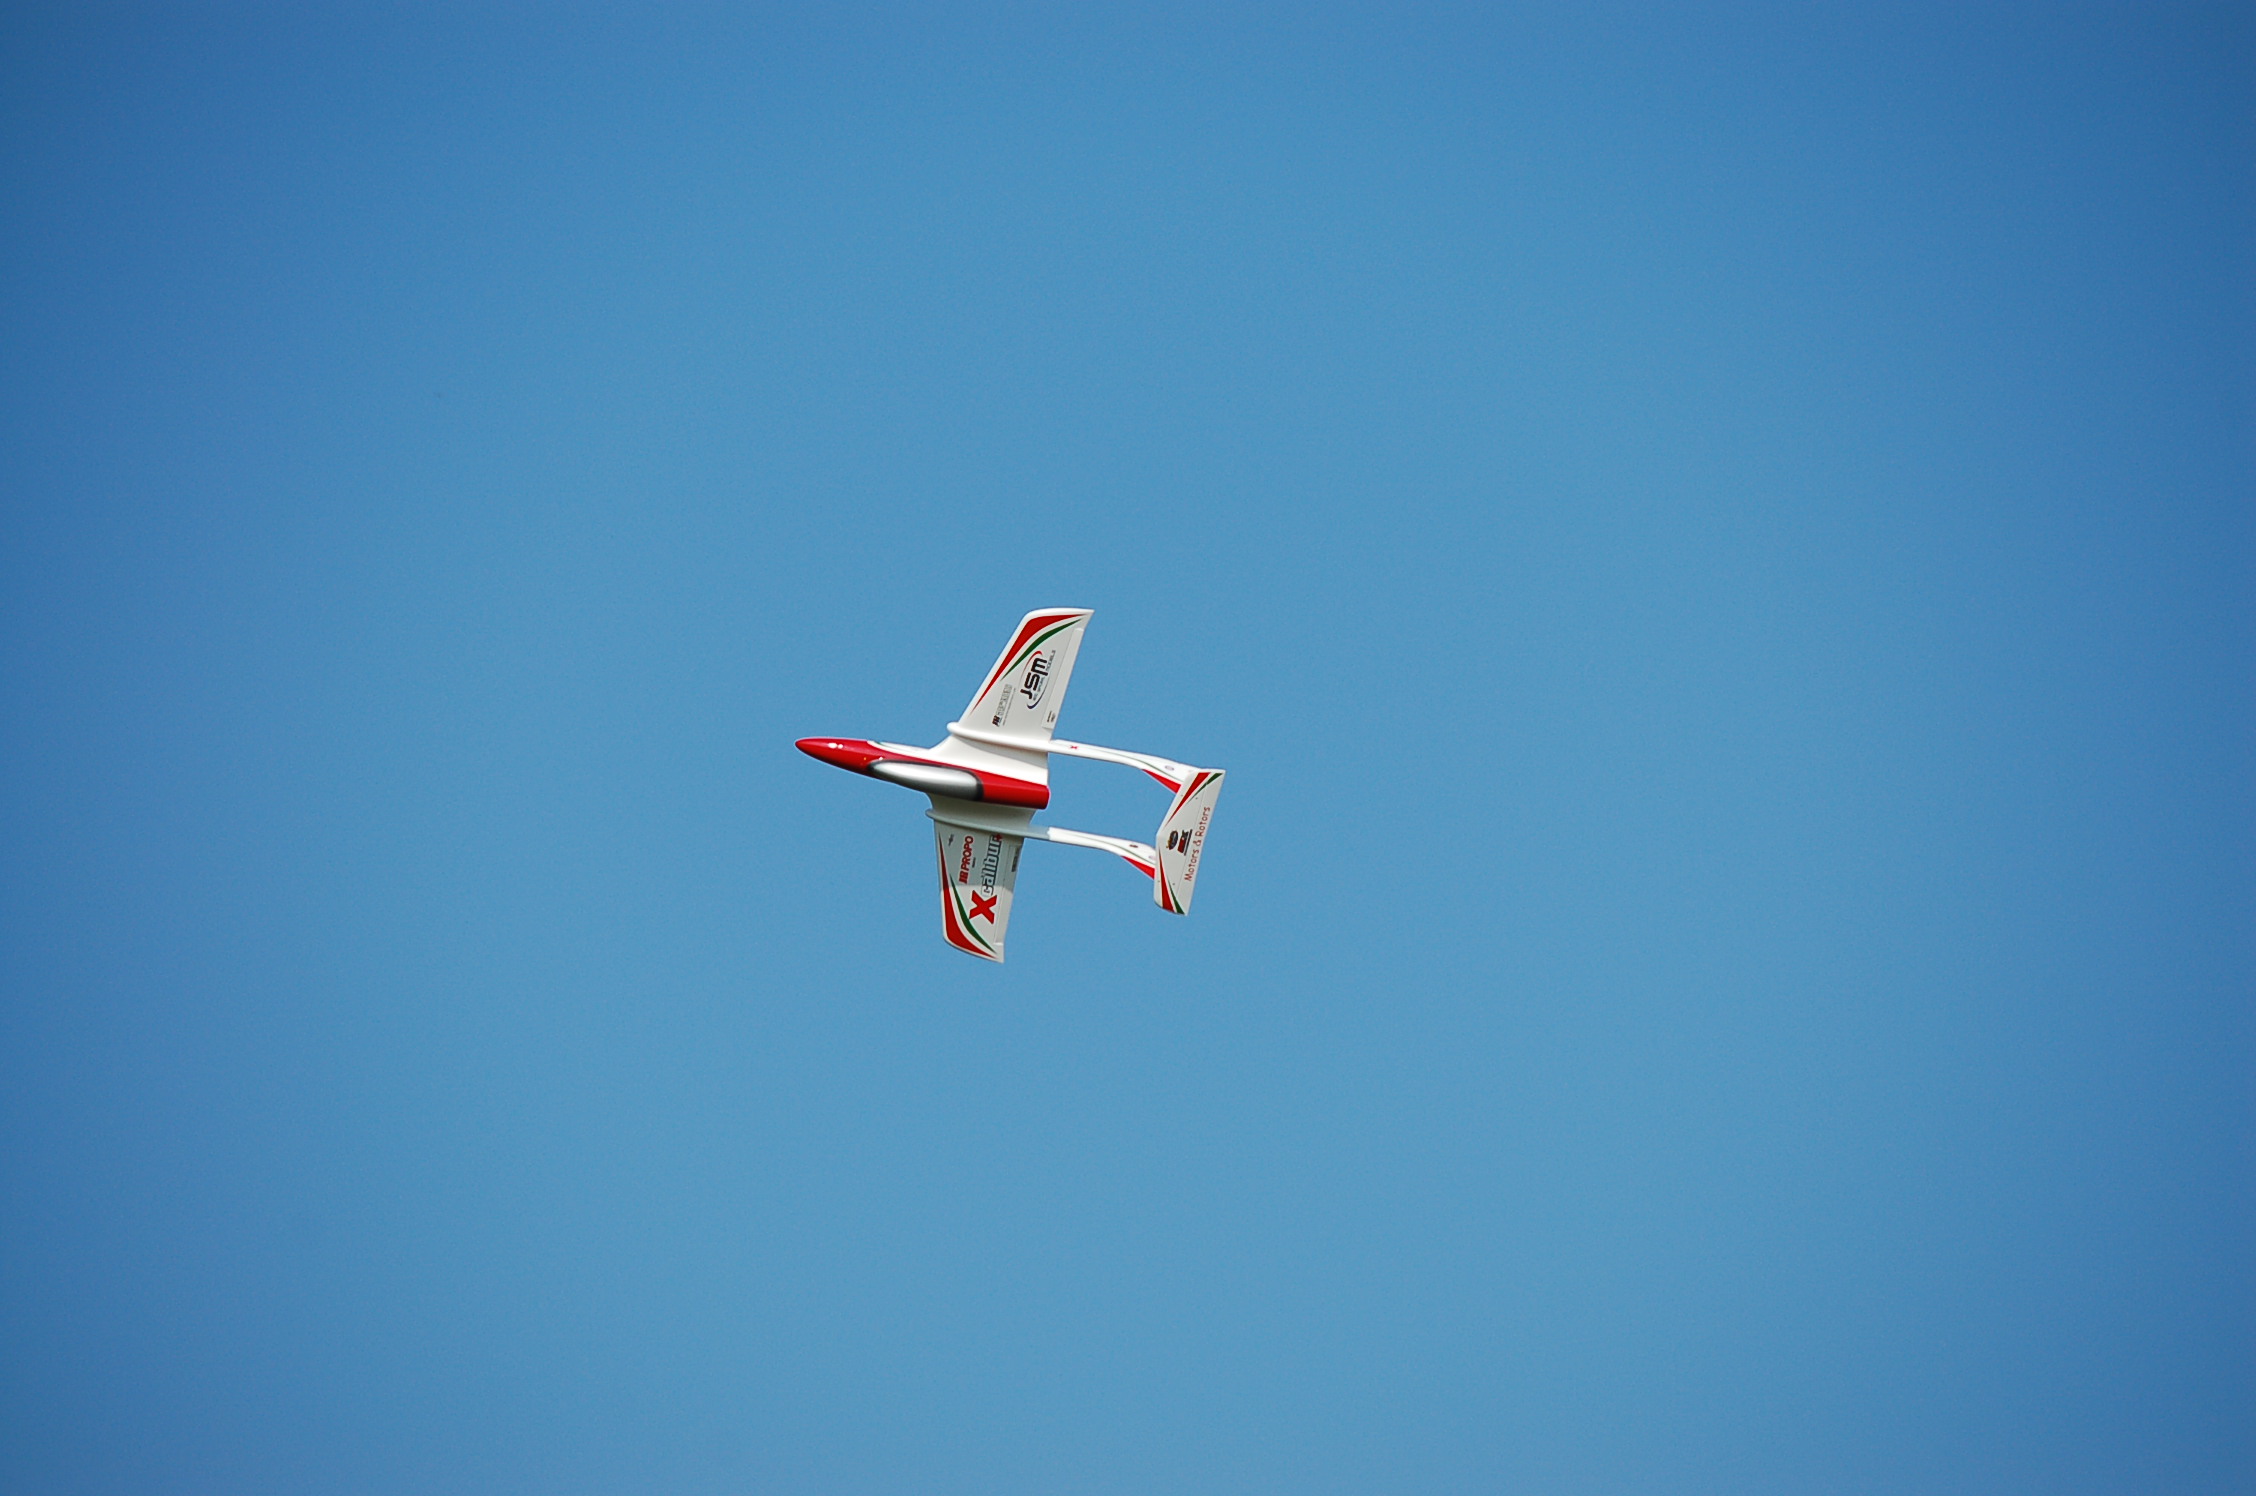
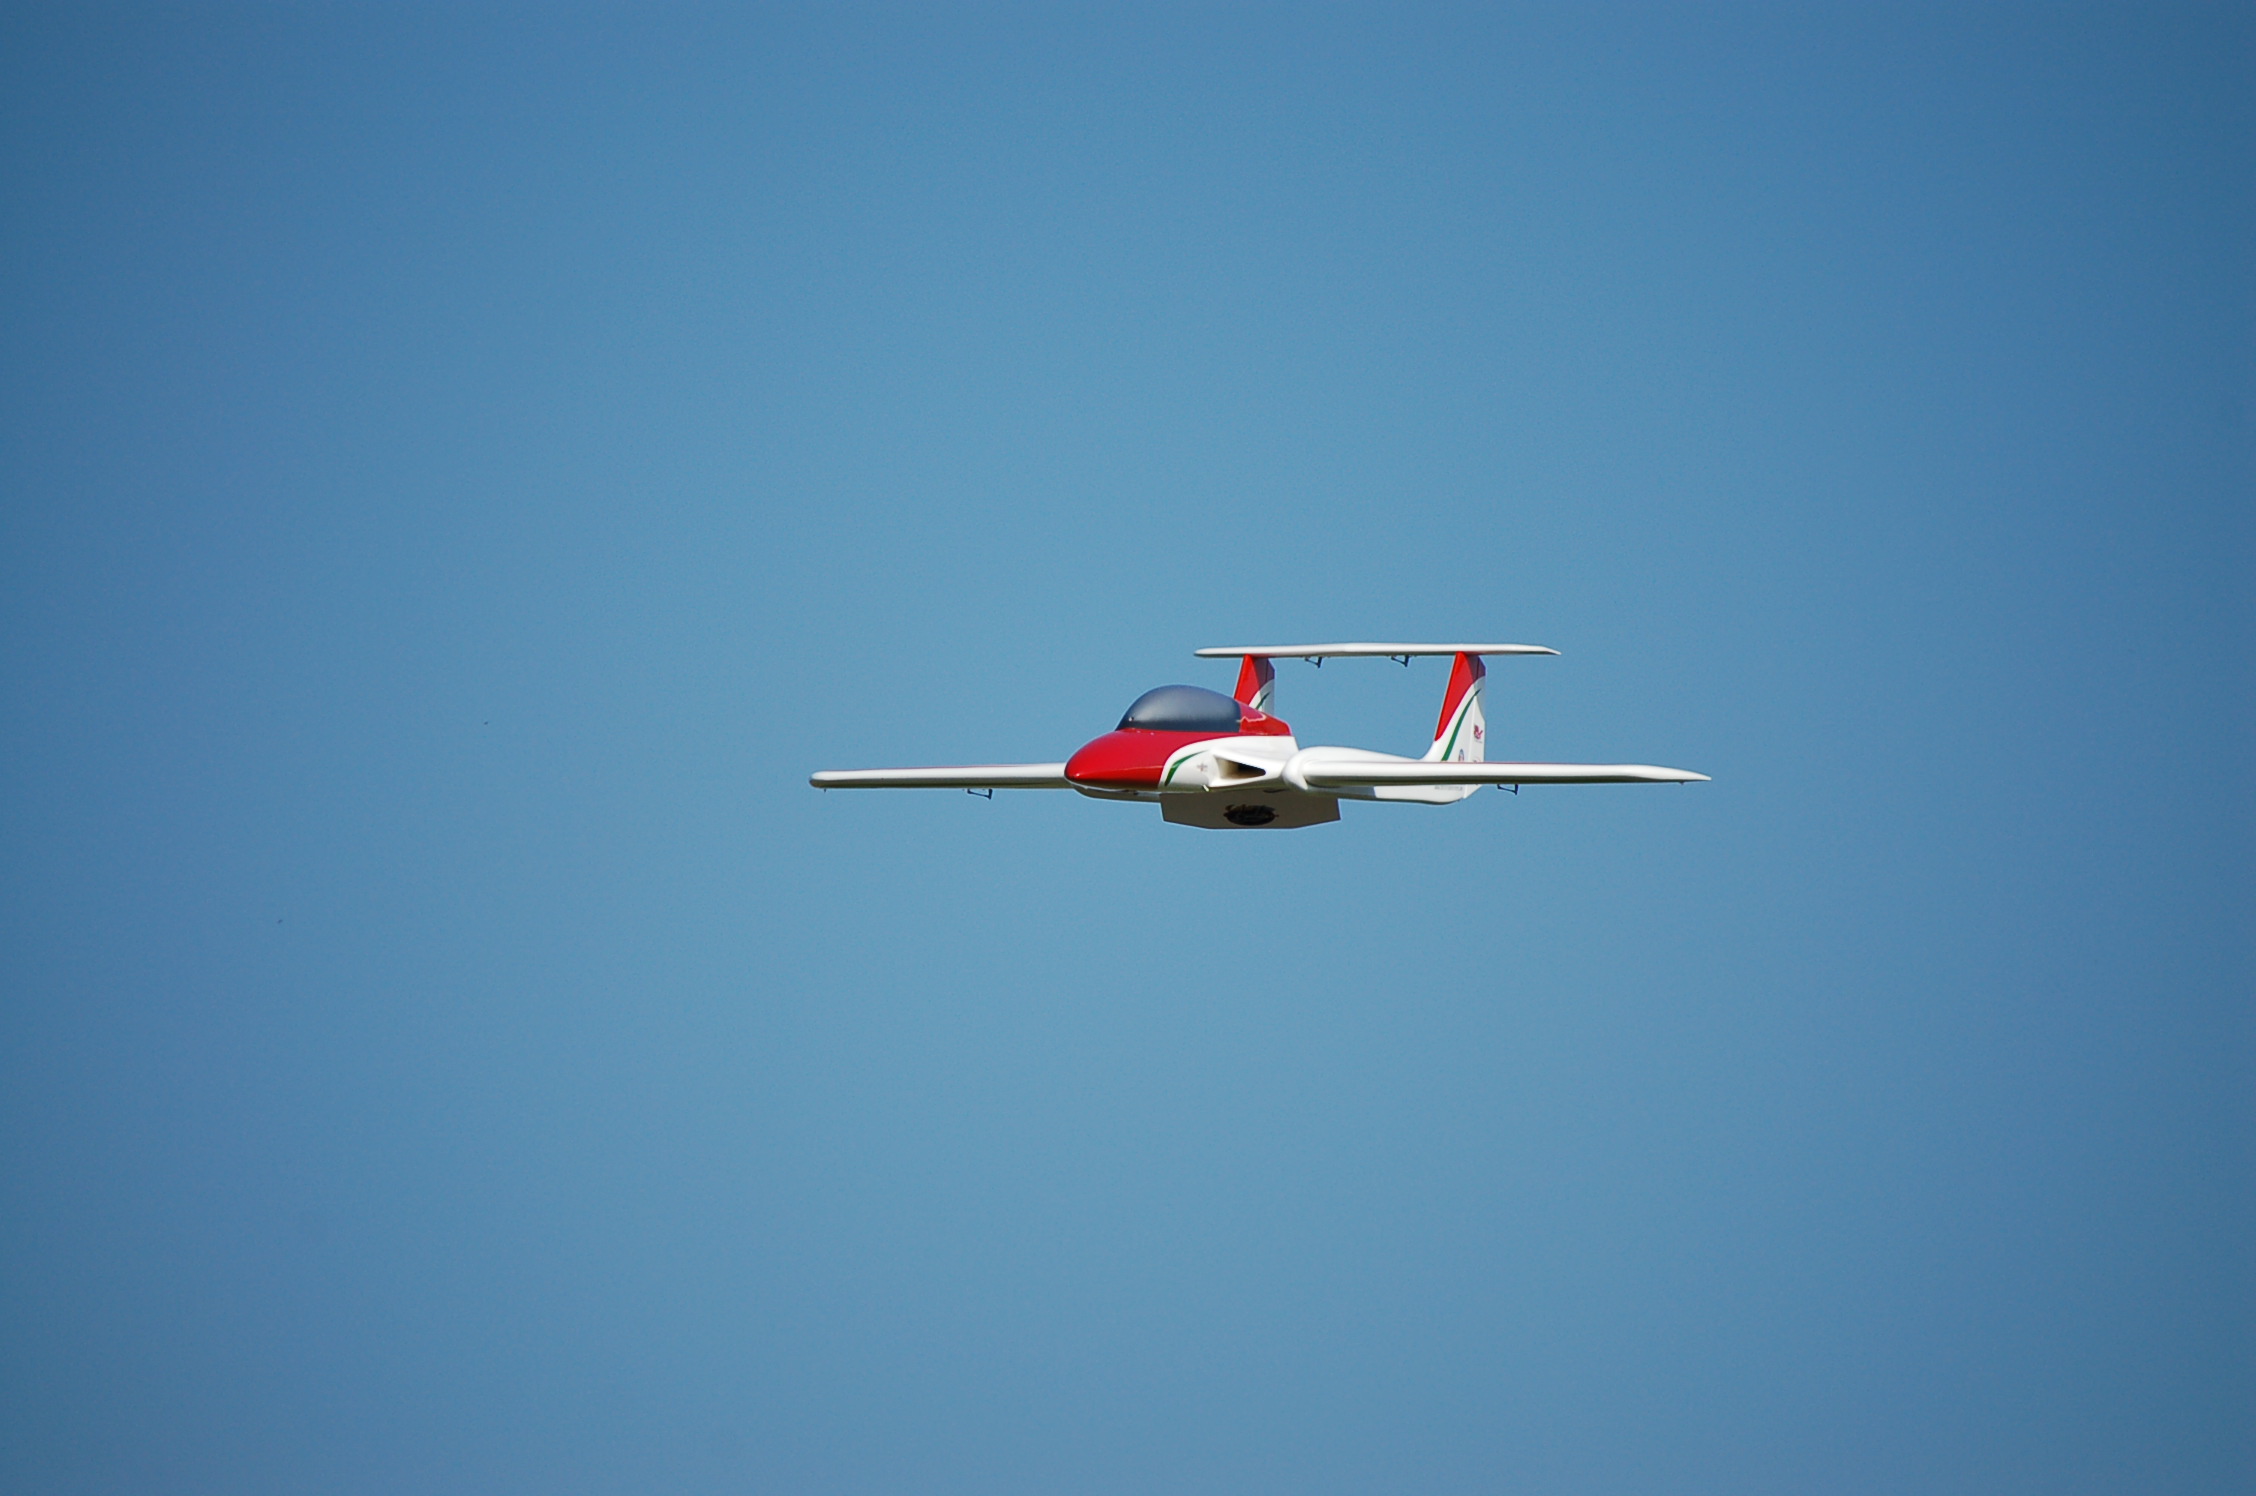
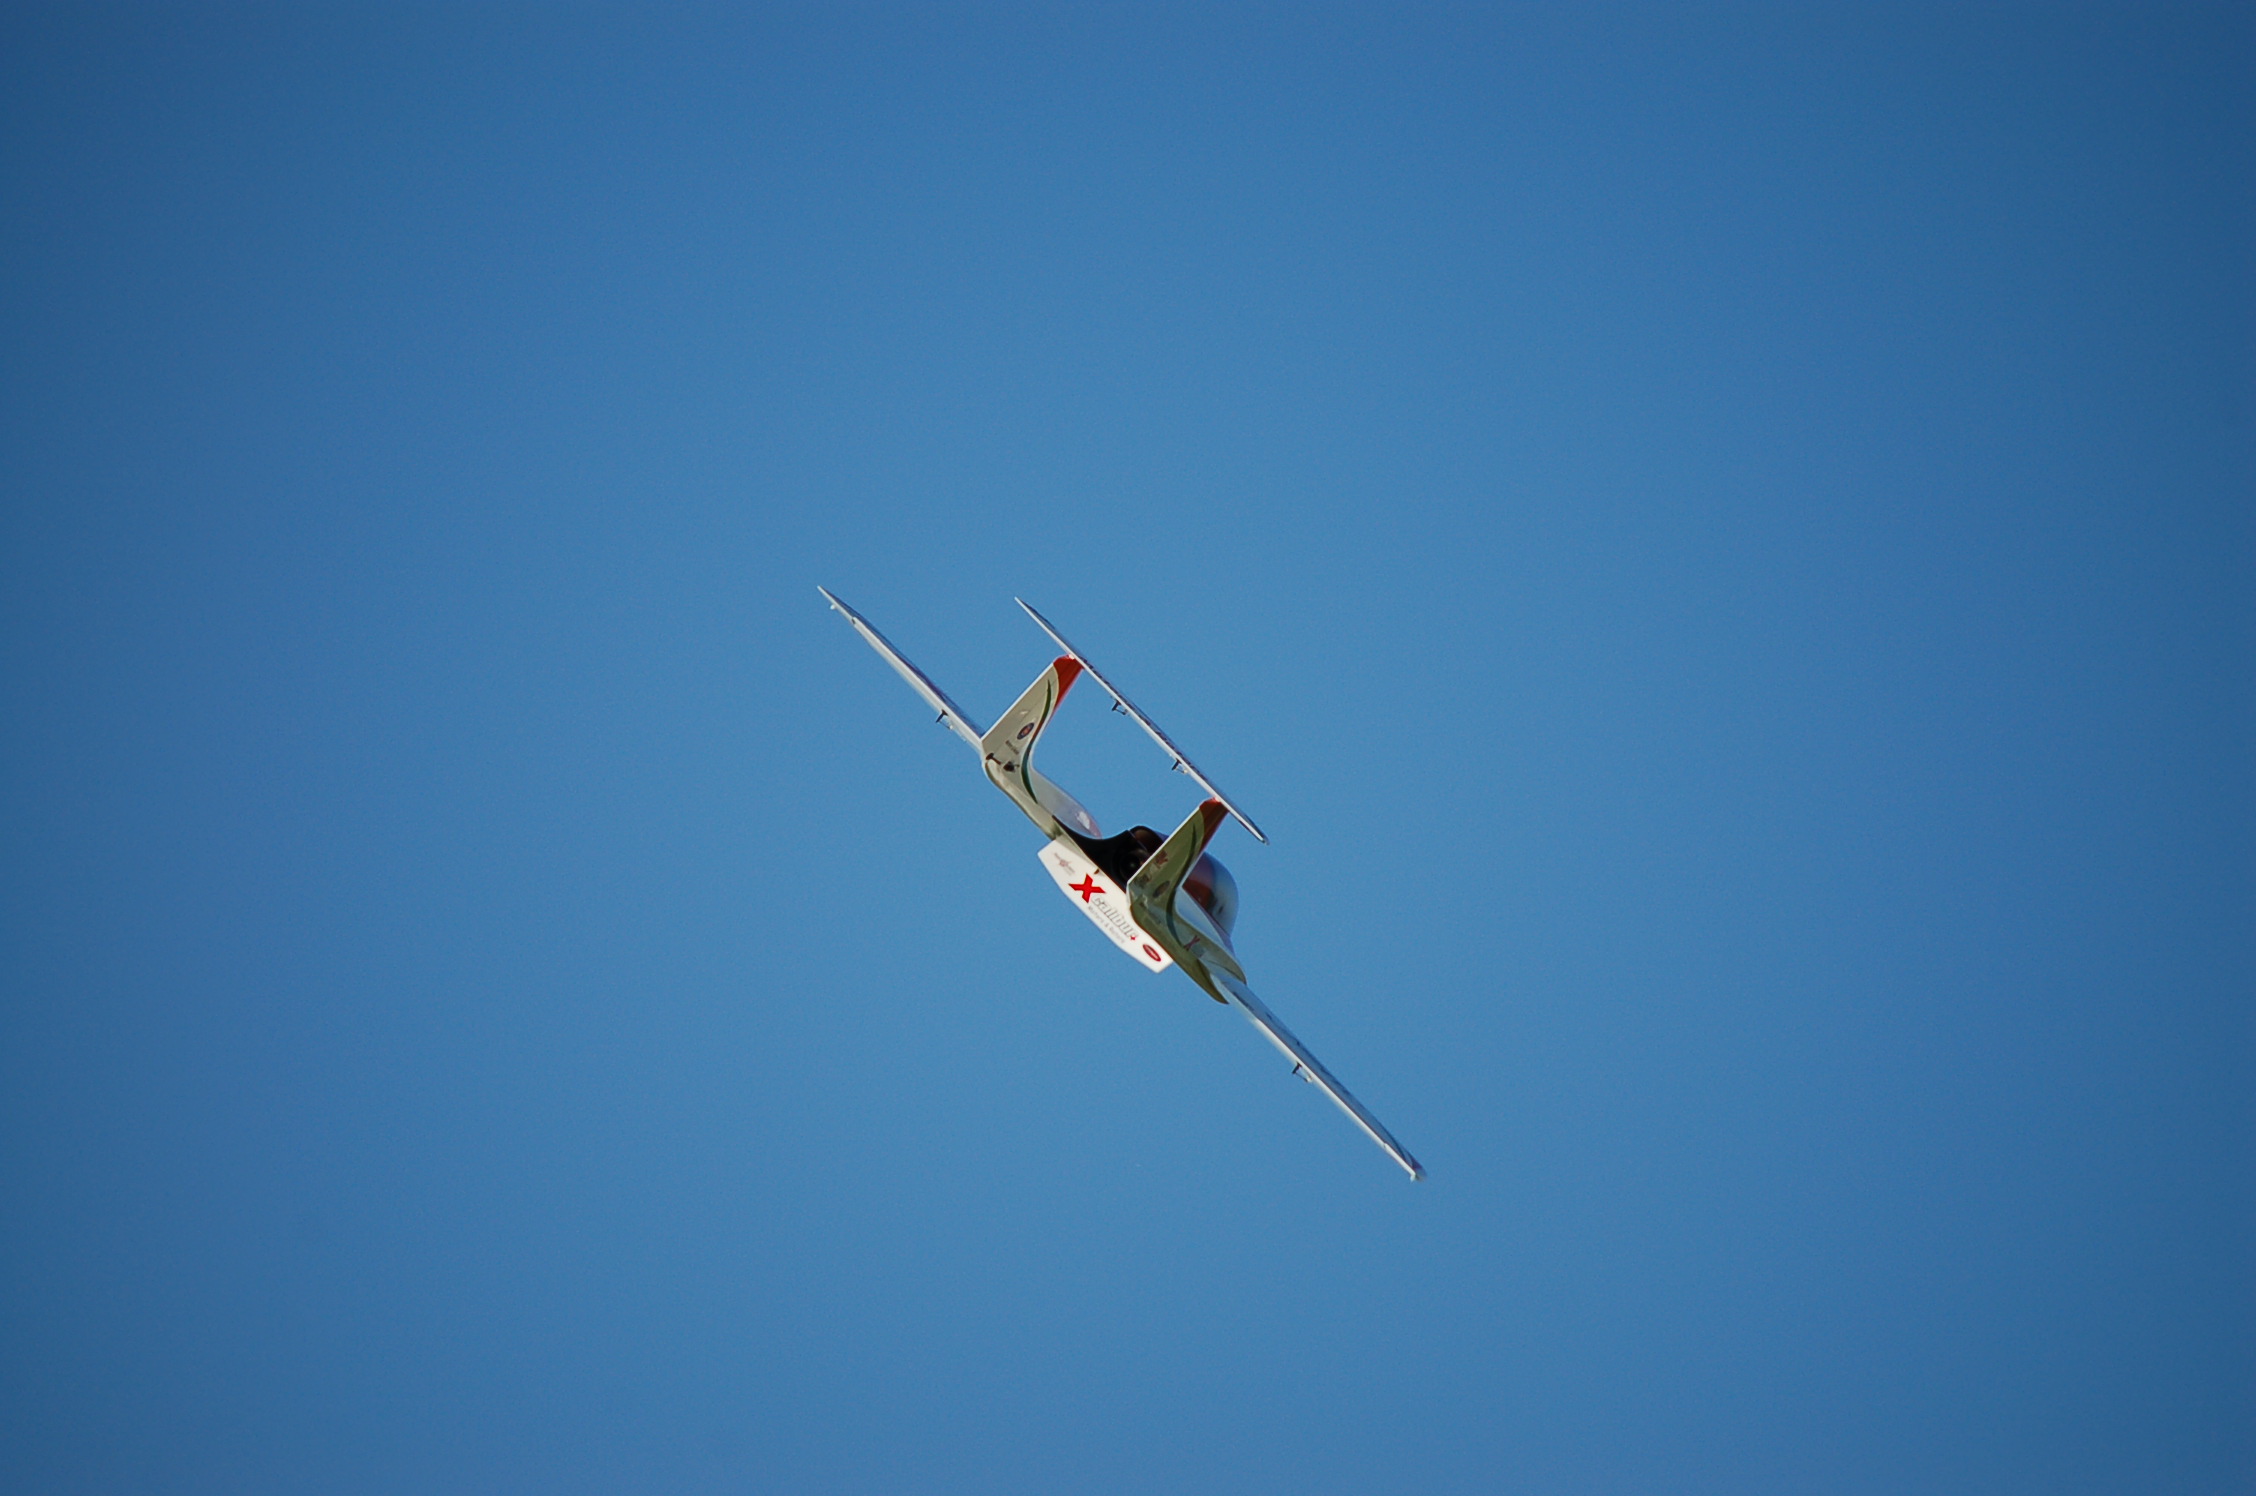
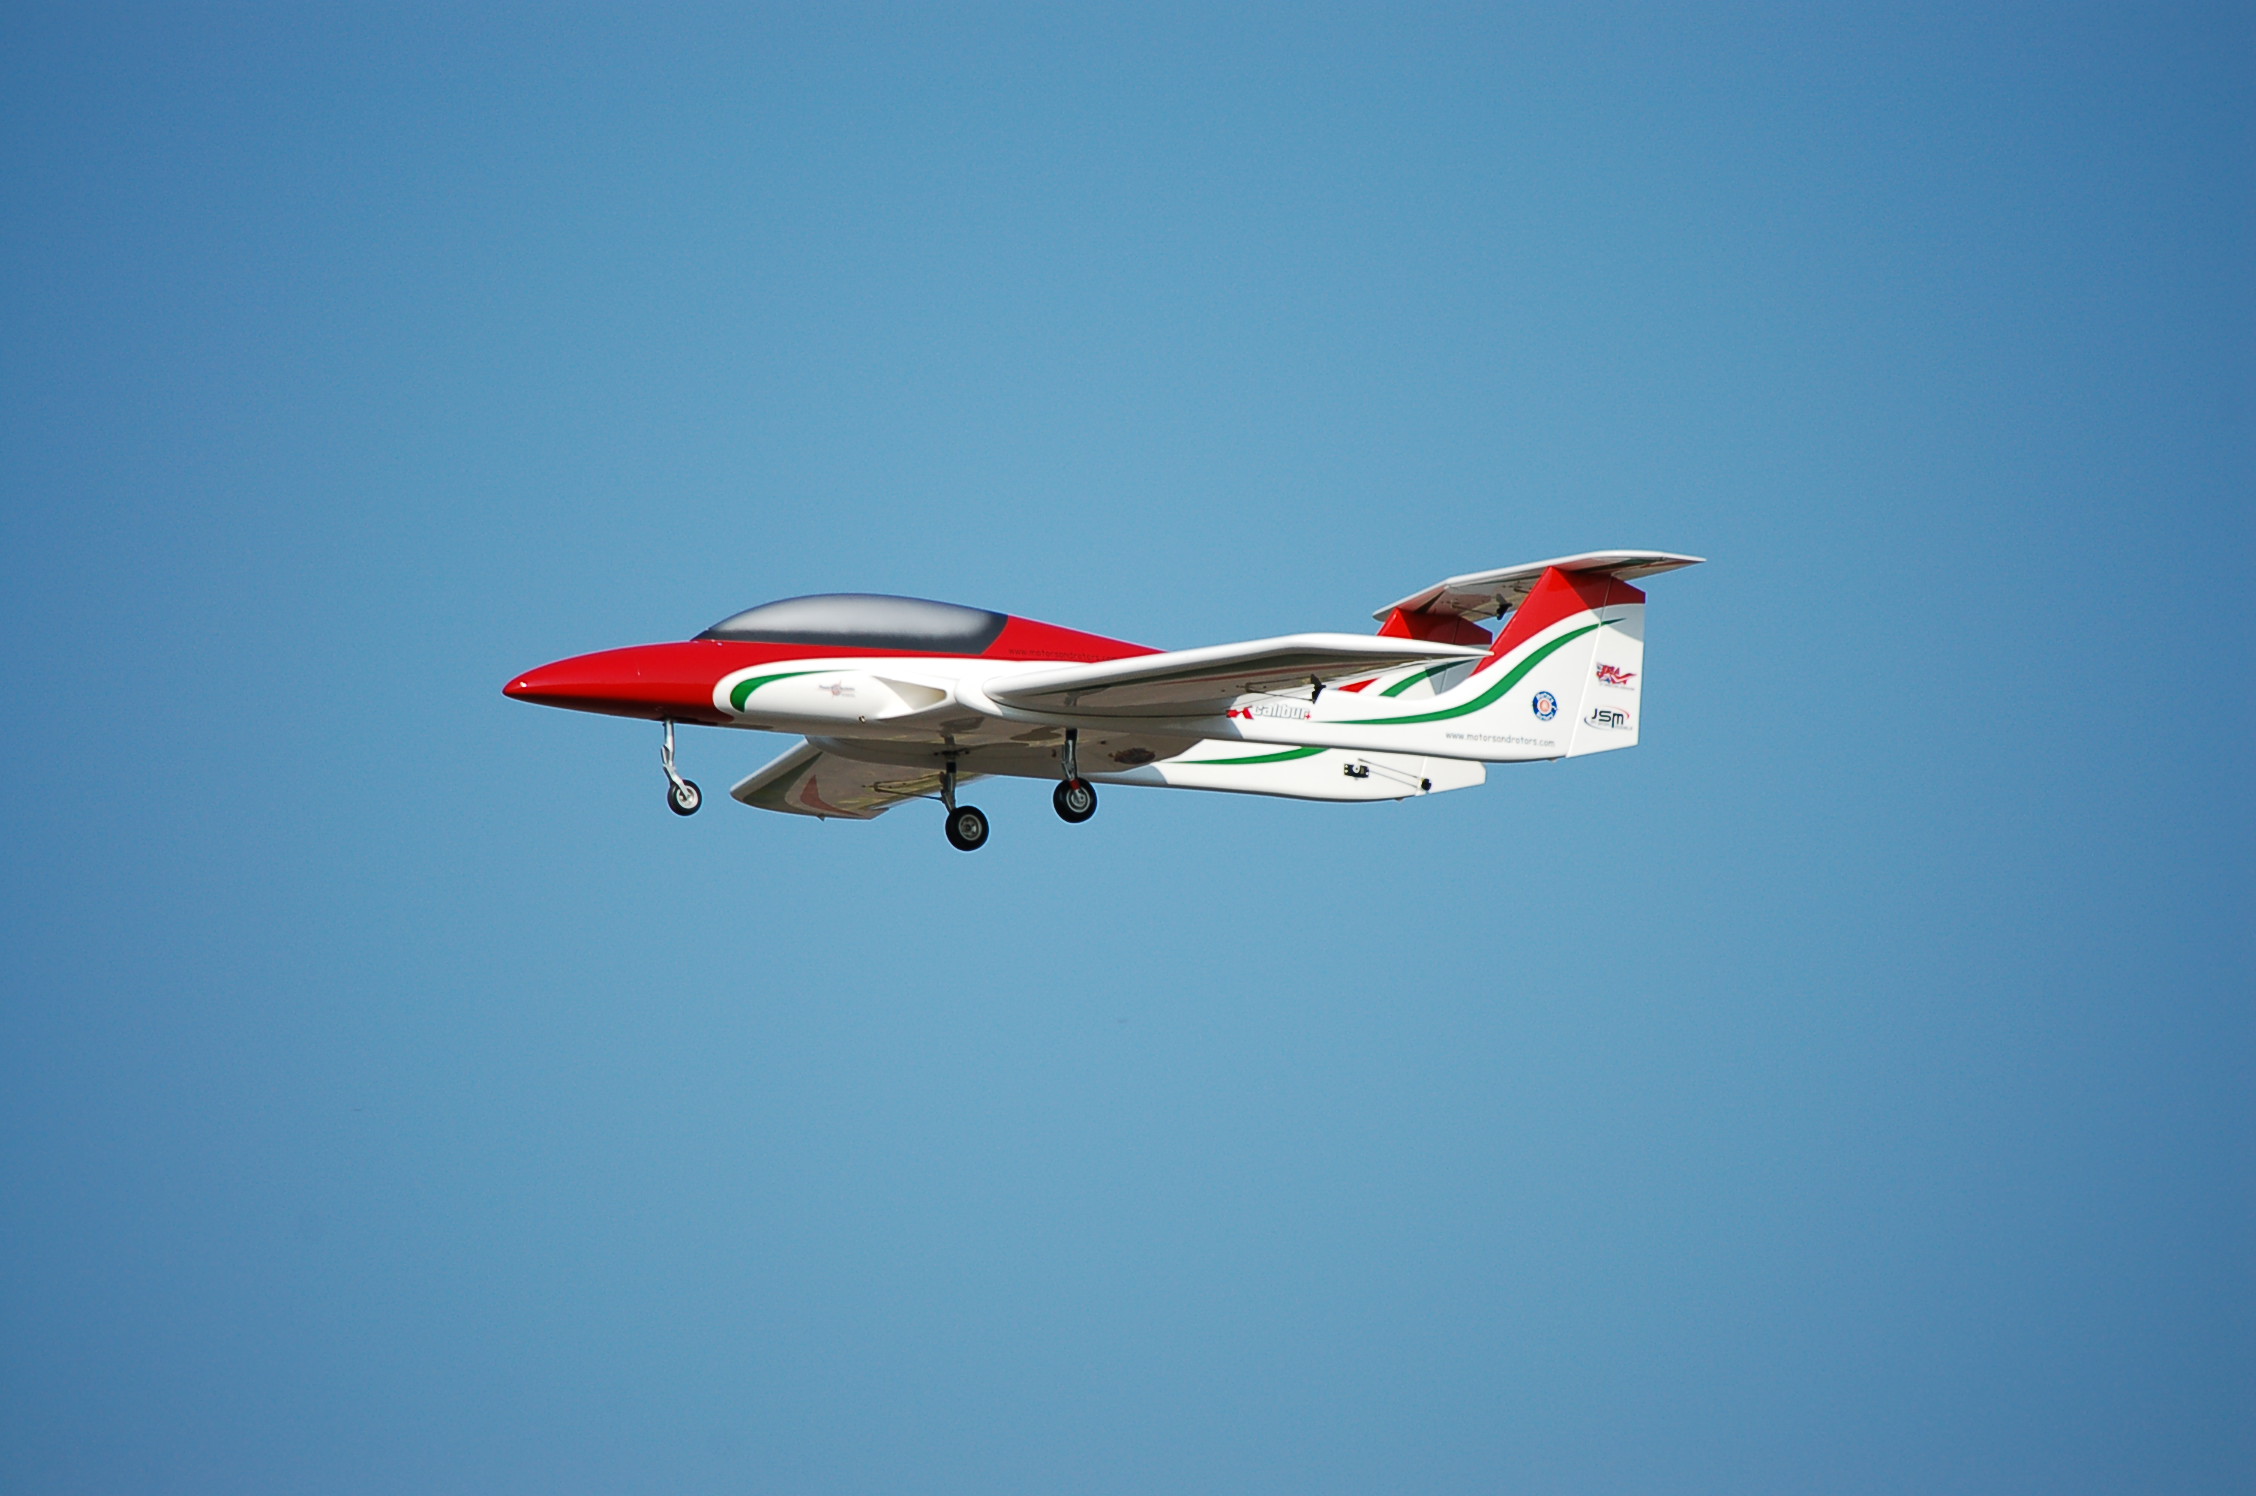
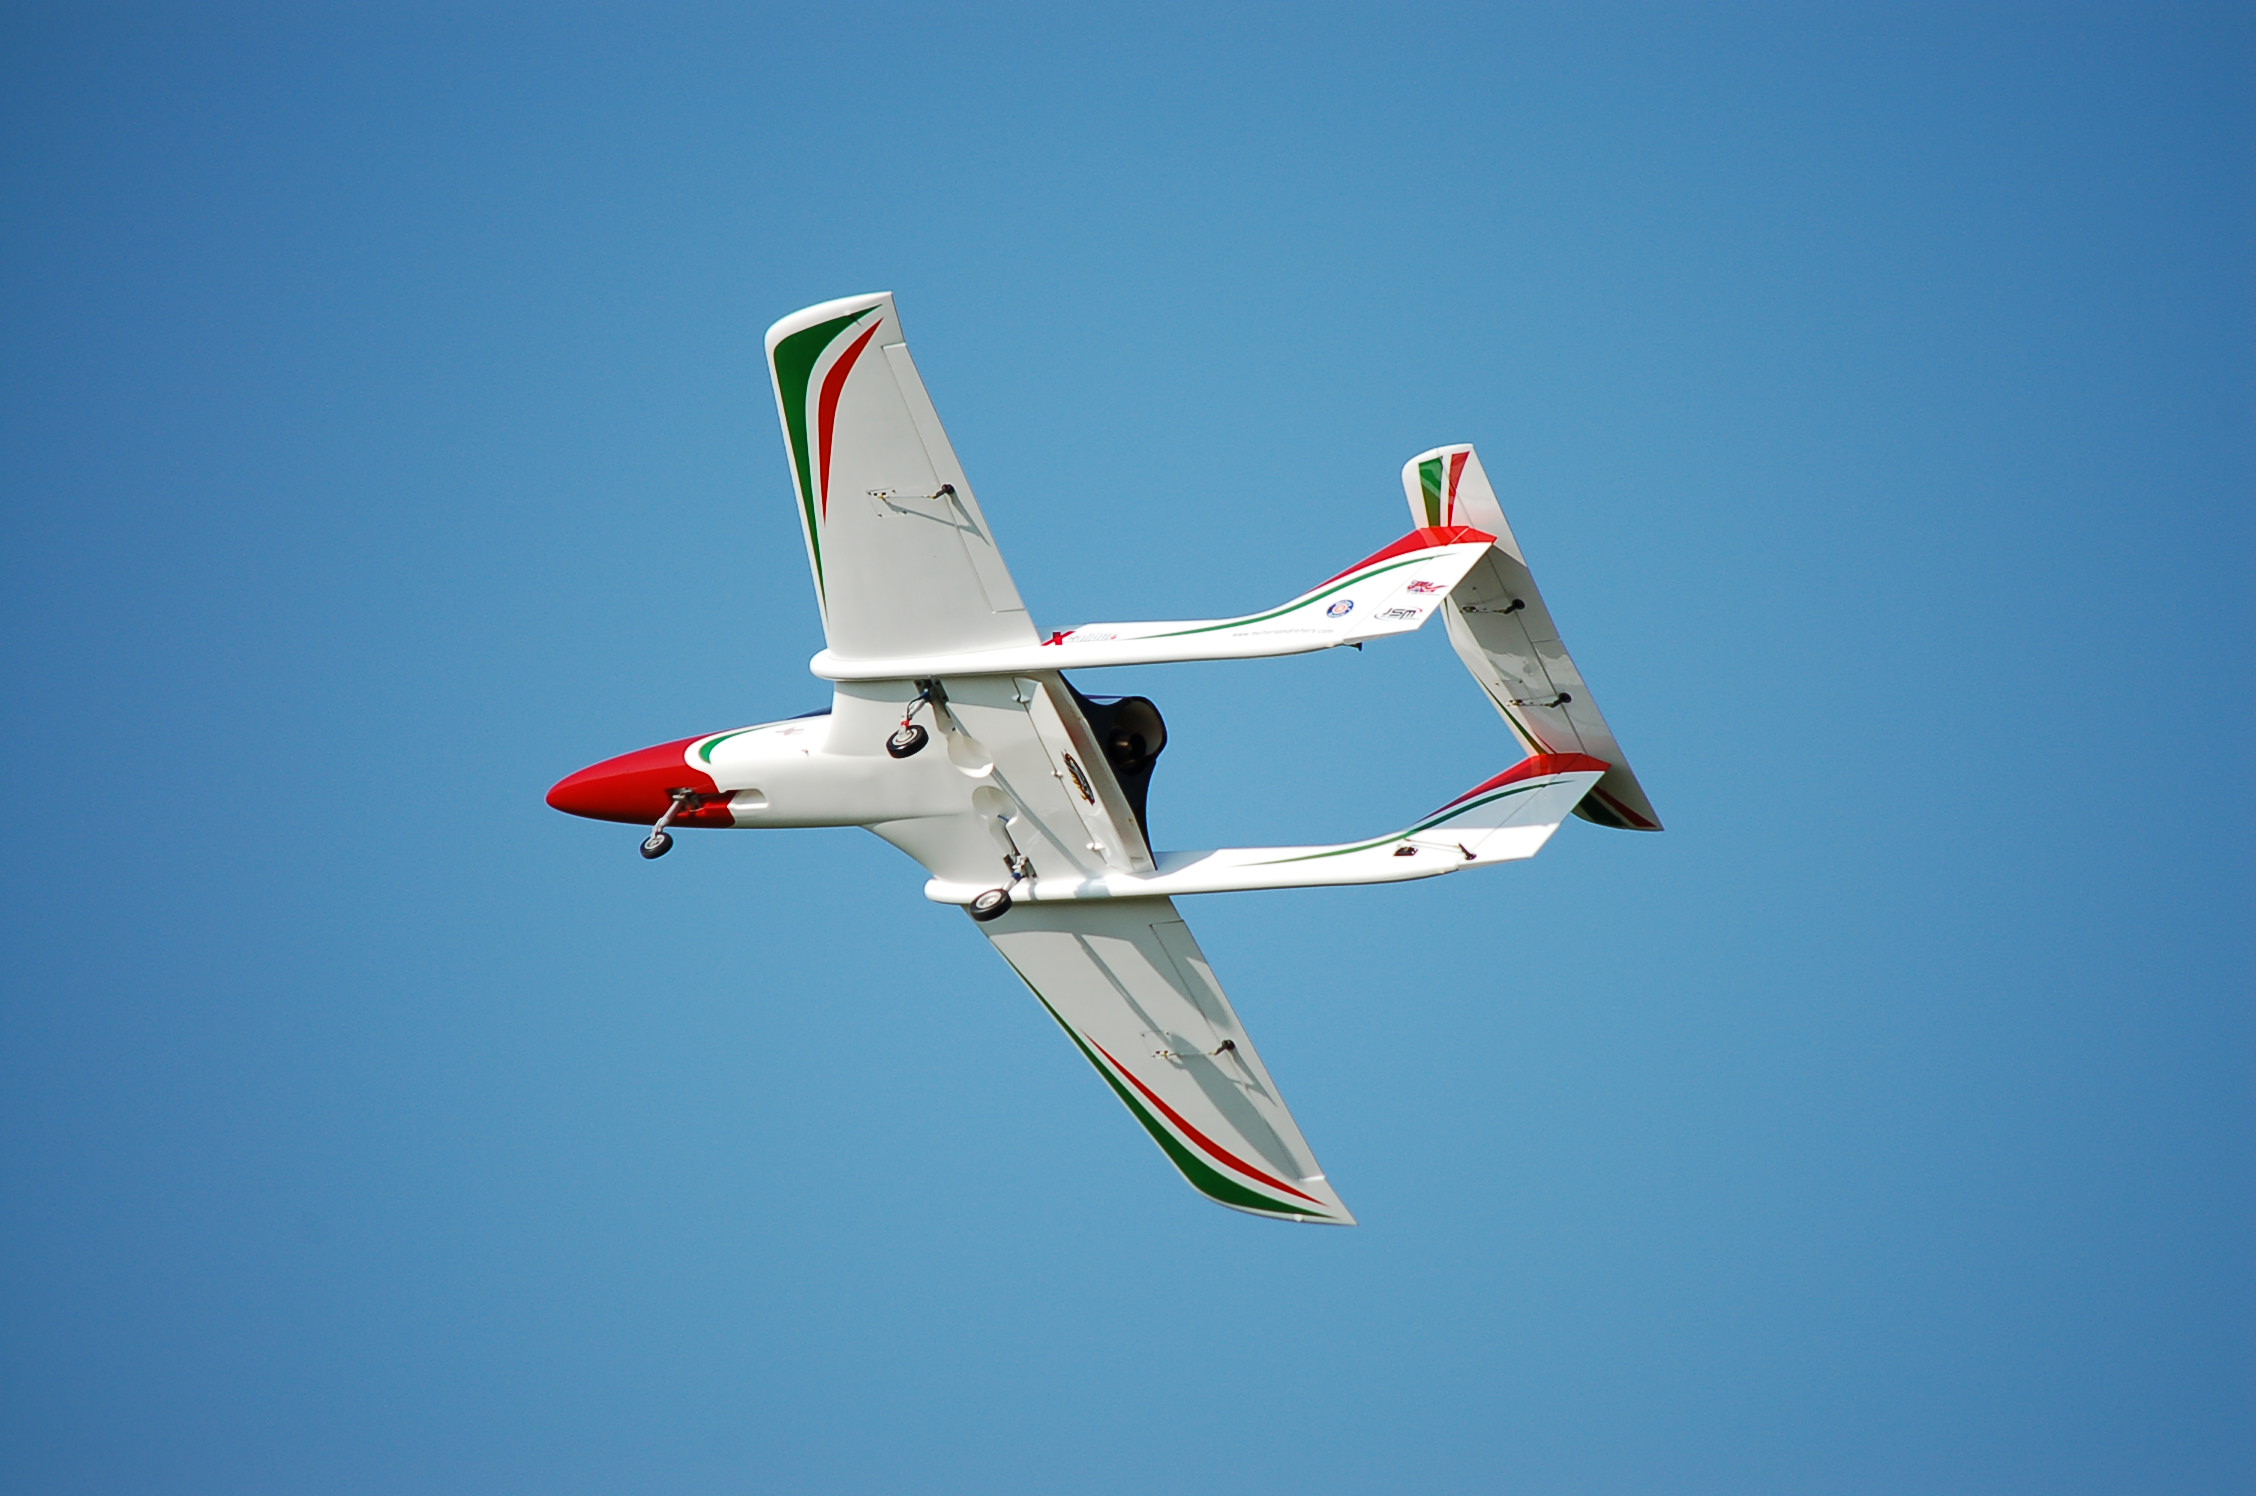
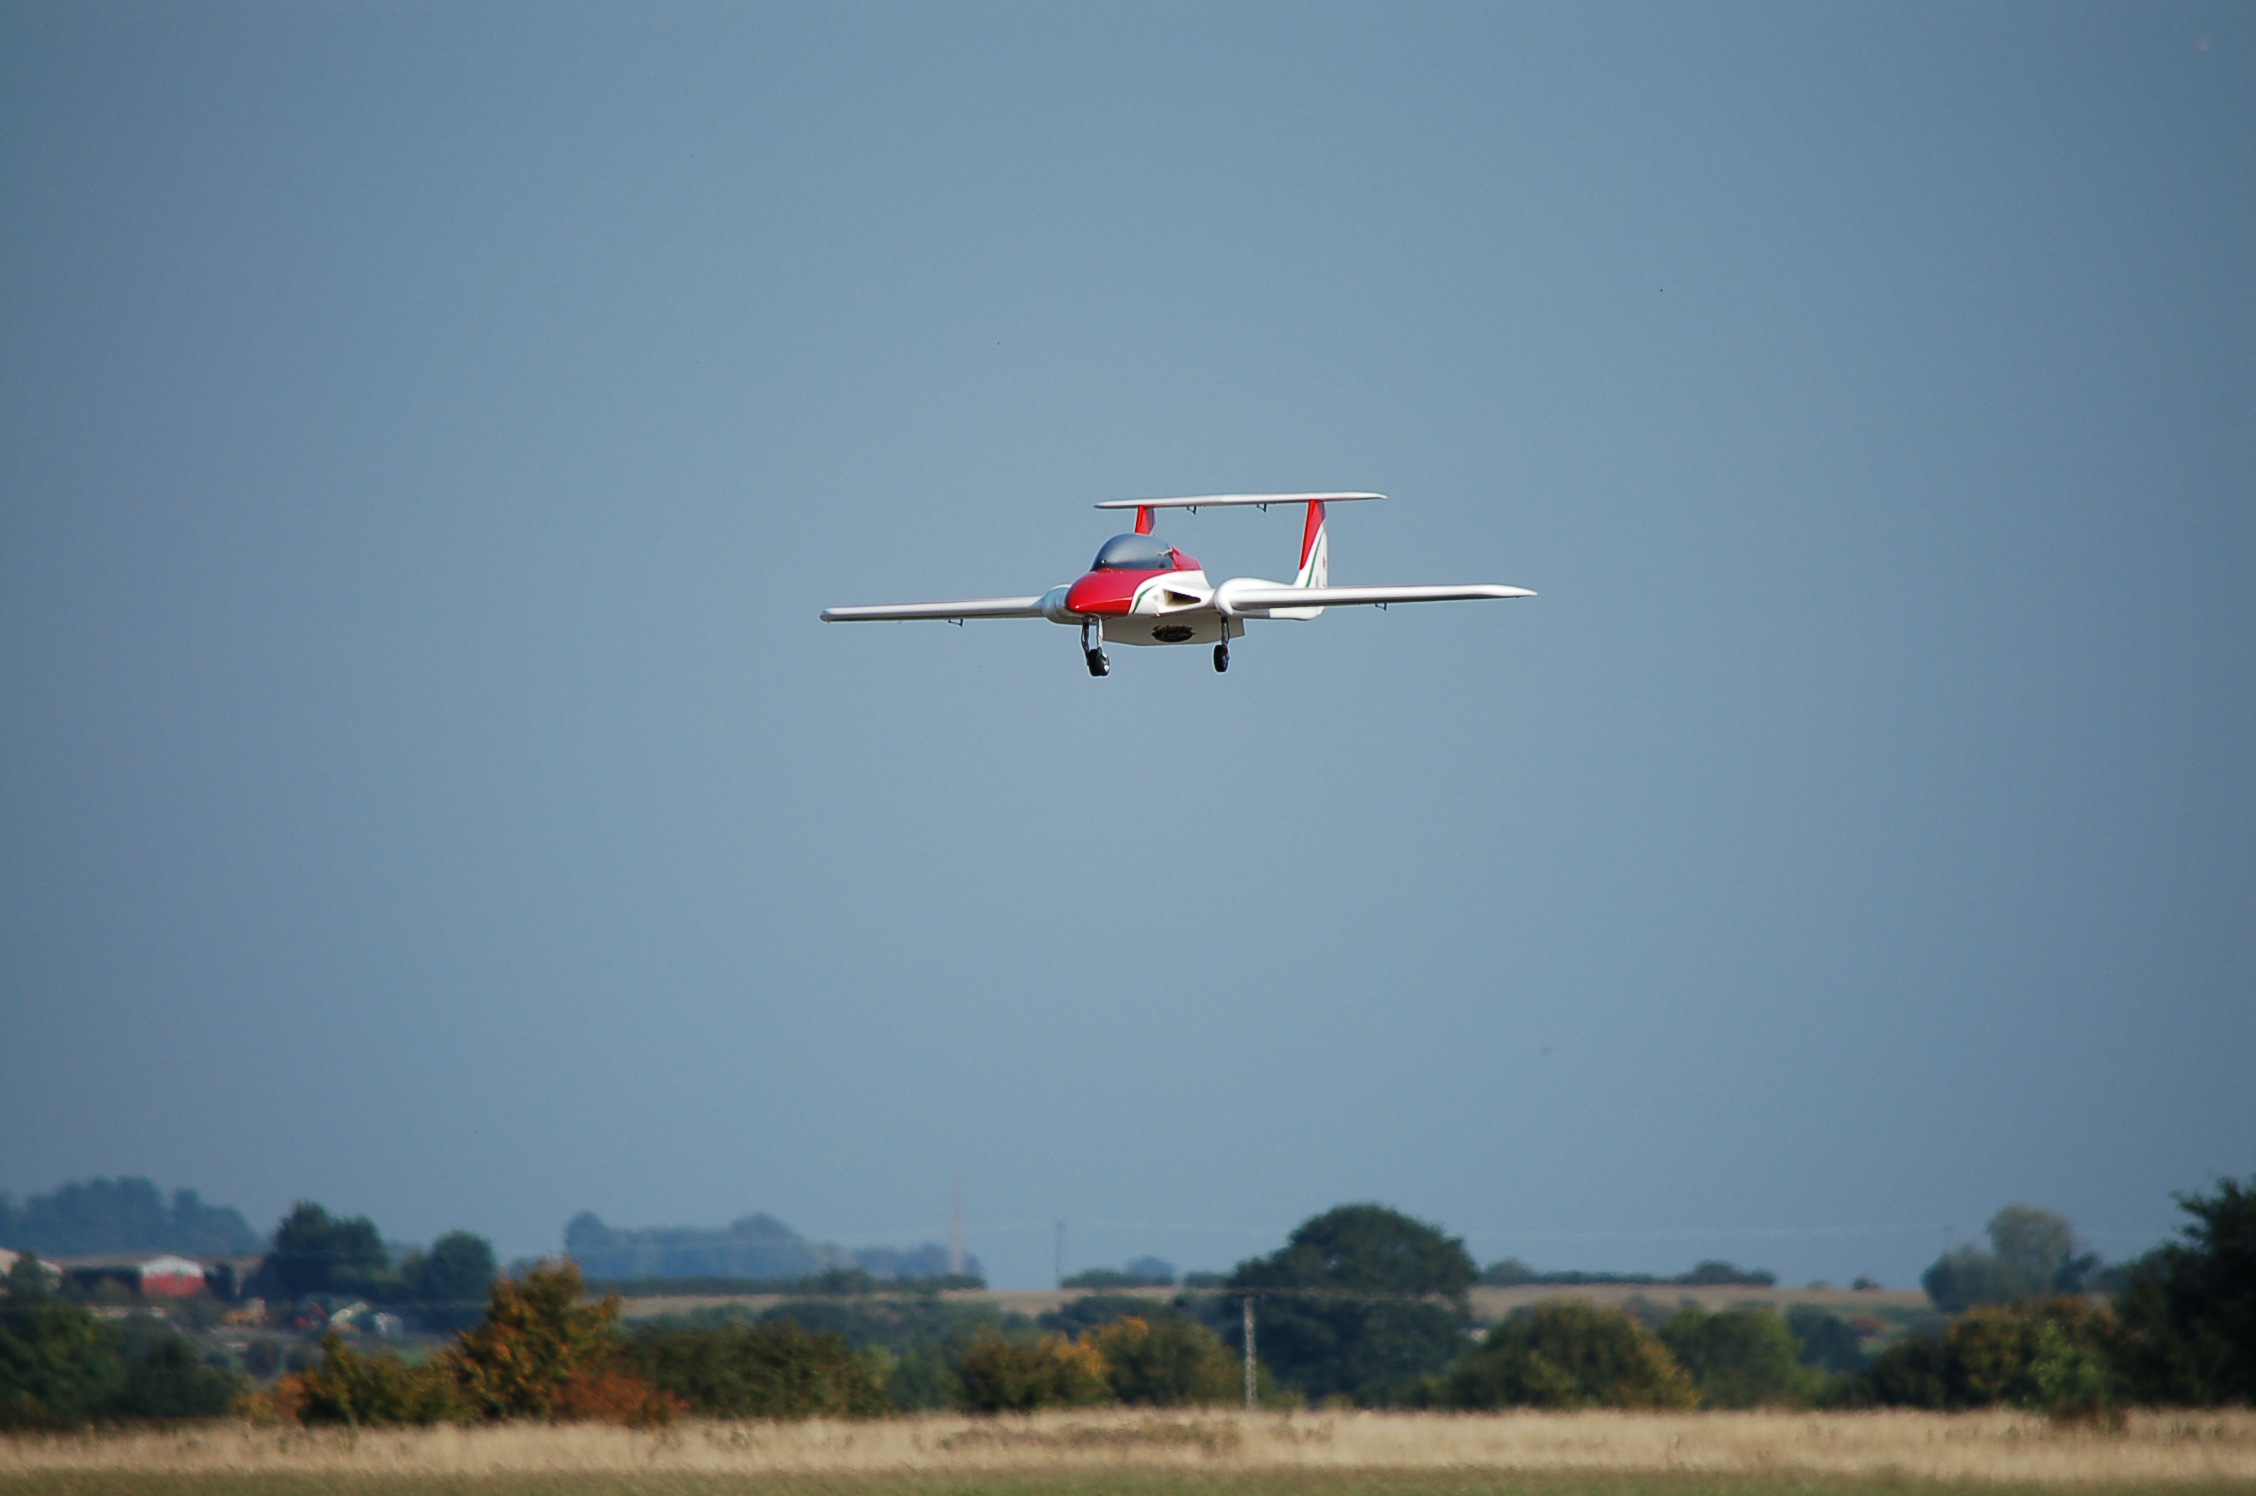
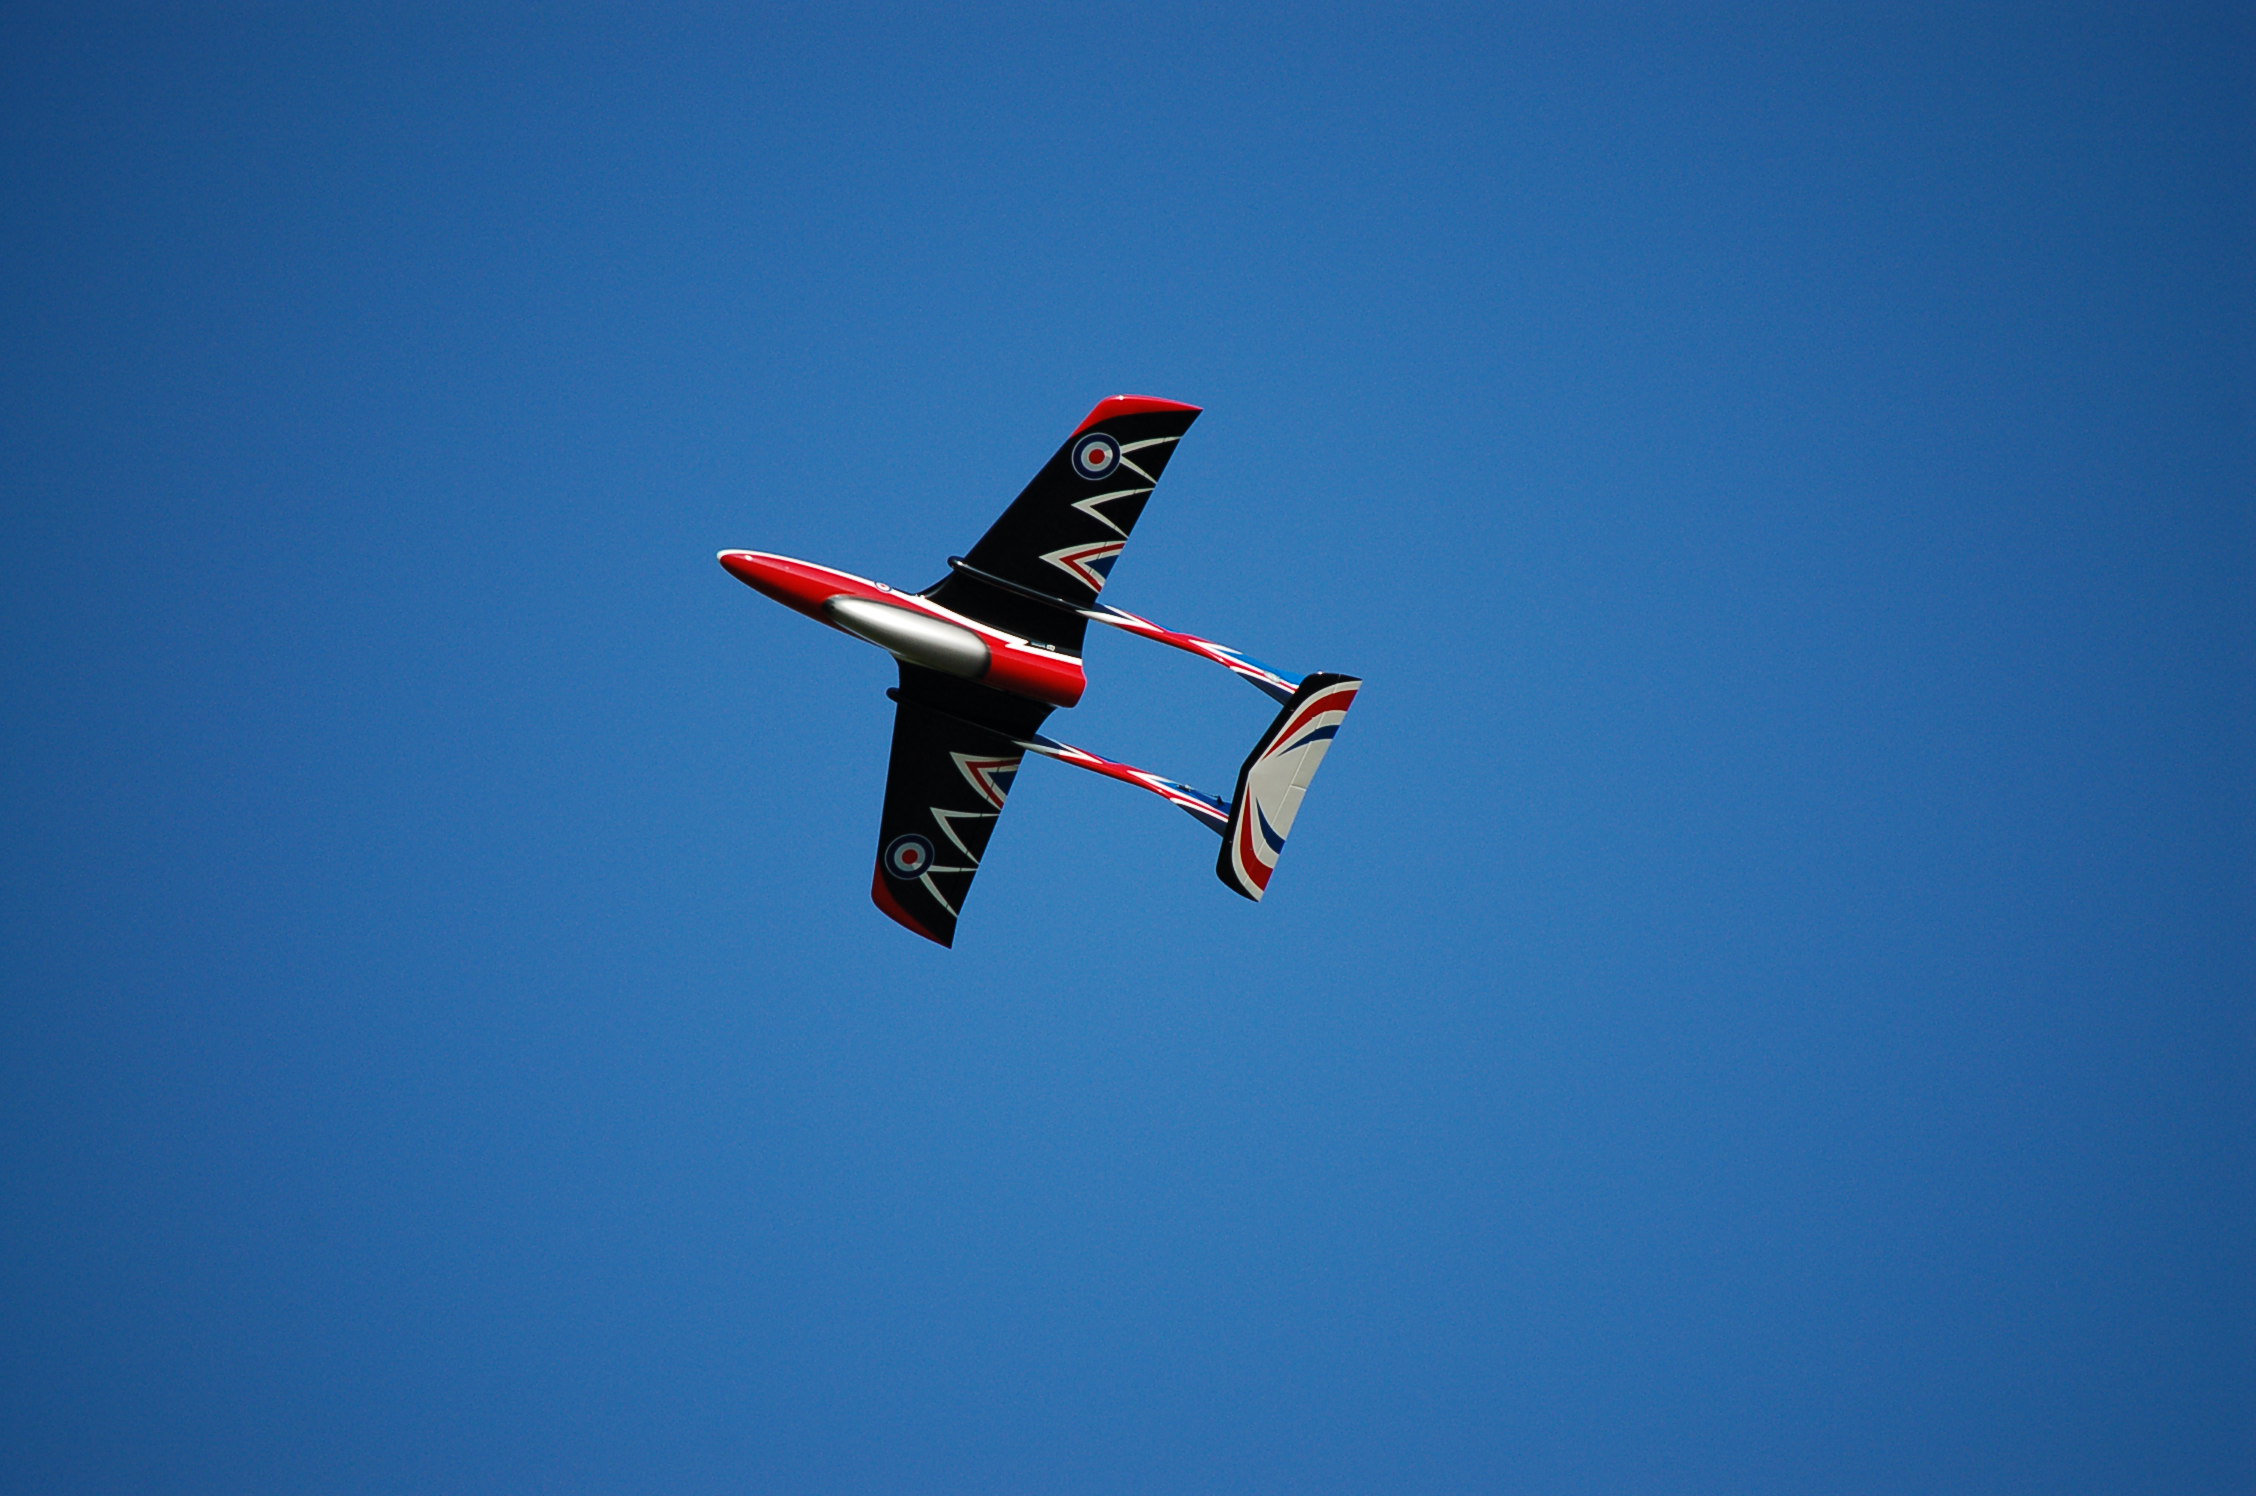
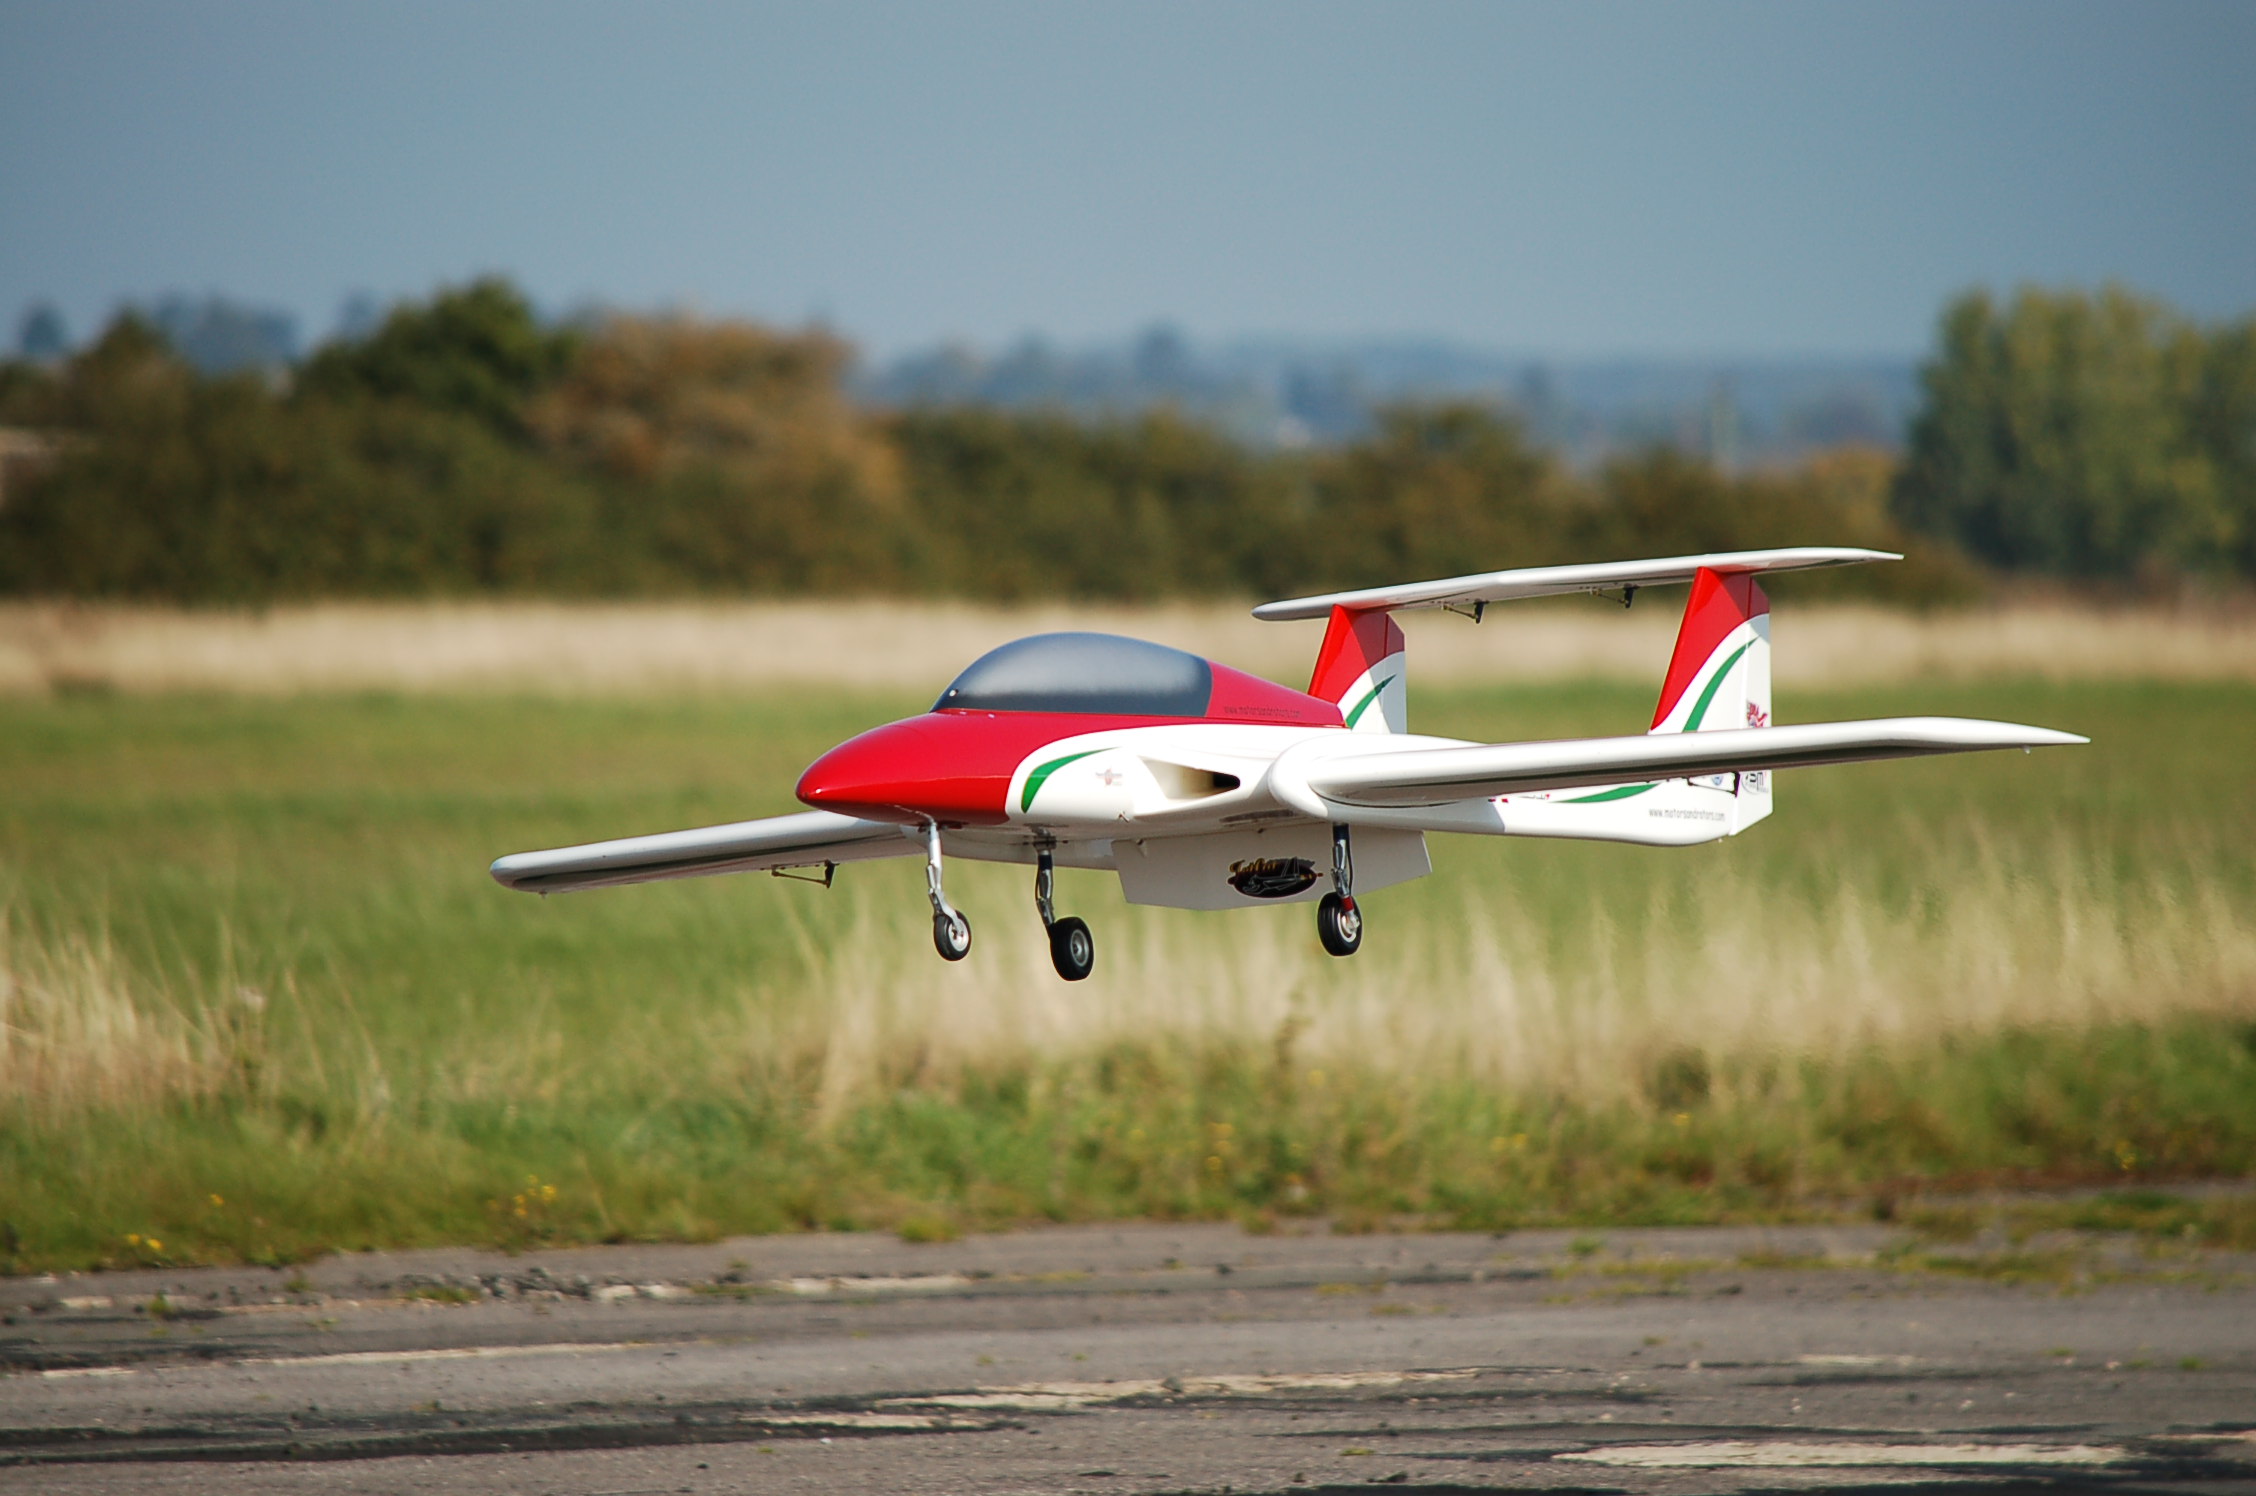
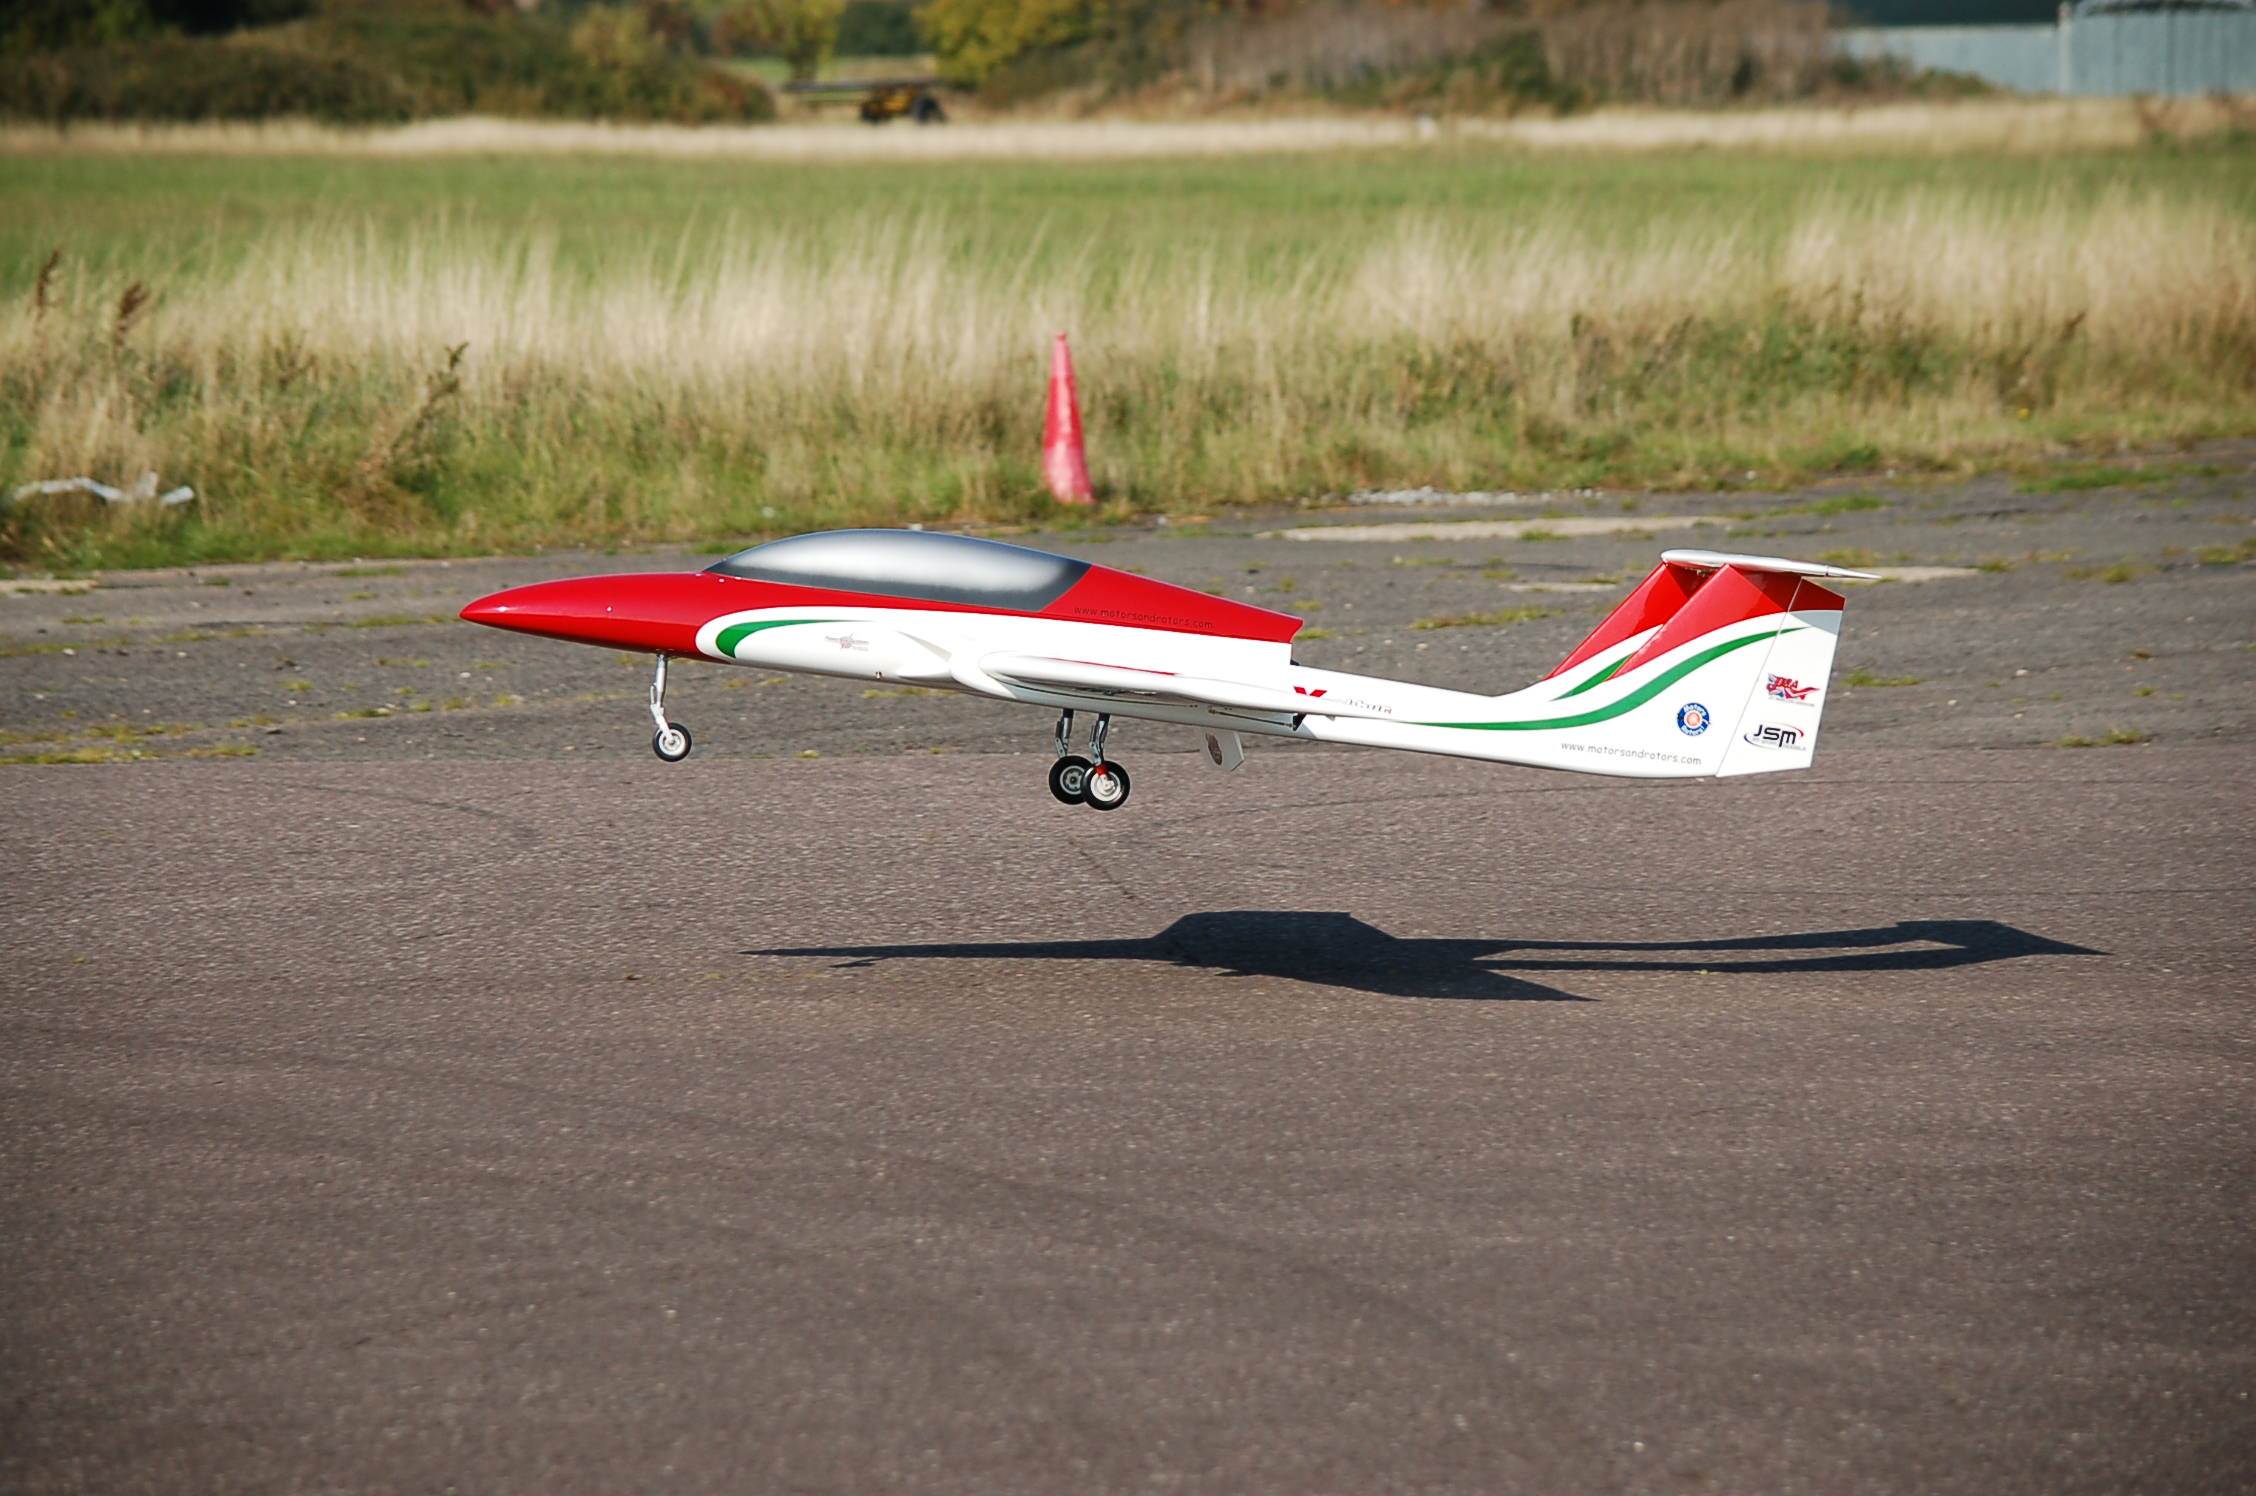
Spent the weekend flying my Xcalibur+ the JetCat P-140Rx is perfect power. Ian George also came Sunday with his RAF scheme also powered by a P-140Rx.
Amazing airframe.


Amazing airframe.
Last edited by Dave Wilshere; 10-14-2015 at 10:55 PM.
10-06-2015, 03:44 PM
#303

My Feedback: (30)
Join Date: Mar 2010
Location: Norfolk, NE
Posts: 375
Likes: 0
Received 0 Likes
on
0 Posts
I've noticed that there aren't very many of us from the states here throwing up stuff about maidens or anything yet. Not even much talk about building or what you're finding other than the wing fitting issues. Anyone have any updates.
Jason
Jason
10-06-2015, 05:06 PM
#304
Senior Member
My Feedback: (19)
Join Date: Feb 2002
Location: Redmond,
WA
Posts: 618
Likes: 0
Received 0 Likes
on
0 Posts
I am building one and am almost done. The wing tubes are somewhat tight but not as bad as some showing on the earlier post.
The fill valve was somewhat useless as it blows the o-ring out. Just replaced them with robart ones.
Did not care too much about the linkage hardware as I using my own.
Other than that it went on fairly well.
The fill valve was somewhat useless as it blows the o-ring out. Just replaced them with robart ones.
Did not care too much about the linkage hardware as I using my own.
Other than that it went on fairly well.
10-07-2015, 01:18 AM
#305
Join Date: Jan 2009
Location: UNITED KINGDOM
Posts: 164
Likes: 0
Received 0 Likes
on
0 Posts
I removed the o-ring as it was to soft replaced it with a small slice of tygon fuel tube, and put it in place of the o-ring. The tygon seals up nicely and doesn't expand.
I am building one and am almost done. The wing tubes are somewhat tight but not as bad as some showing on the earlier post.
The fill valve was somewhat useless as it blows the o-ring out. Just replaced them with robart ones.
Did not care too much about the linkage hardware as I using my own.
Other than that it went on fairly well.
The fill valve was somewhat useless as it blows the o-ring out. Just replaced them with robart ones.
Did not care too much about the linkage hardware as I using my own.
Other than that it went on fairly well.
Last edited by EDFCrazy; 10-07-2015 at 01:21 AM.
10-13-2015, 03:23 AM
#306

Join Date: Jan 2005
Location: Vlodrop, The Netherlands
Posts: 383
Likes: 0
Received 1 Like
on
1 Post
Hi Guys,
could anyone provide me with the retracts info? Length of the legs and wheel diameters used?
Also the size of the mounting flange on the retract unit itself.
Thank you,
Giacomo
could anyone provide me with the retracts info? Length of the legs and wheel diameters used?
Also the size of the mounting flange on the retract unit itself.
Thank you,
Giacomo
Last edited by g_boxwood; 10-13-2015 at 03:47 AM.
10-14-2015, 06:53 AM
#311
Join Date: Jun 2015
Posts: 40
Likes: 0
Received 0 Likes
on
0 Posts
Its a single access rudder gyro.
any 112 (4 1/2") turbine will use 2 spacers per side. You can see in my build pics
Is the wing tight because of the wing clamps? I had to sand the end of my carbon tube-that's normal
I enjoyed flying the Plus at Jetpower on Saturday, the wind was horrible on Friday, but Saturday was nice conditions.
Dave
Brian
10-14-2015, 08:22 AM
#312
Thread Starter
Several options, but drill holes, or dremel notches in the top flange is easiest. I screwed my wooden blocks down, but some glue them. Use a Cap head screw and then a ball end driver can be used
Dave
Dave
10-17-2015, 07:44 AM
#314
My Feedback: (29)
Join Date: Dec 2002
Location: Littleton, CO
Posts: 26
Likes: 0
Received 0 Likes
on
0 Posts
What an excellent jet experience! I ordered mine from Global Jet Club on Monday Sept 28 after seeing one of the standard one's fly at our local jet show. Received the box on Friday Oct 2. Very well packed and everything included. It was a very fun build - Directions & pictures were spot-on. The fit, finish and hardware were great! Had her completely set up per instructions after 2 weeks of a couple hours per night of tinkering. Had one of my best maiden flights ever yesterday! Plan to add a smoke system and start having some real fun with her this weekend!
thx for a great thread......Ken
thx for a great thread......Ken
10-19-2015, 07:31 PM
#315
Join Date: Jun 2015
Posts: 40
Likes: 0
Received 0 Likes
on
0 Posts
Besides the wing fitting issues I have nothing bad to say about this jet. This is my first jet build so I'm more about asking questions and comfirming what I'm figuring out on my own. As it is my plus will be ready to fly this weekend. Everything has gone extremely smooth just trying to make sure I do everything right and keep the install as clean as possible. The biggest pain for me so far throughout the entire process was drilling holes in the fuse to run the air lines for the retracts. I tried heating up a pick and just melting through but failed so I borrowed a very tight right angle drill from work to make it happen. Other than that, no fuss at all.
It'll hopefully be sooner rather than later for the maiden but I don't currently hold a waiver so I have to have help and all that greatness for a little bit before I can fly on my own. If not this coming weekend possibly early November as I live in Indiana and it will be getting cold soon.
Good Luck with yours
Brian
10-20-2015, 09:09 AM
#317
Thread Starter
Yes the balance in the manual is as i was flying both the prototype and my own example. It's a big tailed model, so if you like very neutral models you could go back another 1/4"' but it does not need much push for a twin boomed model ( because the tail is quite high above the efflux )
i'd for the manual figure to start with, I think I only have 40g of weight in the nose of mine with a 2s 5000 ECU and 2 x 3350 2s Rx Li-pos
i'd for the manual figure to start with, I think I only have 40g of weight in the nose of mine with a 2s 5000 ECU and 2 x 3350 2s Rx Li-pos
10-22-2015, 10:54 AM
#319
Thread Starter
Not worth it. The Plus is so lightly loaded it won't care a bit about another 500g if you needed it and it won't be more than 200 I guess.
Balance it as it needs to be and don't worry about the numbers.
Dave
Balance it as it needs to be and don't worry about the numbers.
Dave
10-23-2015, 05:32 PM
#321
My Feedback: (66)
I recently put one of these Xcalibur + jets together and put the first few flights on it. I was pleasantly surprised and found the plane a real pleasure to fly. I�ve flown just about every twin boom model jet on the market and didn�t really think there would be much difference but there really is. I like this much better than even the small Xcalibur however it also does quite well. The wing loading is really light and the suggested control throws are not bad at all. Although I feel the plane needs some differential aileron and will post my final results after my next set of flights. At this point I also felt the throw for the ailerons was less than I would like especially at slow speeds however I do tend to like more throw on Rudder and ailerons than most. I find that if I have more and just a bit more Expo the planes controls are always enough you just have to keep in mind that at high speed they can get snappy at full throw.
I decided to put a smoke system and lights just to make the plane a bit more interesting and am happy I did. Using just straight pump diesel I get a really nice trail that on the right day has enough hang time to make a smiley face if you choose too. Face it that Super Dry is really great and nothing beats it but I�ll save that for the faster planes.
This plane came out at 31.9 LBS and I have no lead added. I also find stock GC�s to be too far forward and on this plane I�m at 215mm back instead of the suggested 195mm. This plane is so stable I think you could move it forward or back 3� and it would still fly well.
To make it simple for those who would just like to see a list of the set up here it is.
Weight 31.9 LBS
GG 215mm
Elevator throw 27mm up and down
Rudder throw 70mm each way
Flap throw is 50mm at take off with about 3mm of down trim in the elevator and 130mm for landing with 5mm of down trim in the elevator
Aileron first flights were at 20mm each way but needed differential. Next flights will be at 33mm in the up direction with 23mm in the down direction.
Most likely I will also be putting In up aileron for landing mixed to the flap but will post that latter. The reason is this plane although it is really easy to land it floats a bit due to how light the wing loading is. I really think crow will make it even easier.
Bottom line is this plane flies so well and so easily I really don�t think anybody should feel apprehensive. Just relax and have fun.
One last thing for now, I found that the canopy gets a bit soft in the sun and heat of the day so I decided to put some Carbon fiber reinforcment to help it hold it's shape making it easier to put on since it retains the shape better.
George Manning Jr
The following users liked this post:
Tom ling (07-19-2020)
10-23-2015, 07:35 PM
#322
Join Date: Jun 2015
Posts: 40
Likes: 0
Received 0 Likes
on
0 Posts
Okay, mine is finished and almost ready to fly. One last question... for now anyway. How in the heck are you guys checking the balance of this giant heavy thing? It's too awkward to do the ole pick it up with your finger test, and I refuse to buy a 170 dollar giant scale balance checker. Any suggestions would be greatly appreciated.
Brian
Brian
10-24-2015, 12:13 AM
#324
Thread Starter
Okay, mine is finished and almost ready to fly. One last question... for now anyway. How in the heck are you guys checking the balance of this giant heavy thing? It's too awkward to do the ole pick it up with your finger test, and I refuse to buy a 170 dollar giant scale balance checker. Any suggestions would be greatly appreciated.
Brian
Brian
I just pick the model up from above pinching the two booms. Balance is a matter or preference and feel. My test is before a test flight, just to check its safe and then you shift it to suit your preferred feel. It only has to leave the wheels for a second to tell you whether its close enough to fly.
As I said already it has a large tailplane, so copes with a rearward balance point, but I would tread carefully as I like flicks and spinning and it goes very flat with the balance near the manual position.
Dave
10-24-2015, 10:57 AM
#325
Join Date: Jun 2015
Posts: 40
Likes: 0
Received 0 Likes
on
0 Posts
Dave,
Thats awesome. I basically did the exact same thing. Though I slide the wings out about 1 inch on either side so I could hook my fingers on the tail booms and pick it up. First try was about 10mm rearward of what the manual says. Added about 2.5oz of lead to the nose and got it to within 5mm of what the manual says. This I'm sure will be just fine. It's officially ready to fly now. I can't wait! Thanks Again for all the help and quick responses.
Brian