


Electronic solutions to modifying glow engines of all sizes to gasoline
 08-13-2022 | 09:13 PM
#376

Thanks John.
I asked Time Fasteners why they didn't make a 1/4-32 Bigsert. They said that the standard Timeserts work so well that there wasn't a high enough demand to justify the tooling cost. They also claim that a properly installed standard insert should outlast the life expectancy of an engine. Makes sense, the torque requirement is very low on glow plugs and they are infrequently removed.
I will be forced to use hi temp/hi strength loctite to capture a custom fabricated brass insert because there will be no locking feature, other than tightening the shouldered insert into place. Will loctite survive the temps experienced at the spark plug? Hmmmm
The time-serts have a serrated edge that gets swaged into the base metal to prevent the insert from backing out, but they are also set in red loc-tite as well... I wouldn't be too concerned, just clean / decrease both the cylinder, and insert threads, and then when you assemble it, tighten the insert firmly, and then let the thread locker setup at least 48 hours before you run the engine. You can also take a fine point center punch and peen the edge of the brass insert into the base metal in 3 locations, to capture the insert.
https://www.permatex.com/products/th...cker-red-6-ml/
 08-13-2022 | 09:33 PM
#377
Never tried this stuff, suppose to be good to 2000F for exhaust fittings... ceramic based translucent compound... they make the claims, not I
https://www.vibra-tite.com/threadloc...-threadlocker/
https://www.vibra-tite.com/threadloc...-threadlocker/
08-14-2022 | 03:08 AM
#378
Never tried this stuff, suppose to be good to 2000F for exhaust fittings... ceramic based translucent compound... they make the claims, not I
https://www.vibra-tite.com/threadloc...-threadlocker/
https://www.vibra-tite.com/threadloc...-threadlocker/
After reading Bert's post about erosive corrosion in high pressure/high velocity environments I wouldn't want loosening ceramic particles dropping into the combustion chamber anyway.
Last edited by Glowgeek; 08-14-2022 at 04:46 AM.
08-14-2022 | 11:27 AM
#379
It wouldn't get into the combustion side, as it would be confined / trapped in the thread clearances only, unless you over apply it... but you're doing the repair cylinder off the crankcase, so there wouldn't be any residue to flake away. It was designed for firearm use mostly, it works in a similar way as gulling, but the ceramic has a breaking / shear point when removing the fastener. Any of the high temp red thread locker will be more than adequate
It doesn't exhibit much if any real locking properties... red locker properly applied, would be more difficult to remove without heat applied... if the rifle barrel gets well above 450F then the red locker will fail obviously, hence the use of ceramic particulates, and water based mind you... which may pose an issue from combustion moister working its way past voids in the ceramic. Not truly impressed with it, but it has its applications.
It doesn't exhibit much if any real locking properties... red locker properly applied, would be more difficult to remove without heat applied... if the rifle barrel gets well above 450F then the red locker will fail obviously, hence the use of ceramic particulates, and water based mind you... which may pose an issue from combustion moister working its way past voids in the ceramic. Not truly impressed with it, but it has its applications.
08-15-2022 | 05:19 PM
#380


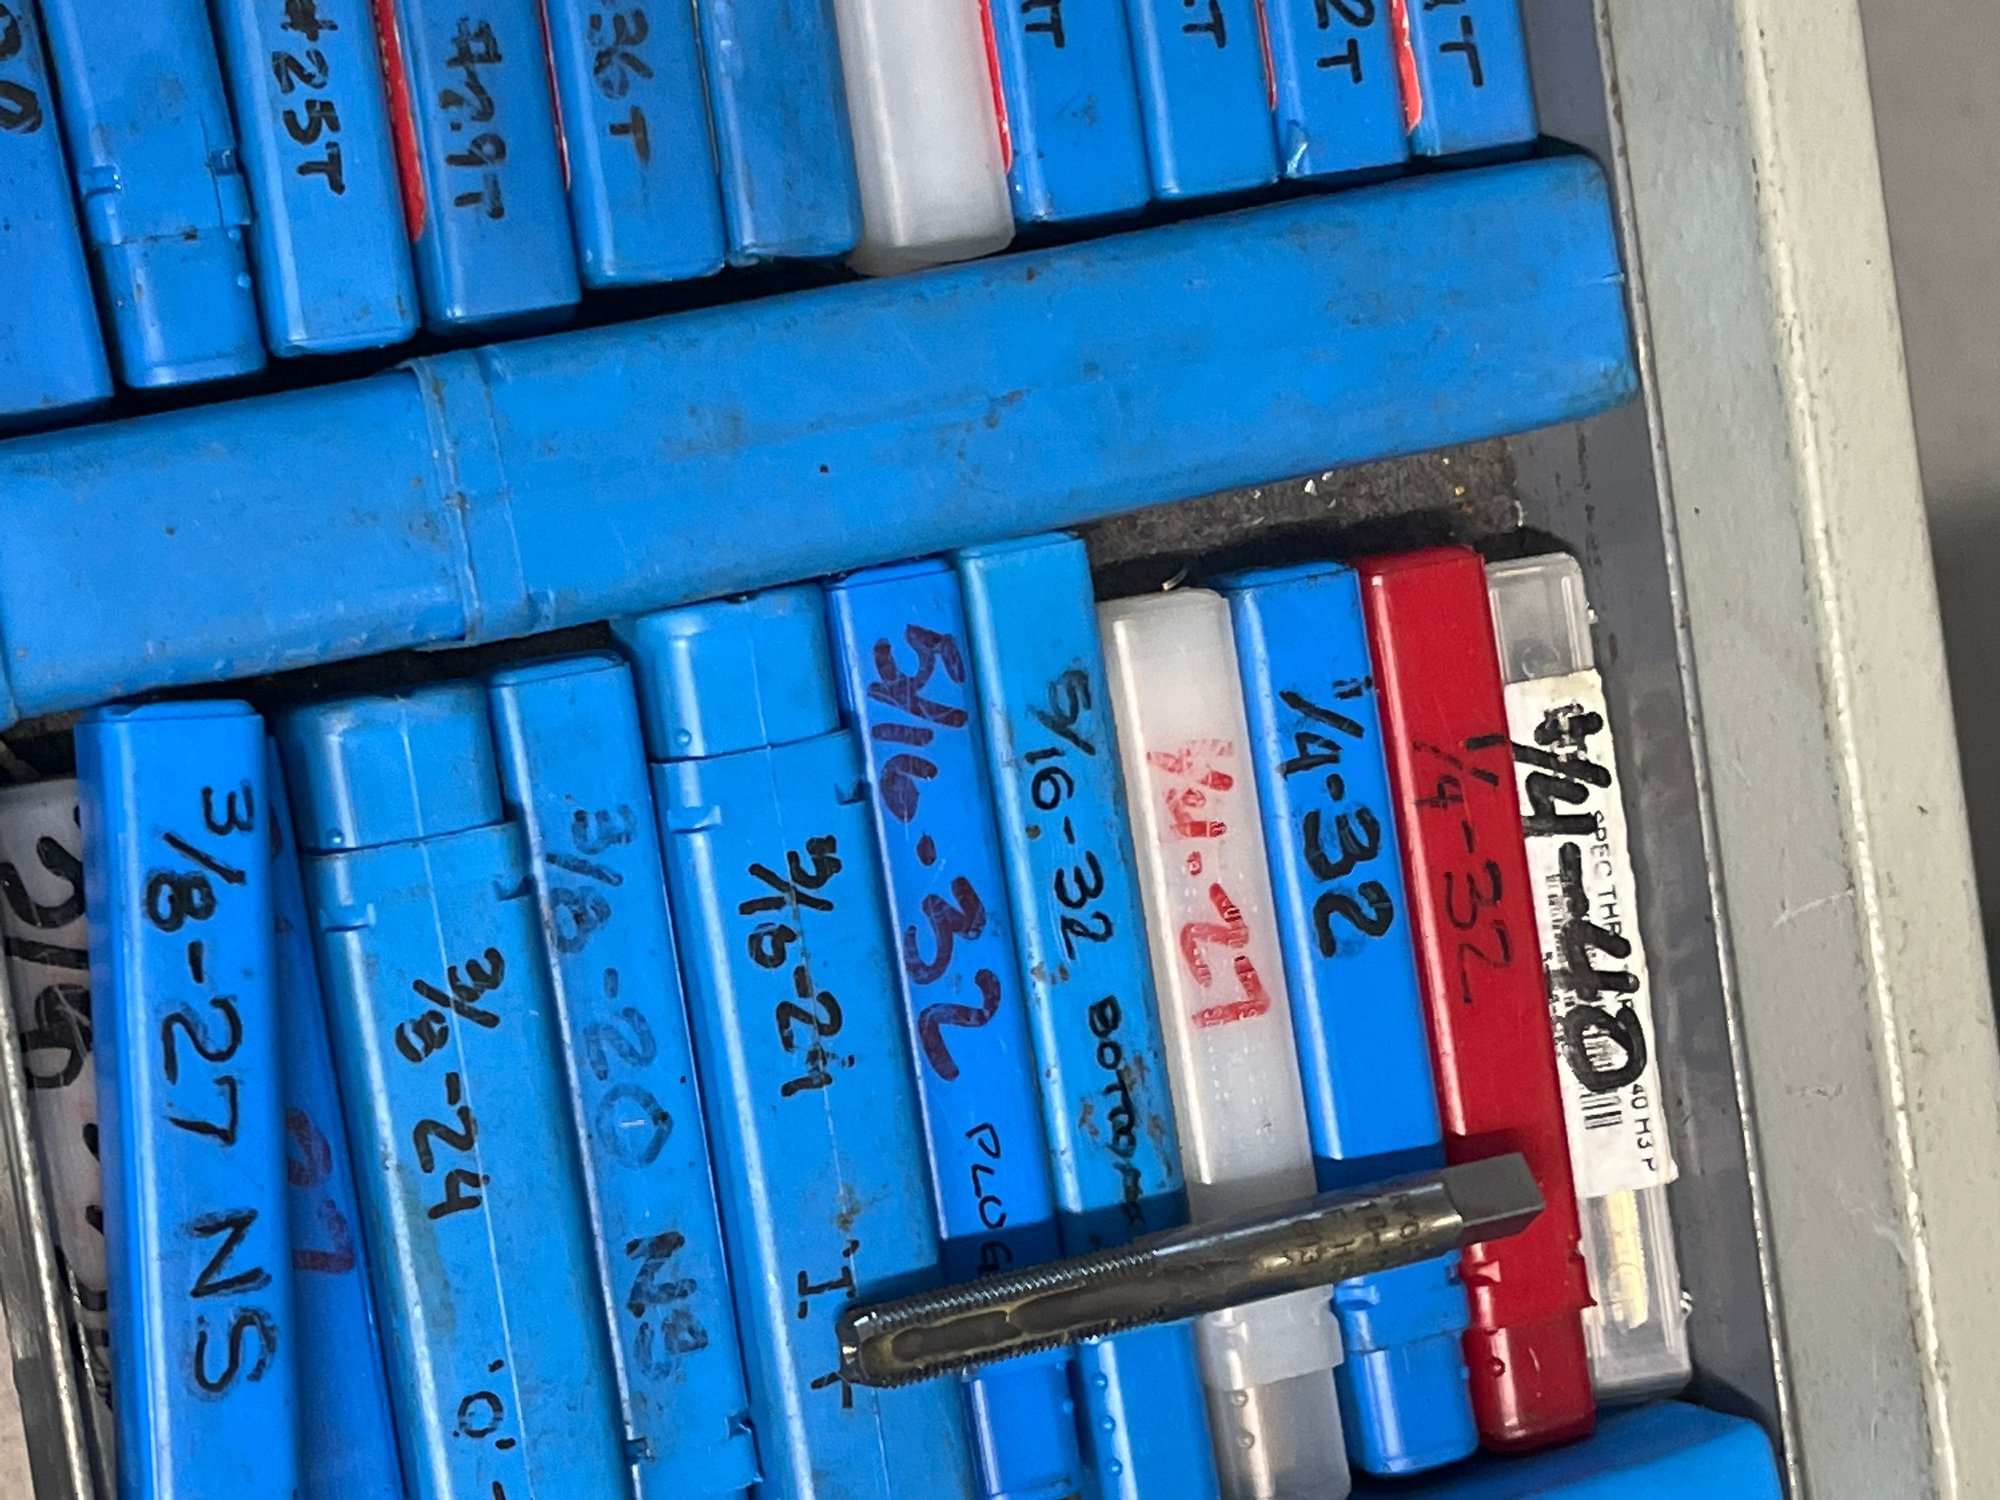
Lonnie, I see "John_M" has already informed you that 5/16 -32 is a standard thread.
Still, you may want to consider having a good lathe operator single point cut the threads.
Due to the root to crest diameter differences it may be beneficial to index the threads to one another to maximize potential wall thickness.
Note that Genuine Timeserts use indexed threads. , if the inserts in your engine were not indexed, this could result in a wall as thin as 1/64".
May have contributed to the fracture.
Last edited by Jesse Open; 08-15-2022 at 05:48 PM.
 08-16-2022 | 05:03 AM
#381
My Feedback: (1)
Silly busy week but a couple quick updates...
The Boxer 160 arrived and looks great. Can't wait to get started on this conversion. Ignition parts have been ordered- The TBI carb is going to be a easy conversion I think and the mounting will work out - Going to try a "plastic" body on this one.
Bert - what does the "rocker oiling" mod encompass on the ASP 160?
Lonnie - I have not forgot about you - Will give you a call and discuss the inserts as soon as I can. I have studied up the "indexed" insert idea and think I can make that cut being careful with the setup. Will need to 5/16-32 tap just to make a hole for sizing the external threads to get a "Snug Fit" and I think I can mimic the Timesert lock mechanism by "short tapping" the internal threads.
Can you confirm the bore is indeed 5/16-32 - a bit concerned if its home made it might just be 5/16-24
 08-16-2022 | 07:52 AM
#383
Its cold in here, someone left the door open!
With the boxer, and 10:1 fuel oil mix, surprising how much oil gets past the followers and valve guide clearances... I think bert does the oil mode to renew the oil through the rocker chests by rerouting the crankcase breather through the rocker chests and then vents the rocker covers, one or both, depends on how you route the breather tubing... I still run my boxer on glow fuel, so no real need to make that mod... but I have had a look see, and the way I usually do it on the gas 4 strokes is, I create a few thou flat down the cam followers using a honing stone, to give a bit of passage for blowby to work its way up the pushrod tubes, and then just vent the rocker covers... it gets rid of the external tubing, and tidies up the appearance... but basically it keeps a small amount of oil moving through the rockers... Gas engines running with the leaner oil mix ratios, it can be beneficial... but with a 20% oil content, the oil will find its way into every nook and cranny.
With the boxer, and 10:1 fuel oil mix, surprising how much oil gets past the followers and valve guide clearances... I think bert does the oil mode to renew the oil through the rocker chests by rerouting the crankcase breather through the rocker chests and then vents the rocker covers, one or both, depends on how you route the breather tubing... I still run my boxer on glow fuel, so no real need to make that mod... but I have had a look see, and the way I usually do it on the gas 4 strokes is, I create a few thou flat down the cam followers using a honing stone, to give a bit of passage for blowby to work its way up the pushrod tubes, and then just vent the rocker covers... it gets rid of the external tubing, and tidies up the appearance... but basically it keeps a small amount of oil moving through the rockers... Gas engines running with the leaner oil mix ratios, it can be beneficial... but with a 20% oil content, the oil will find its way into every nook and cranny.
Last edited by John_M_; 08-16-2022 at 07:58 AM. Reason: Clarification
08-16-2022 | 08:03 AM
#384
aside from the solenoid and cdi, my boxers are stock and they have zero issues with lubrication. i would run your new (to you) engine a few hours before deciding to do mods of that type.
08-16-2022 | 08:10 AM
#385
Maybe it is in the oil I am using, r in the fact that all my engines were new when converted, but they all remained scaringly dry on top, and for me that never was a point of worry since ASP in their manual recommend that the owner lubricates the rockers manually every 2 hrs or so.
Since I don't like manual lubrication, I did the crankcase drain mod.
It works well, I see zero change in valve lash.
Since I don't like manual lubrication, I did the crankcase drain mod.
It works well, I see zero change in valve lash.
Last edited by BarracudaHockey; 08-16-2022 at 12:34 PM.
08-16-2022 | 10:34 AM
#386
Maybe it is in the oil I am using, r in the fact that all my engines were new when converted, but they all remained scaringly dry on top, and for me that never was a point of worry since ASP in their manual recommend that the owner lubricates the rockers manually every 2 hrs or so.
Since I don't like manual lubrication, I did the crankcase drain mod.
It works well, I see zero change in valve lash.
Since I don't like manual lubrication, I did the crankcase drain mod.
It works well, I see zero change in valve lash.
Why not take advantage of the oil blowby from the crankcase breather and pass it through the rocker chest, if oiling is required.
Last edited by BarracudaHockey; 08-16-2022 at 04:05 PM. Reason: removed quoted deleted content
08-16-2022 | 11:16 AM
#387
Silly busy week but a couple quick updates...
The Boxer 160 arrived and looks great. Can't wait to get started on this conversion. Ignition parts have been ordered- The TBI carb is going to be a easy conversion I think and the mounting will work out - Going to try a "plastic" body on this one.
Bert - what does the "rocker oiling" mod encompass on the ASP 160?
Lonnie - I have not forgot about you - Will give you a call and discuss the inserts as soon as I can. I have studied up the "indexed" insert idea and think I can make that cut being careful with the setup. Will need to 5/16-32 tap just to make a hole for sizing the external threads to get a "Snug Fit" and I think I can mimic the Timesert lock mechanism by "short tapping" the internal threads.
Can you confirm the bore is indeed 5/16-32 - a bit concerned if its home made it might just be 5/16-24
The Boxer 160 arrived and looks great. Can't wait to get started on this conversion. Ignition parts have been ordered- The TBI carb is going to be a easy conversion I think and the mounting will work out - Going to try a "plastic" body on this one.
Bert - what does the "rocker oiling" mod encompass on the ASP 160?
Lonnie - I have not forgot about you - Will give you a call and discuss the inserts as soon as I can. I have studied up the "indexed" insert idea and think I can make that cut being careful with the setup. Will need to 5/16-32 tap just to make a hole for sizing the external threads to get a "Snug Fit" and I think I can mimic the Timesert lock mechanism by "short tapping" the internal threads.
Can you confirm the bore is indeed 5/16-32 - a bit concerned if its home made it might just be 5/16-24
Do you have the ability to single-point cut the threads?
With a little bit of calculation, could make indexing reasonably accurate.
BTW, I can loan you 5/16-32 taps in both plug and bottom forms.
 08-16-2022 | 12:17 PM
#388
Silly busy week but a couple quick updates...
Lonnie - I have not forgot about you - Will give you a call and discuss the inserts as soon as I can. I have studied up the "indexed" insert idea and think I can make that cut being careful with the setup. Will need to 5/16-32 tap just to make a hole for sizing the external threads to get a "Snug Fit" and I think I can mimic the Timesert lock mechanism by "short tapping" the internal threads.
Can you confirm the bore is indeed 5/16-32 - a bit concerned if its home made it might just be 5/16-24
The broken piece of insert I removed from the cylinder has a 32 thread pitch and the int/ext threads are not synchronized. My thread pitch gauge is barely visable once inserted into the insert bore but it appears to be 32.
Last edited by Glowgeek; 08-16-2022 at 12:37 PM.
08-16-2022 | 12:37 PM
#389


My Feedback: (11)
Cleaned up thread, removed some snarky comments, keep it respectful and about engines.
Any more personal shots will be dealt with administratively.
Oh one more thing, i dont factor issues you have on other boards into moderation here, if you're banned on RCG and you behave here, then knock yourself out. Though I do often find that if someone gets banned at other forums they often can't suppress their tongue long enough to hang around here but you have a clean slate.
Thanks
08-16-2022 | 01:26 PM
#390
I have 7/16" C360 H02 brass, 5/16-32 plug tap and die on order. Should be here by week's end. I don't have a way to accurately synchronize/index the threads other than by trial and error, using an index mark on the tap. With a little luck I should be able to get them sync'd In a couple of tries and I do intend on short tapping the threads, a little more at a time, until the Timesert insertion tool swages the last couple of threads without excessive pressure.
The broken piece of insert I removed from the cylinder has a 32 thread pitch and the int/ext threads are not synchronized. My thread pitch gauge is barely visable once inserted into the insert bore but it appears to be 32.
The broken piece of insert I removed from the cylinder has a 32 thread pitch and the int/ext threads are not synchronized. My thread pitch gauge is barely visable once inserted into the insert bore but it appears to be 32.
You can use the 5/16-32 die as a guide to help you index the 1/4-32 tap.

Last edited by John_M_; 08-16-2022 at 01:42 PM.
08-16-2022 | 01:45 PM
#391
Yes, an index mark on the tap and a light tap or two to set the tap so it bites straight away upon rotation should get the job done. May take a couple of attempts.
I found a club member with a 4" or 5" benchtop lathe. I'm sure it's good enough for this type of light work. I'd have one myself but need one so infrequently I can't justify the cost. I suppose if I had one I could create projects but have little interest in metal working. I do enjoy woodworking however and have a nice cabinet shop.
08-16-2022 | 01:58 PM
#392
Oh wait, I missed this edit:
"You can use the 5/16-32 die as a guide to help you index the 1/4-32 tap."
Edit: Won't work I'm afraid. The insert is shouldered/flanged on top. The tap has to enter from the top to short tap the hole for swaging.
"You can use the 5/16-32 die as a guide to help you index the 1/4-32 tap."
Edit: Won't work I'm afraid. The insert is shouldered/flanged on top. The tap has to enter from the top to short tap the hole for swaging.
Last edited by Glowgeek; 08-16-2022 at 02:09 PM.
08-16-2022 | 07:40 PM
#393
My Feedback: (1)
Yes I can cut single point threads and would only need the tap to create a go/no go gauge to get the outer threads right... I have a trick VFD drive on my old lathe and it makes treading a much easier task as i have the ability to drive very slowly and stop instantly.
I have 7/16" C360 H02 brass, 5/16-32 plug tap and die on order. Should be here by week's end. I don't have a way to accurately synchronize/index the threads other than by trial and error, using an index mark on the tap. With a little luck I should be able to get them sync'd In a couple of tries and I do intend on short tapping the threads, a little more at a time, until the Timesert insertion tool swages the last couple of threads without excessive pressure.
The broken piece of insert I removed from the cylinder has a 32 thread pitch and the int/ext threads are not synchronized. My thread pitch gauge is barely visable once inserted into the insert bore but it appears to be 32.
The broken piece of insert I removed from the cylinder has a 32 thread pitch and the int/ext threads are not synchronized. My thread pitch gauge is barely visable once inserted into the insert bore but it appears to be 32.
This type of repair is better done with all parts on hand to get the fits correct - if you can find a "local" with the right equipment it might be easier - I am willing to give it a try though Lonnie but it might take me a while as I have a pile of work stacked up here..
08-16-2022 | 09:32 PM
#394
Thanks Jesse,
Yes I can cut single point threads and would only need the tap to create a go/no go gauge to get the outer threads right... I have a trick VFD drive on my old lathe and it makes treading a much easier task as i have the ability to drive very slowly and stop instantly.
Here is how I would proceed - rough finish the insert and "short tap" it. Then using the tap as as a guide the setup can be made of the carriage to thread the OD . Because of the "flange" the setup would be a bit tricky and would have to be cut "upside down" and "backwards".
This type of repair is better done with all parts on hand to get the fits correct - if you can find a "local" with the right equipment it might be easier - I am willing to give it a try though Lonnie but it might take me a while as I have a pile of work stacked up here..
Especially the "backwards" part, perhaps doing the 1/4" female thread from top side, flip part in collet and cut the 5/16" up to the shoulder then part off.
With you as well regarding the variable freq drive; Lathe here as well as Bridgeport got the conversions long ago. Really sweetens up operation.Forward/braked stop/reverse, half nuts engaged , very helpful. Almost like having a Monarch 10EE!
Yes, you would certainly want everything on hand before starting. Several possible techniques .
Too bad the previous owner didn't simply use Time-Serts, perhaps unaware they existed. The lack of indexing or "nesting" of the threads probably led to the failure. Not a lot of wall thickness to spare.
Anyhow, tap is here, USA made. Yours if you can use it.
Last edited by Jesse Open; 08-16-2022 at 09:44 PM.
08-17-2022 | 03:03 AM
#395
Thanks Jesse,
Yes I can cut single point threads and would only need the tap to create a go/no go gauge to get the outer threads right... I have a trick VFD drive on my old lathe and it makes treading a much easier task as i have the ability to drive very slowly and stop instantly.
Here is how I would proceed - rough finish the insert and "short tap" it. Then using the tap as as a guide the setup can be made of the carriage to thread the OD . Because of the "flange" the setup would be a bit tricky and would have to be cut "upside down" and "backwards".
This type of repair is better done with all parts on hand to get the fits correct - if you can find a "local" with the right equipment it might be easier - I am willing to give it a try though Lonnie but it might take me a while as I have a pile of work stacked up here..
Yes I can cut single point threads and would only need the tap to create a go/no go gauge to get the outer threads right... I have a trick VFD drive on my old lathe and it makes treading a much easier task as i have the ability to drive very slowly and stop instantly.
Here is how I would proceed - rough finish the insert and "short tap" it. Then using the tap as as a guide the setup can be made of the carriage to thread the OD . Because of the "flange" the setup would be a bit tricky and would have to be cut "upside down" and "backwards".
This type of repair is better done with all parts on hand to get the fits correct - if you can find a "local" with the right equipment it might be easier - I am willing to give it a try though Lonnie but it might take me a while as I have a pile of work stacked up here..
Rough the part, thread the OD and place a reference mark on the insert flange and the die, part it off, thread the tap into the die to tranfer the reference mark, install the insert into the cylinder and begin tapping the ID using reference marks. If the threading is syncronized I'll JB Weld the top couple of threads and let it cure overnight, then short tap the ID and swage the insert using the Timesert installation tool. If the threads are out of sync when I begin tapping the ID, it's a do over.
Am I on crack?
08-17-2022 | 03:34 AM
#396
Thanks, here's my plan based on my limited tooling:
Rough the part, thread the OD and place a reference mark on the insert flange and the die, part it off, thread the tap into the die to tranfer the reference mark, install the insert into the cylinder and begin tapping the ID using reference marks. If the threading is syncronized I'll JB Weld the top couple of threads and let it cure overnight, then short tap the ID and swage the insert using the Timesert installation tool. If the threads are out of sync when I begin tapping the ID, it's a do over.
Am I on crack?
 I have no idea about your substance abuse habits, but I would say you're on track...
08-17-2022 | 04:29 AM
I have no idea about your substance abuse habits, but I would say you're on track...
08-17-2022 | 04:29 AM
#397
Hey John,
I had an opportunity to do a rather small print yesterday evening with the layer set to 0.12 mm thickness. Printing is fairly slow at this resolution but the output quality is excellent. I'll try to get some better photos for you. For reference, the open circle which clips around the lens on my web camera is 14.7 mm in diameter to the inside.

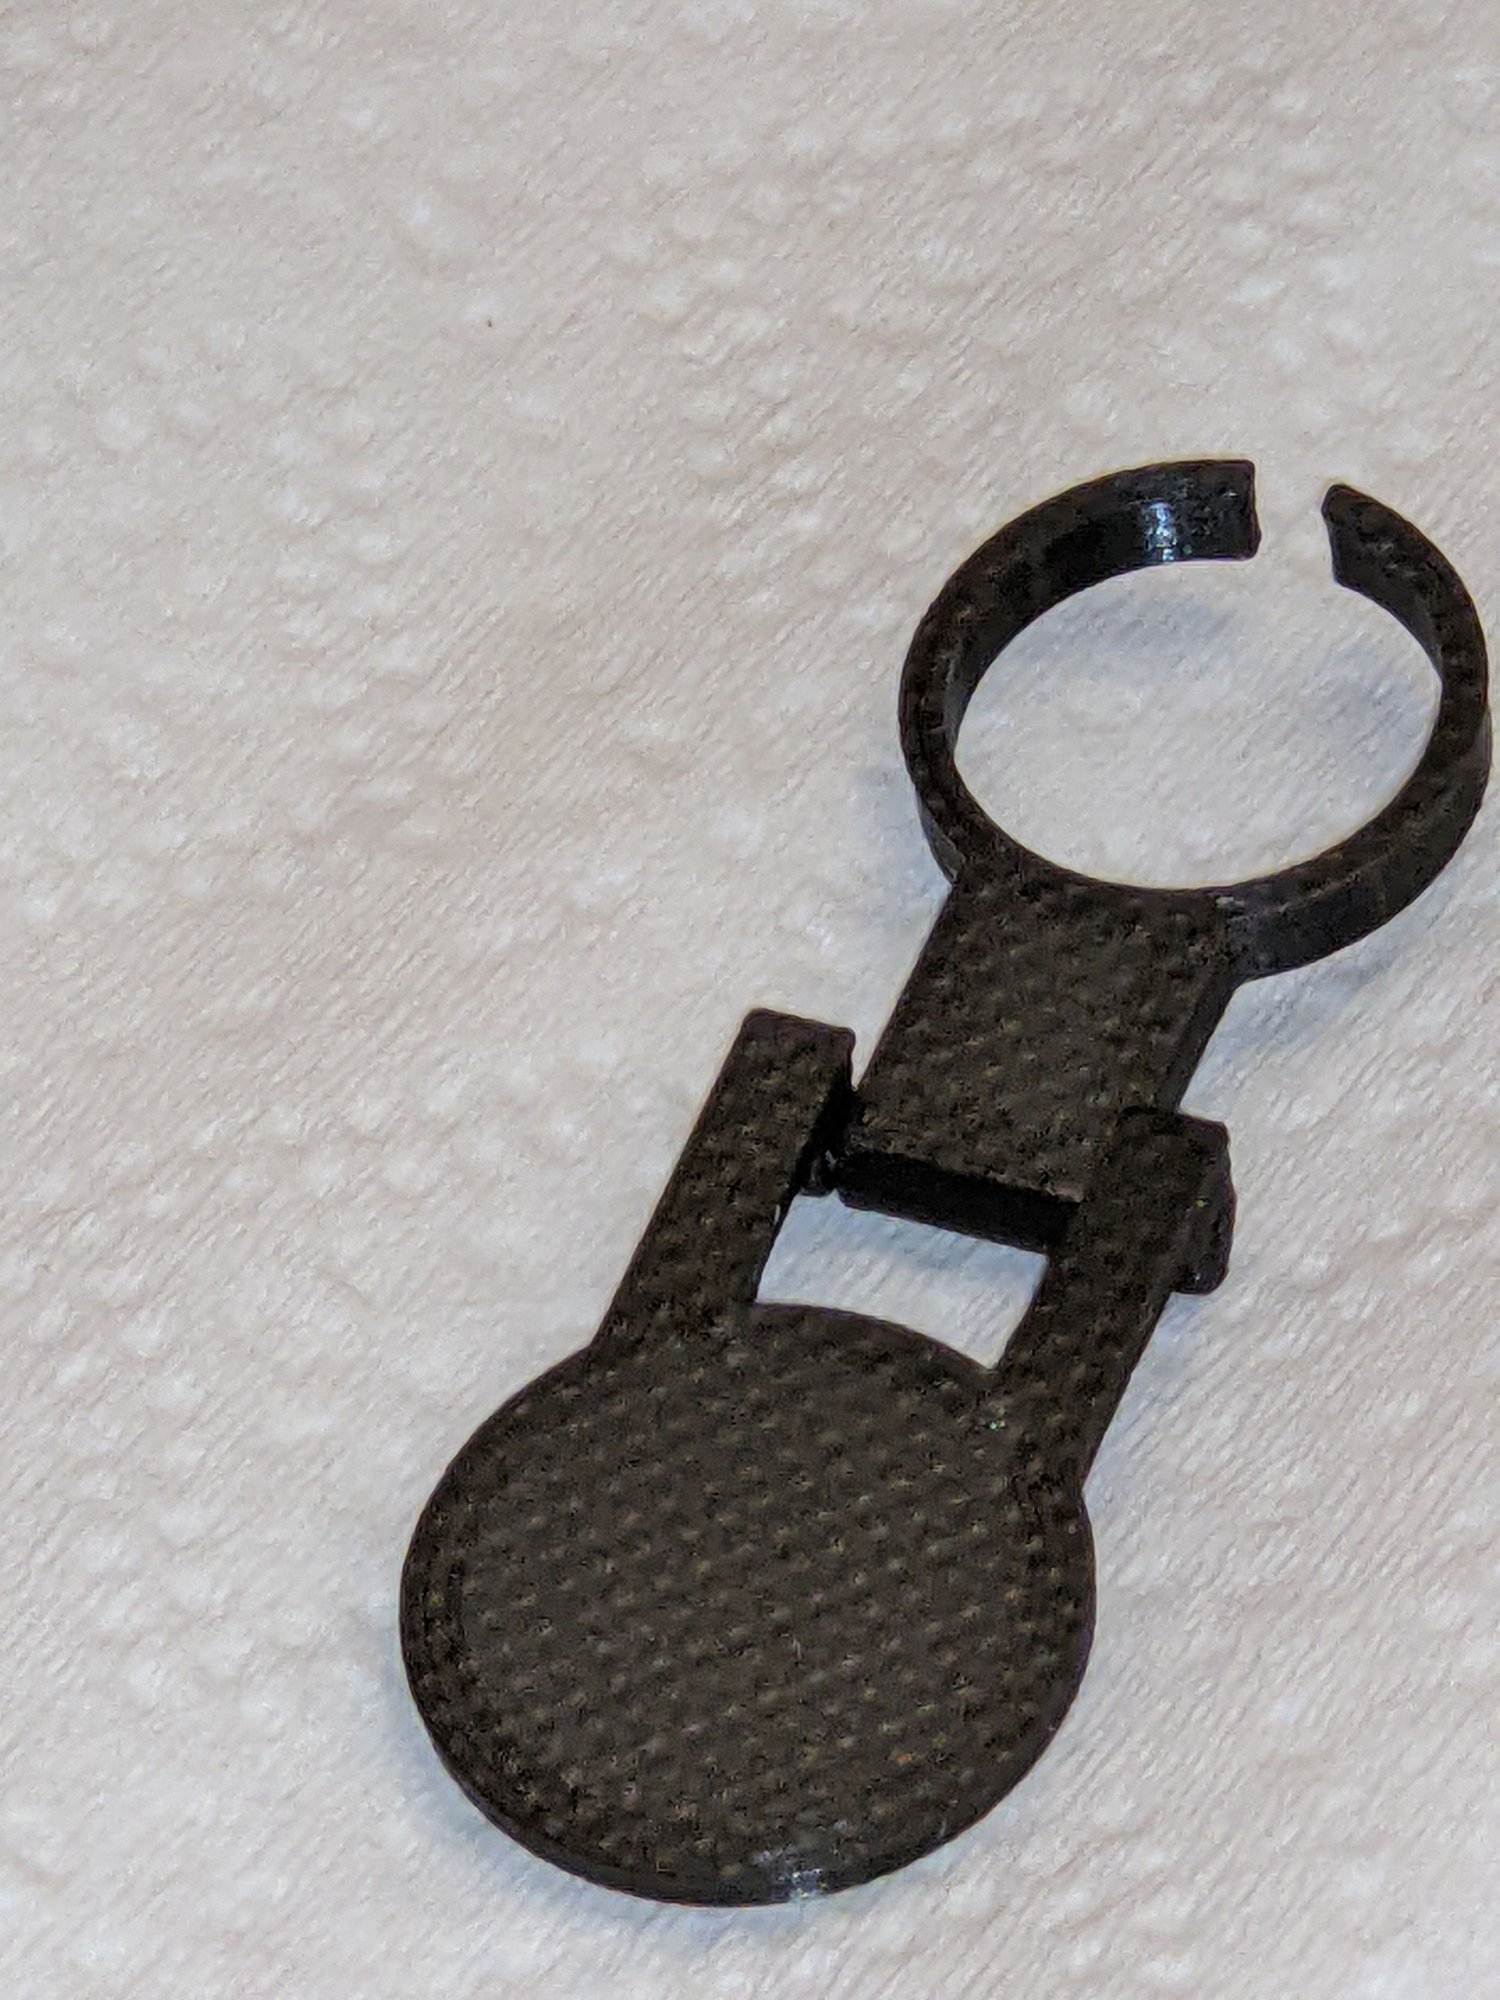
I had an opportunity to do a rather small print yesterday evening with the layer set to 0.12 mm thickness. Printing is fairly slow at this resolution but the output quality is excellent. I'll try to get some better photos for you. For reference, the open circle which clips around the lens on my web camera is 14.7 mm in diameter to the inside.
08-17-2022 | 04:37 AM
#399
My Feedback: (1)

Might take a couple of tries to get the indexing right this way but I think that would be the case in most setups - Even in a lathe the "backlash" would come into play and would probably take a couple of attempts to get it right... Brass (especially the free machining type your getting) will be easy to work with in this instance.
08-17-2022 | 05:02 AM
#400
My Feedback: (1)
Hey John,
I had an opportunity to do a rather small print yesterday evening with the layer set to 0.12 mm thickness. Printing is fairly slow at this resolution but the output quality is excellent. I'll try to get some better photos for you. For reference, the open circle which clips around the lens on my web camera is 14.7 mm in diameter to the inside.
I had an opportunity to do a rather small print yesterday evening with the layer set to 0.12 mm thickness. Printing is fairly slow at this resolution but the output quality is excellent. I'll try to get some better photos for you. For reference, the open circle which clips around the lens on my web camera is 14.7 mm in diameter to the inside.
looks like the printing is progressing quickly.... making small parts is a setup and method onto itself..
Hope your not sitting there watching the machine print. I wasted about a year of my life on this endeavour
Its strangely addicting.

