


Next project
 09-25-2019 | 10:21 PM
#1

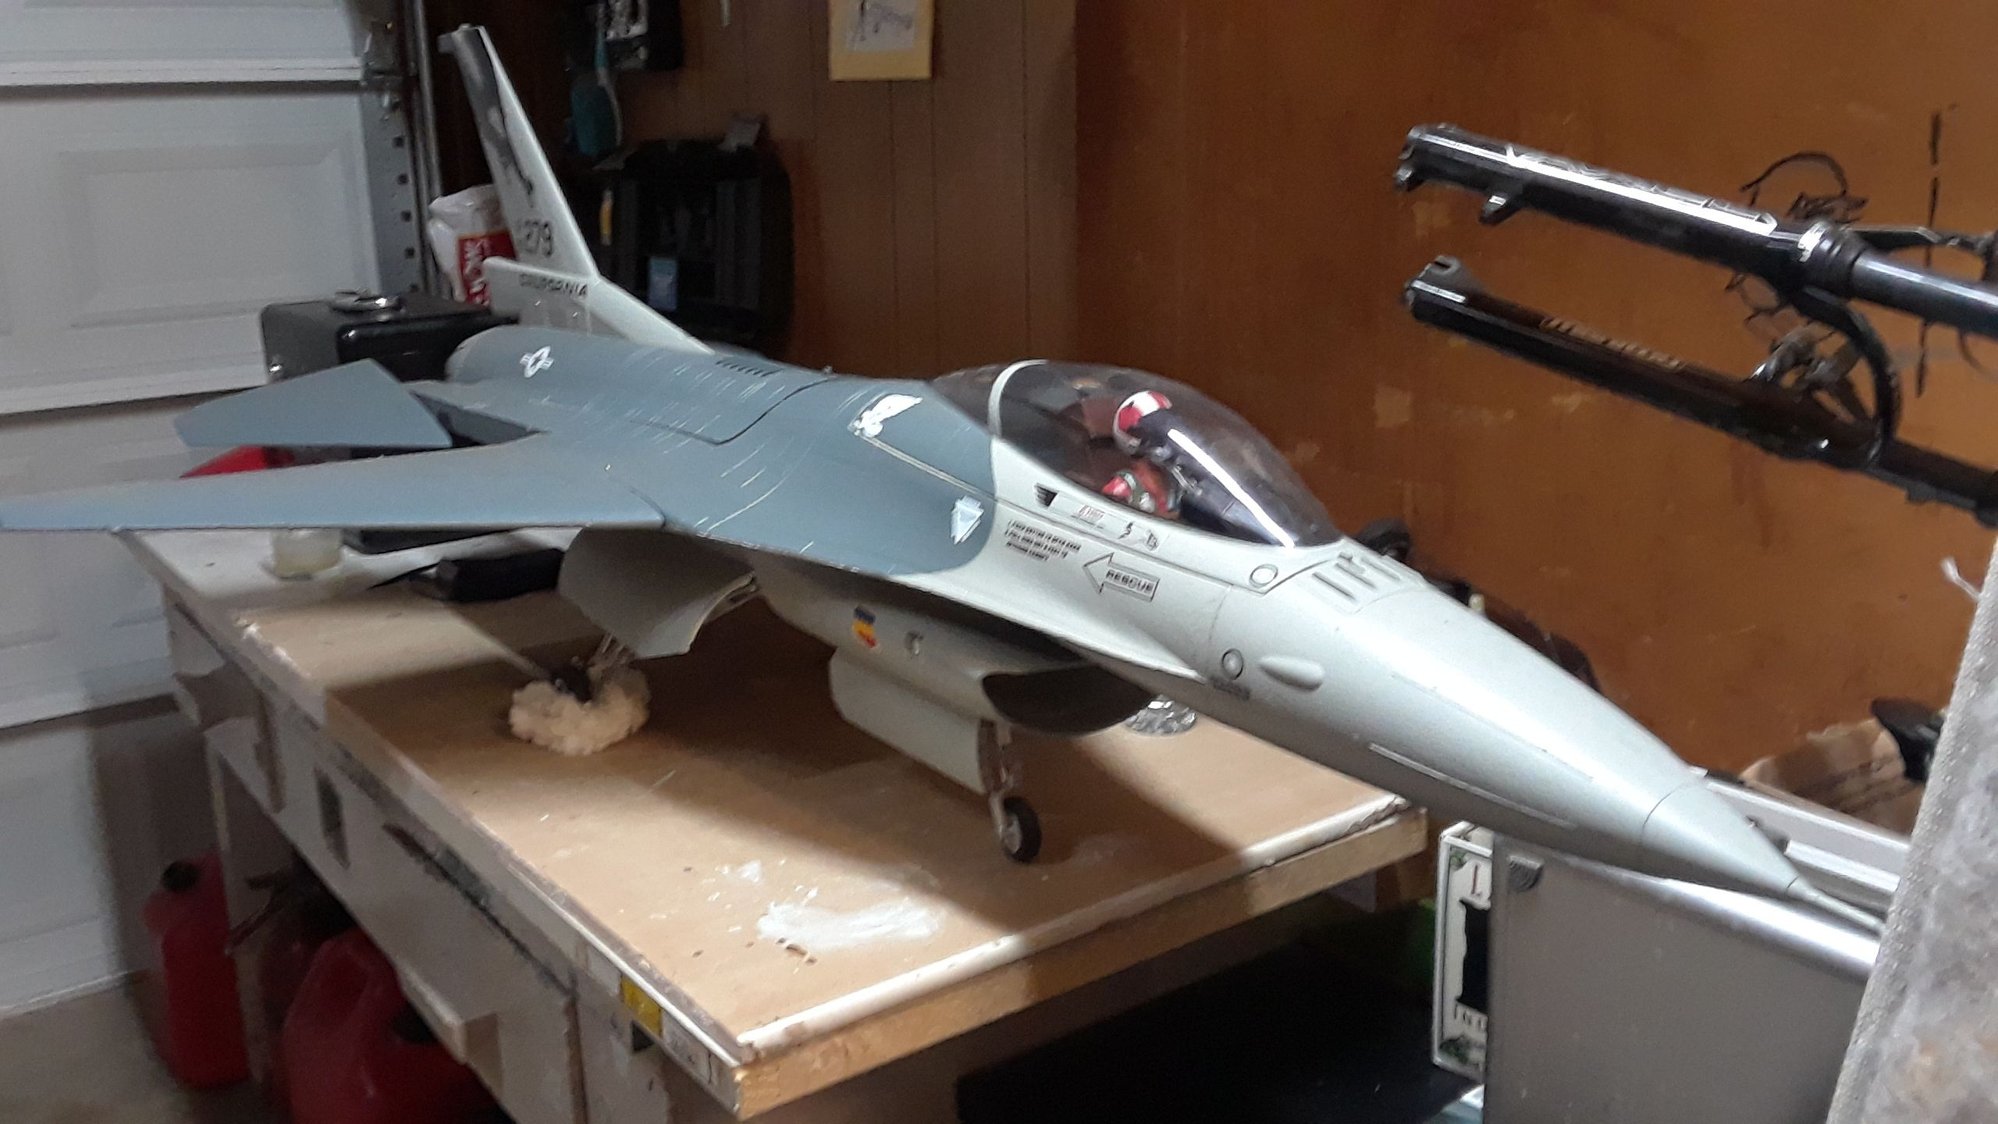

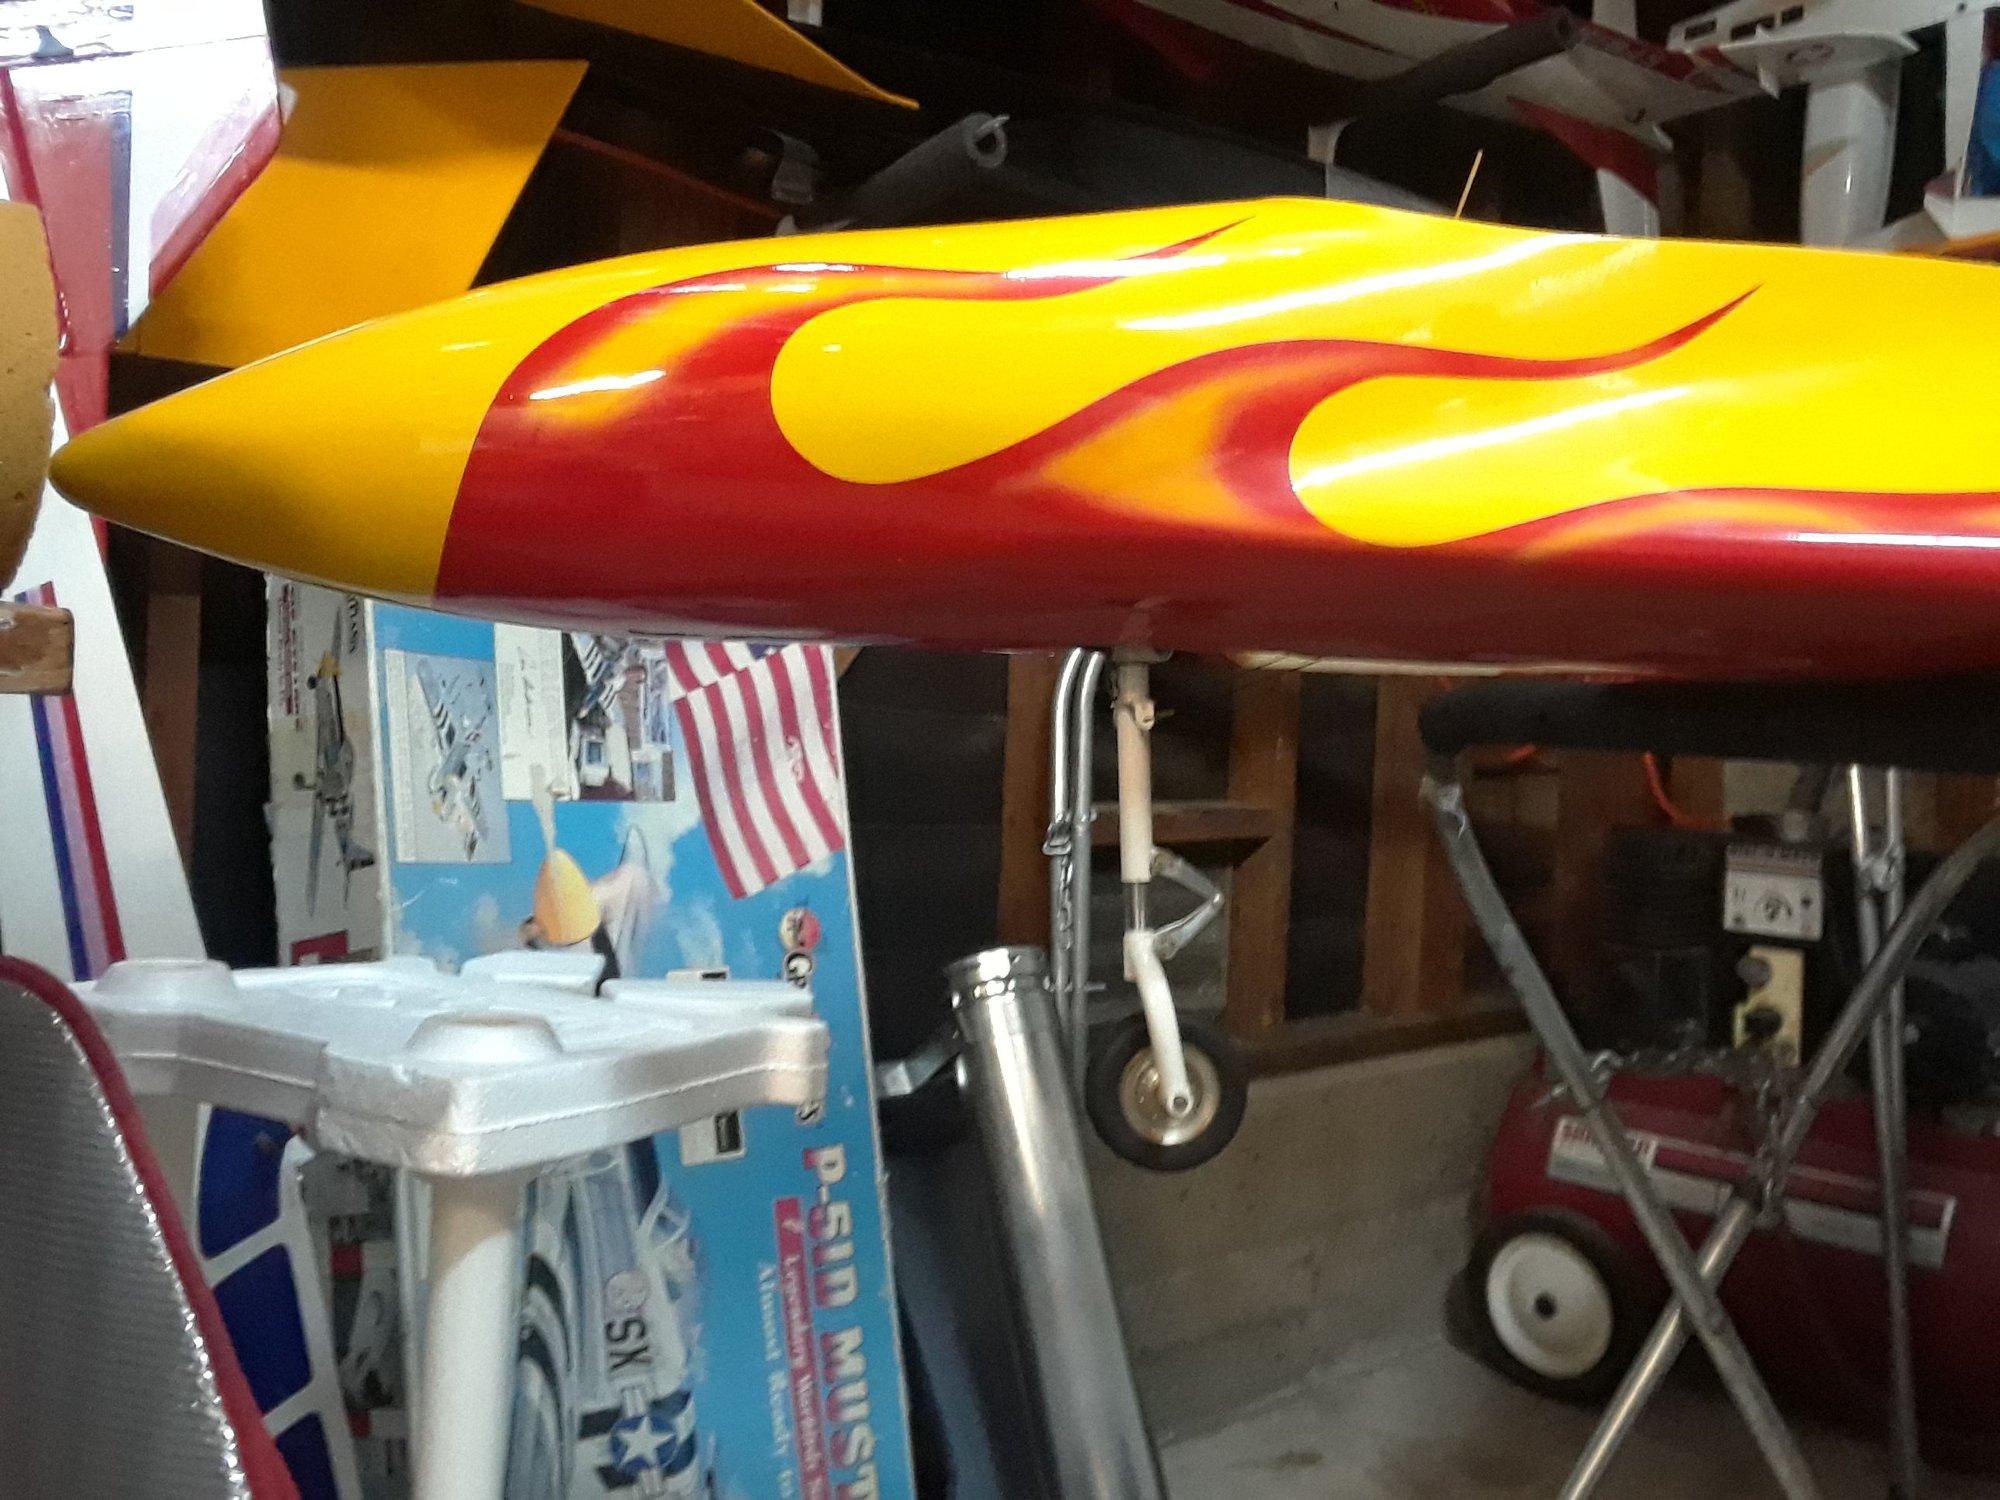
Ok, here are my next two refurbish, my friend is very happy with the KC, he has asked me to finish the install on his HSD F-16 foamy, I know that there is a HSD thread is on the other site but there is none here, I will be doing the mods that my friend Kevin G. has done in his F-16, mainly I will be reinforcing the empenage so this foamy can last more than one season.
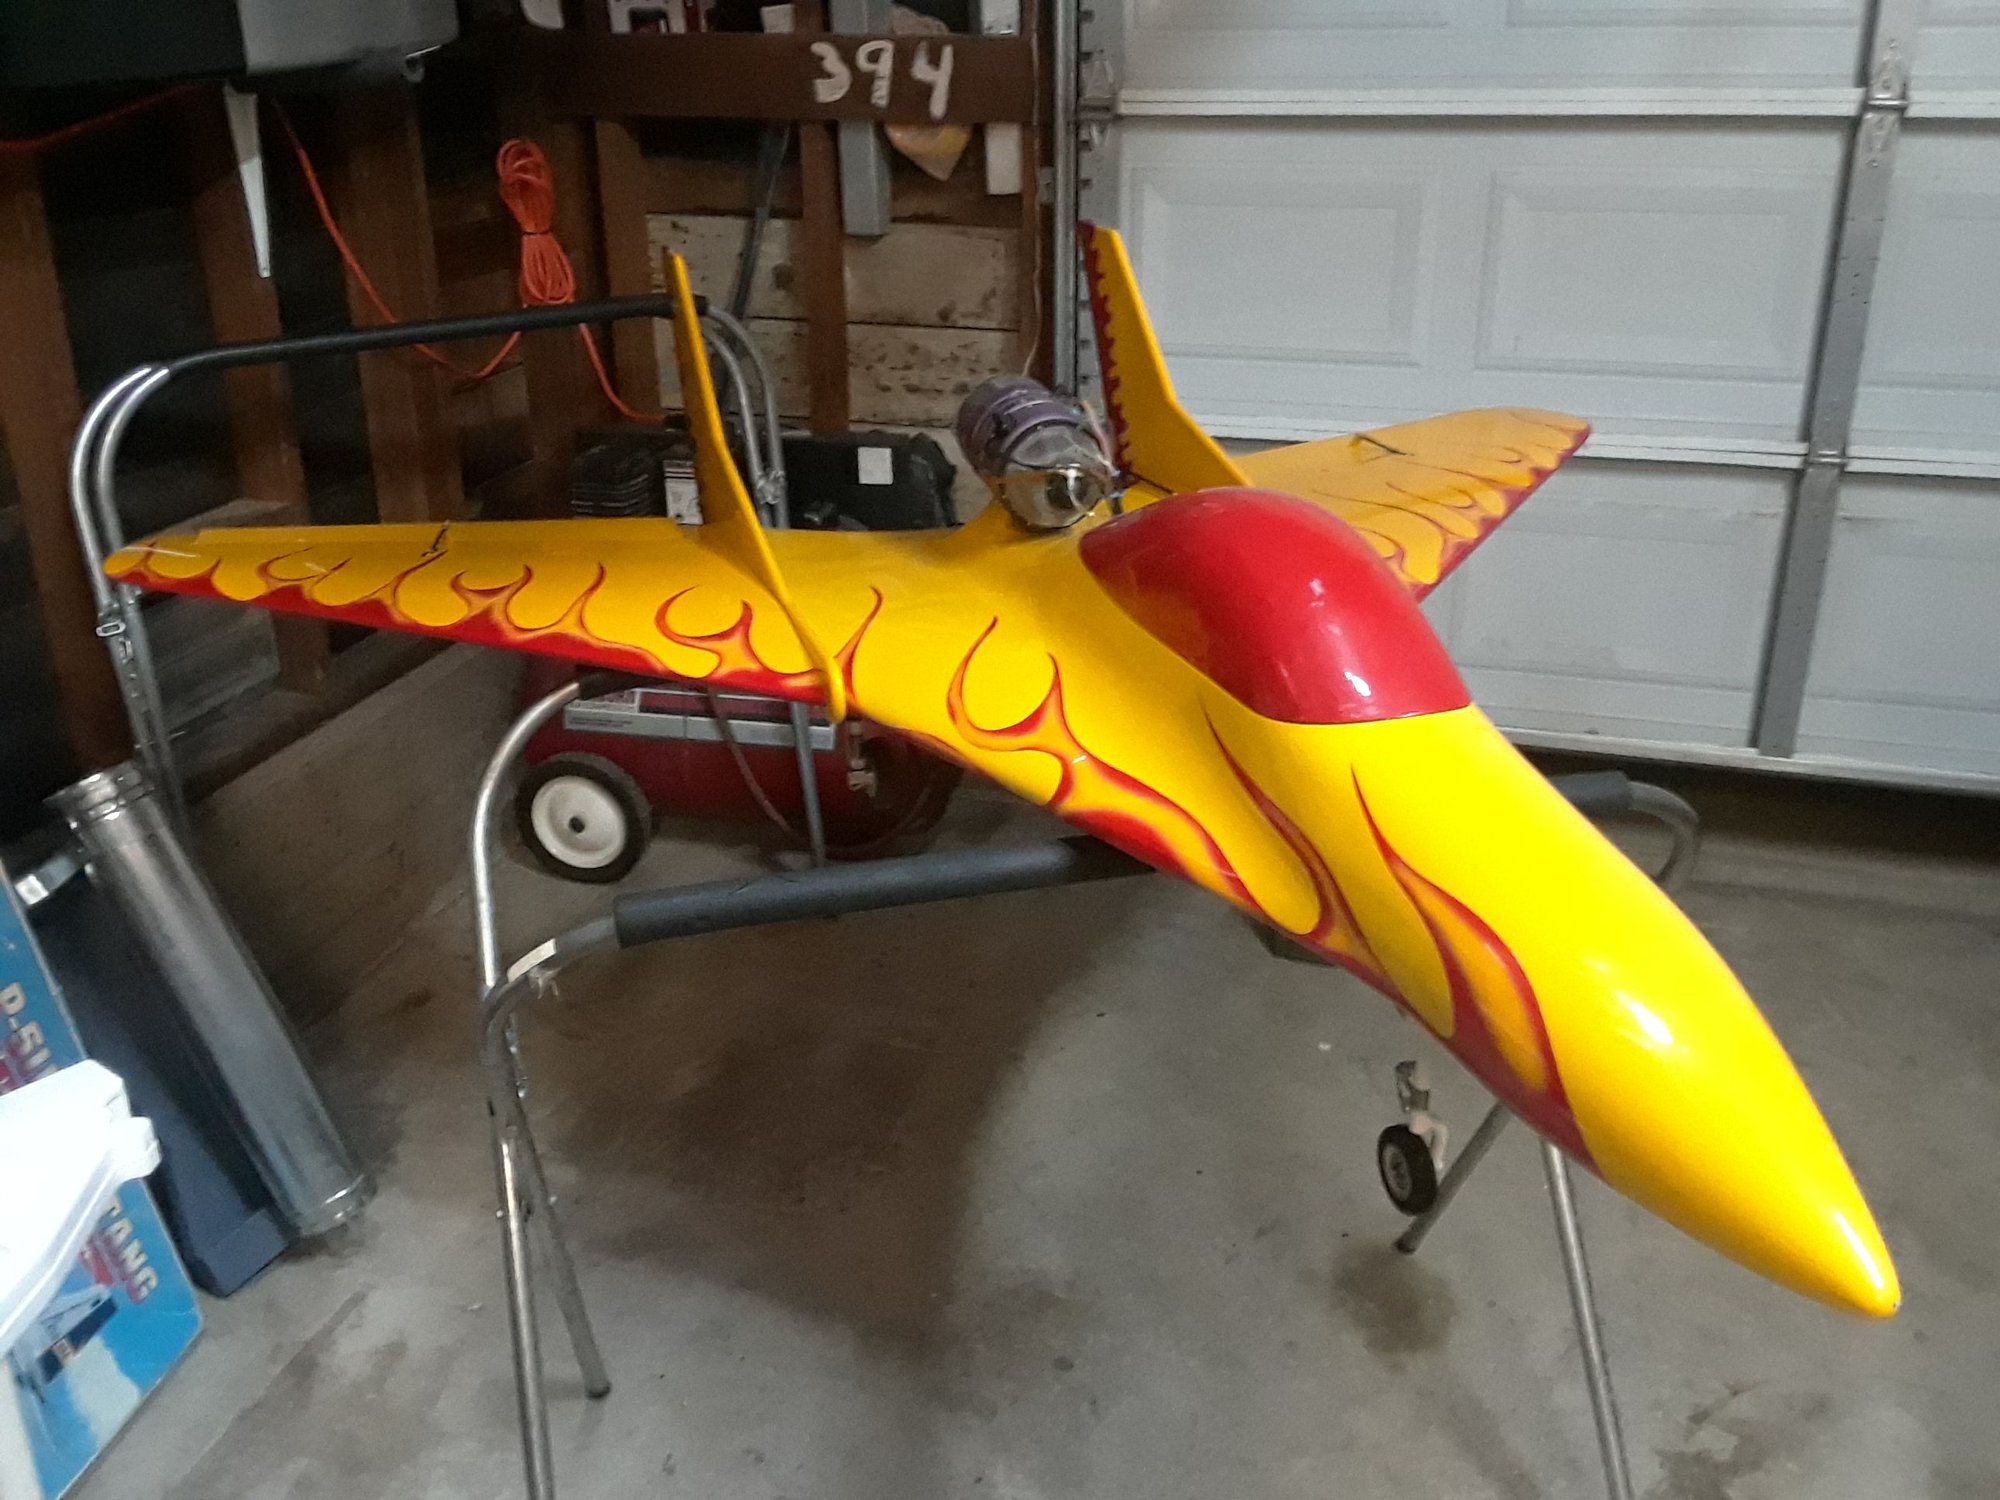
The other project is a Kangaroo ( my first jet was a Roo ) this one is my jet now, it happens that I refurbish this Roo around 8 to 10 years ago, I saw somethimg very familiar with the install, that's becauae I did it many years ago, to be honest, I don't recall doing it, oh well, that's what happens as you get old or because you have done so many builds and refurbish that you end up forgetting
 anyways, this also should be a quicky one as most of the work was done by me many years ago, on this jet I will be swapping the Tygon fuel lines, batts from Nickle metal to what we use now days, will make sure both ( fuel and smoke ) pumps are in working order and a few other things, I'm hopping to have it ready by the Wen before BITW.
The F-16 Will have to wait it's turn after BITW as there are some parts like the FOD screen and the UAT that are MIA at the moment.
Last edited by CARS II; 09-25-2019 at 10:39 PM.
 09-26-2019 | 01:22 PM
#2
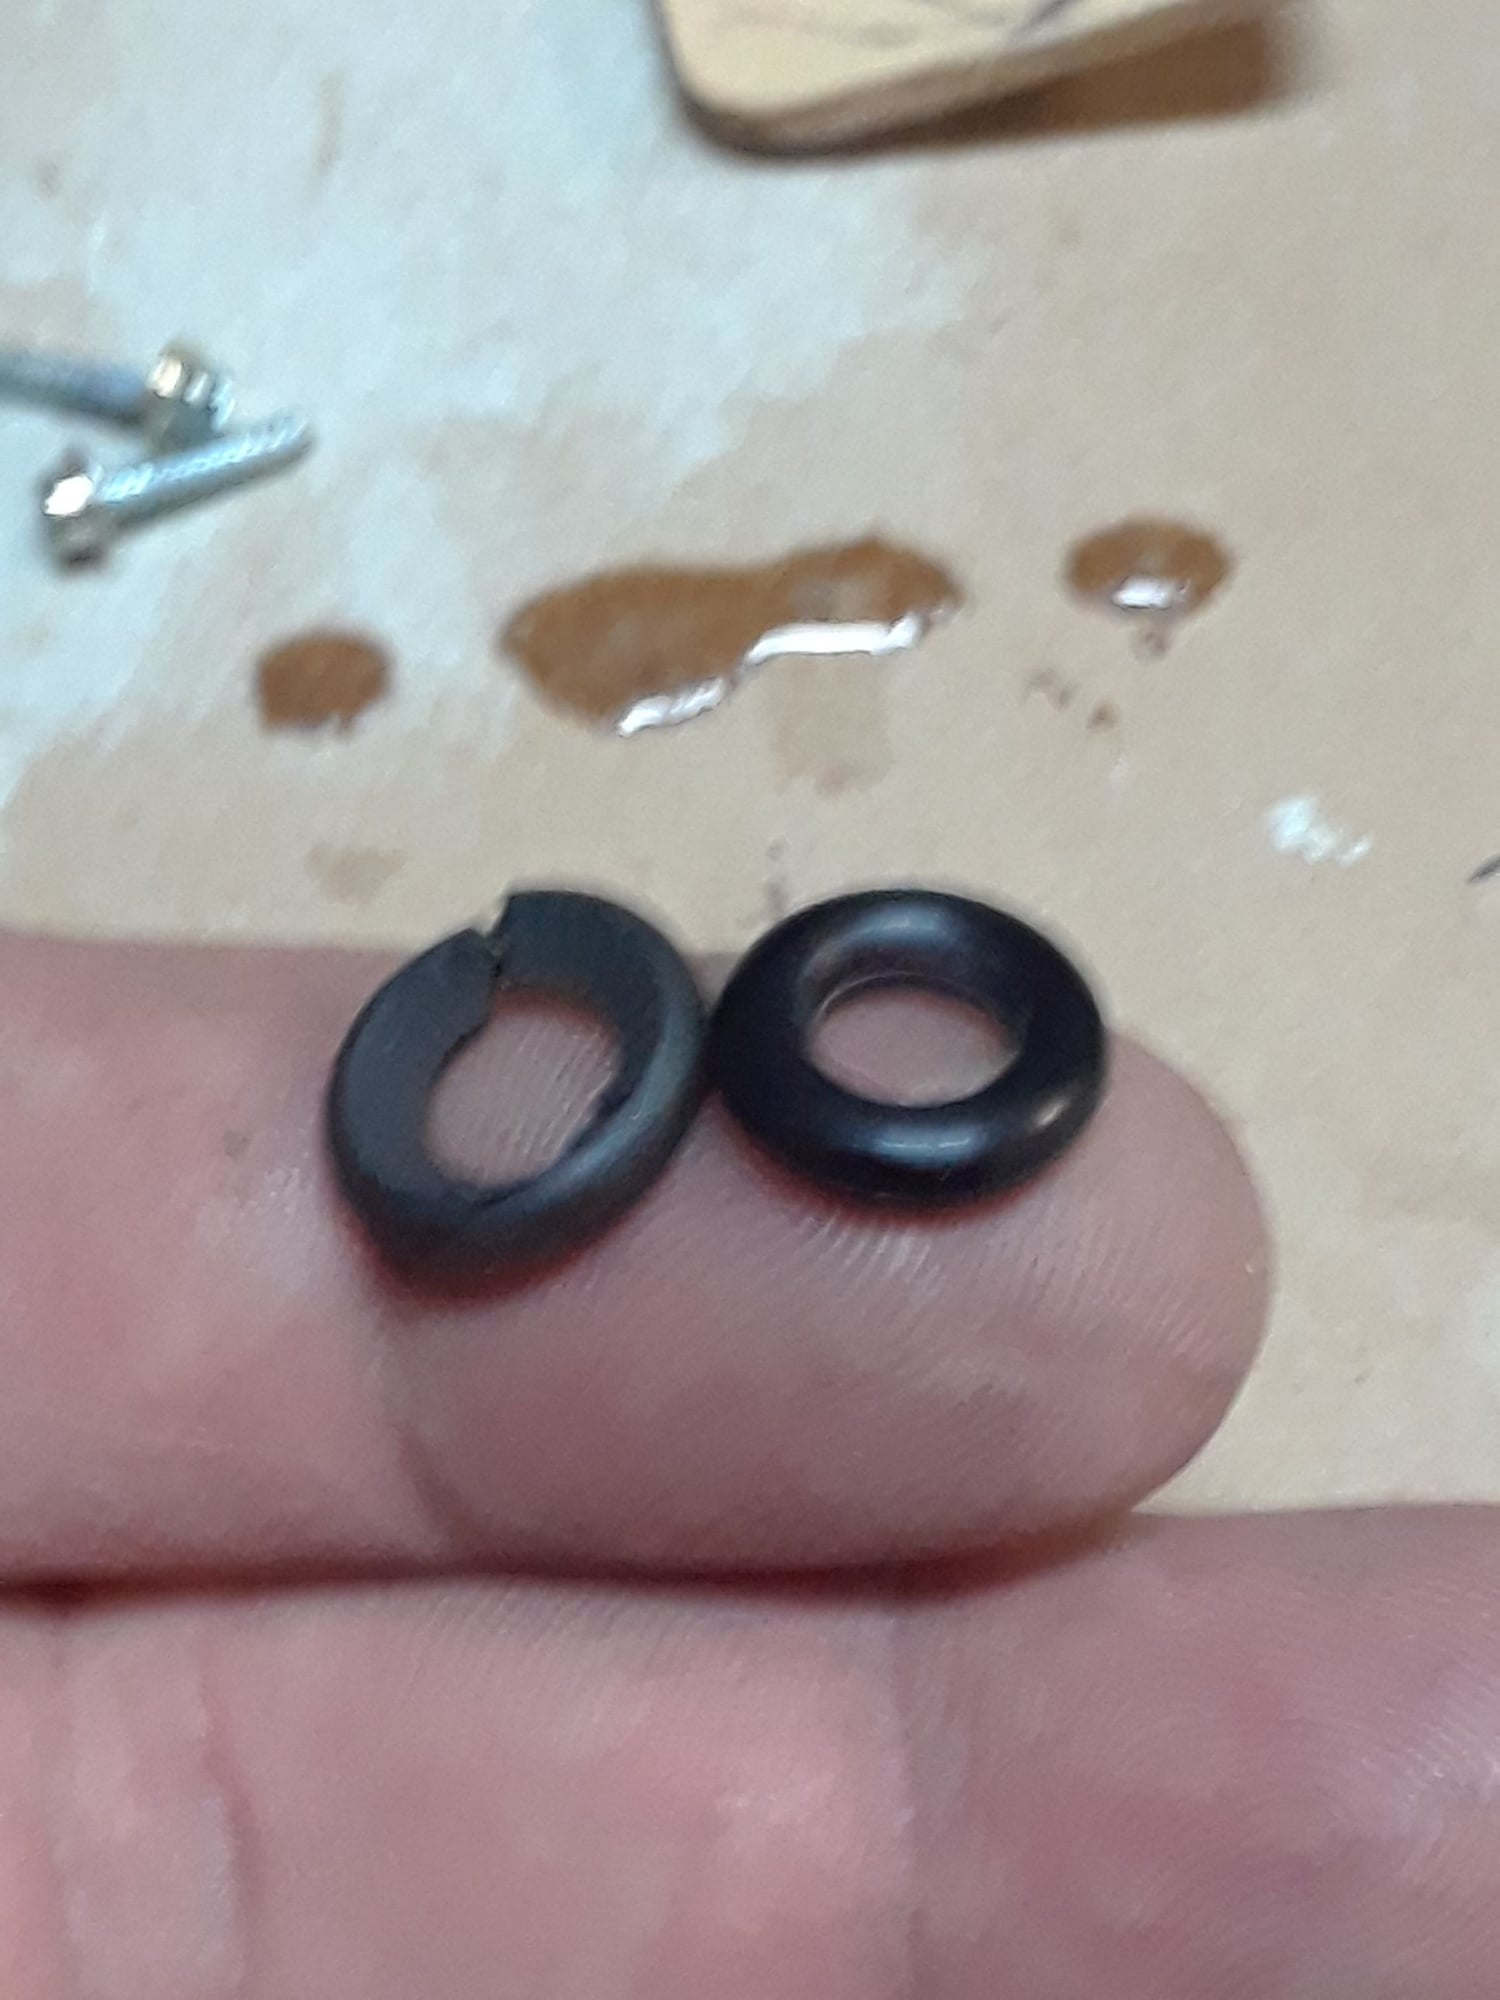
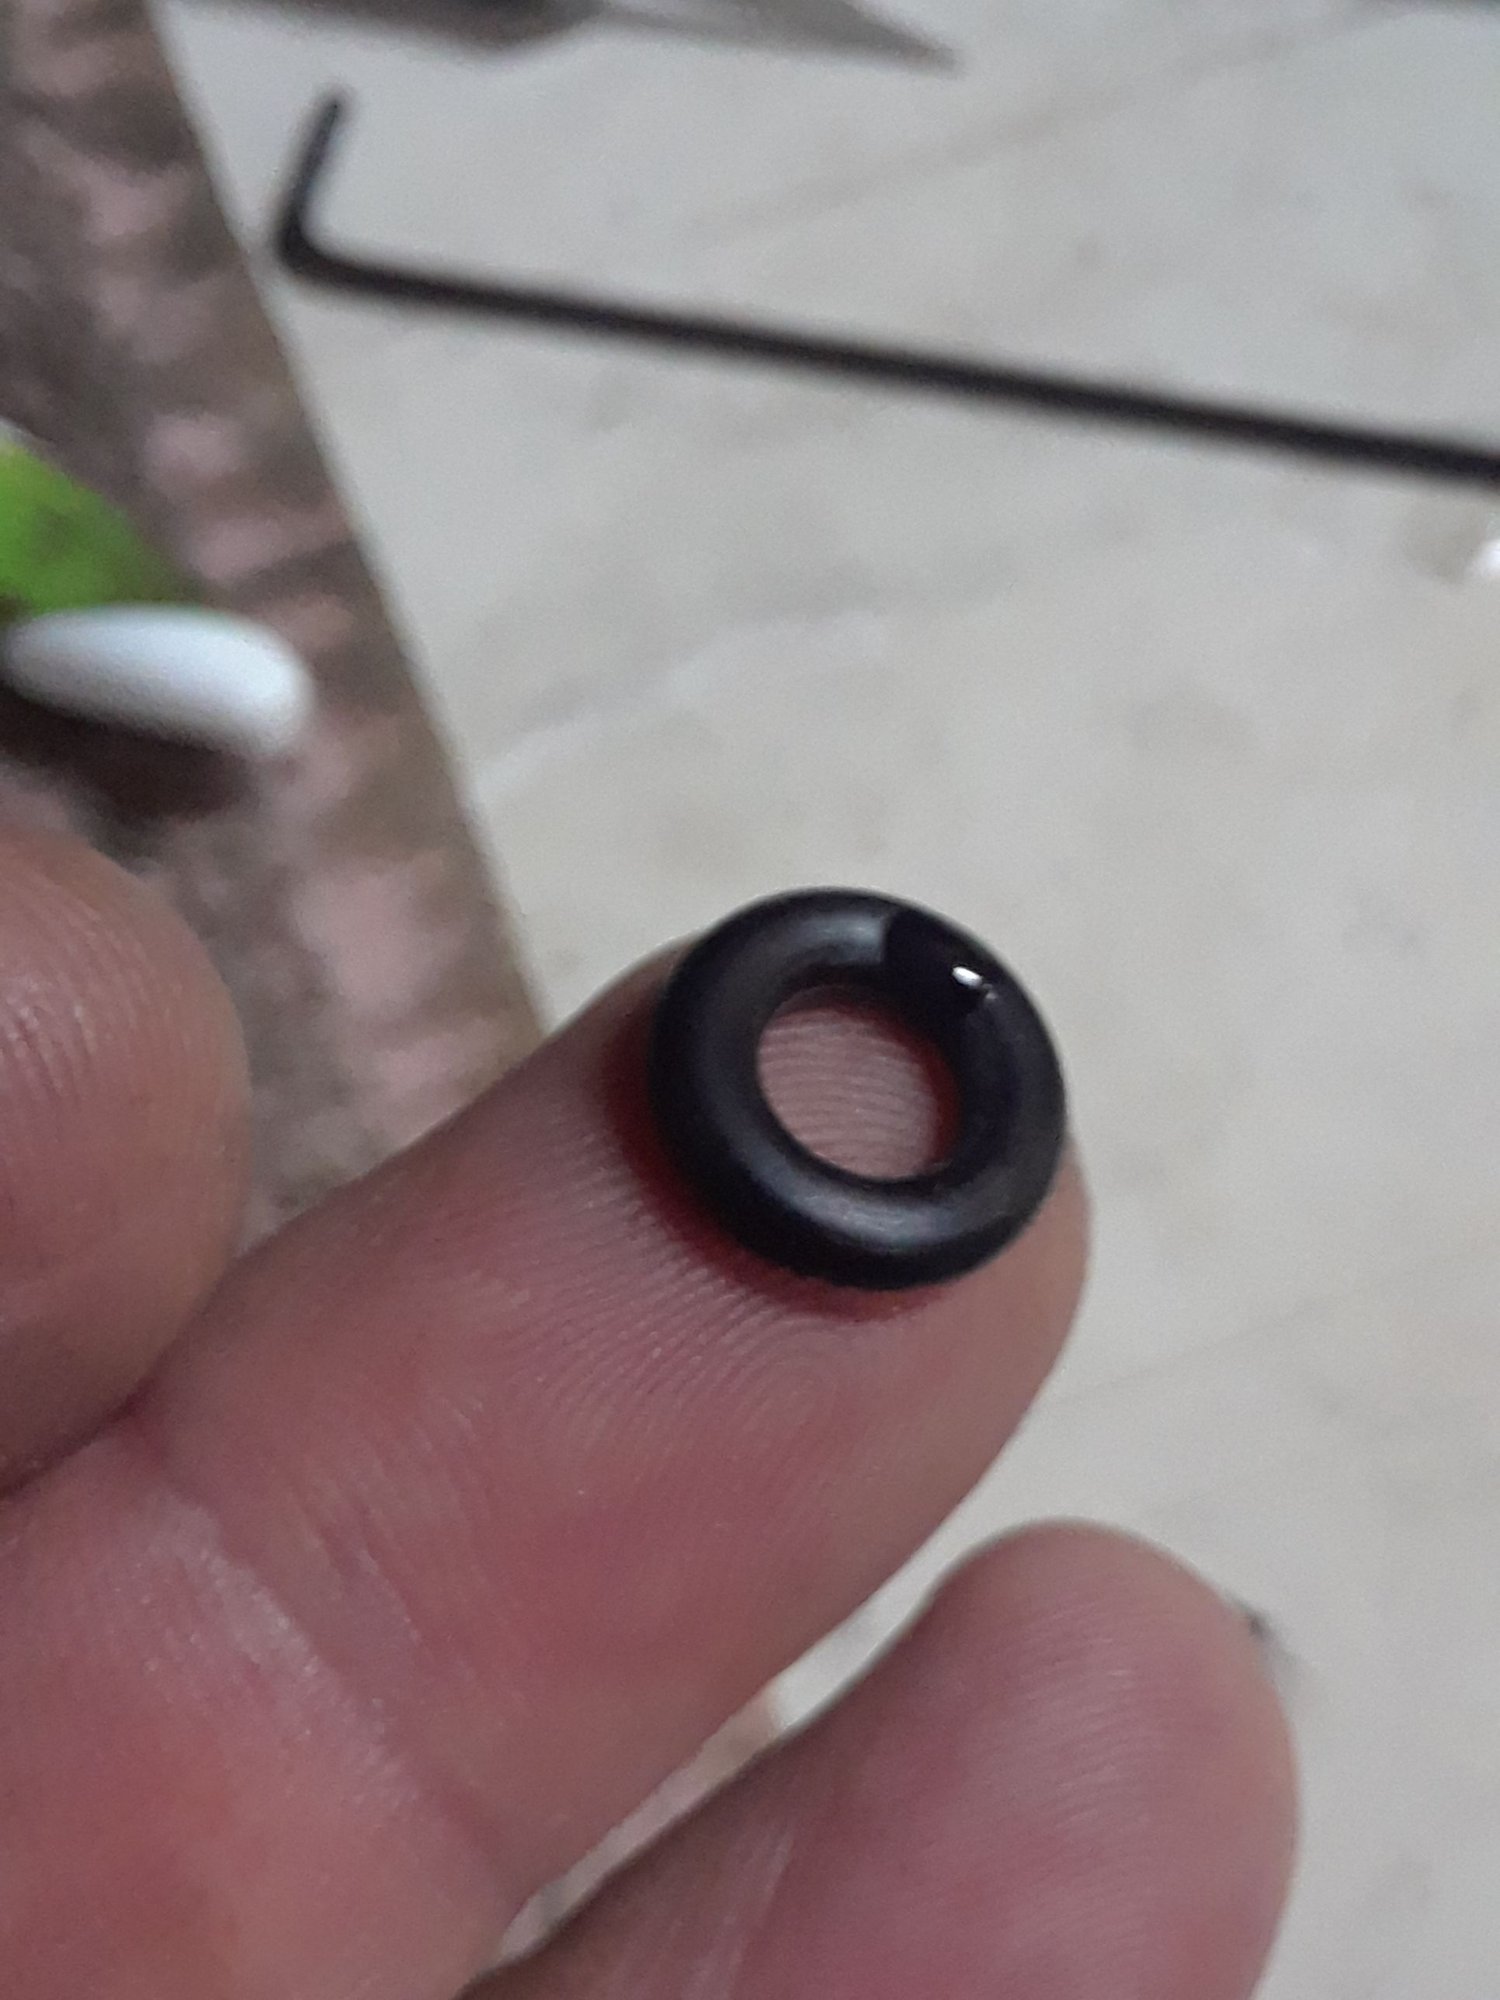
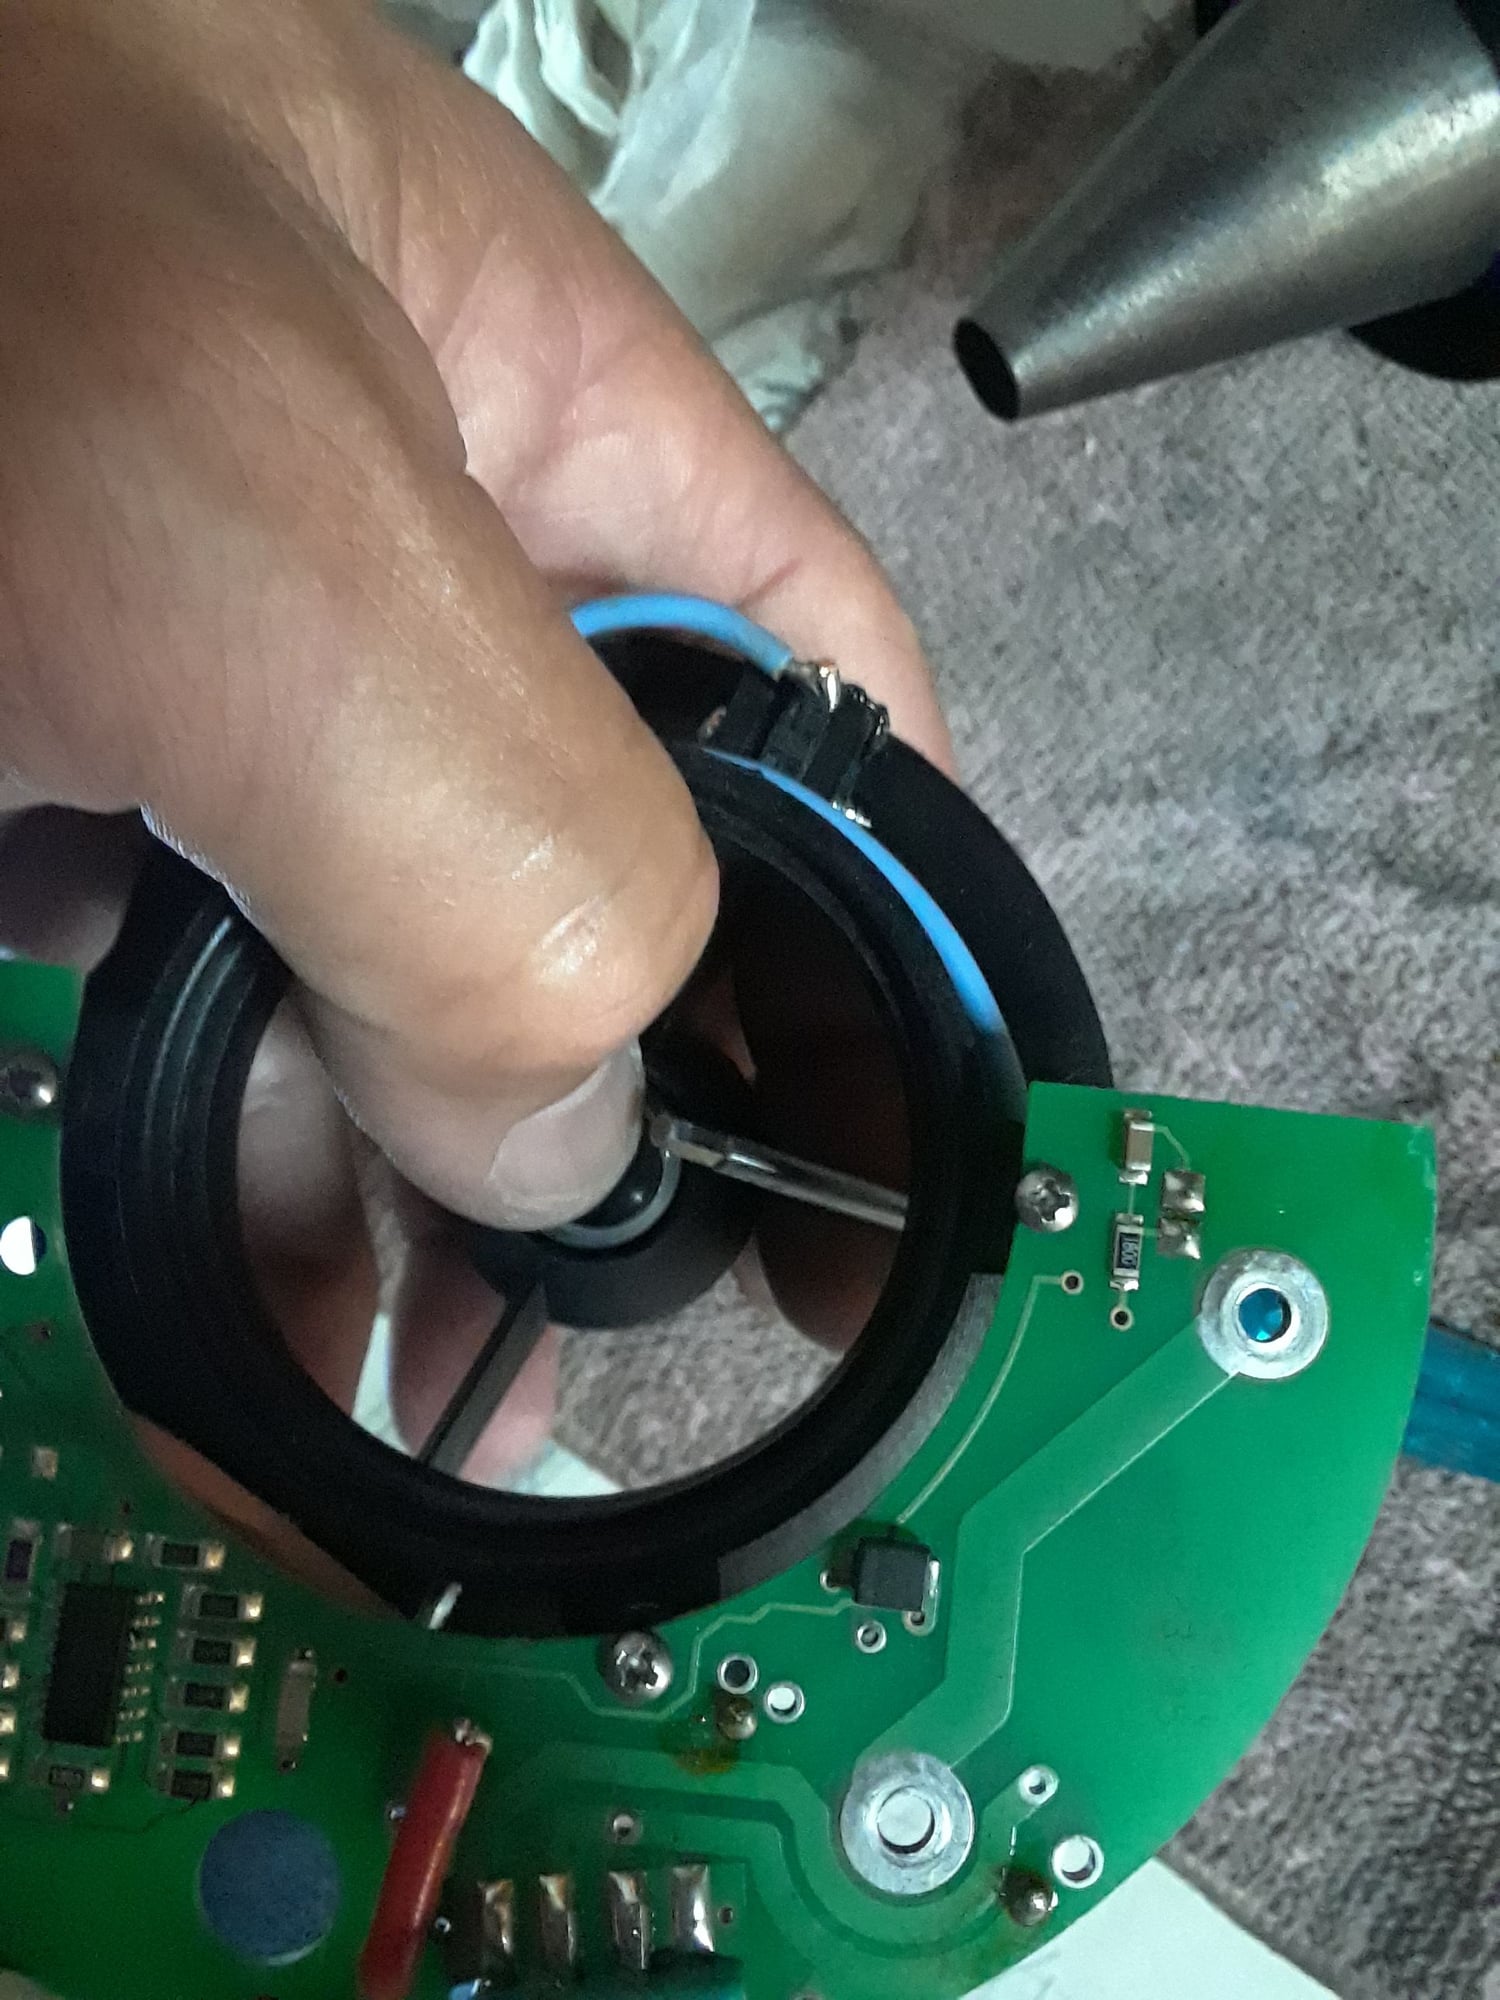

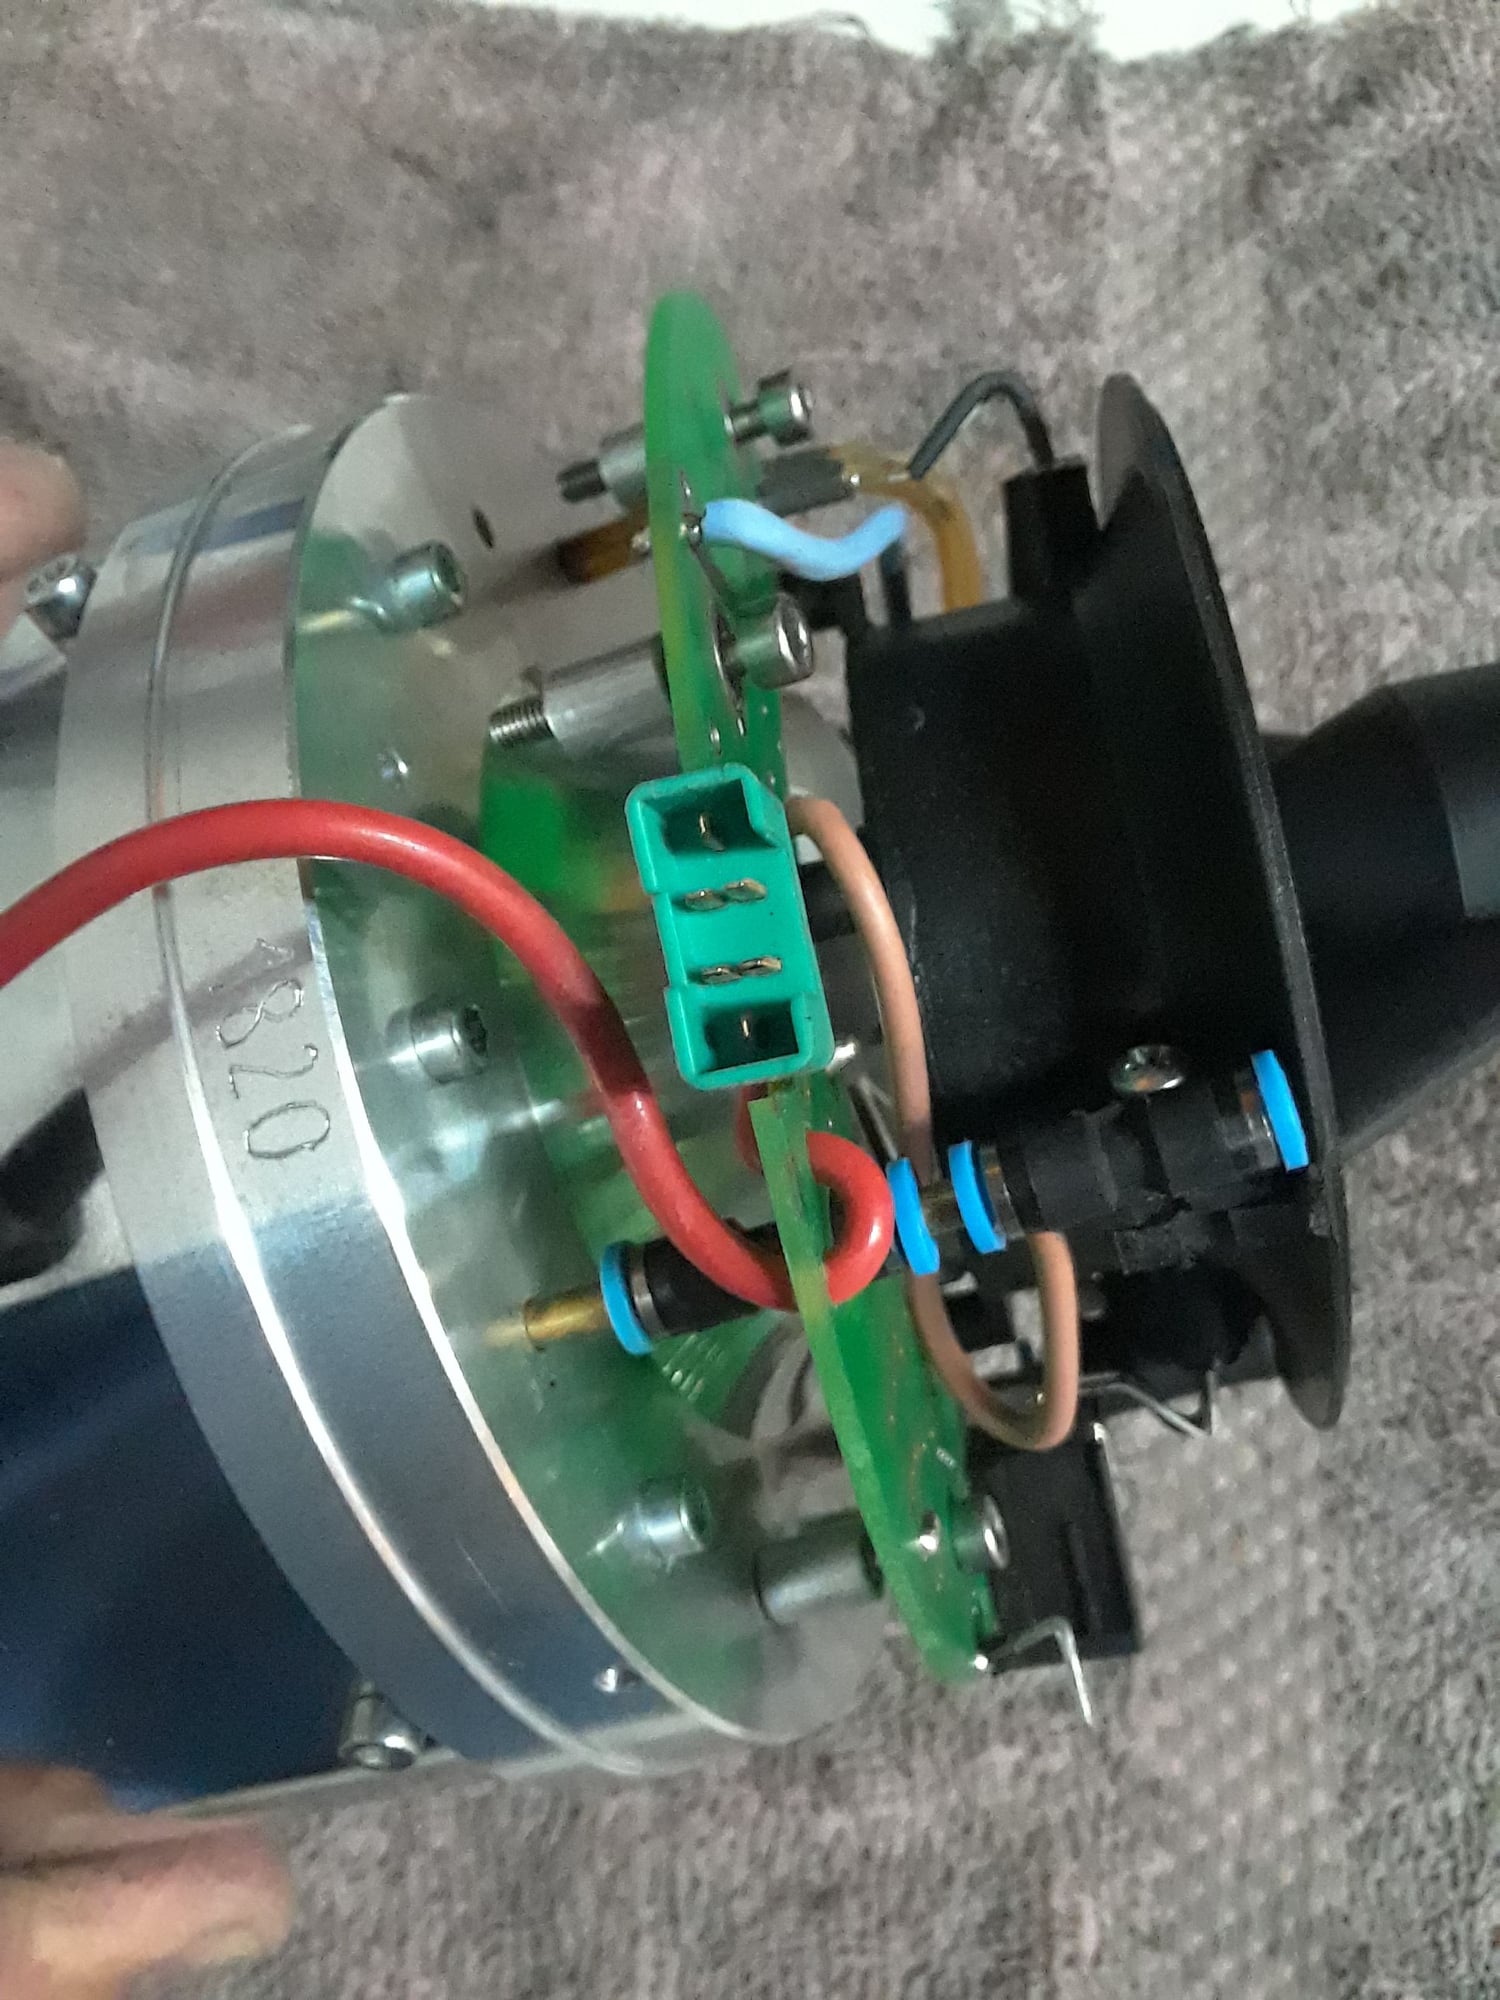
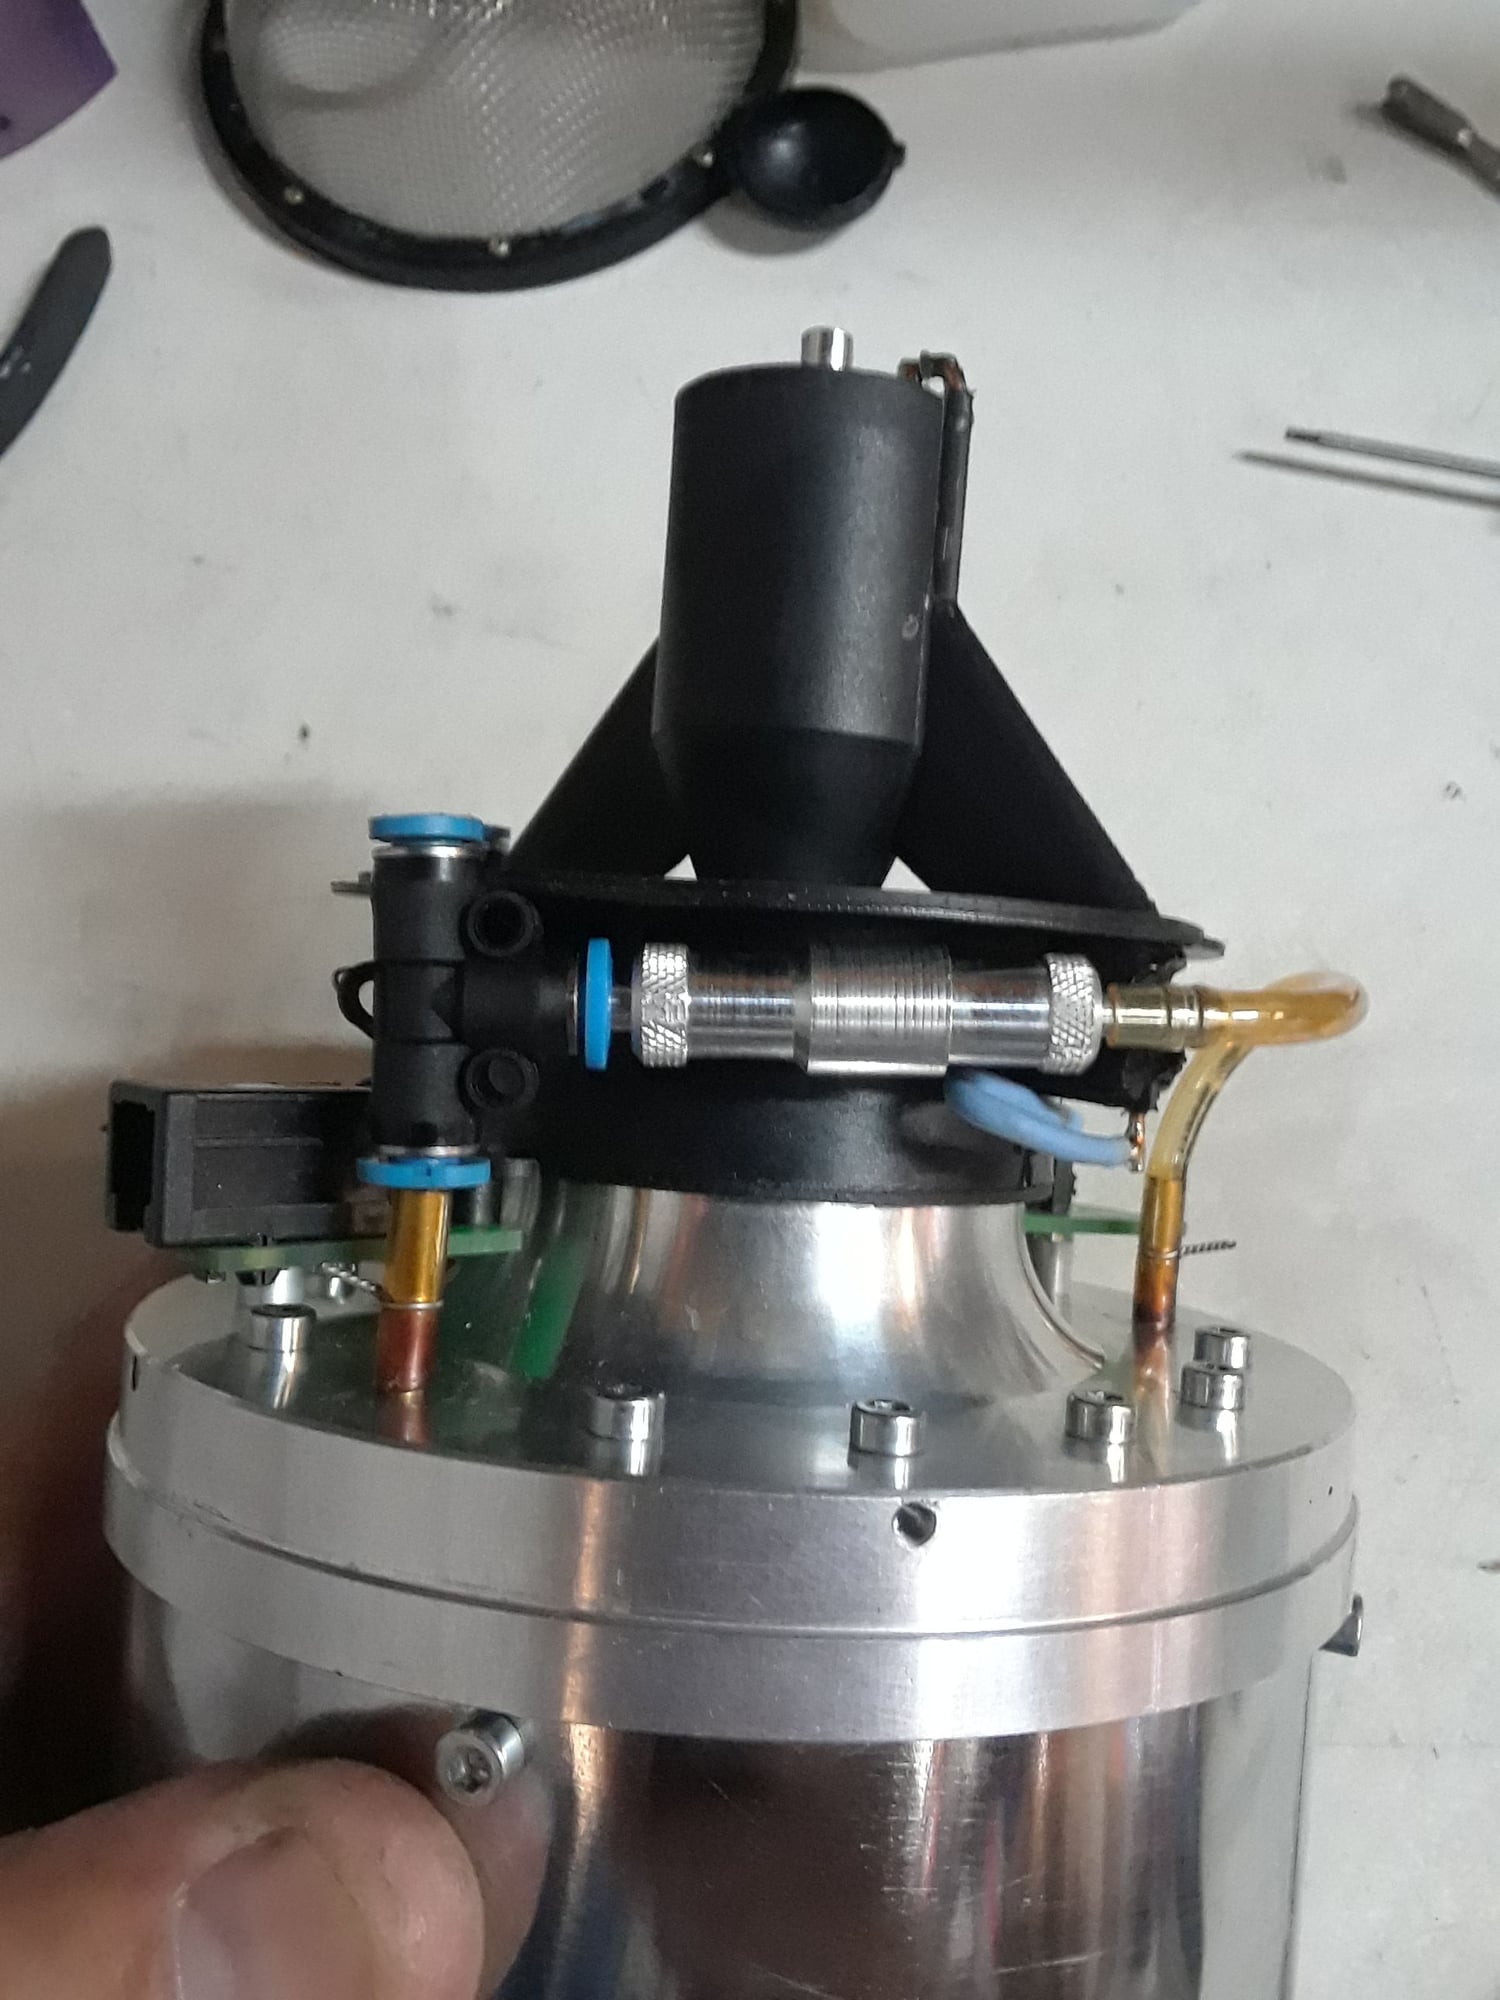

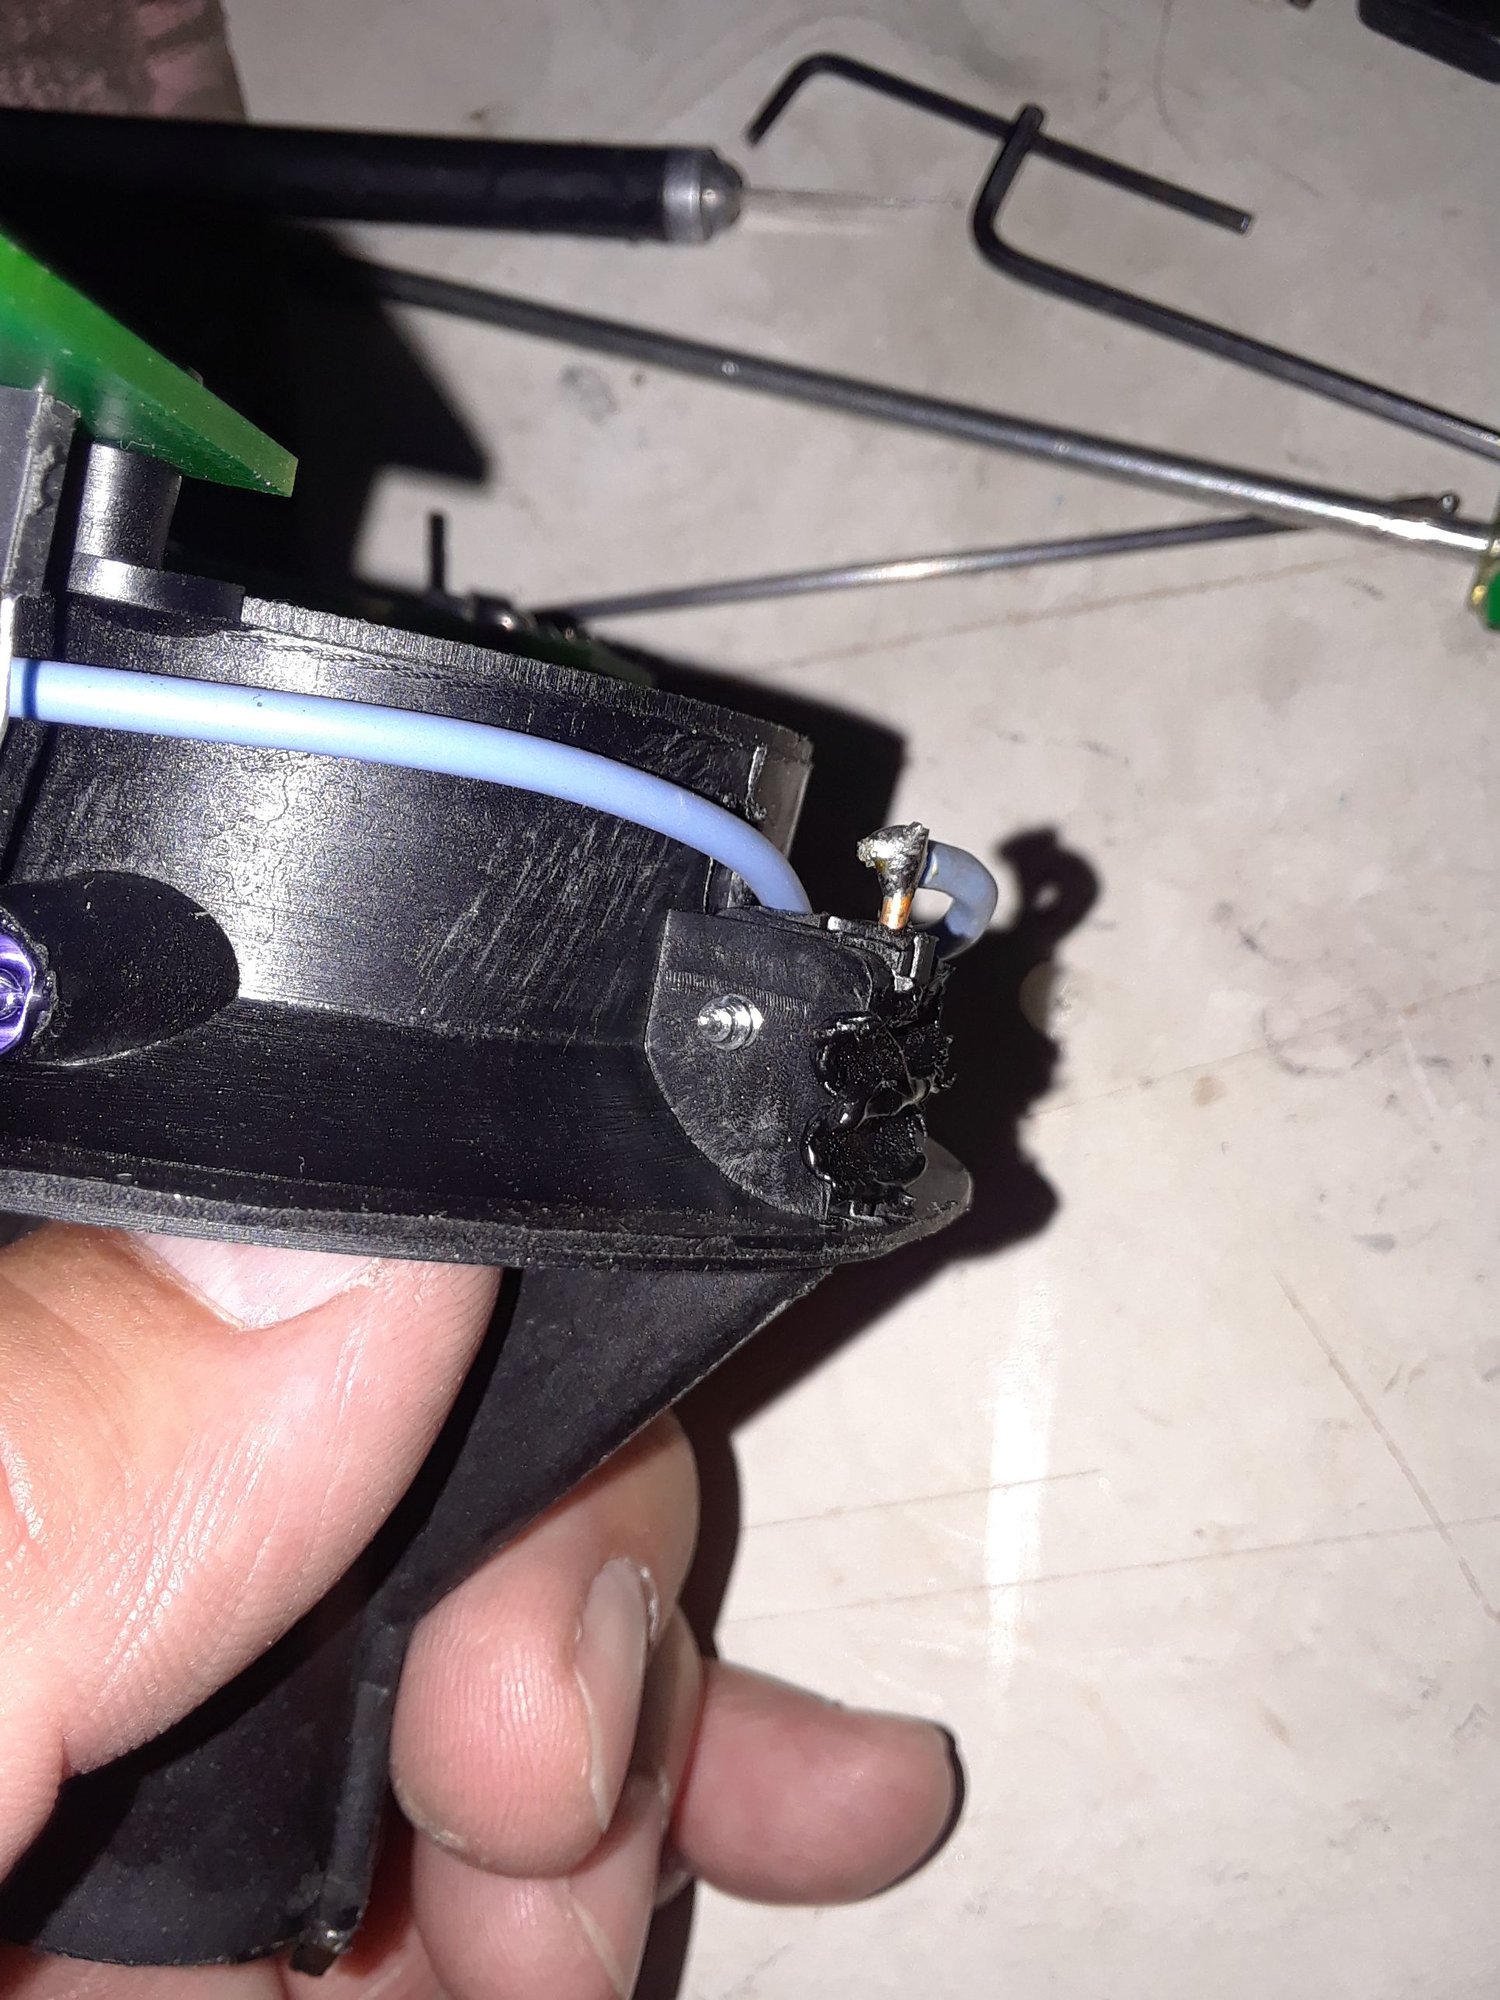
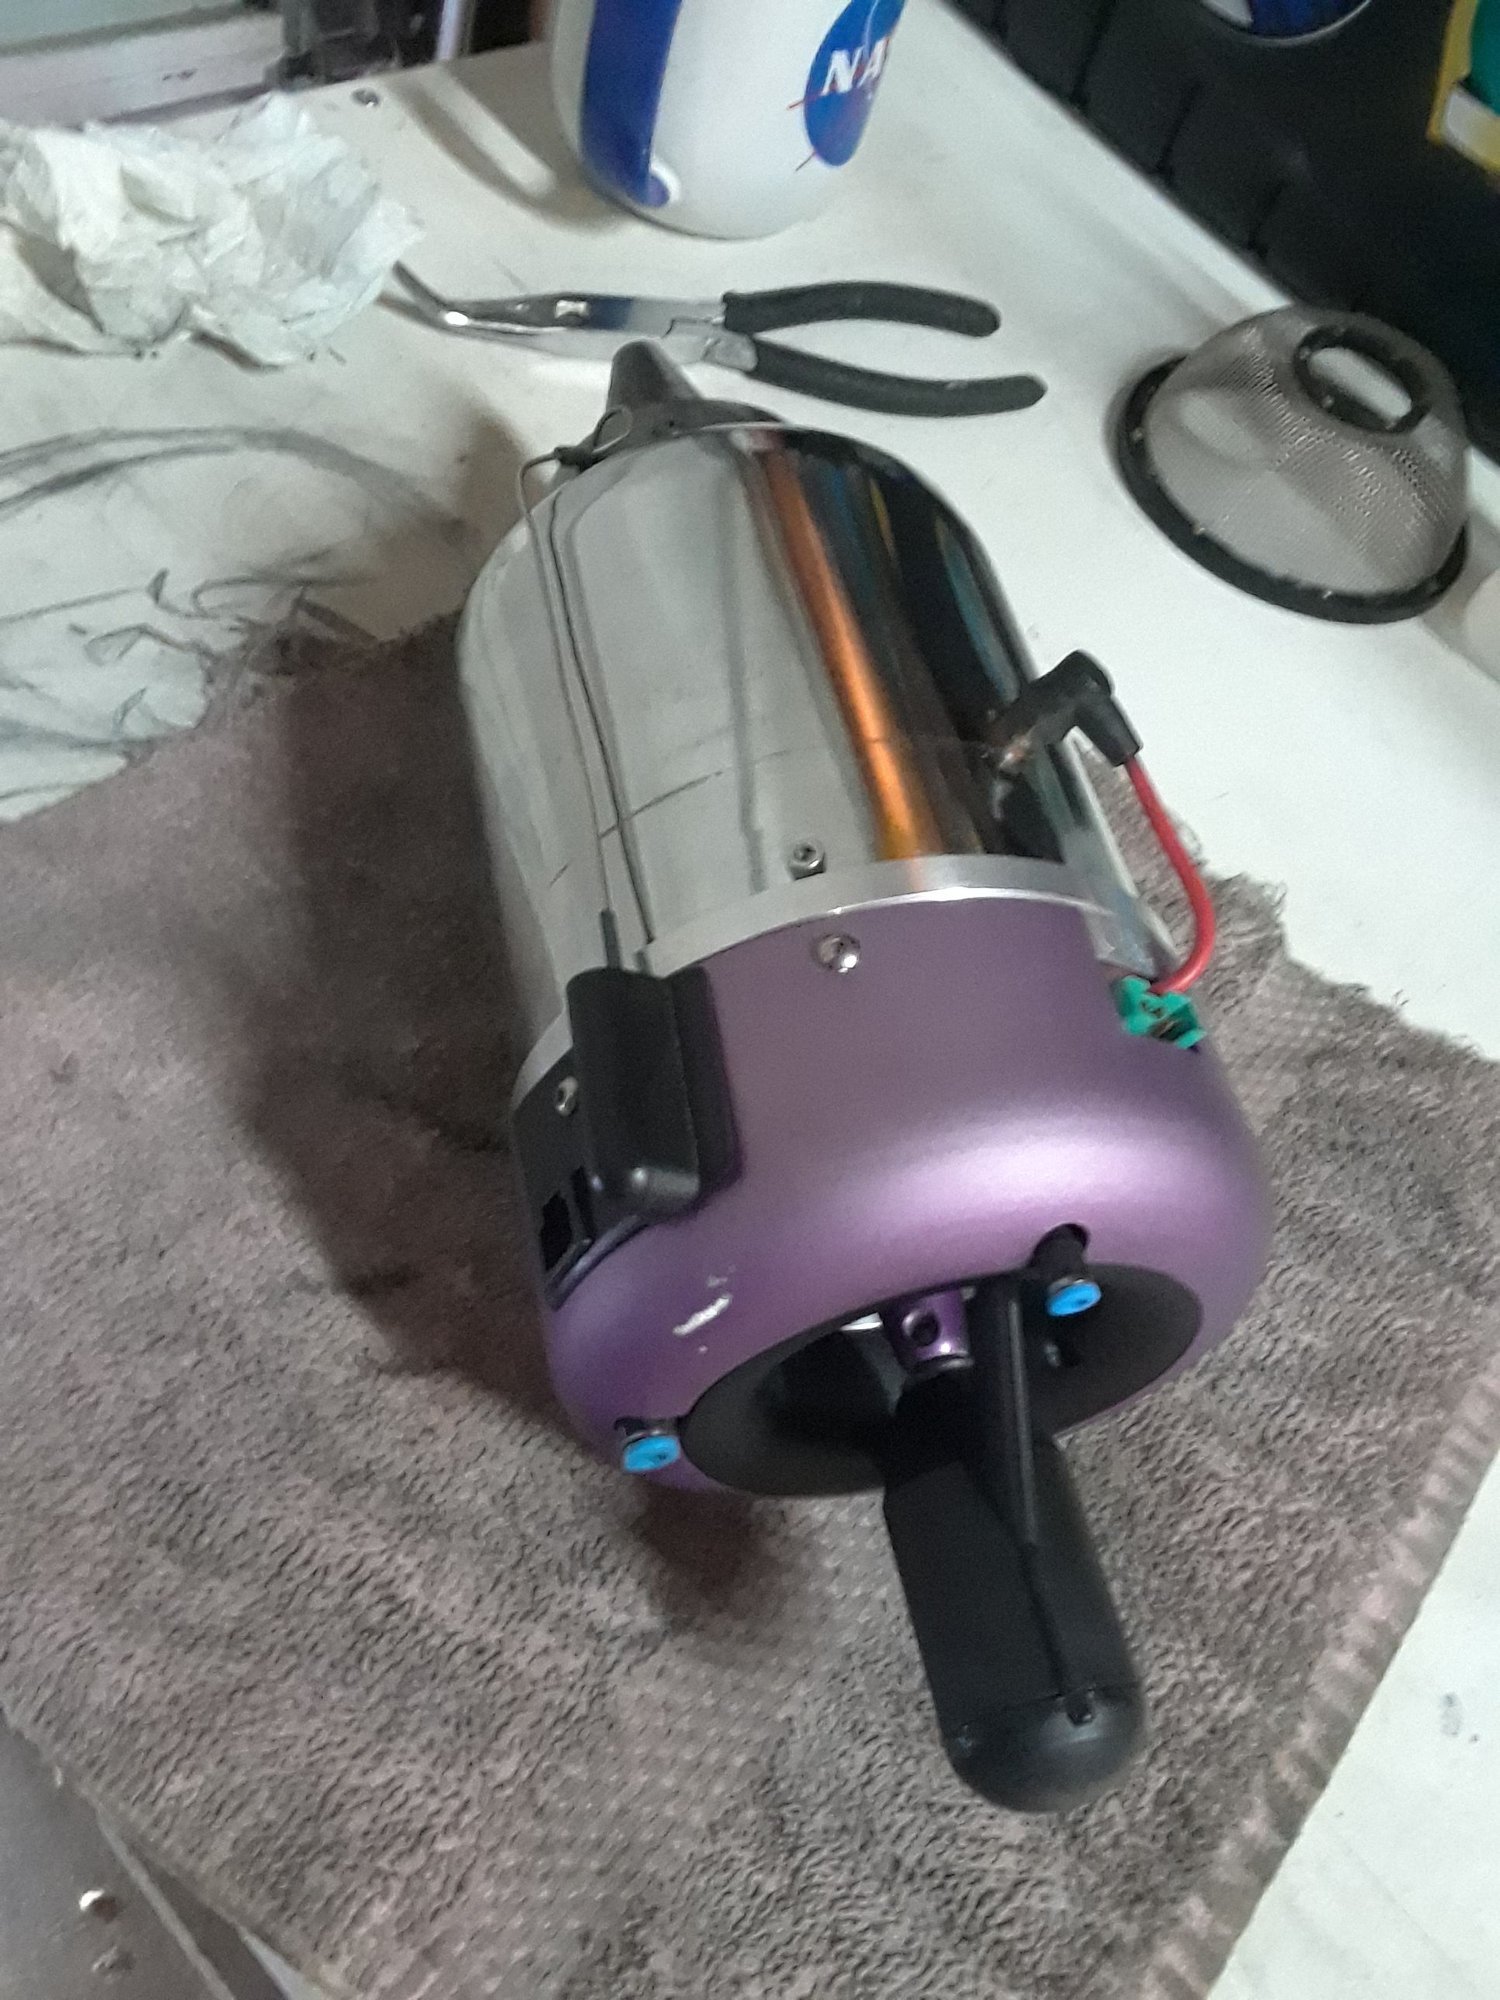

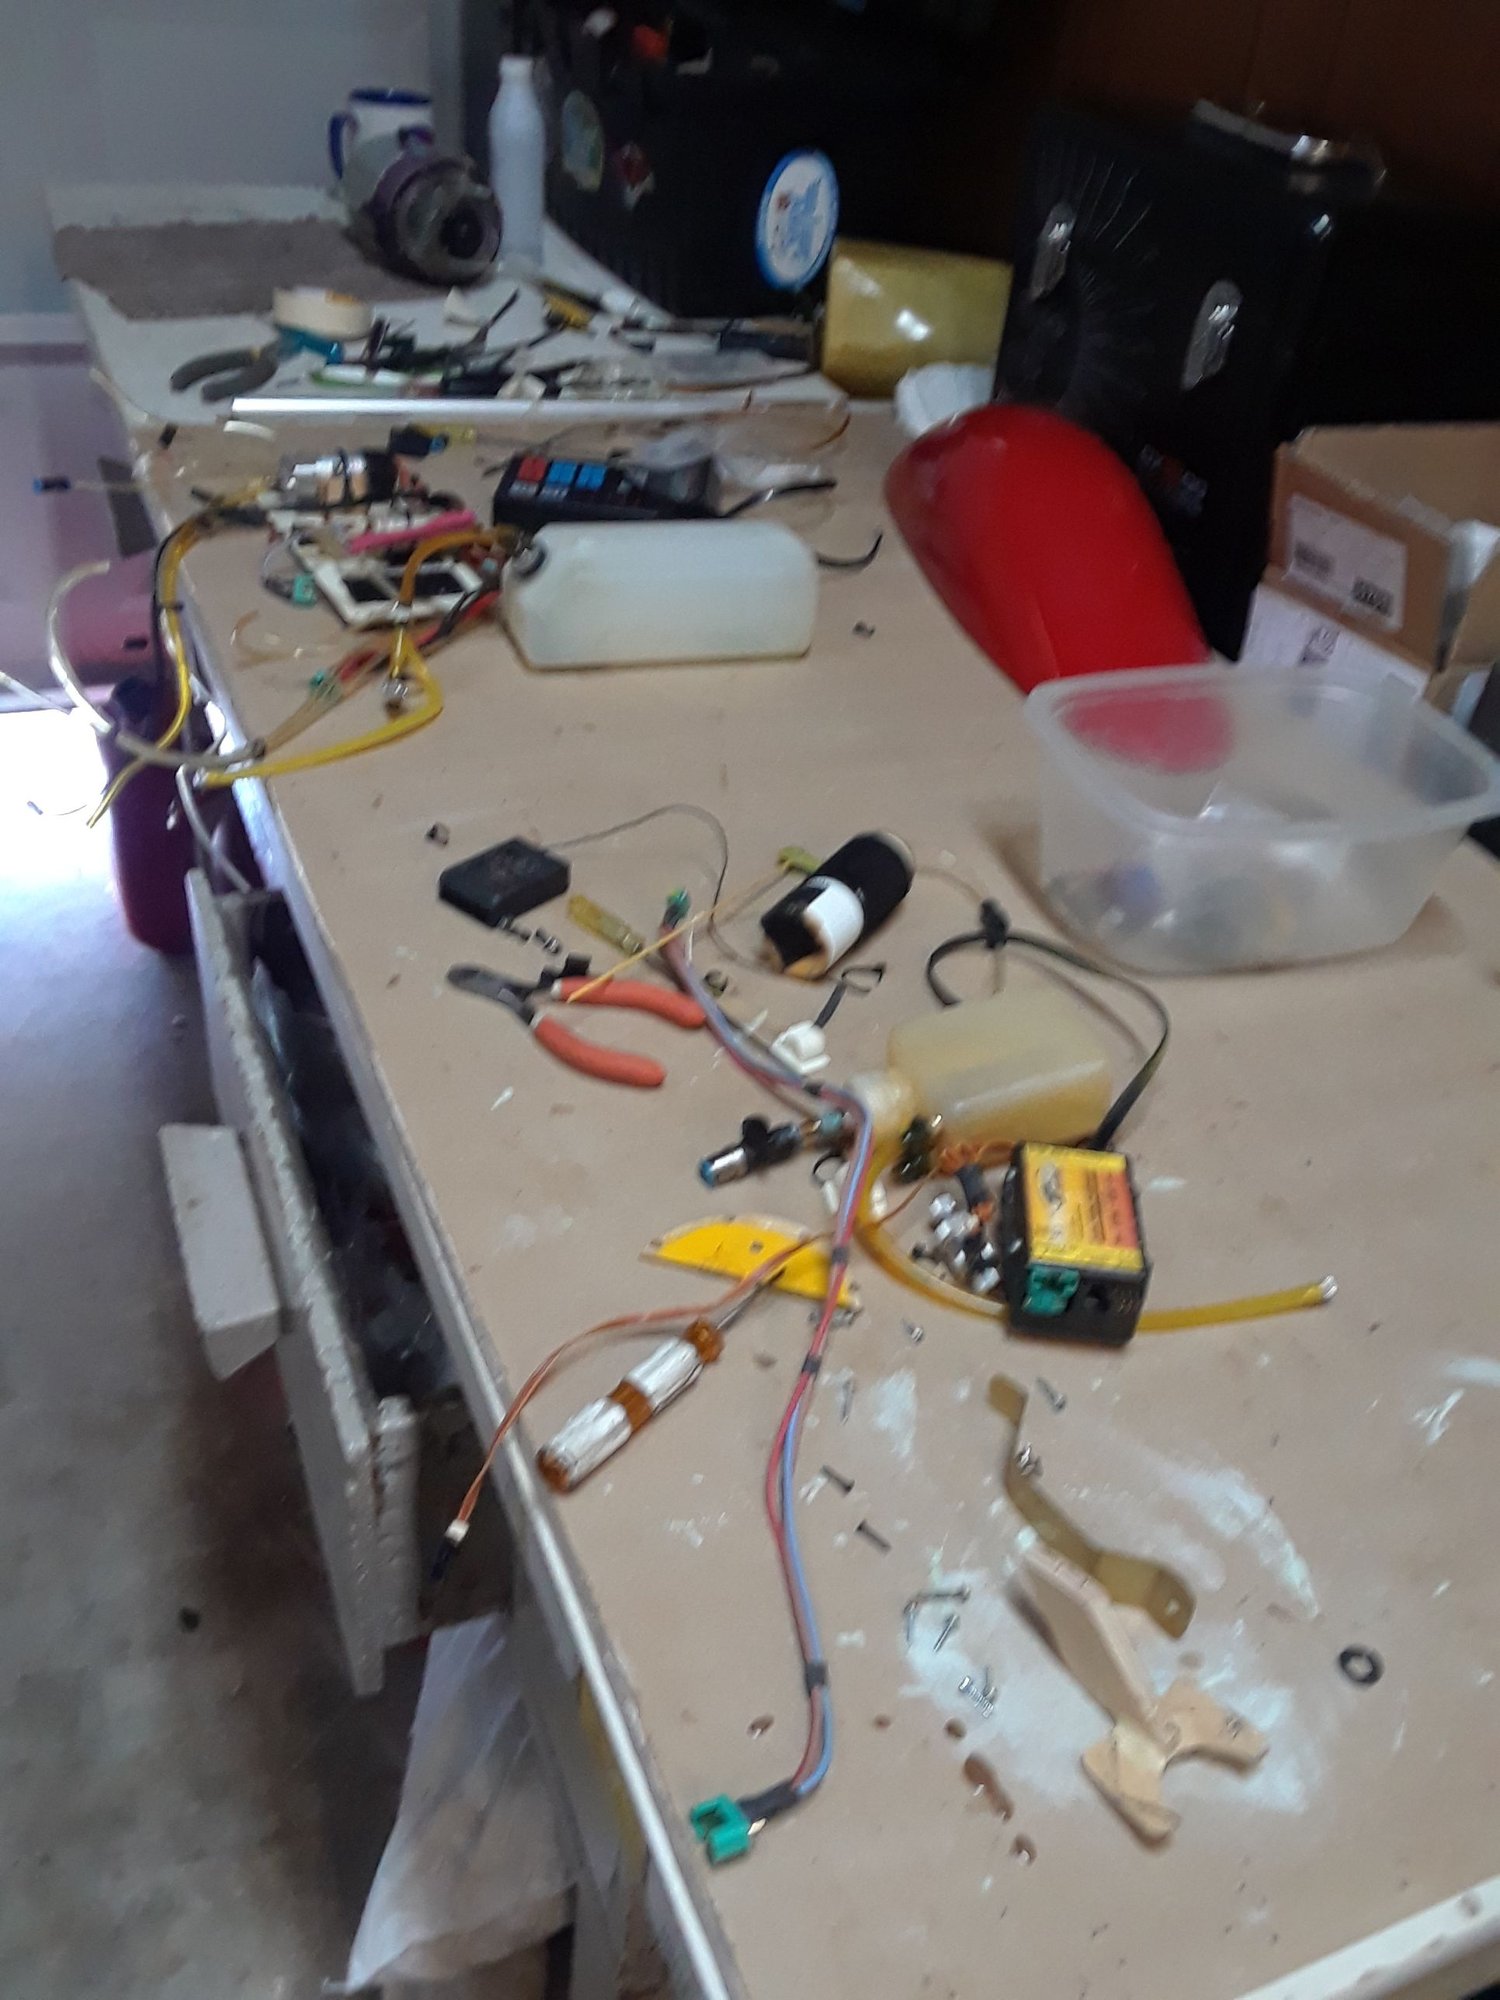


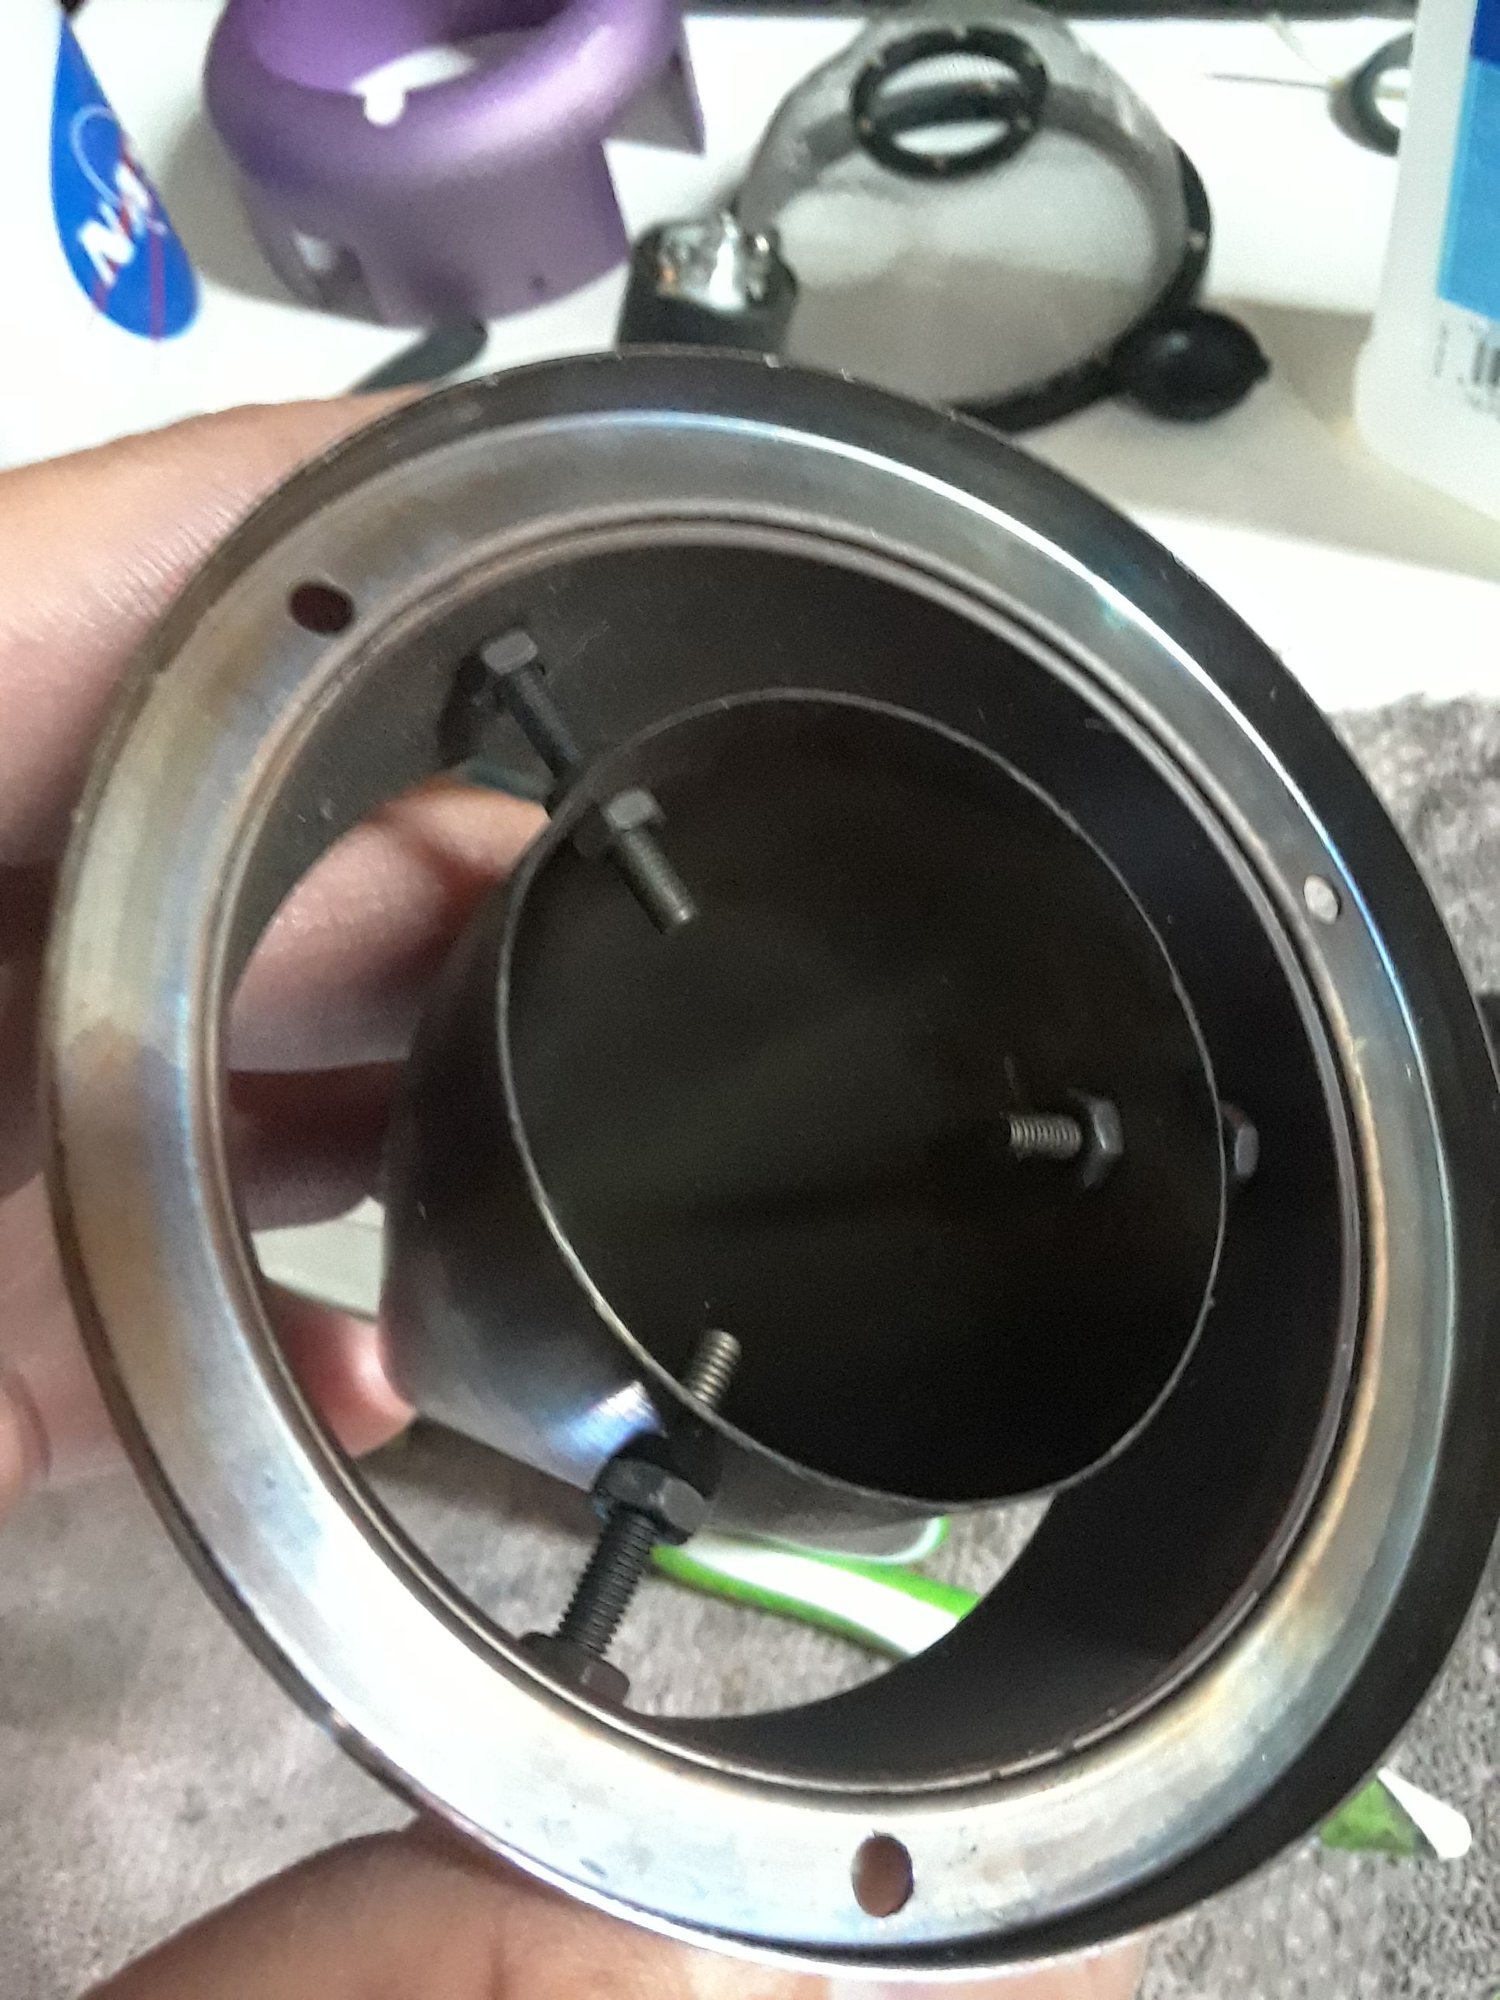
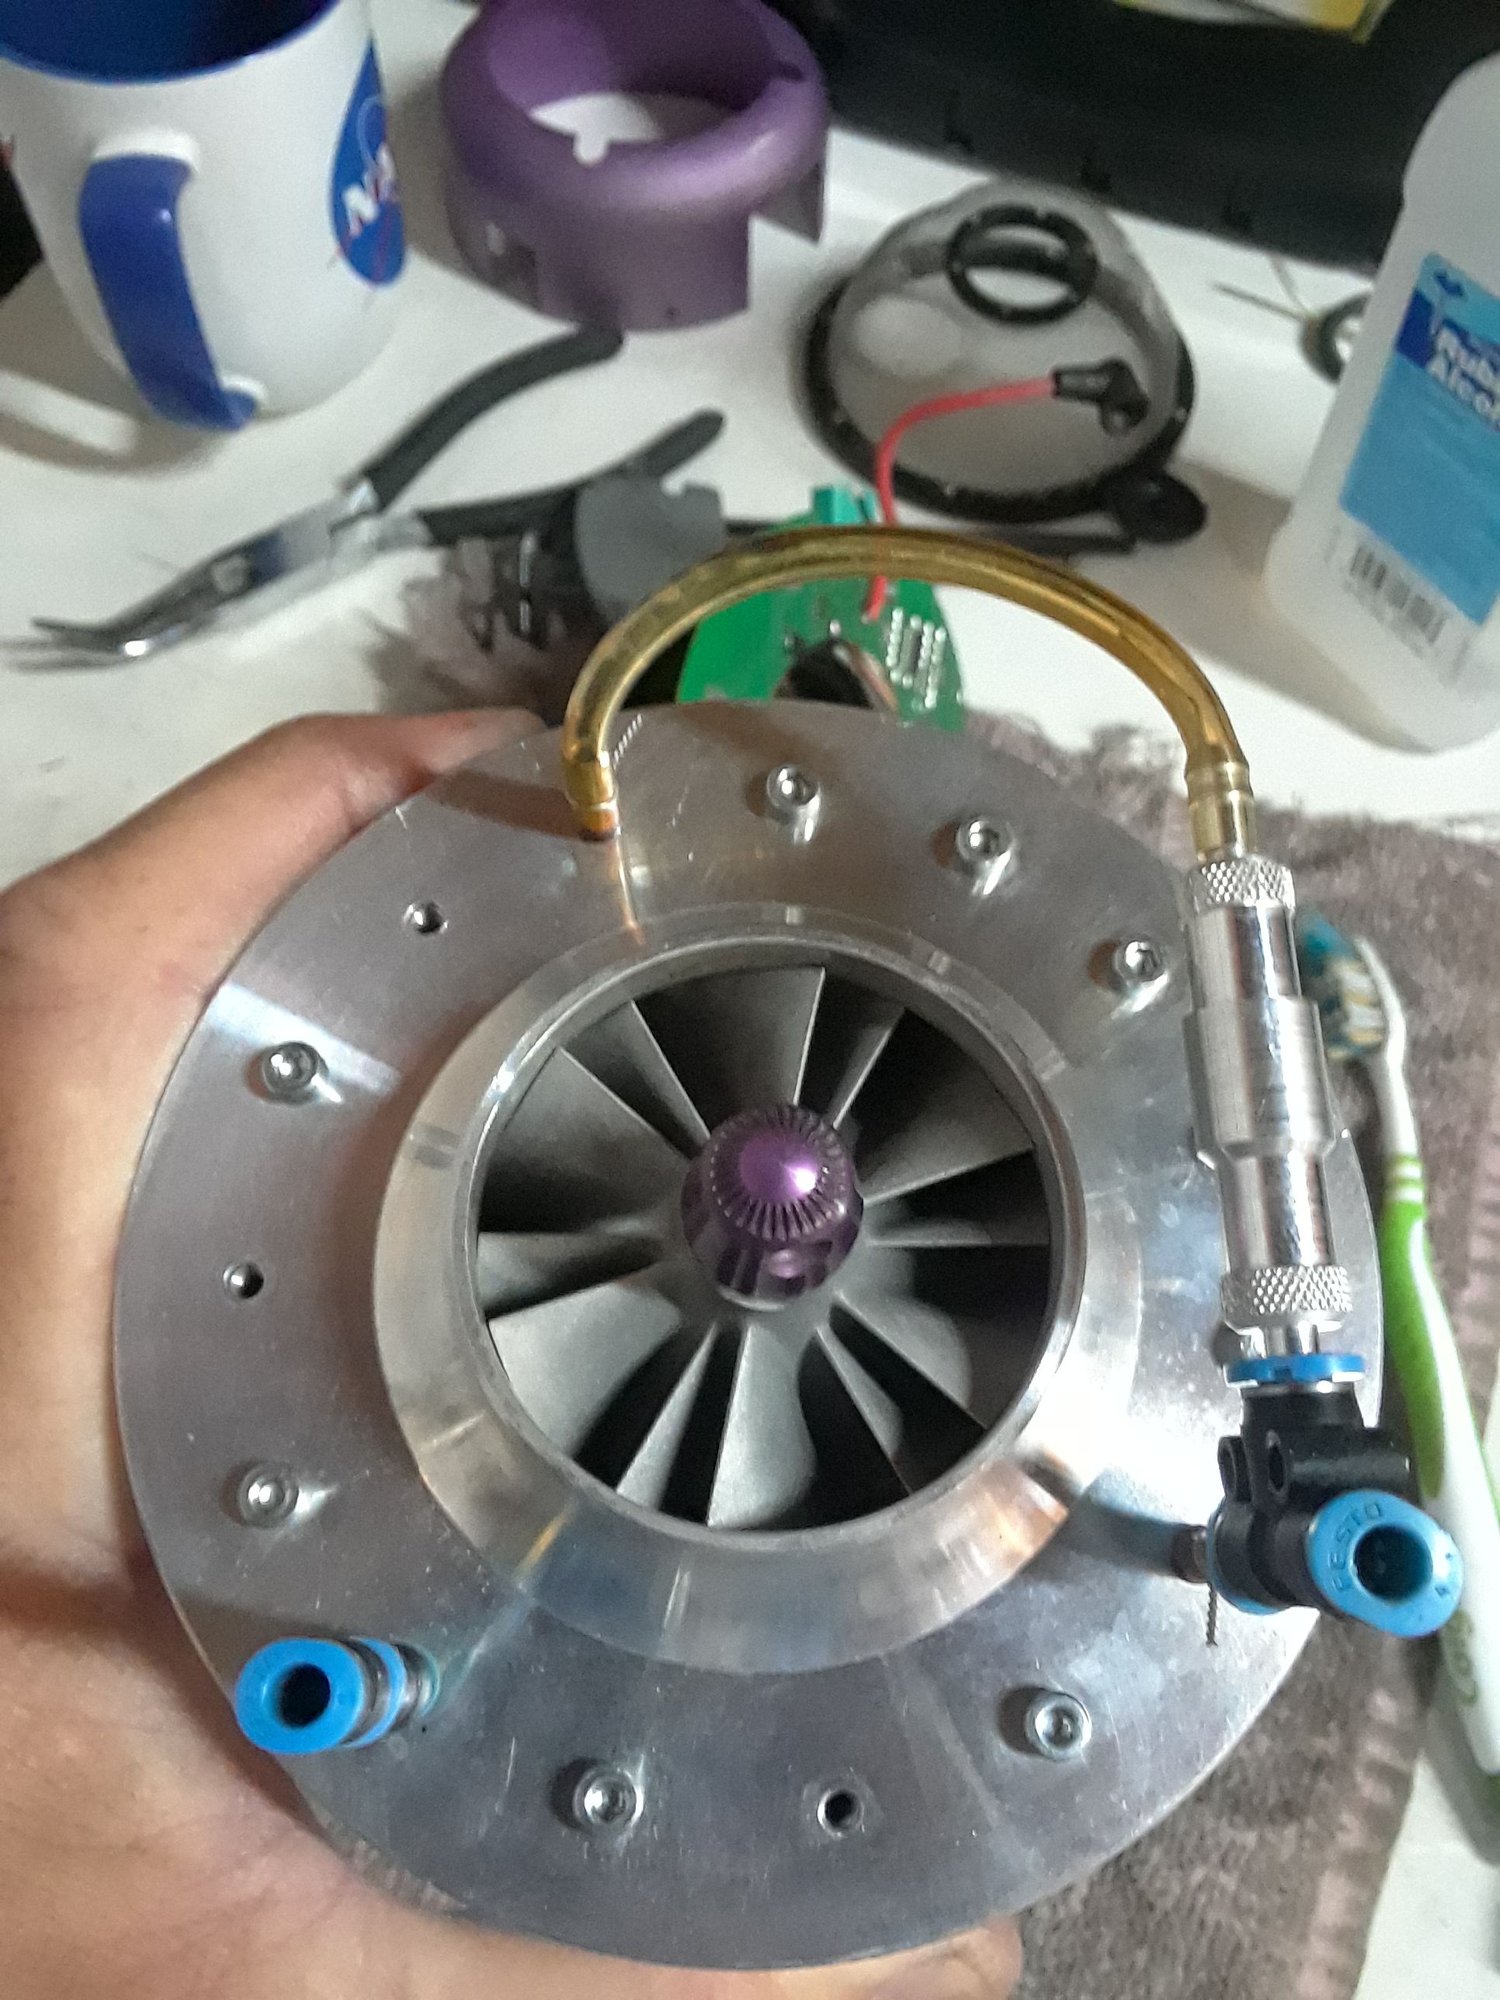
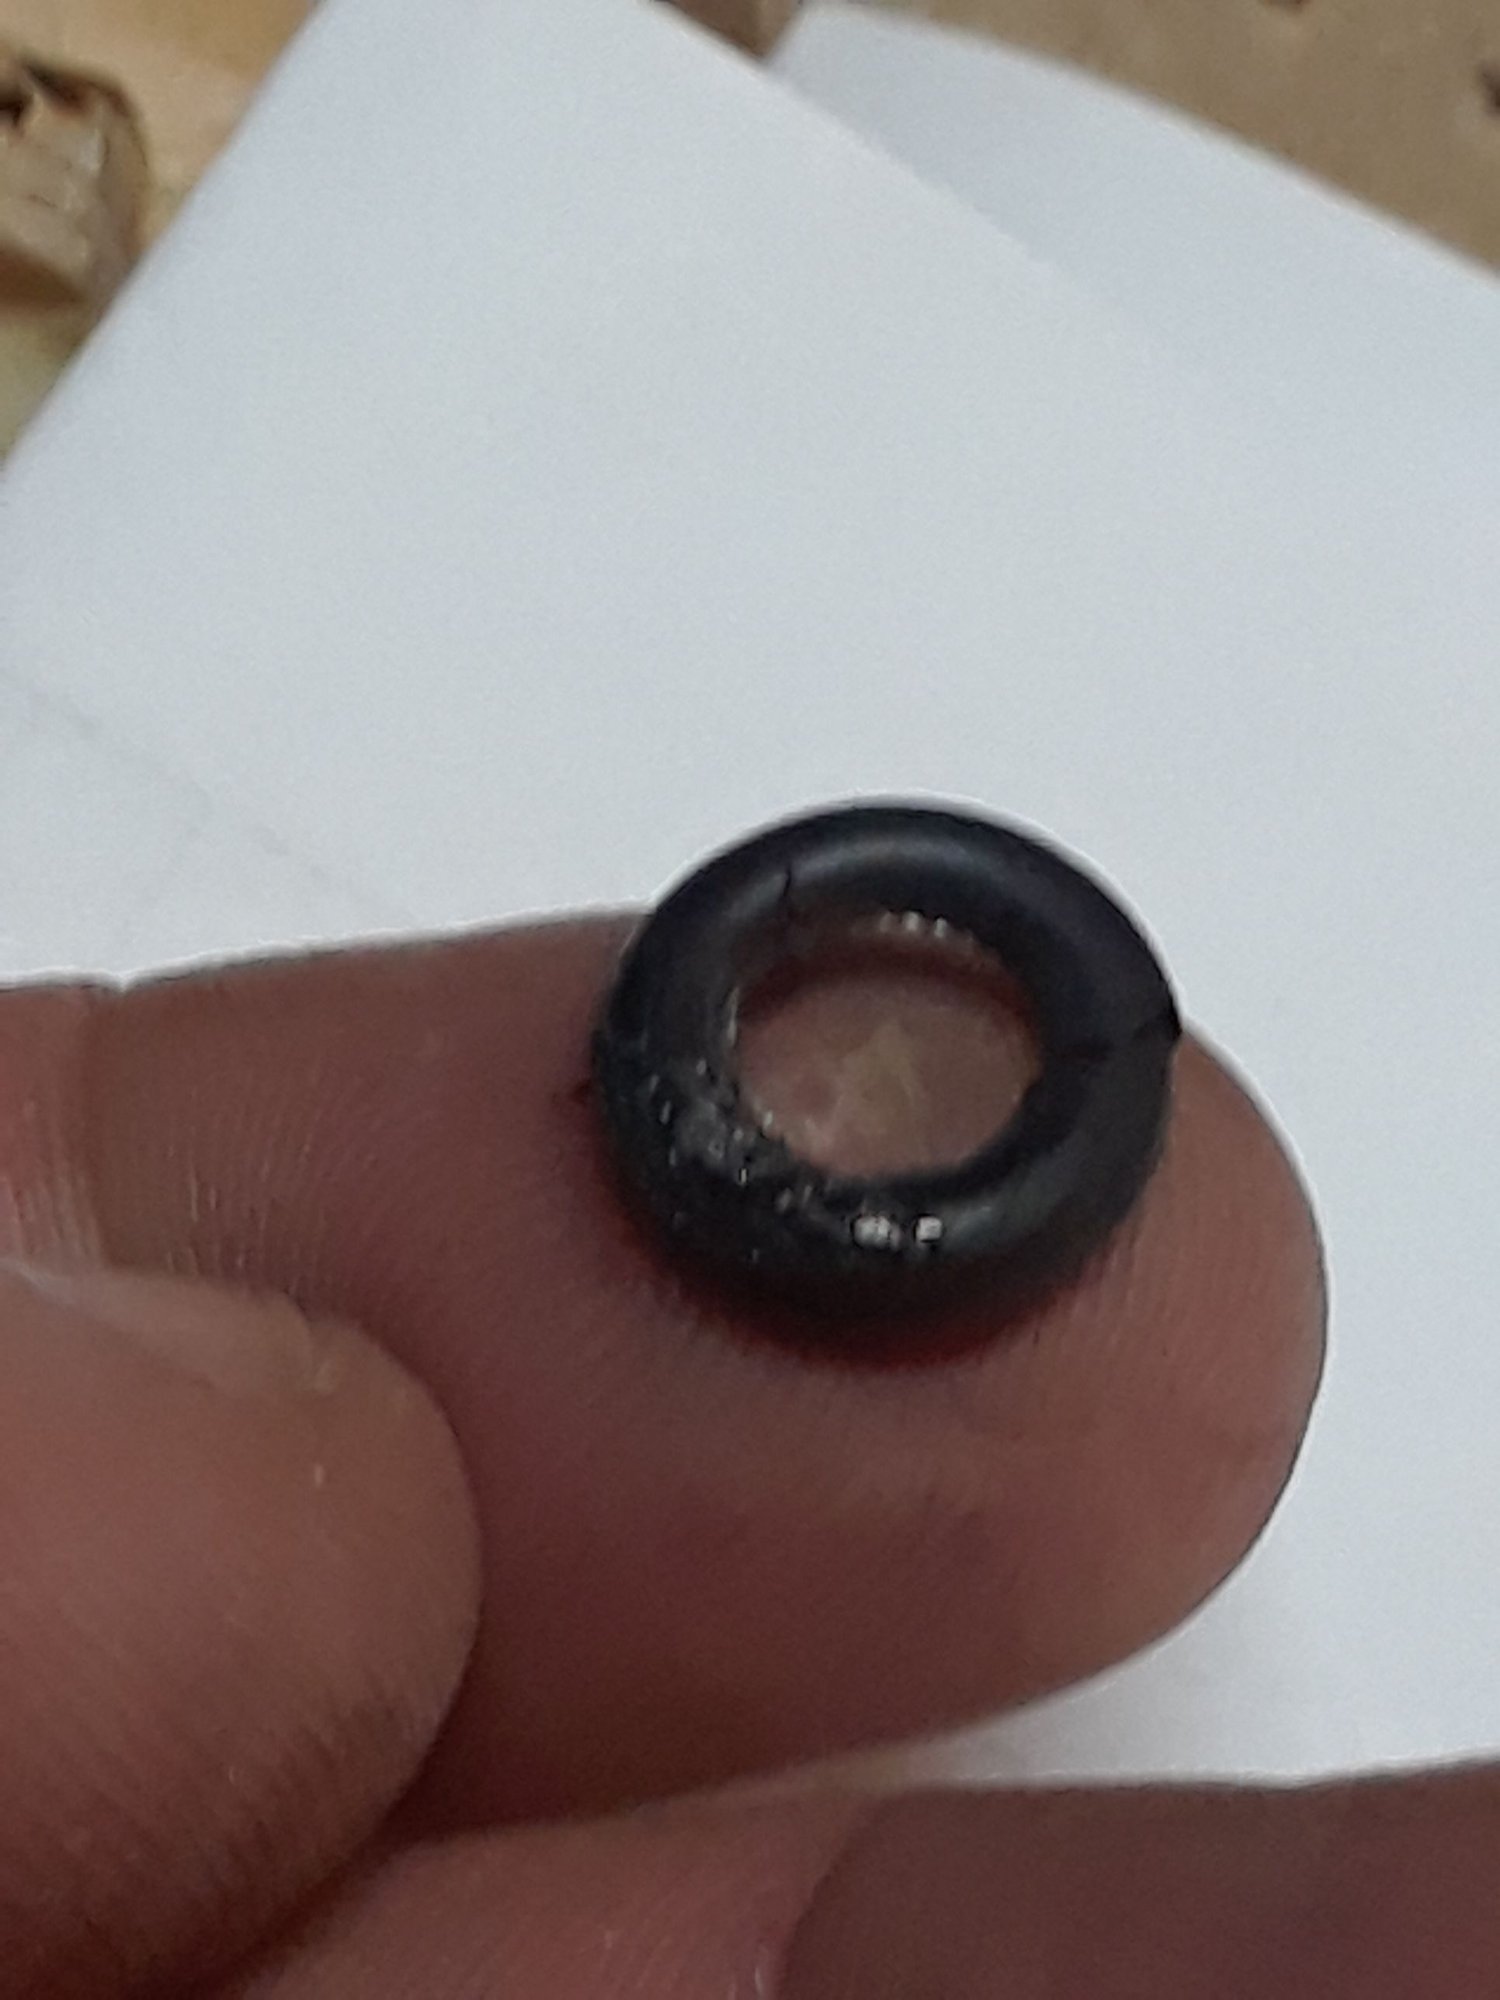
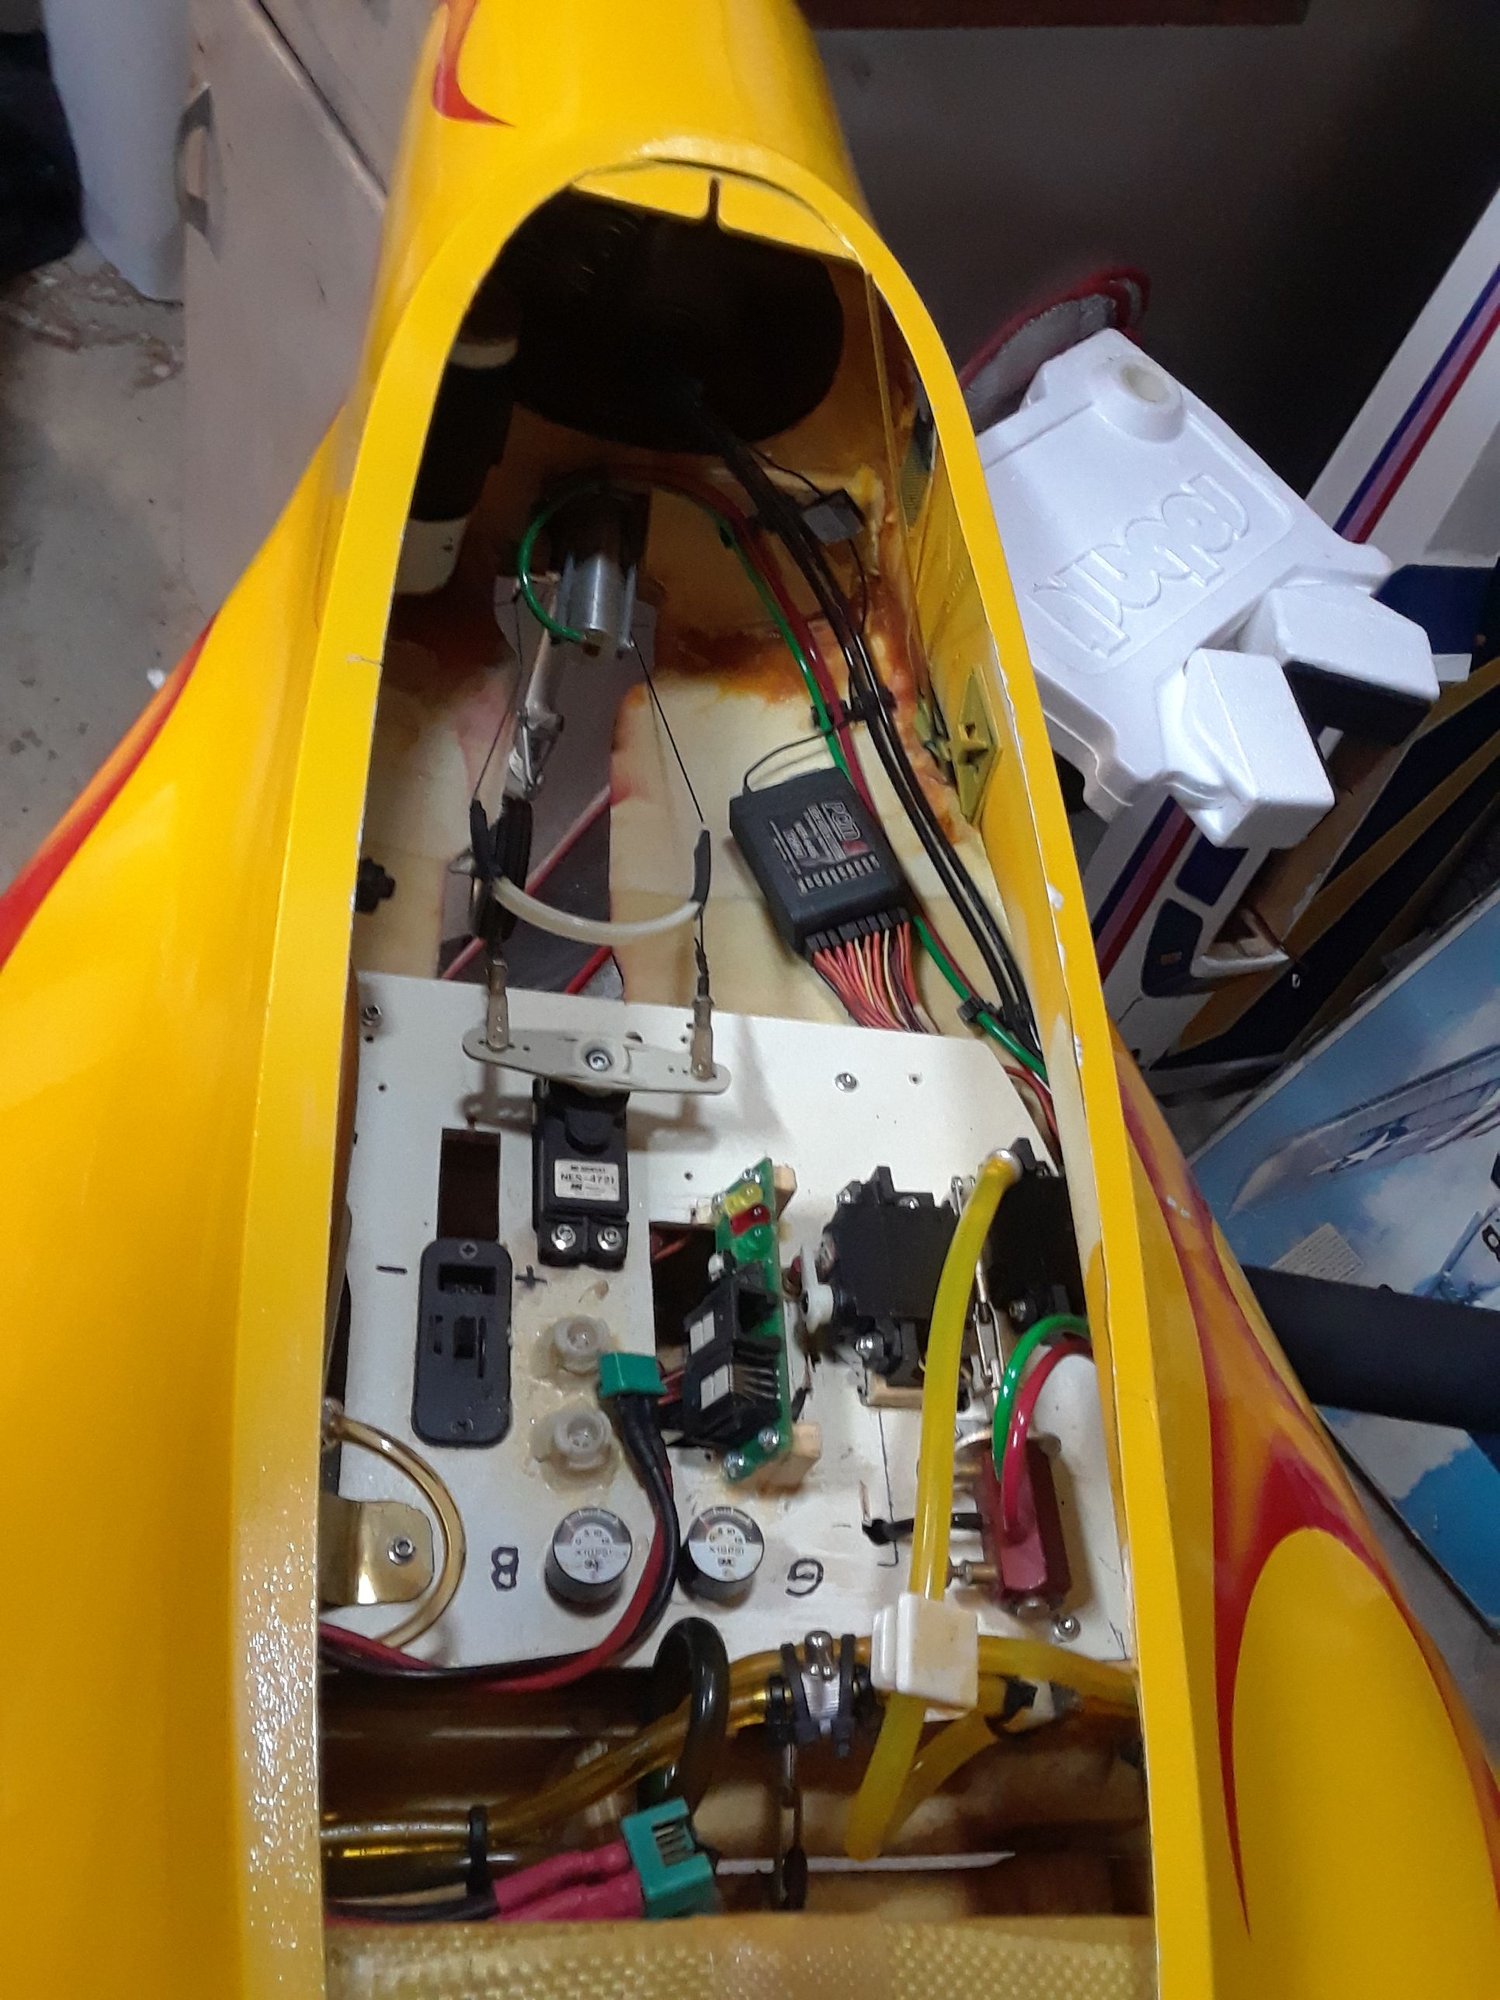
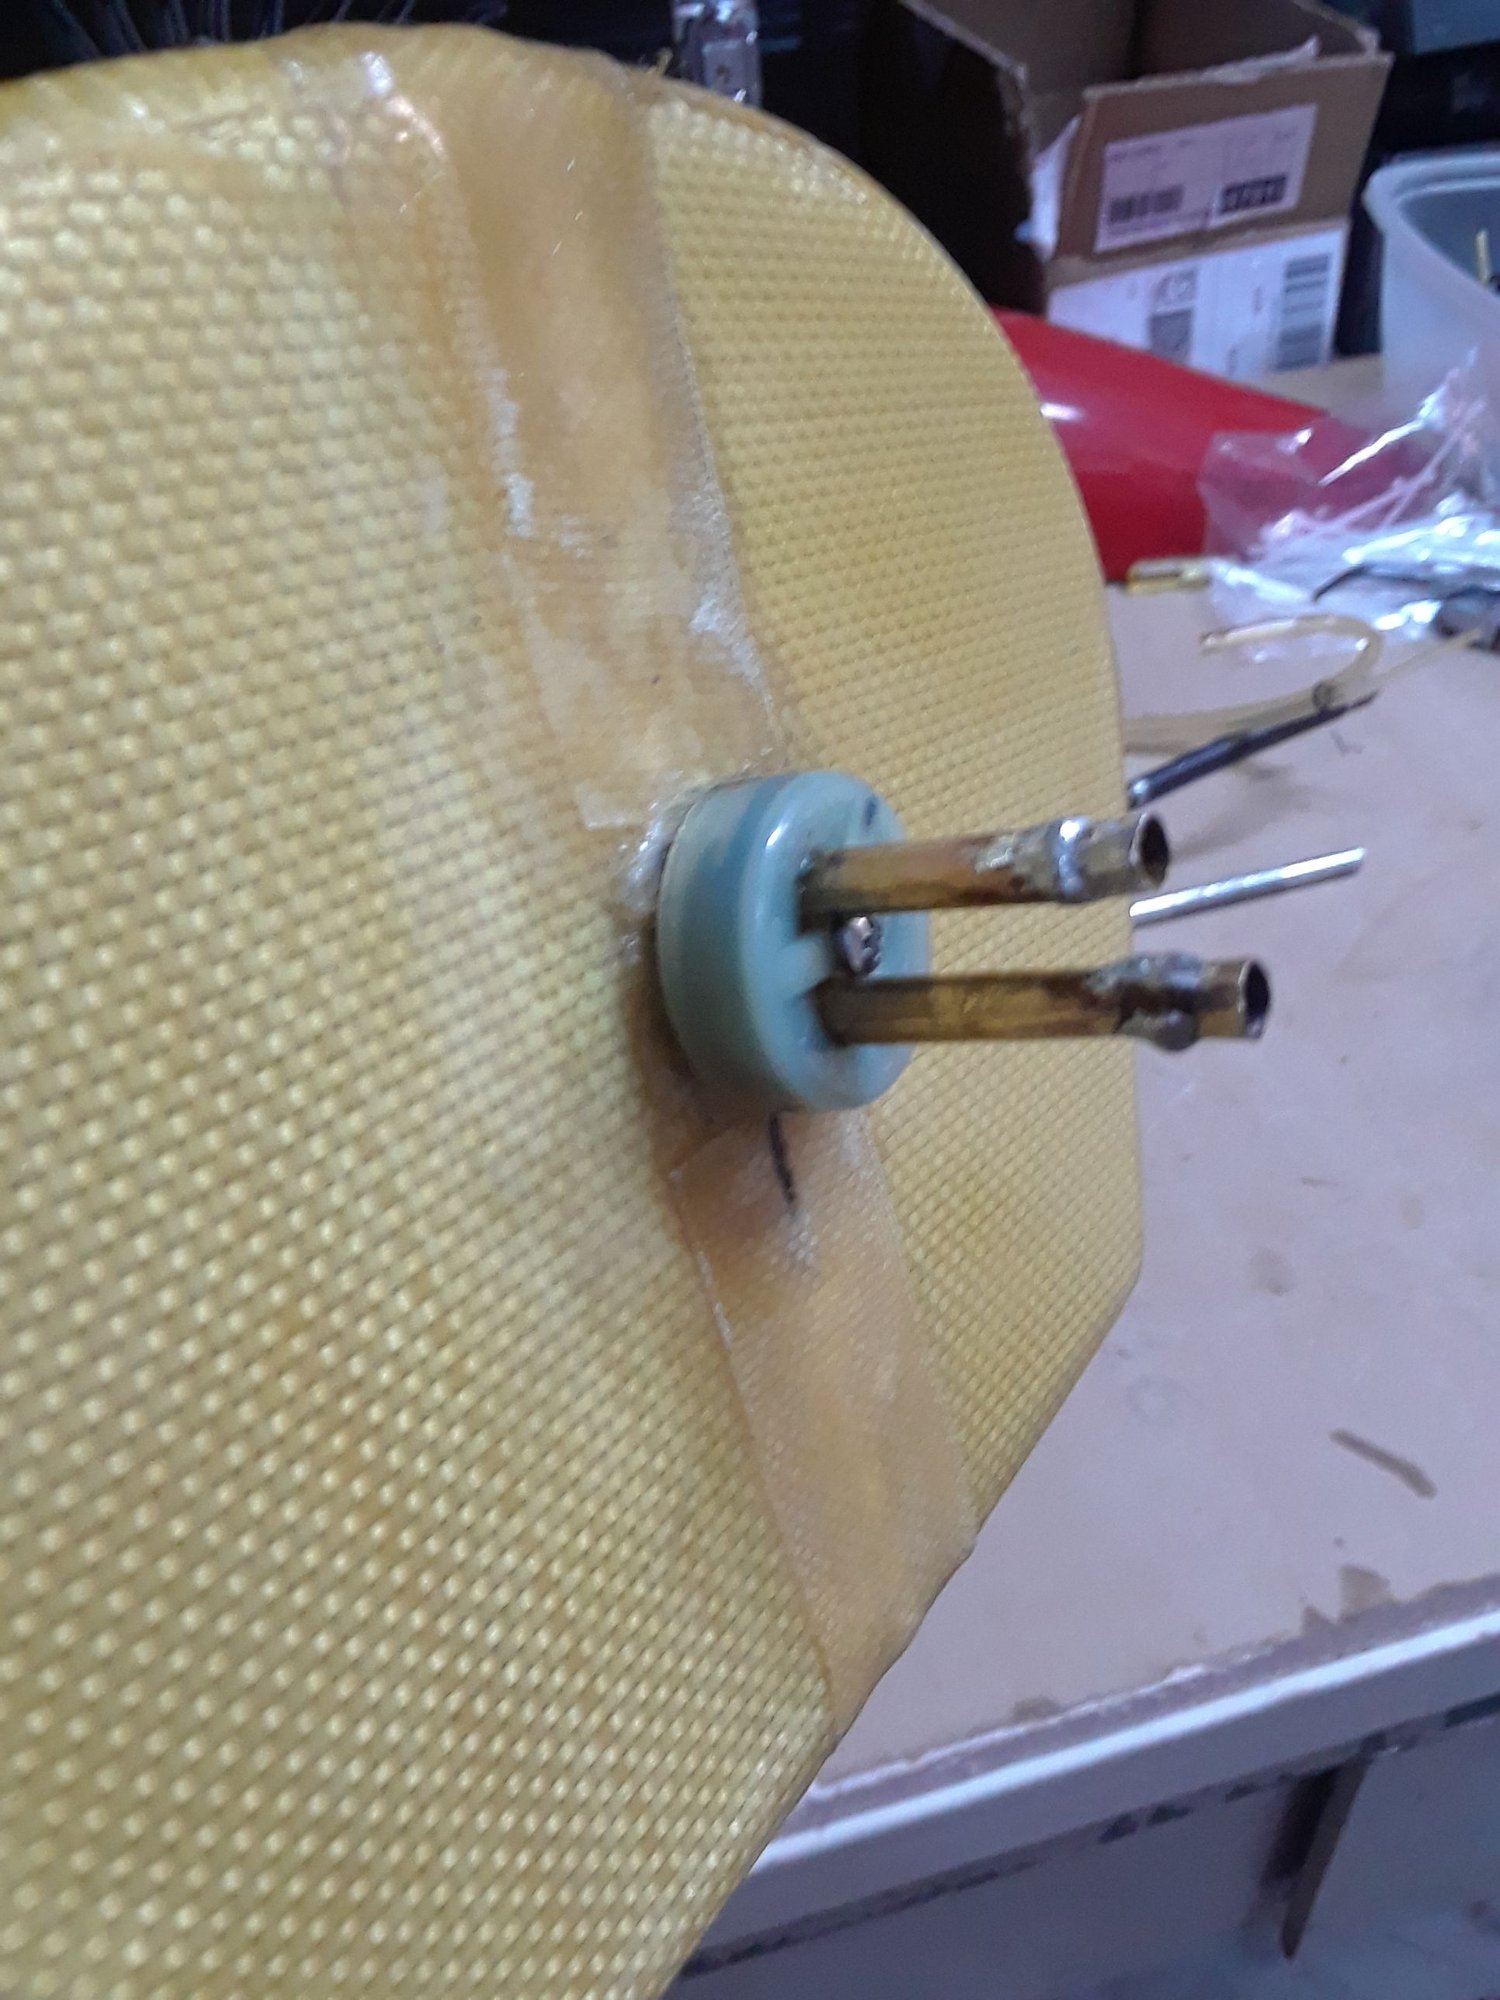
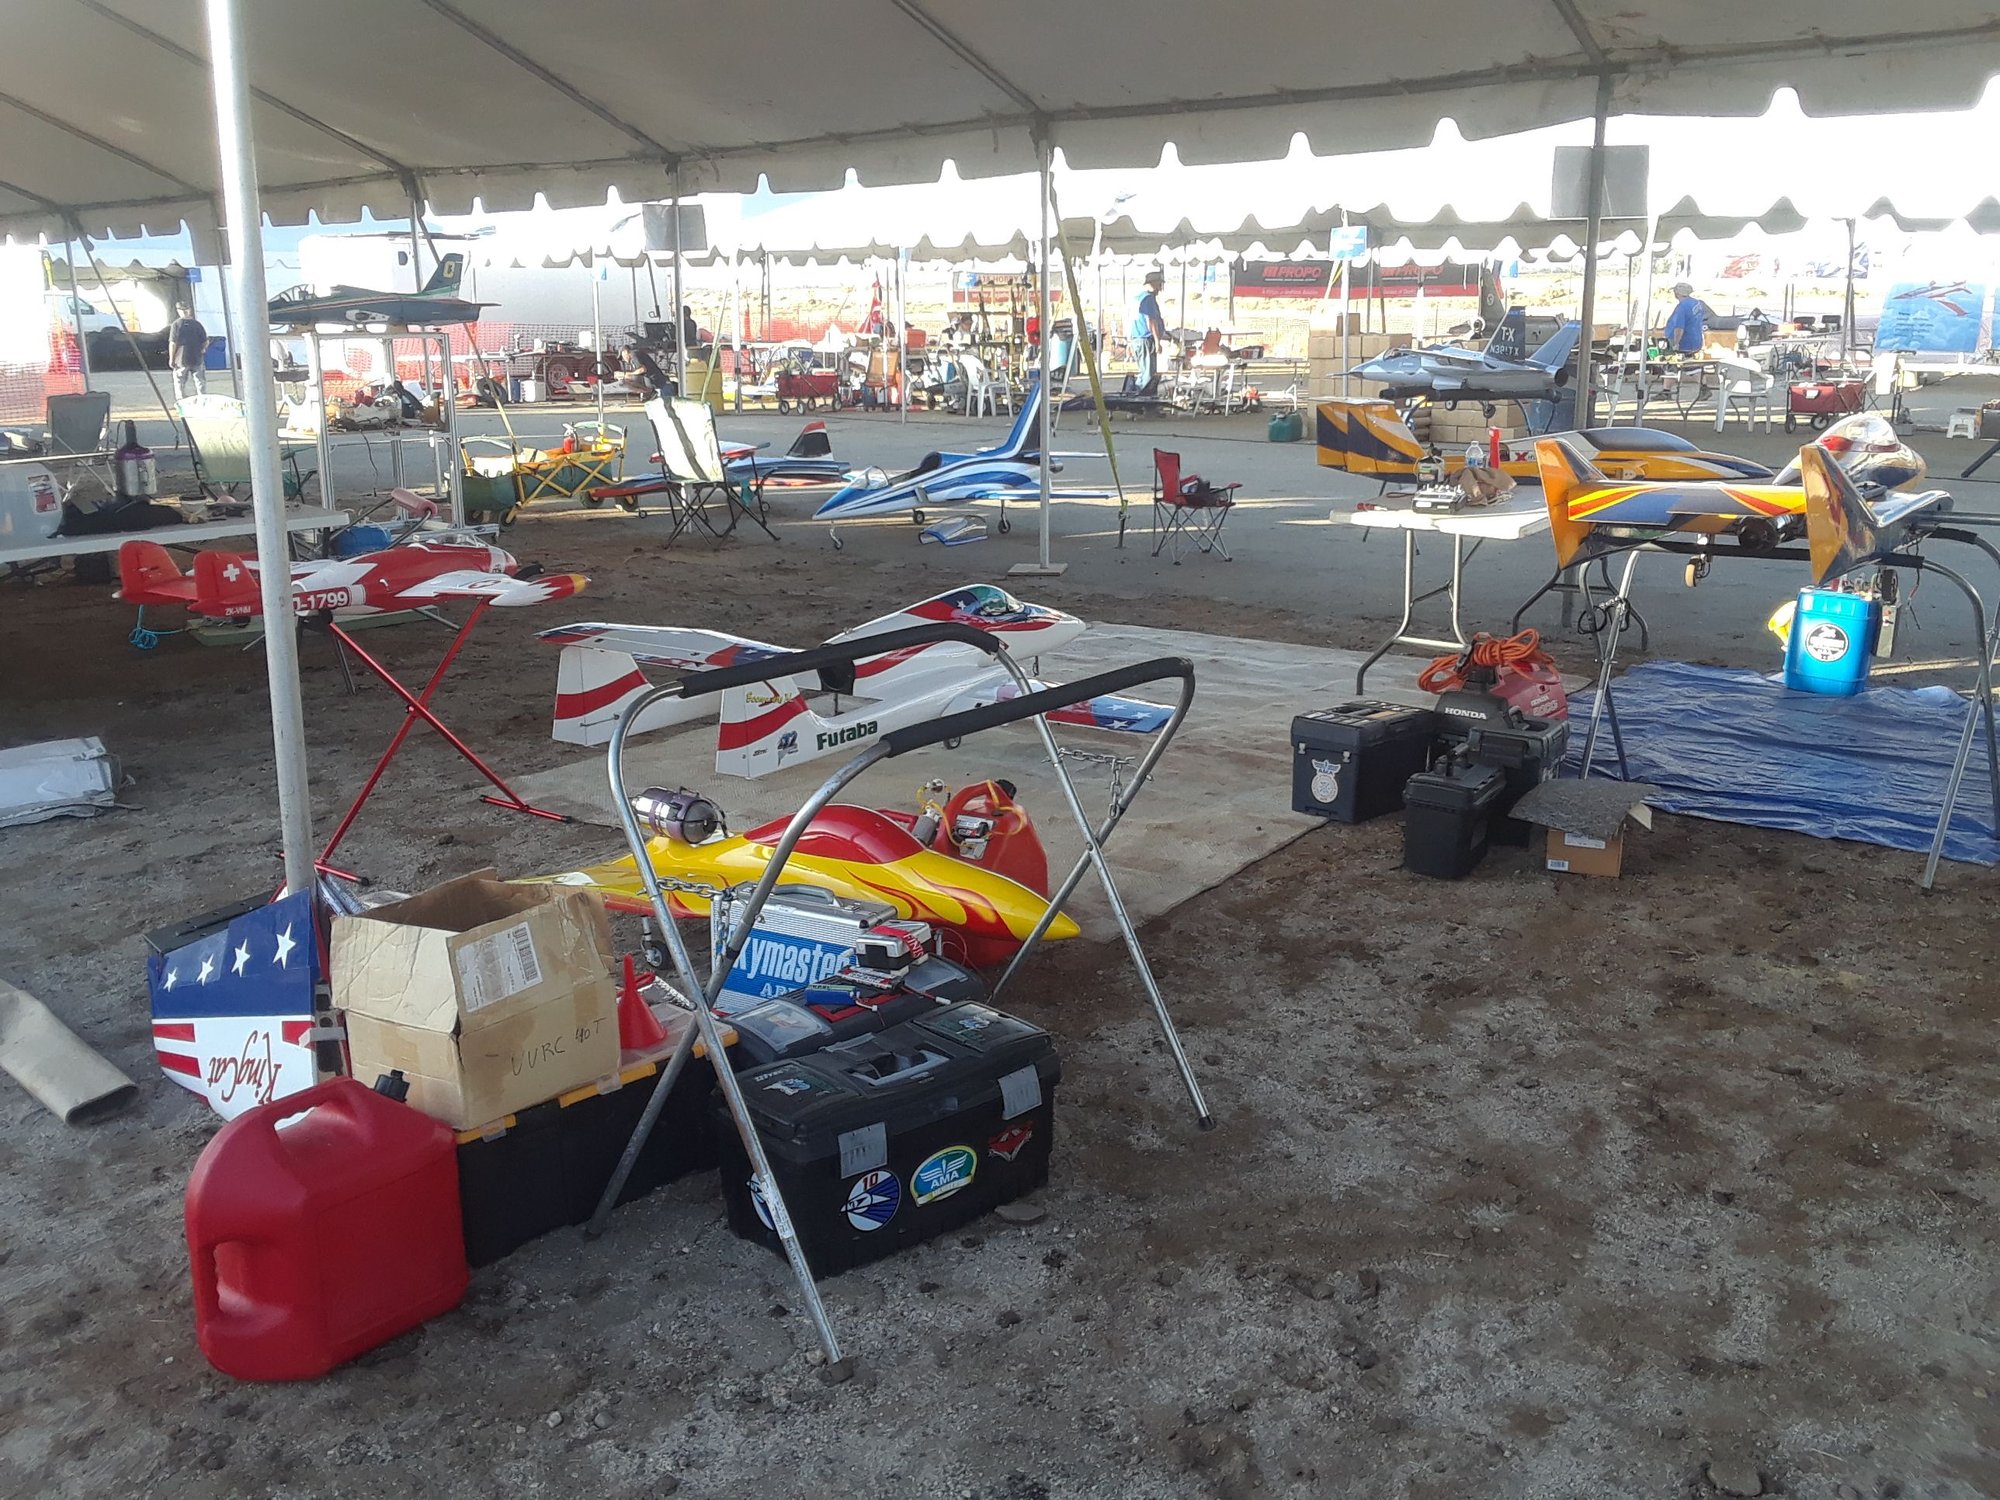
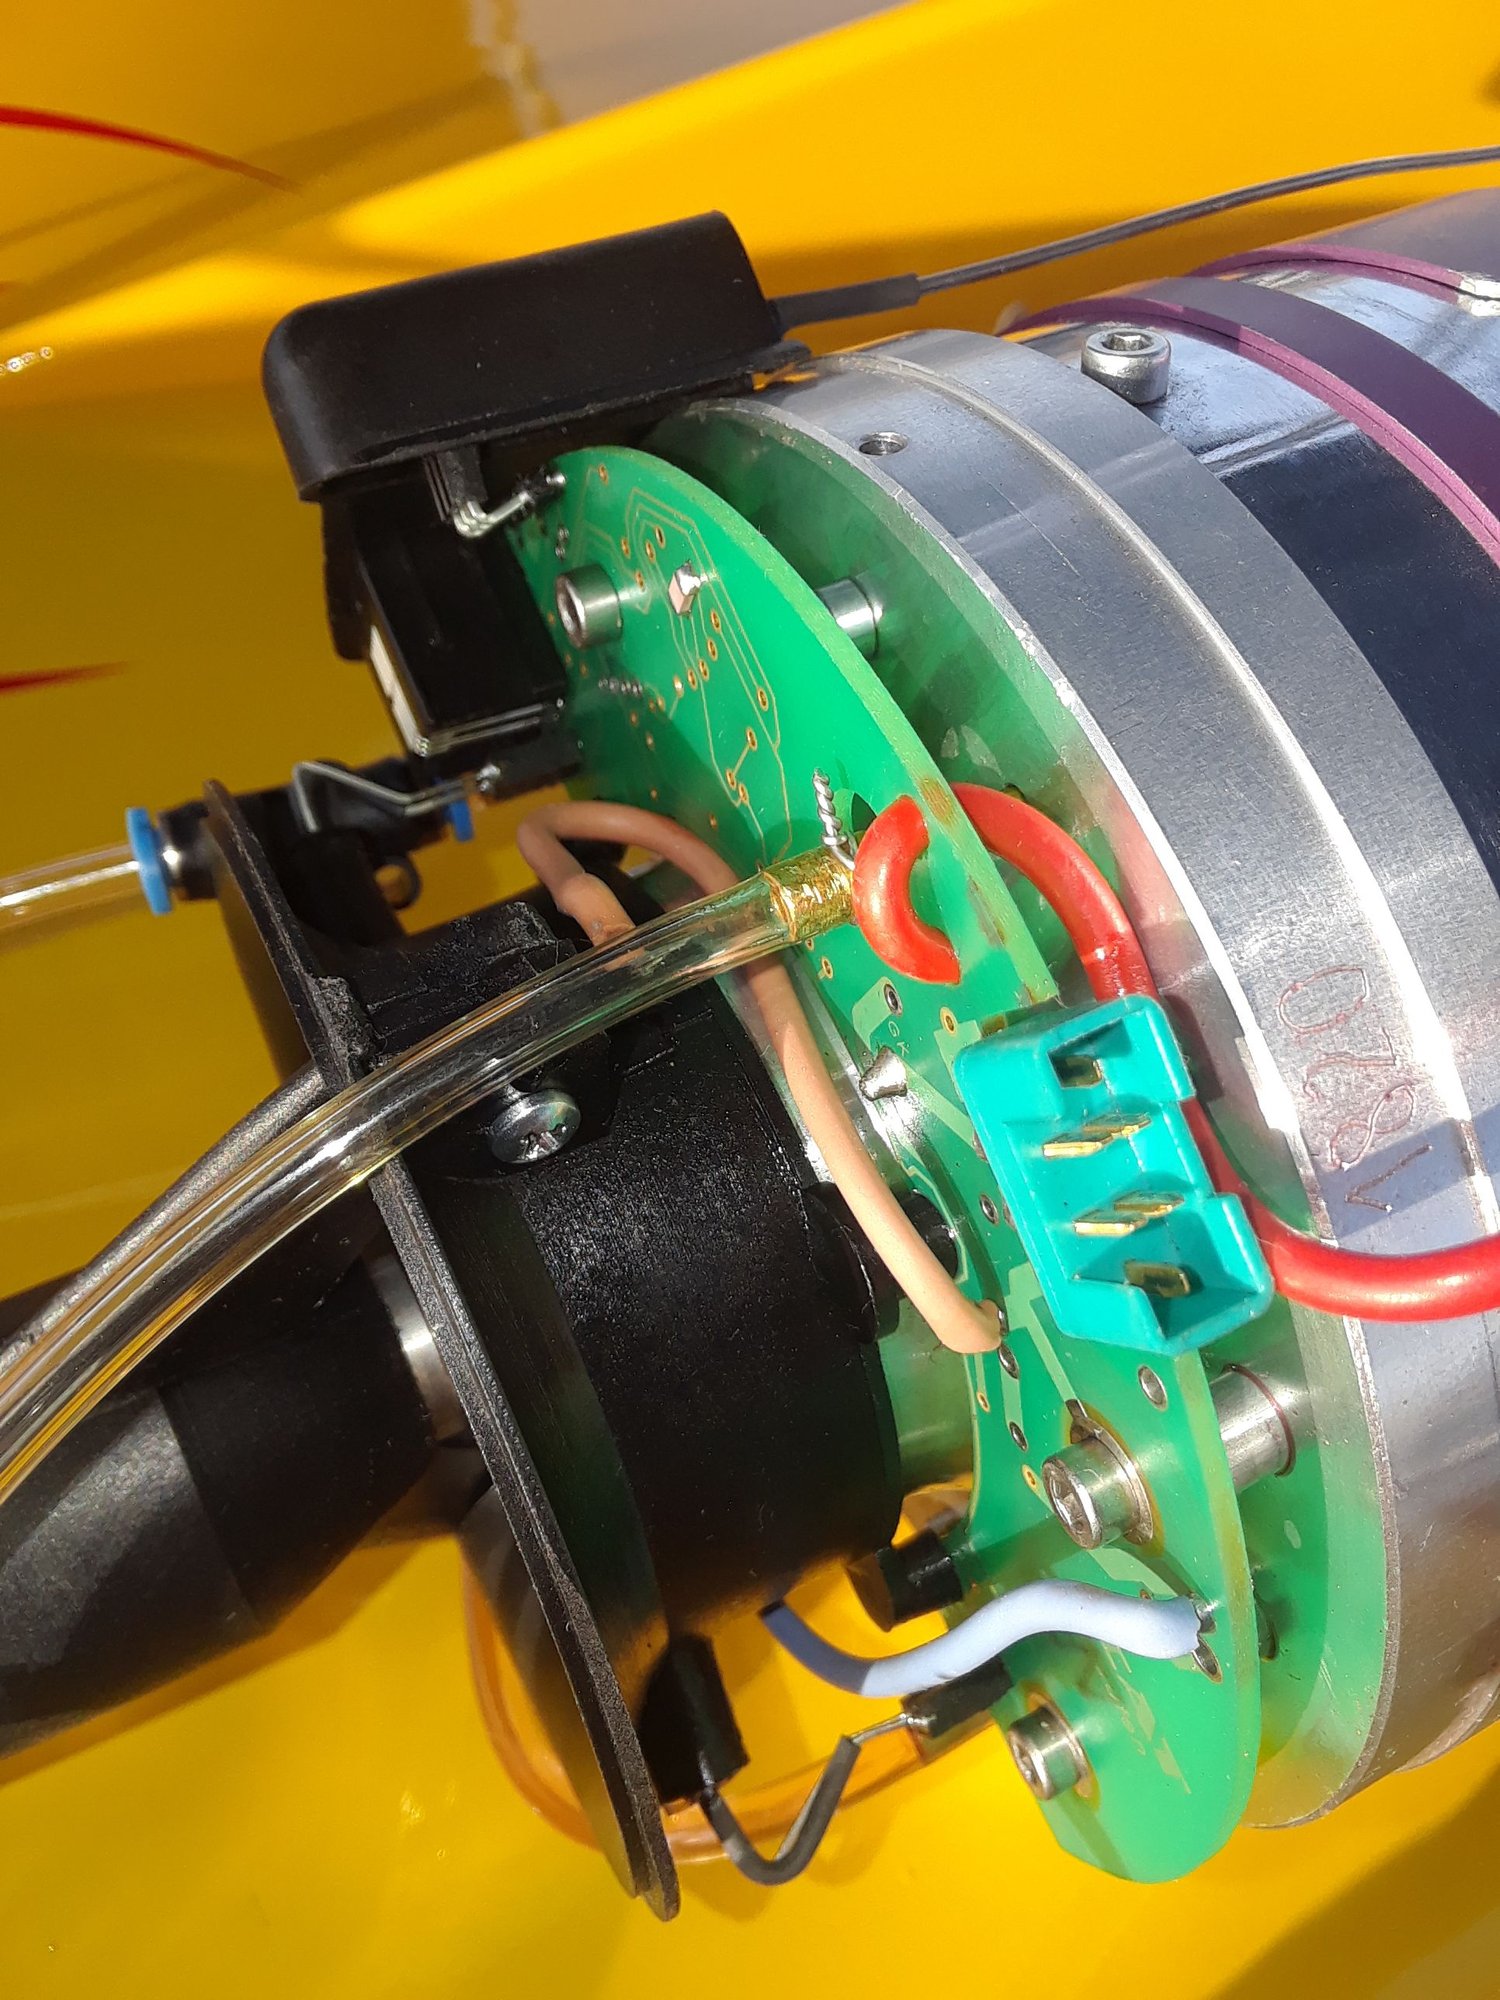
<img src="https://cimg9.ibsrv.net/gimg/www.rcuniverse.com-vbulletin/1500x2000/20190926_125840_716915de041d50e934c02f29edfb8f9e77 eda046.jpg"/><br /><img src="https://cimg6.ibsrv.net/gimg/www.rcuniverse.com-vbulletin/1500x2000/20190926_132054_34271d3e7262a659da67025ff3909ab572 8989f0.jpg"/><br /><img src="https://cimg7.ibsrv.net/gimg/www.rcuniverse.com-vbulletin/1500x2000/20190926_132447_ed1ef1efe56b1ffce2c42d057322d7516a cddc01.jpg"/><br /><img src="https://cimg9.ibsrv.net/gimg/www.rcuniverse.com-vbulletin/2000x1504/20190926_132714_005f124379636501a9278f5a0ed9ffb524 3ca80e.jpg"/><br /><img src="https://cimg1.ibsrv.net/gimg/www.rcuniverse.com-vbulletin/1500x2000/20190926_133337_cfa2ee6bc68a4adeb59733968fa9a21cfe d83e08.jpg"/><br /><img src="https://cimg5.ibsrv.net/gimg/www.rcuniverse.com-vbulletin/1500x2000/20190926_134046_2403099d4065795903bedecbb94ad46e49 71ef61.jpg"/><br /><img src="https://cimg7.ibsrv.net/gimg/www.rcuniverse.com-vbulletin/1500x2000/20190926_133952_03b987169253d1a9154d4309ba40f8159f 0b951c.jpg"/><br /><img src="https://cimg1.ibsrv.net/gimg/www.rcuniverse.com-vbulletin/1500x2000/20190926_132819_2e372f98e883a72472d4dbef941d916652 49dbad.jpg"/><br /><img src="https://cimg4.ibsrv.net/gimg/www.rcuniverse.com-vbulletin/1500x2000/20190926_135257_312f95b95b219f9d19f6ba860dddf903d8 d08585.jpg"/><br /><img src="https://cimg1.ibsrv.net/gimg/www.rcuniverse.com-vbulletin/1500x2000/20190926_140616_7726fbdd66b960788c9c0e15d16c72ed98 45eb62.jpg"/><br /><img src="https://cimg5.ibsrv.net/gimg/www.rcuniverse.com-vbulletin/1500x2000/20190926_140639_466f81556a7fae0ea881af50b19ab64464 33a554.jpg"/><br /><img src="https://cimg2.ibsrv.net/gimg/www.rcuniverse.com-vbulletin/1500x2000/20190926_130505_2a2df504b87e3cca79c10af9a1acc27509 9a49f7.jpg"/><br /><img src="https://cimg9.ibsrv.net/gimg/www.rcuniverse.com-vbulletin/1500x2000/20190926_131544_3294e7e3977fa560d9398764999de4e6d7 8383d0.jpg"/><br /><img src="https://cimg3.ibsrv.net/gimg/www.rcuniverse.com-vbulletin/1500x2000/20190926_130220_fa9bd4350127ade5b25009178725a884cc f88c1c.jpg"/><br /><img src="https://cimg6.ibsrv.net/gimg/www.rcuniverse.com-vbulletin/1500x2000/20190926_125509_6413fa496d043f72daf82fbbfbe80179ca 4f6393.jpg"/><br /><img src="https://cimg8.ibsrv.net/gimg/www.rcuniverse.com-vbulletin/1500x2000/20190926_125613_4e7712a7e682c82d16c04489e874aa43e2 da577e.jpg"/><br /><img src="https://cimg9.ibsrv.net/gimg/www.rcuniverse.com-vbulletin/1500x2000/20190926_125933_952bf52785eb3bae6c5e58852a15896c01 98044a.jpg"/><br />I got all the components out of the Roo last night, as usual, there are things that will need to be change, like batts ( they have been ordered and are on the way ) some fuel lines ( not all of them) repaint the radio tray, lube the retract valve, I already service the wheels but have to add Teflon oil to the retracts cylinders to refresh the O rings.<br /><br />The engine has been service by making sure all the screws are set, not tight but set, specially the ones holding the hot parts, my most used engine lost an exhaust cone screw but I found it in the back of the fuse ( Boomerang ) and other screws around the hot parts were loose, not all, some, inspected the turbine wheel and compressor, they are in excellent conditions ( the engine has 1 1/2 hr since new, bearings are smooth, change the starter O ring, this is a must, after seatting for about a decade they get dry and this one was half way gone, way too much for a 1 1/2 hr used engine, removed the old glue from the bendix and slide ( easy said than done ) a new O ring with a very small drop of thick CA ( very small ) on the pictures you can see how they locked the starter to the intake neck, by melting where they meet ( I didn't mess with that and you shouldn't eather) the P120 that came with the KC had a different intake neck design.
A word of advice, change the starter O ring on your engines if it has been in there for a long time, DW has them, don't let the damage that happened to my P60's compressor because of a dry and old O ring happen to your engine
Last edited by CARS II; 09-26-2019 at 02:31 PM.
09-26-2019 | 07:03 PM
#3


More work done this afternoon, cleaning, cleaning, the fuel components and making some small changes to the parts, I see I was on the right path with my builds some 10 years ago, but some changes are necessary to bring this jet up to my new standards.
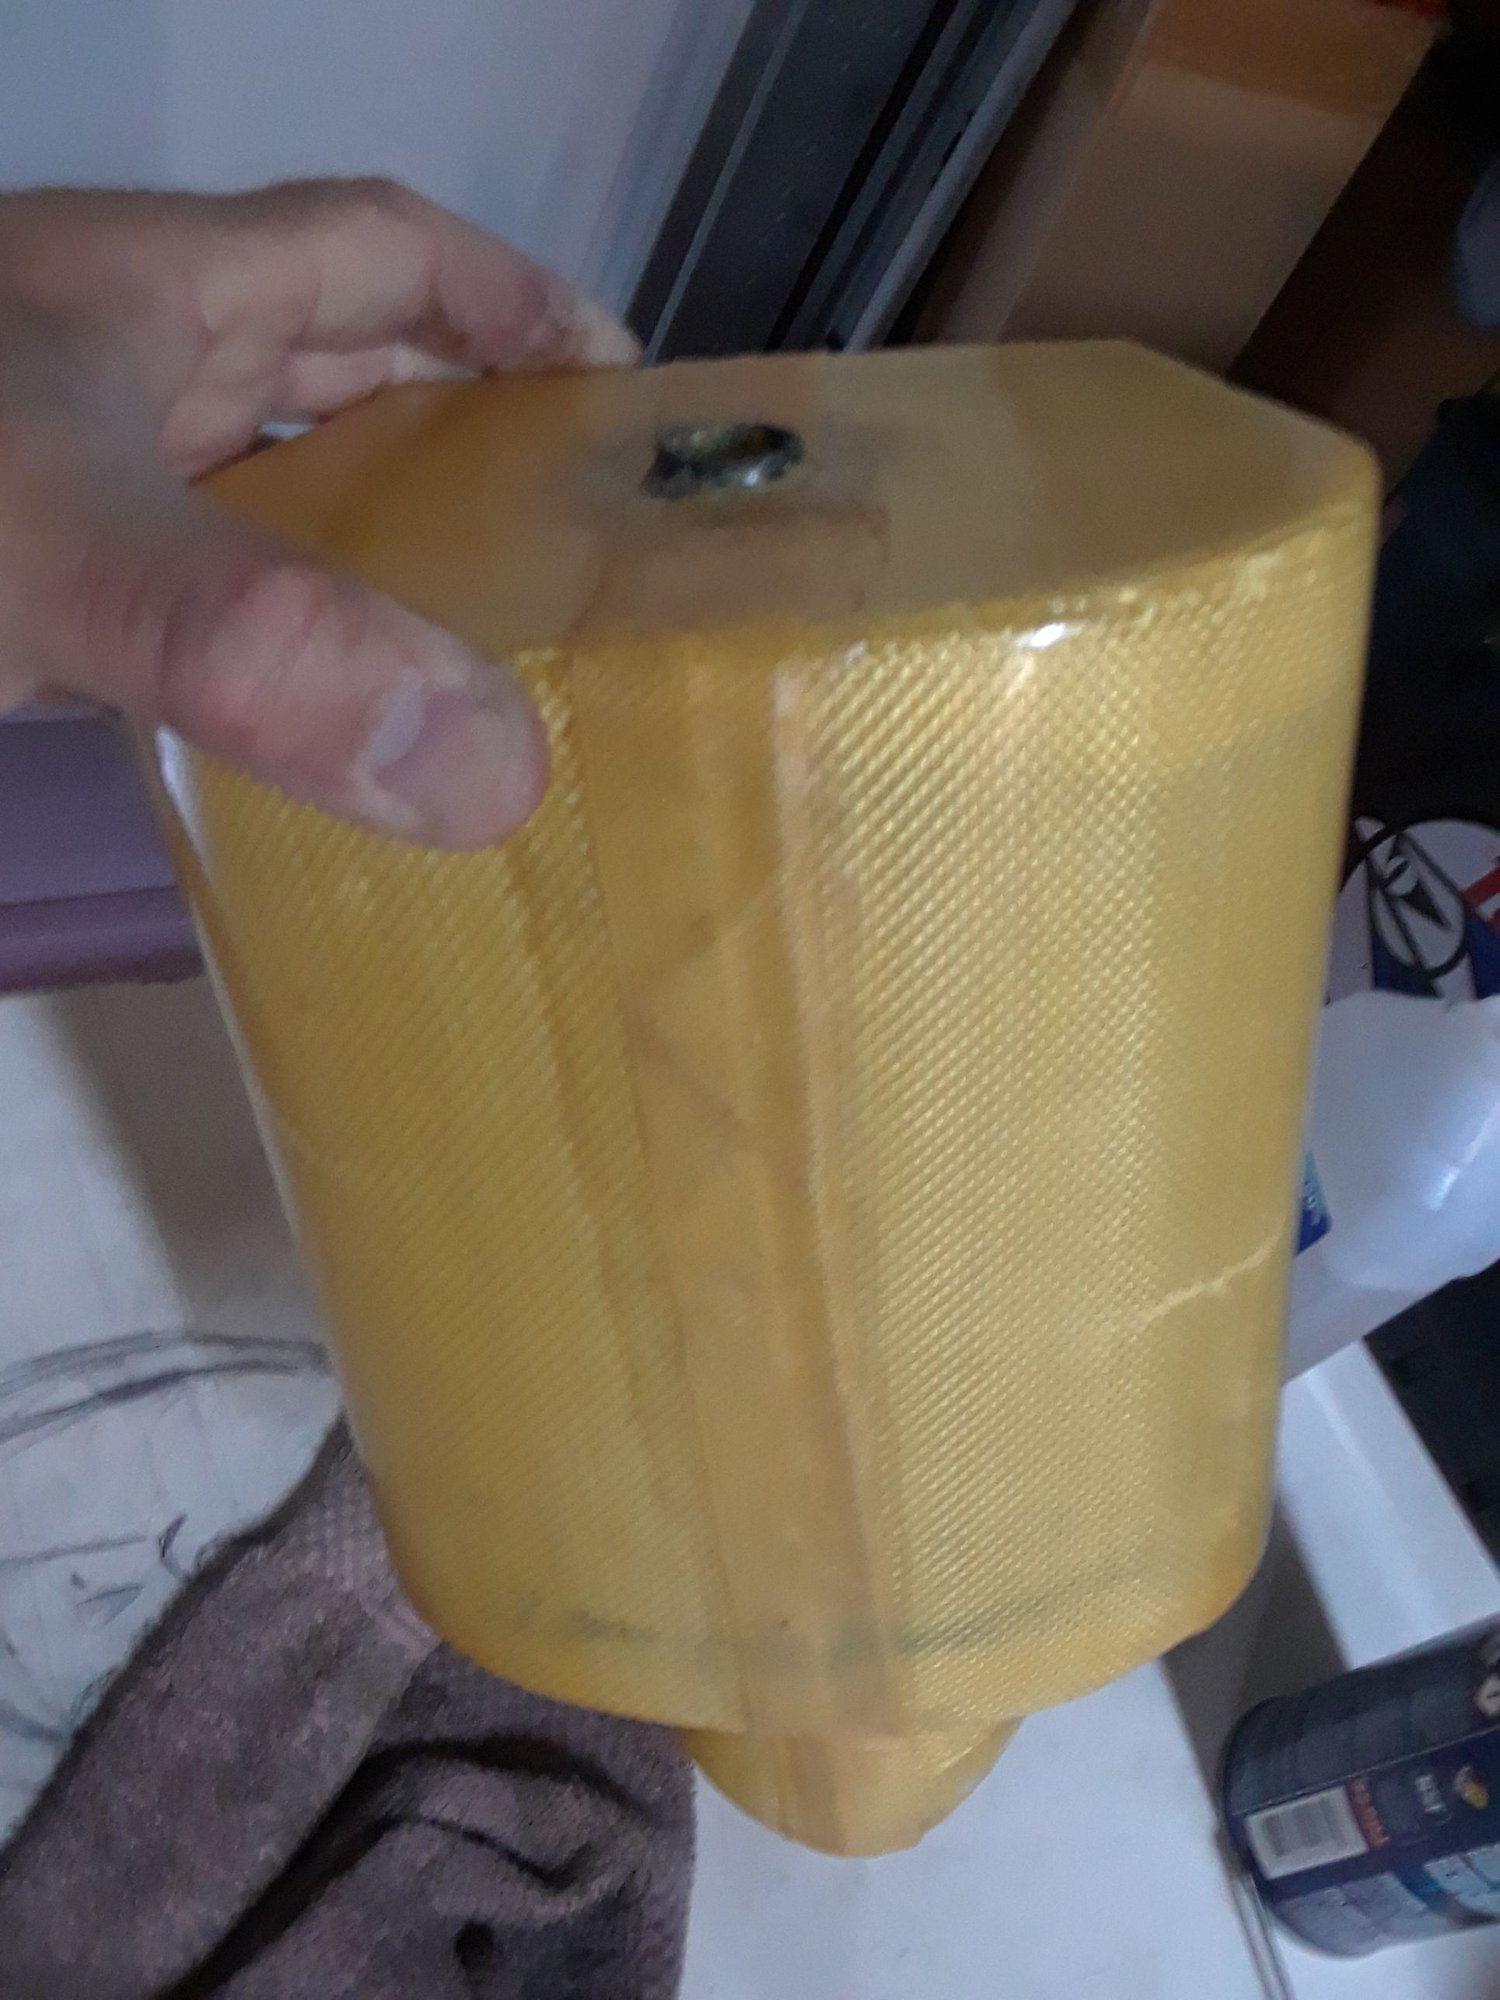
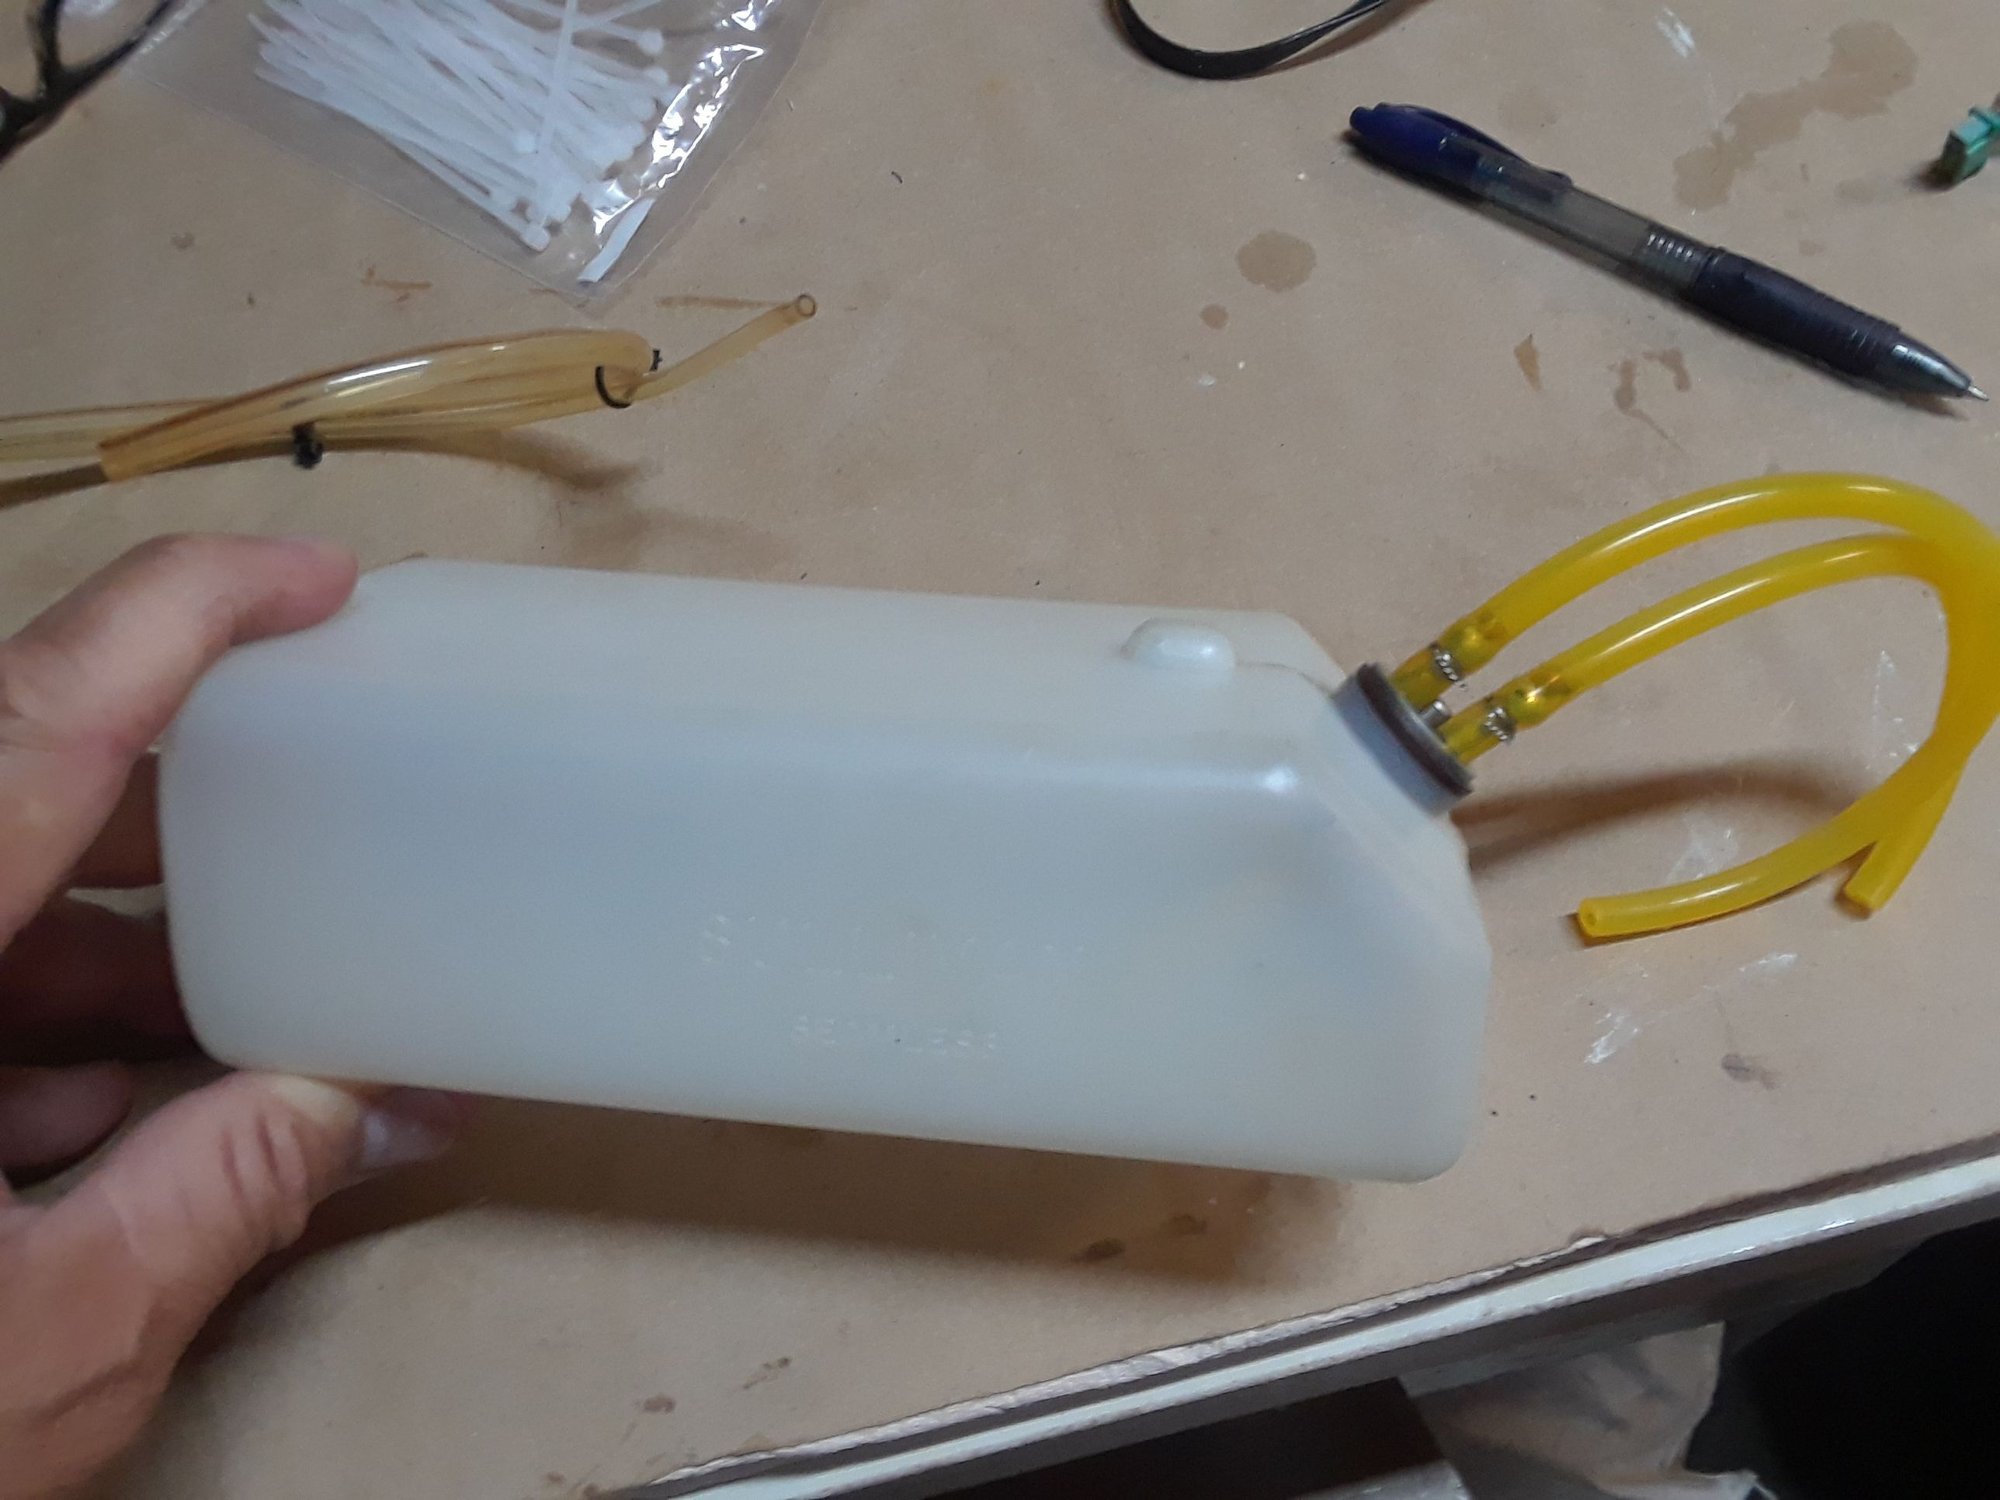
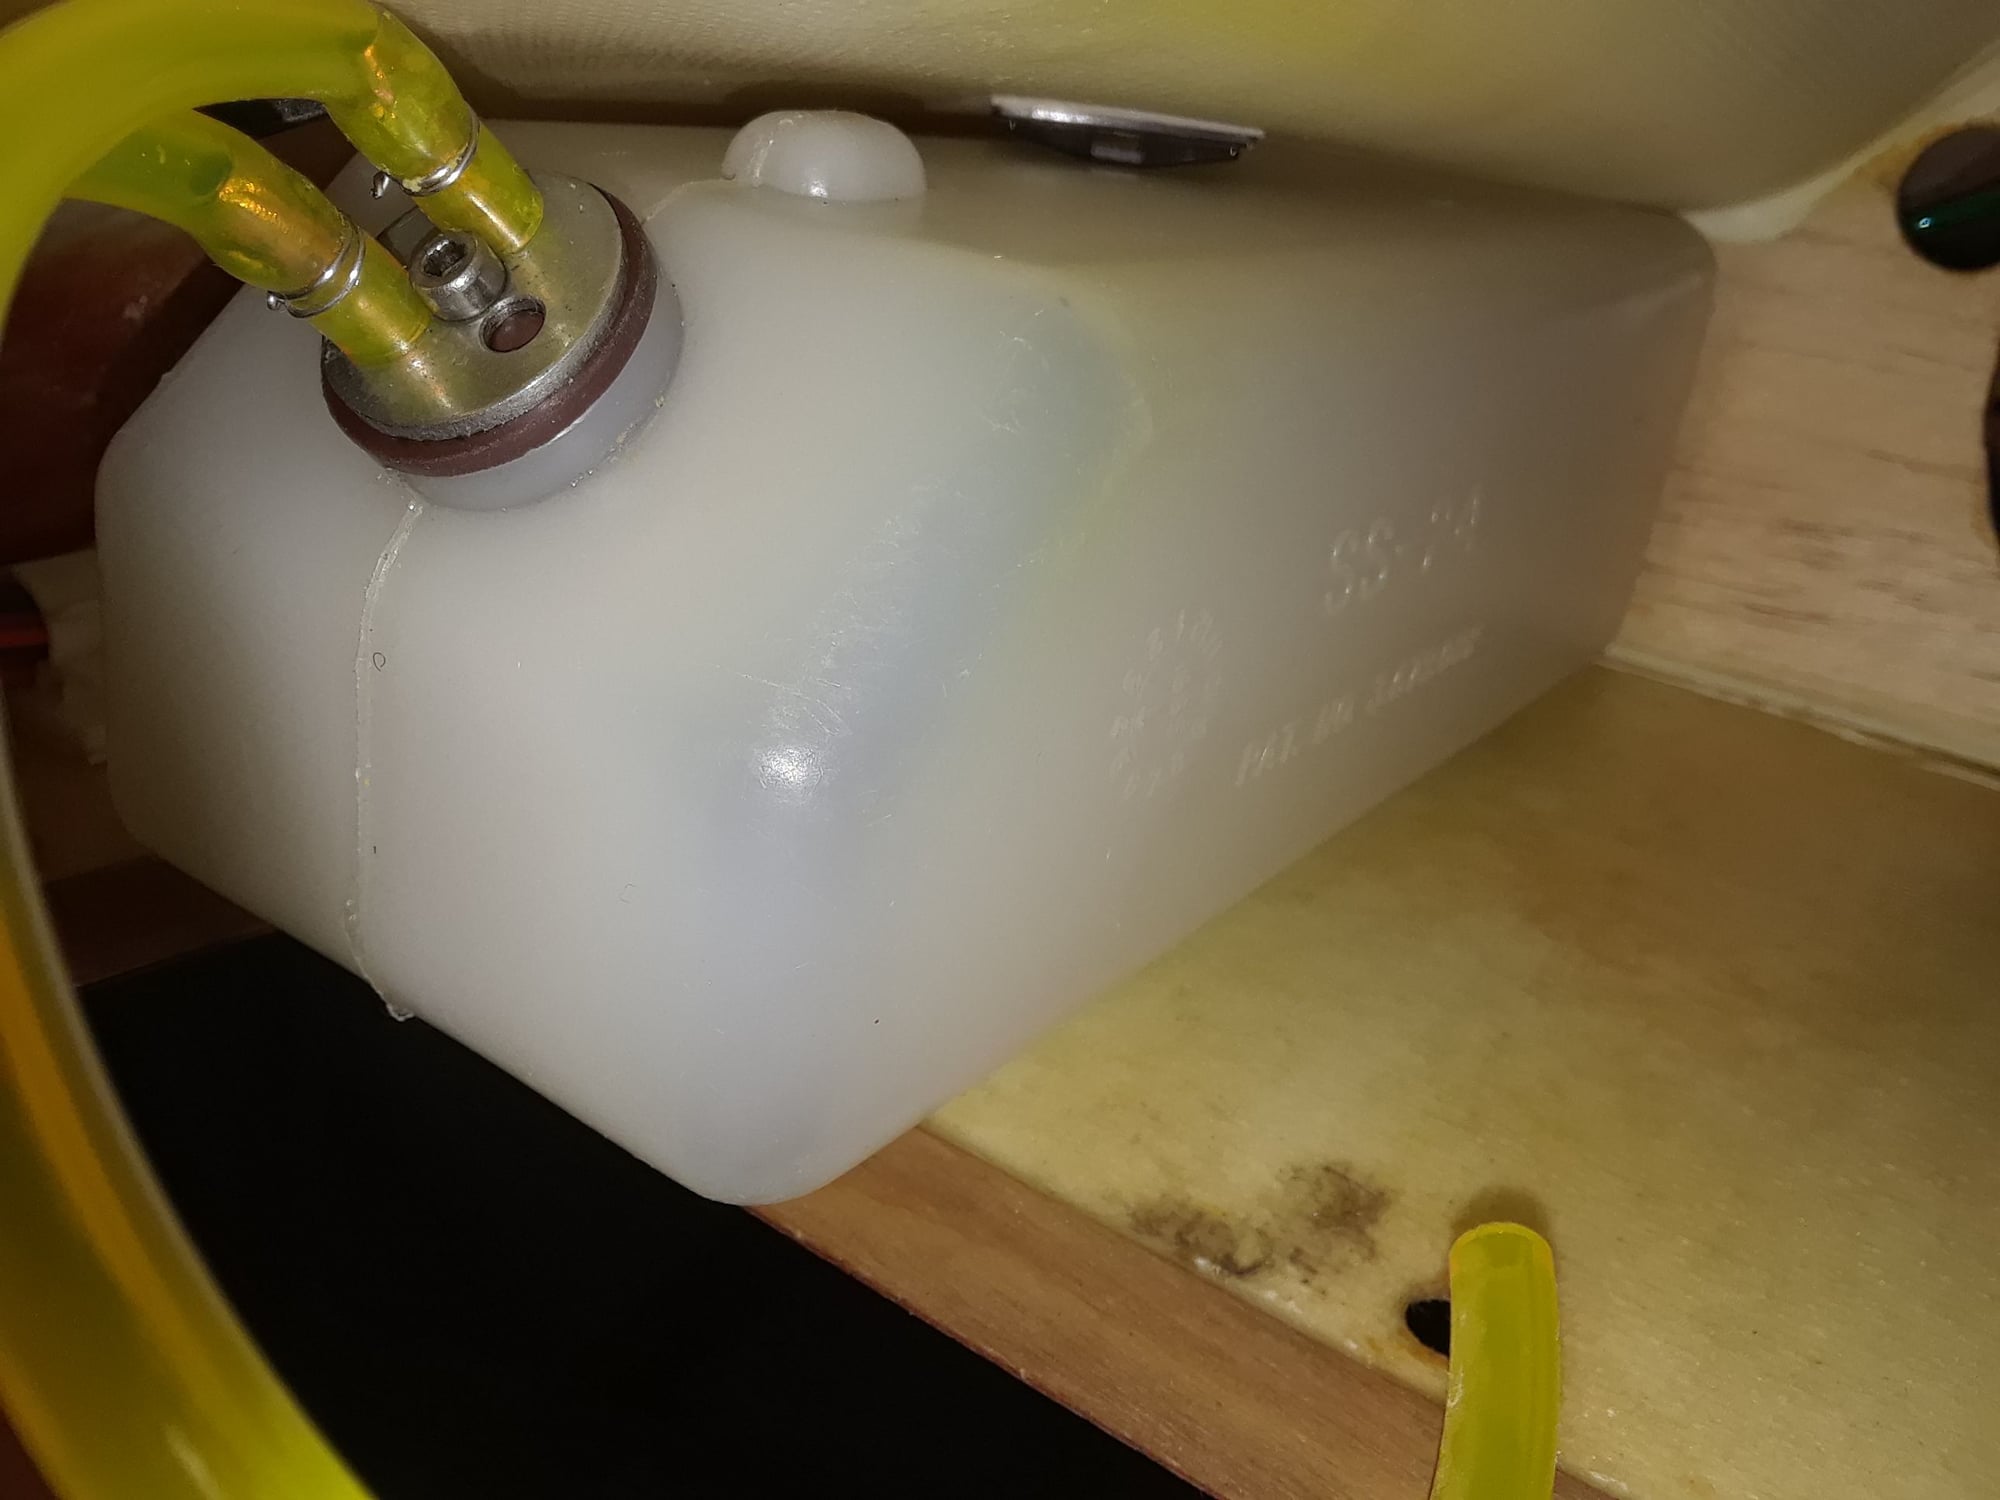
The smoke tank ( yes, It has a smoke system
 ) is clean and with new lines, the main tank is clean ( it had some green sticky nasty stuff ) but it will need to be patched up in two spots ( easy to do ) it has new fuel clunk and lines, all is clean, clean, next is thue pumps and pumps tray ( dinner while posting )
Last edited by CARS II; 09-26-2019 at 07:34 PM.

 09-27-2019 | 11:10 PM
#7
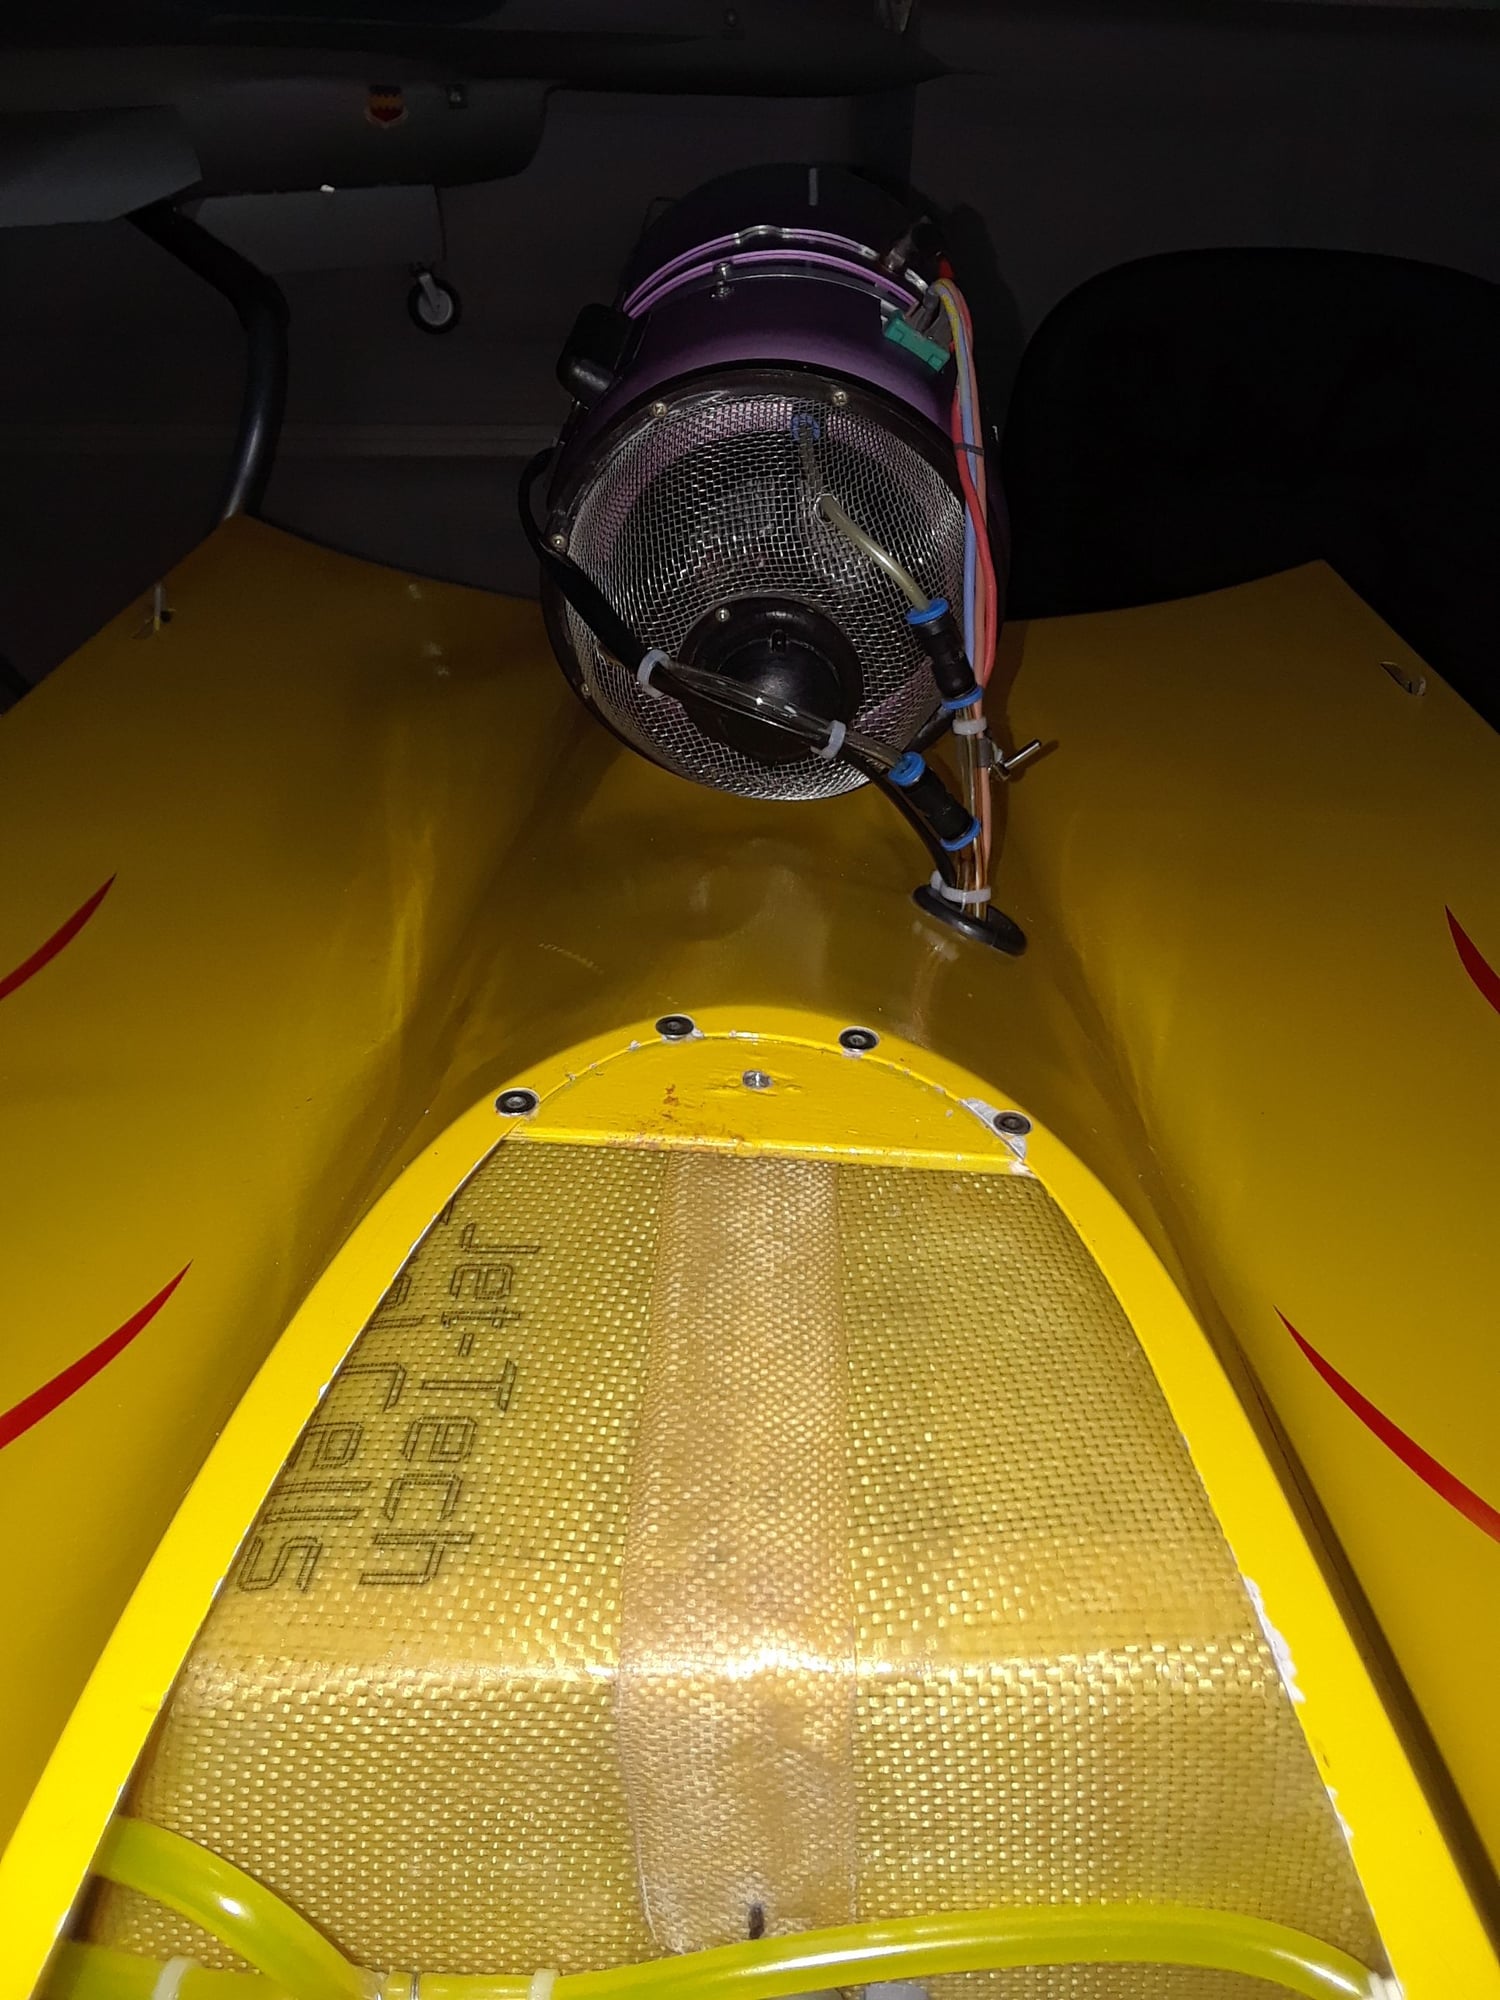

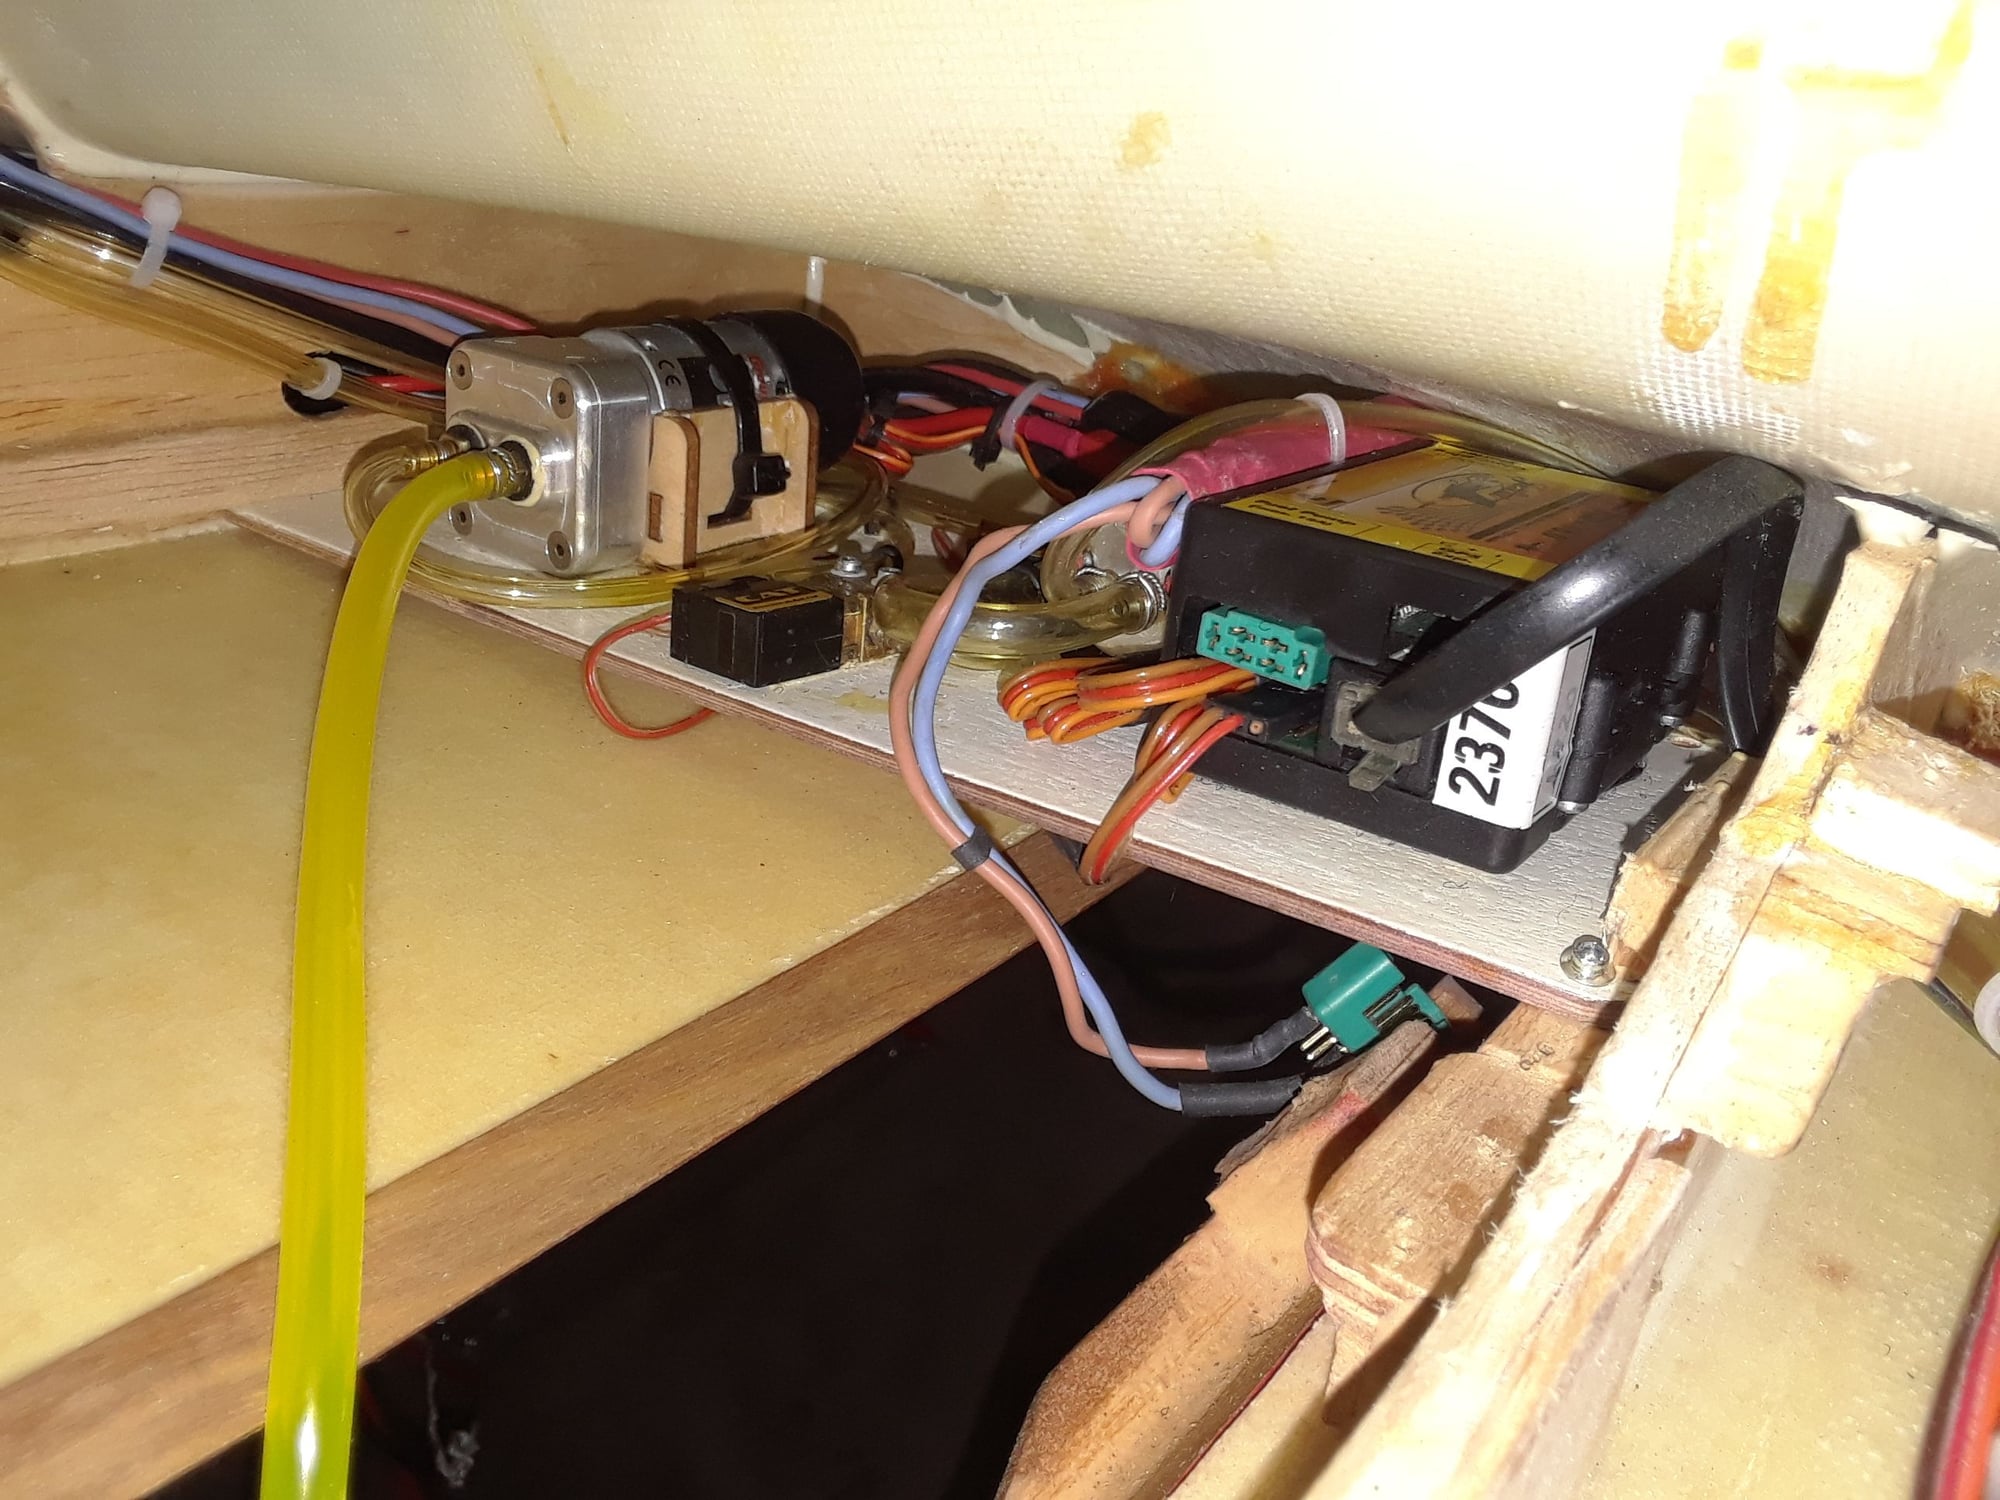
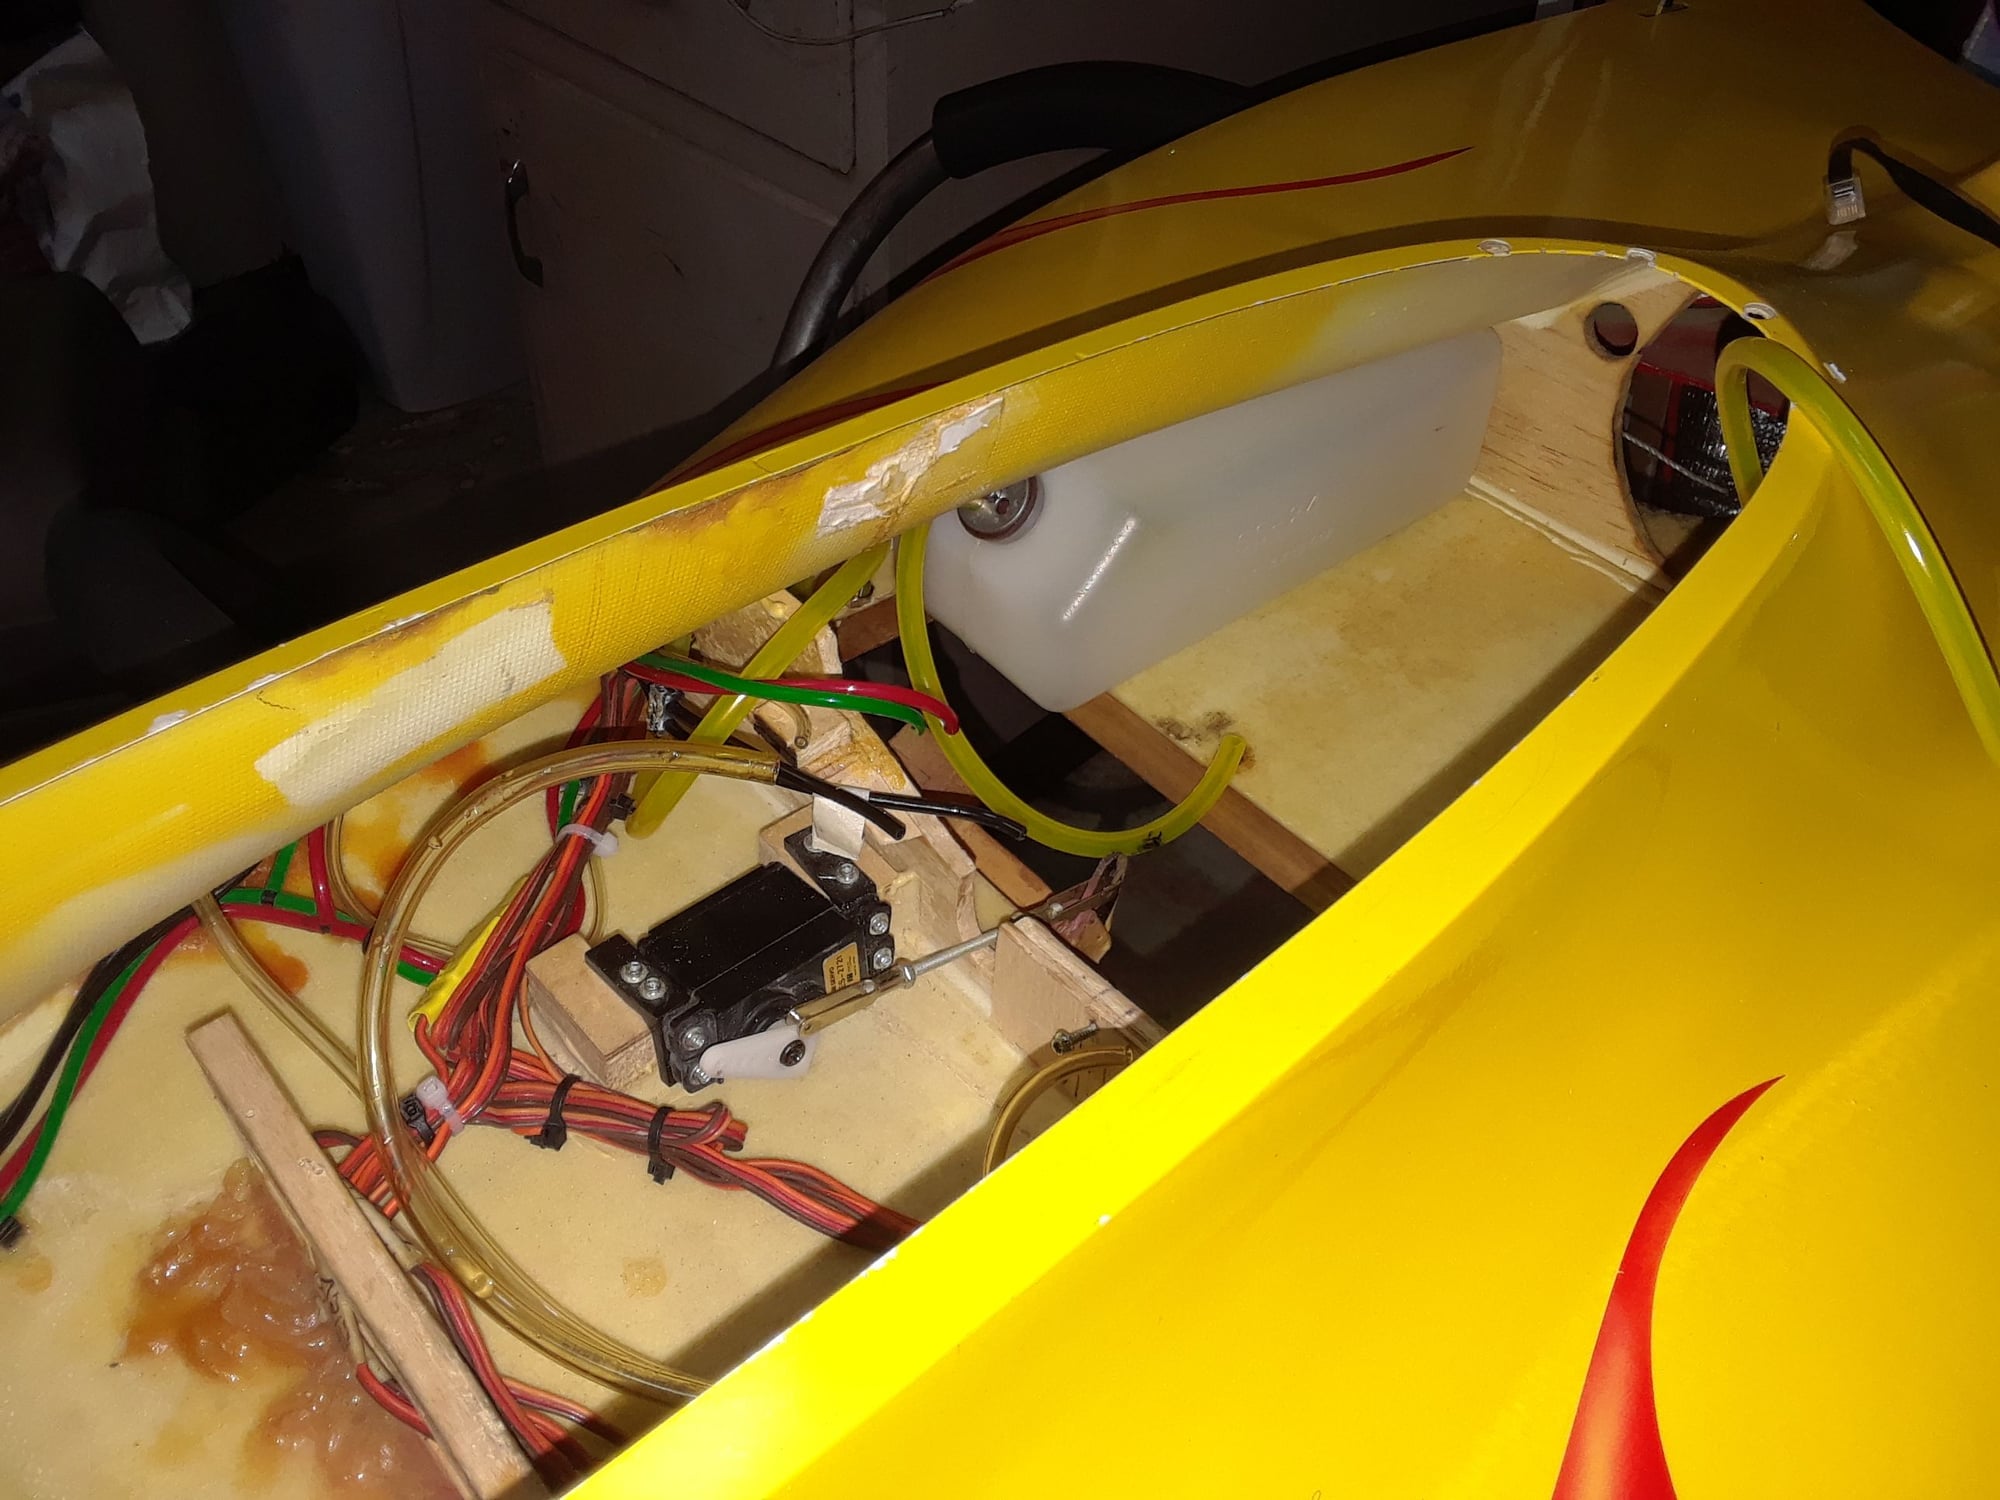
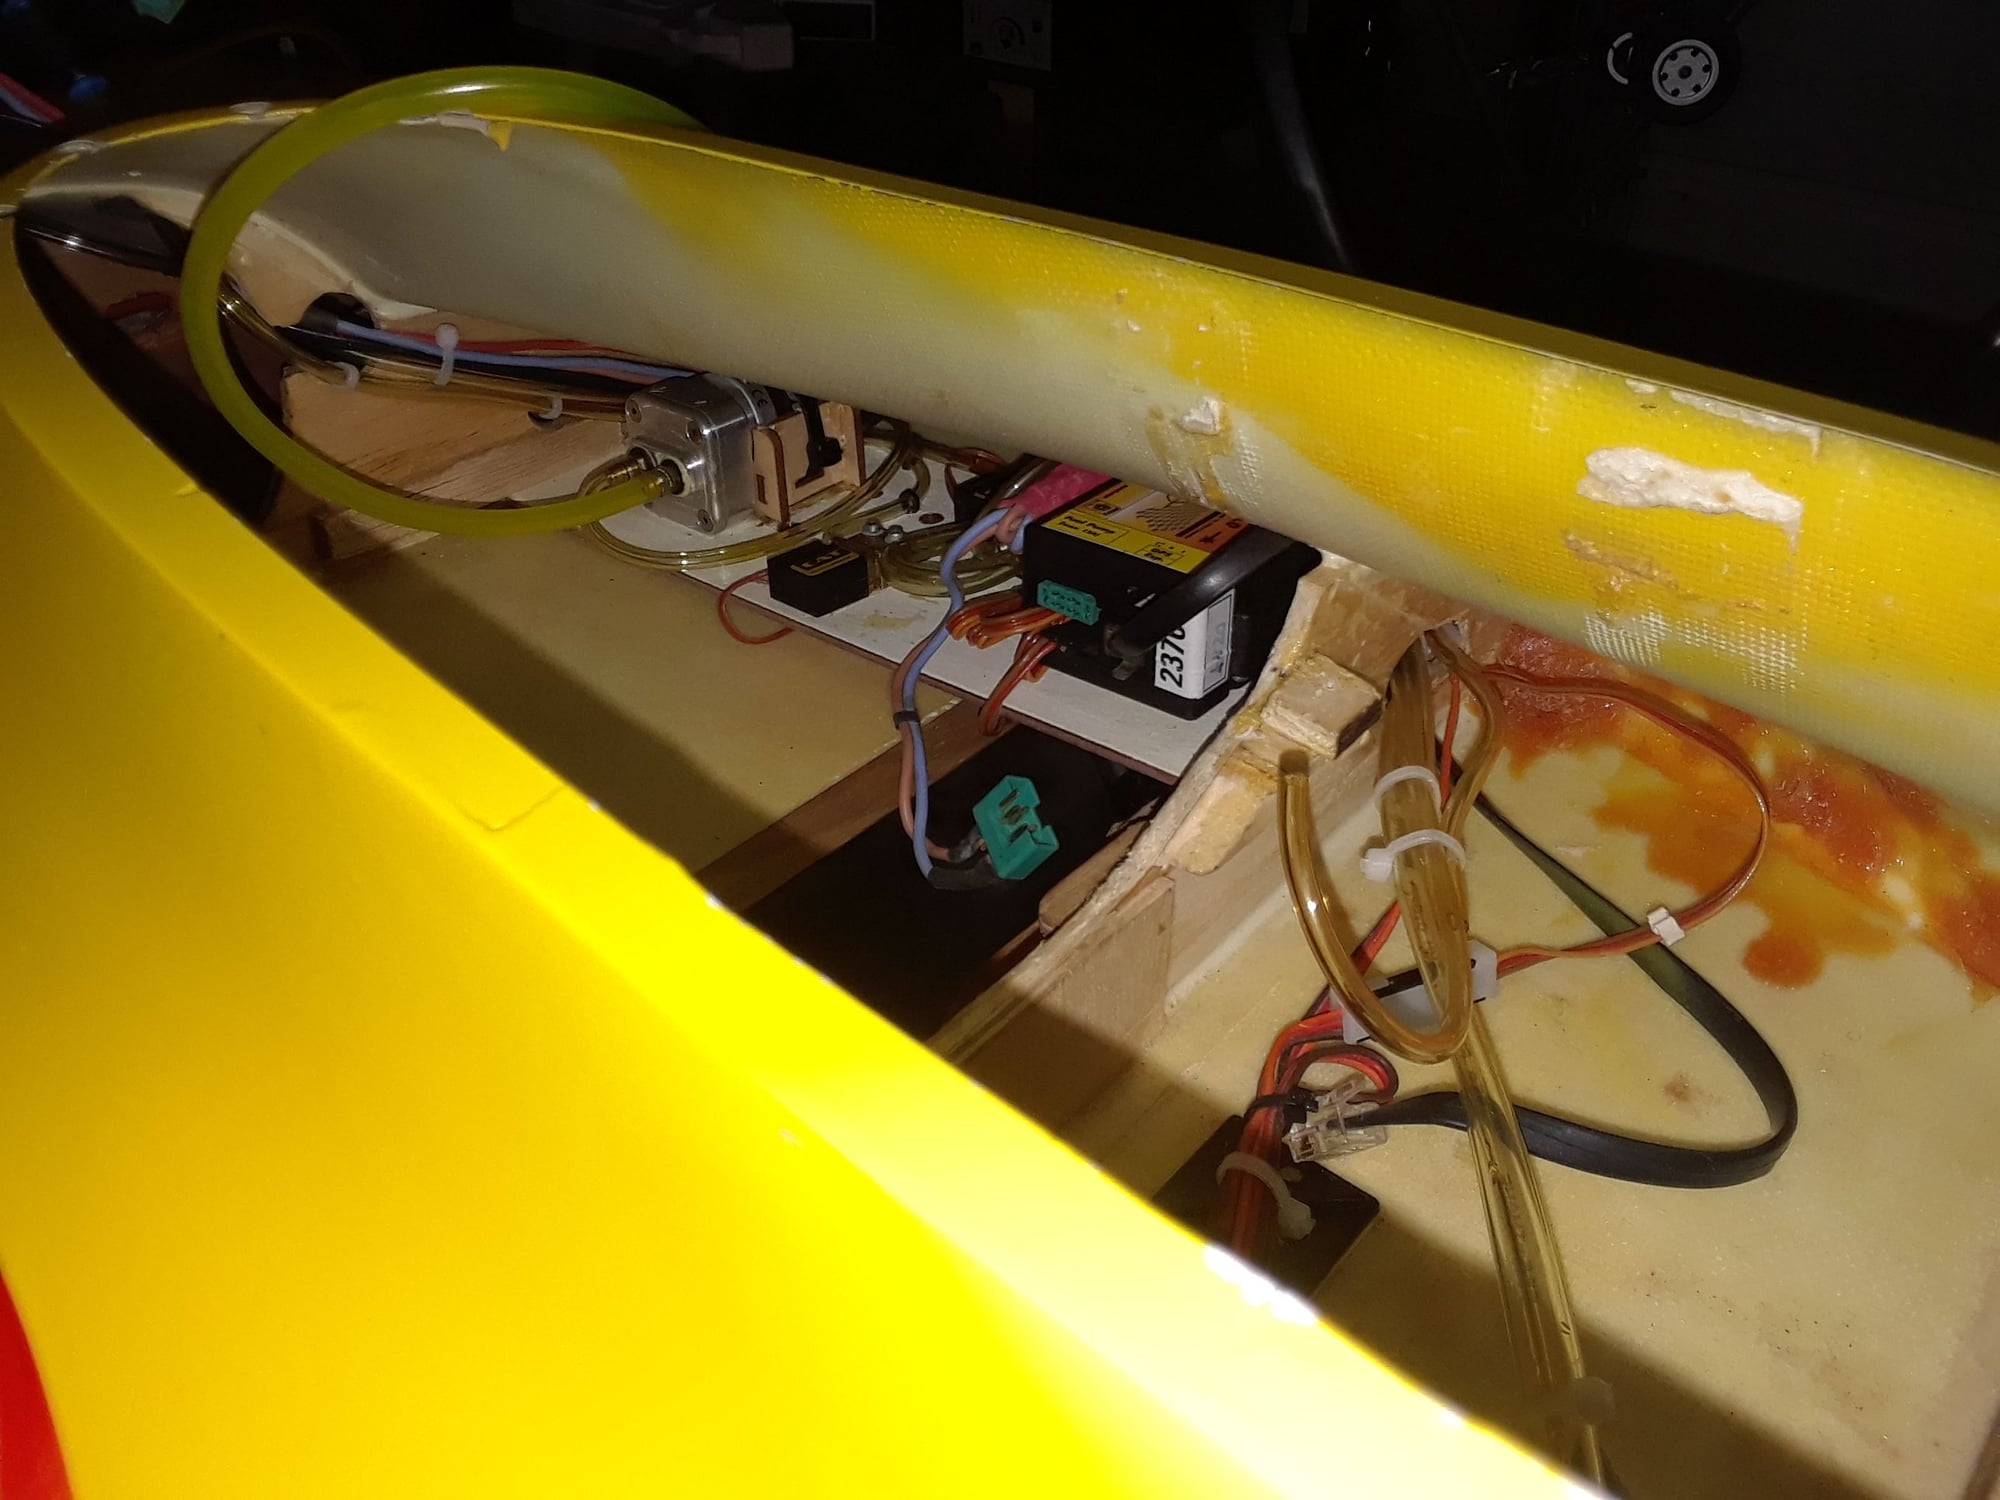
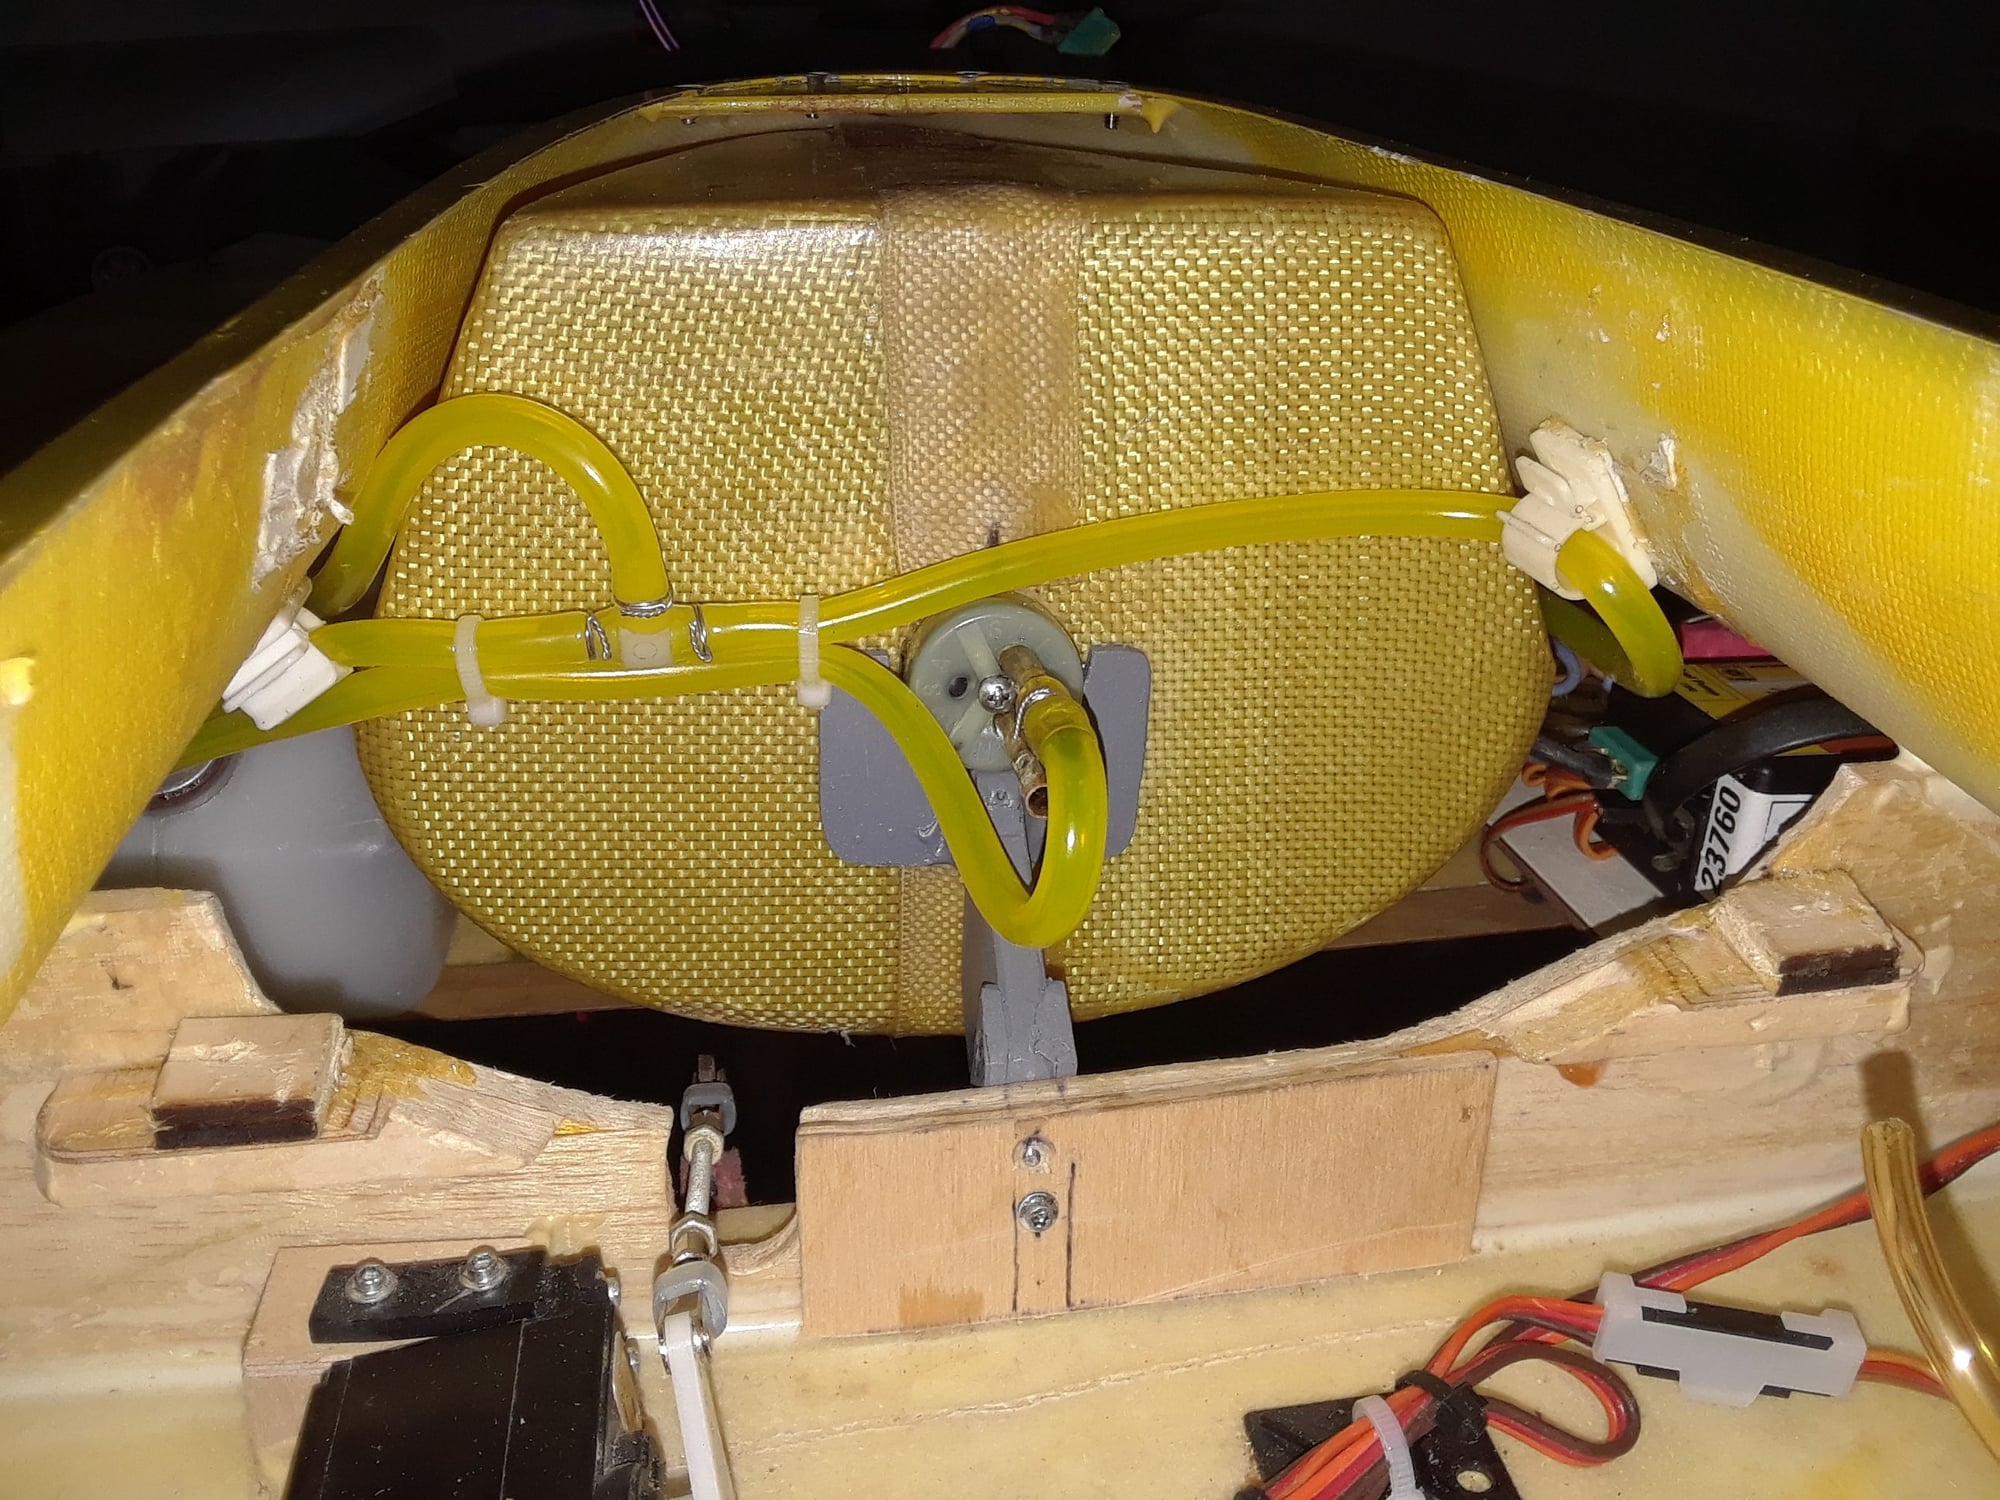

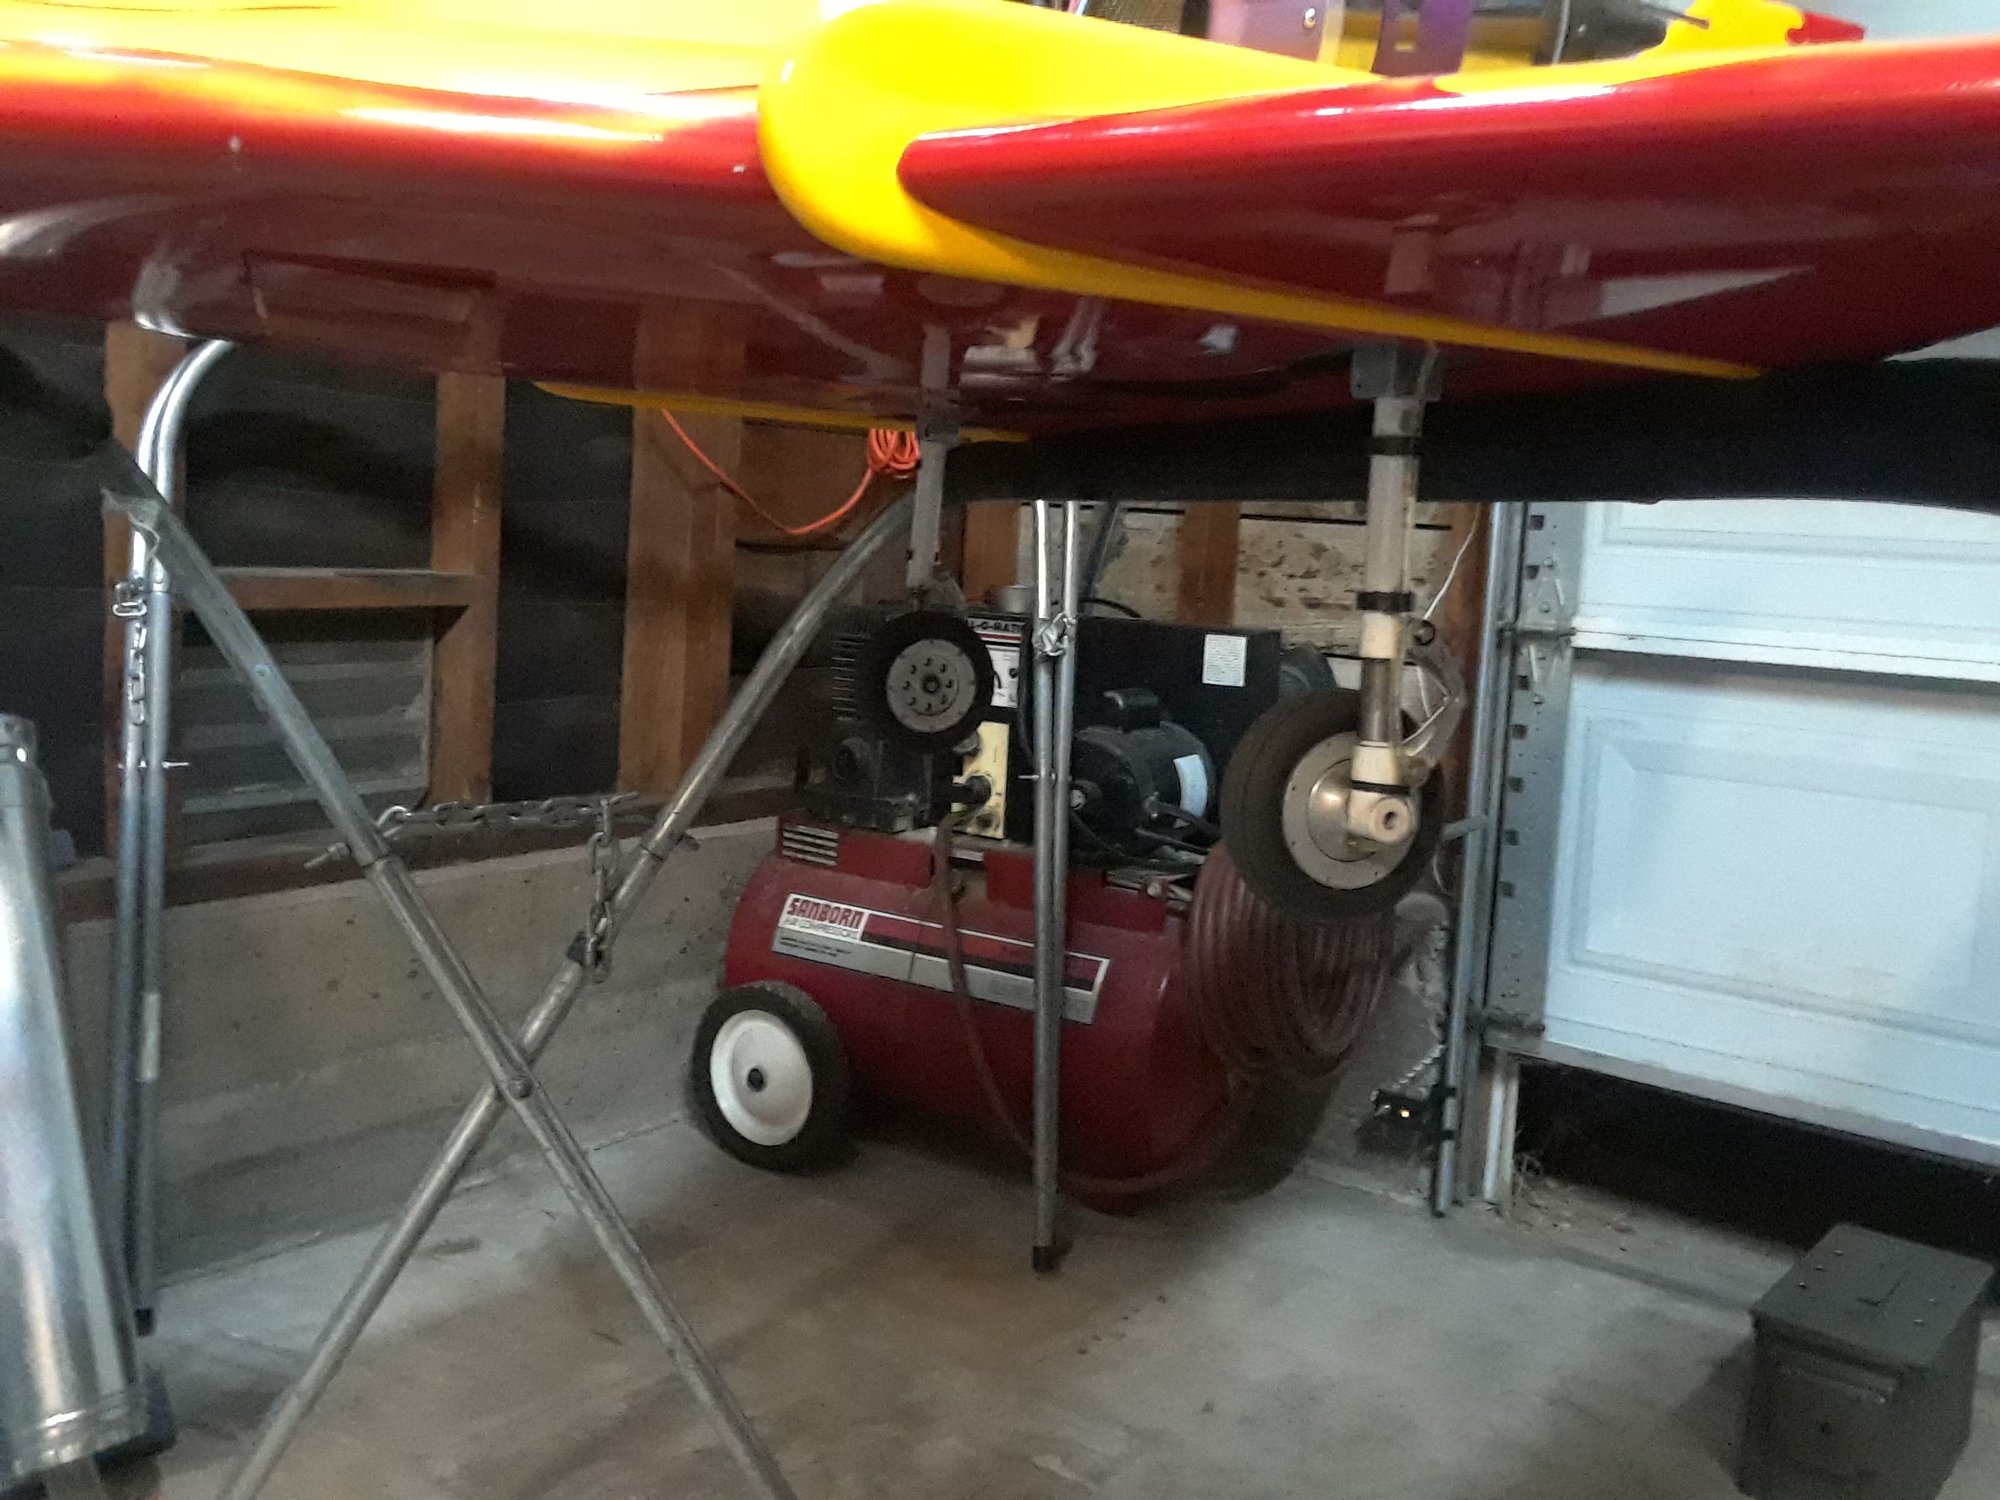
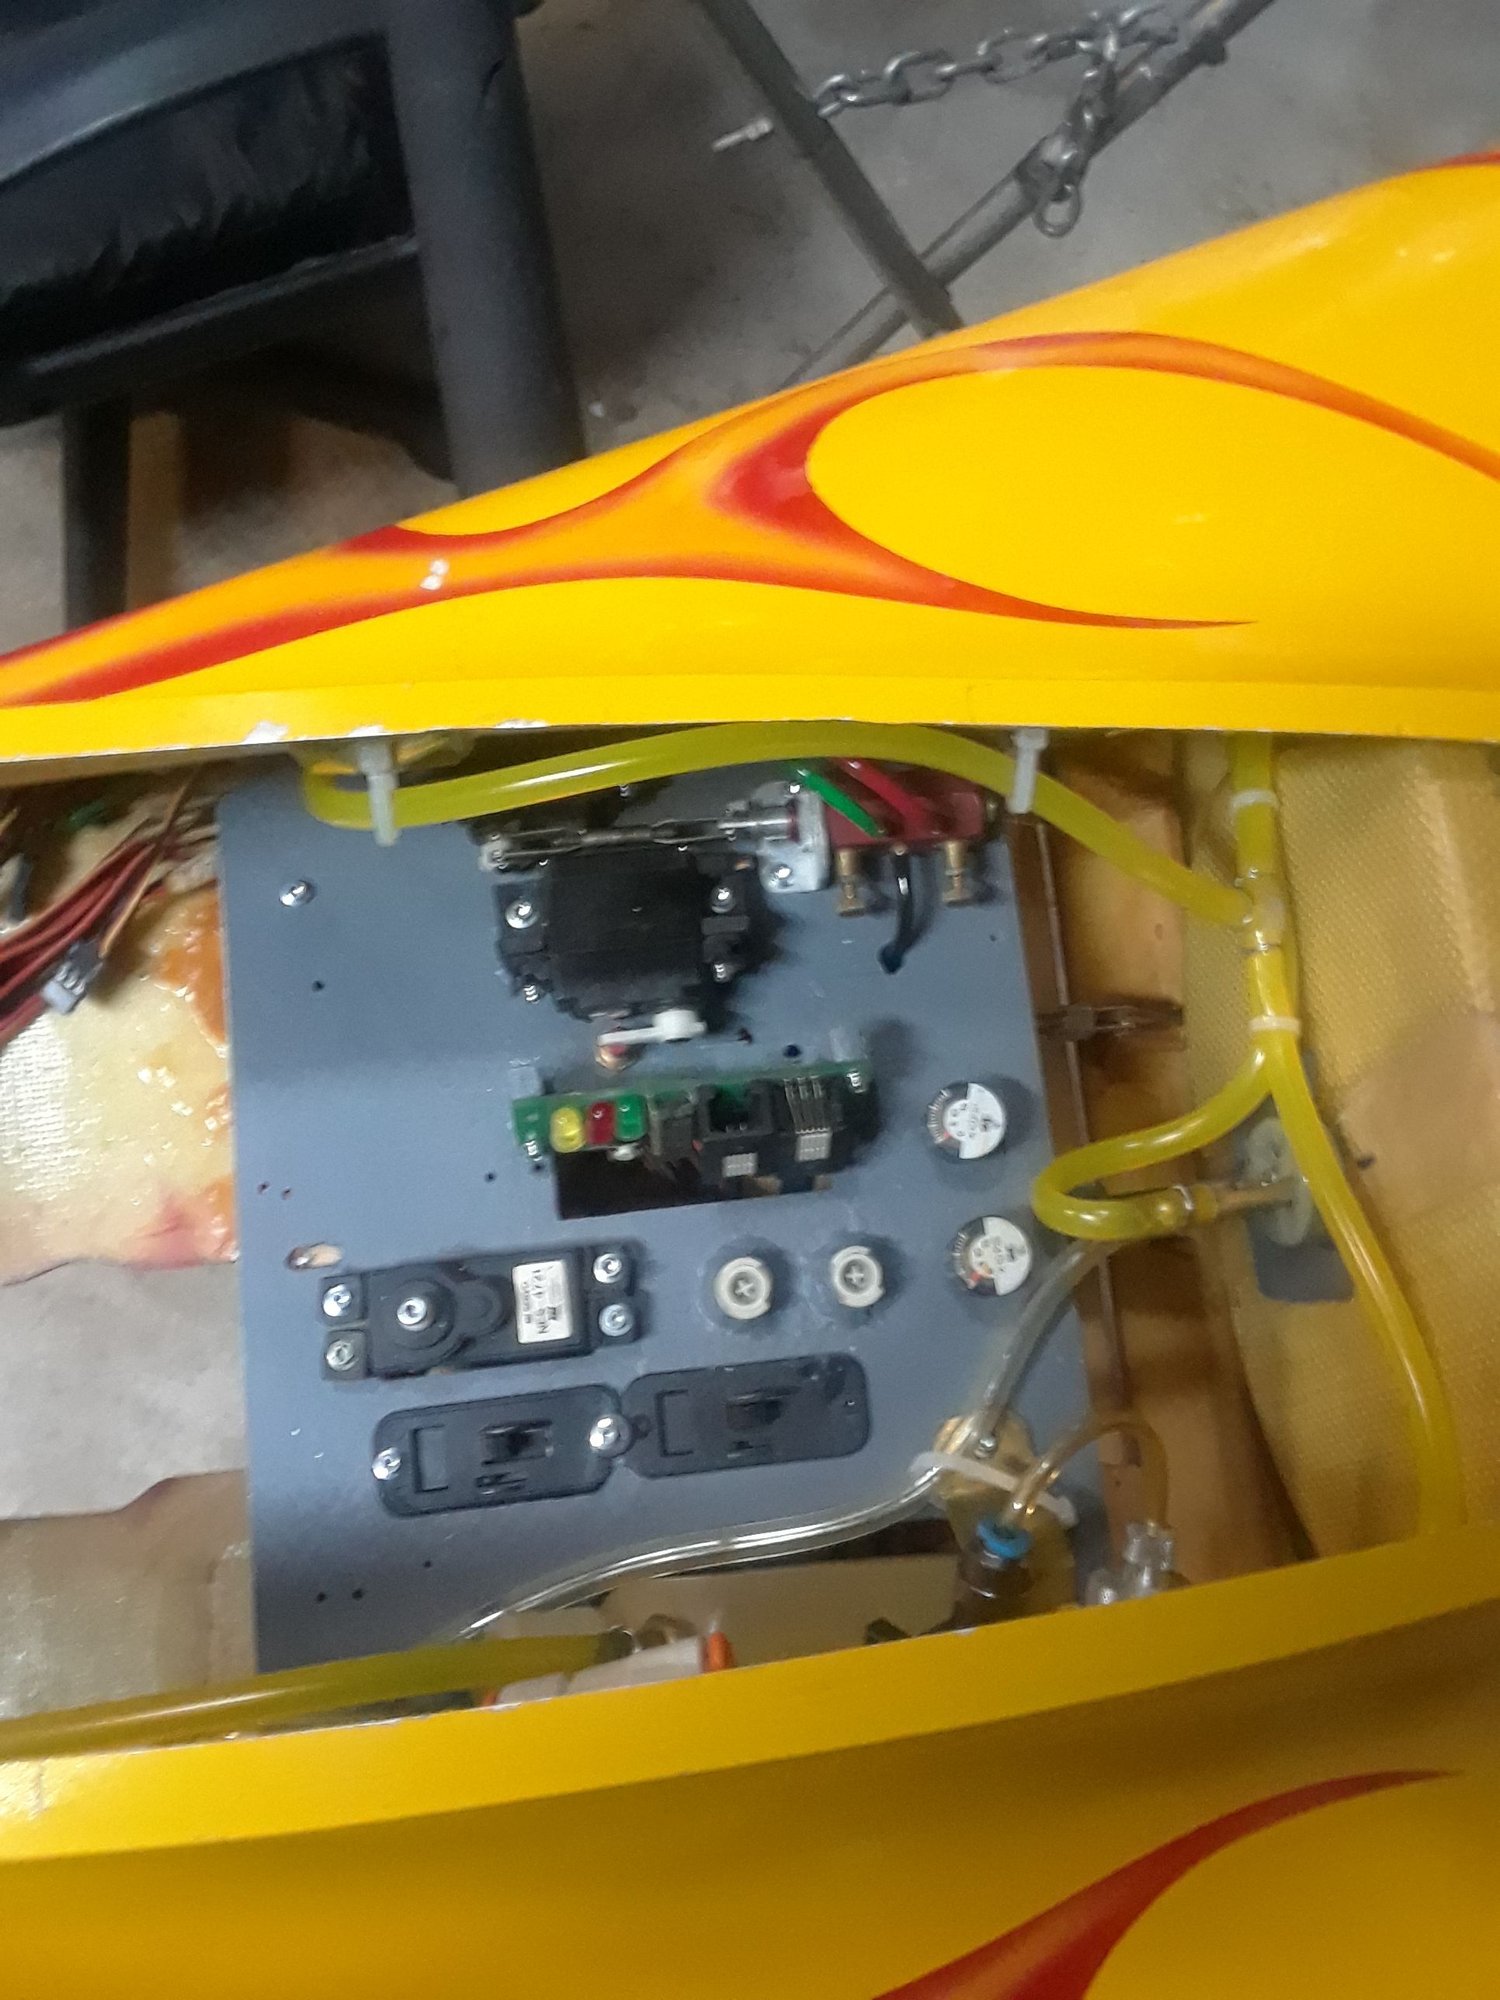
Some work done today, fuel and smoke tanks installed and plumbed, pumps, valves and ECU tray installed back in, I change a few things on the install but not much.
Needs to be done, remove all the components from the radio tray paint it with primer gray ( me no like off white ) then reinstall all back on, place it back in the Roo, reconnect the UAT fuel lines and fuel filter, that's just for the tray.
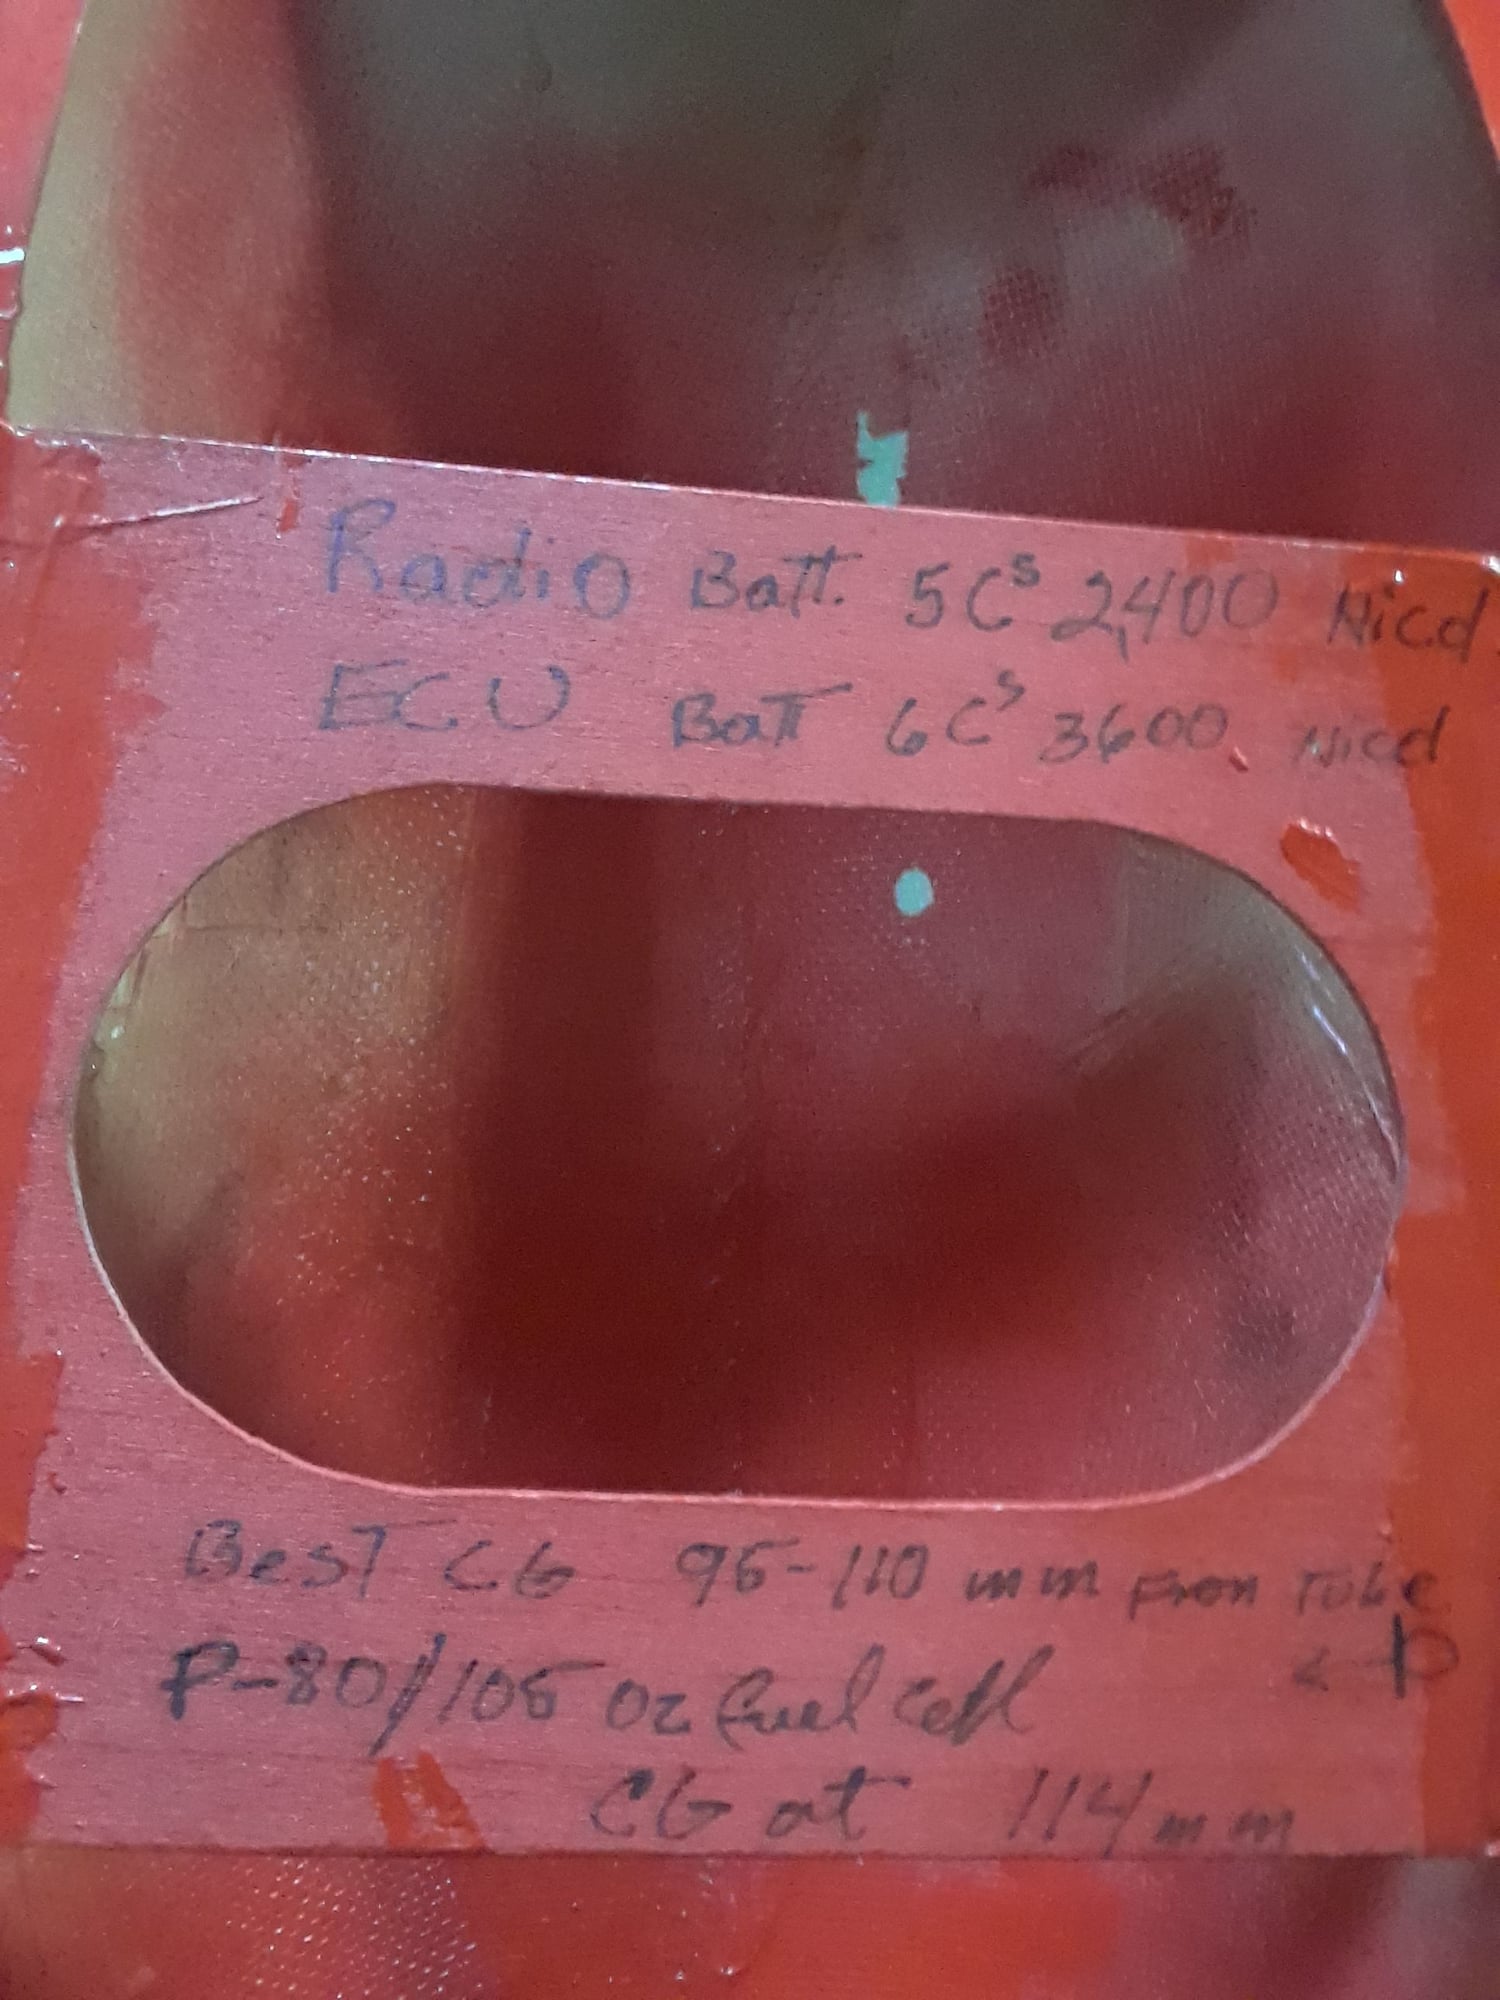
Add the 3 batts, 2100mah 2c X 2 LIFE for the radio, 1 2c 5K LIPO for the ECU, service the retracts with Teflon oil.
After all that, add the receiver then test everything, I can do all that in a day.
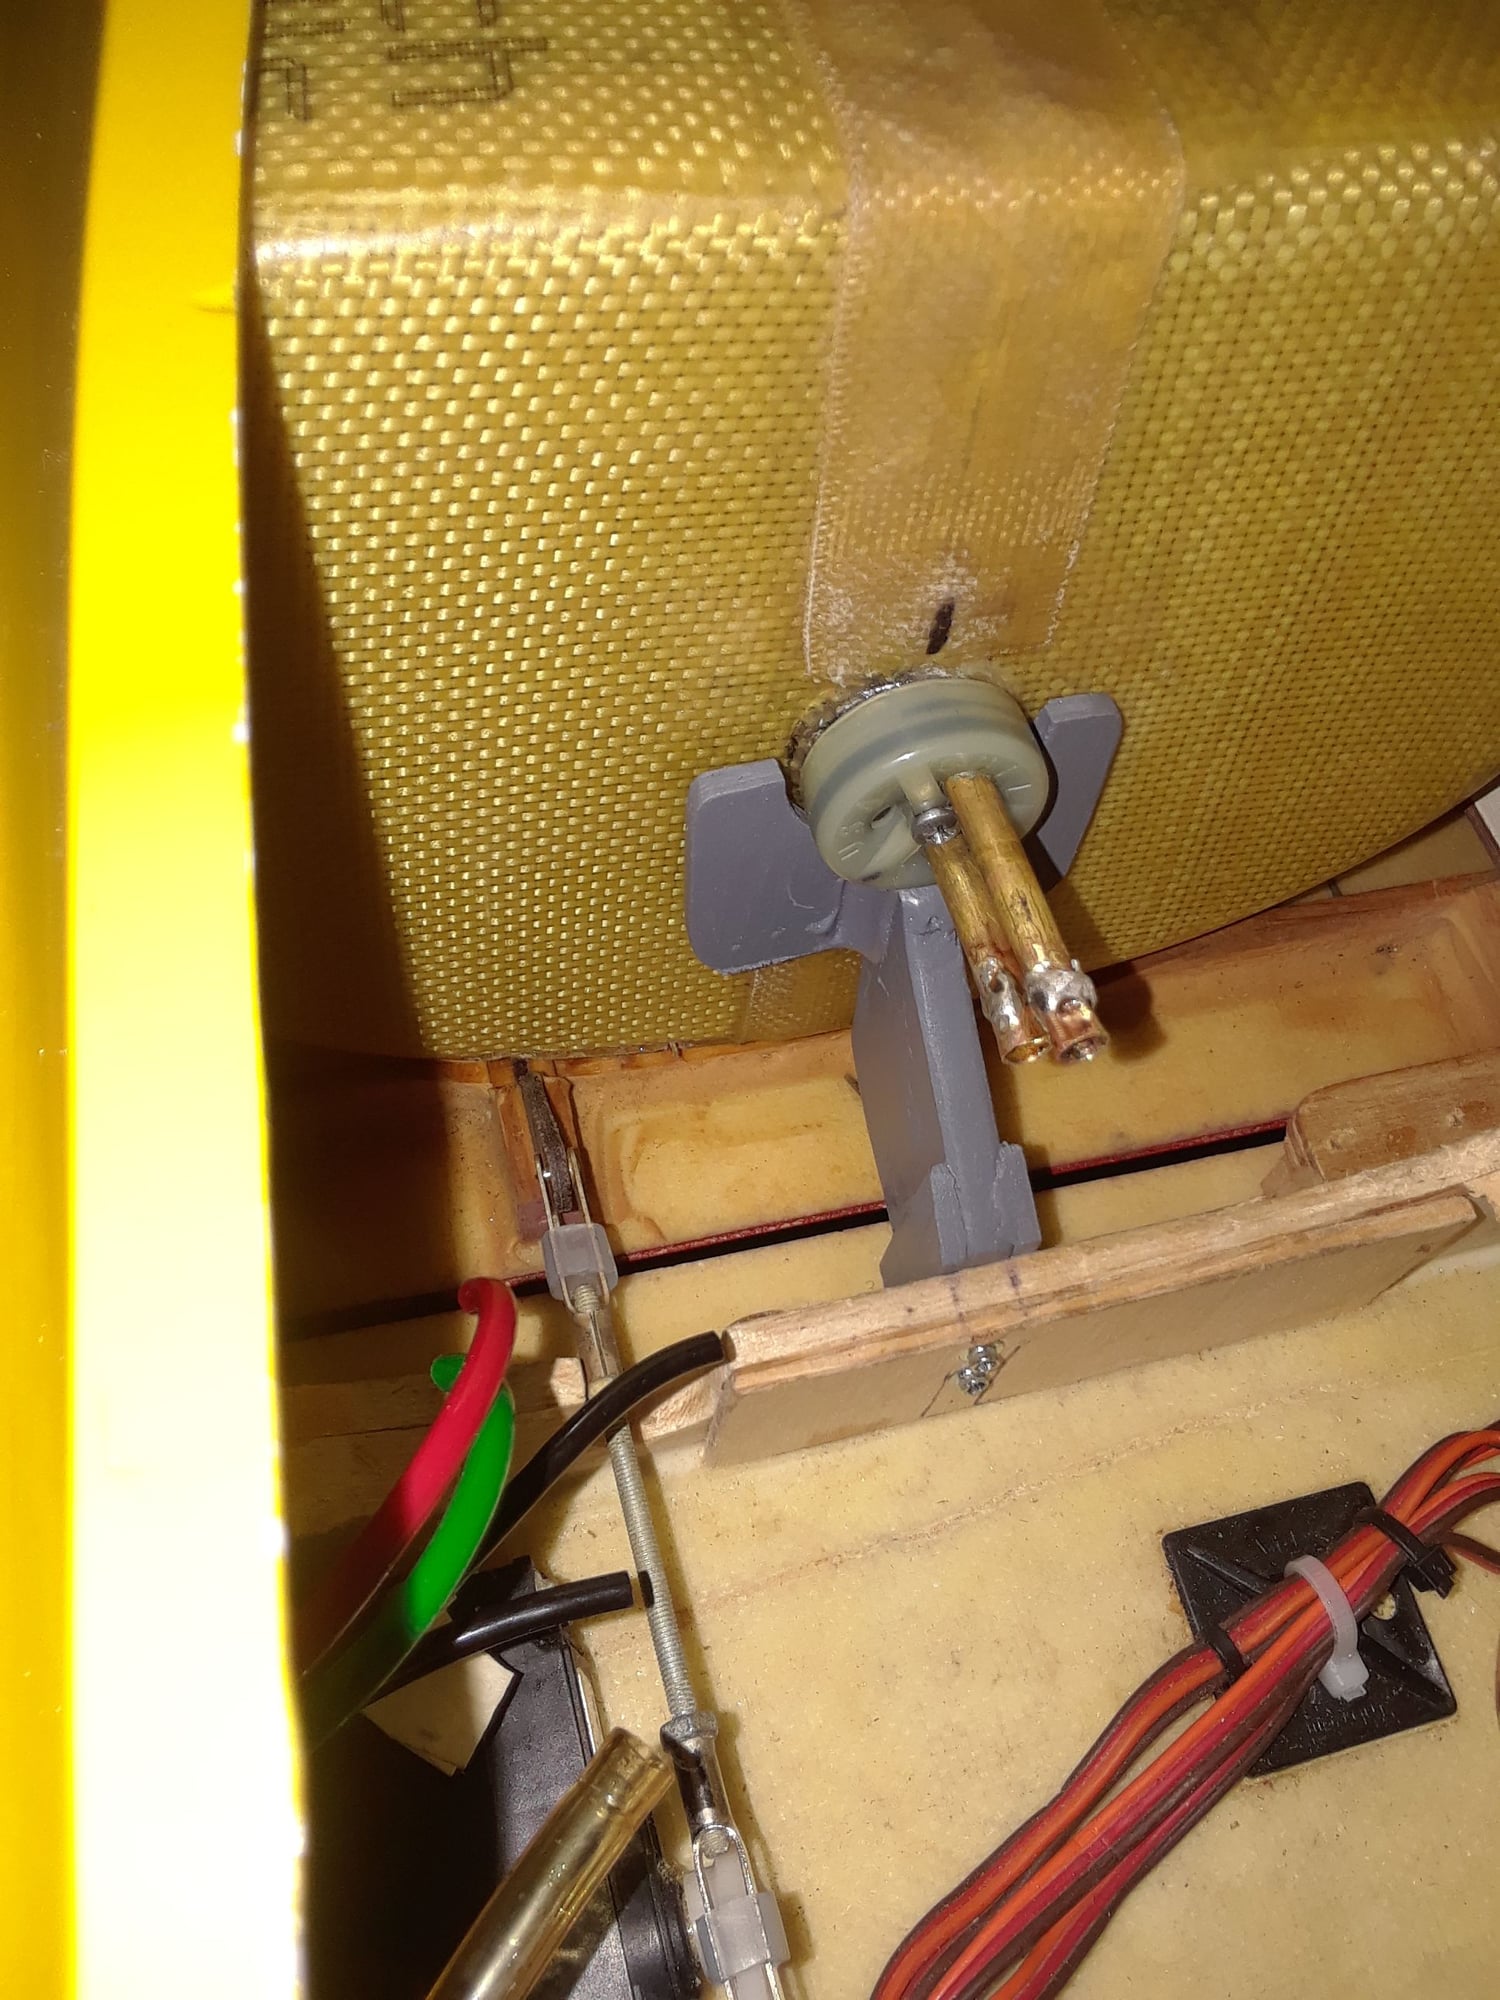
Some of the changes I did to the install were, remove one of the smoke tubes from the turbine, one tube is good enough to produce a nice dense column of smoke also moved the smoke shut off valve next to the smoke tube at the turbine.
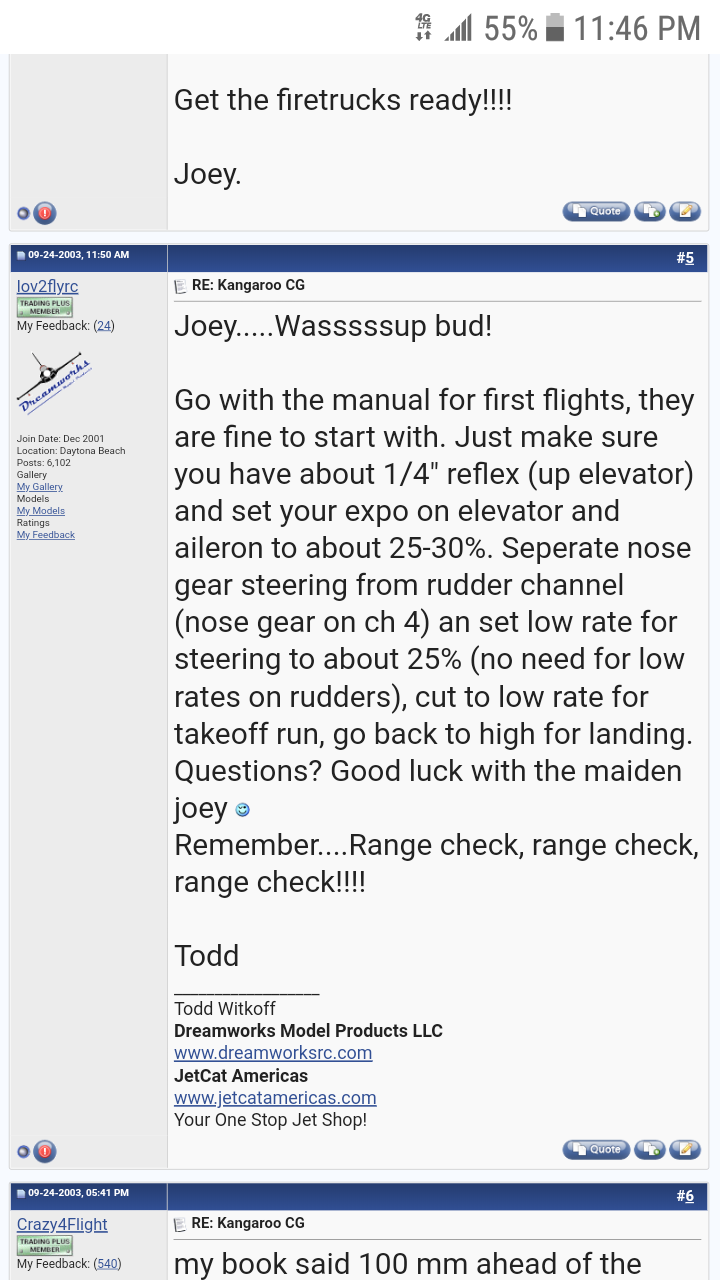
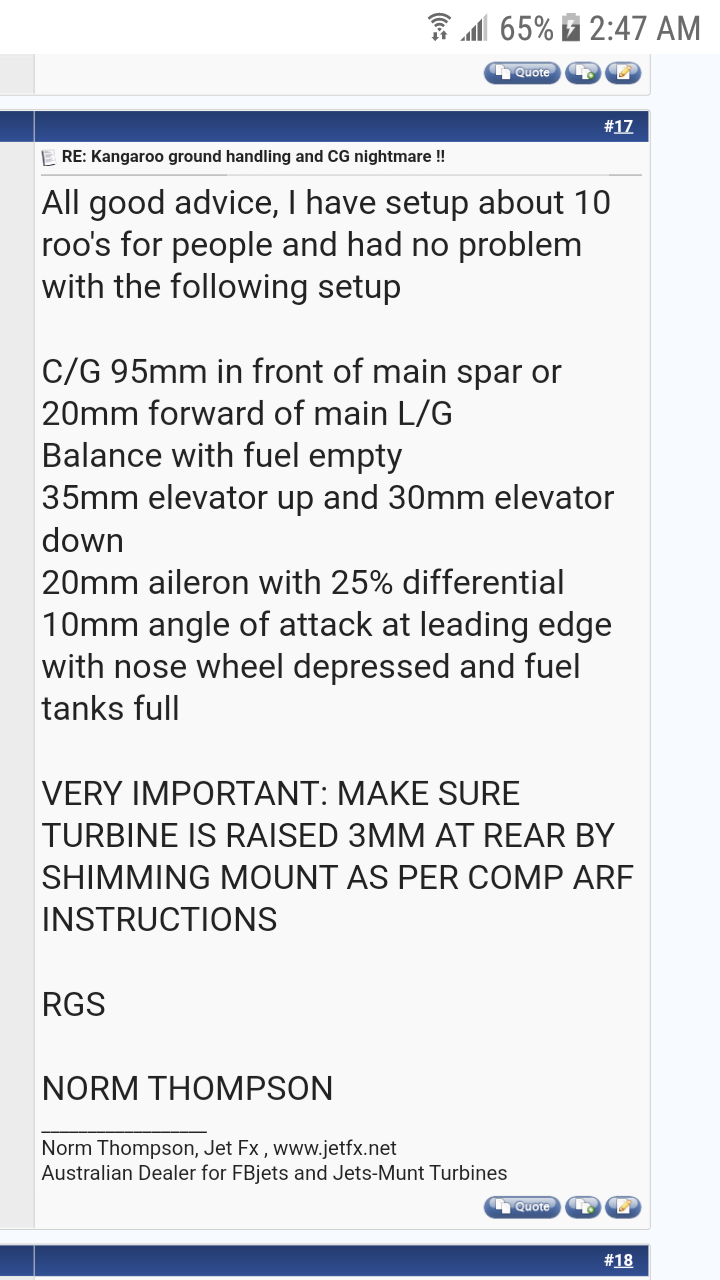
According to my own writing, the CG can be from 95mm to 110mm, it was set at 114mm, I already downloaded the manual and of course there is all that good info from RCU that I can use to set it up ( again
)
Last edited by CARS II; 09-28-2019 at 11:09 AM.
09-29-2019 | 11:41 AM
#8

Congrats Carlos! Roos are the most practical , funniest, most relaxing and at the same time challenging sport jet of all time..still flying mine and this year I will make a 20 year birthday party for my old buddy...
09-29-2019 | 12:45 PM
#9
Aha! I had a feeling you were going to surface here, glad to hear that your old body the Roo is still bouncing around
I got this one from a friend that stop flying her some 8 - 10 years ago and I had refurbish her for him, time to get her back in the air, hopefully this Wen and I will take her to BITW for sure, stay tuned.
Thank you.
I got this one from a friend that stop flying her some 8 - 10 years ago and I had refurbish her for him, time to get her back in the air, hopefully this Wen and I will take her to BITW for sure, stay tuned.
Thank you.
 10-01-2019 | 05:56 PM
#12


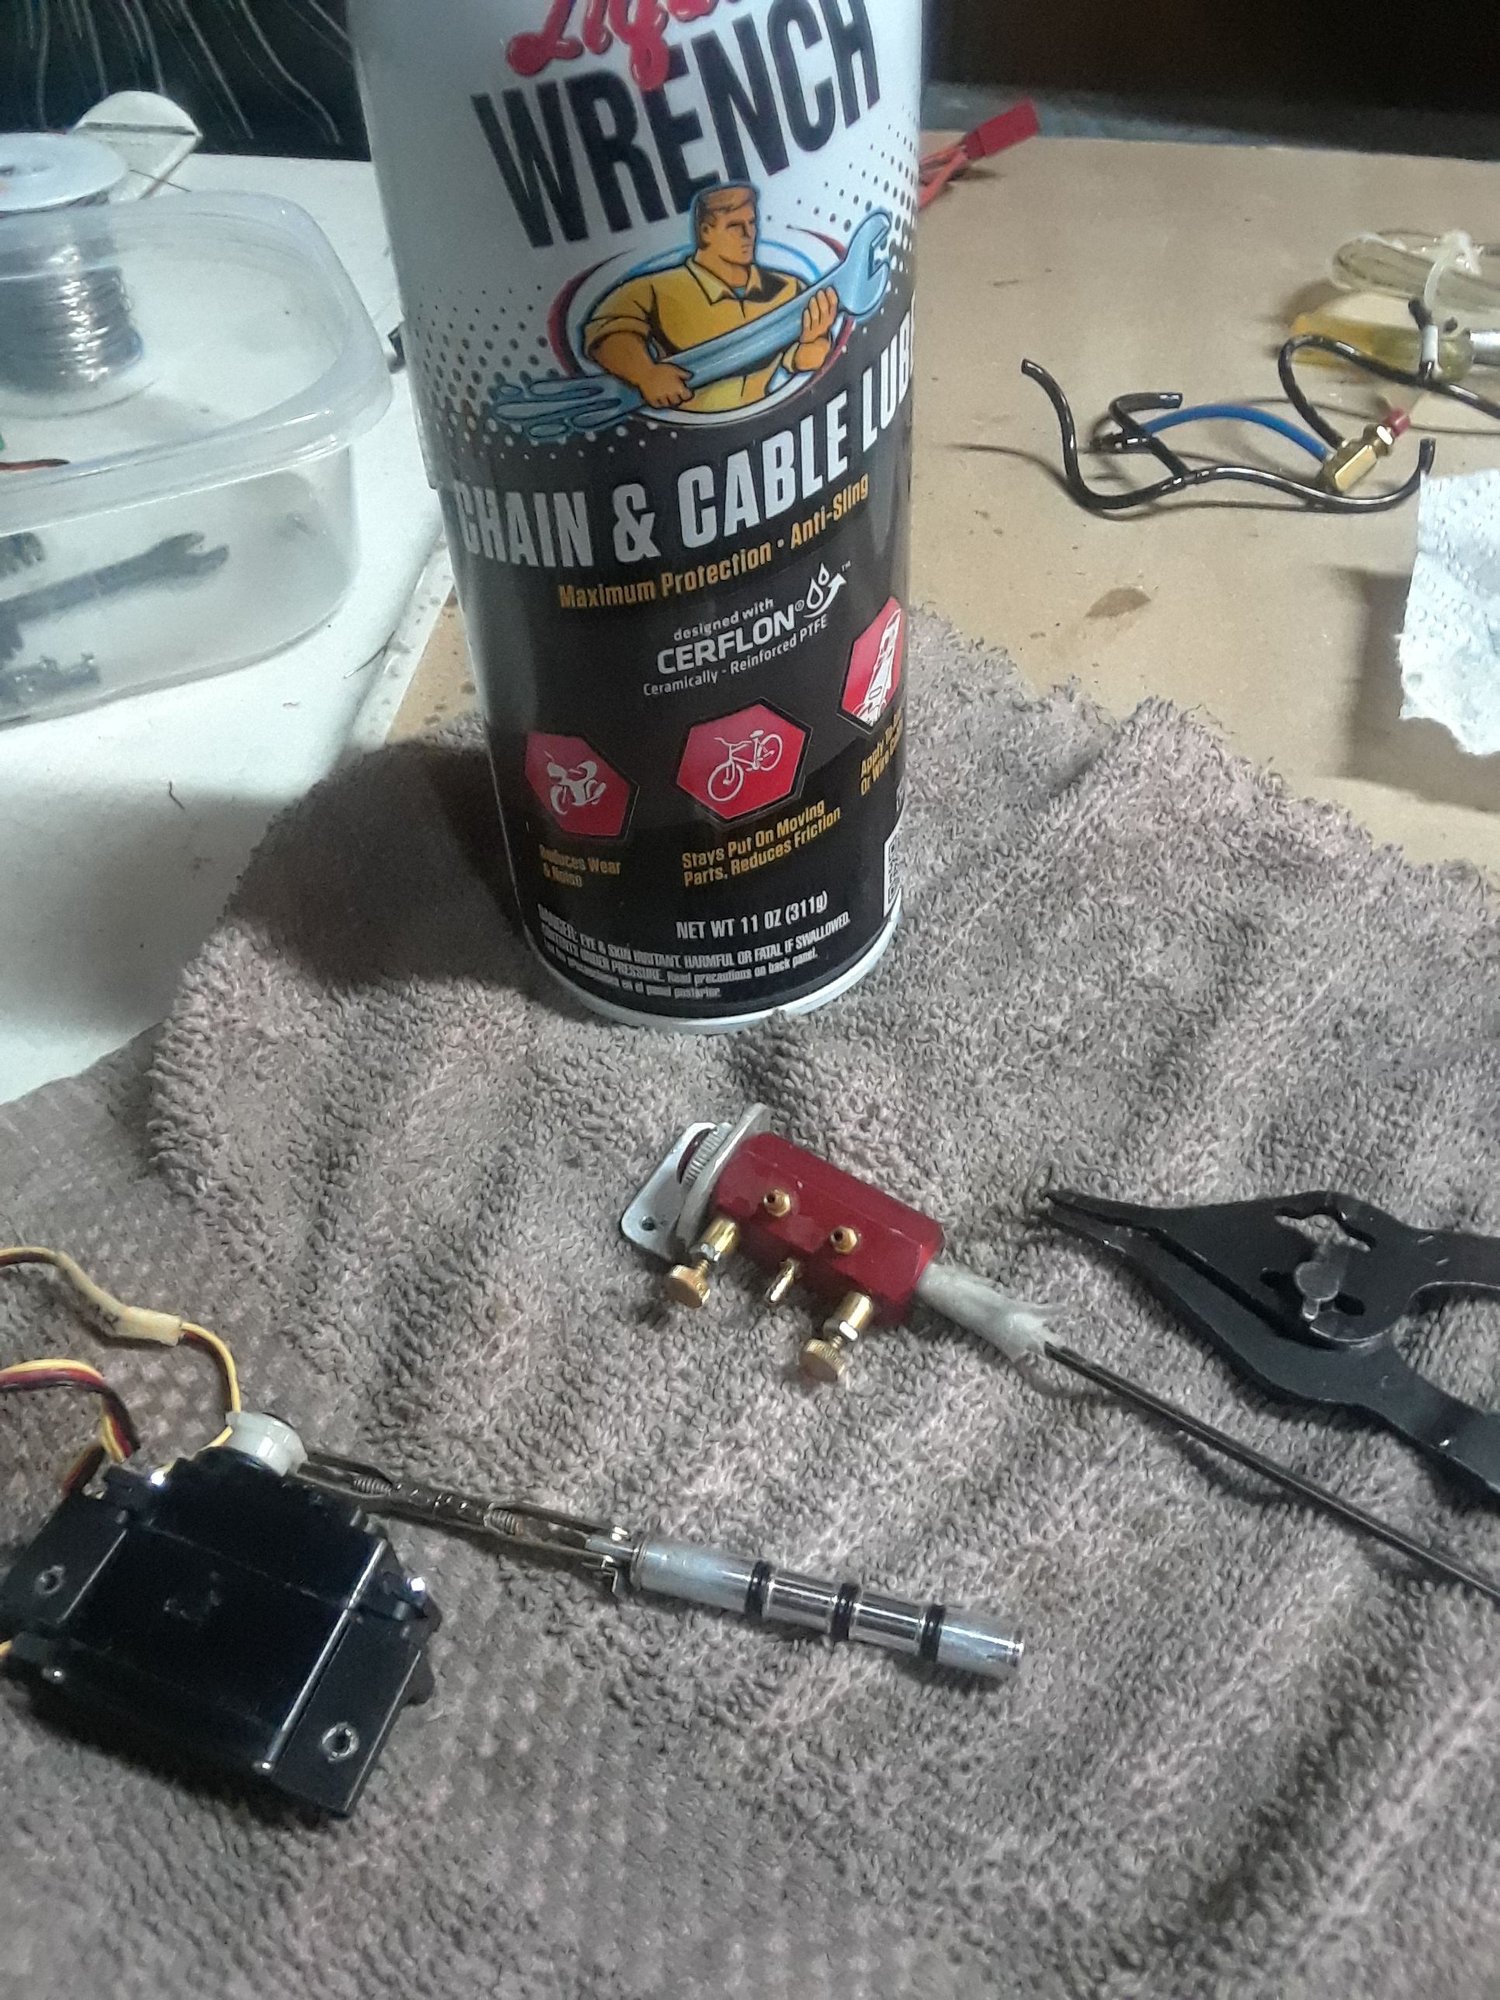
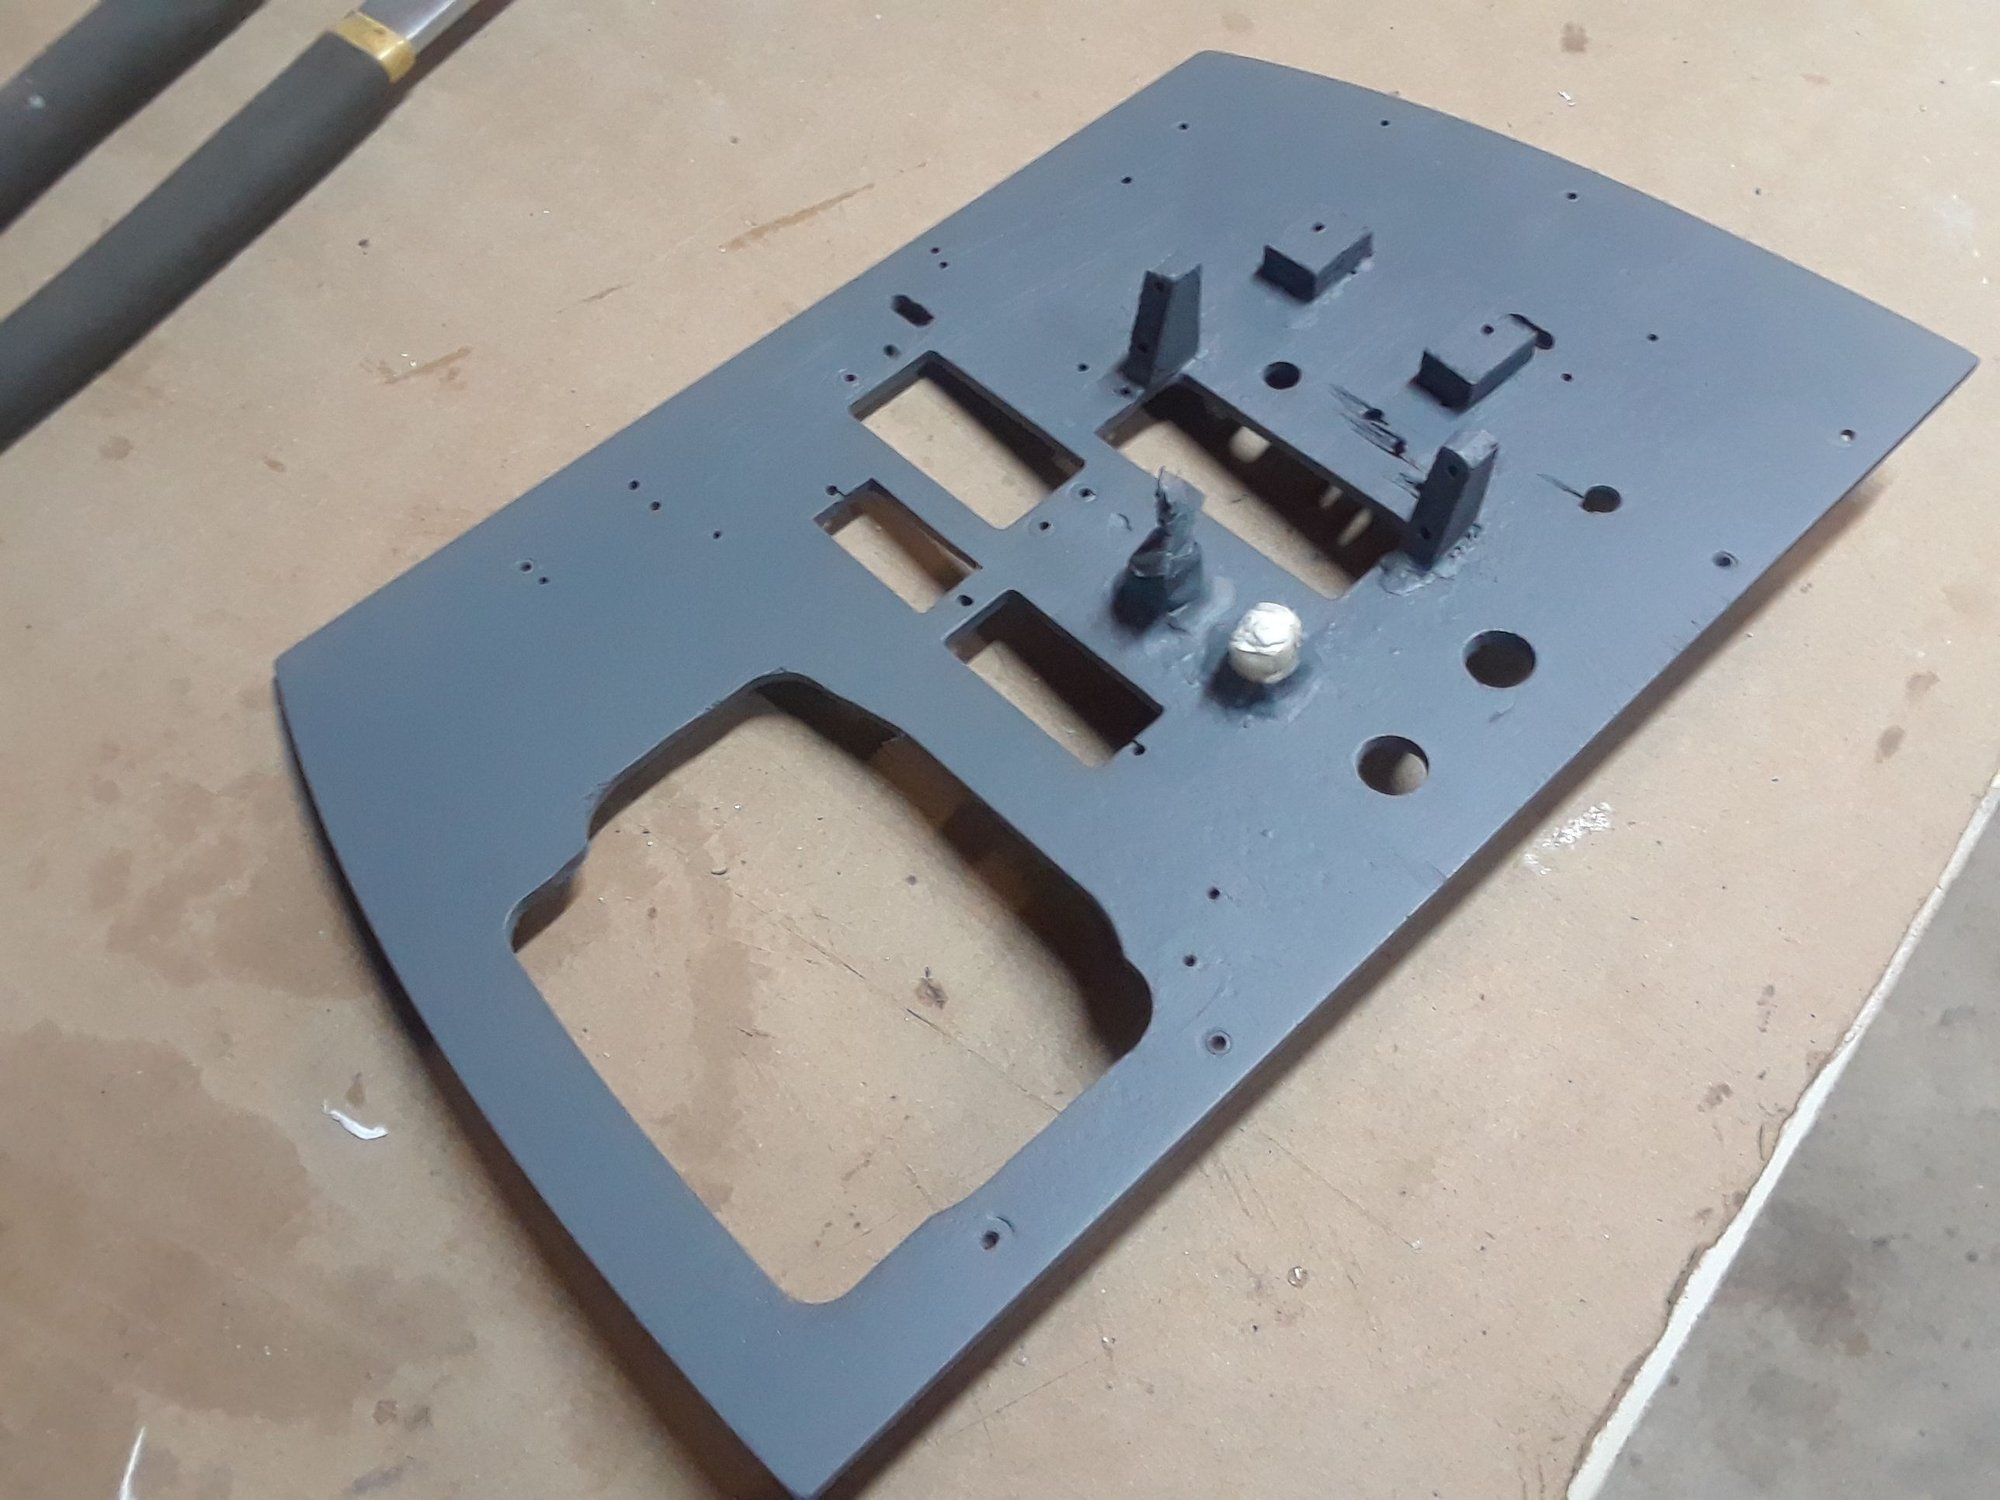

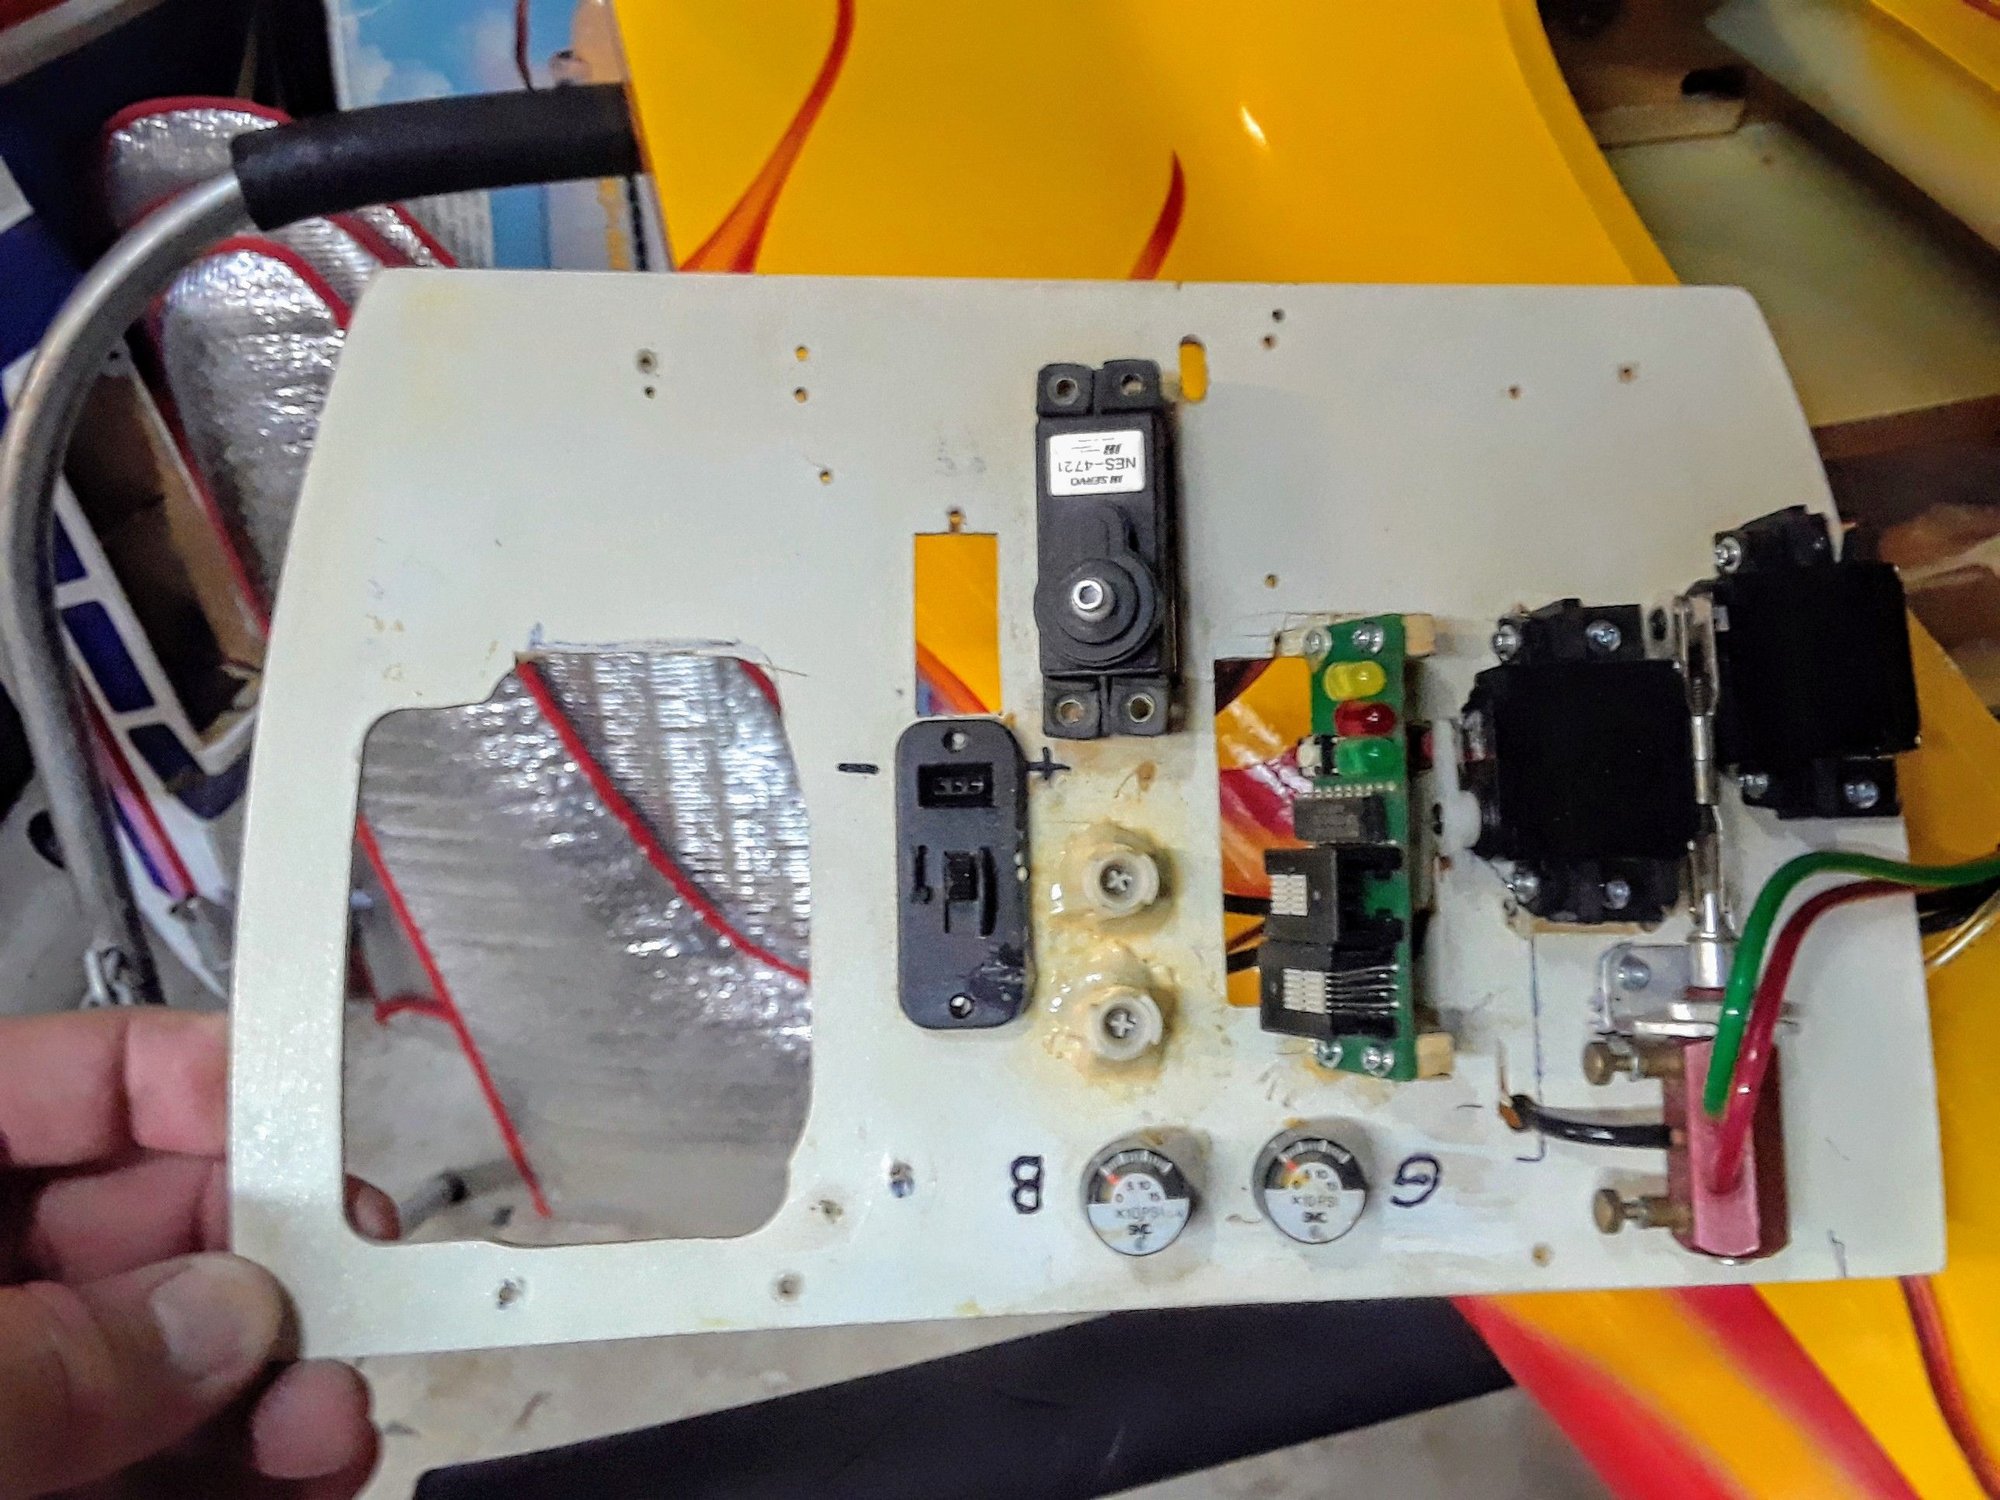
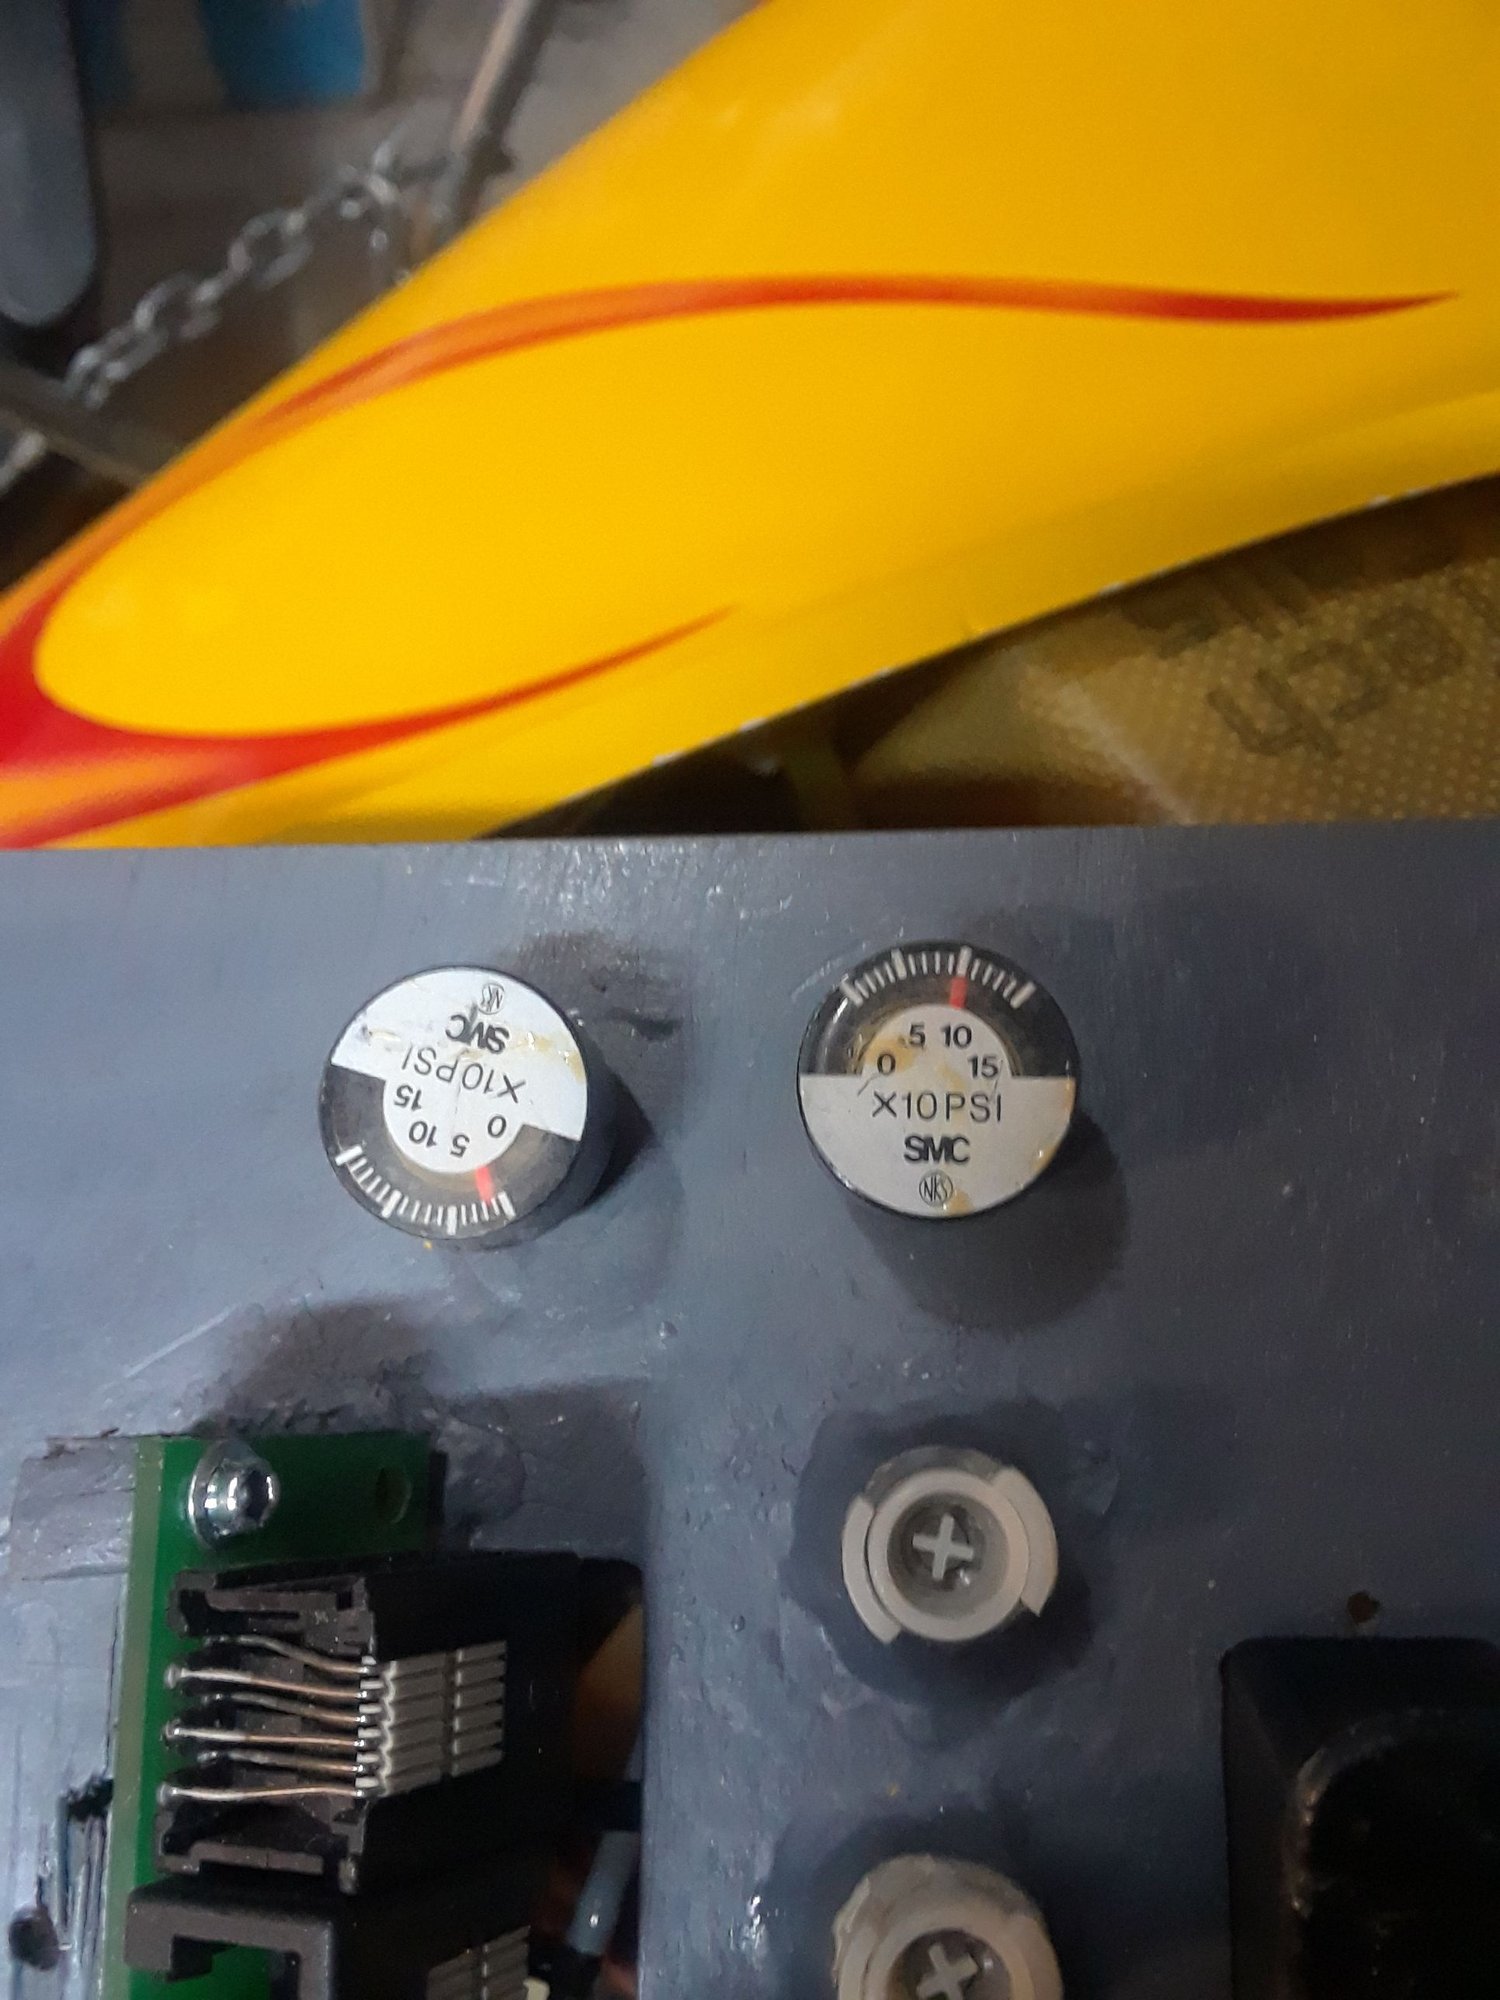
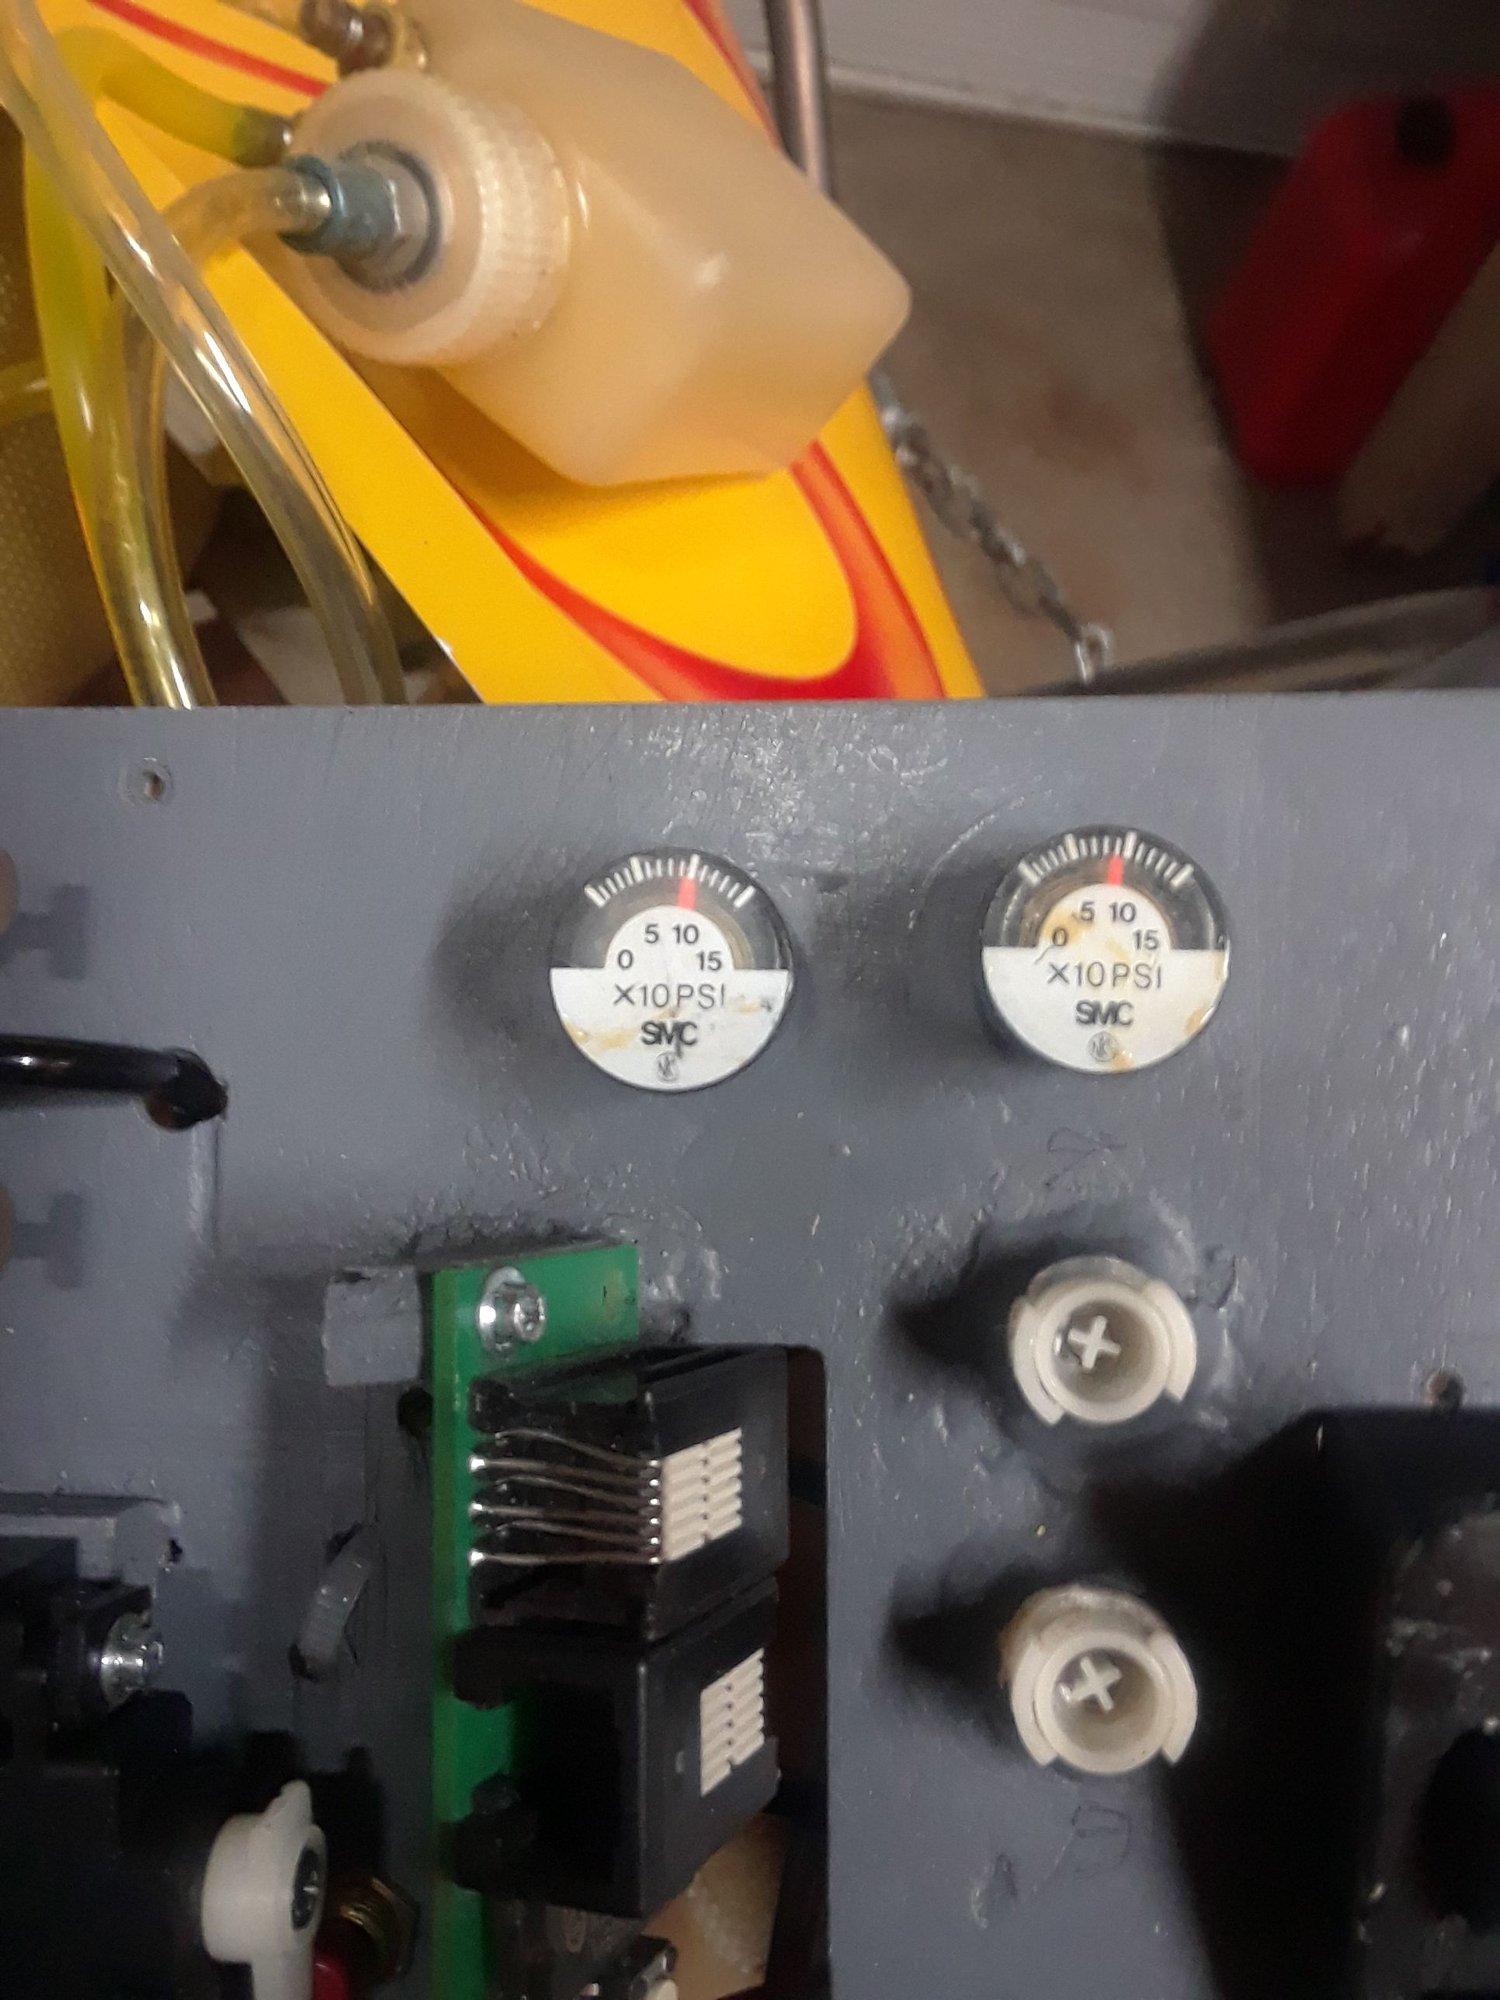
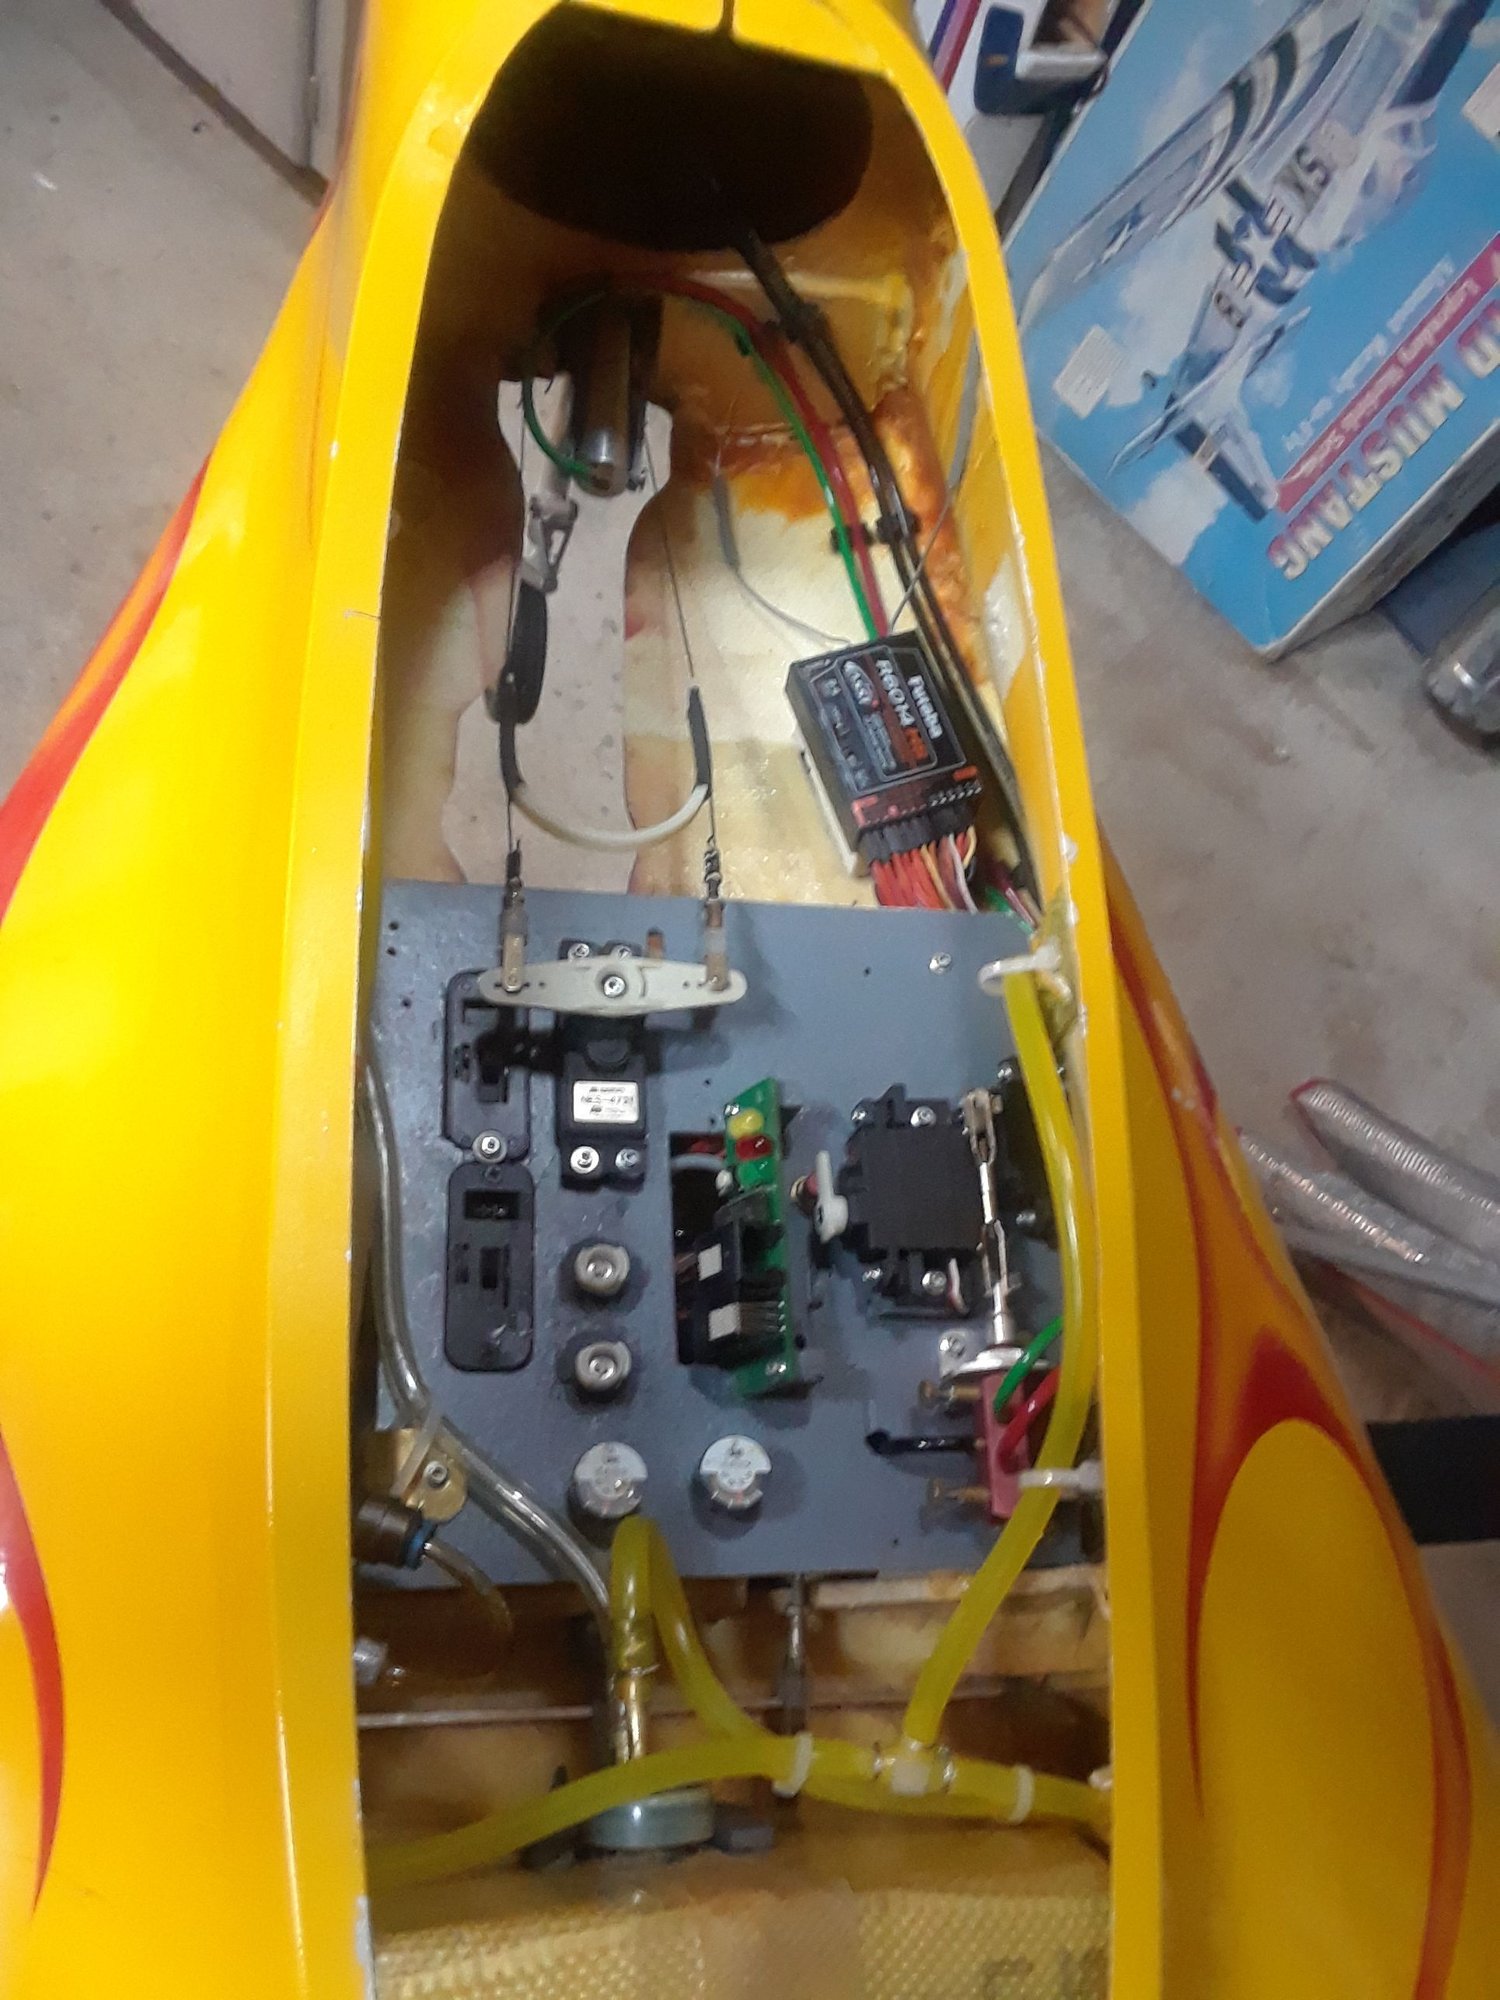
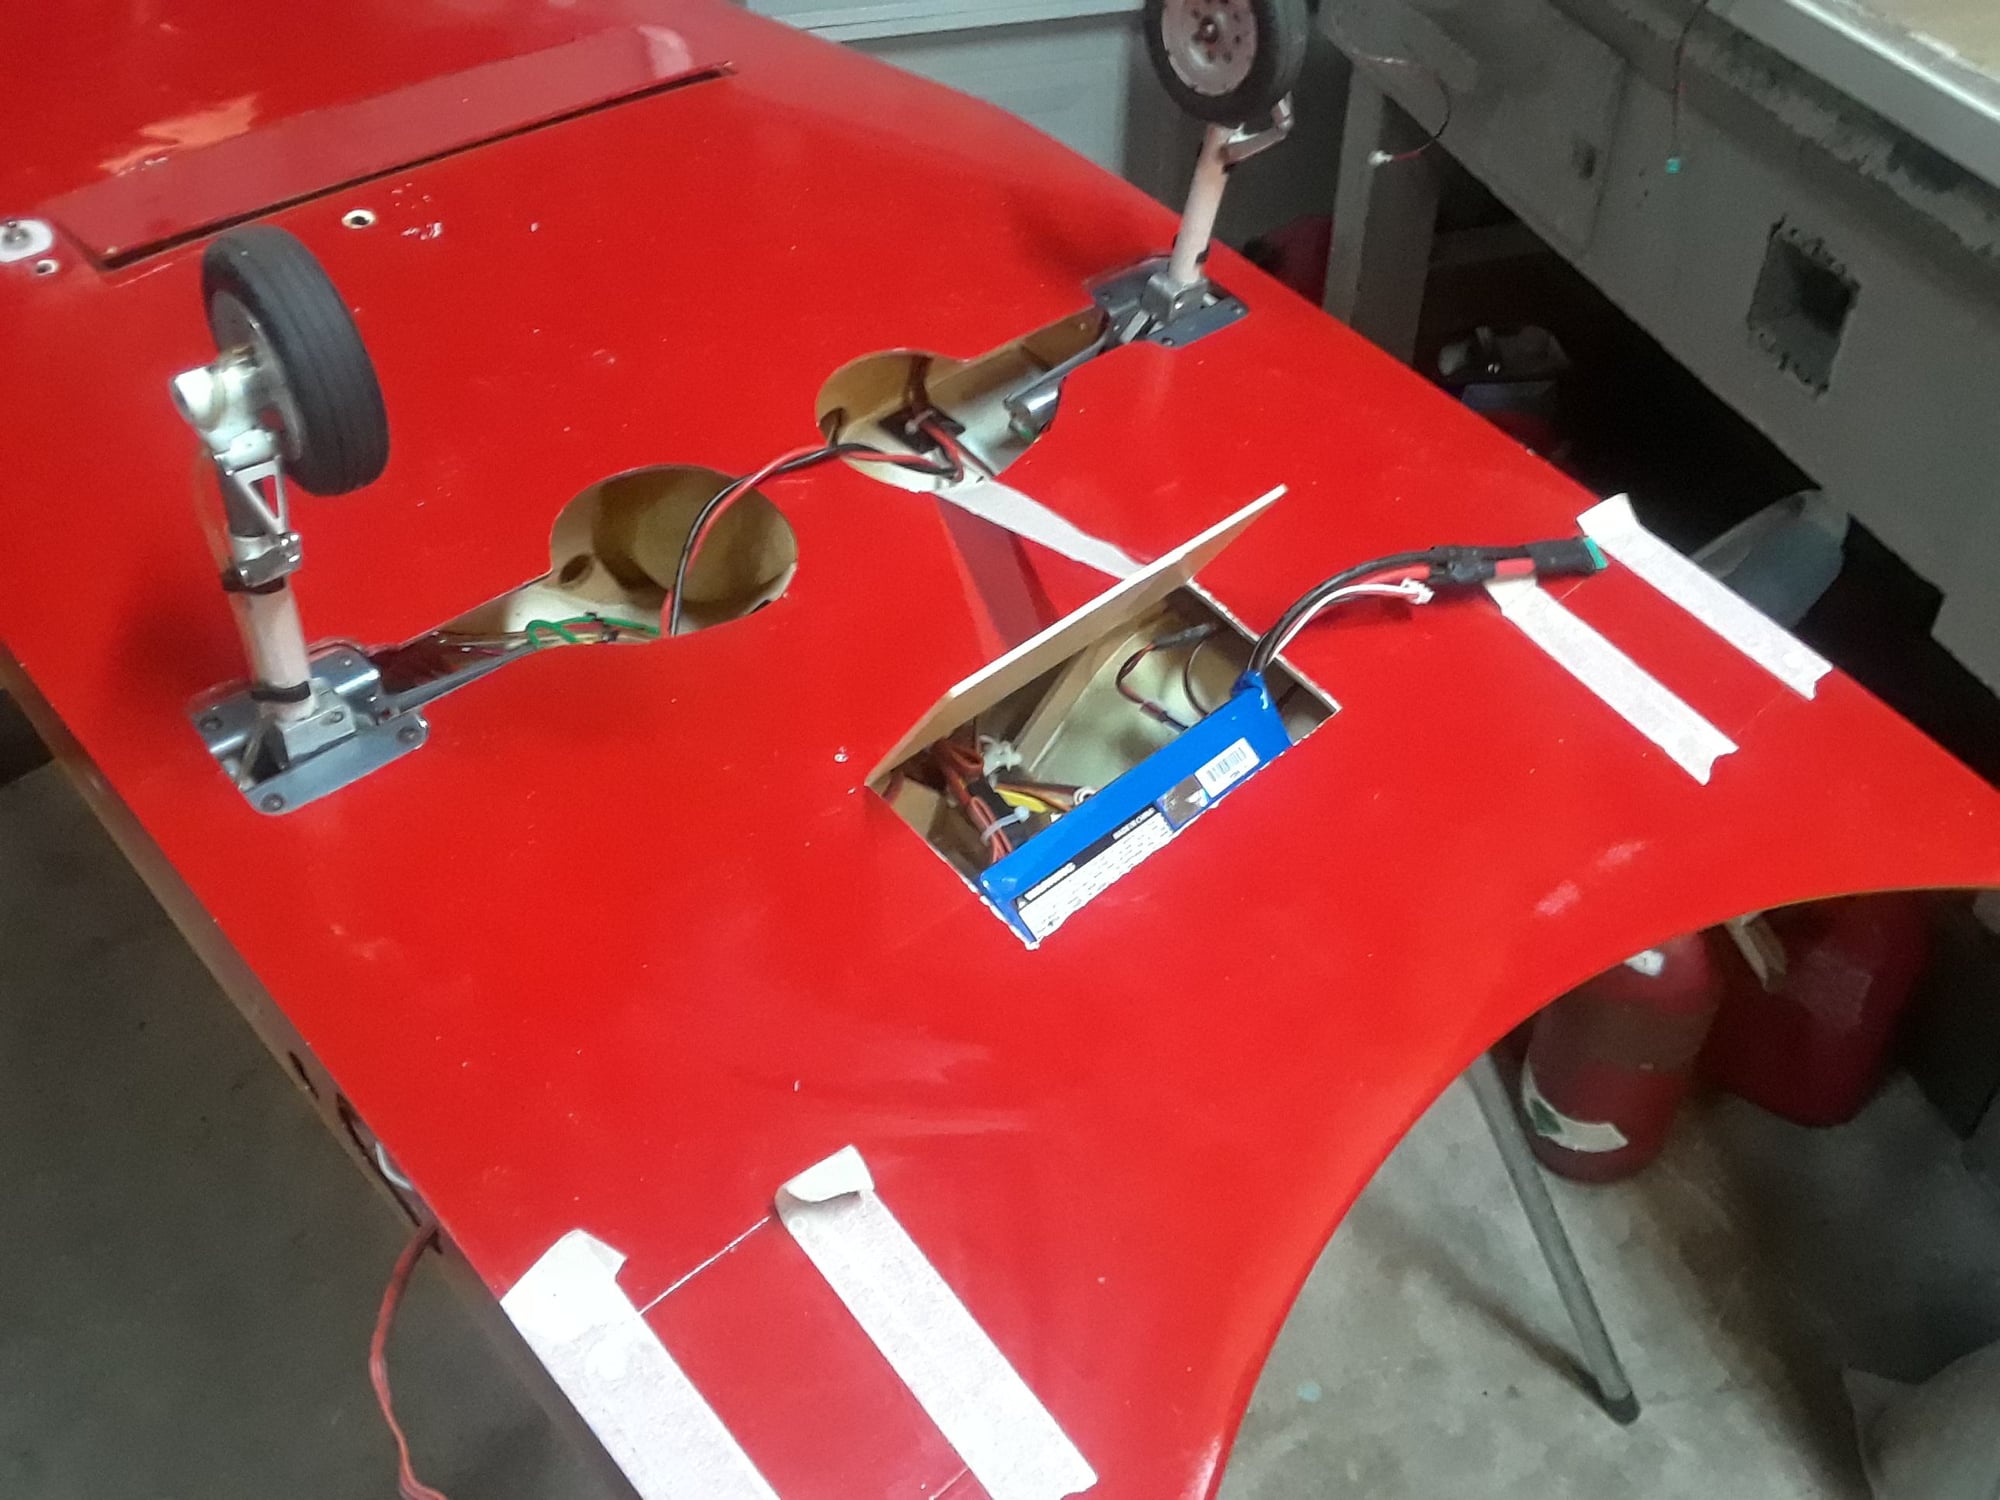
<img src="https://cimg2.ibsrv.net/gimg/www.rcuniverse.com-vbulletin/2000x1504/20191001_185332_a36aba6a11cf7b3b64d29c115390d0f482 accc8d.jpg"/><br /><img src="https://cimg3.ibsrv.net/gimg/www.rcuniverse.com-vbulletin/1500x2000/20191001_185353_47aee96b93f0be7ce0e37f3bf5a516fb54 deac69.jpg"/><br /><img src="https://cimg5.ibsrv.net/gimg/www.rcuniverse.com-vbulletin/1449x1932/20191001_133749_2_8074dcceca4015f86a971237a27f1687 4da265e9.jpg"/><br /><img src="https://cimg6.ibsrv.net/gimg/www.rcuniverse.com-vbulletin/1500x2000/20191001_133449_8221302935e4918ff9b26a077e1930fbb7 59b8bd.jpg"/><br /><img src="https://cimg2.ibsrv.net/gimg/www.rcuniverse.com-vbulletin/2000x1504/20191001_132533_8070d0dfca7dd9dc8e2922acf8839c5f6f 00e85a.jpg"/><br /><img src="https://cimg5.ibsrv.net/gimg/www.rcuniverse.com-vbulletin/1500x2000/20191001_132317_5d4f46dd32d115678800fac6969fcbe3a3 4b6f6c.jpg"/><br />I'm done with the radio tray, the install looks clean.
I also service the retract valve, clean it and lube it, and had to fix a broken air gage, added a brass nipple from a Robart air fill valve, it fit a just fine.
Last edited by CARS II; 10-01-2019 at 06:08 PM.
10-02-2019 | 01:17 AM
#13
I got all the control surfaces all dialed up, tested the gear, it is good and holds air in the up and down position, tested the brakes, they are working good but it is leaking air from somewhere ( have to investigate )
The radio batts are in the packets, now I got to find a place for the ECU LIPO, I have two options here, I have to make the LIPO removable at any time.
The CG is close, I will end up adding some ballast to move it back some more to get it closer to the 100mm mark.
Tested the turbine's starter, it is engaging fine, the turbine' s bearings sound good, all checks good on the GSU, I will run it tomorrow.
The refurbish is done, I just have to complete a few items to be ready for flight.
Last edited by CARS II; 10-02-2019 at 01:29 AM.
10-02-2019 | 01:59 PM
#14
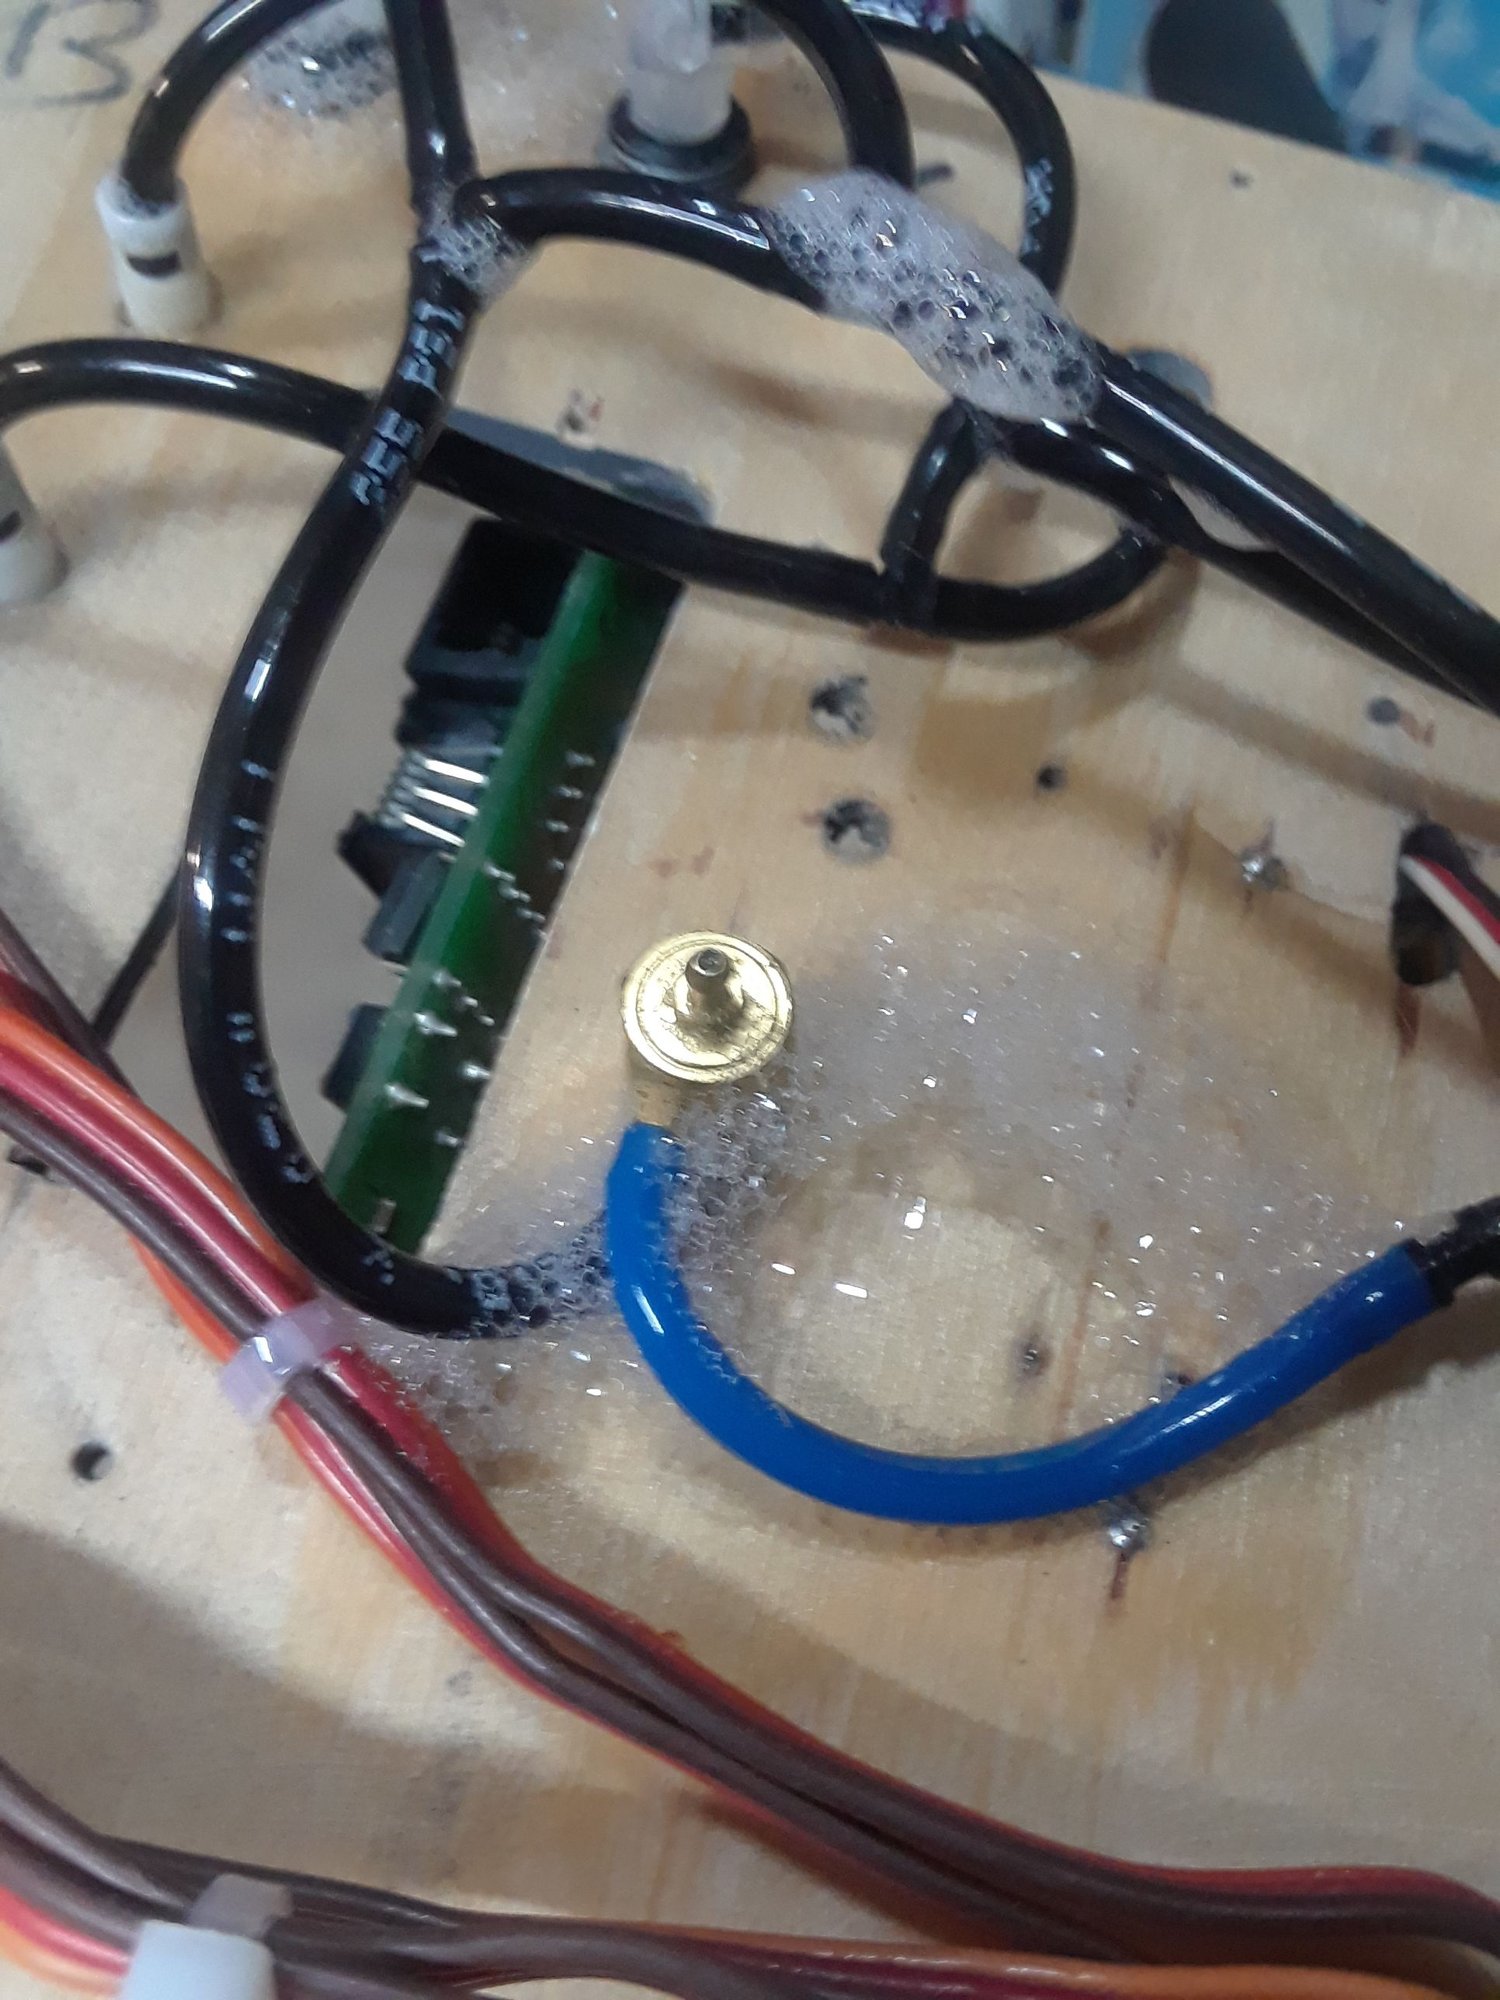

Final install, I was getting an air leak from the brakes, had two, at the air meter and the valve, at the valve the airlines had expanded, replaced them, at the meter ( the one I fix ) it was leaking from the brass nipple, added CA, both leaks are fix and the brakes are holding air on and off also reworked the retracts's airlines for a better fit and it's holding air up and down, best thing to find air leaks? soapy water
Receiver has been added, time to do the fuel, fill up, check, de-fuel, check then refill and run the engine, then set the CG point.
Moving forward, happy.
Last edited by CARS II; 10-03-2019 at 12:37 AM.
10-02-2019 | 08:57 PM
#15
Well, the smoke pump isn't working properly, it's coming out, I decided not to use smoke in this jet, the biggest tank that it can carry is 20oz, not worth the trouble and the extra weight only hurts the CG, I will keep the smoke system to use it on a bigger jet instead.
Had to do some work on the SUV, no time to attempt to fly her today, will fly tomorrow for sure, then to BITW FOR two days of flying jets and friends
Had to do some work on the SUV, no time to attempt to fly her today, will fly tomorrow for sure, then to BITW FOR two days of flying jets and friends
Last edited by CARS II; 10-03-2019 at 12:38 AM.
10-06-2019 | 07:37 PM
#16
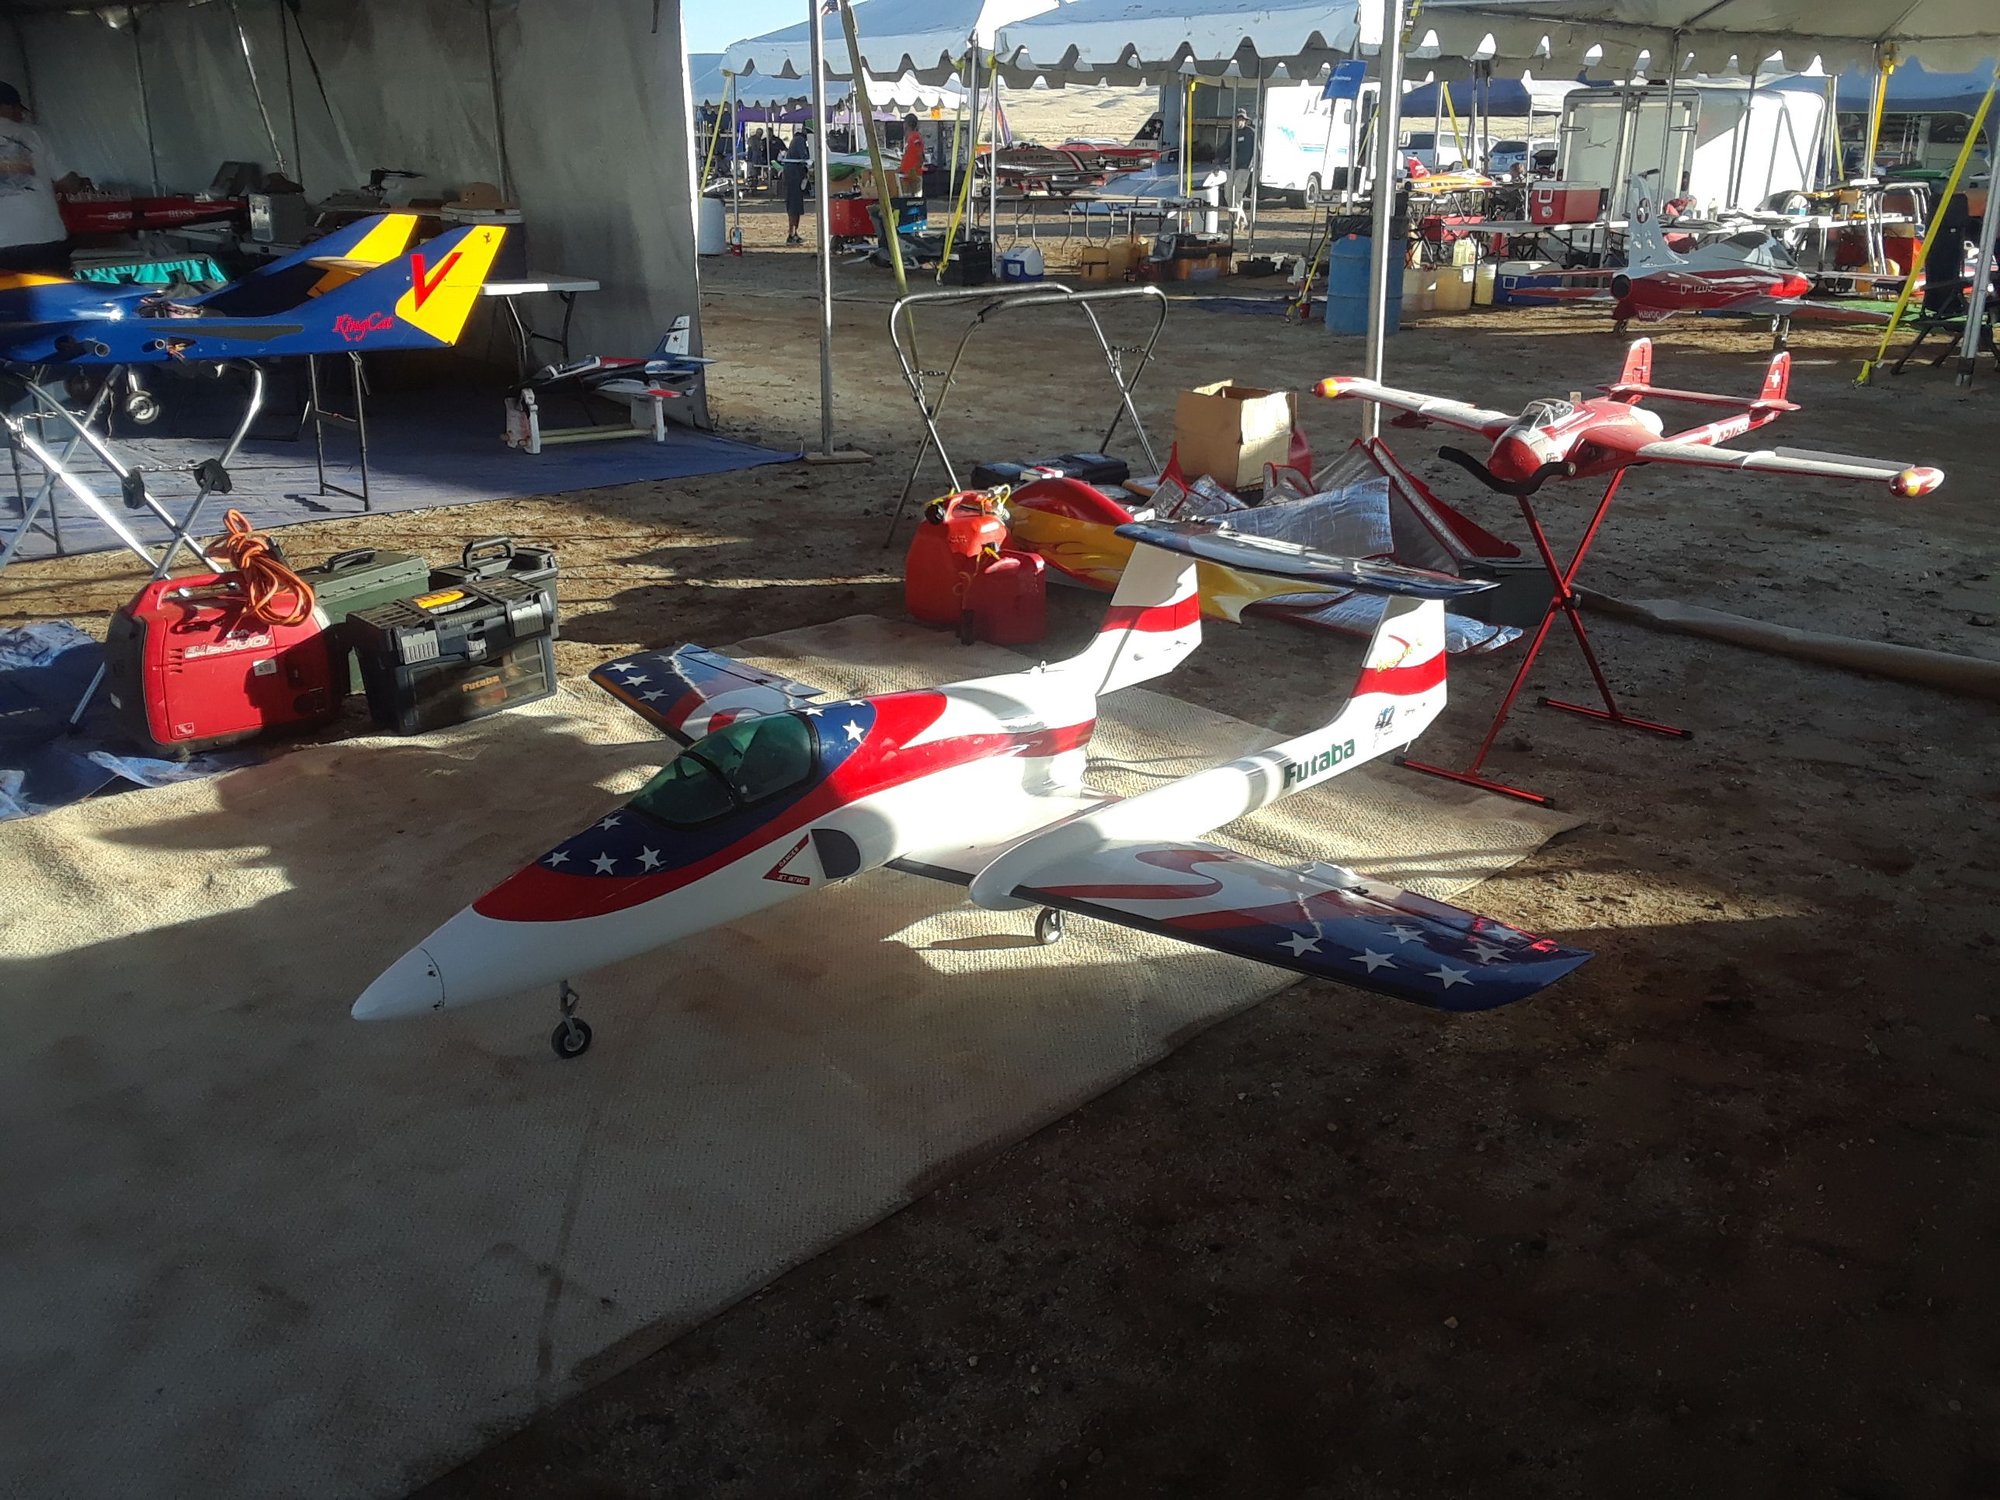

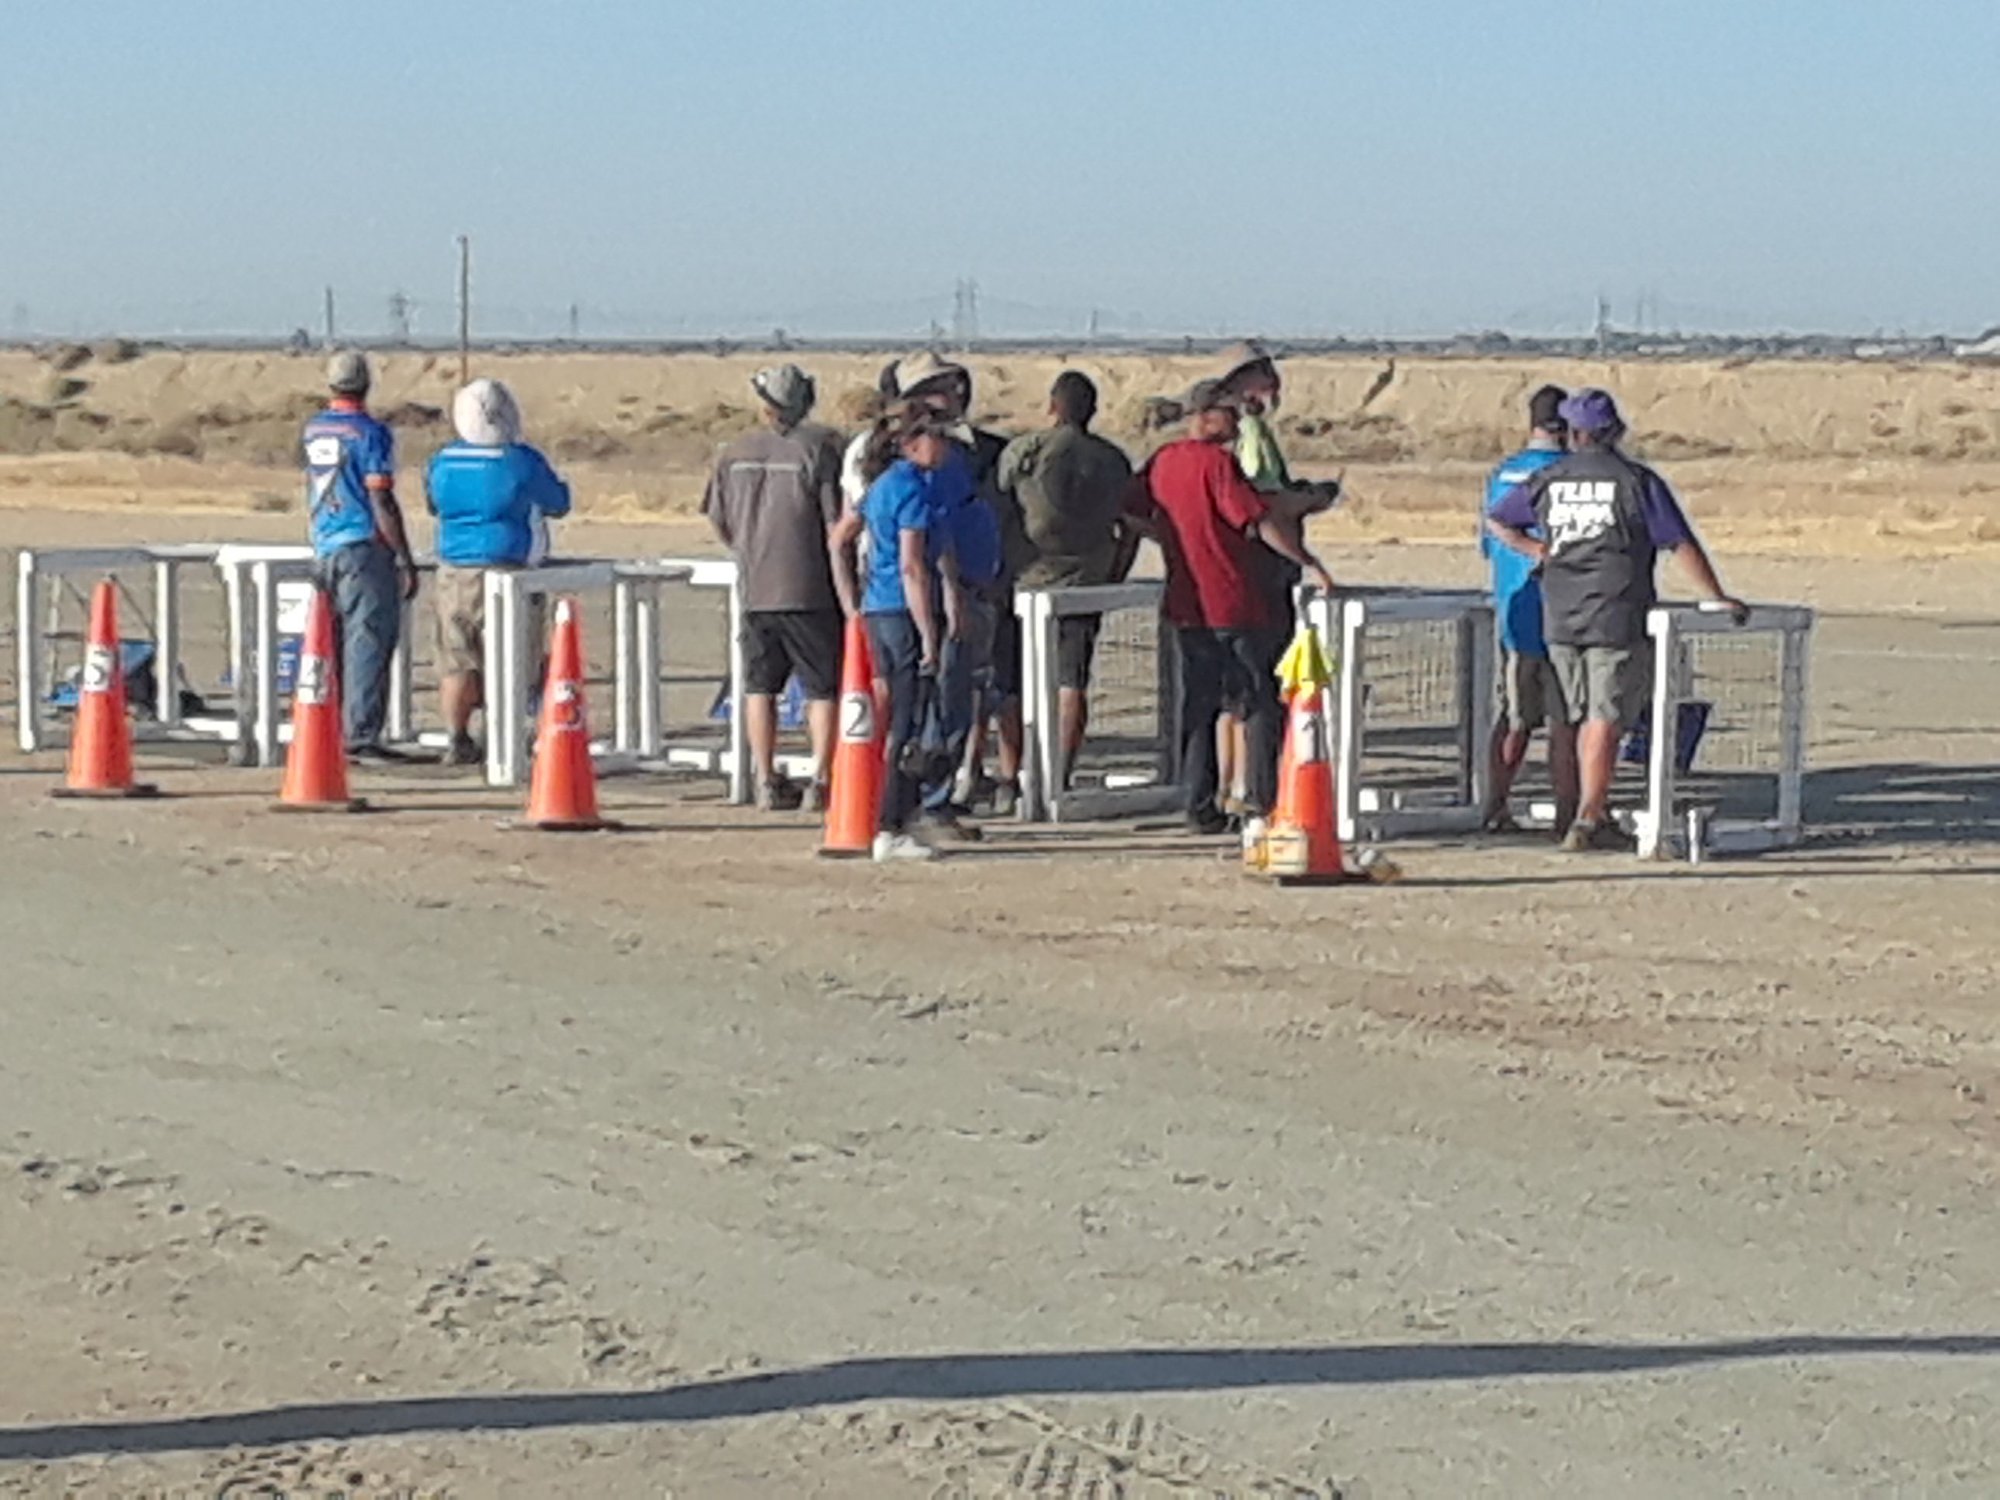
Back from BITW, absolutely an awesome event, had a blast, I got to see and reconnect with some old friends, good times, the Roo was there but it didn't fly, I concentrated mostly on flying my Boomerang XL, talking to old friends and making new ones, taking pictures, eating, drinking ( water ) during the day ( beer/wine ) at night
Last edited by CARS II; 10-06-2019 at 07:46 PM.
10-06-2019 | 07:56 PM
#17

On Wen I took the Roo to my flying field to do things like, run the engine, range check, assembly of the airplane and more and a possible maiden flight, to my surprise, I left the ECU batt at home, brand new, charged and ready to go ( oh well ) but I did all the checks and all is good there, the CG was about an inch forward of the recomended spot, all checked good, took it apart and went home, on the way home I got me 2 pounds of 1/4 in lead wire from Wal-Mart, I added the length of the fuse, at the most rear spot of the inside of it, at the trealing edge, 3 times and 1/2 the length to get it to balance at 95mm, about 1 pound and 12 oz, the nice thing is that it can be removed at any time but it's also very secure, in fact it should stay there permanently and be part of the airplane from now on.
I also cut a hatch under and in between the rudders, made it with a live hinge and added a spring loaded latch, this way I have easy access to the ECU batt location I can remove it after I'm done flying.
The only thing left to do here is to give her the maiden flight, possibly some time this week, stay tuned.
ps: after the HSD F16, I already have the next project in line ( busy, busy )
Last edited by CARS II; 10-07-2019 at 11:39 AM.

 10-11-2019 | 09:07 PM
#19
I had help from a jet friend, he help me do all that was needed to prepare the jet for the maiden, we did the final checks, range, fail safe, taxi, he also helped me figure out why the engine didn't wanted to transition from propane to Kero every single time ( he inverted the propane bottle to get more gas in the chamber) the engine needed to pass the transition from propane to Kero, it needed to be hotter, for that it needed a bit more propane ( the engine has about 1 1/2 hrs of run time ) that may be a factor, don't know for sure.
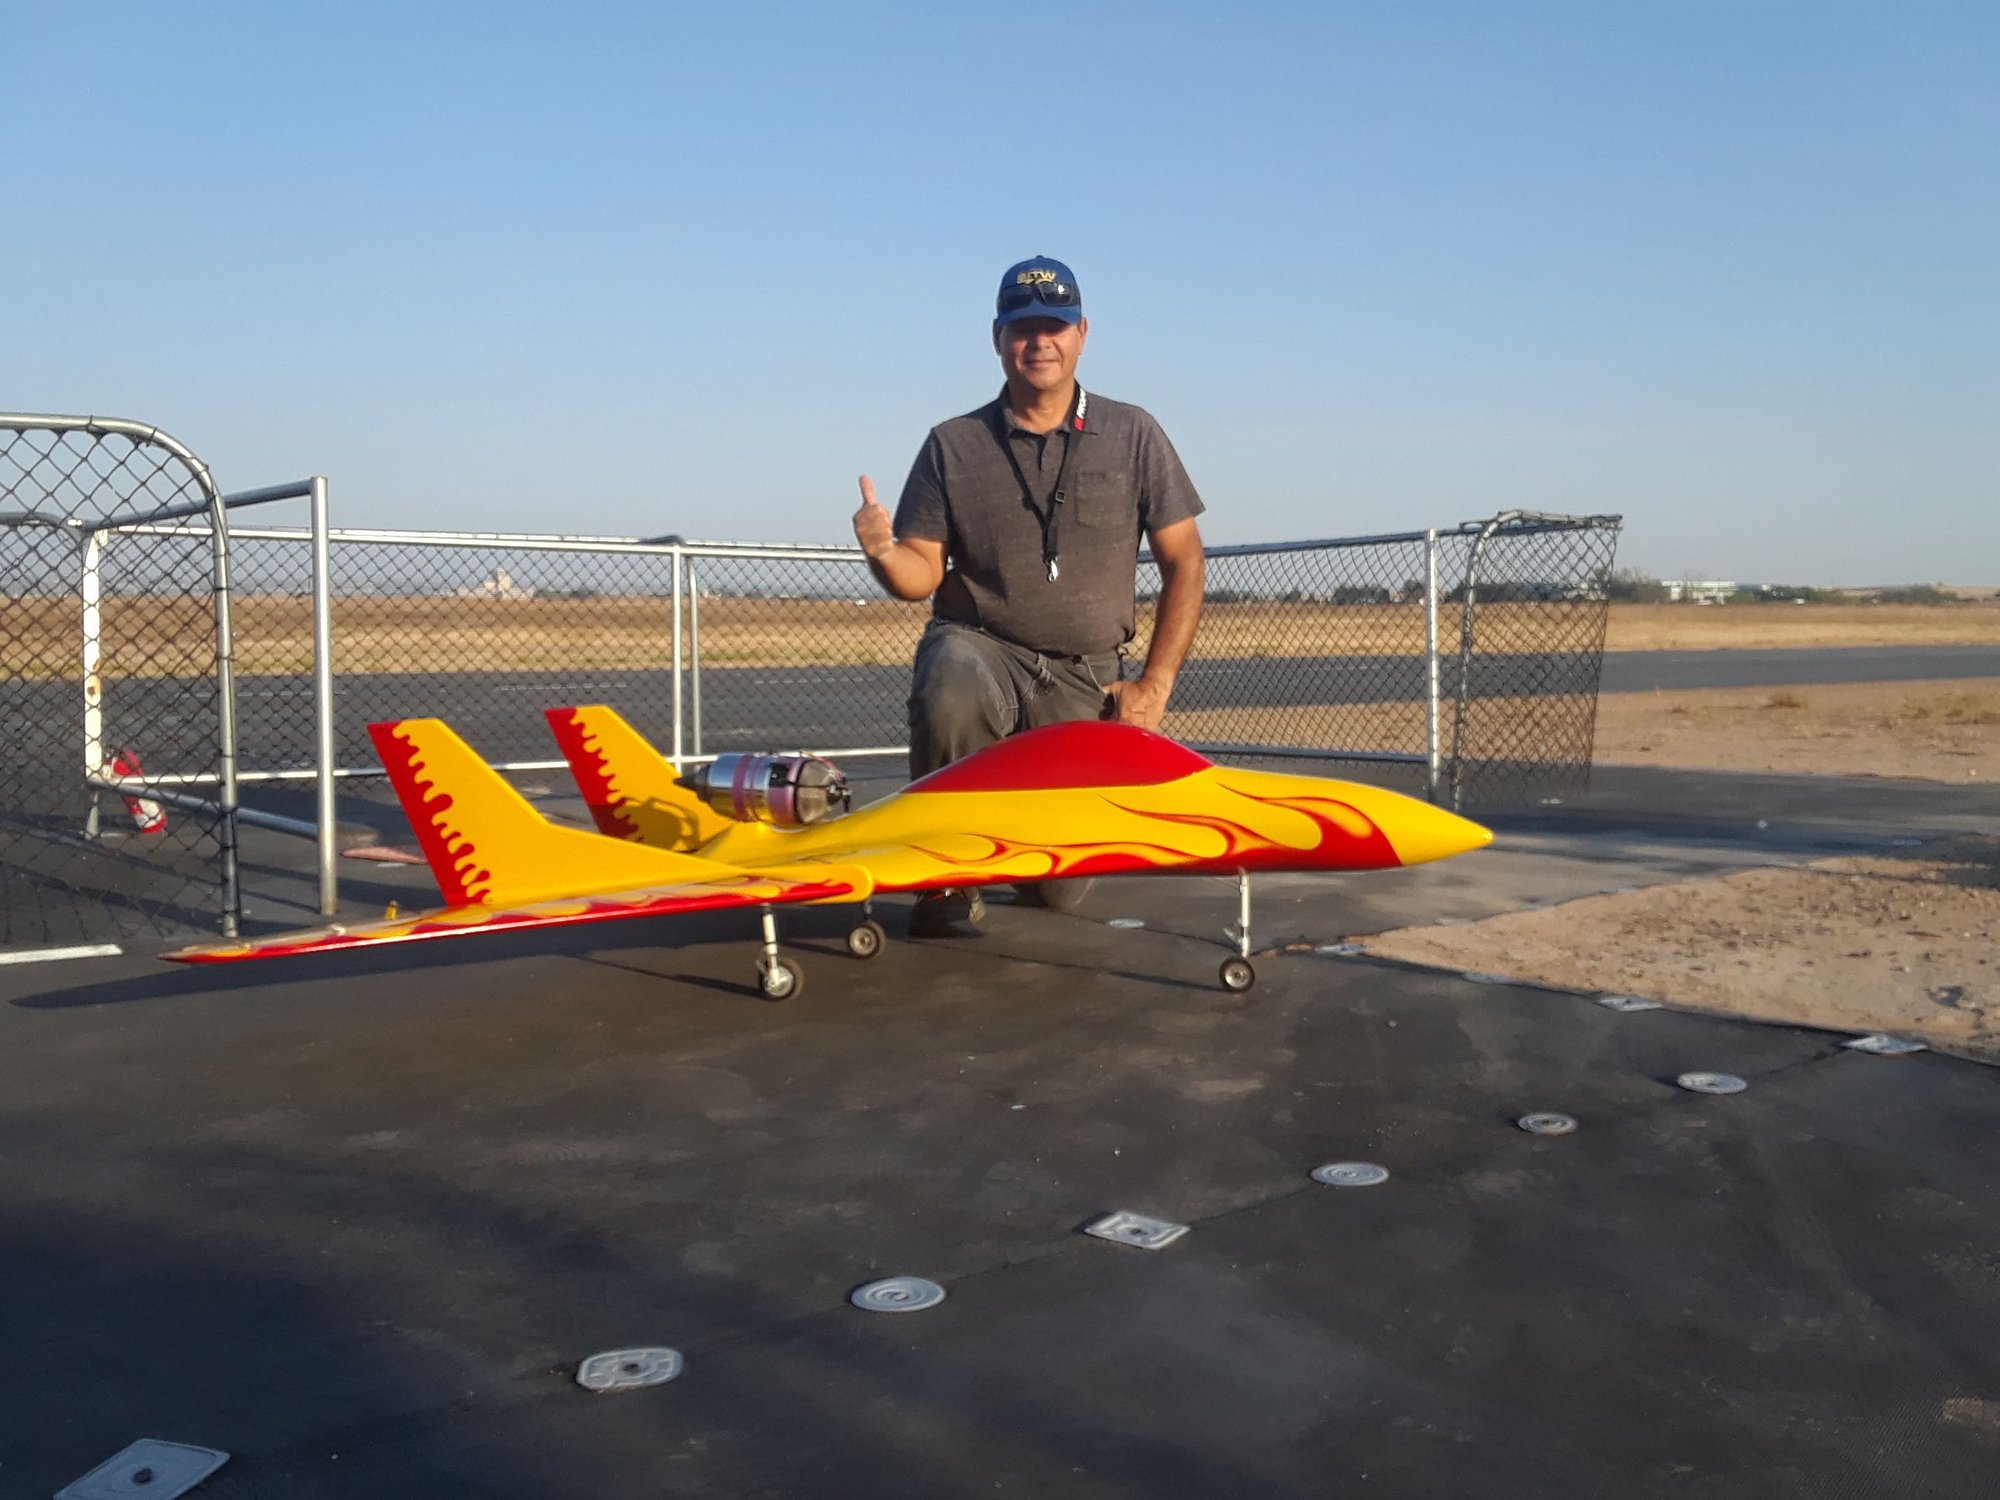
The TO was smooth and almost straight, rotation was normal, on the climb out I almost relax the Elevons too soon, then we started to trim it giving down Elevons then some more and some right Aileron, we finally got it flying hands off, I open up the throttle, that felt really good
my friend asked me to slow it down to get used to it at slow speeds, I did, since I forgot to set up the timer I decided to land, it came around for a gear pass then back on downwing with the airbrake fully deployed, approach was good, speed was good, on final I added a bit more throttle, cut the throttle, held the Elevons all the way to landing, the landing was smooth, on the mains, on the center of the runway, such a good landing, I even kept the nose wheel off the ground almost all the way to the end of the runway then brakes on, taxi back and let it sink, awesome flight.All in all, I totally avoided the two things that get this type of jet damage, the over steering on TO and the bouncing during landing because of landing too fast.
I only got to fly it one time, when I was about to get it ready for the second flight I noticed some Kero under the engine and concluded that there is a small fuel leak coming from inside the engine's front cover, I will investigate and fix that.
I will be enjoying this jet during the months to come, it's a diferent animal and it also brings me back to my jet infancy since my first jet was a Kangaroo.
Moving forward to the next project
Later.
Last edited by CARS II; 10-11-2019 at 09:50 PM.
10-11-2019 | 11:42 PM
#20
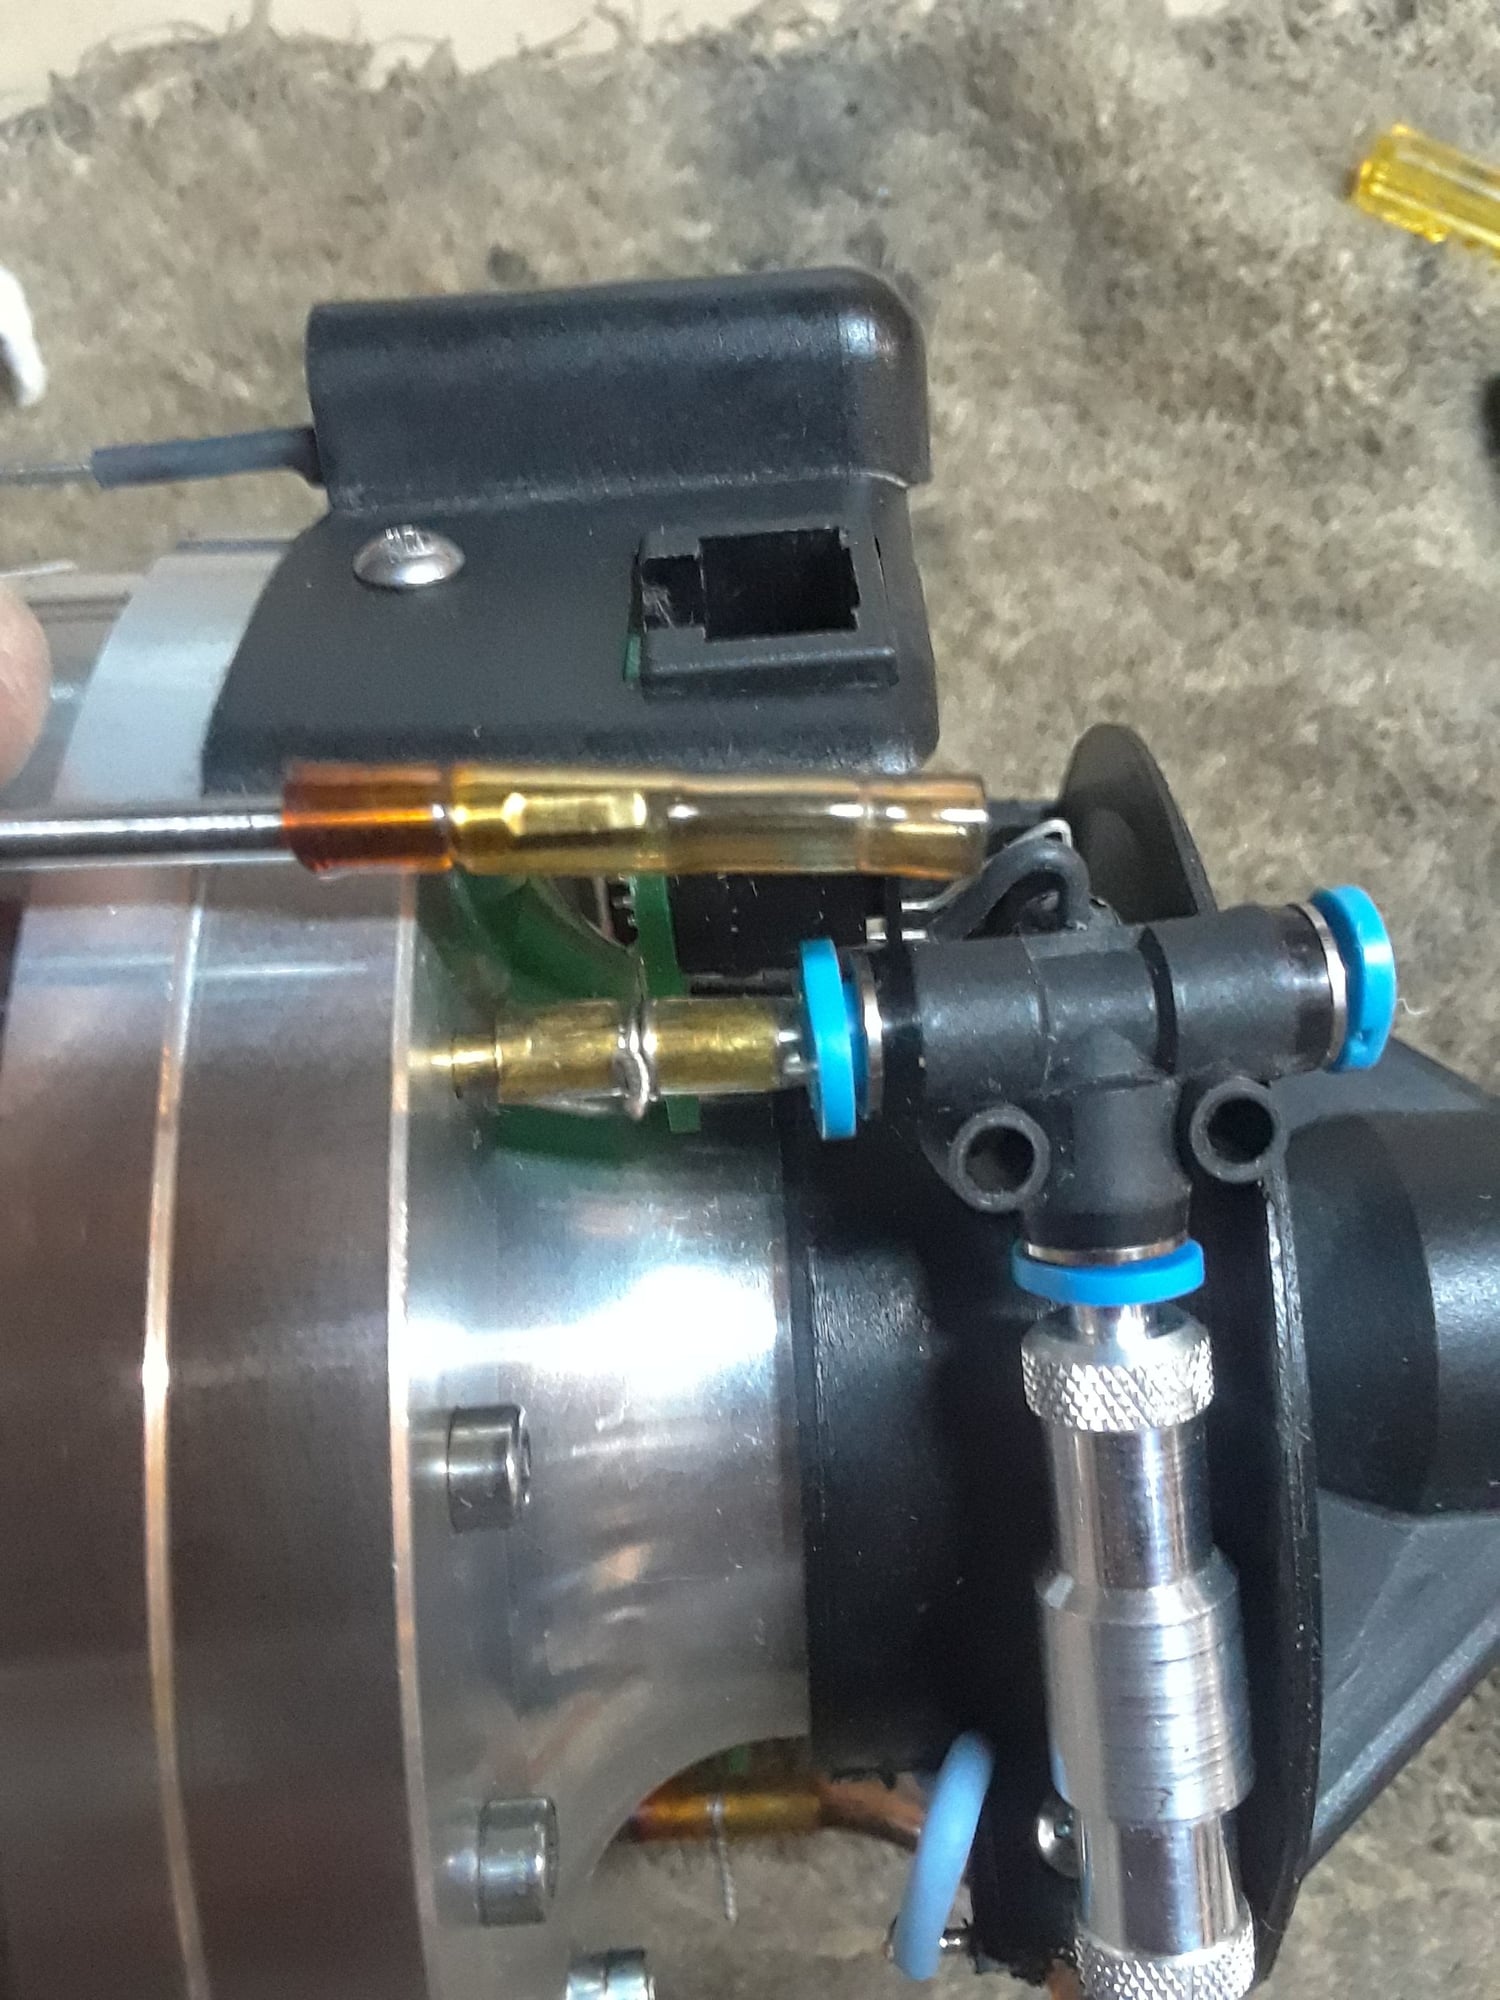
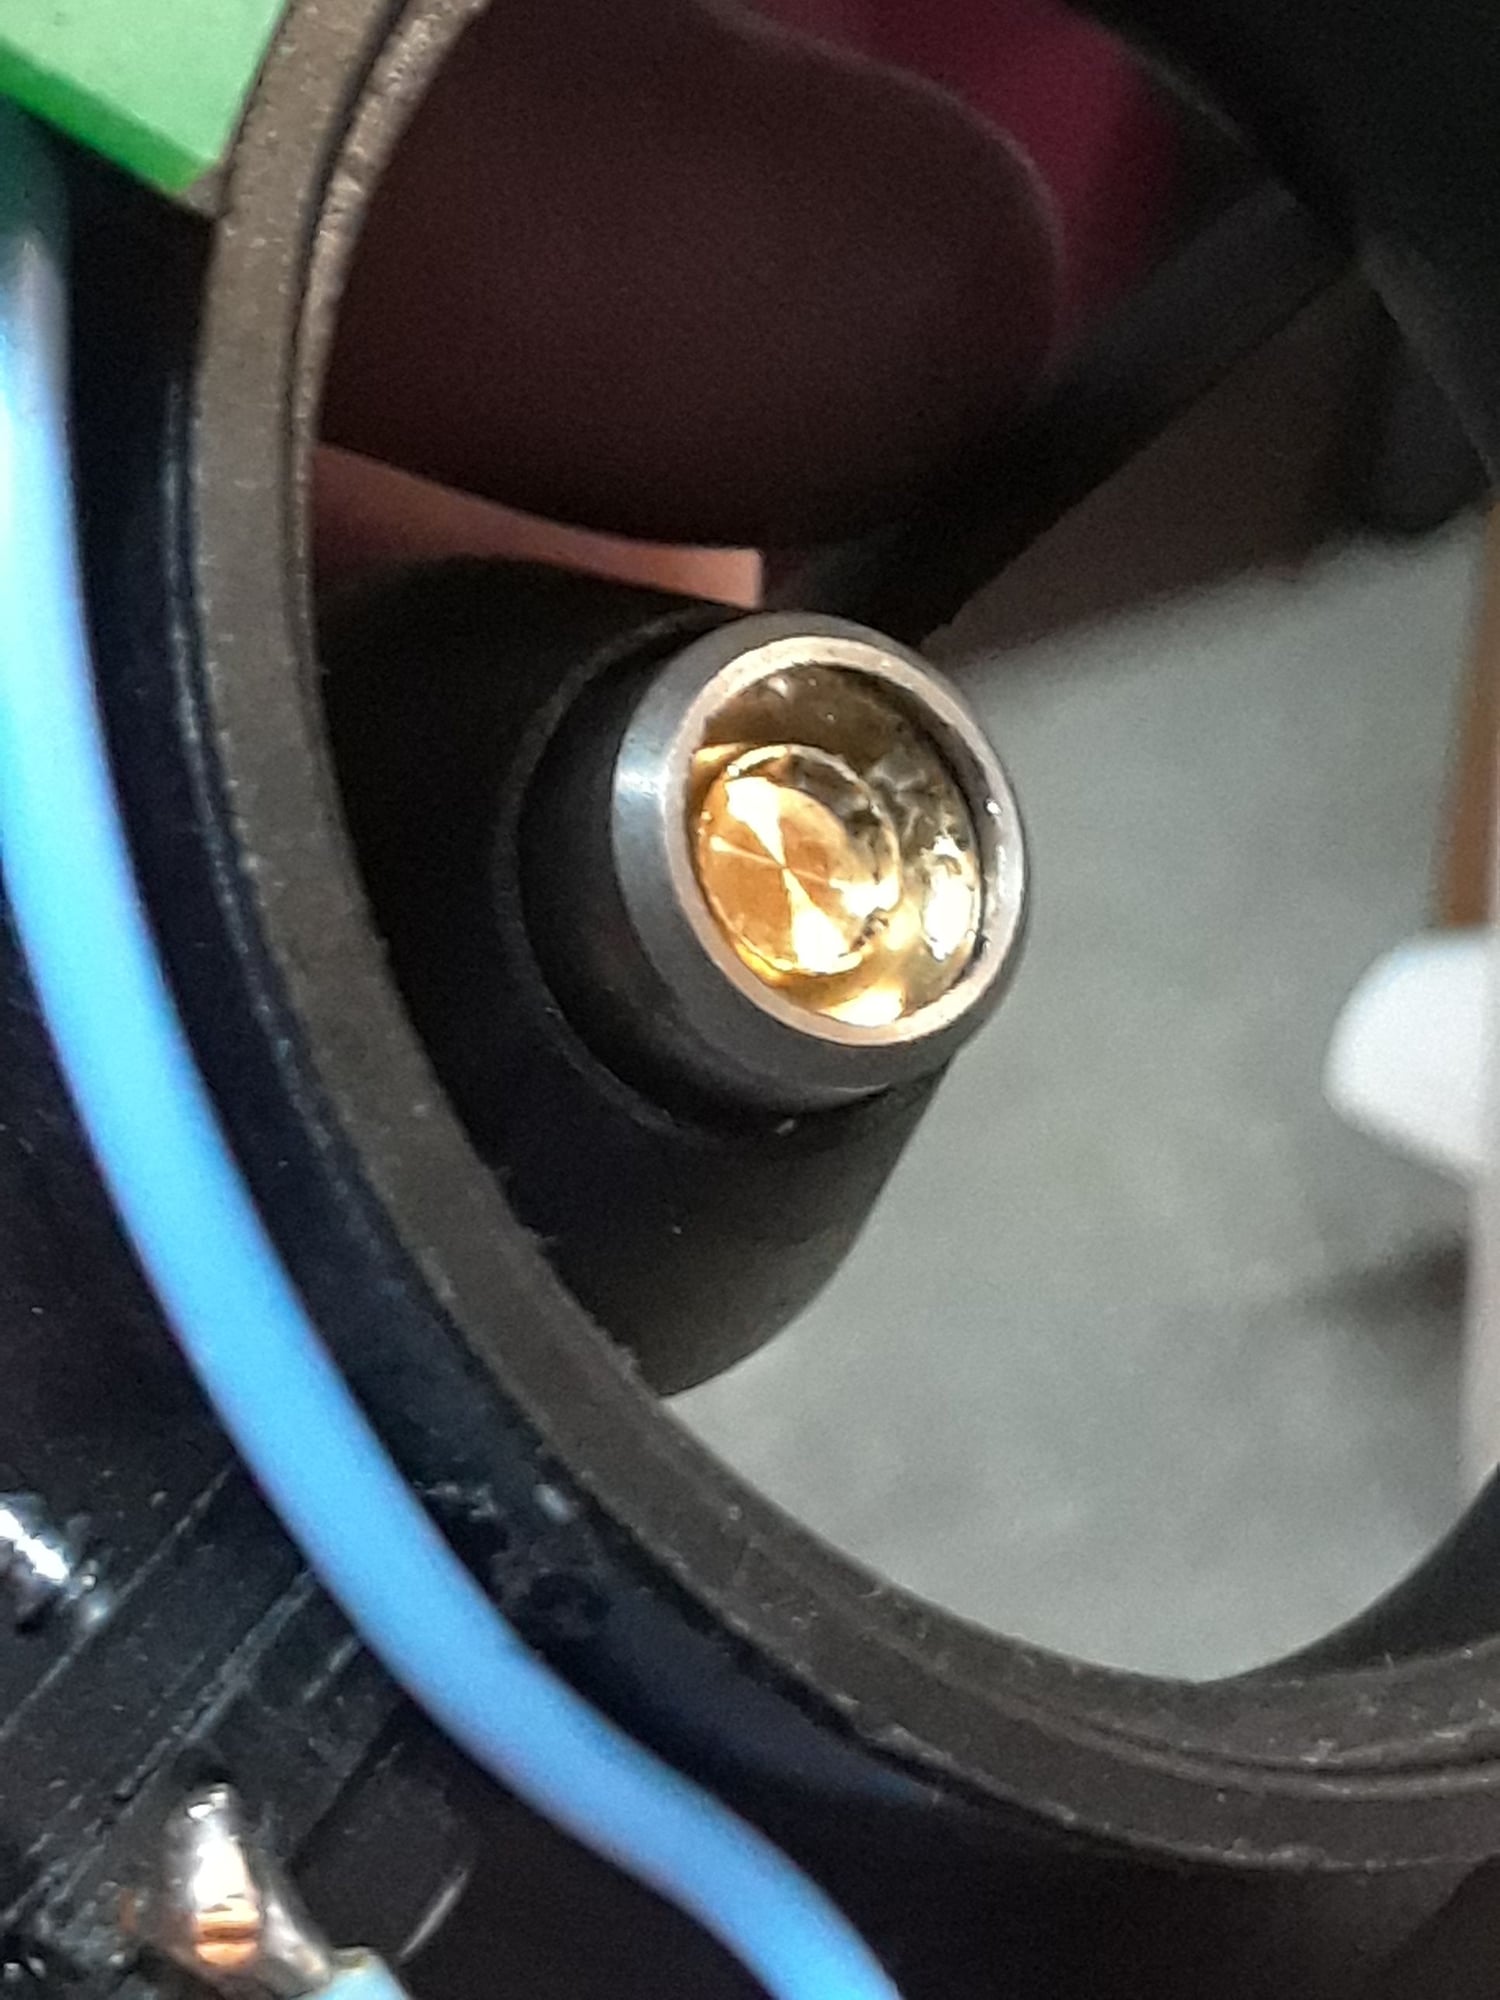
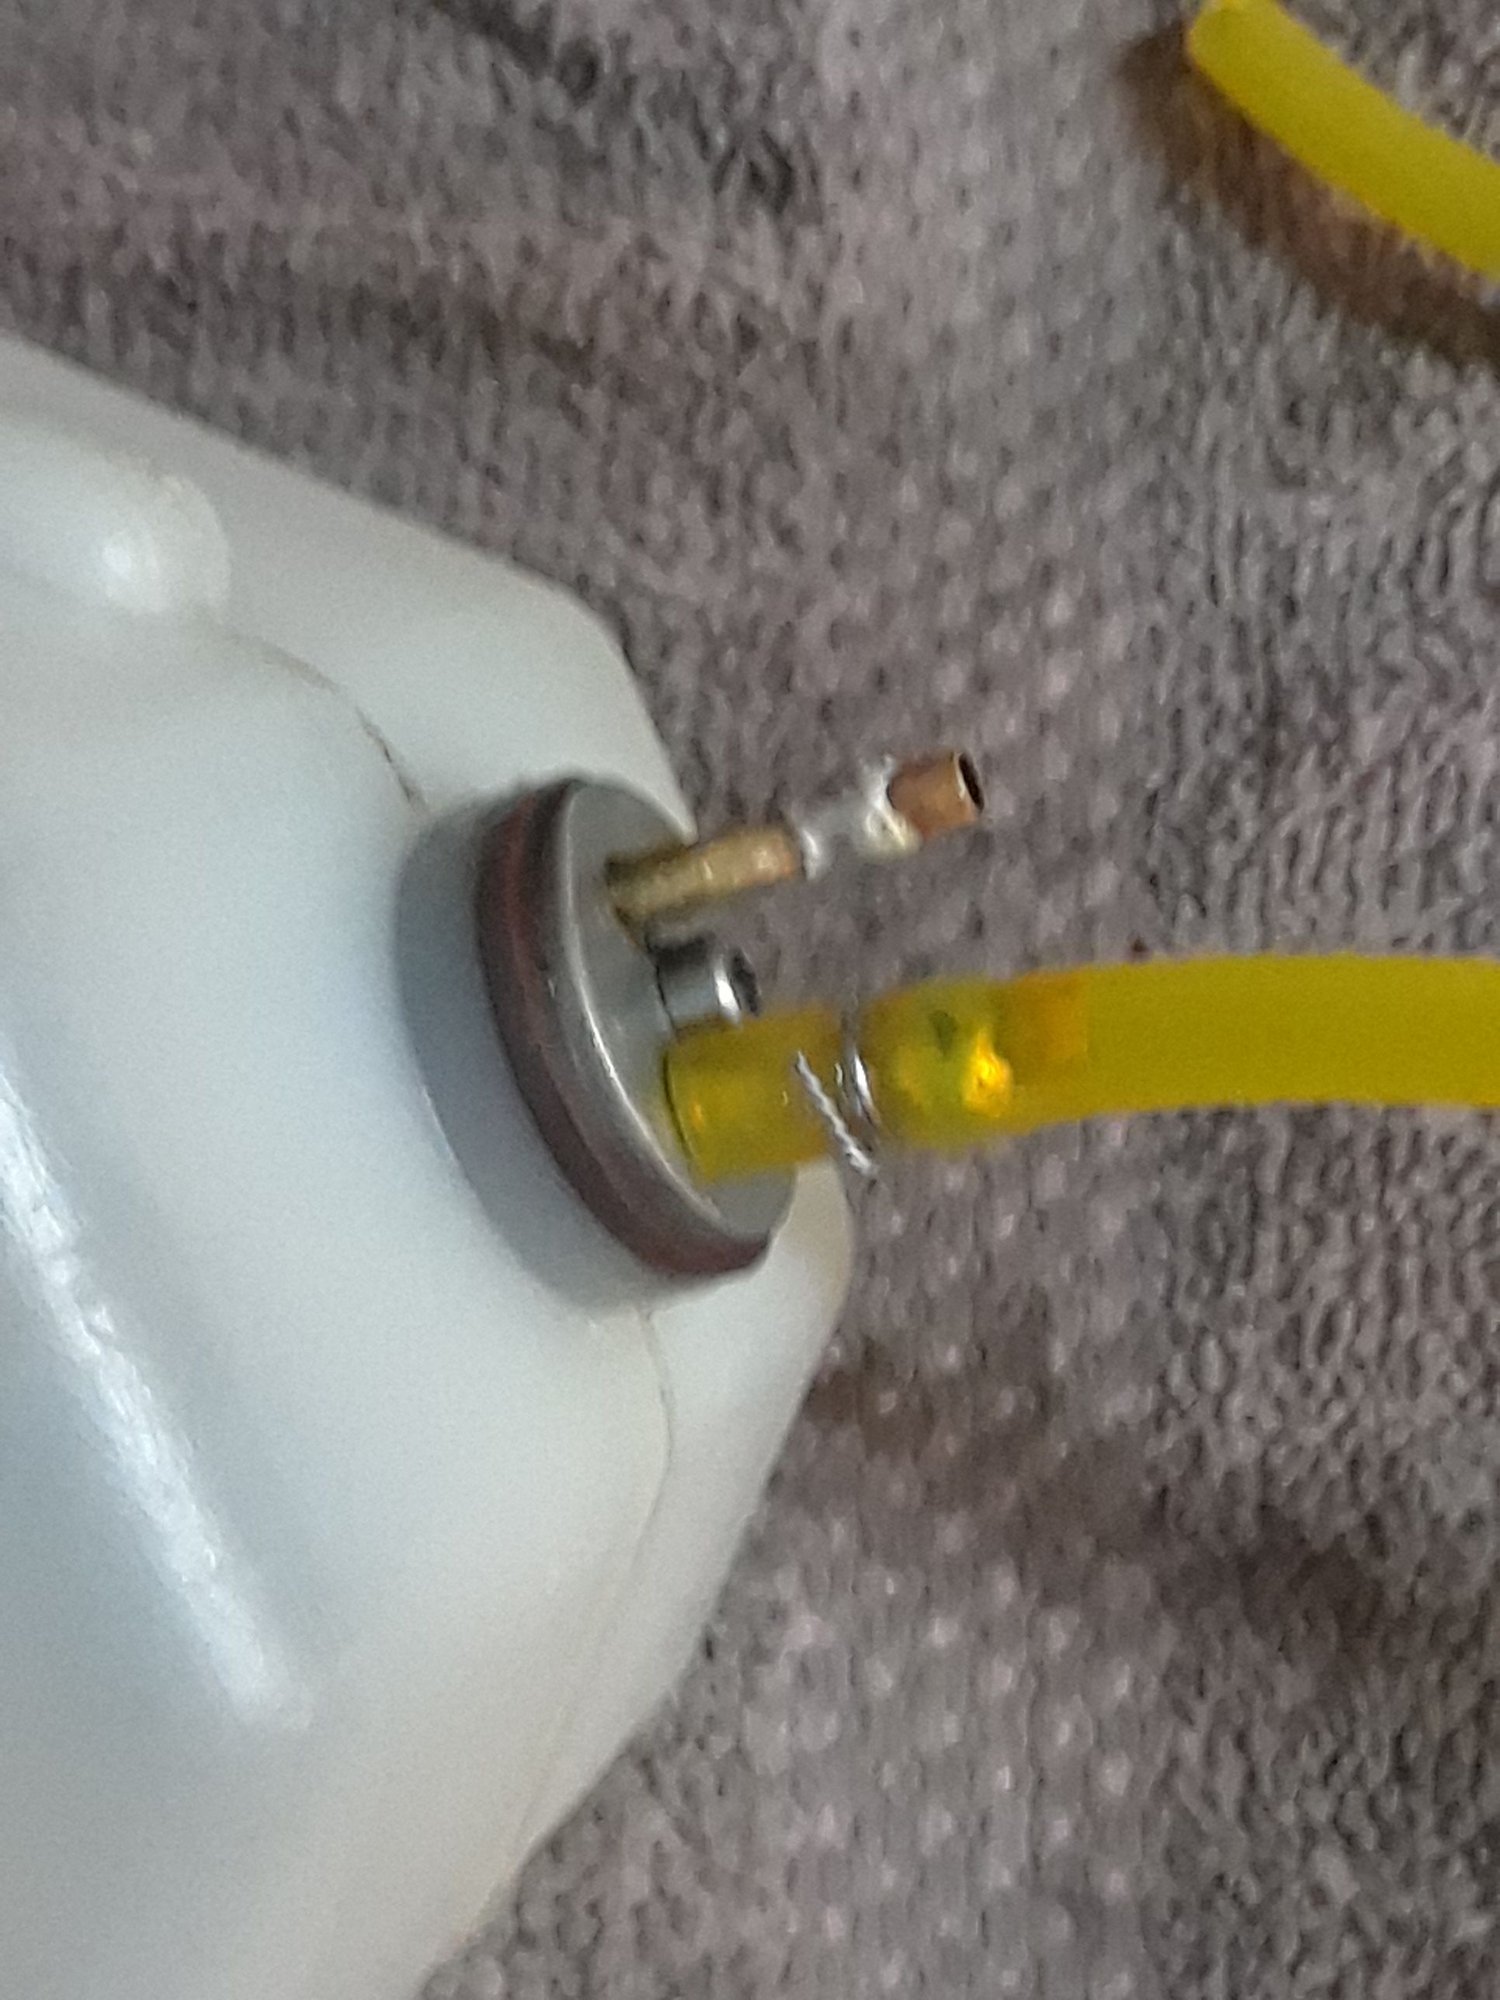
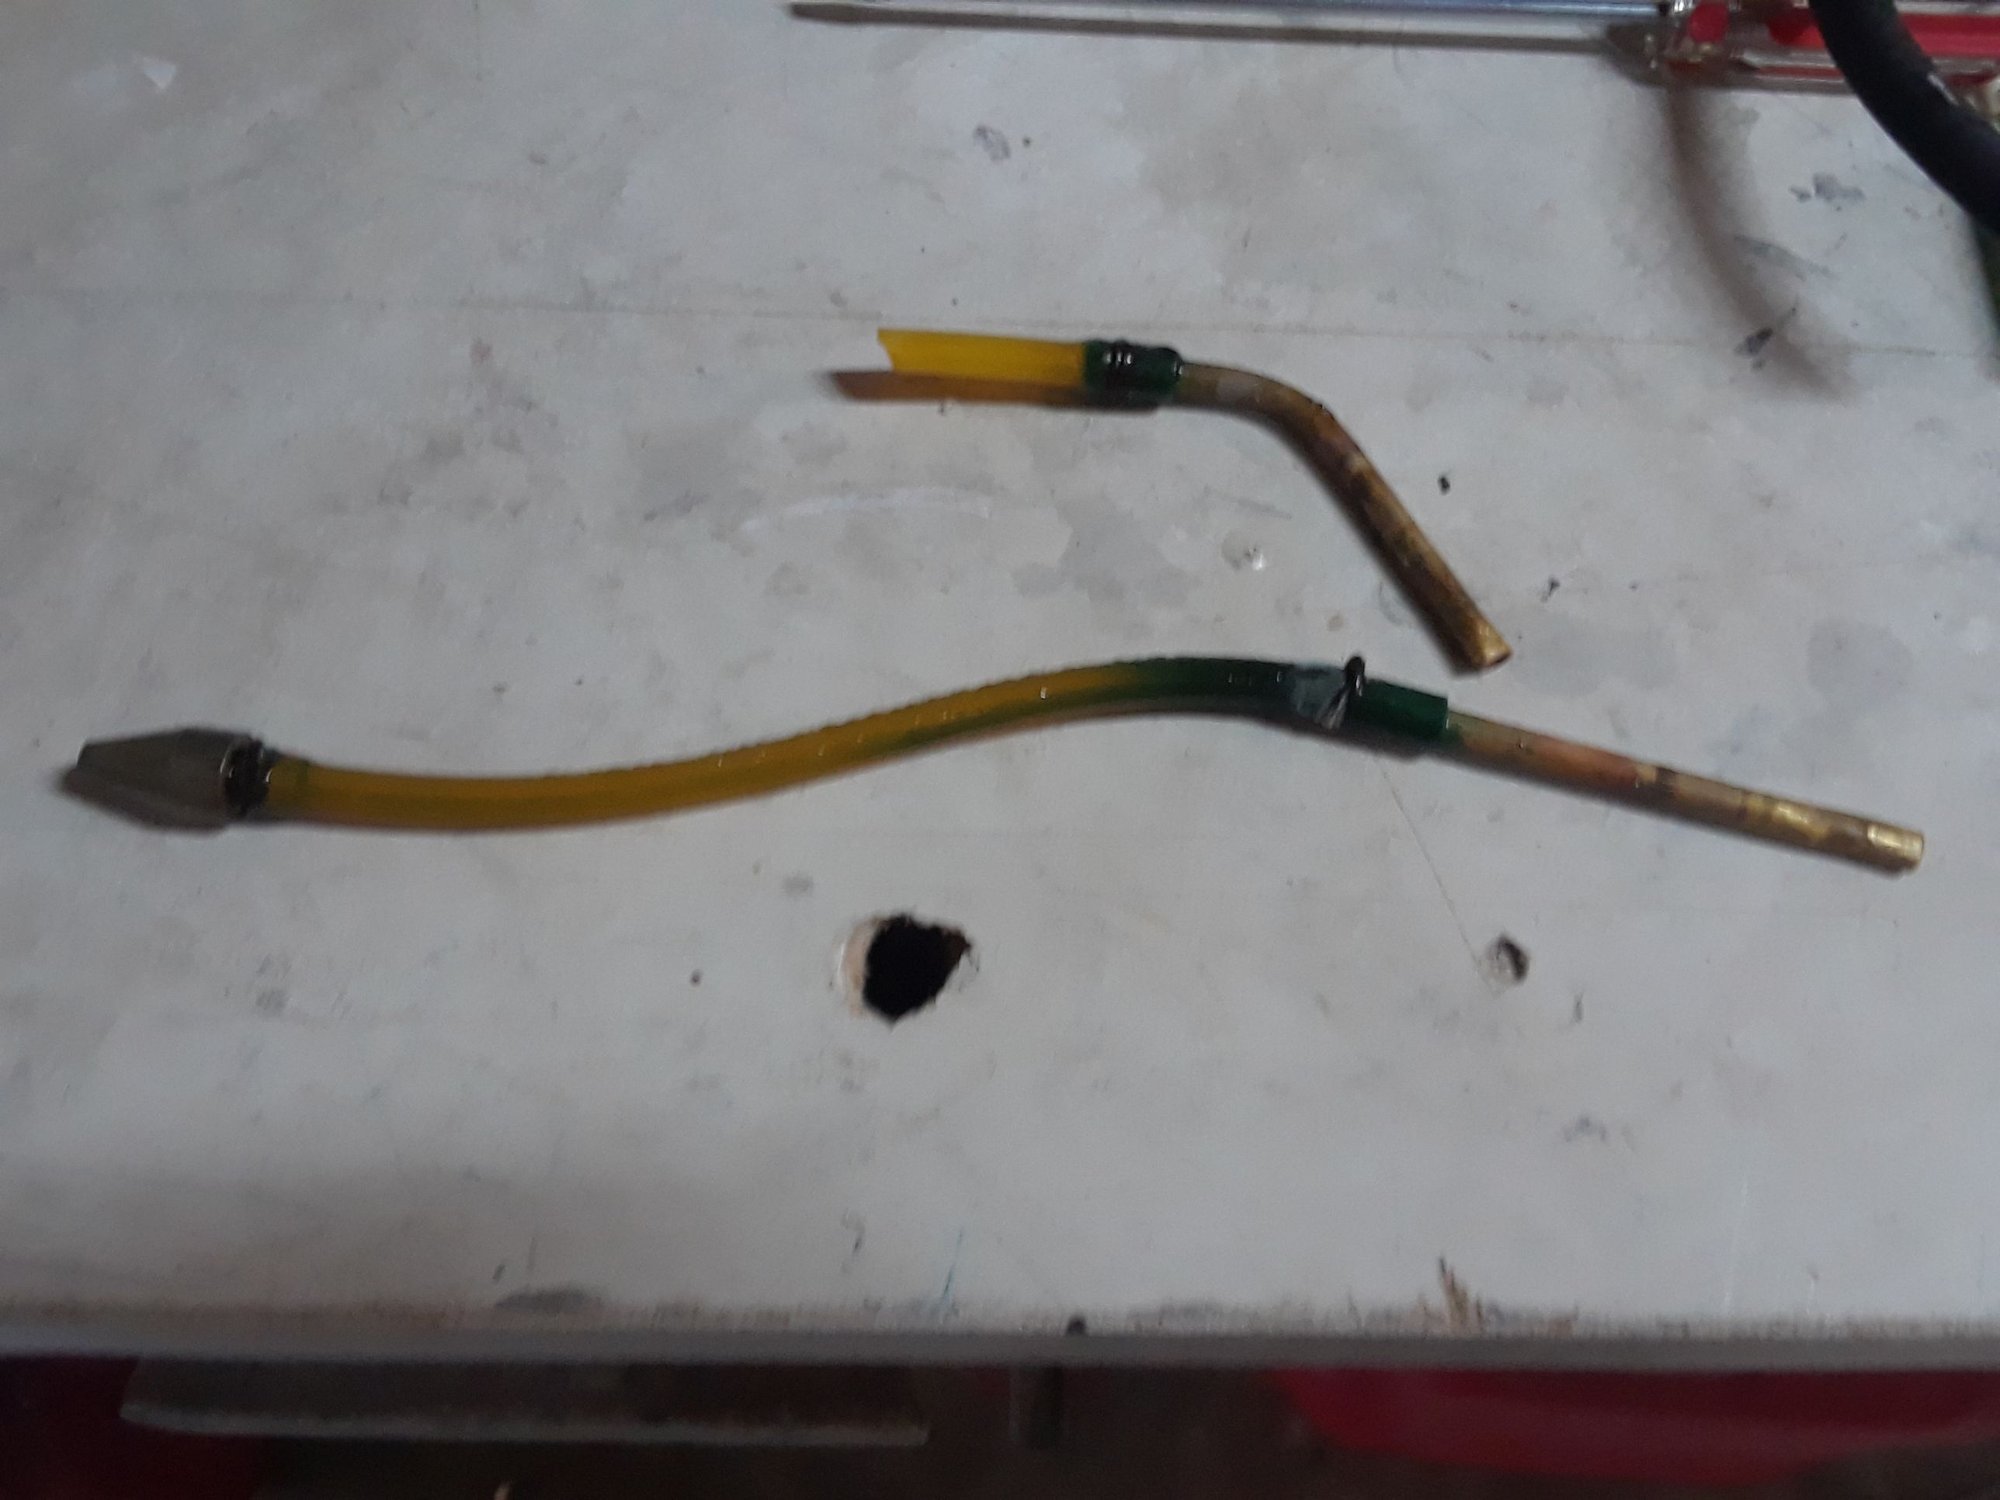
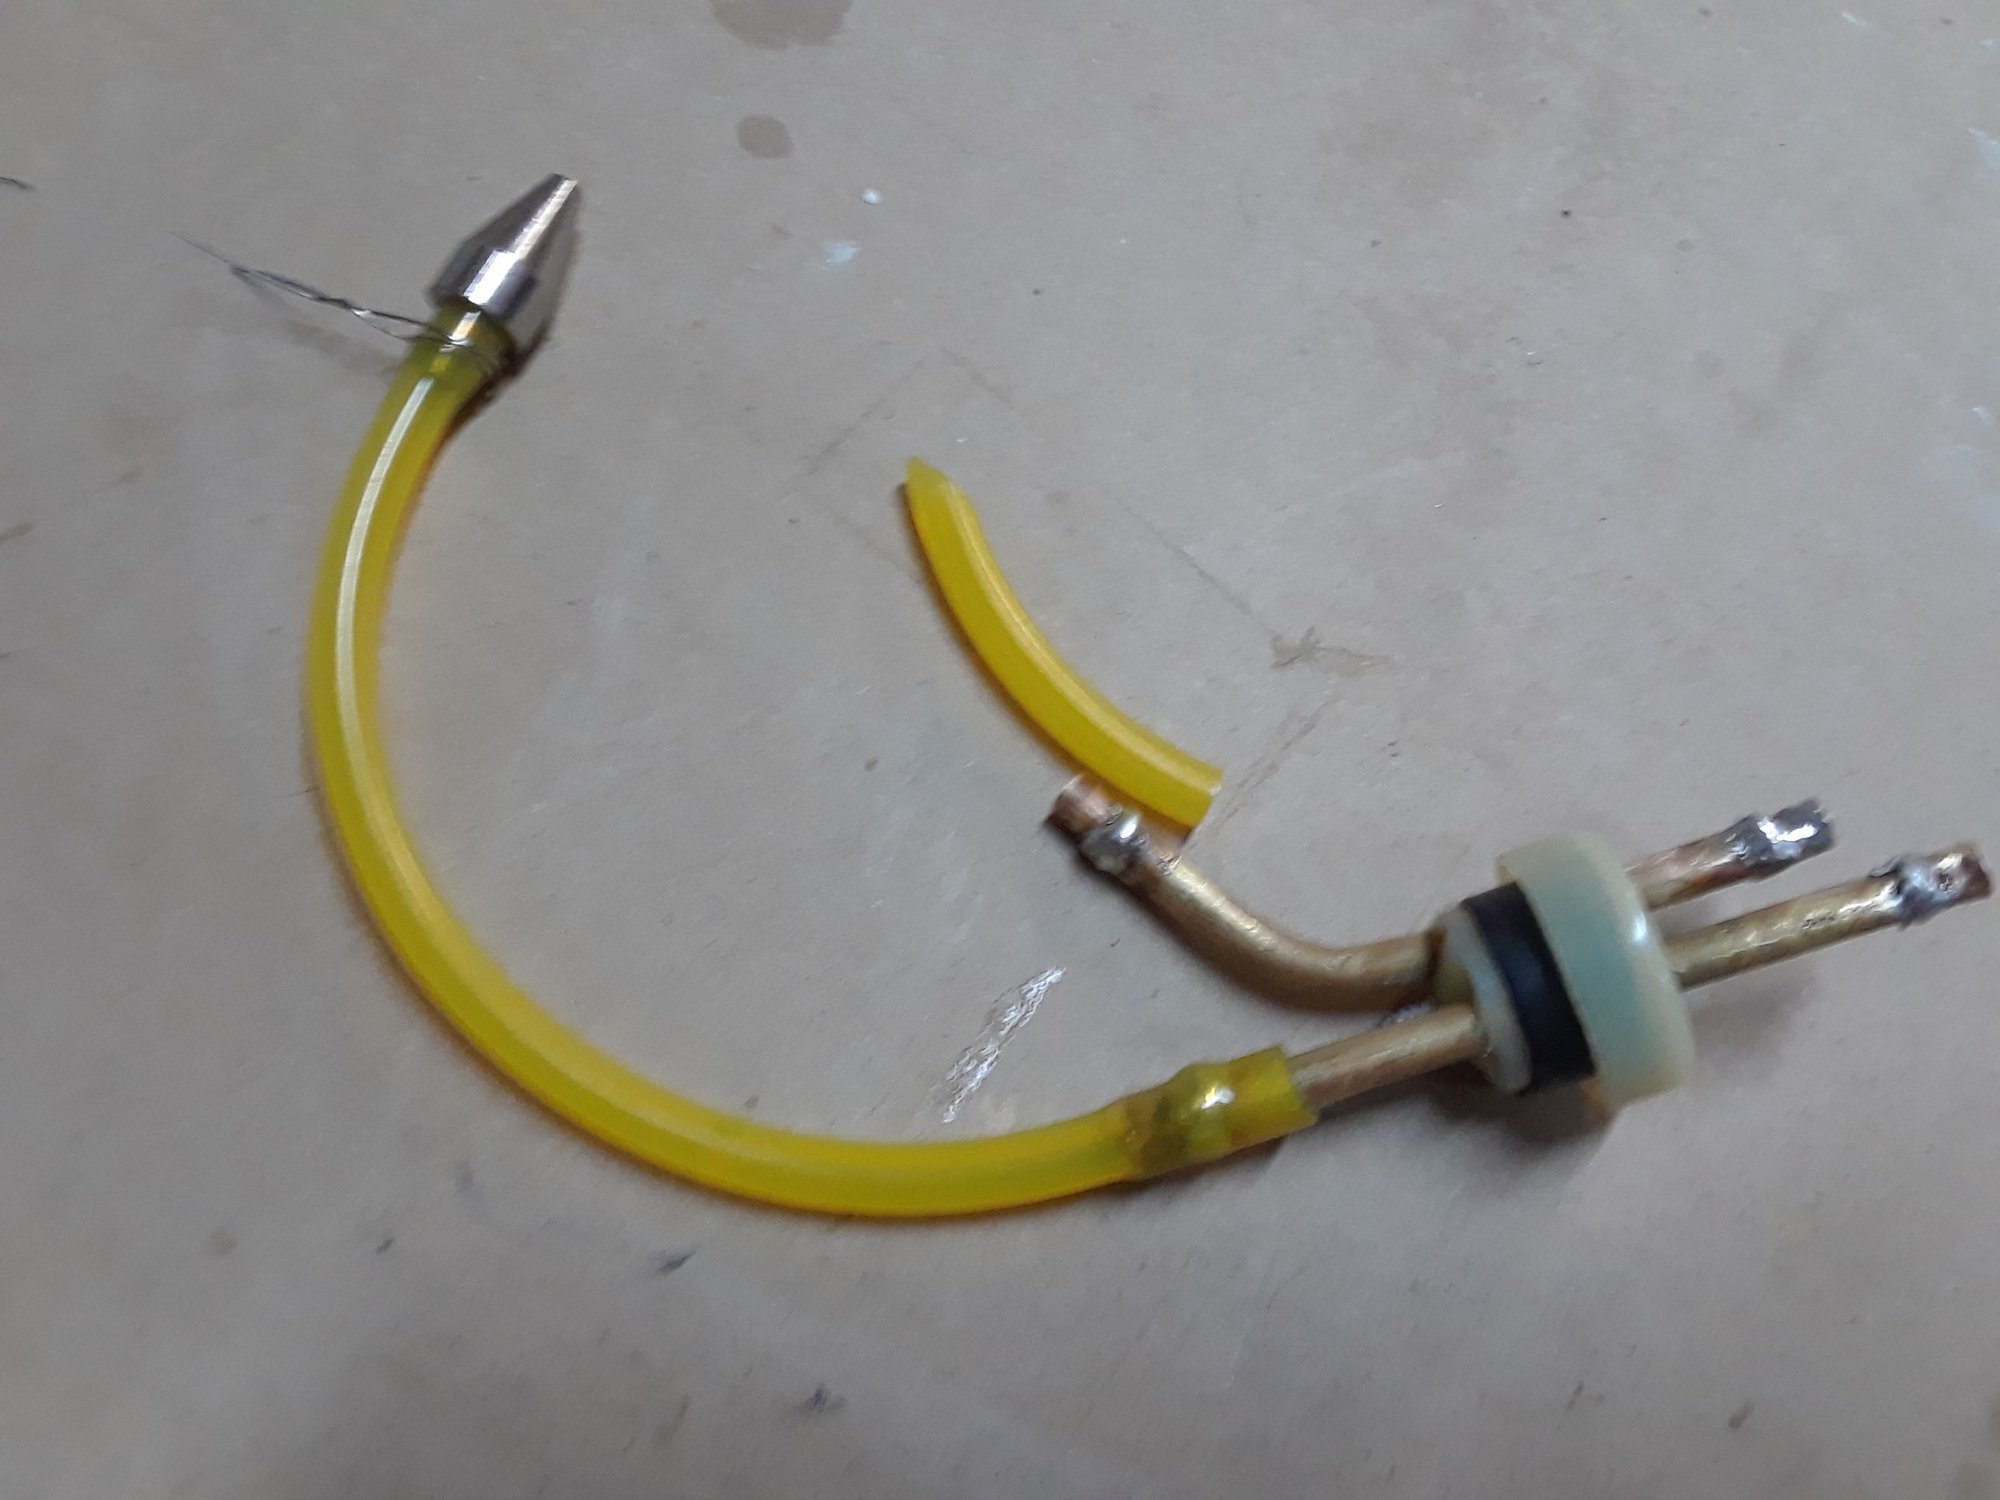
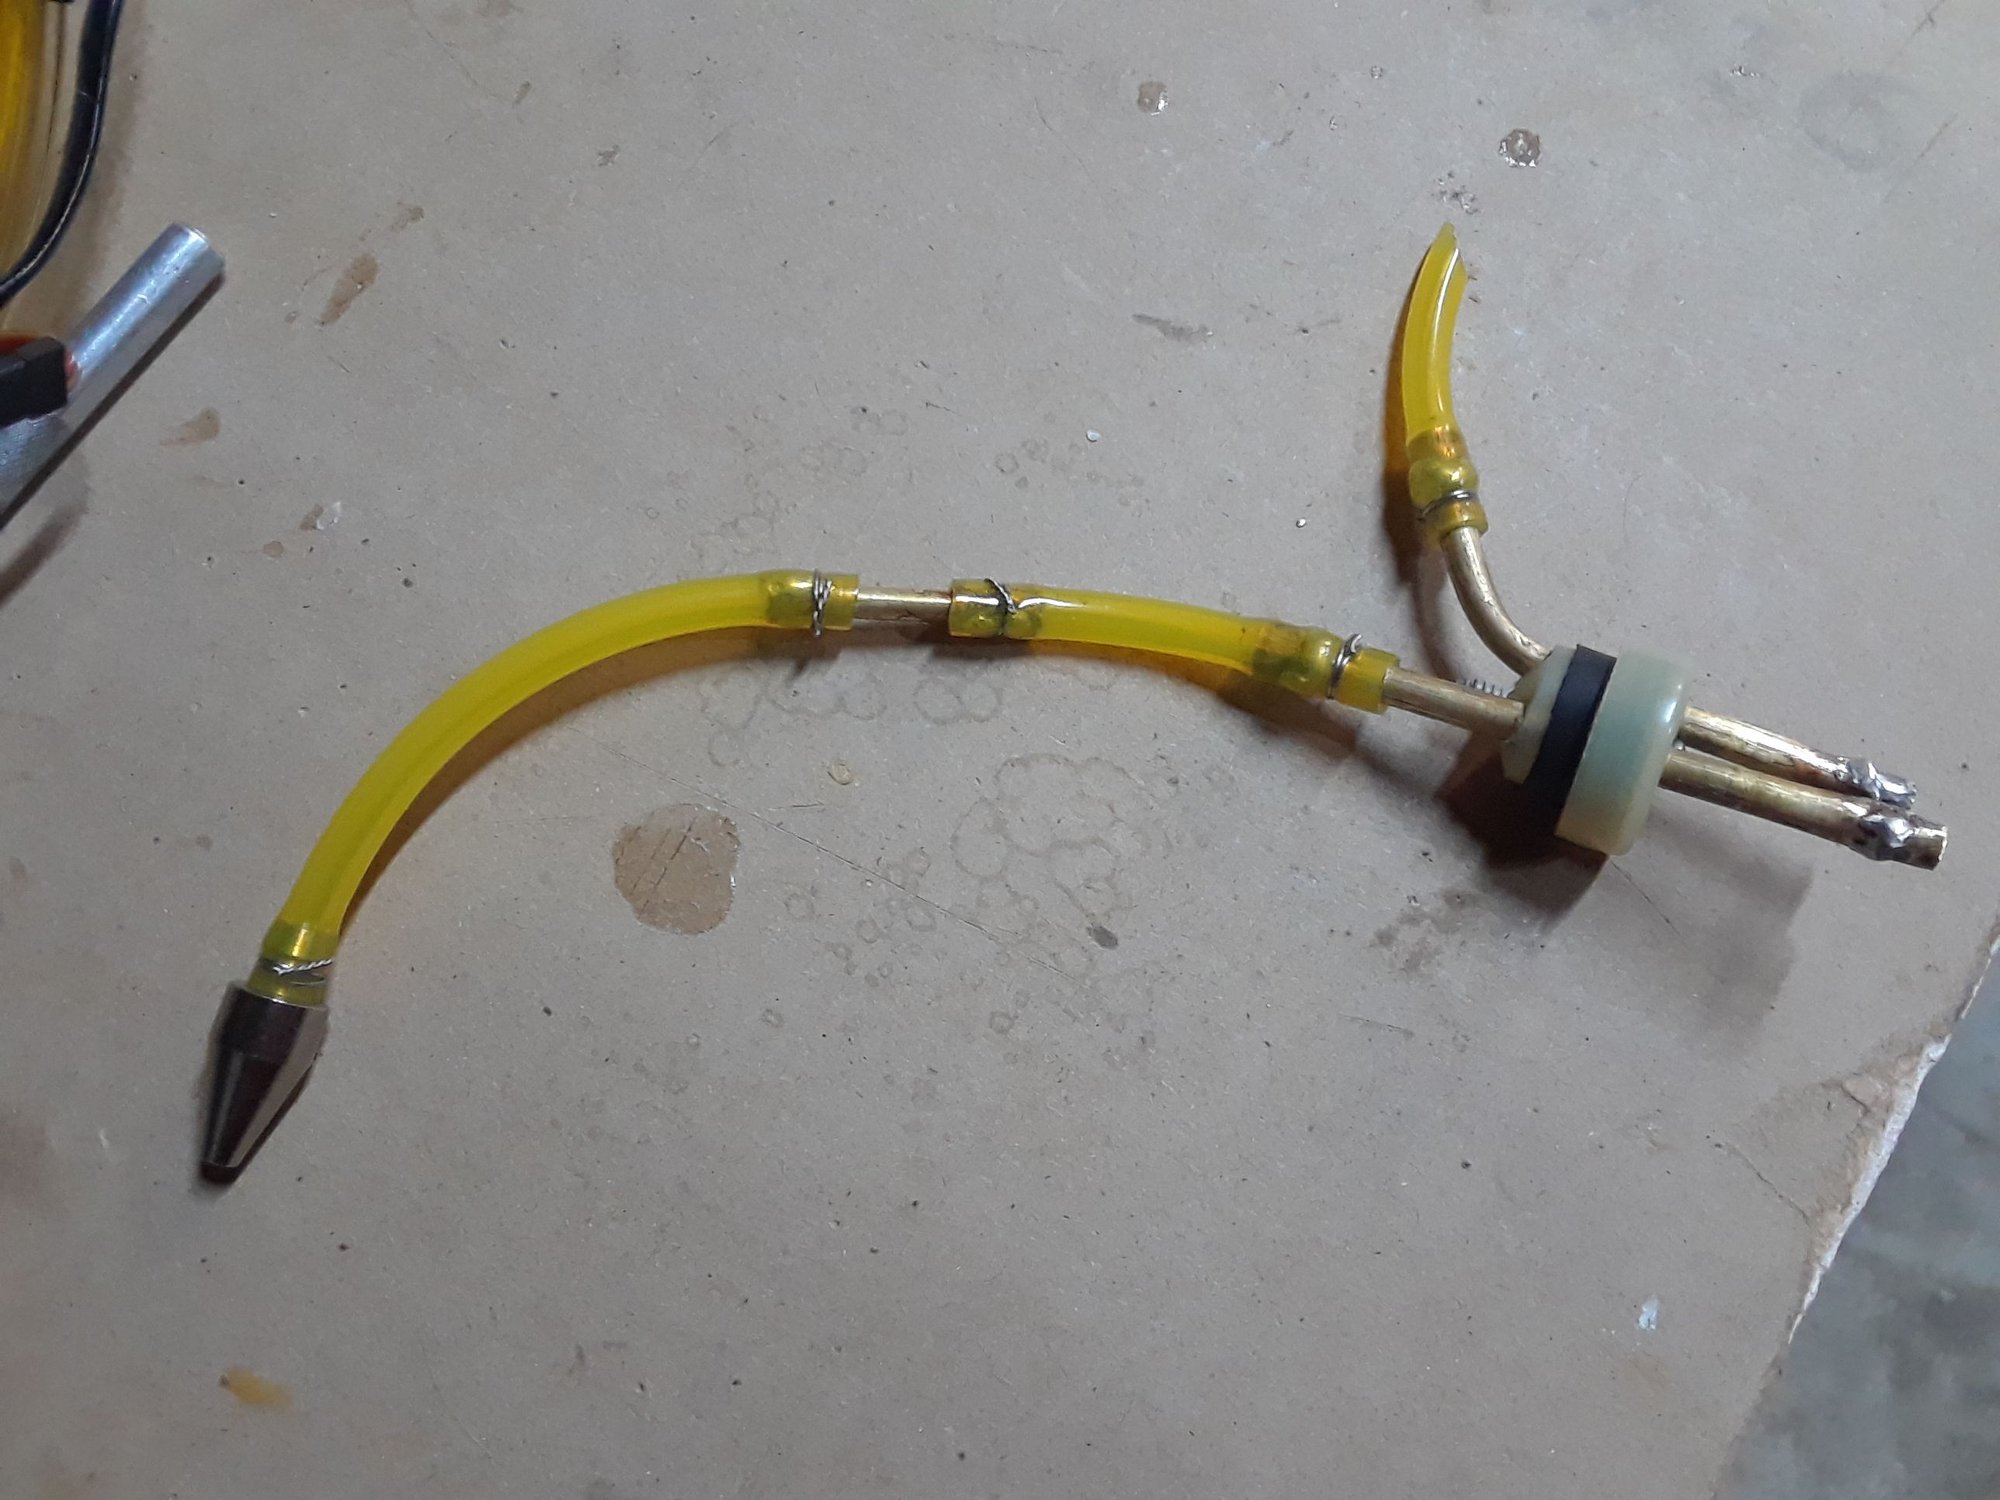
I went ahead and change the small piece of 4mm fuel tube from the fuel in brass tube to the T festo, this small piece of tubing with time shrinks and if it is disturbed like I did when I replaced the starter O ring the the seal will break and it will start leaking, changing it will solve the small fuel leak, there is no other place under the engine's front cover that I know of where fuel could leak.
The fuel leak is so small that it didn't show when I was running the engine at home, it only came to be visual after the 7 minutes maiden flight.
I will report my findings after I fly the Roo again
Last edited by CARS II; 10-11-2019 at 11:46 PM.
10-17-2019 | 05:45 PM
#21
After the maiden flight I noticed that it end up with some right trim up, more than what like, I did a lateral balance and added 2 1/2 oz of lead to the Right wing ( Left wing is heavier, epoxy curing as I type ) this Roo has been damaged before and repaired, then it was sold to my friend Jose' some 10 years ago, that's when I refurbish it, the engine history ( JetCat records) tells me that the engine had been sold new in may 2006 then back for a crash repairs in June 2006, since the Roo was repaired I can conclude that it was cartwheeled on TO or landing and the engine suffer cosmetics damages, all this in June 2006, now I have her and hopefully I can give her some needed TCL, tomorrow I will take her up again and will check the Right trim and the fuel leak on the engine, if all is good then, it's about flying her more often.
For those that knew I had eye sergury to remove cataracts, this is the latest, I had an eye exam today, all is good, 20/20 each eye, no prescription glasses needed ( over the counter reading glasses only ) I'm very happy with the end results and I'm a very happy jet modeler, the sky's is the limits
eehaaa!!!Stayed tunned
Last edited by CARS II; 10-17-2019 at 06:11 PM.
10-24-2019 | 06:49 PM
#22
I got to fly thw Roo twice today, after the first flight, I noticed fuel on the fuse under the engine again, removed the front cover and this time I was able to pinpoint were the leak was coming from, it came from the propane brass tubing, my fix, I removed the two 3mm festo fittings and added a 4mm fuel line at the brass tubing, flew it again and whala!! no more fuel leak, I'm not sure why they use of two 3mm Festo fittings and a small piece of brass in between.
Anyways, all is really good, had two flights today, AWESOME, AWESOME!!
Moving forward with the next project, most likely the HSD F16.
Last post for this thread.
Last edited by CARS II; 10-24-2019 at 06:53 PM.


