Aviation Design Diamond Assembly!


The following users liked this post:
Skunkwrks (12-13-2020)
 12-13-2020 | 05:37 PM
#77


My Feedback: (176)
Will you please calculate all the materials and equipment used to build the jet with prices this will help someone when building diamond jet , to maybe cut on some stuff to stay below $20000 , I build 3 of them and never got so expensive and I used good stuff, I�m going to post building forum for nr 4 same color orange
12-13-2020 | 06:54 PM
#78
Will you please calculate all the materials and equipment used to build the jet with prices this will help someone when building diamond jet , to maybe cut on some stuff to stay below $20000 , I build 3 of them and never got so expensive and I used good stuff, I�m going to post building forum for nr 4 same color orange

The following users liked this post:
Canadian Man (12-14-2020)
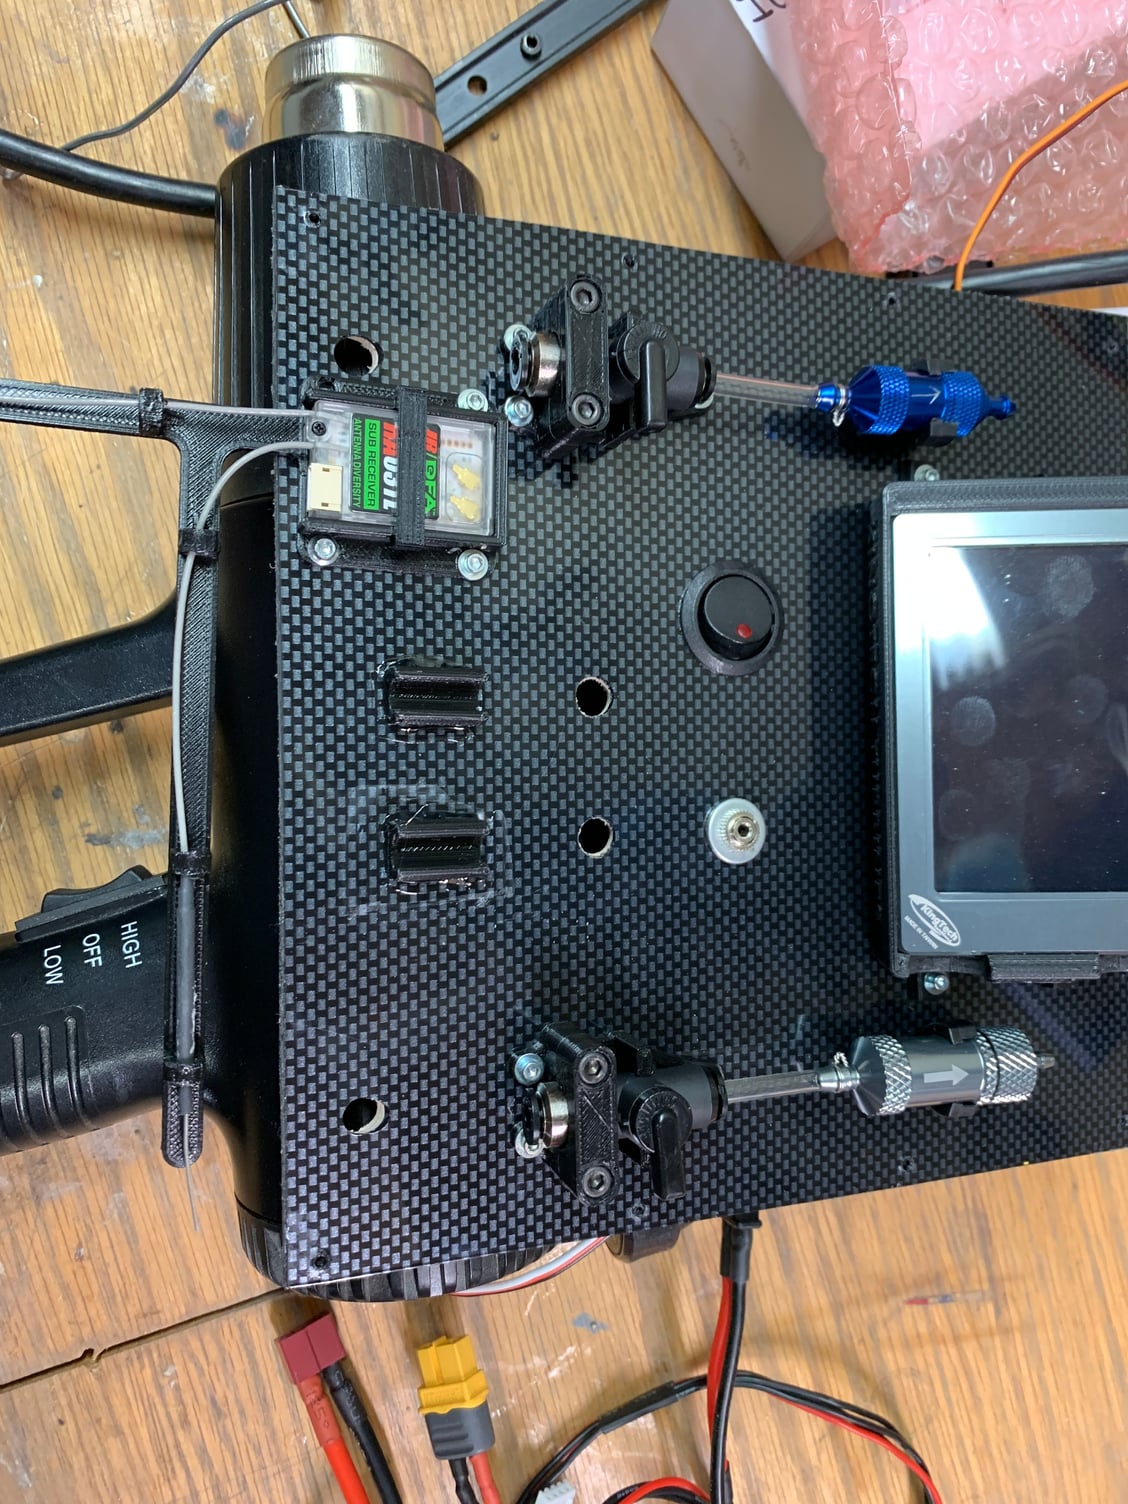
12-16-2020 | 11:20 AM
#81
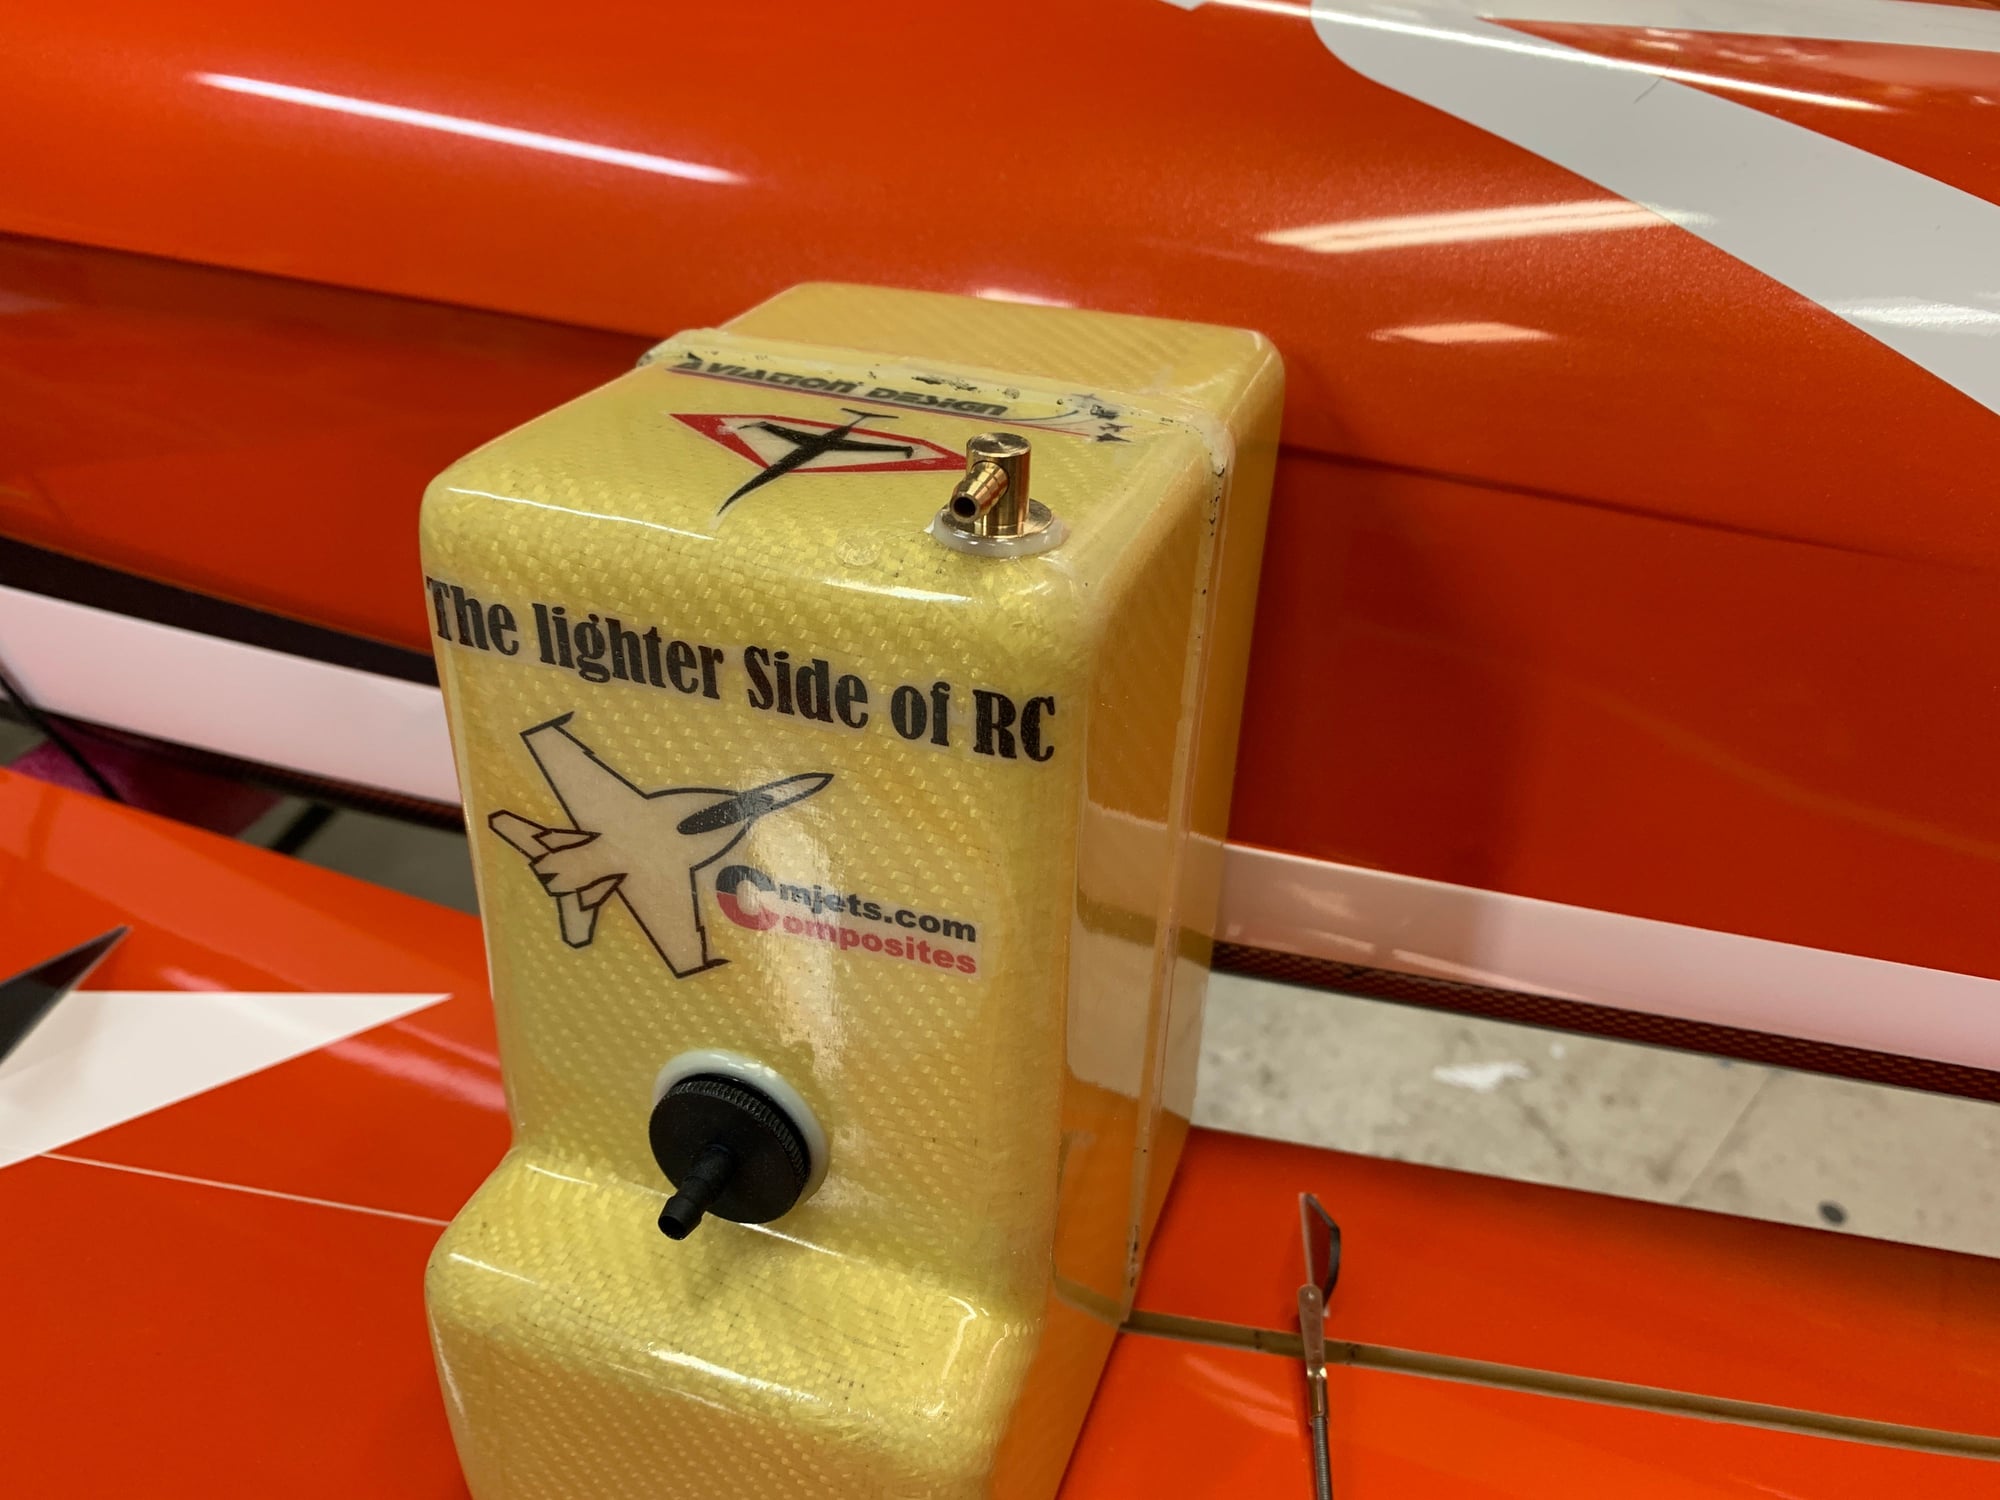
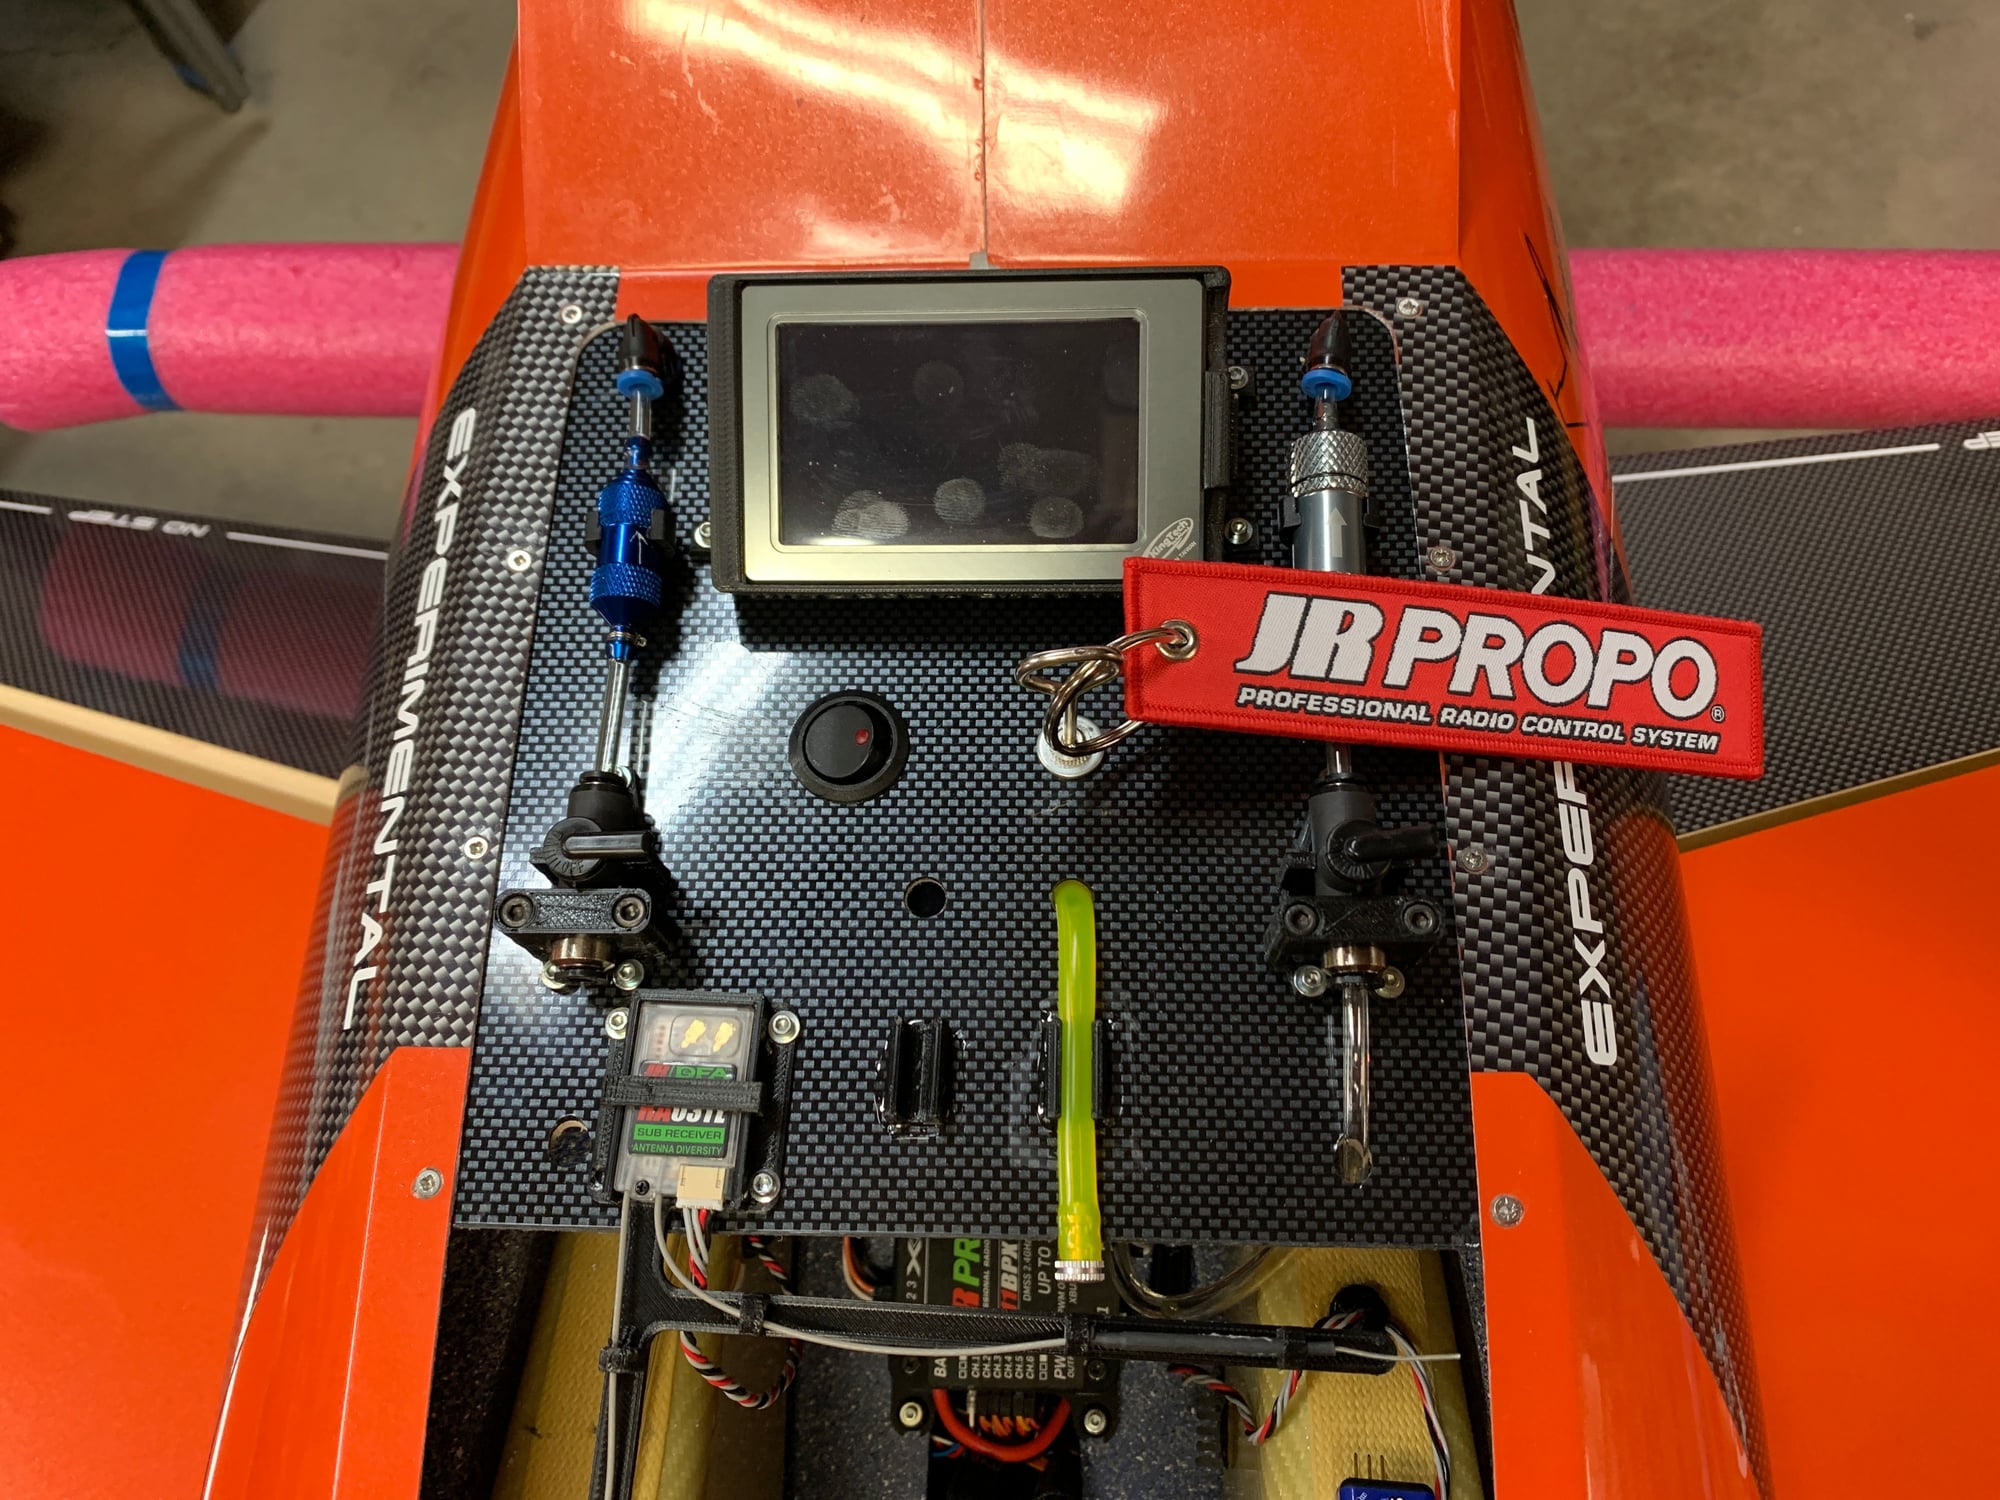
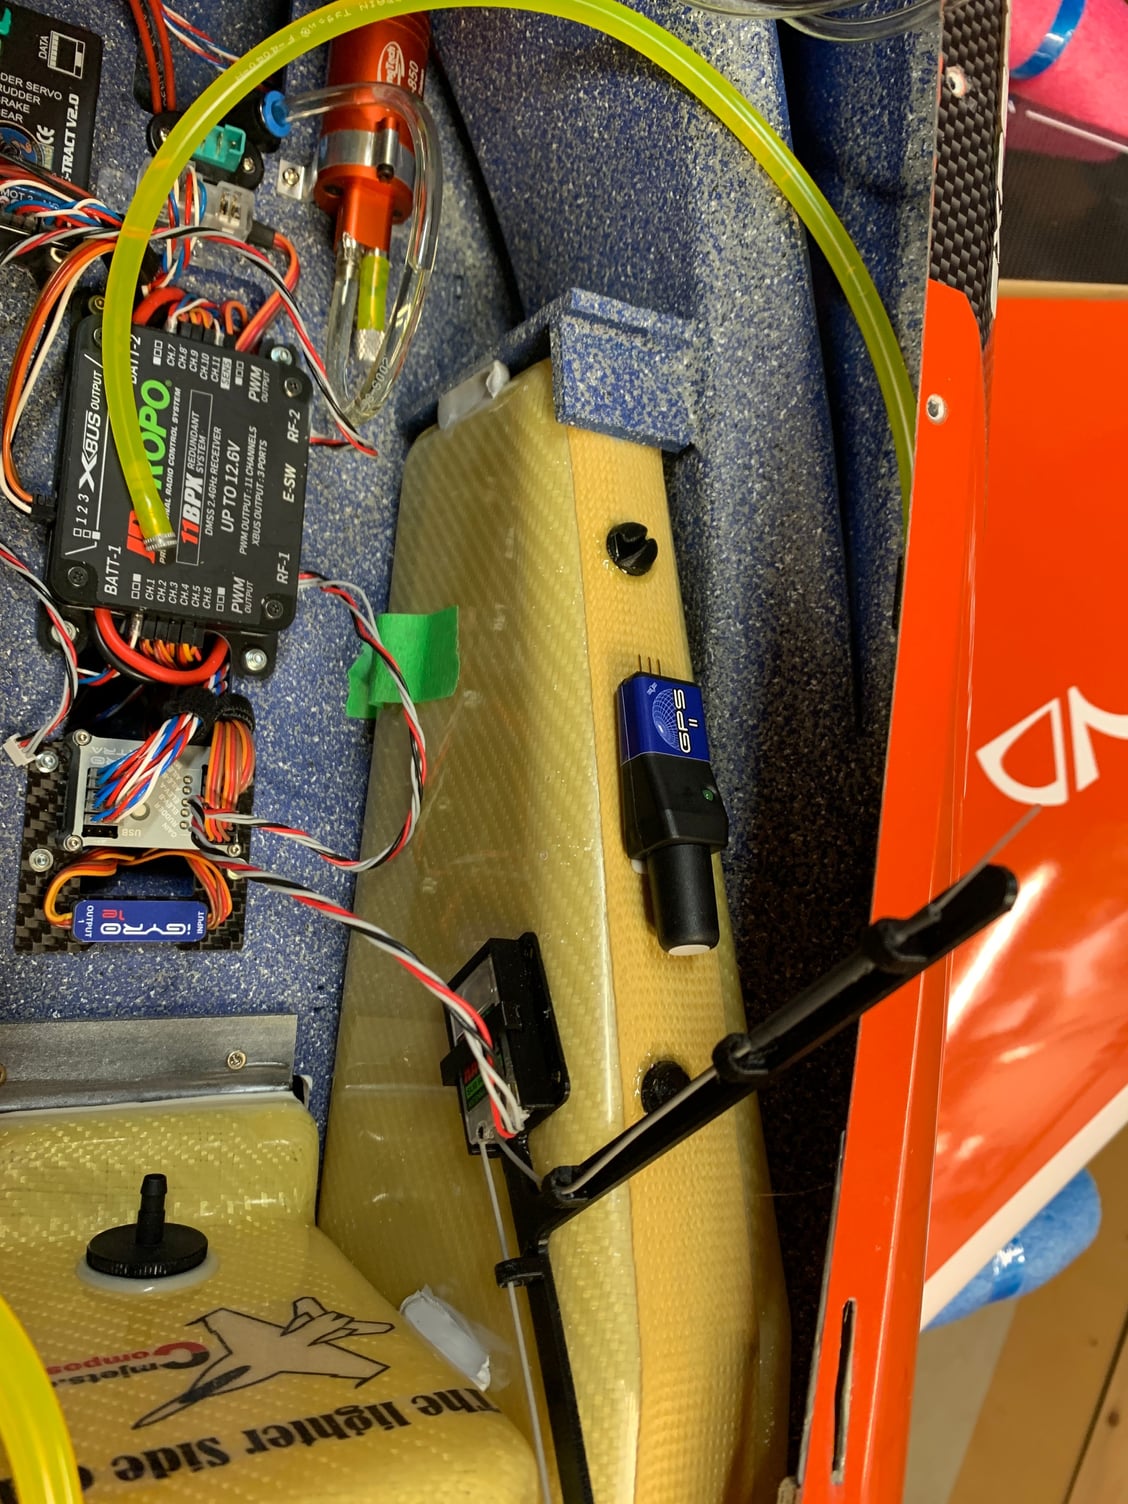
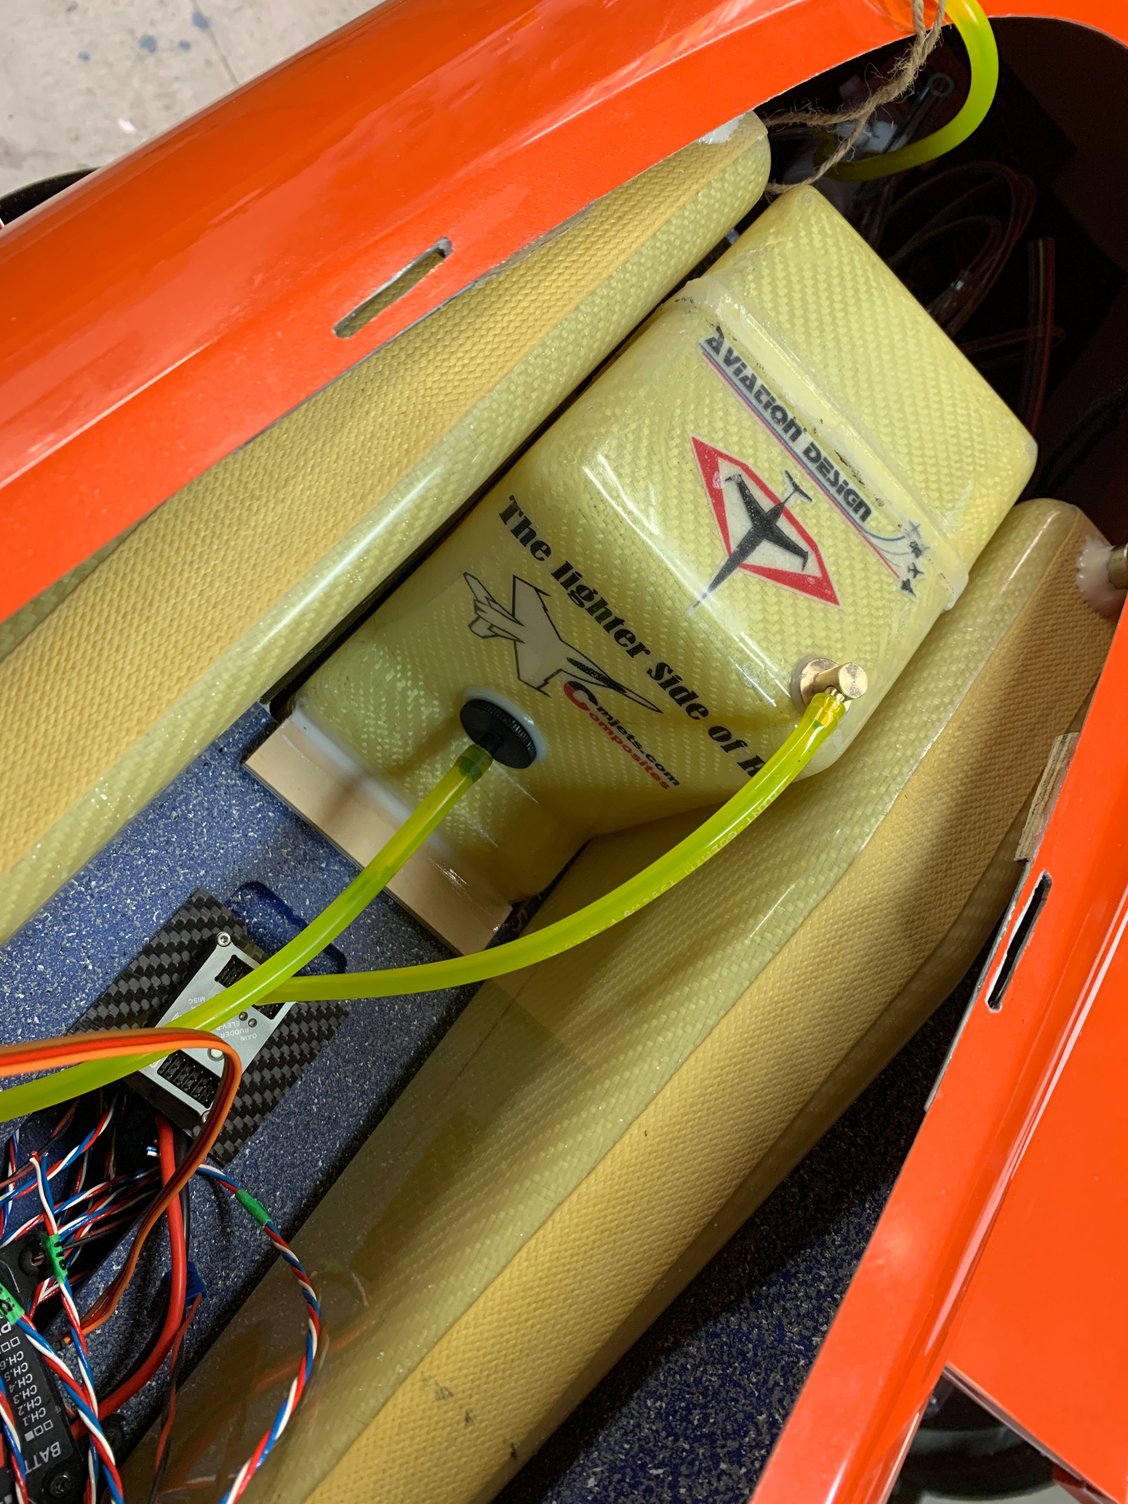
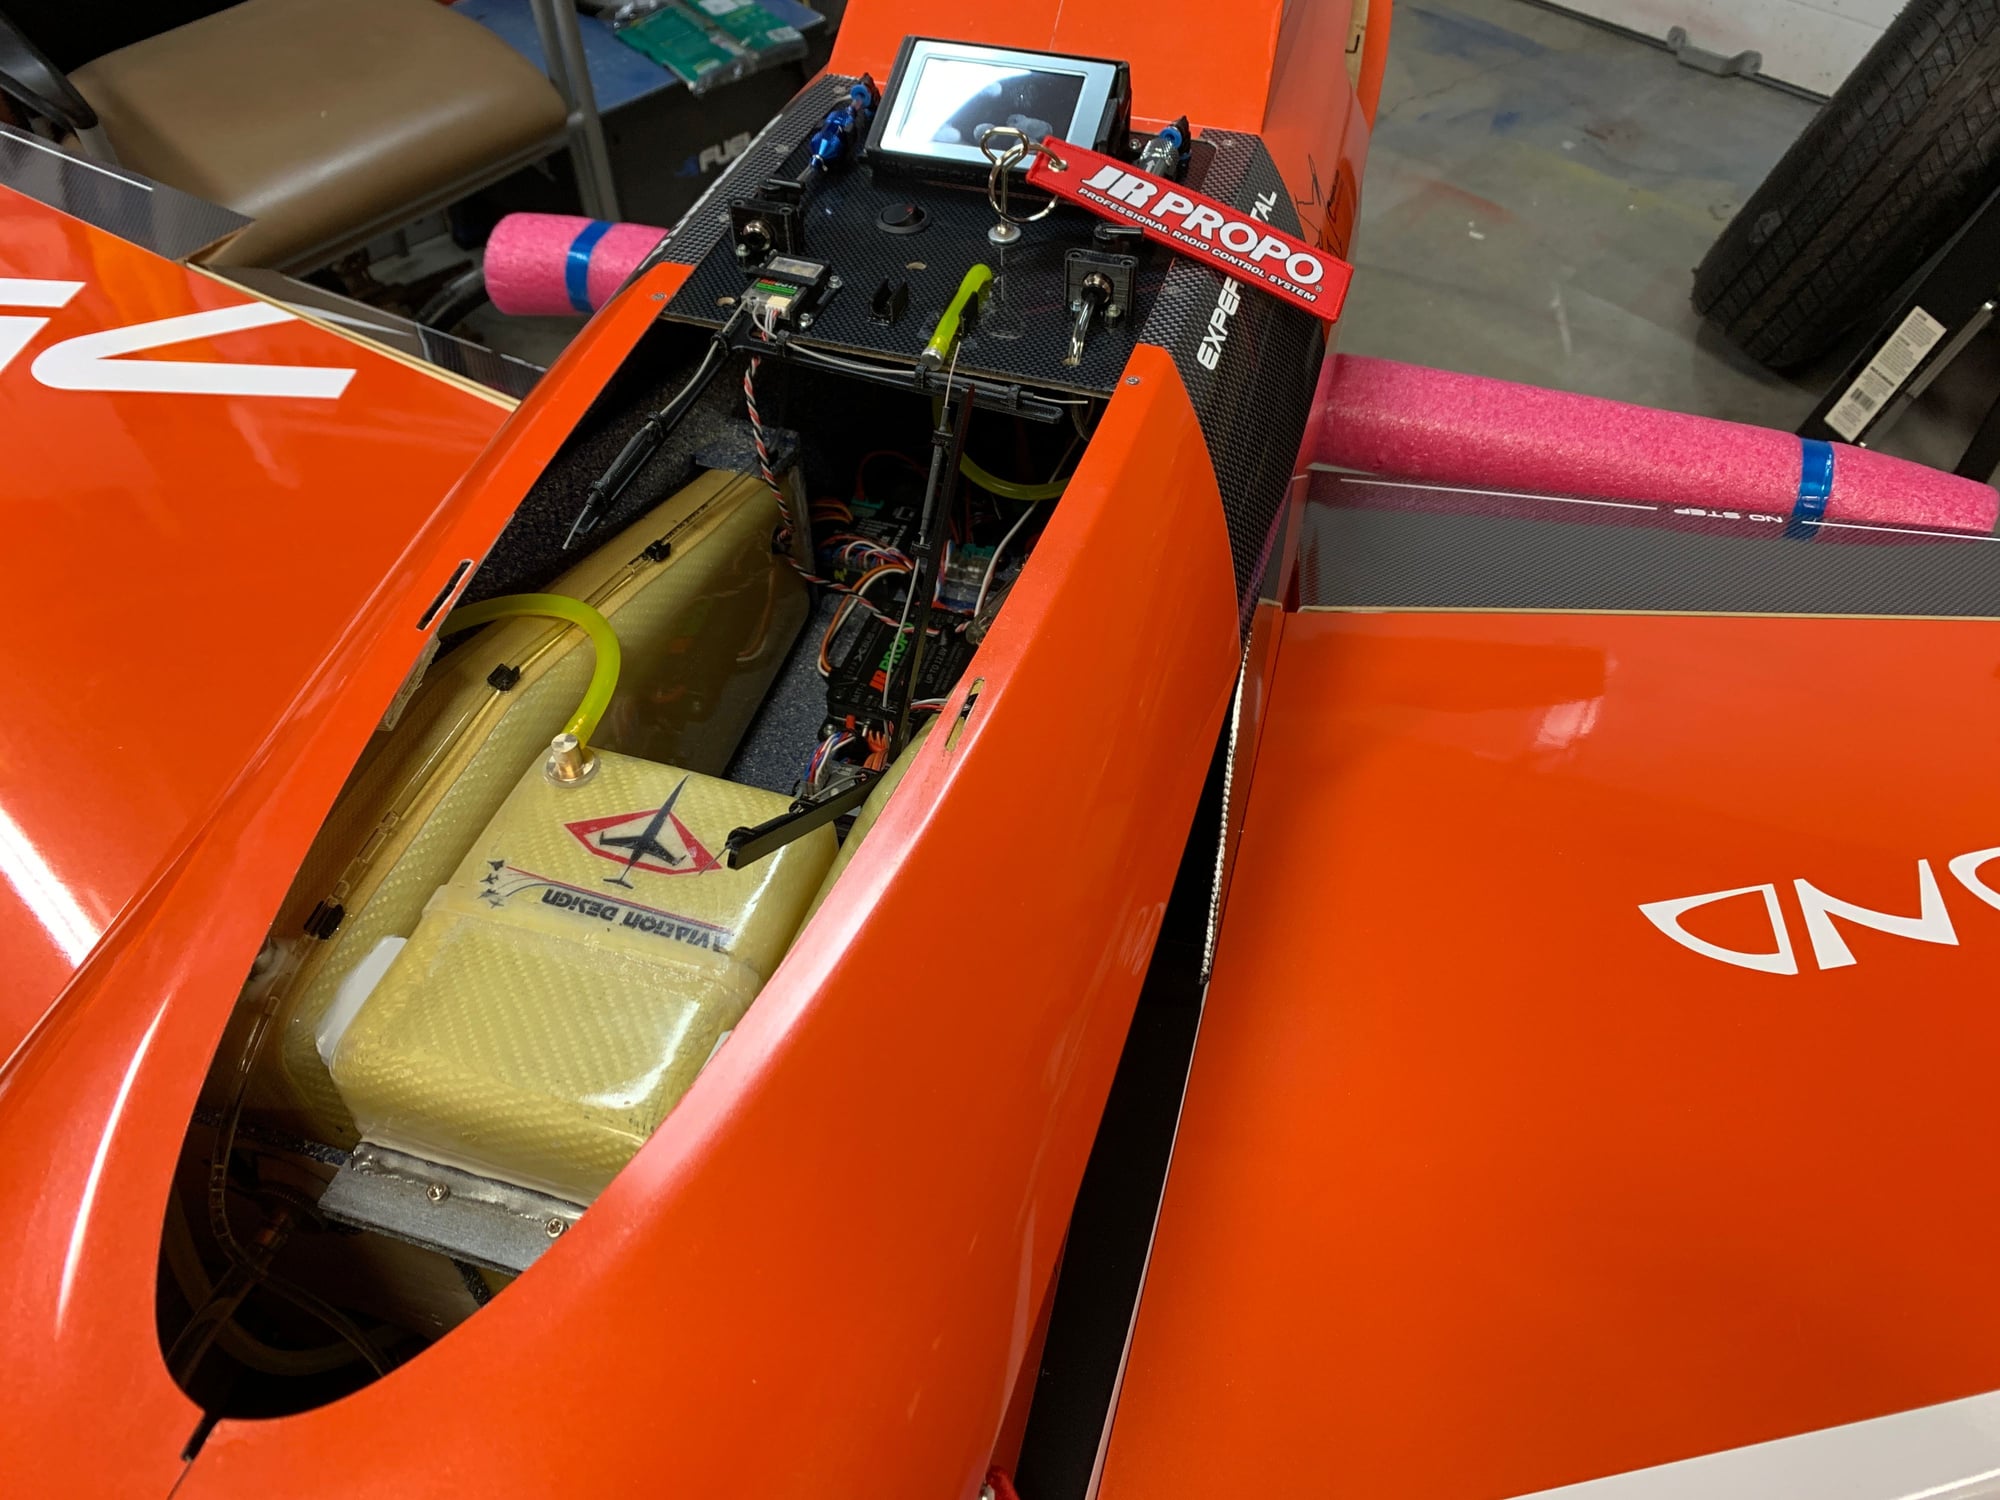
Smoke tank from CMJETS.com!
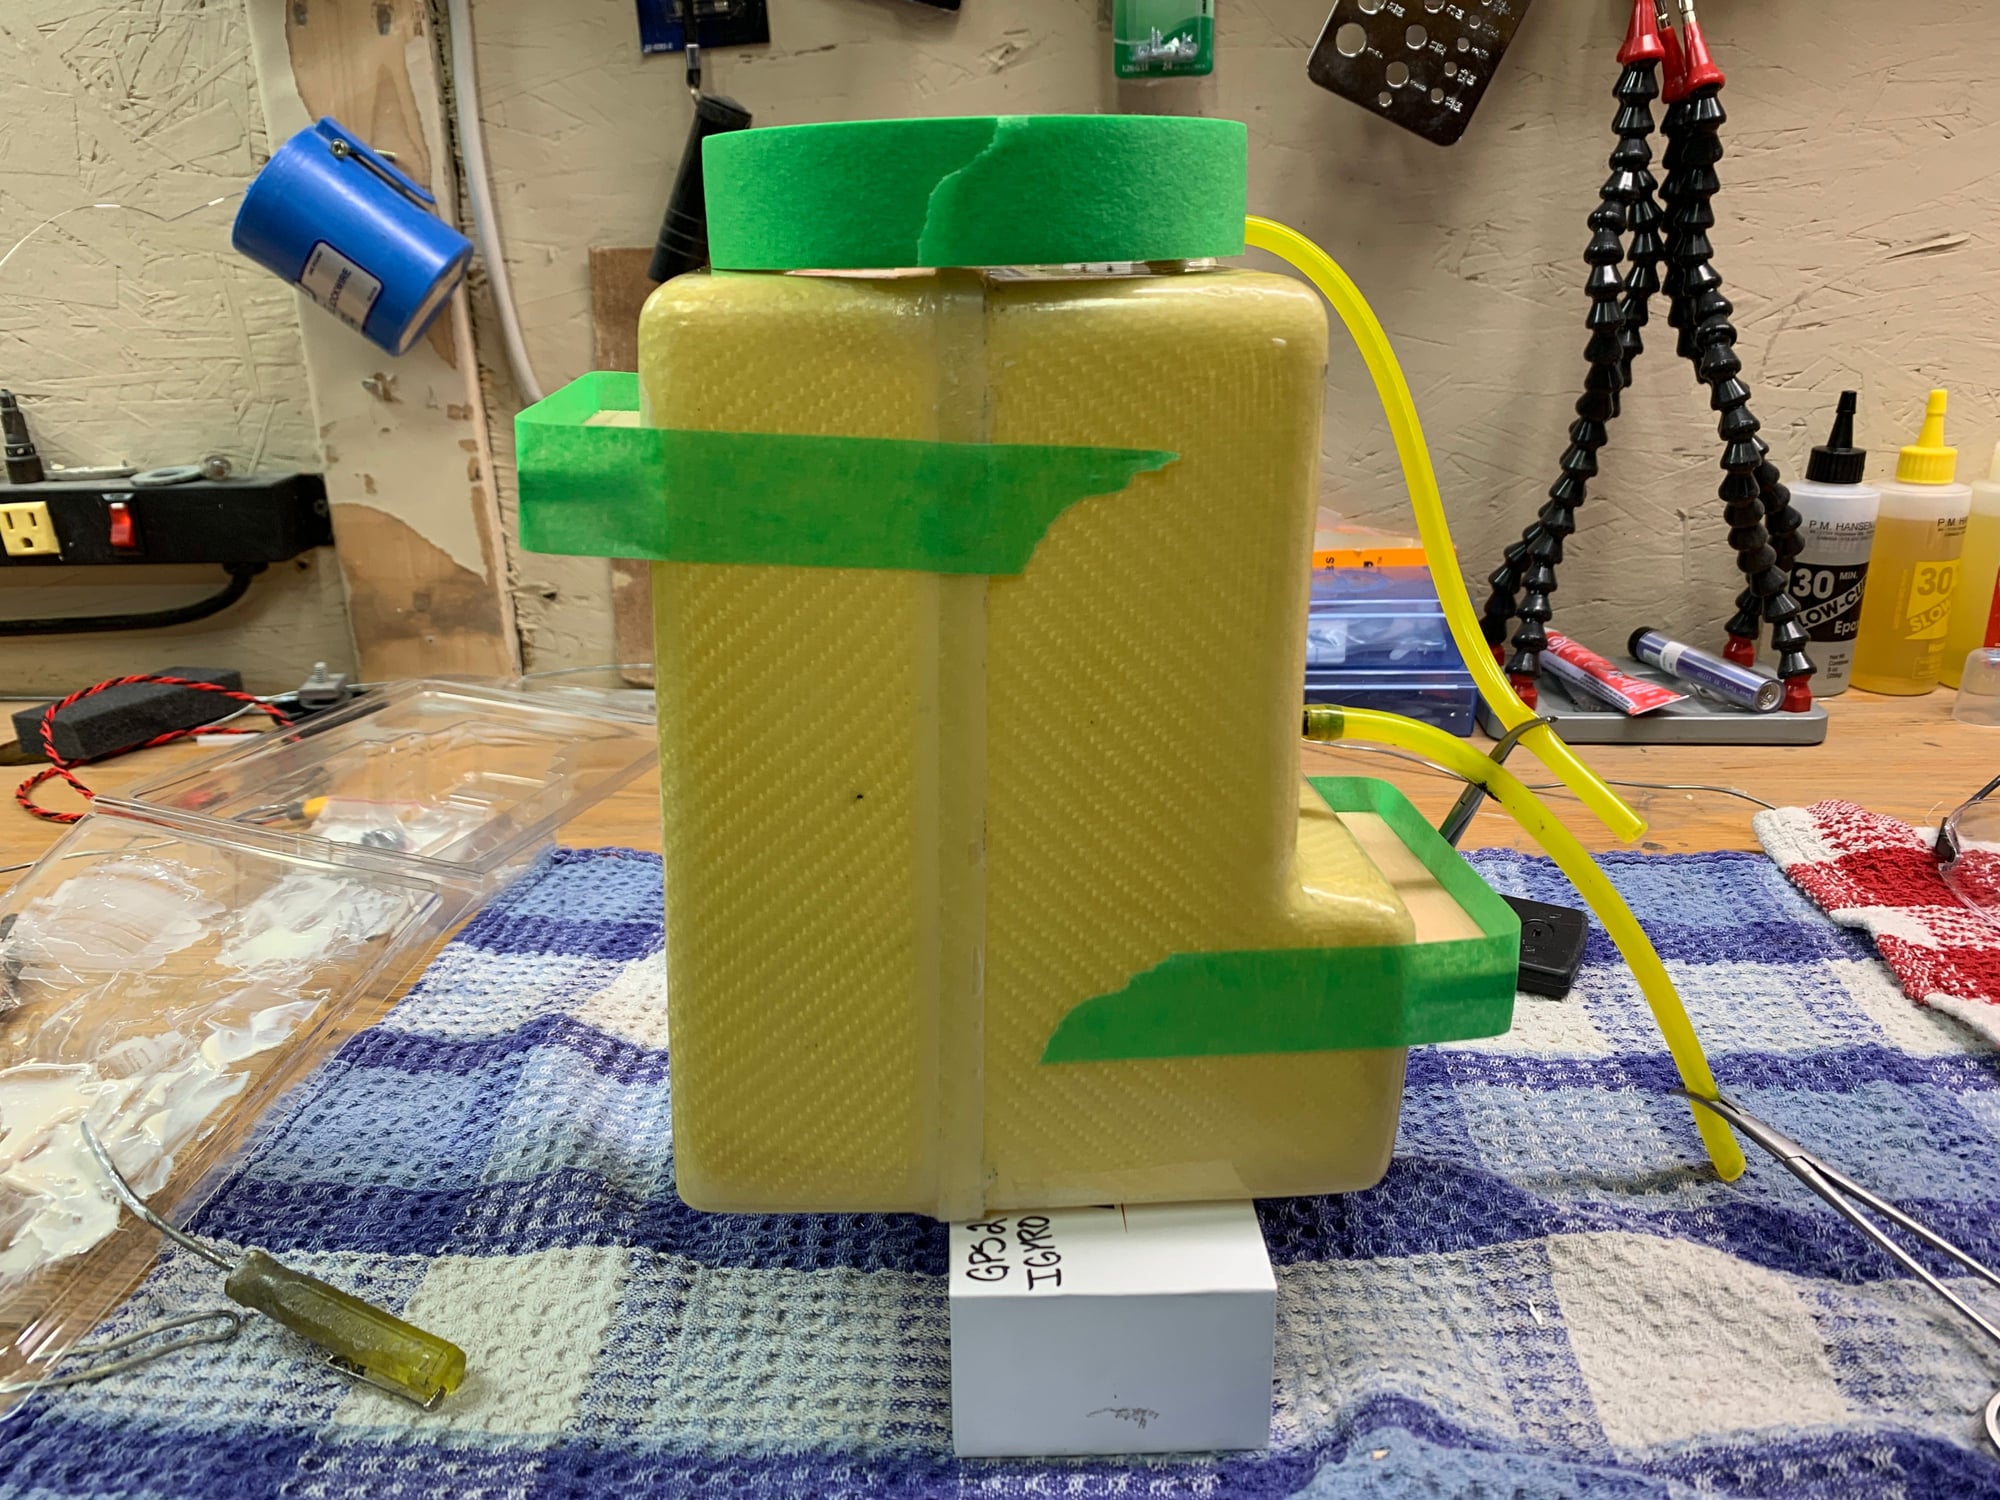
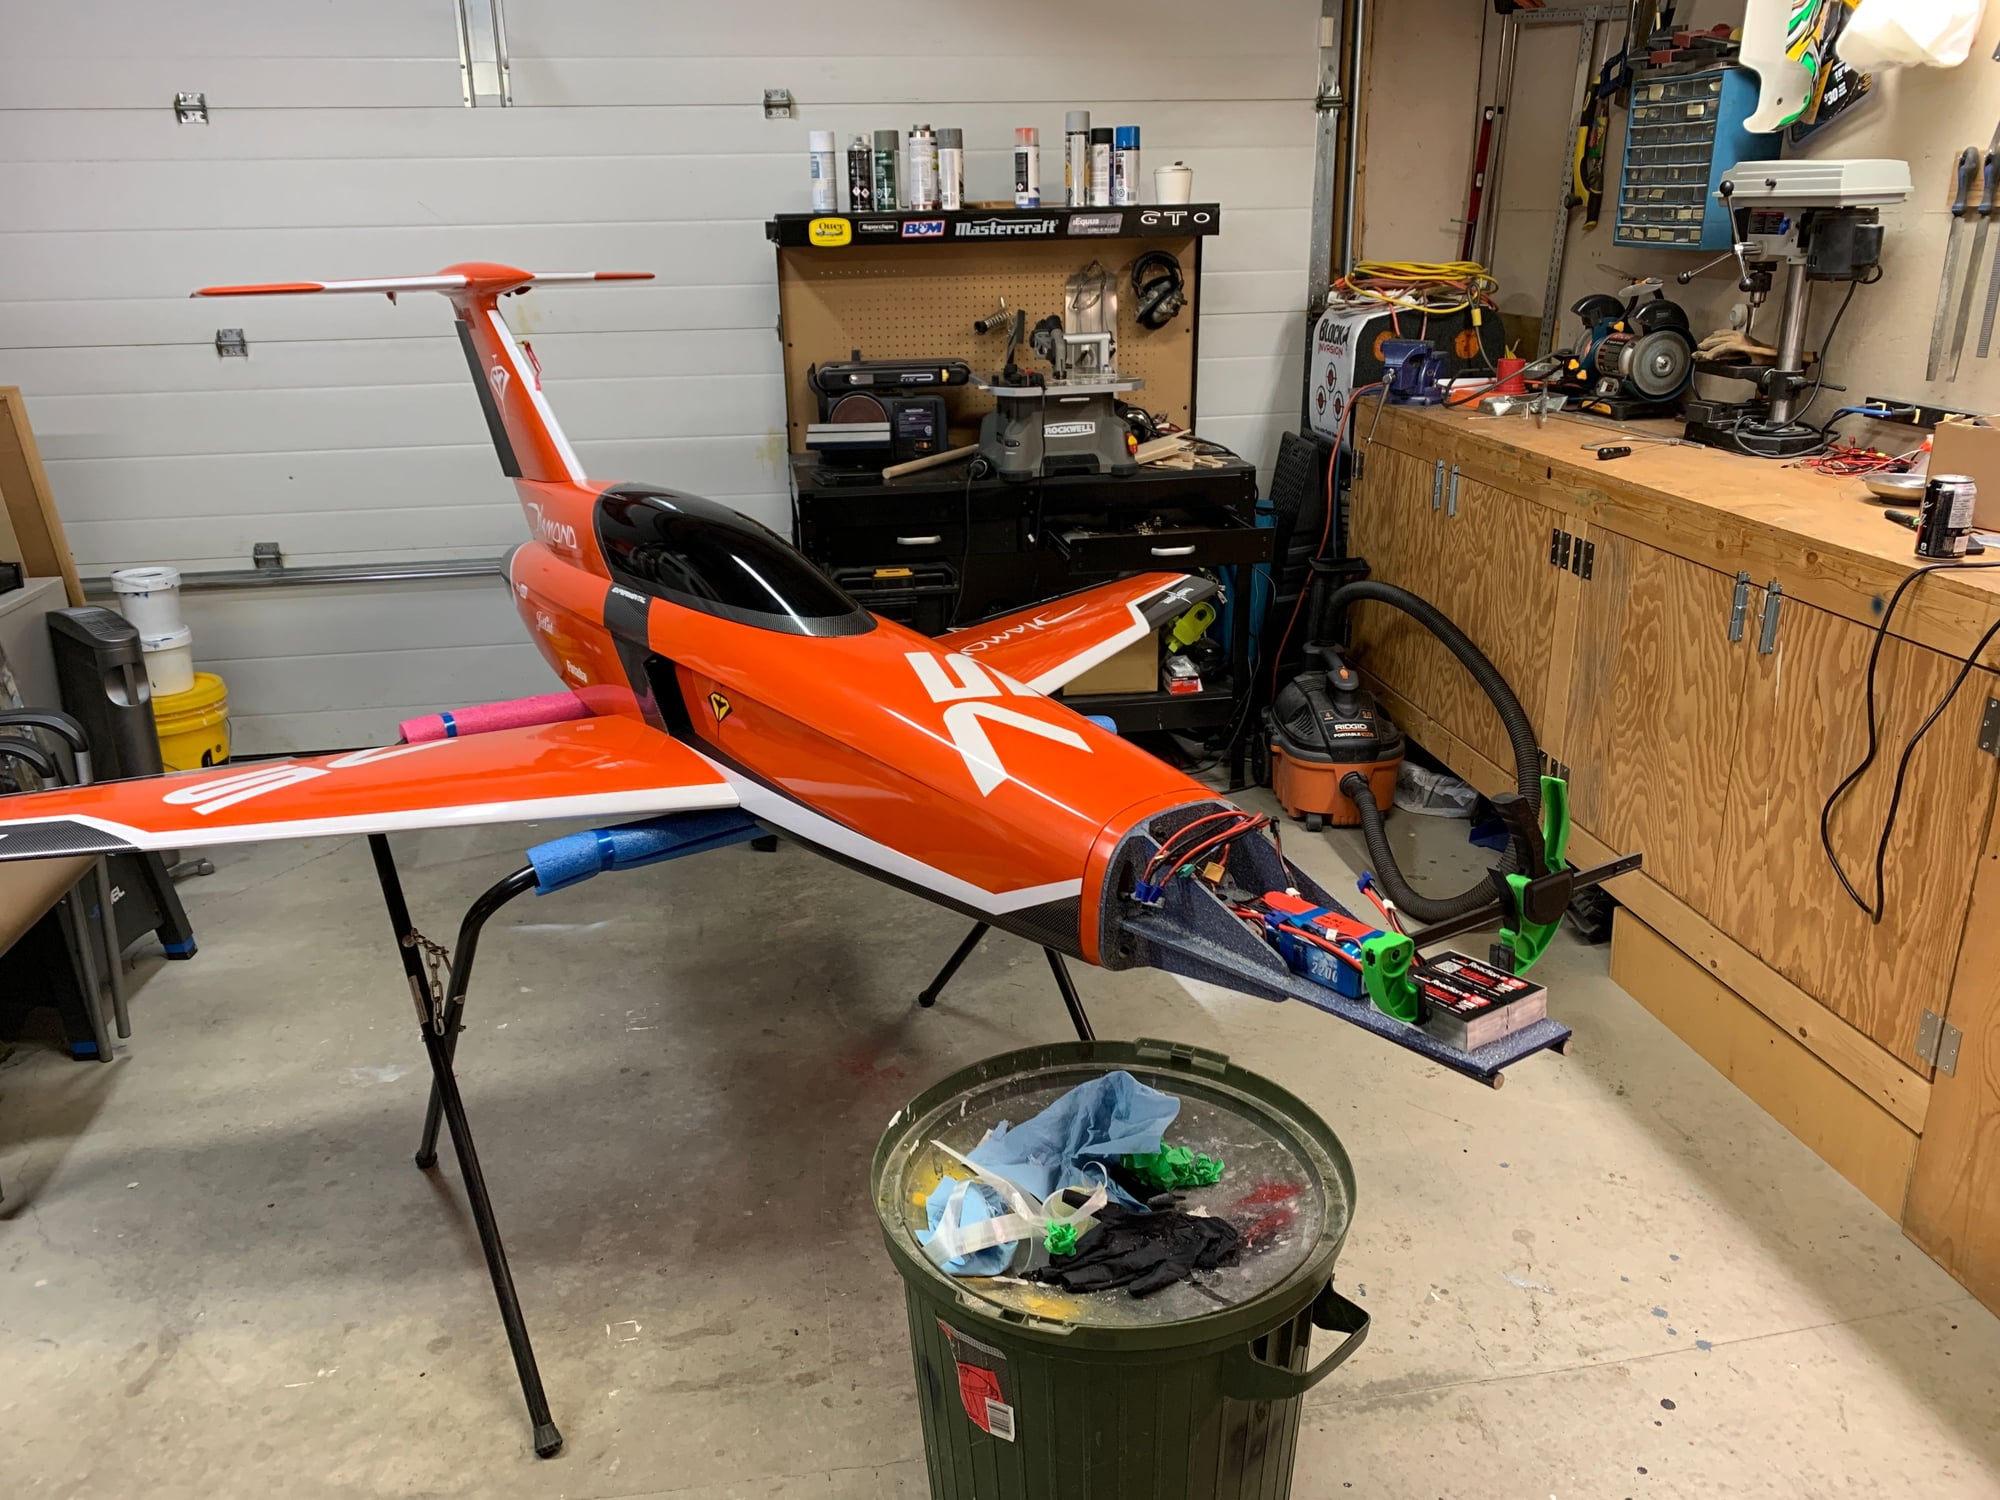
Preping smoke tank with tabs. Would work fine to sit on the bottom of the fuse but the skin is flexible so I would rather have the former work supporting the weight.
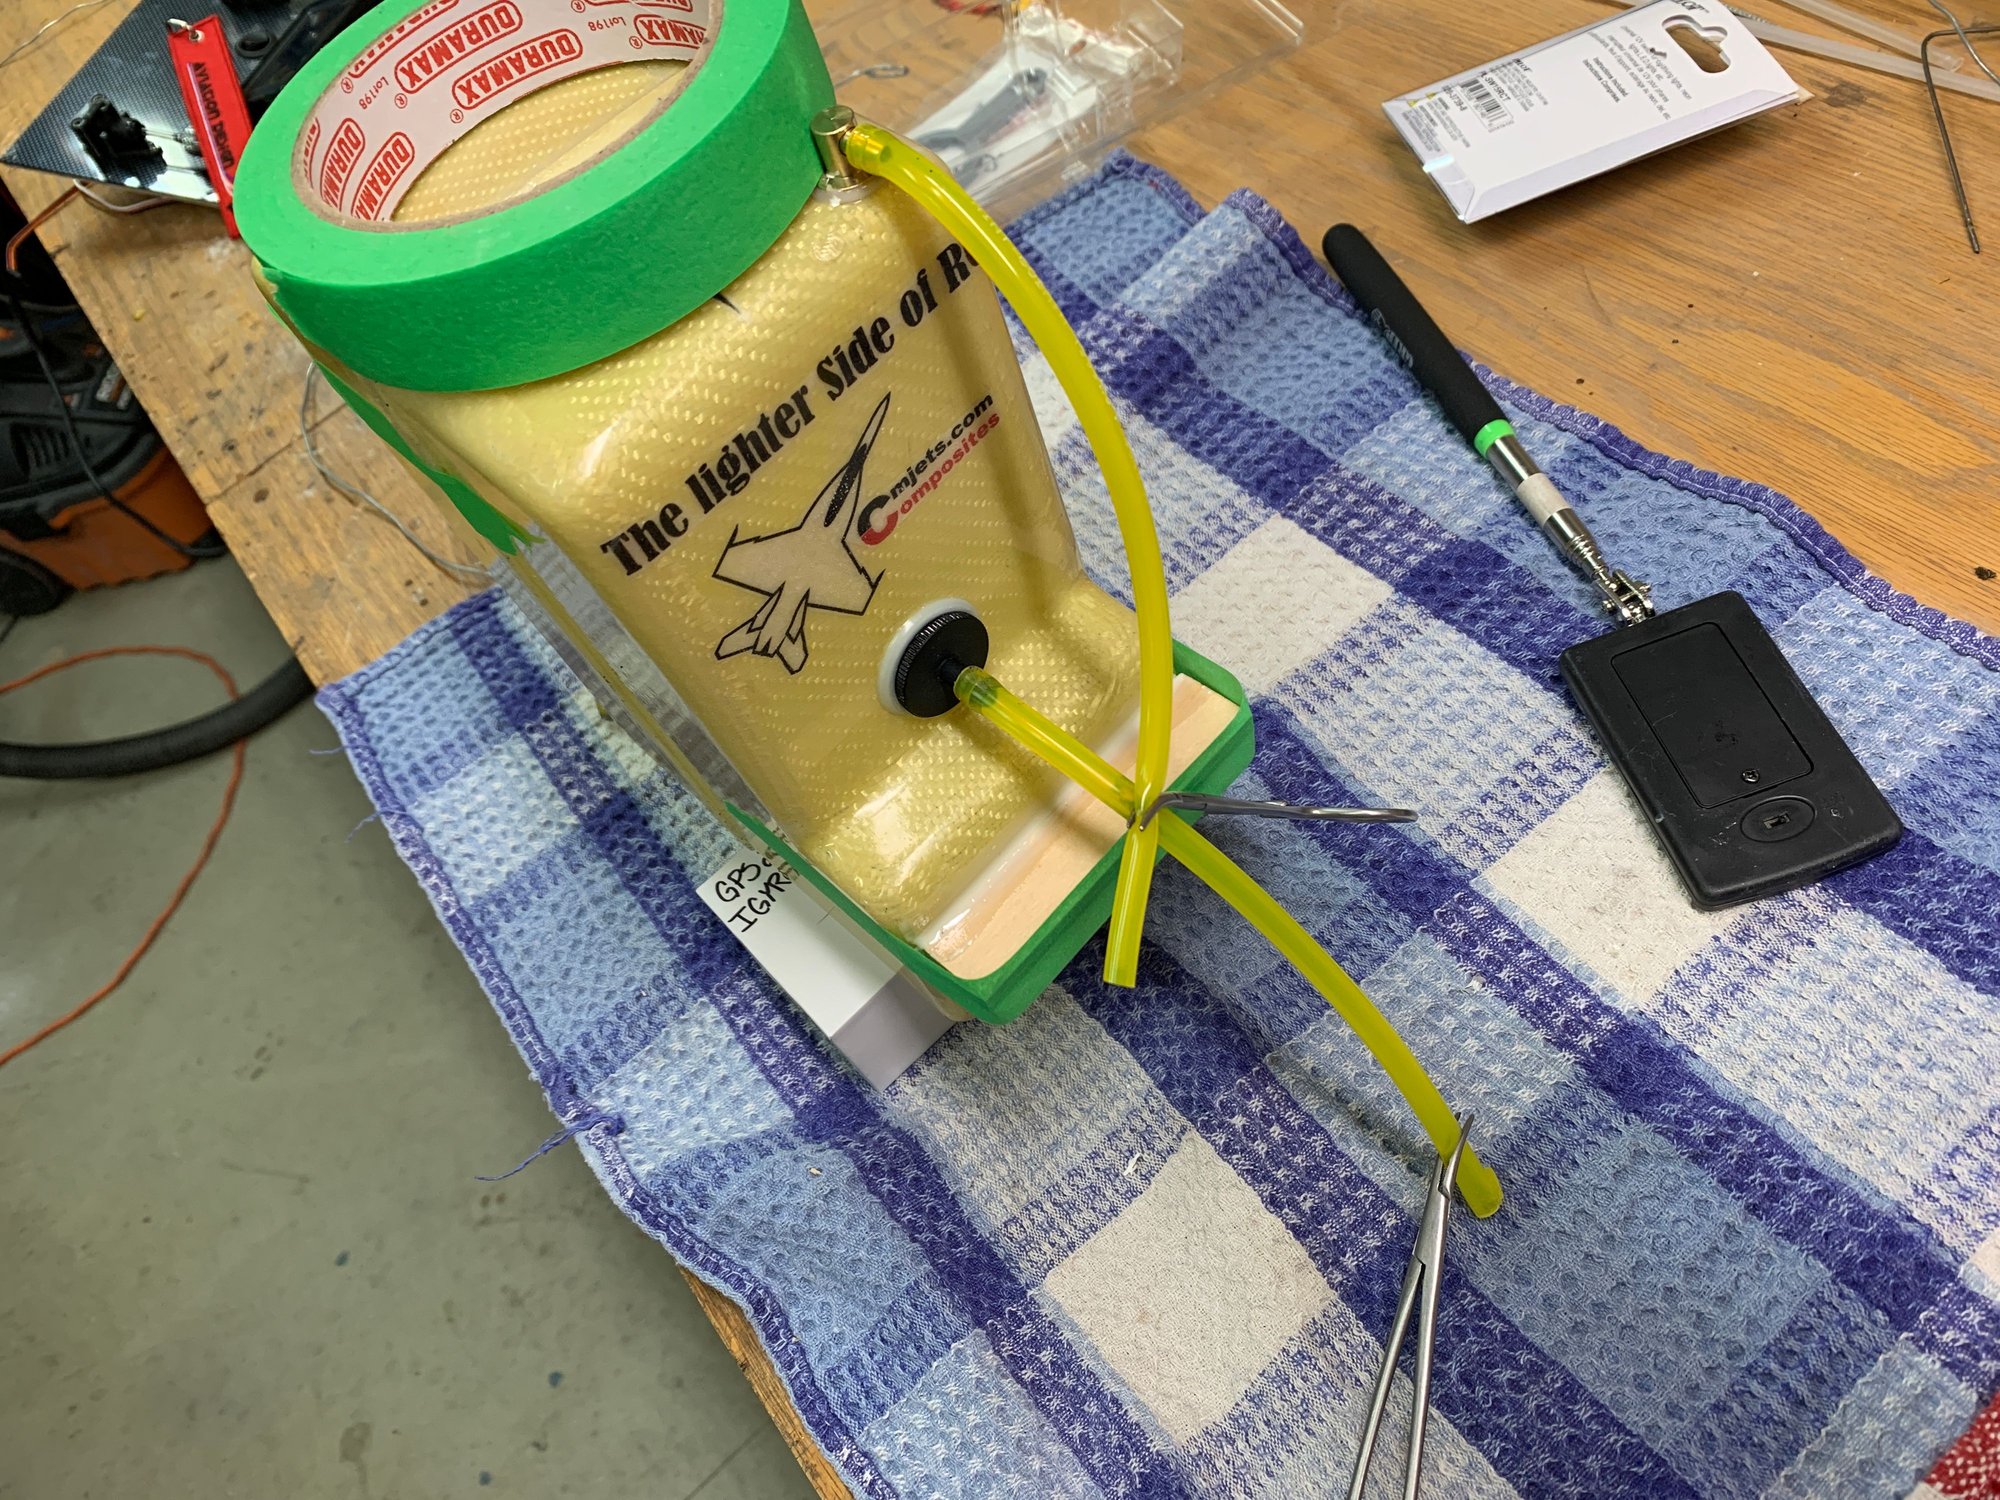

opened up the opening about 1/4" on 3 sides for tank to fit.

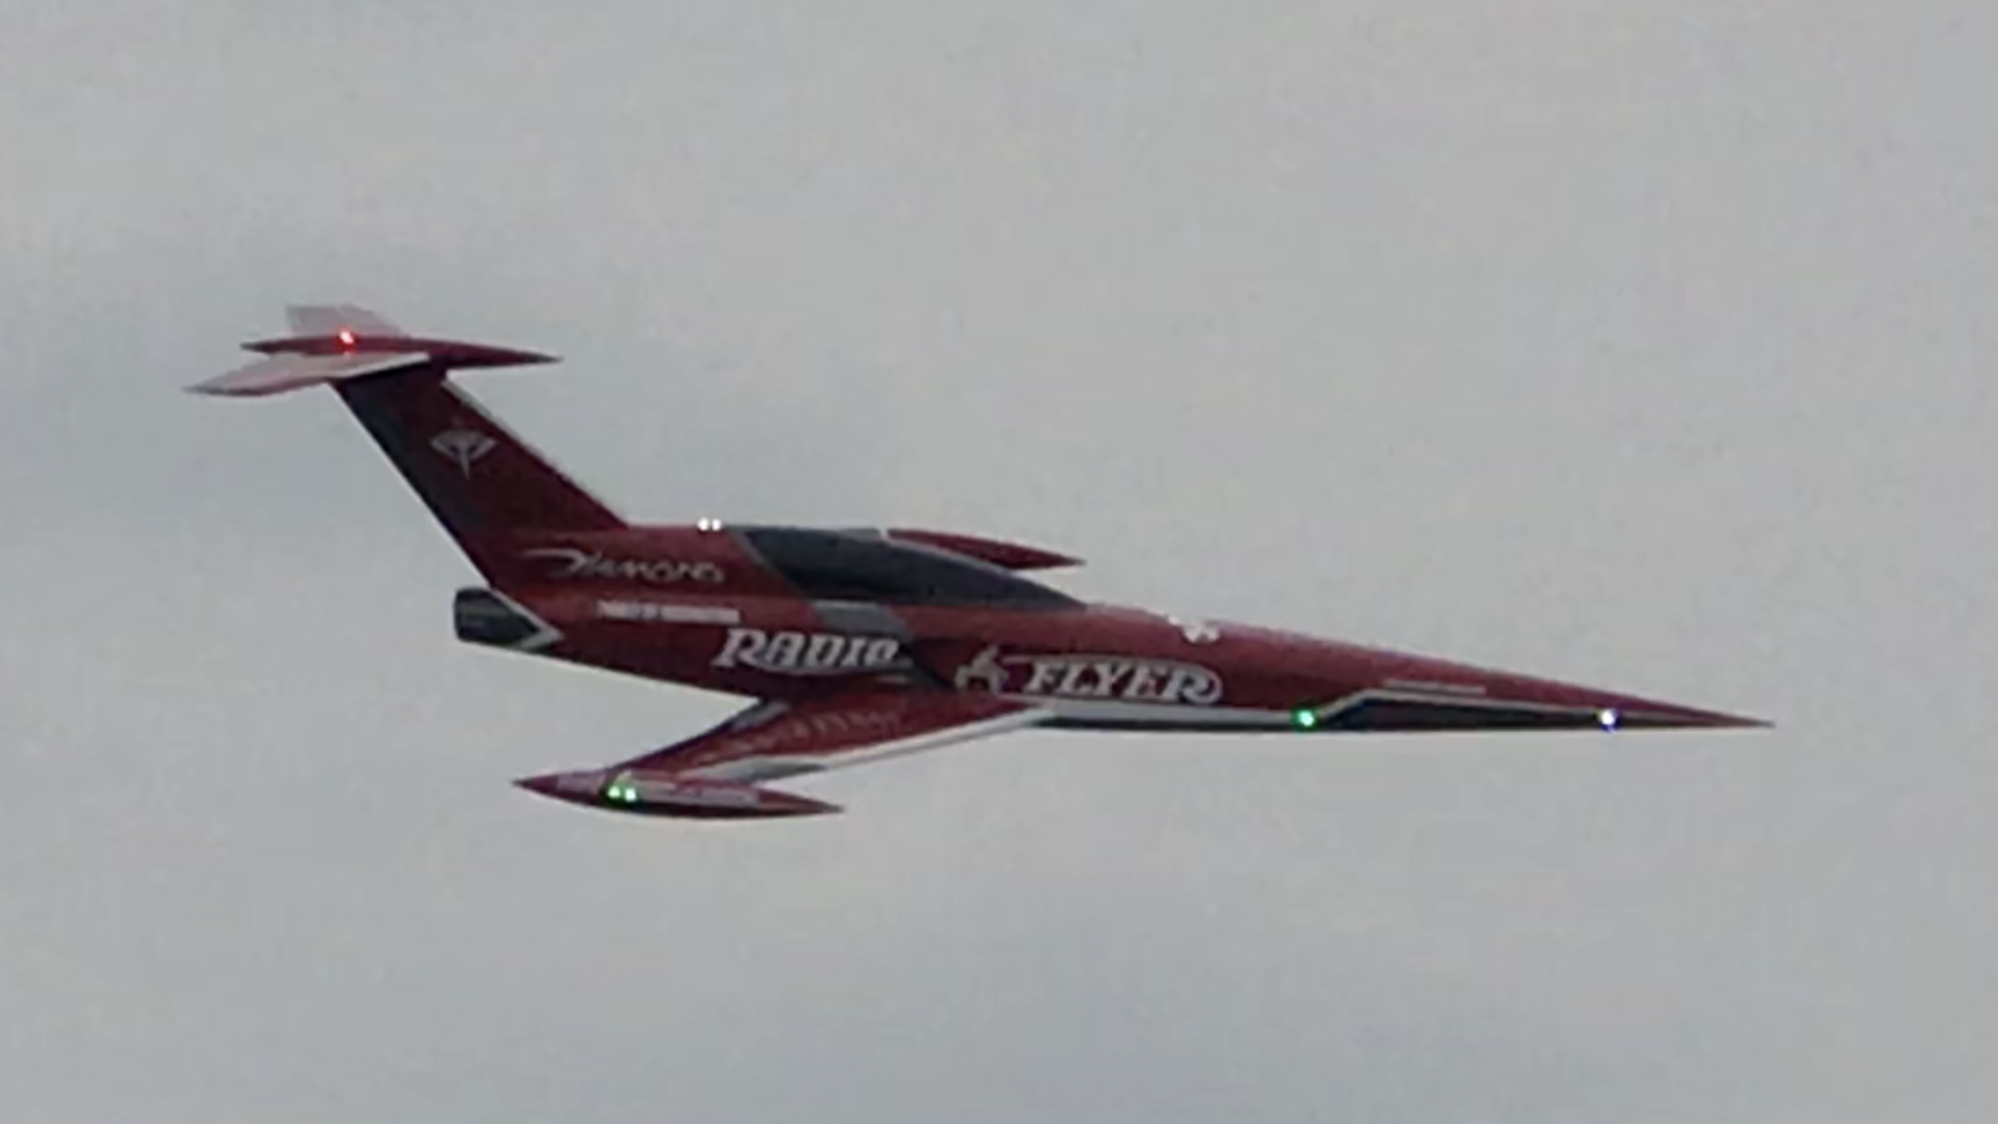
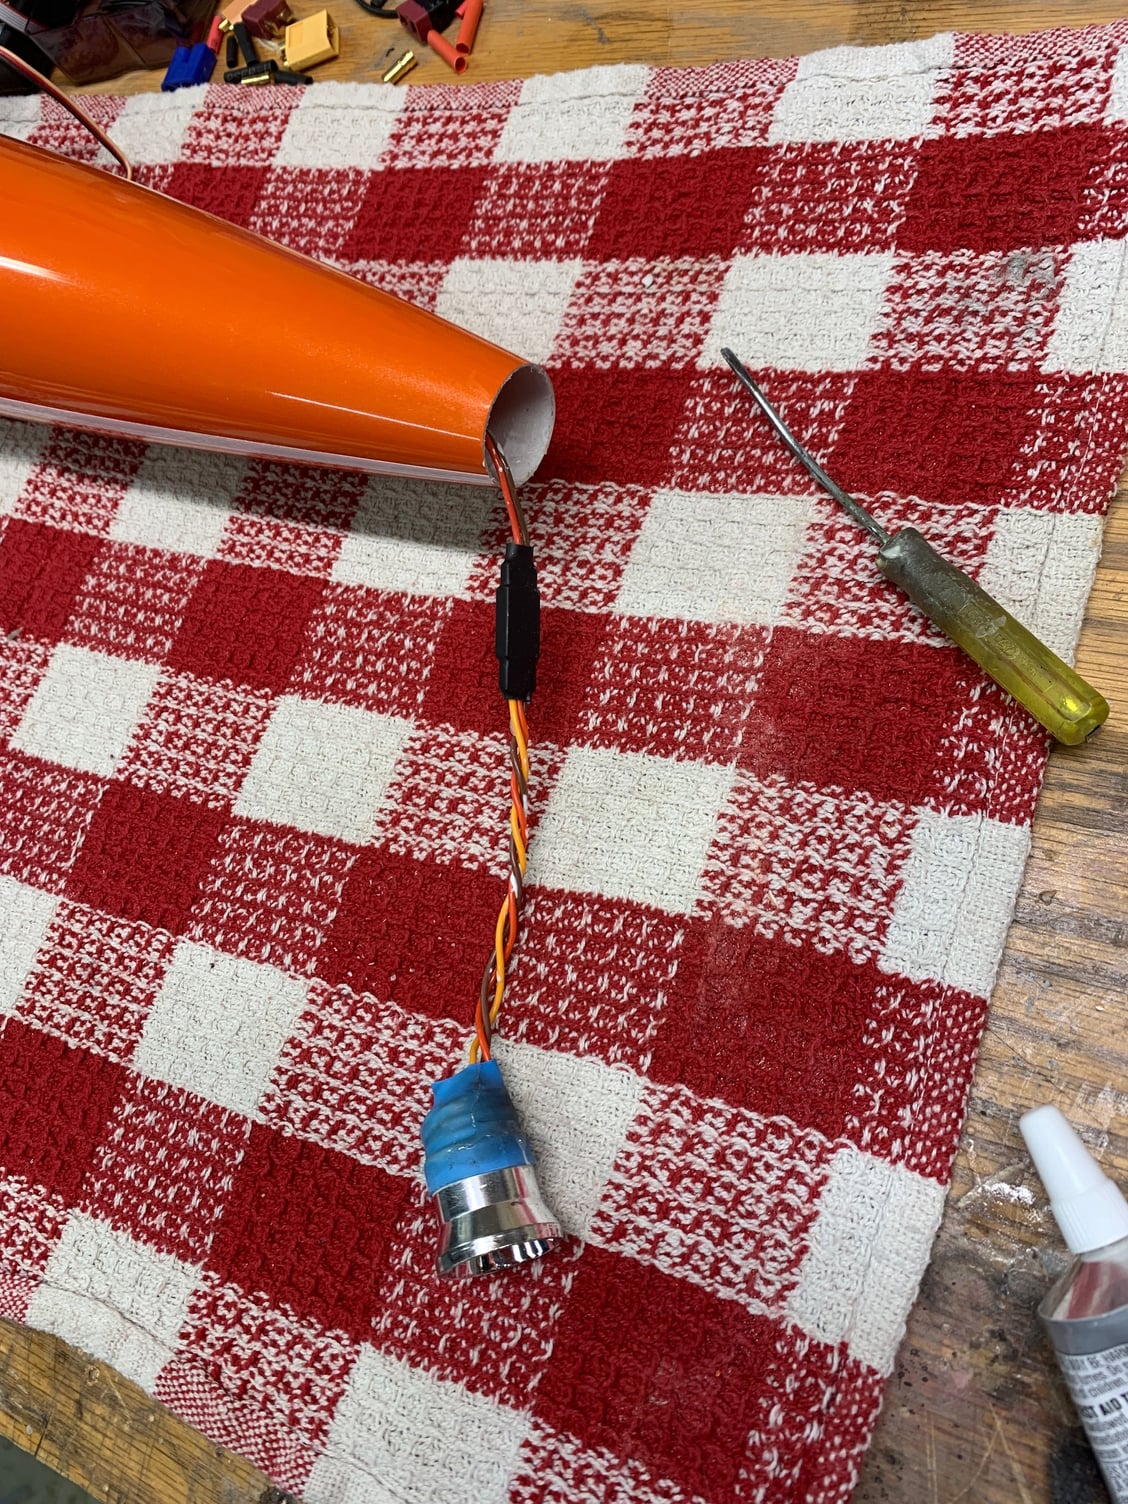
Custom Skycandy Lighting setup. Missing nose gear light in picture. Wait till you see these things.

The following users liked this post:
Skunkwrks (12-16-2020)

The following users liked this post:
Skunkwrks (12-16-2020)
12-16-2020 | 11:29 AM
#85
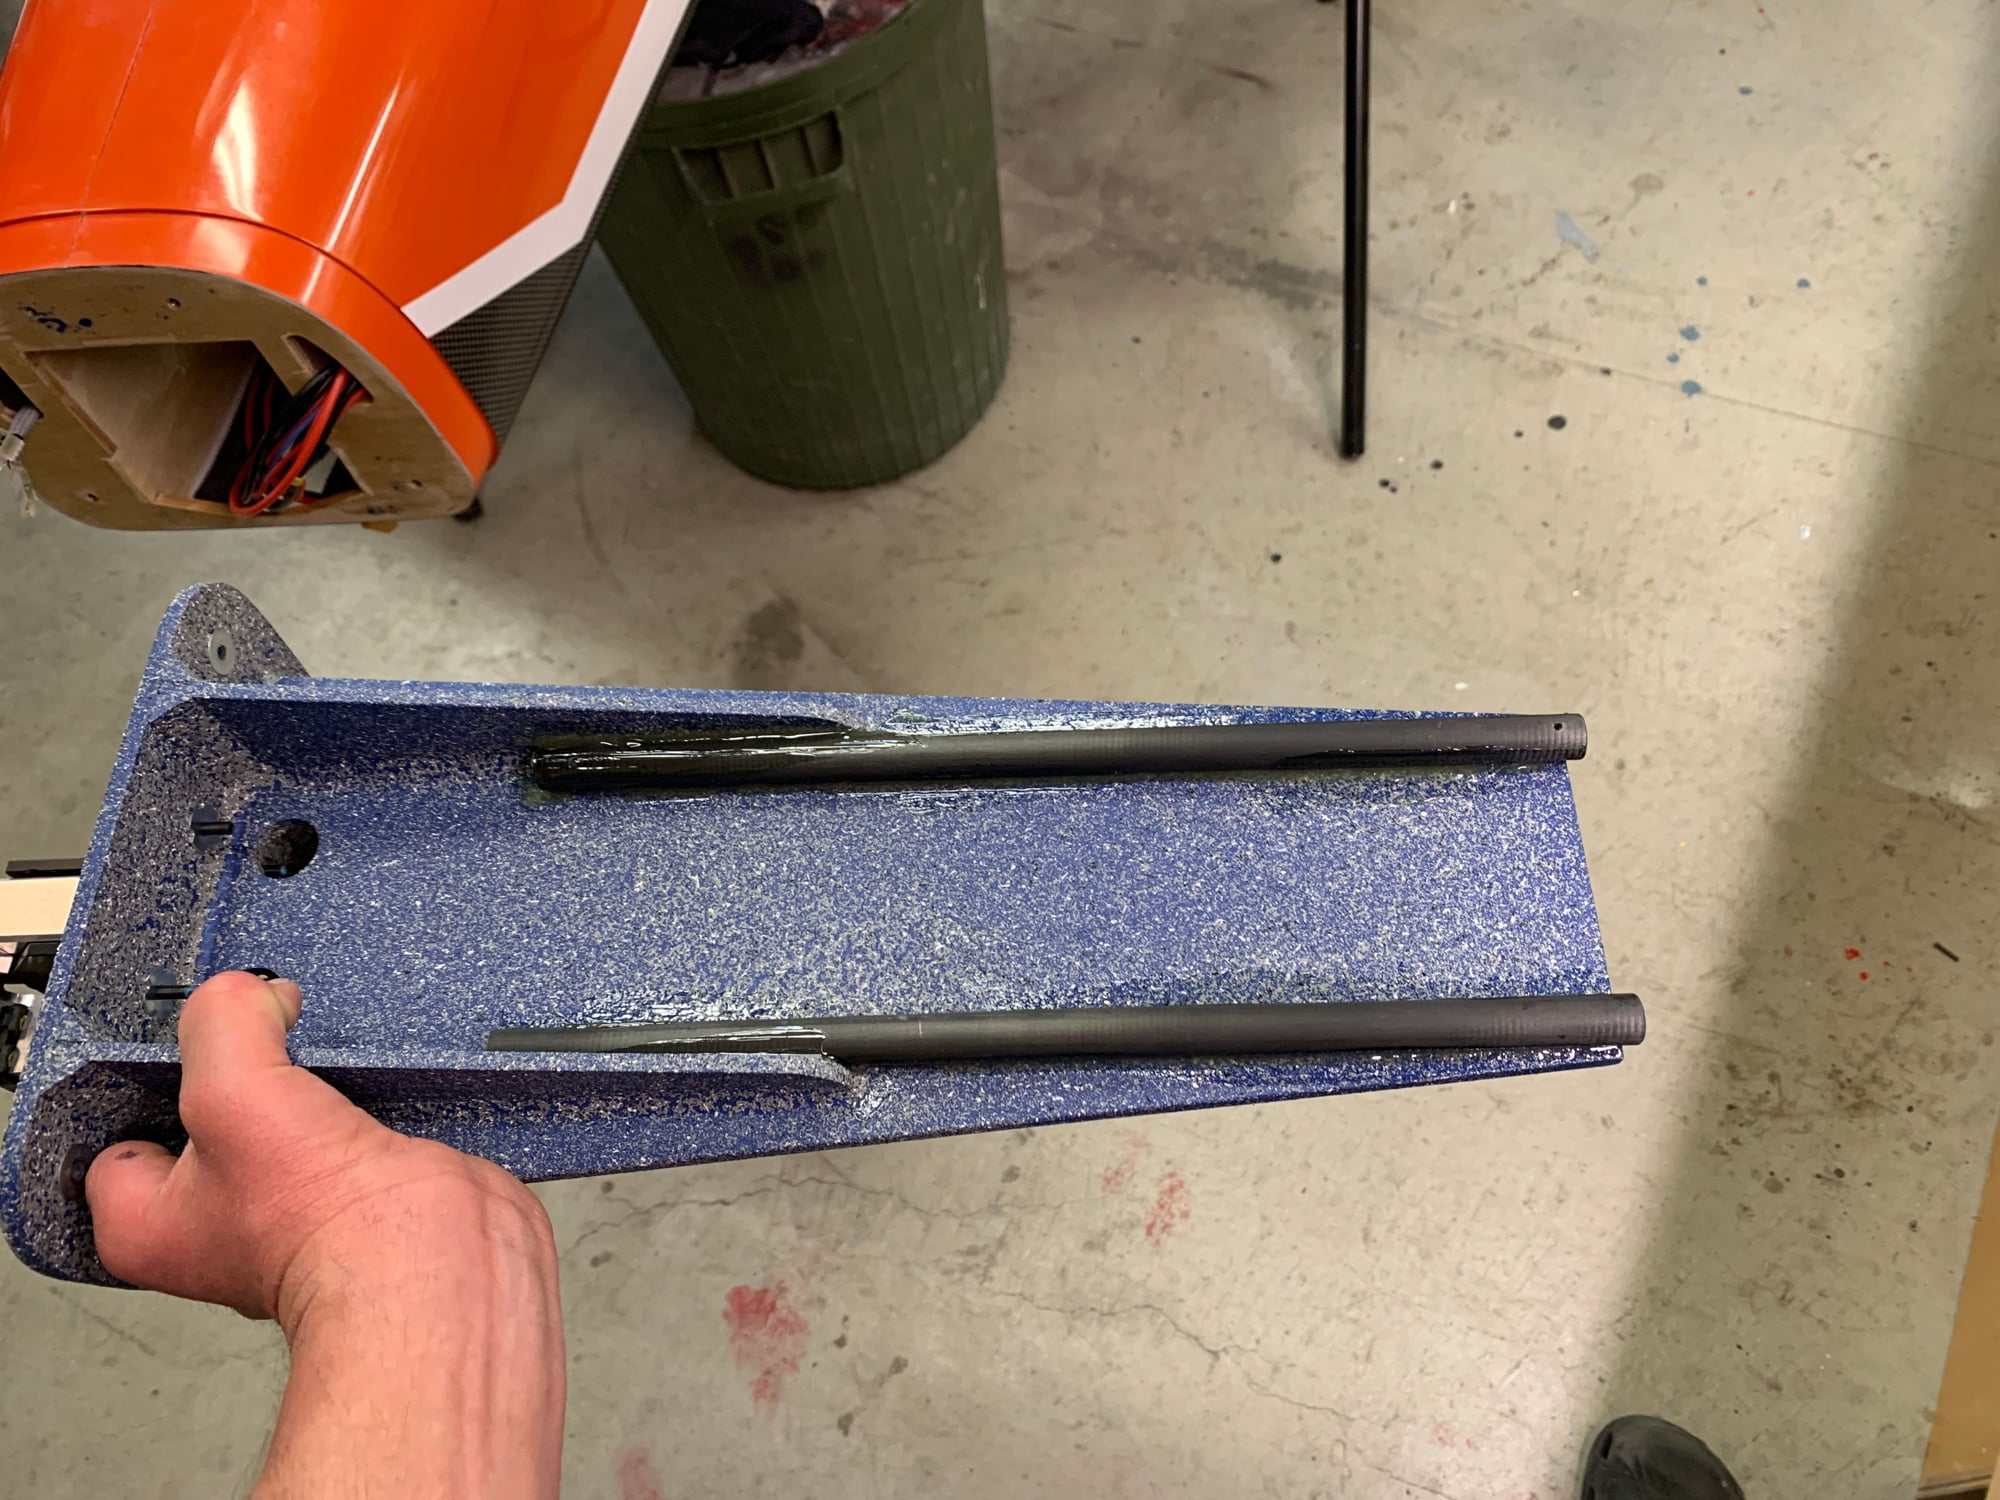
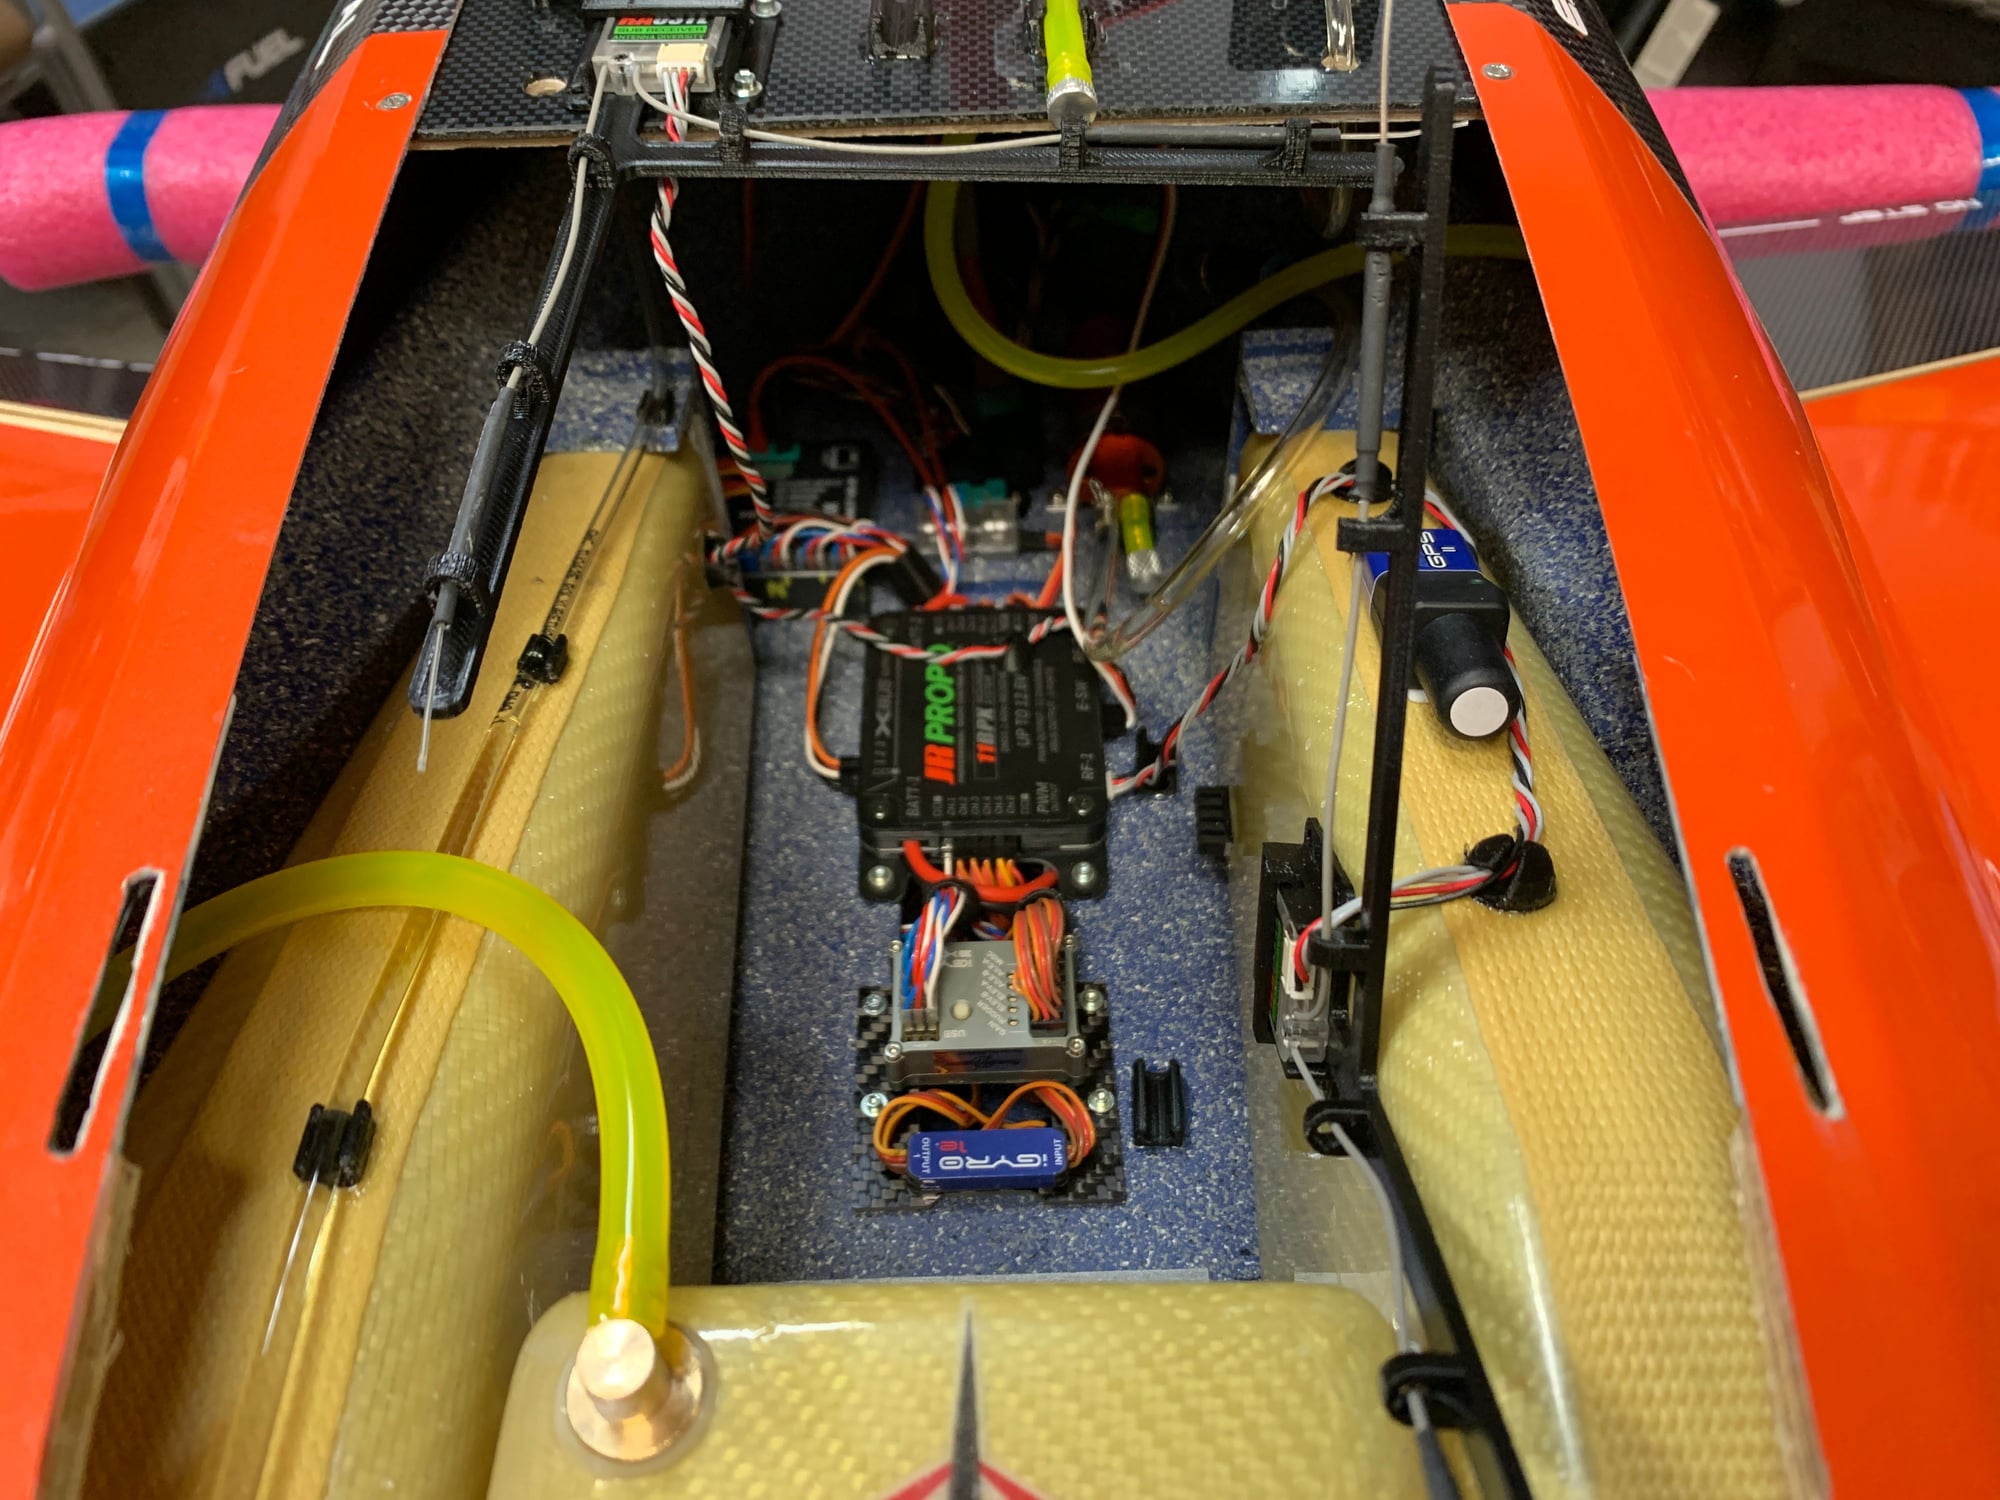
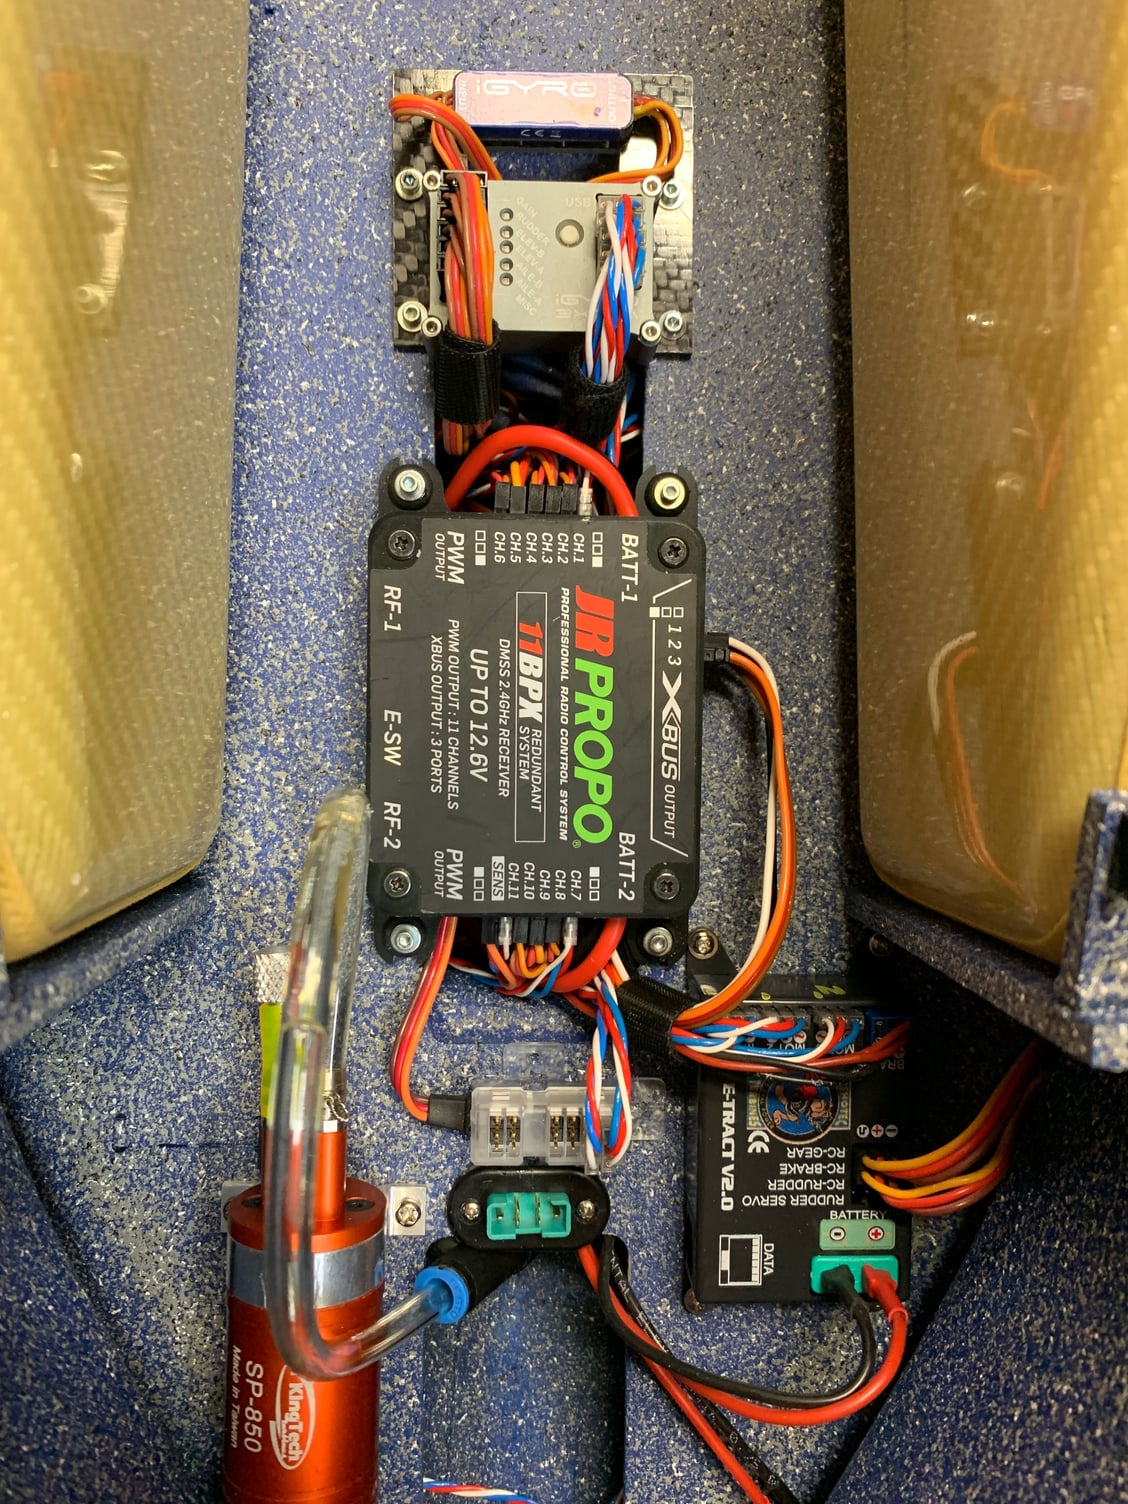
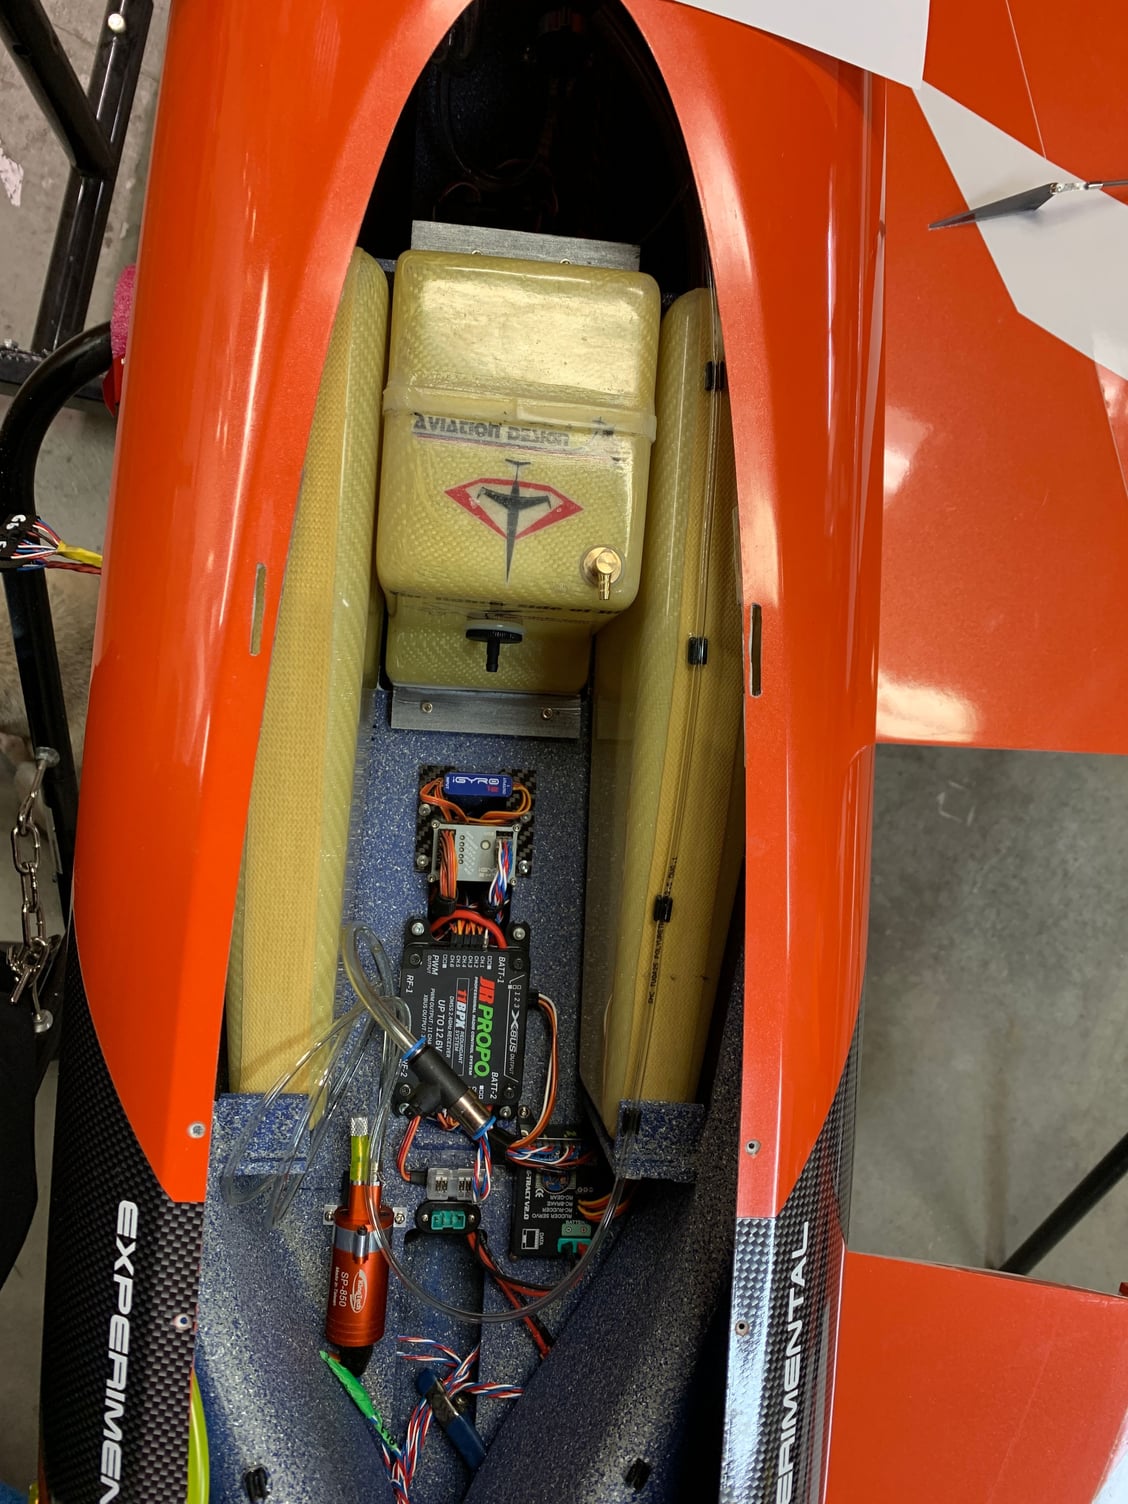
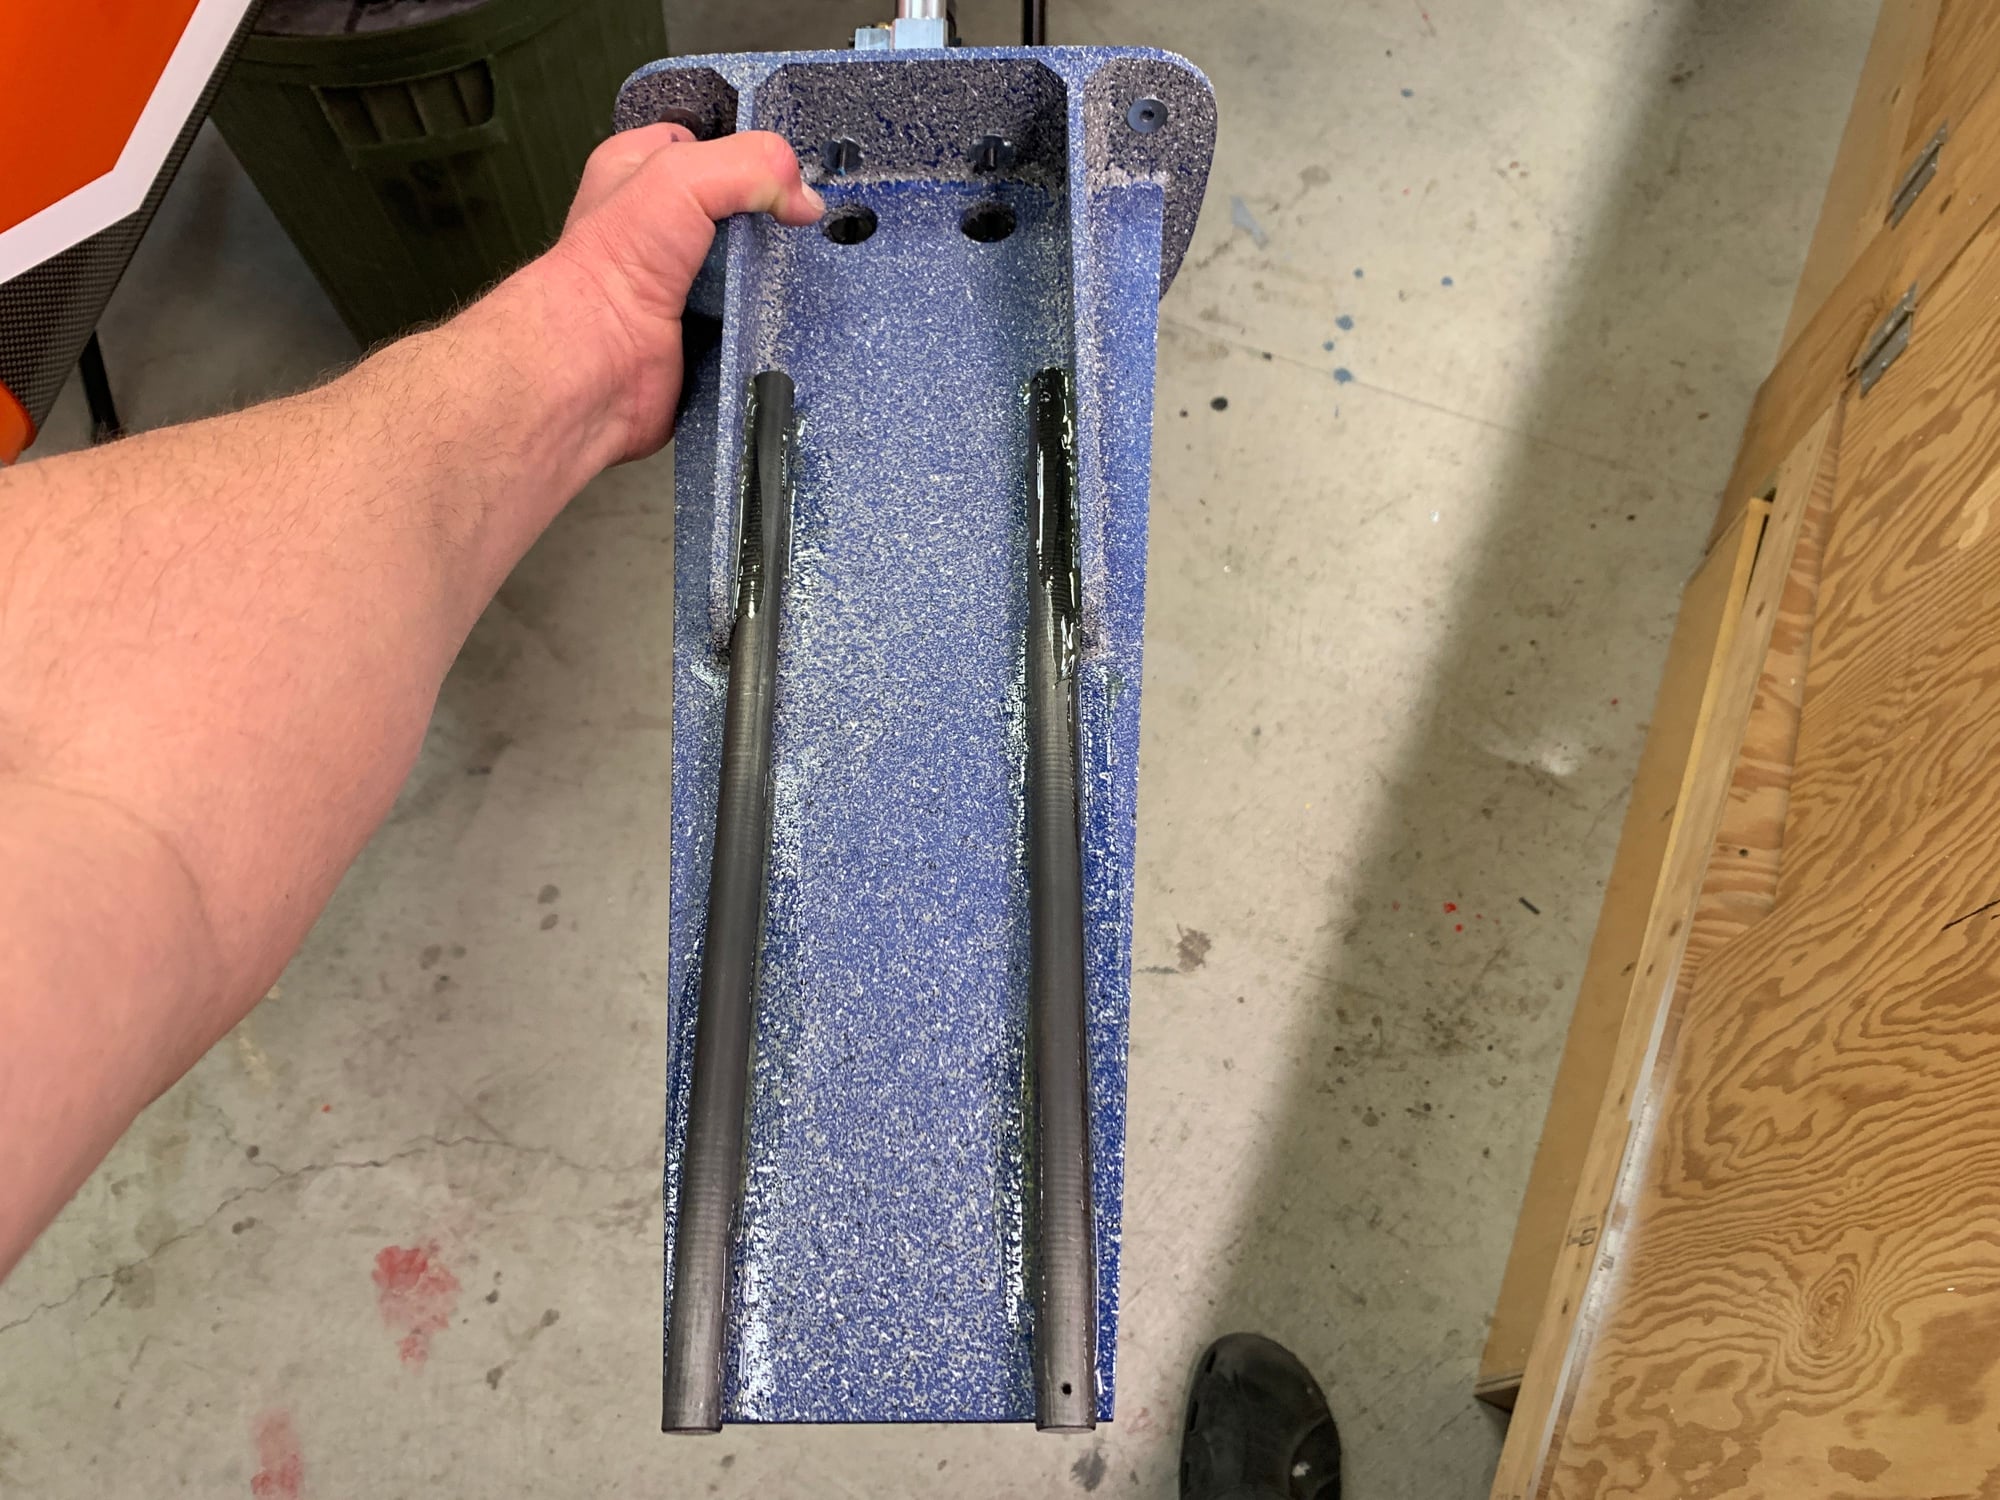
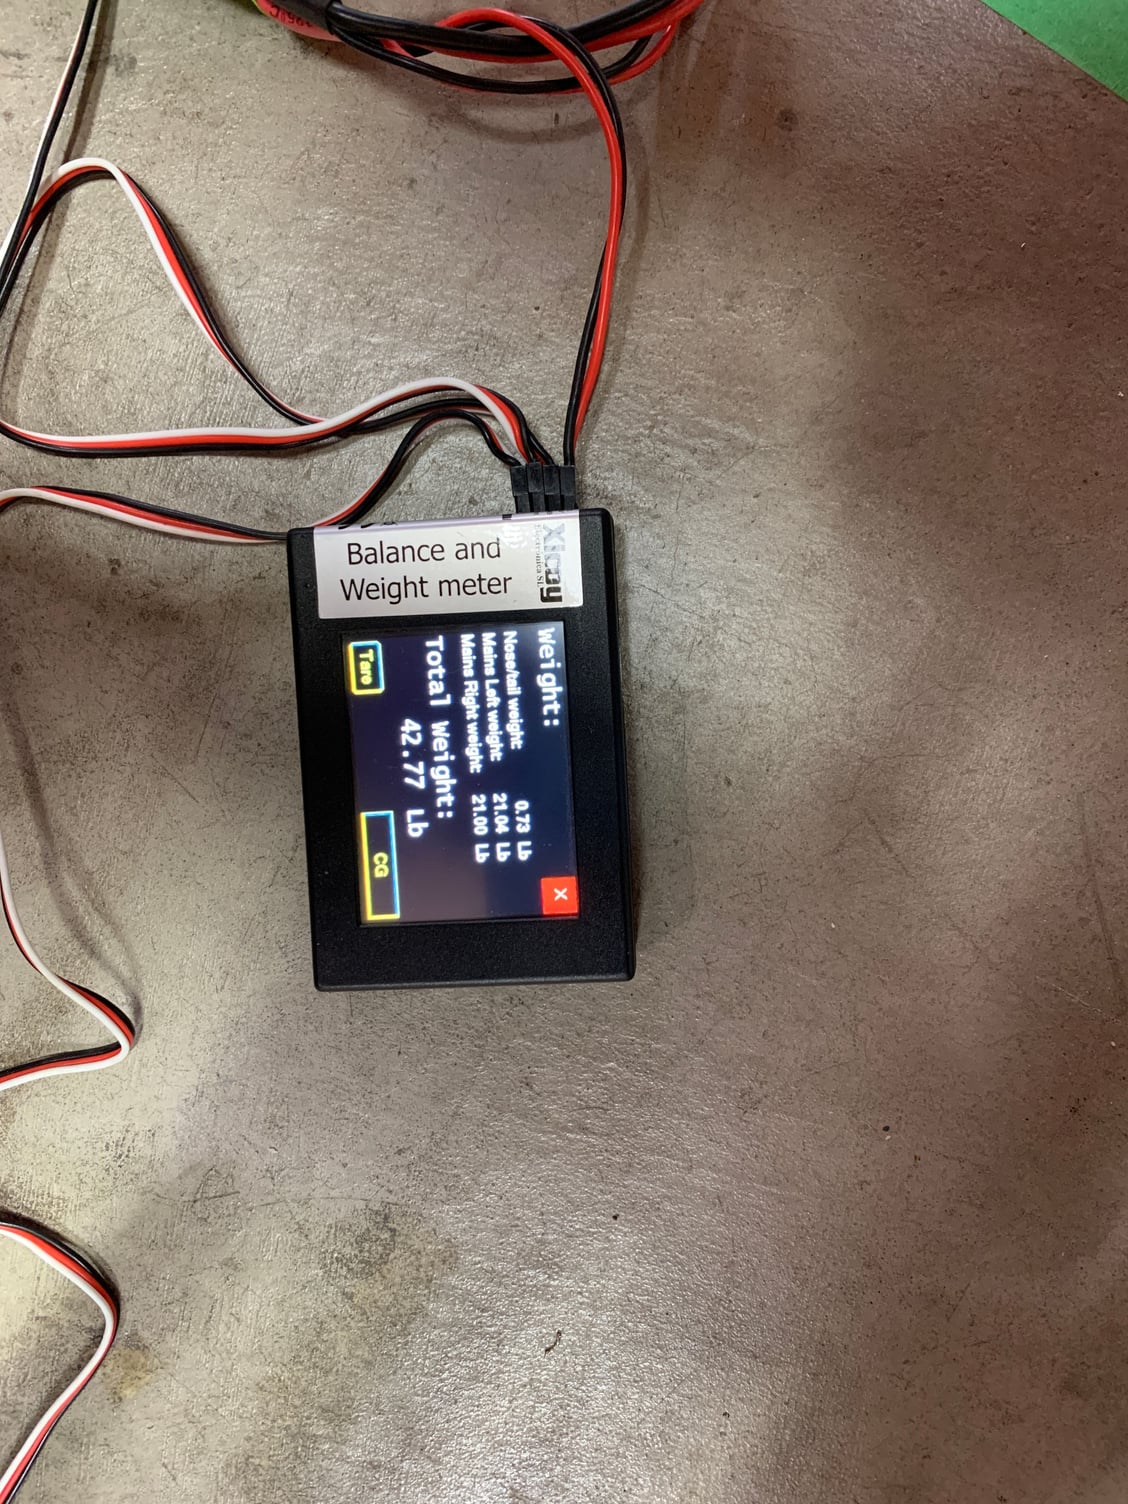
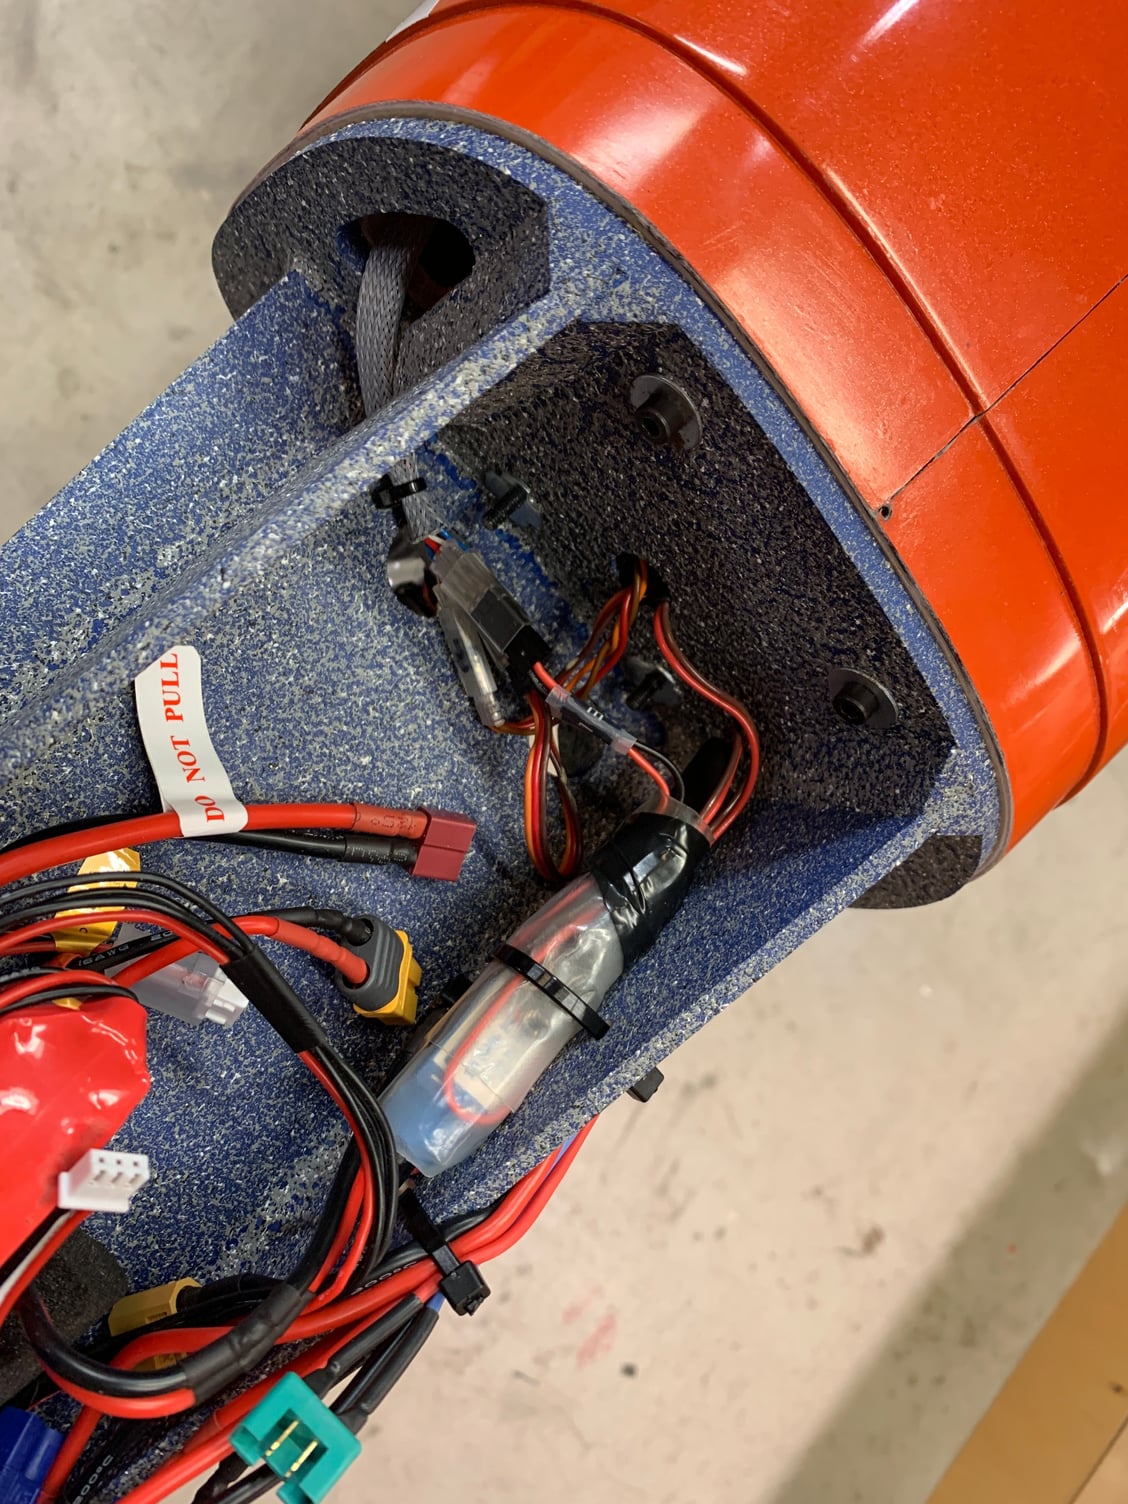
Nose weight a non issue and needed to get batteries as far forward in tray as possible. Glued some spare carbon tubes on the underside of the nose.
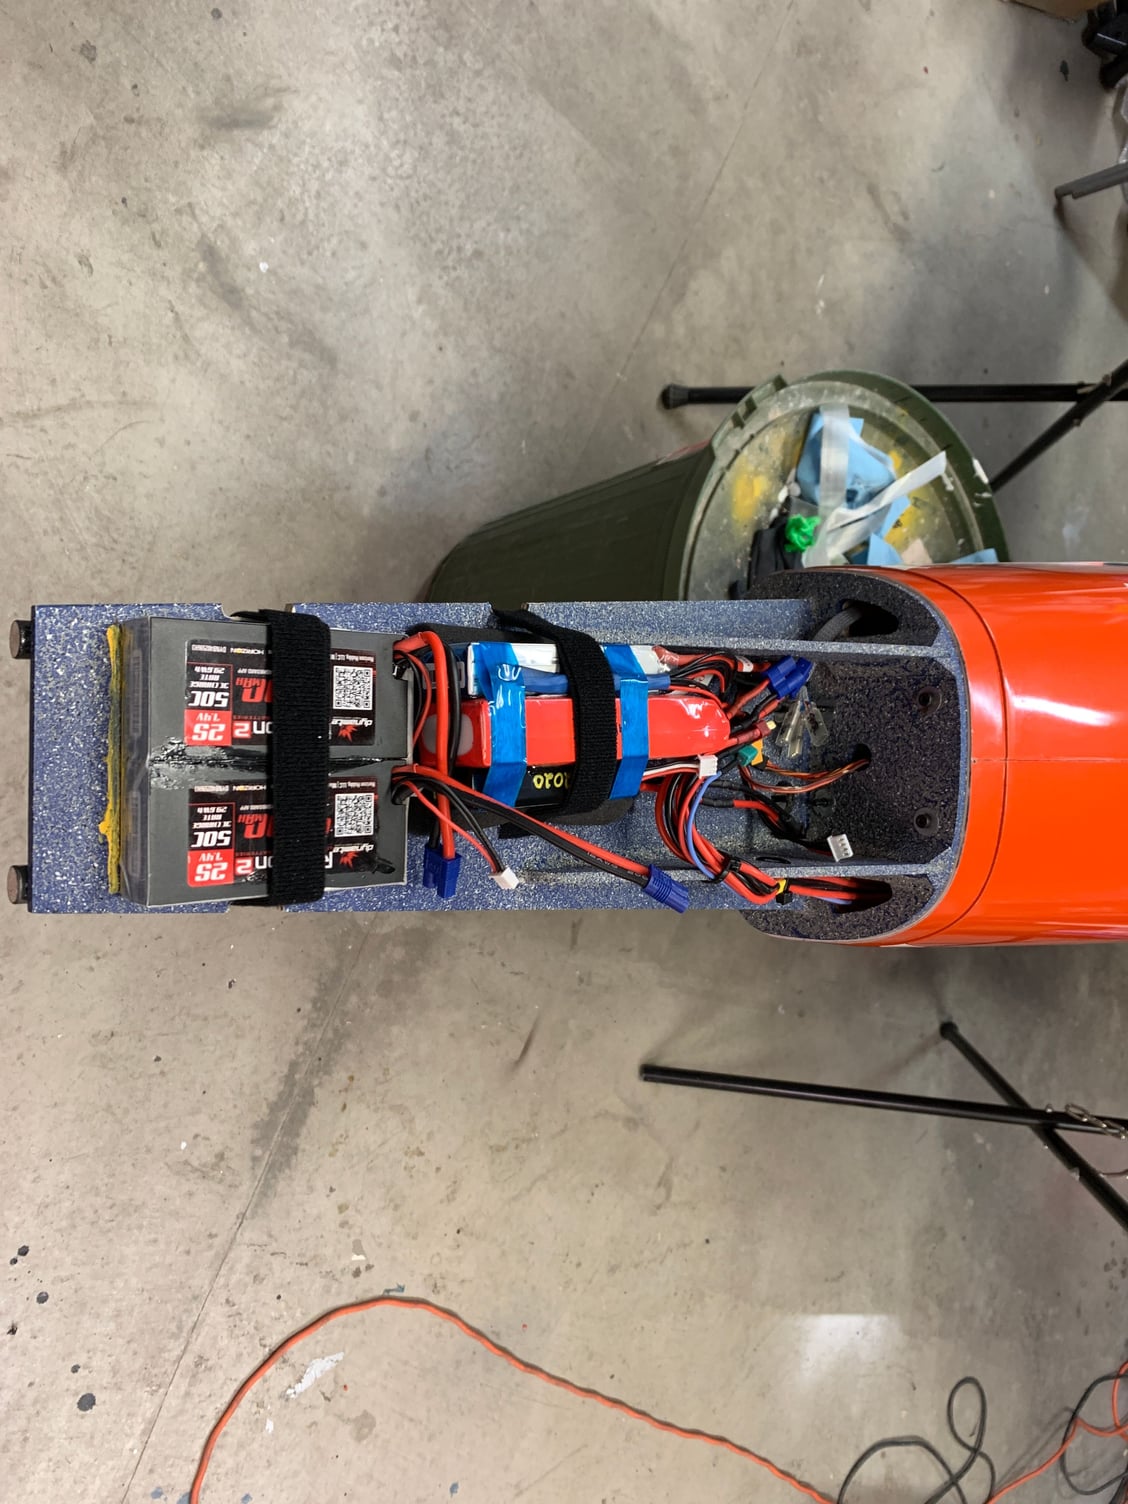
Final Battery placement. Space at front of tray for stick on Lead weights.
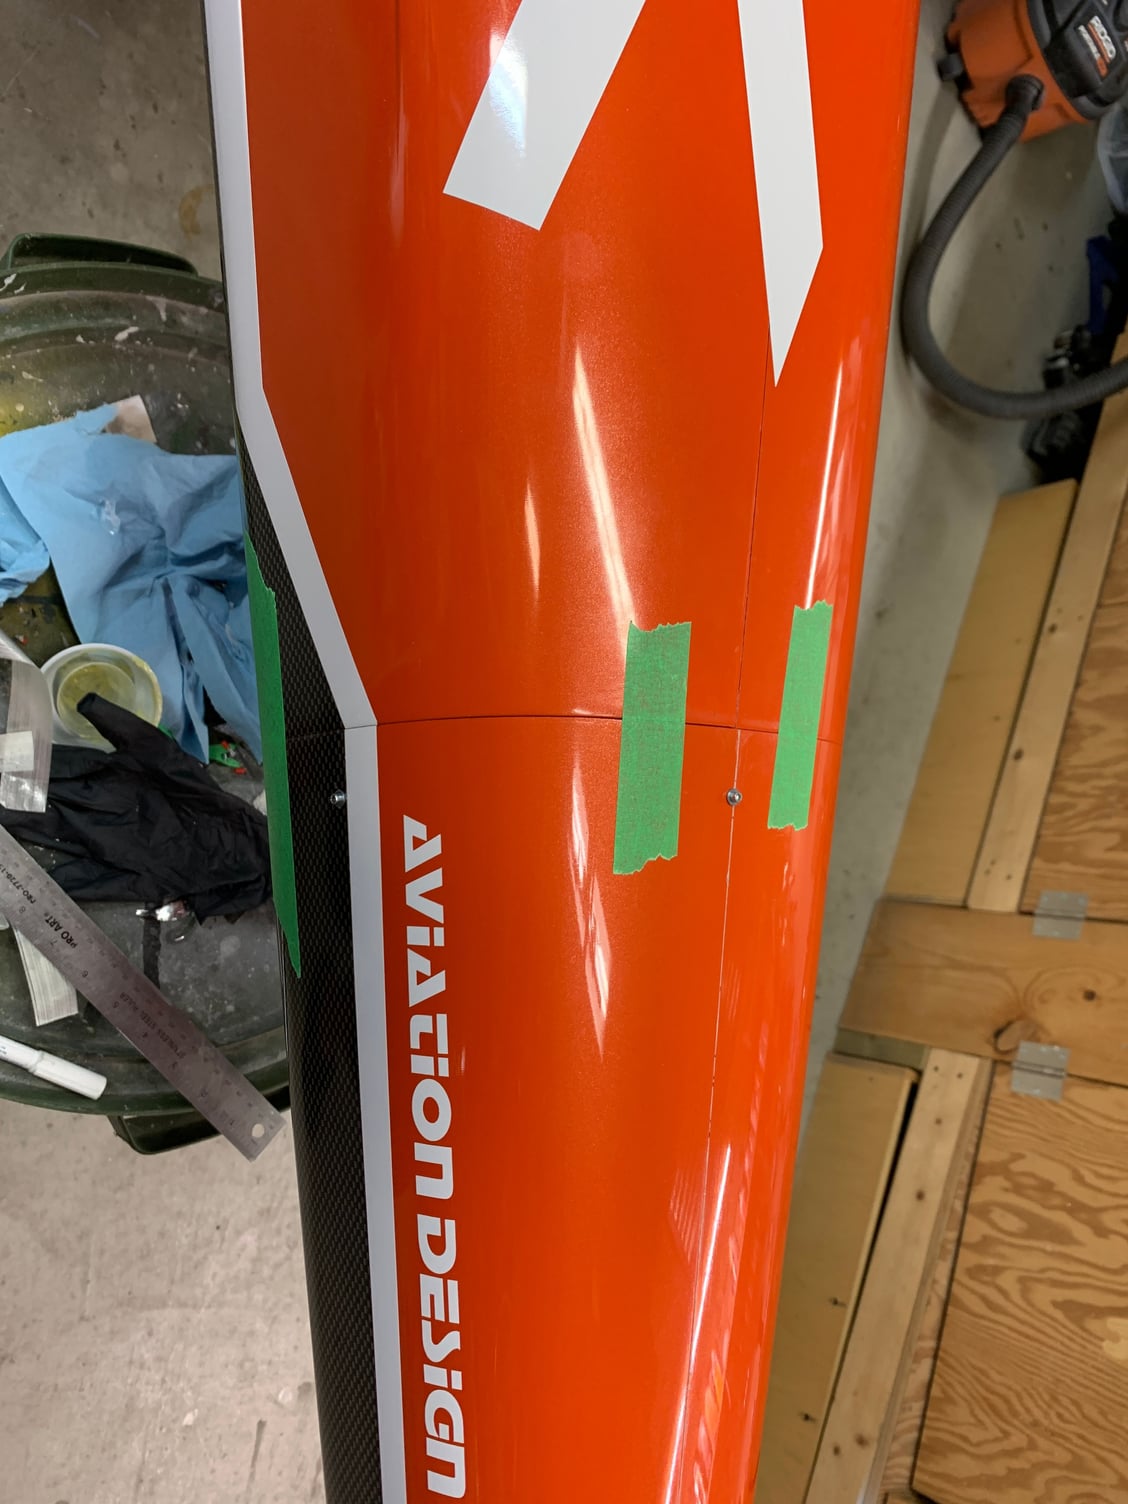
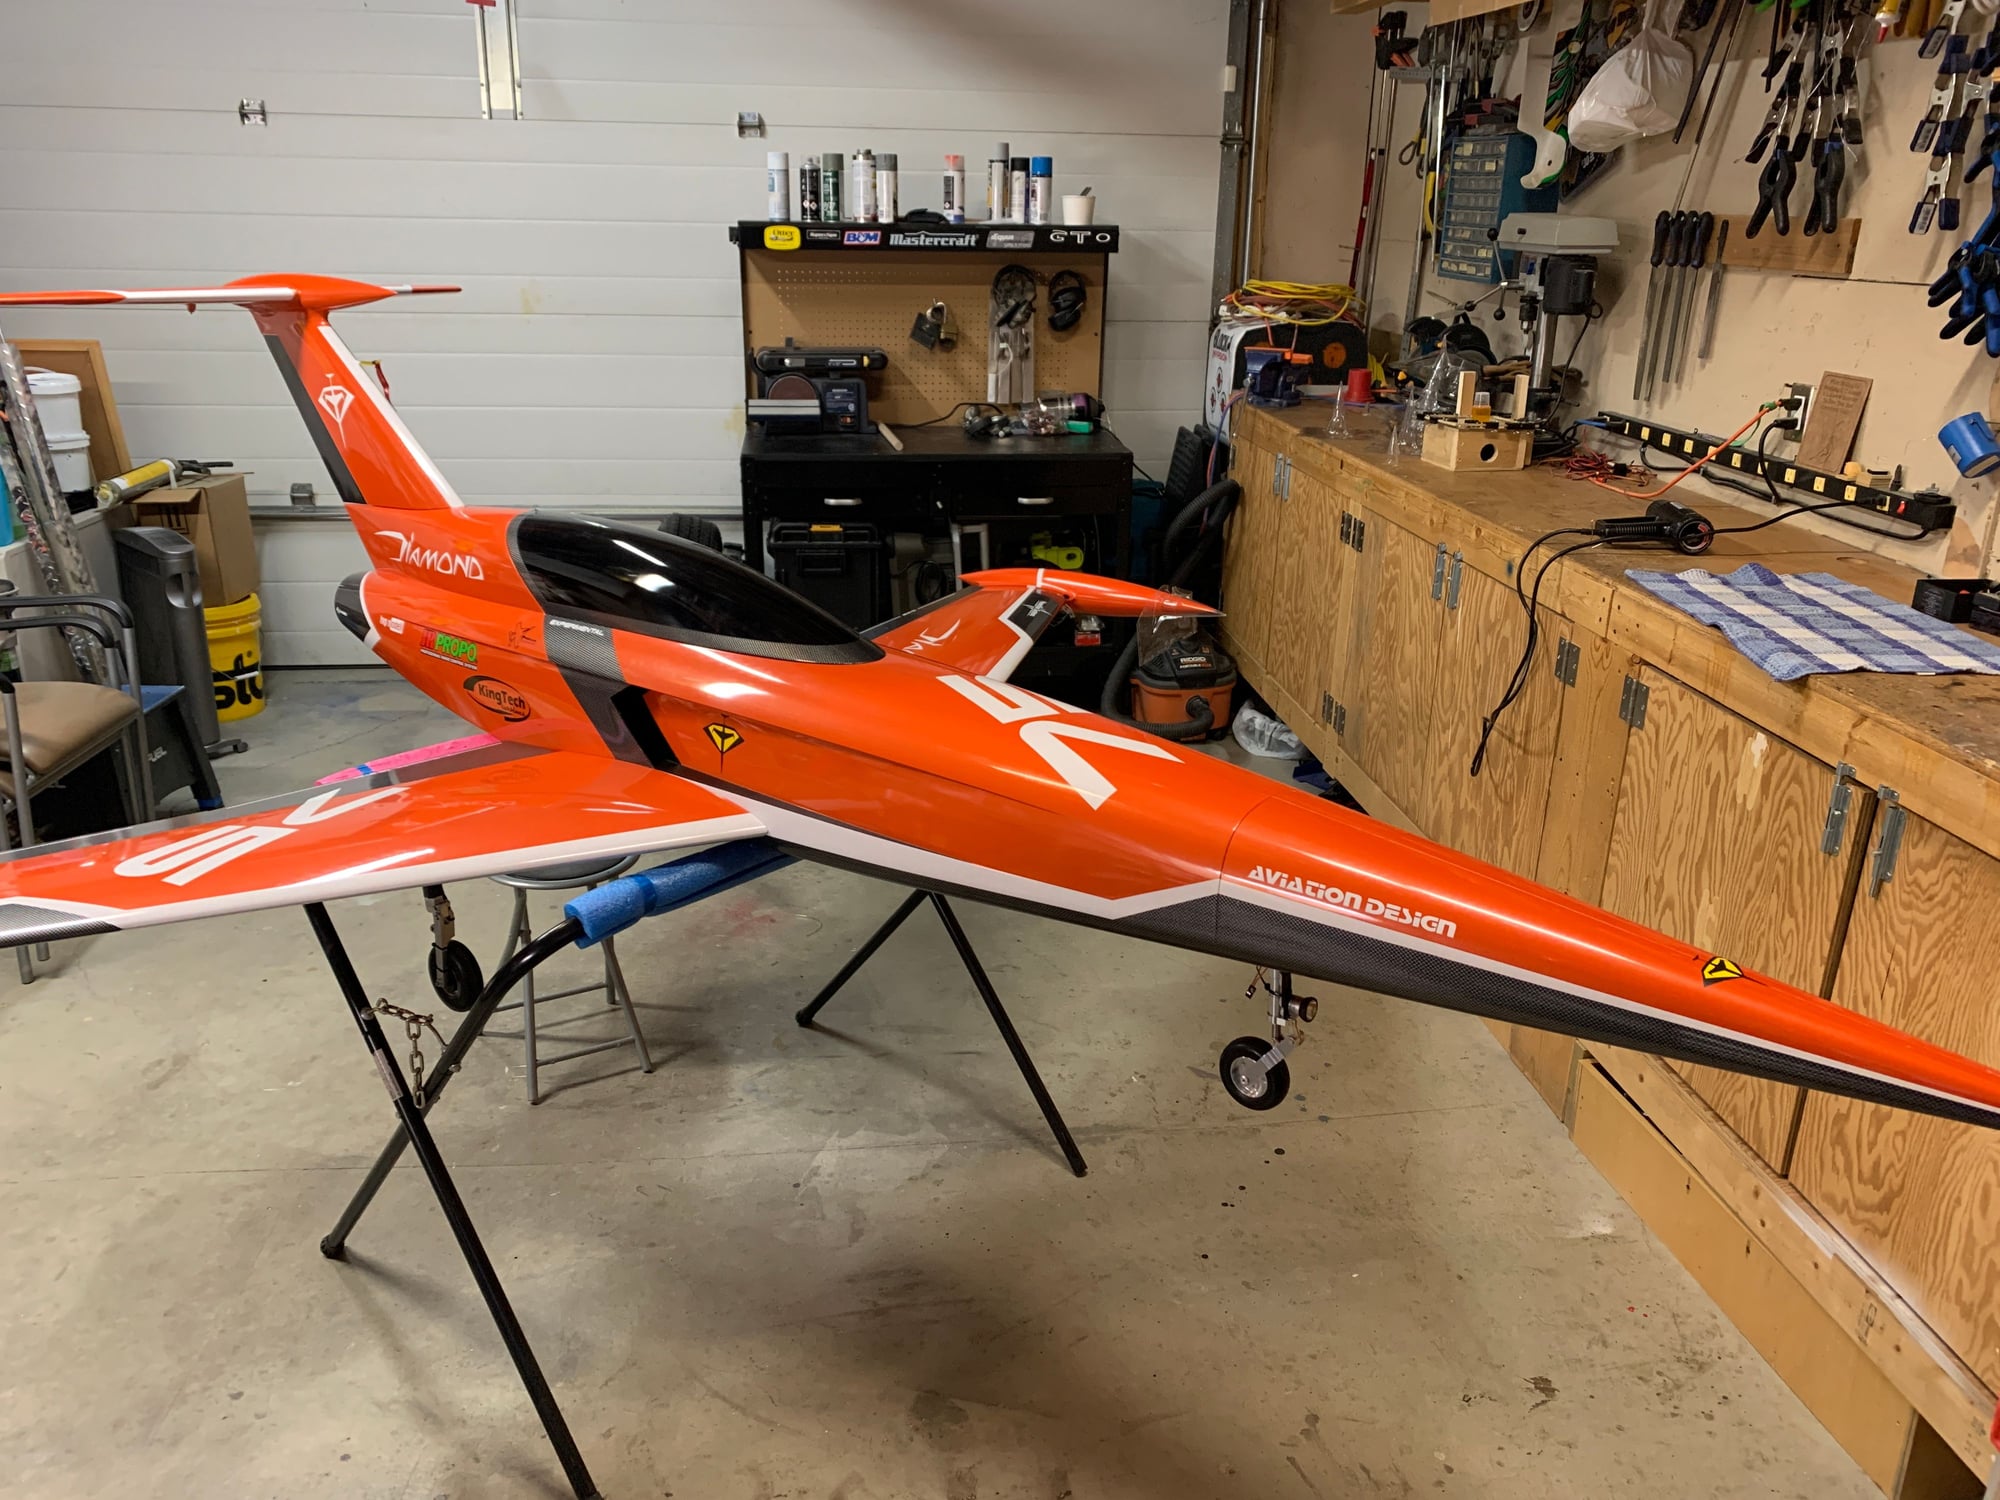
Nose cone mounted. Decided to keep it simple and use 5 servo screws.
The following users liked this post:
Skunkwrks (12-16-2020)

 12-16-2020 | 11:32 AM
#87
Senior Member
Great work Jonathan can't wait to her fly and see that Kingtech opened up, it will be great

The following users liked this post:
Canadian Man (01-26-2021)
12-20-2020 | 06:44 AM
#92

Last edited by skunkwurk; 12-20-2020 at 07:00 AM.
The following users liked this post:
Canadian Man (01-26-2021)
12-20-2020 | 06:53 AM
#93
My Feedback: (176)
I�m not sure but I think that actually aviation design is working on a full scale diamond but this is just not confirmed news, this will be actually very attractive jet much nicer than viper and probably faster and with using smaller turbine with longer range maybe two tandem seats,
12-21-2020 | 08:24 AM
#95
I�m not sure but I think that actually aviation design is working on a full scale diamond but this is just not confirmed news, this will be actually very attractive jet much nicer than viper and probably faster and with using smaller turbine with longer range maybe two tandem seats,

 12-21-2020 | 08:53 AM
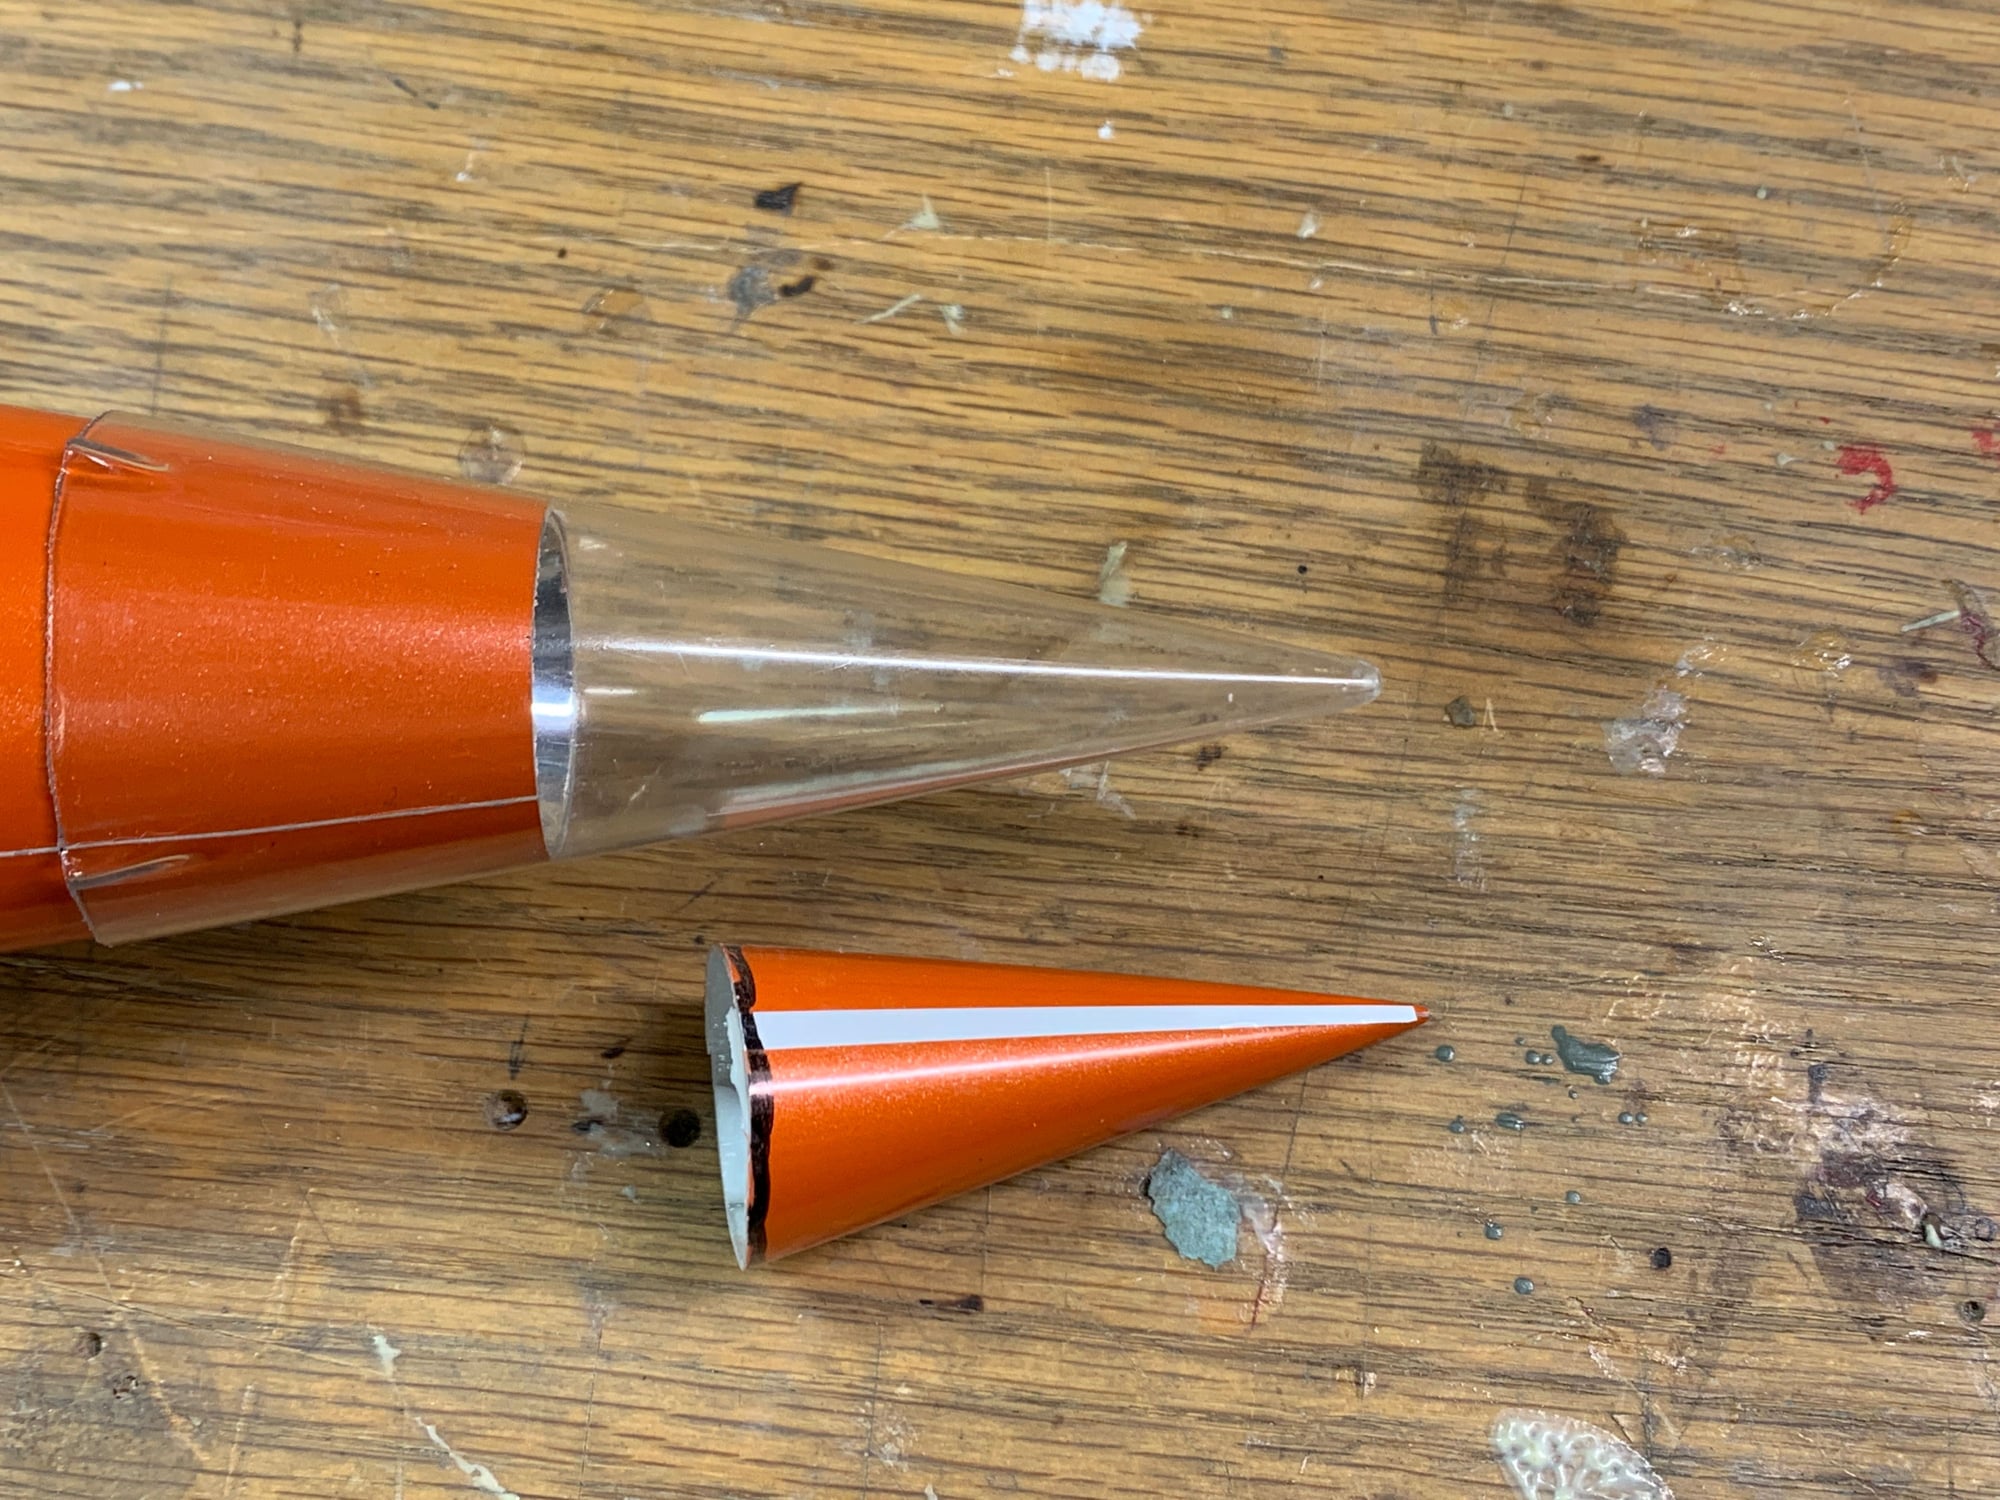
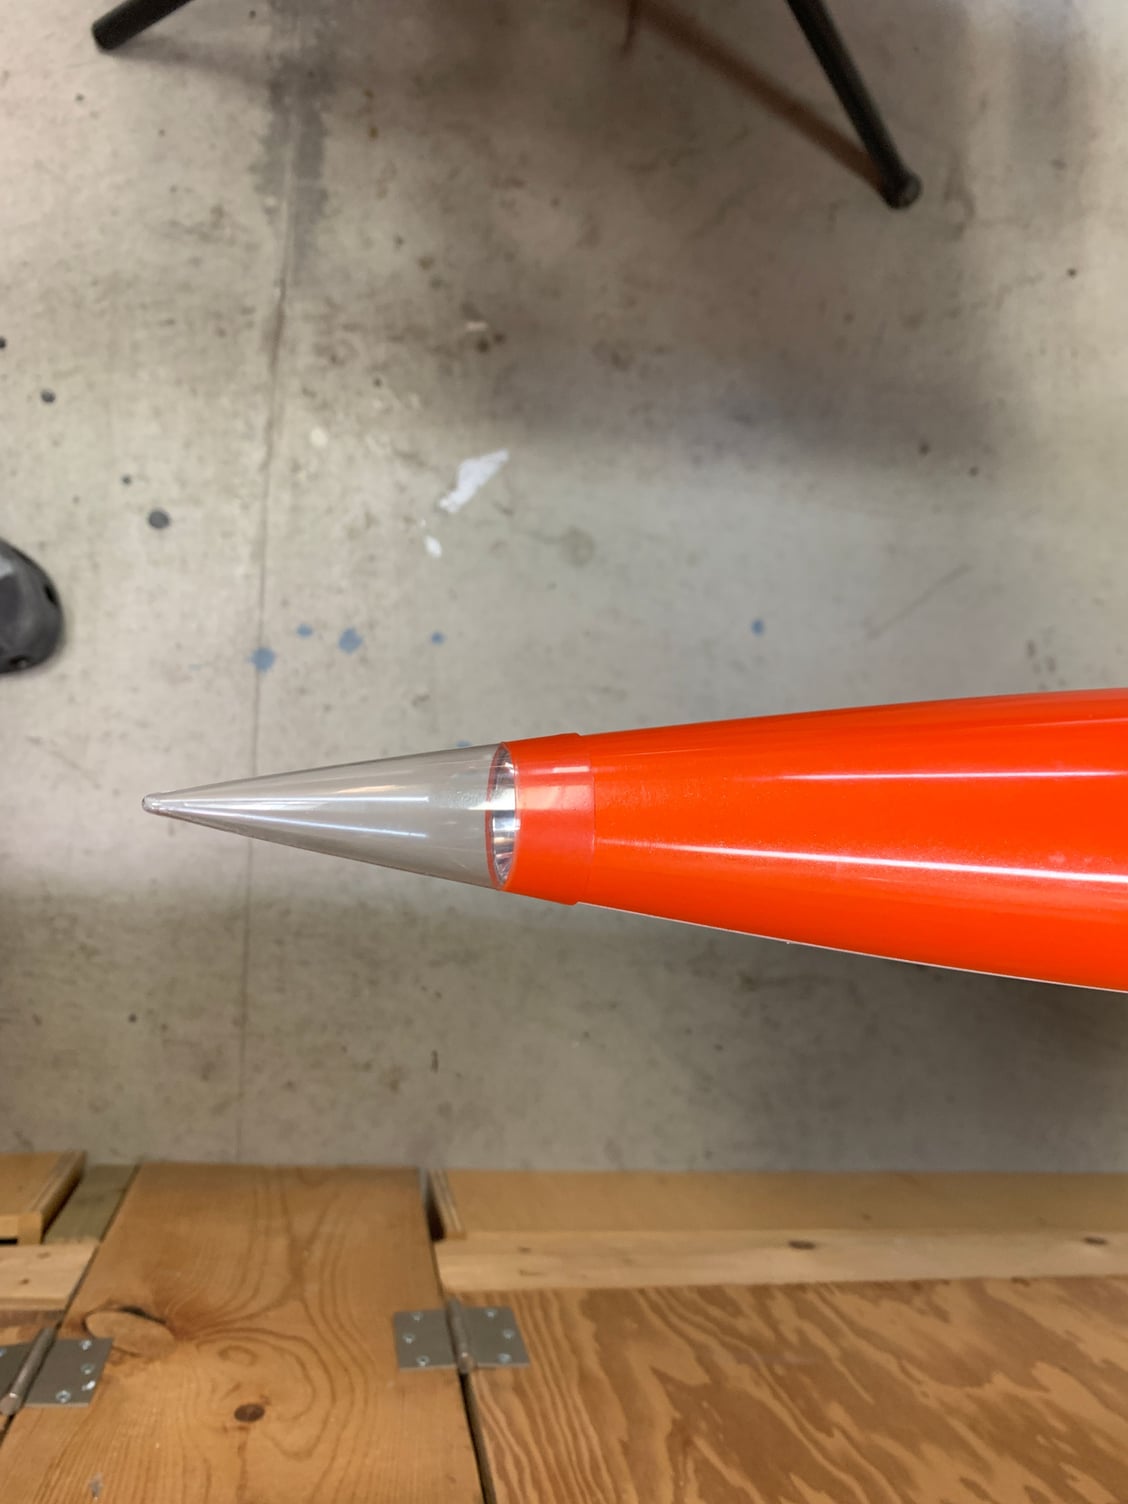
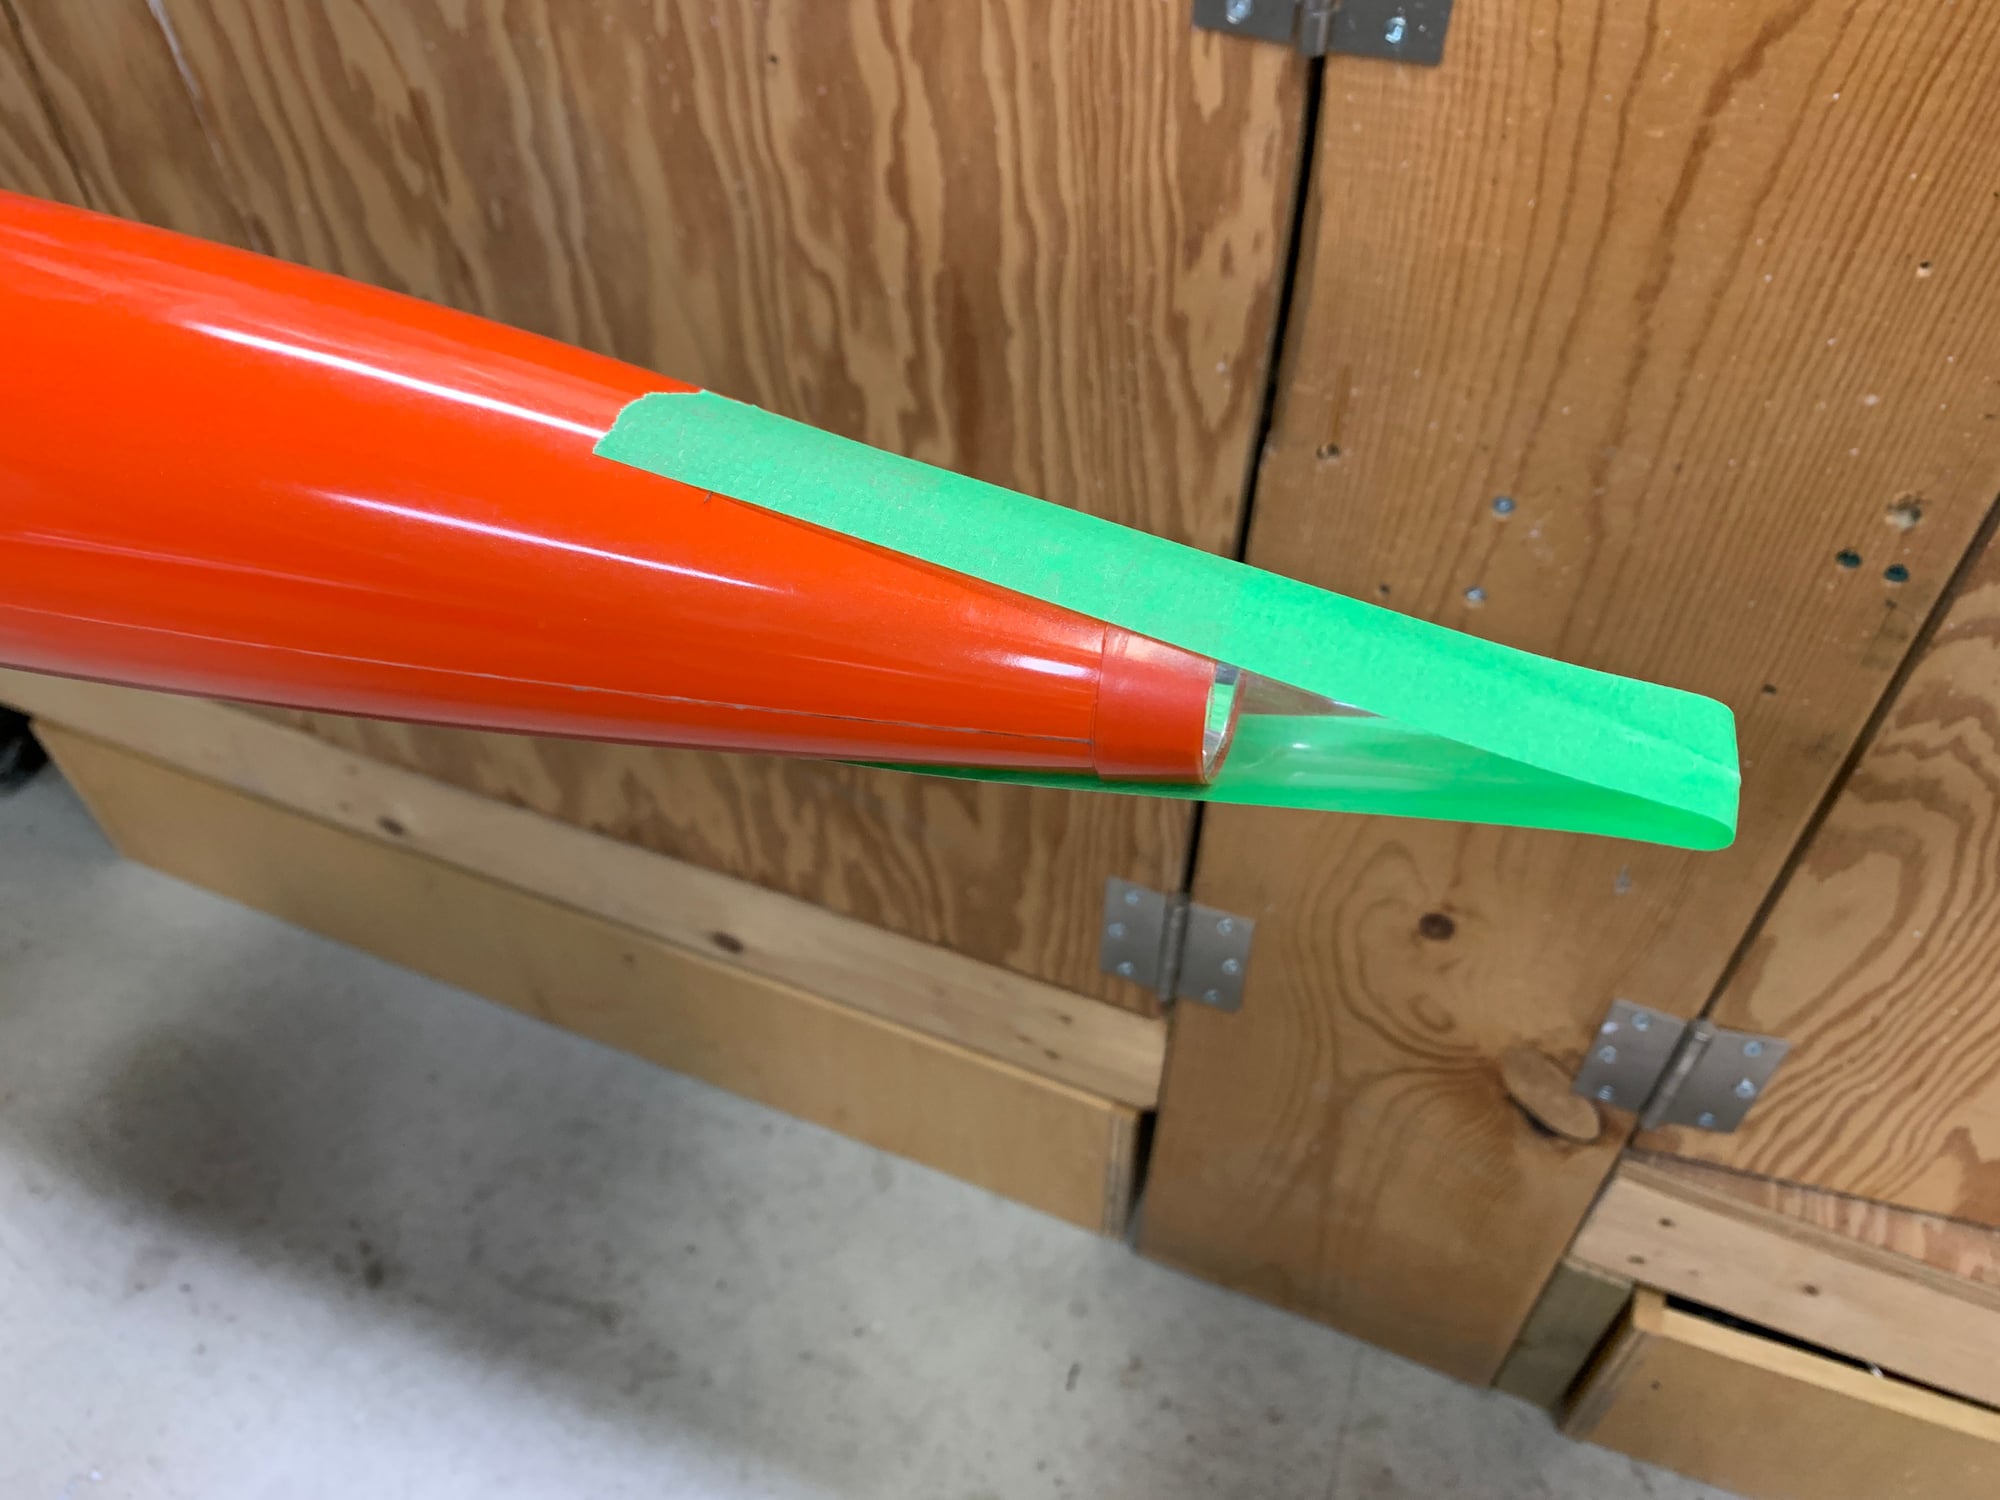
#97
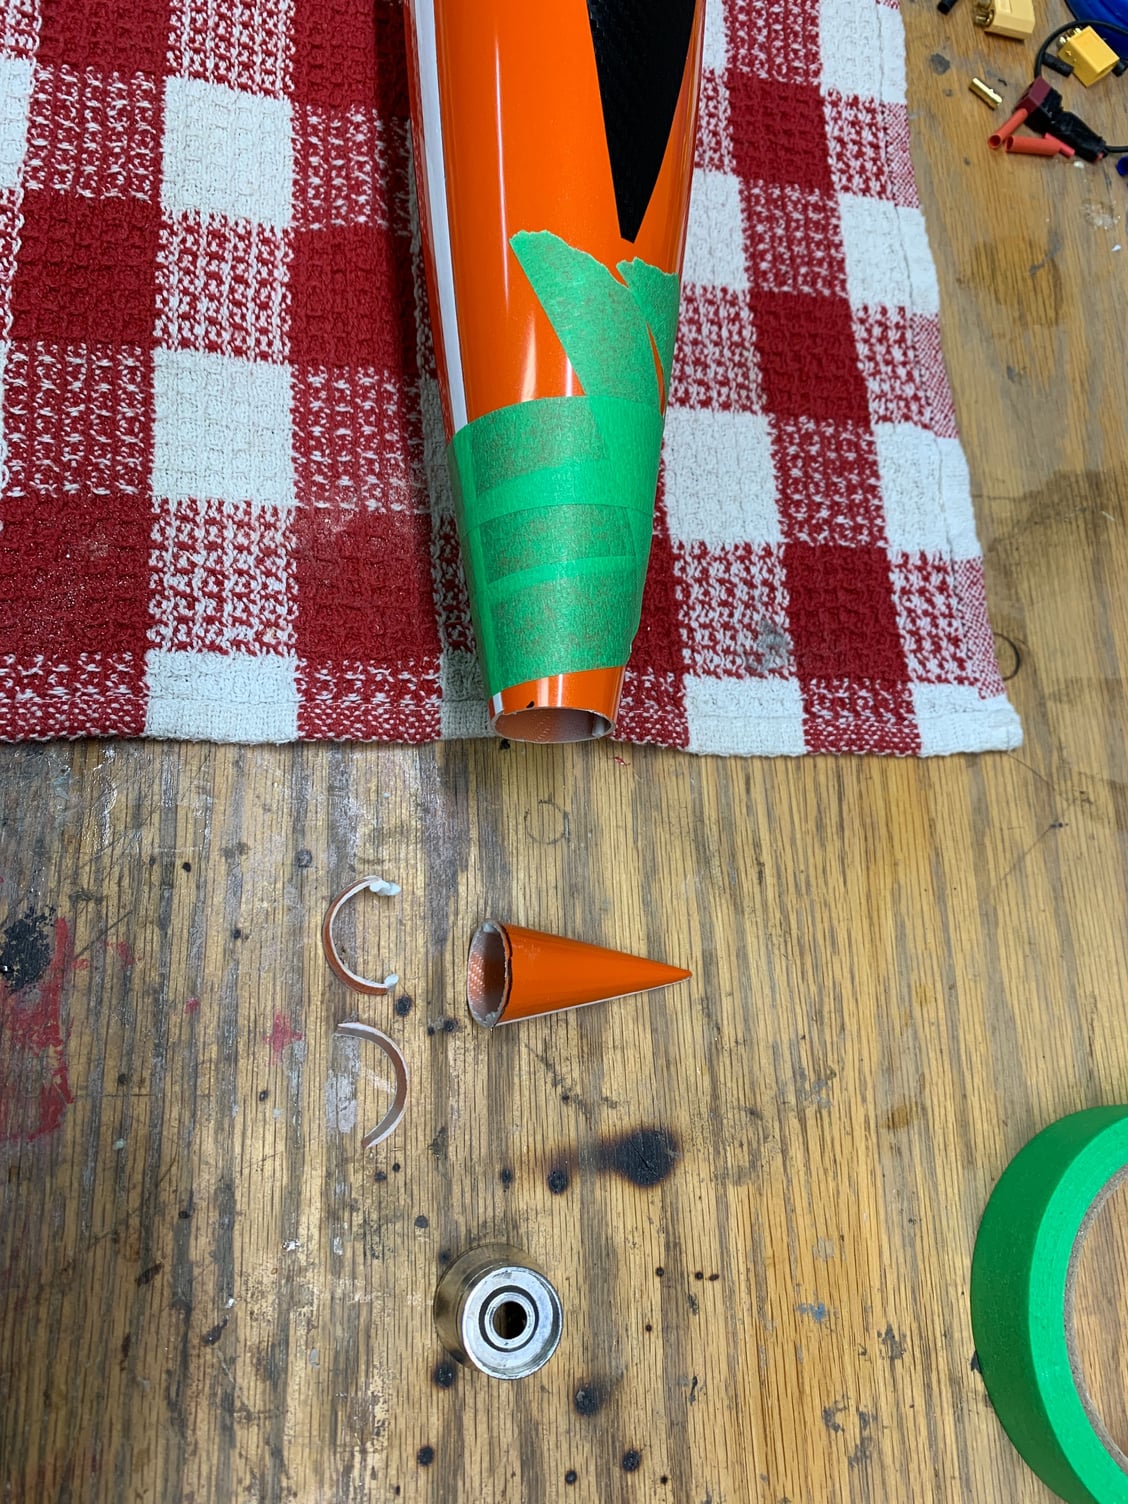
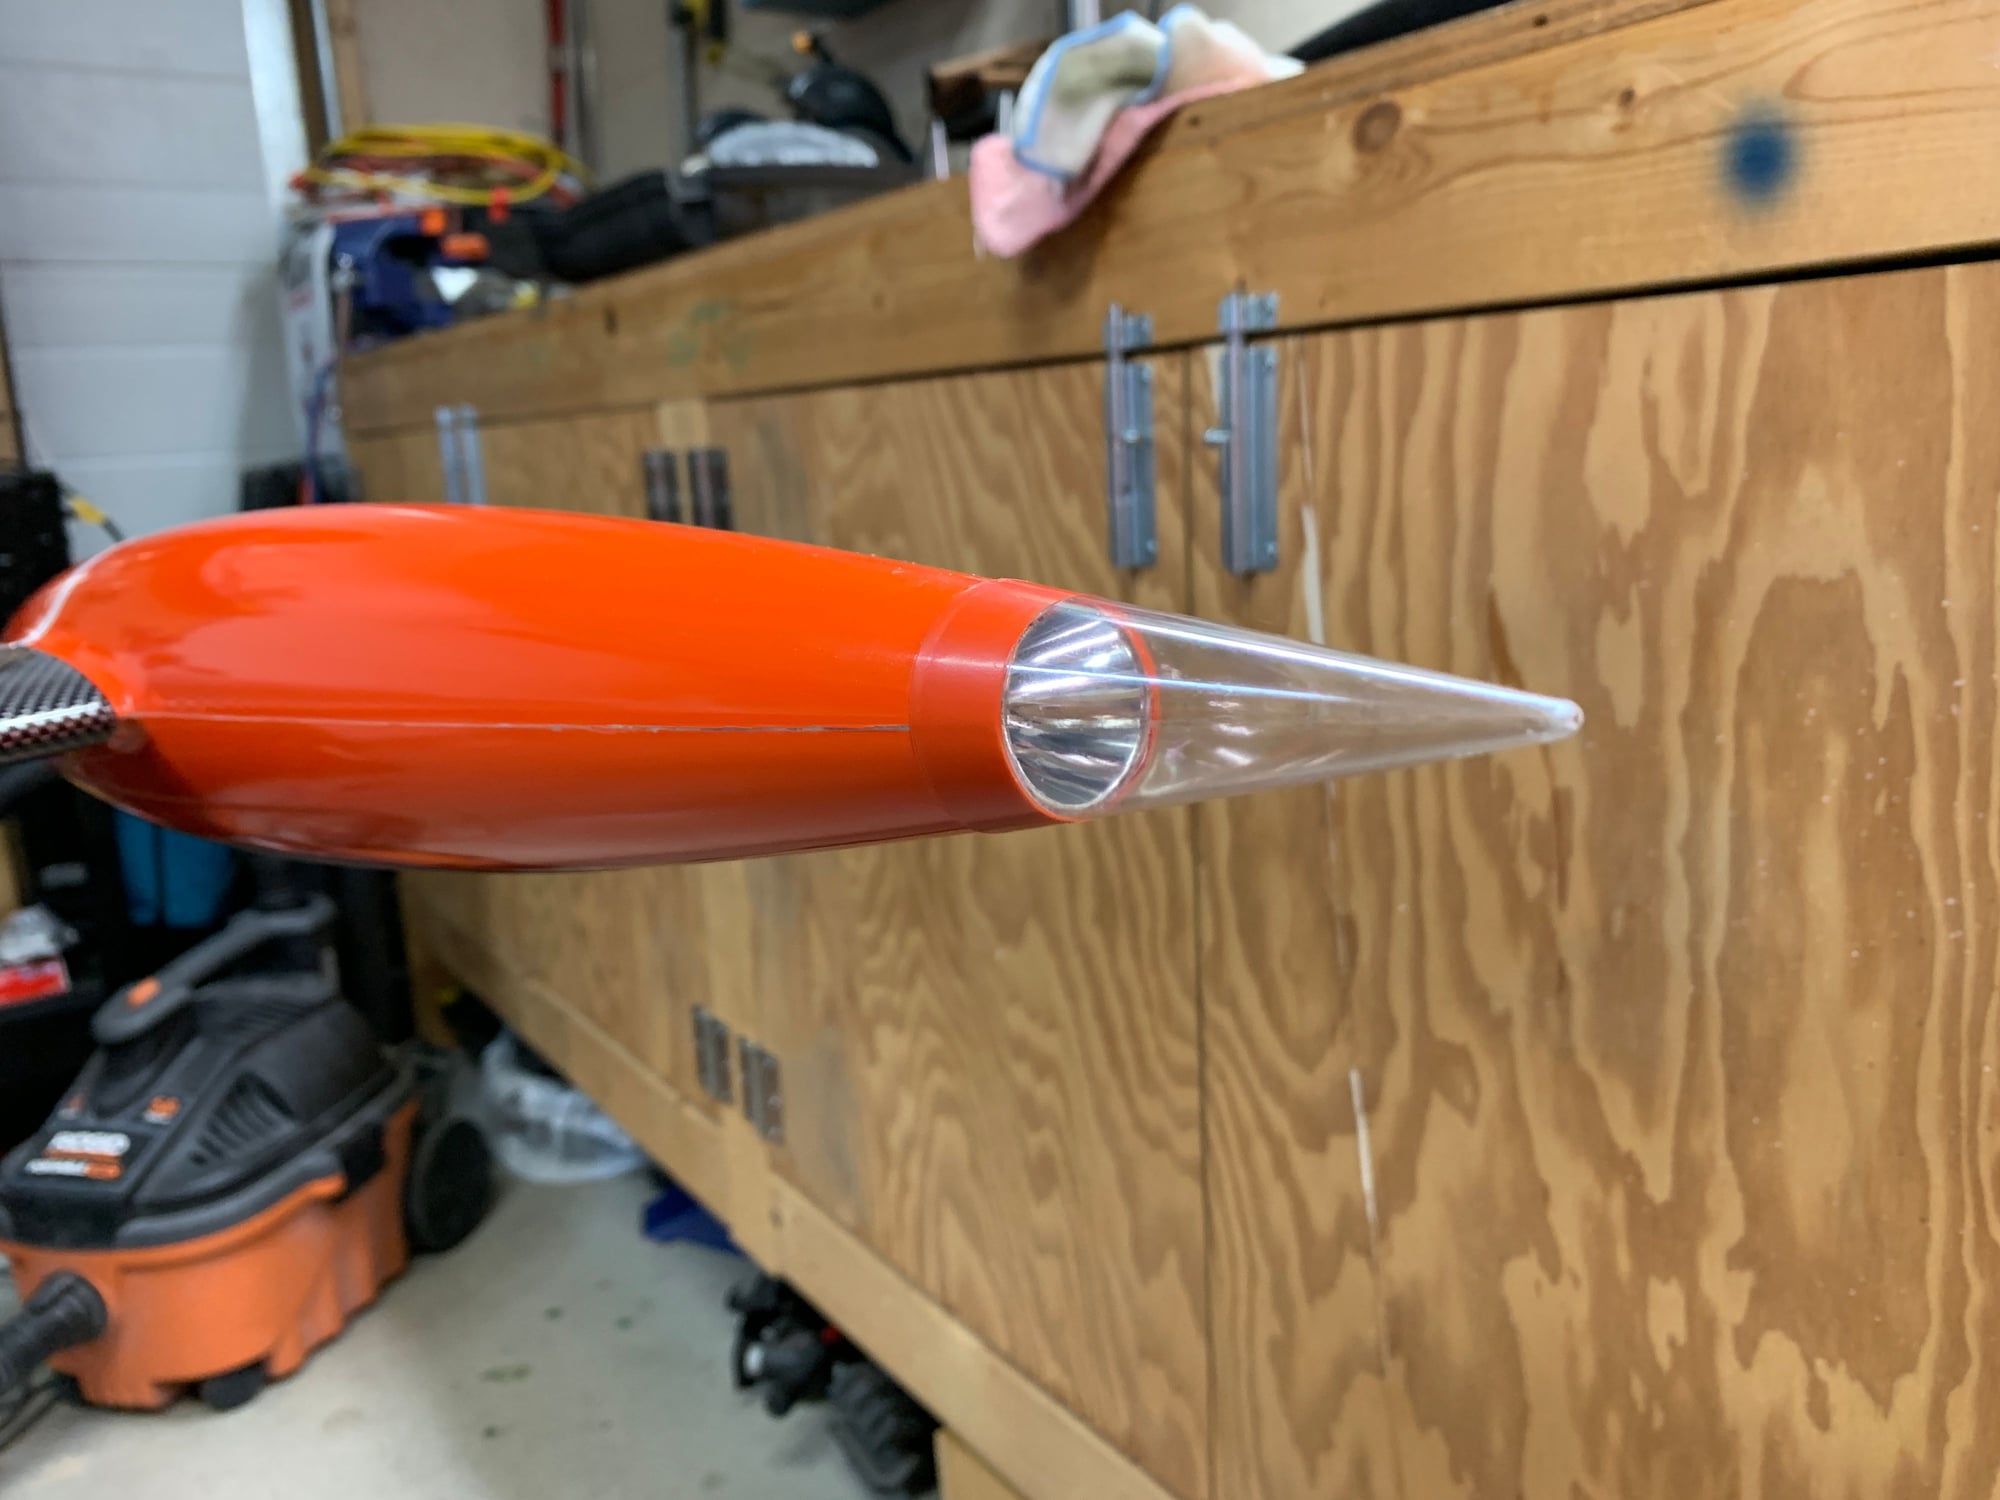
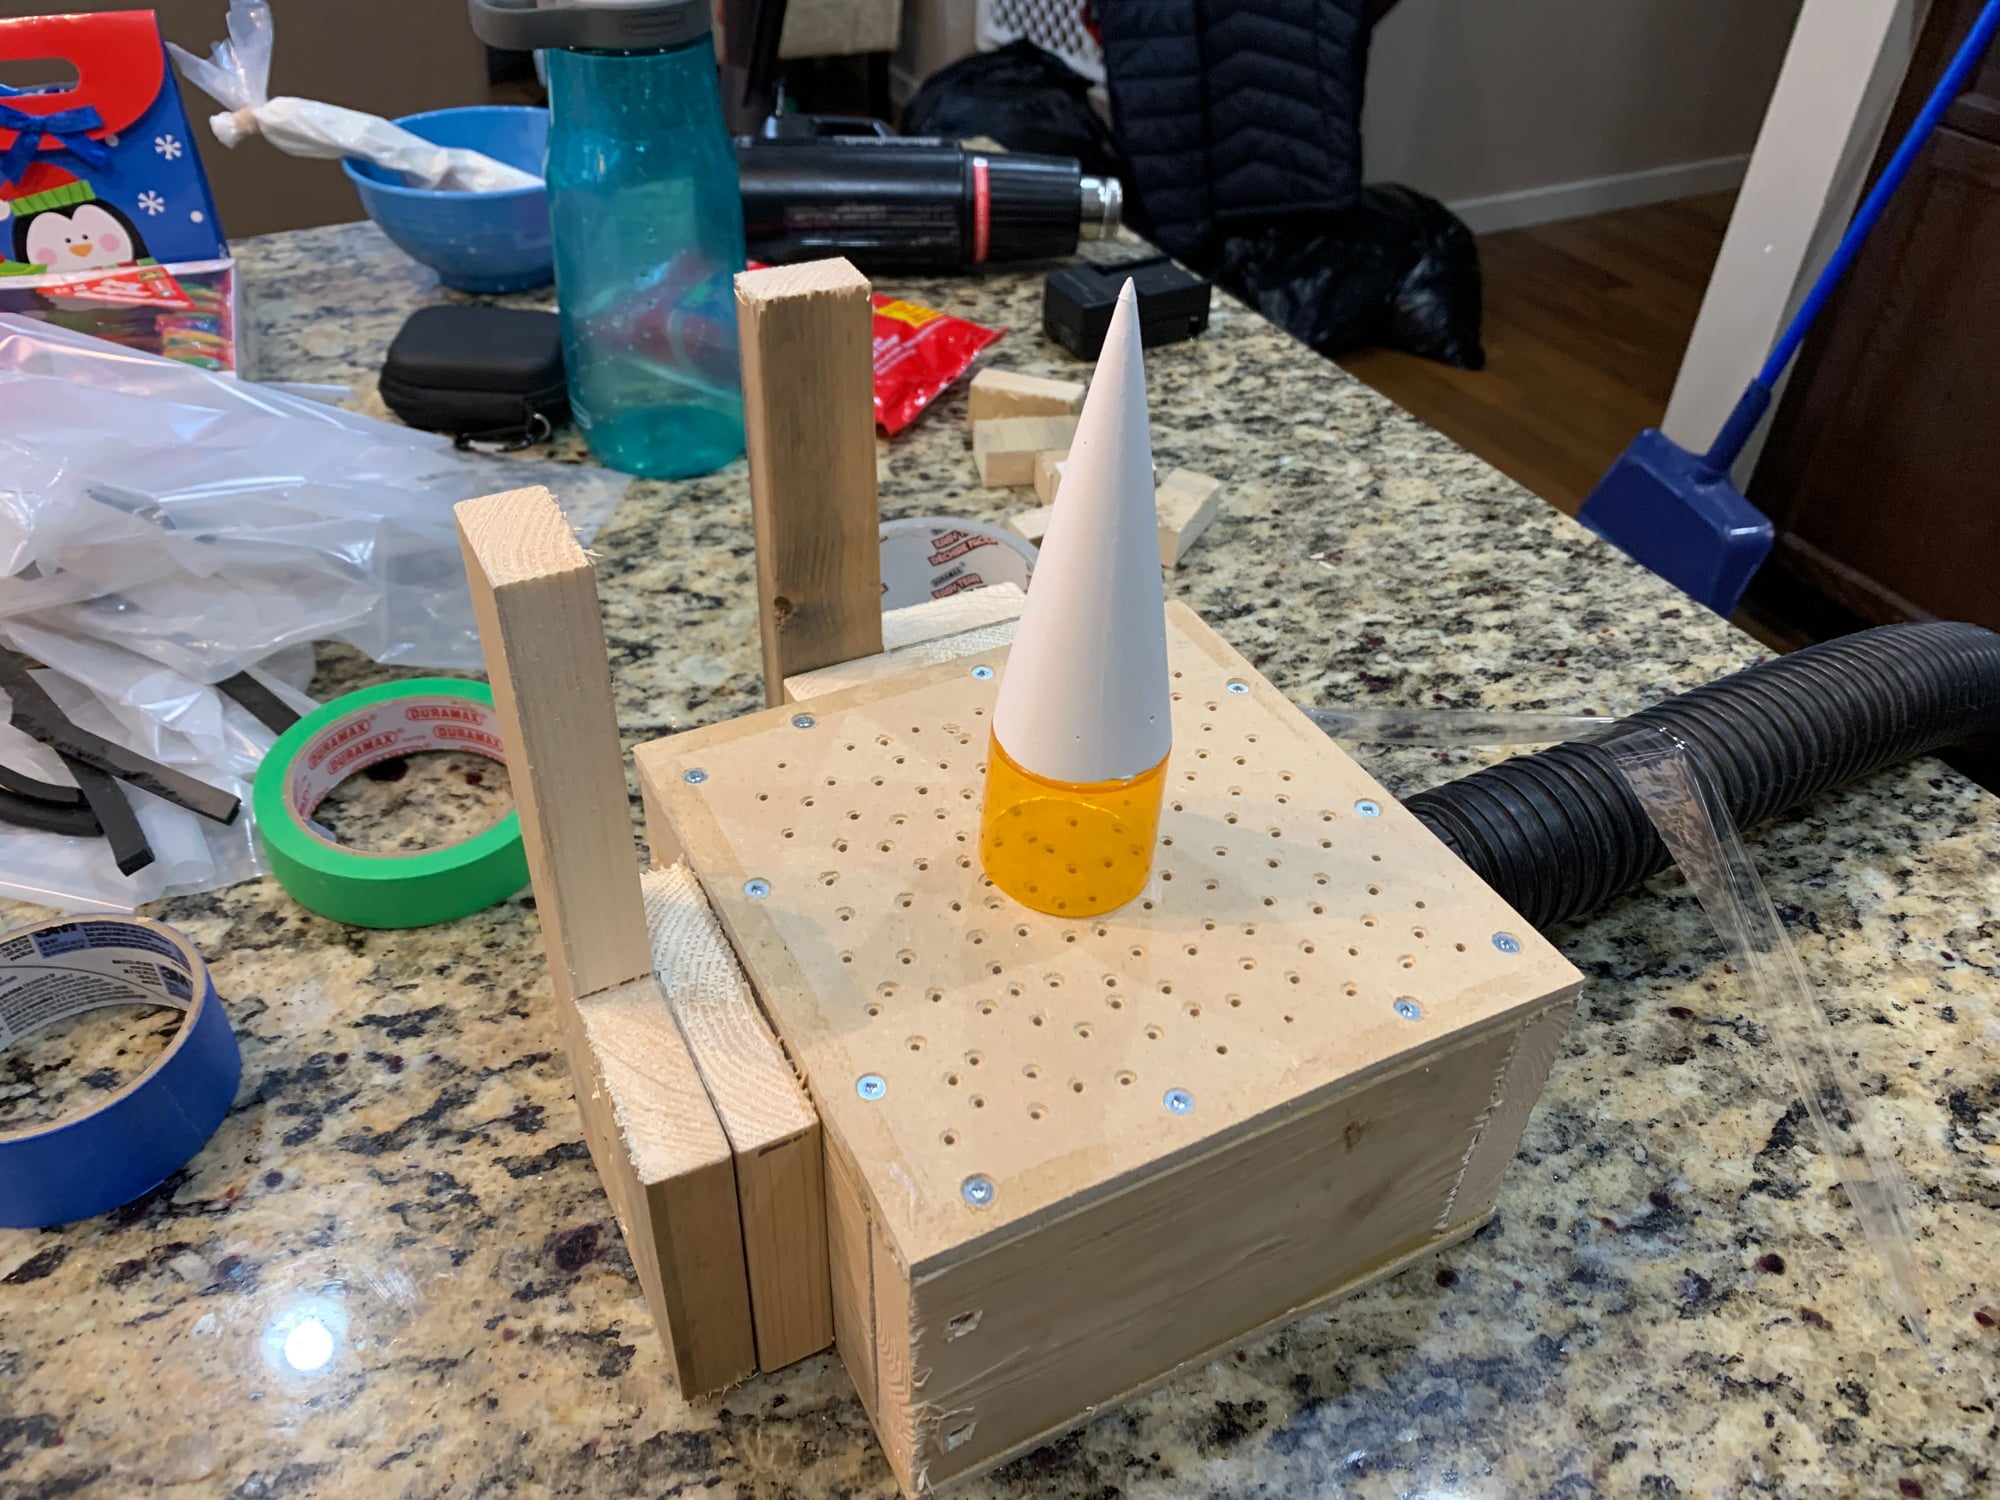
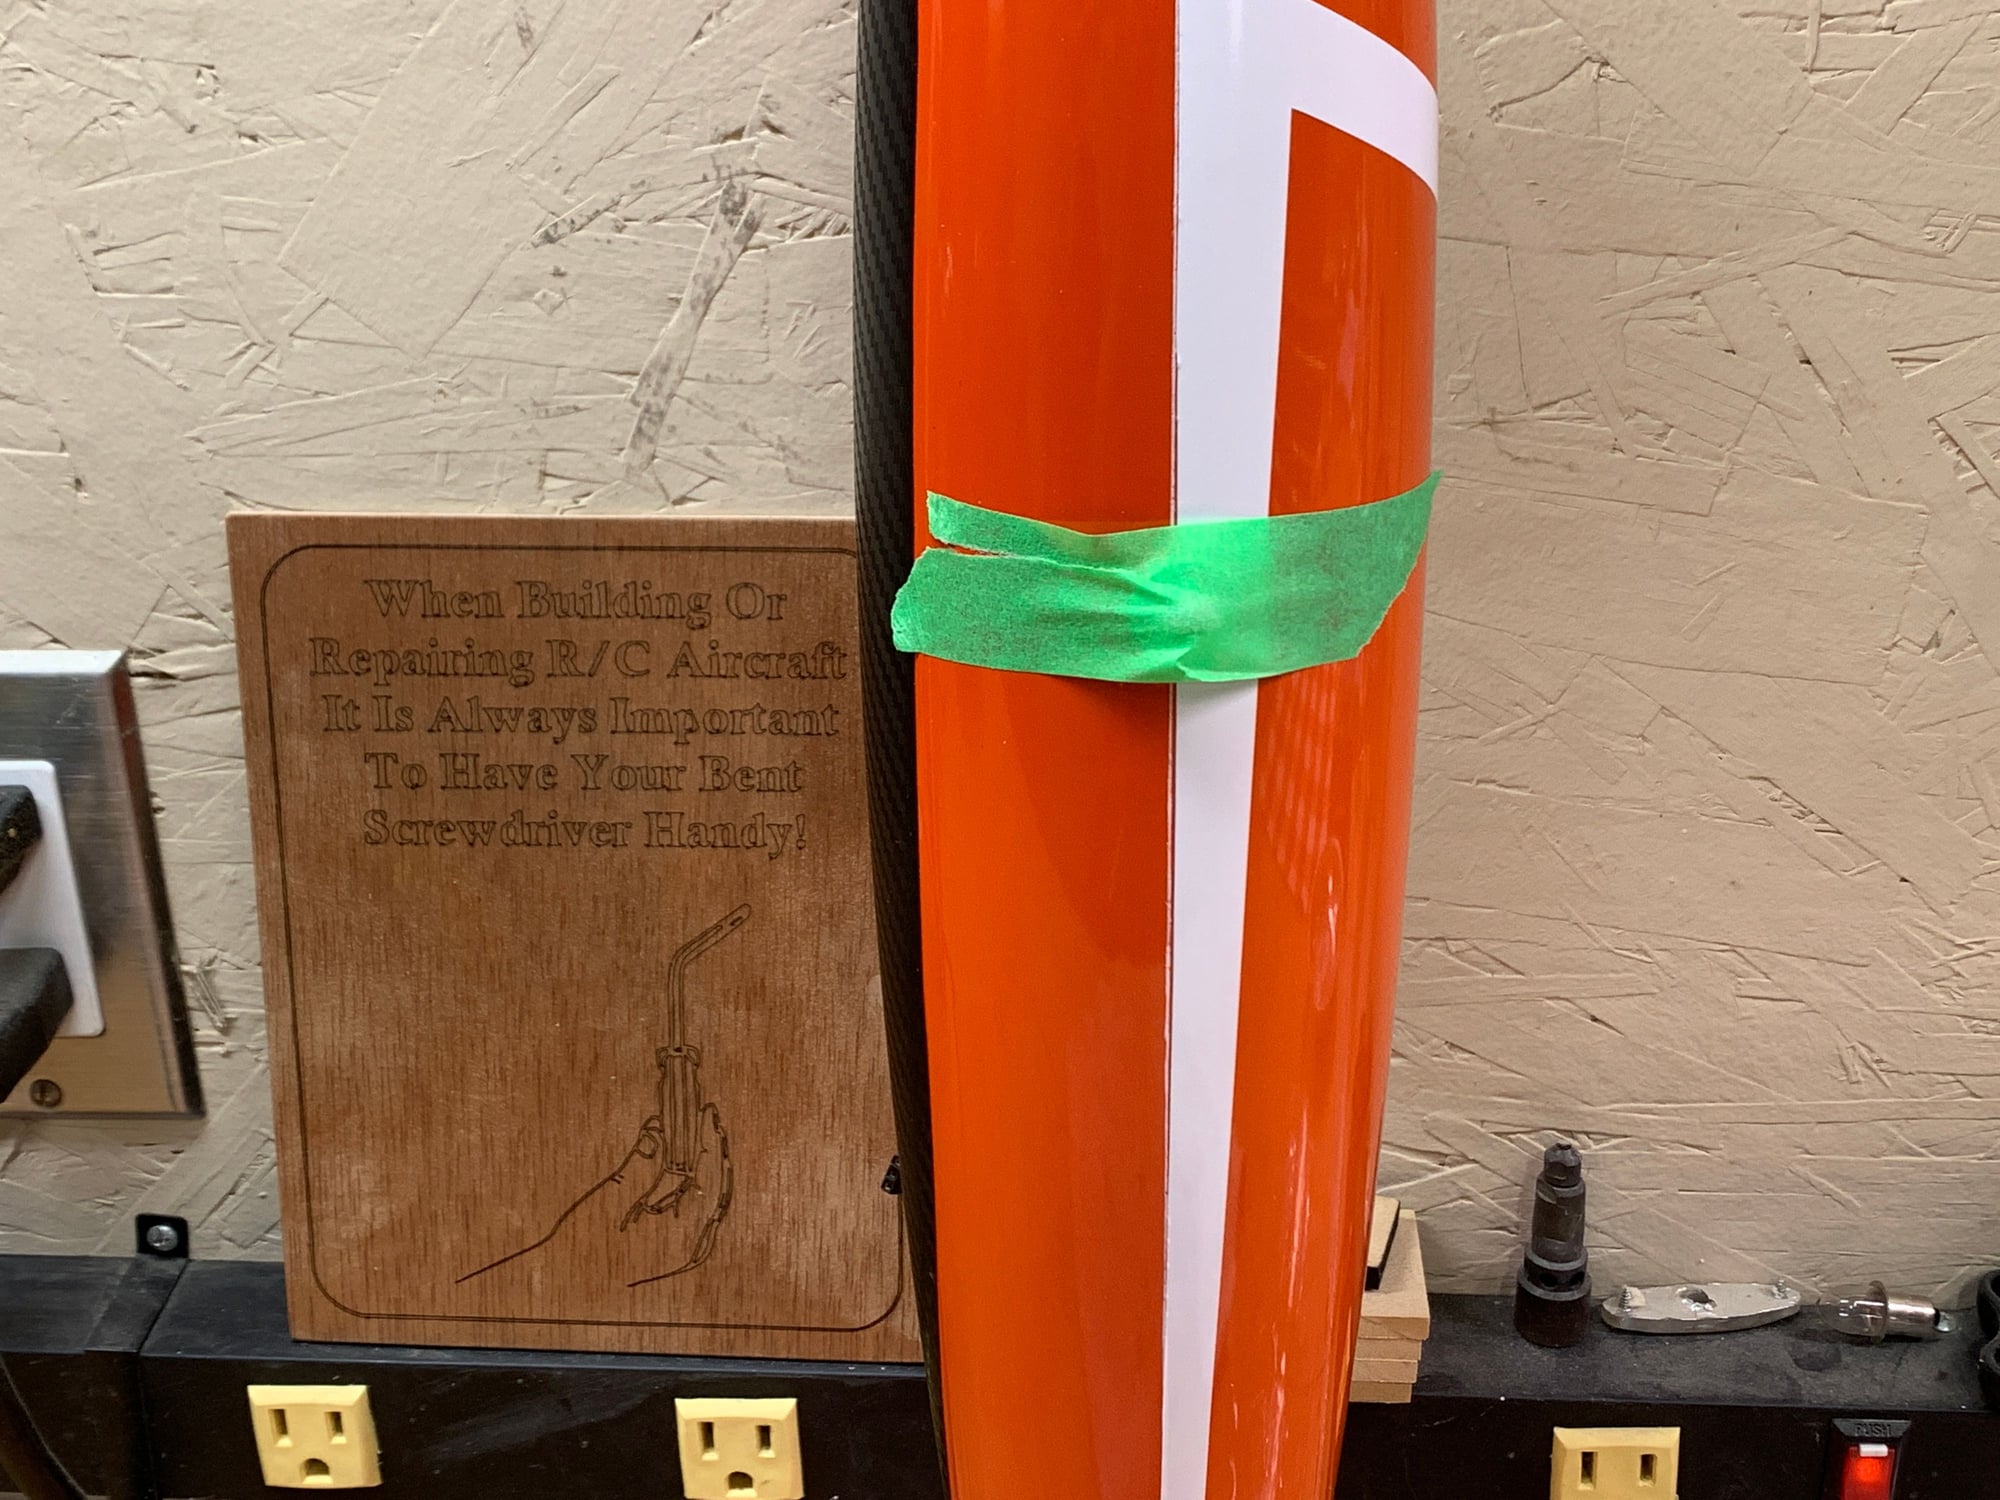
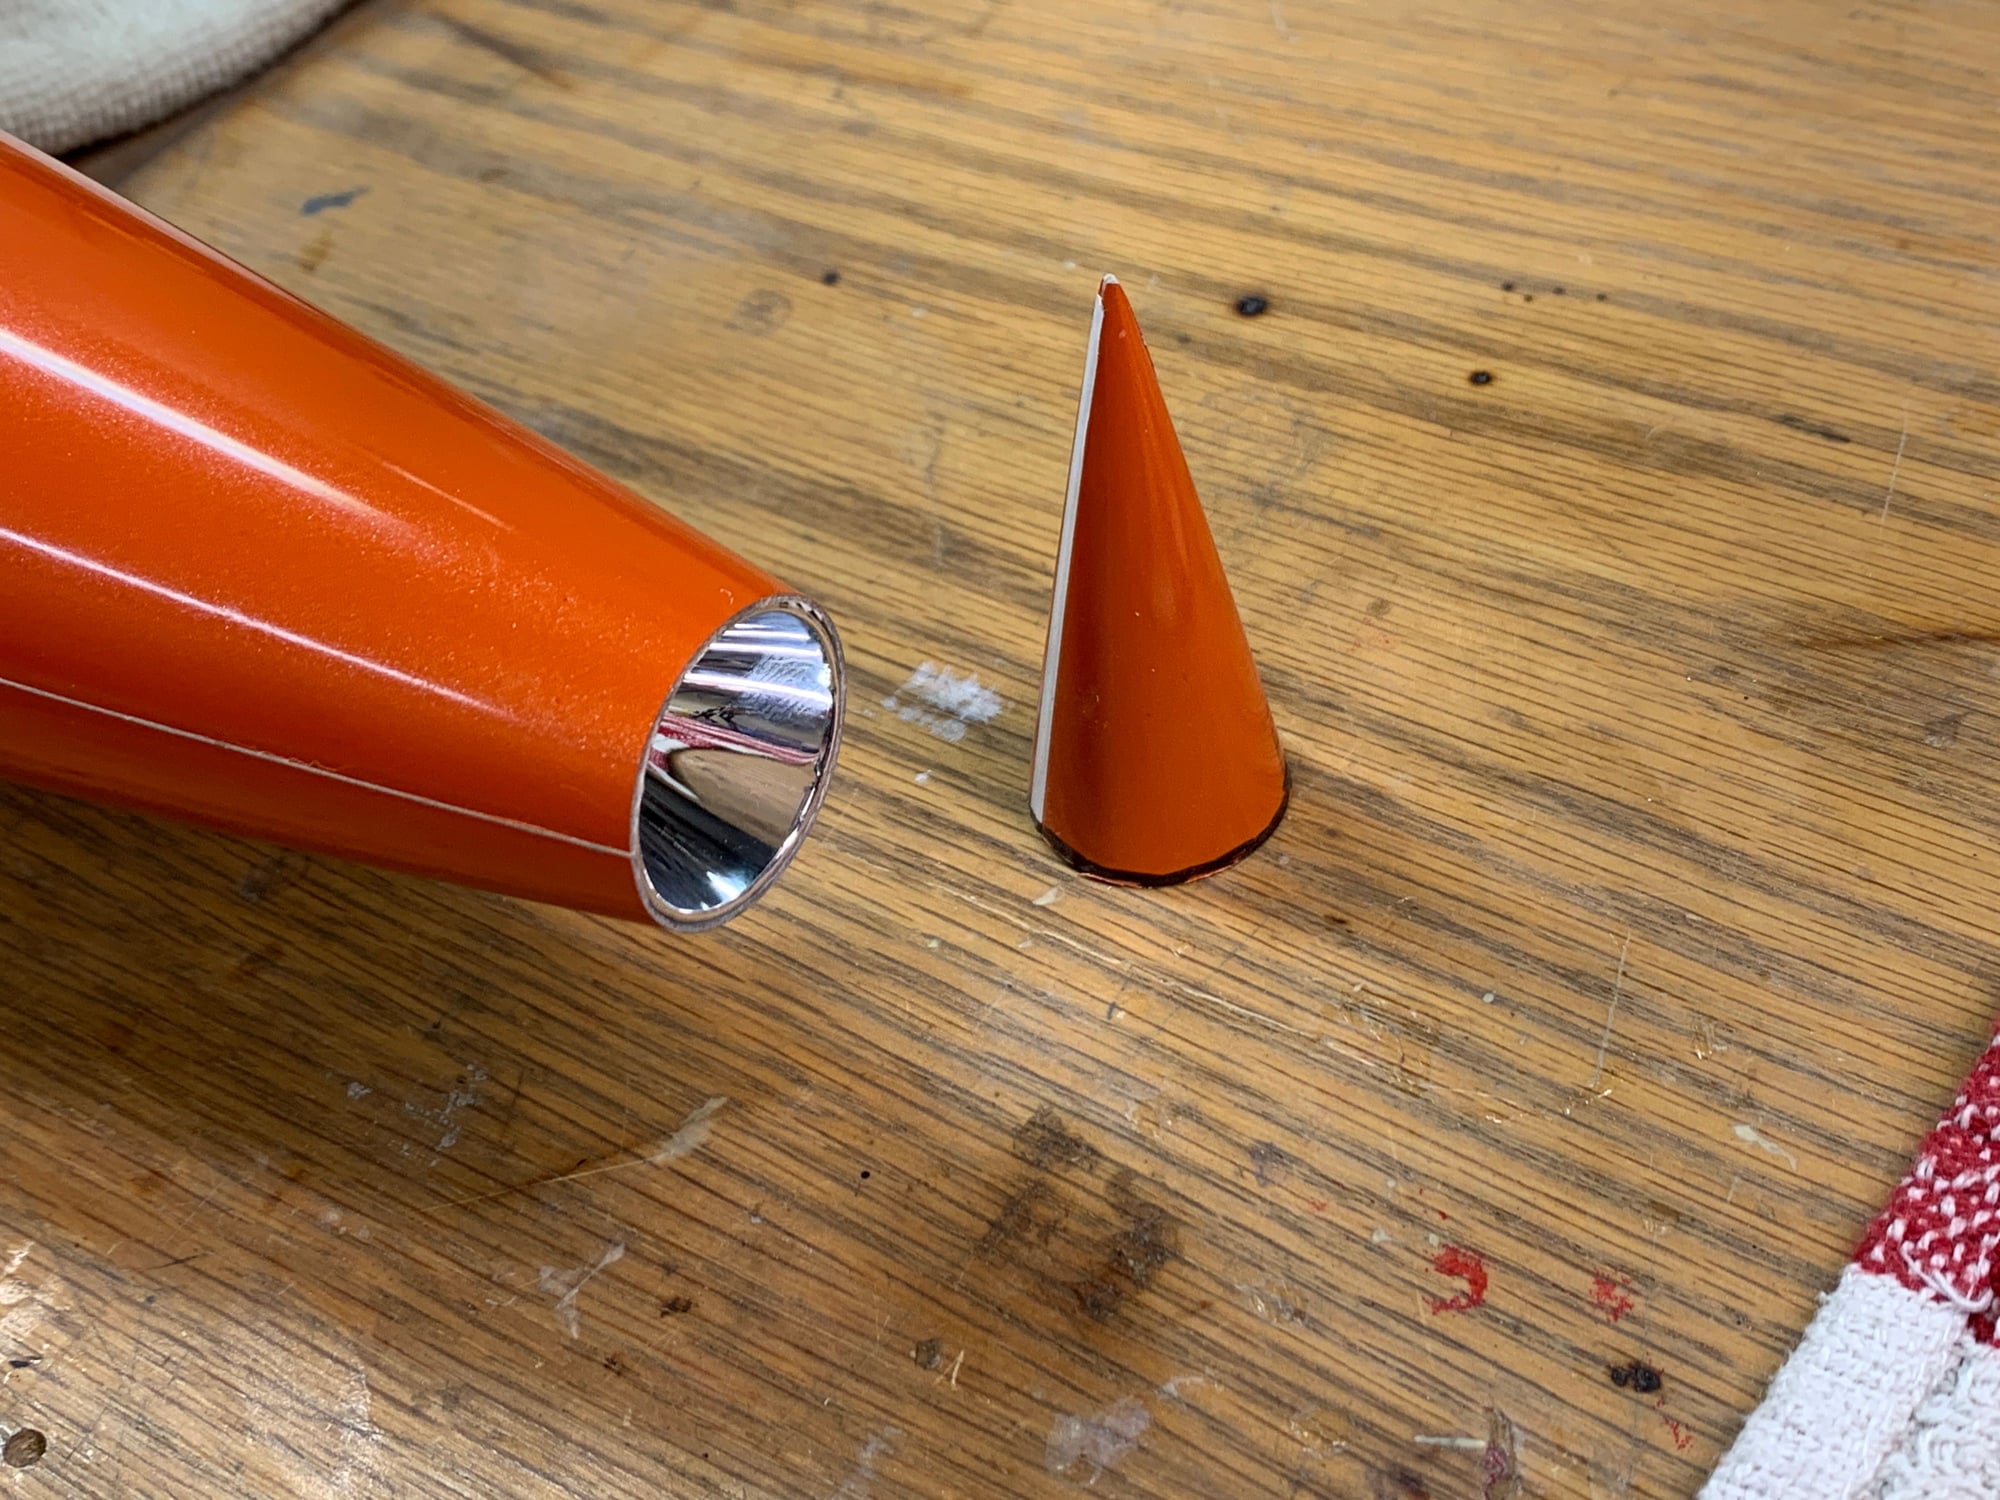
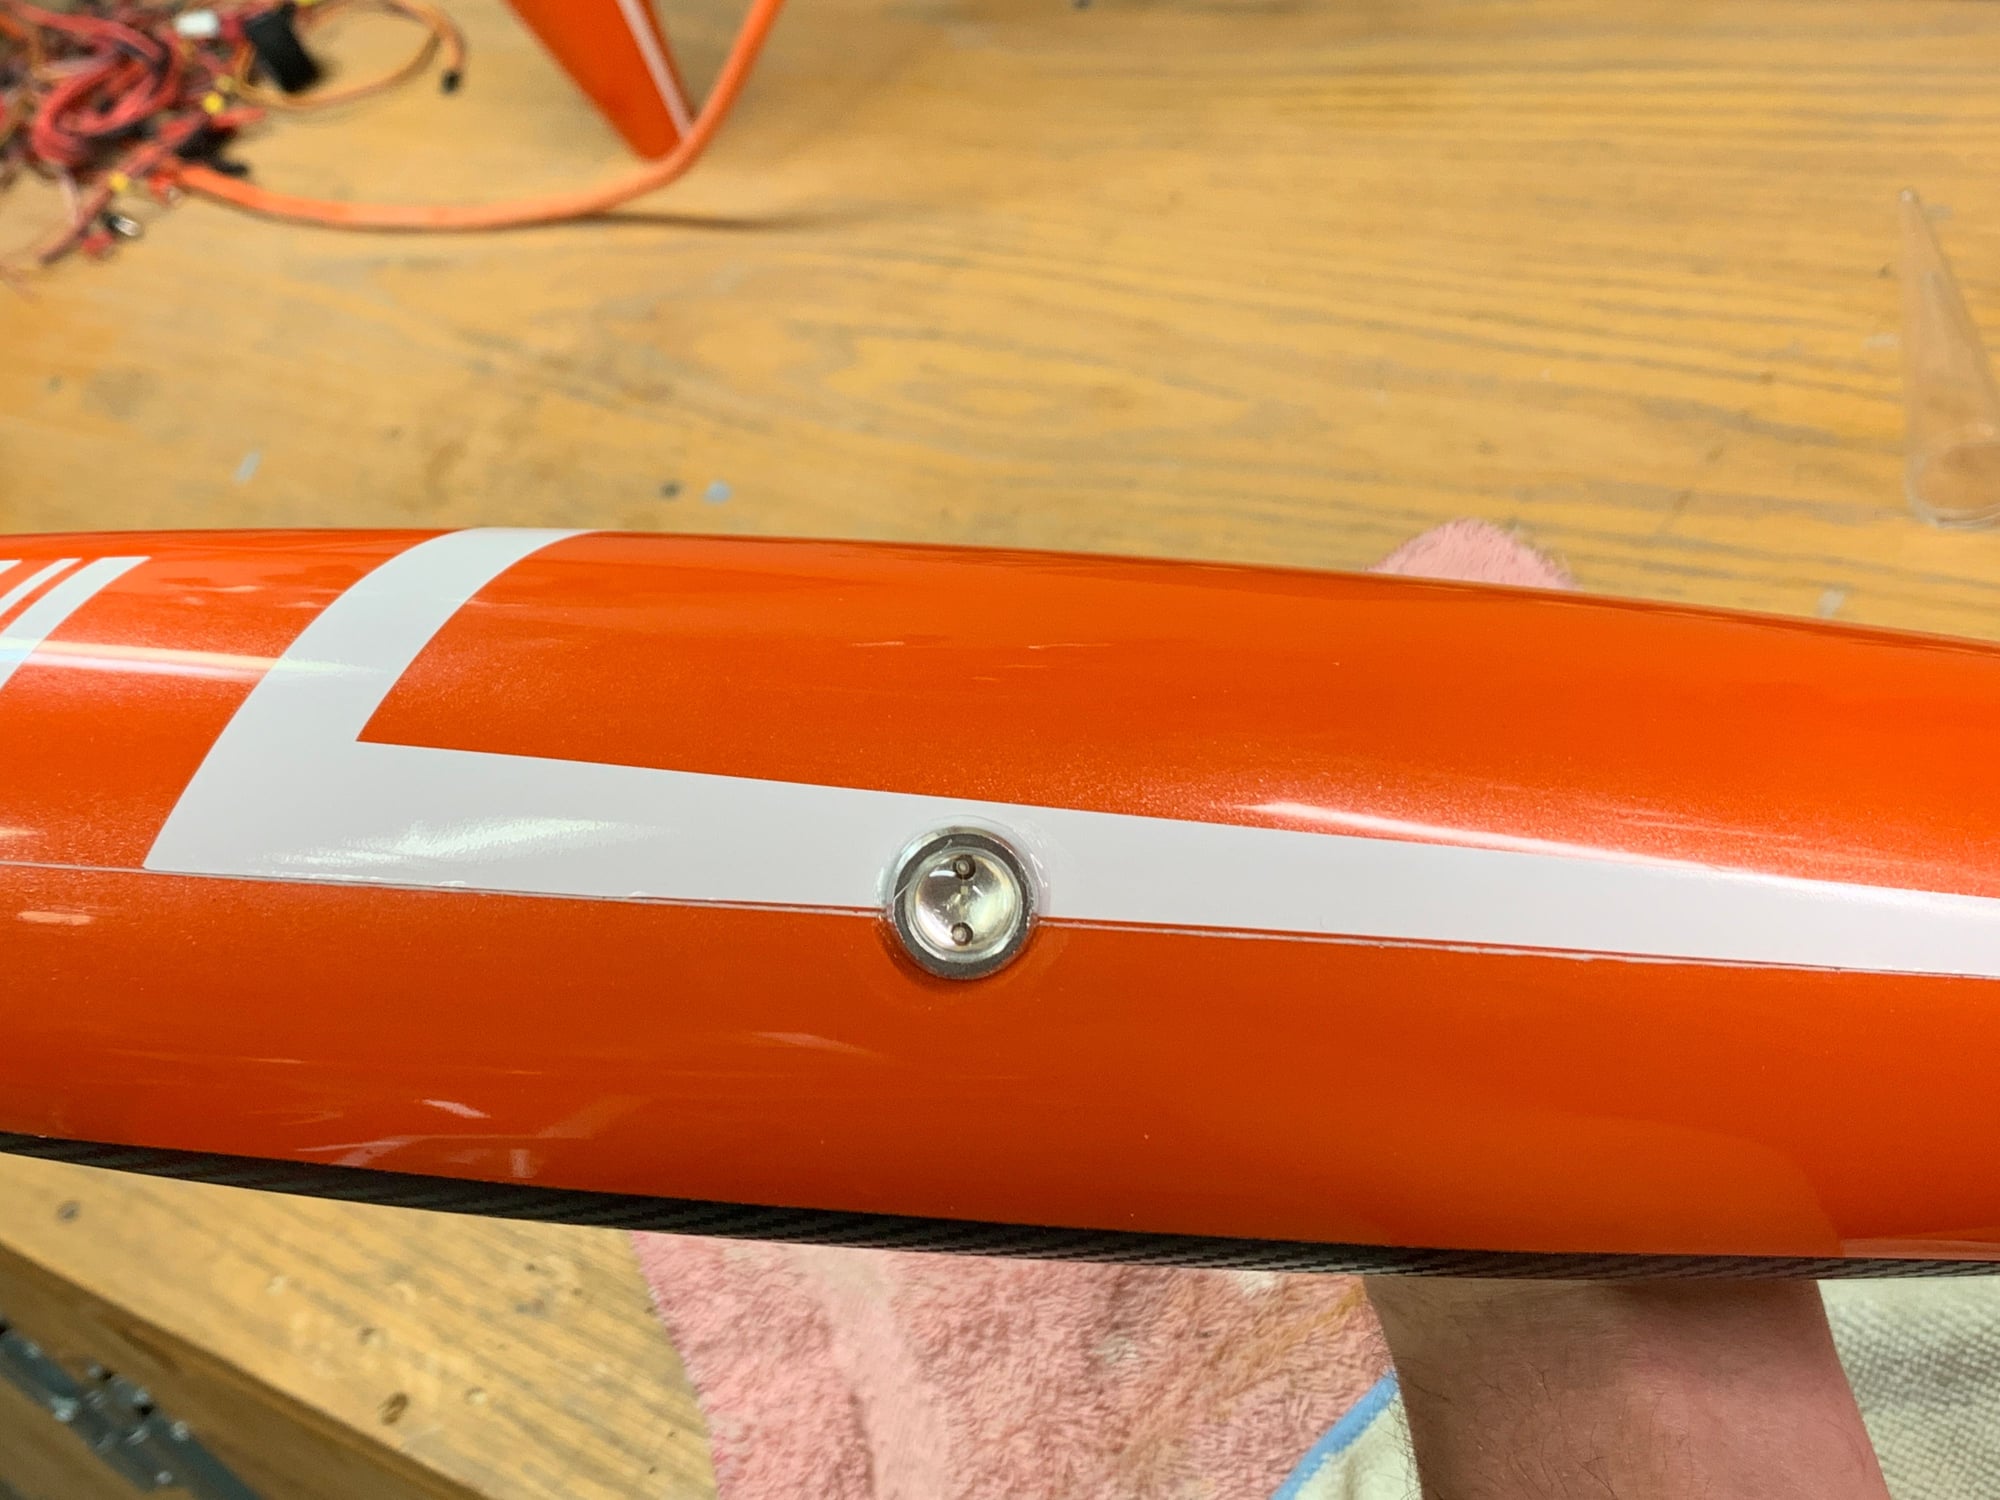
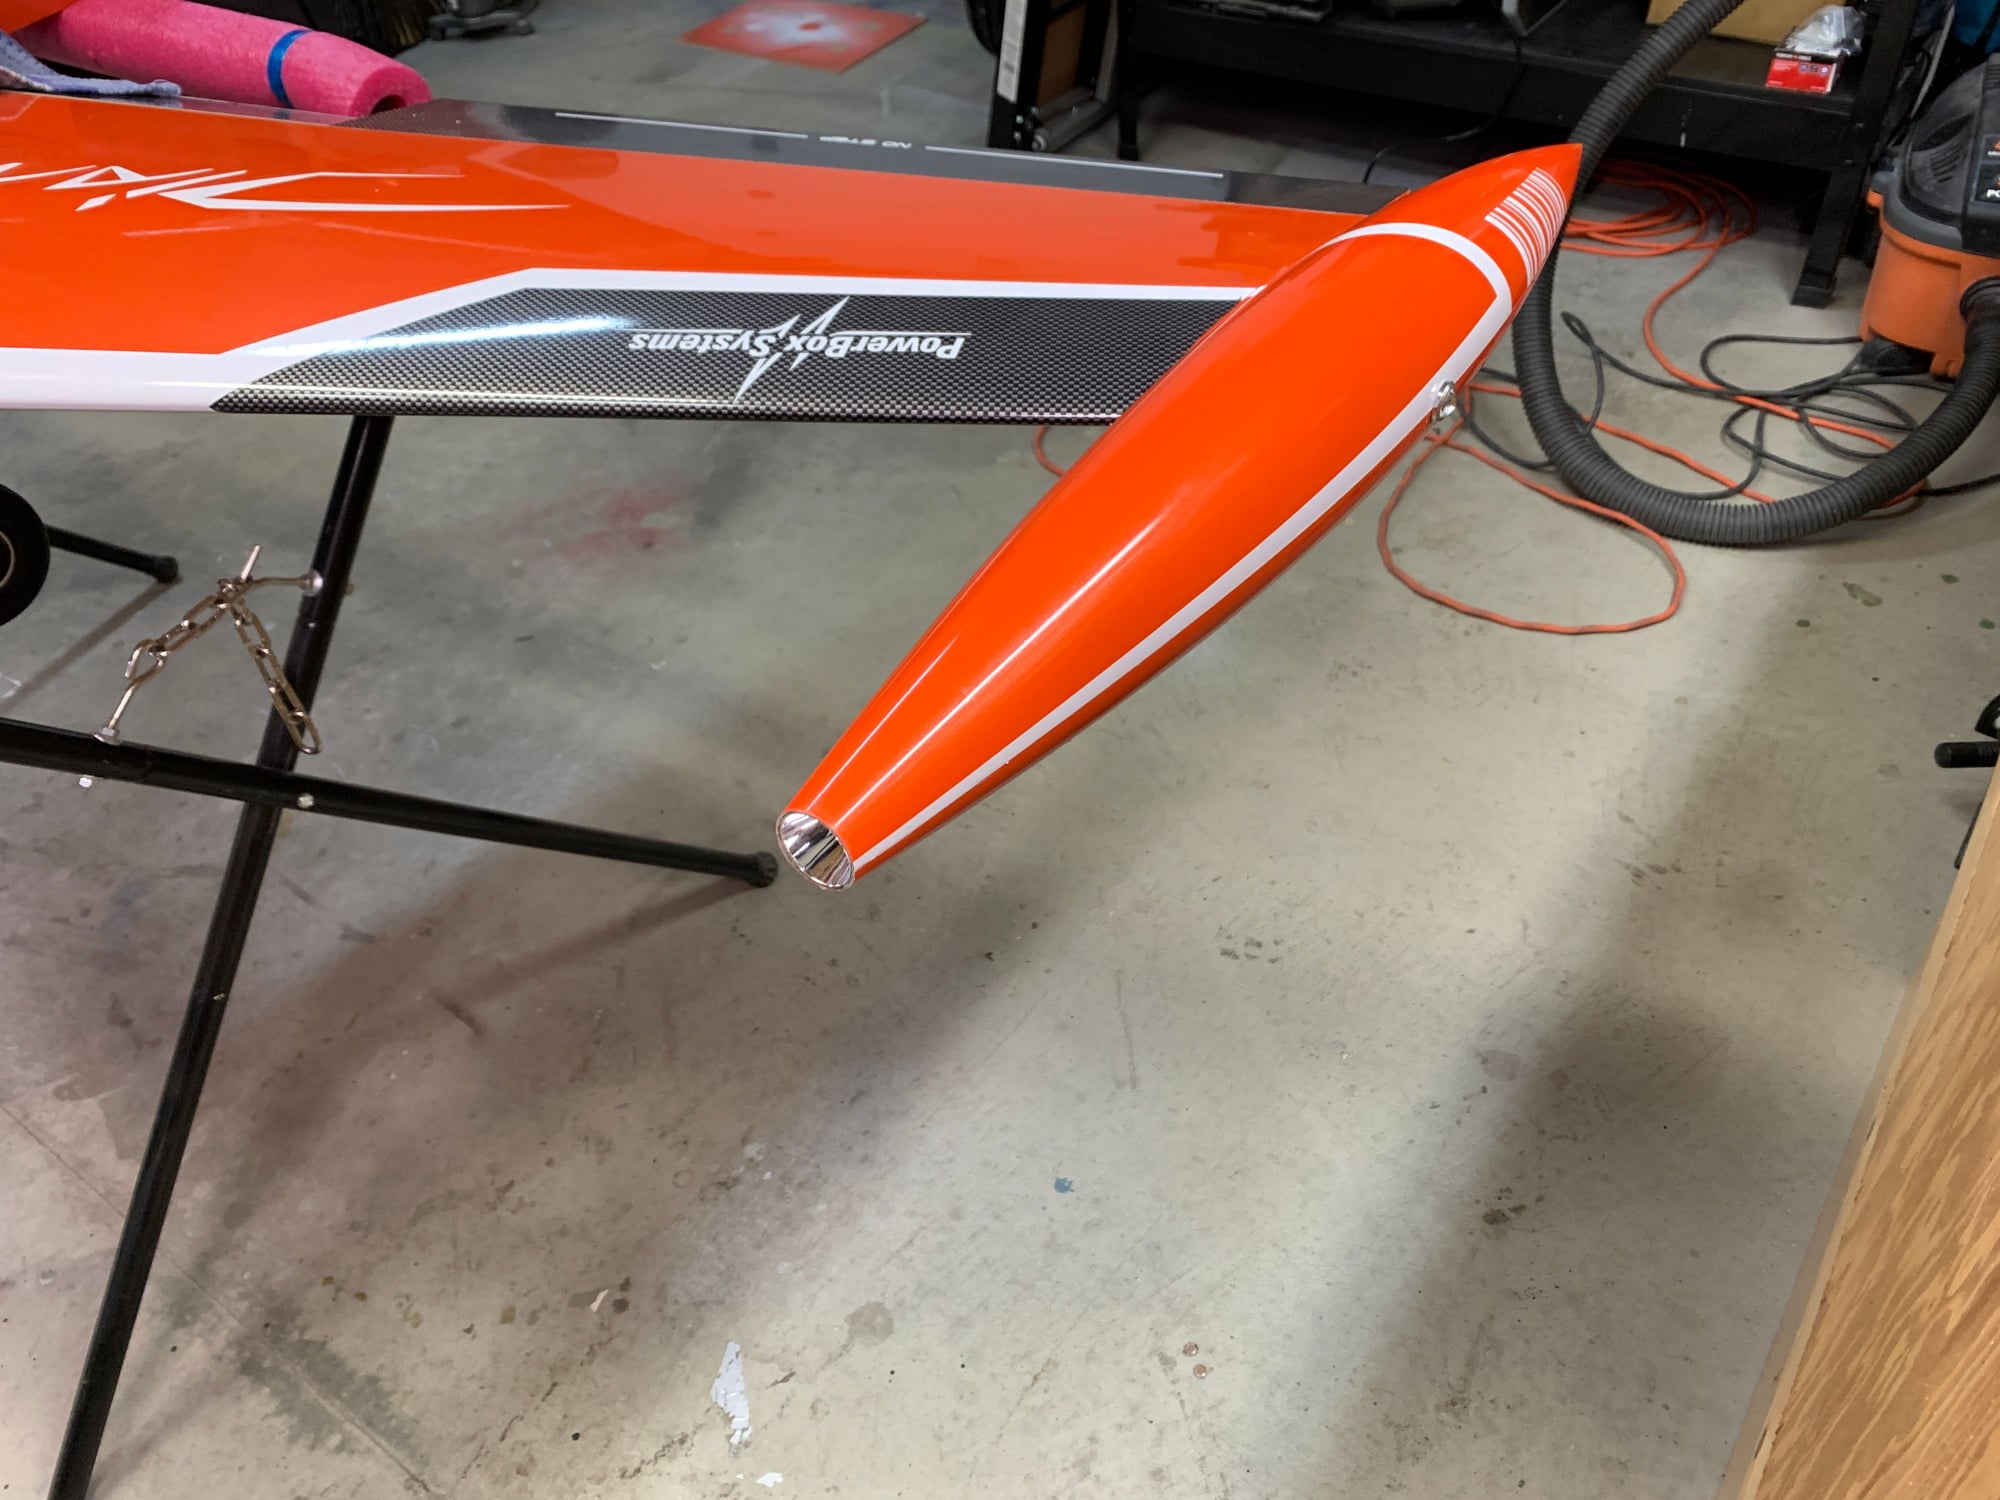
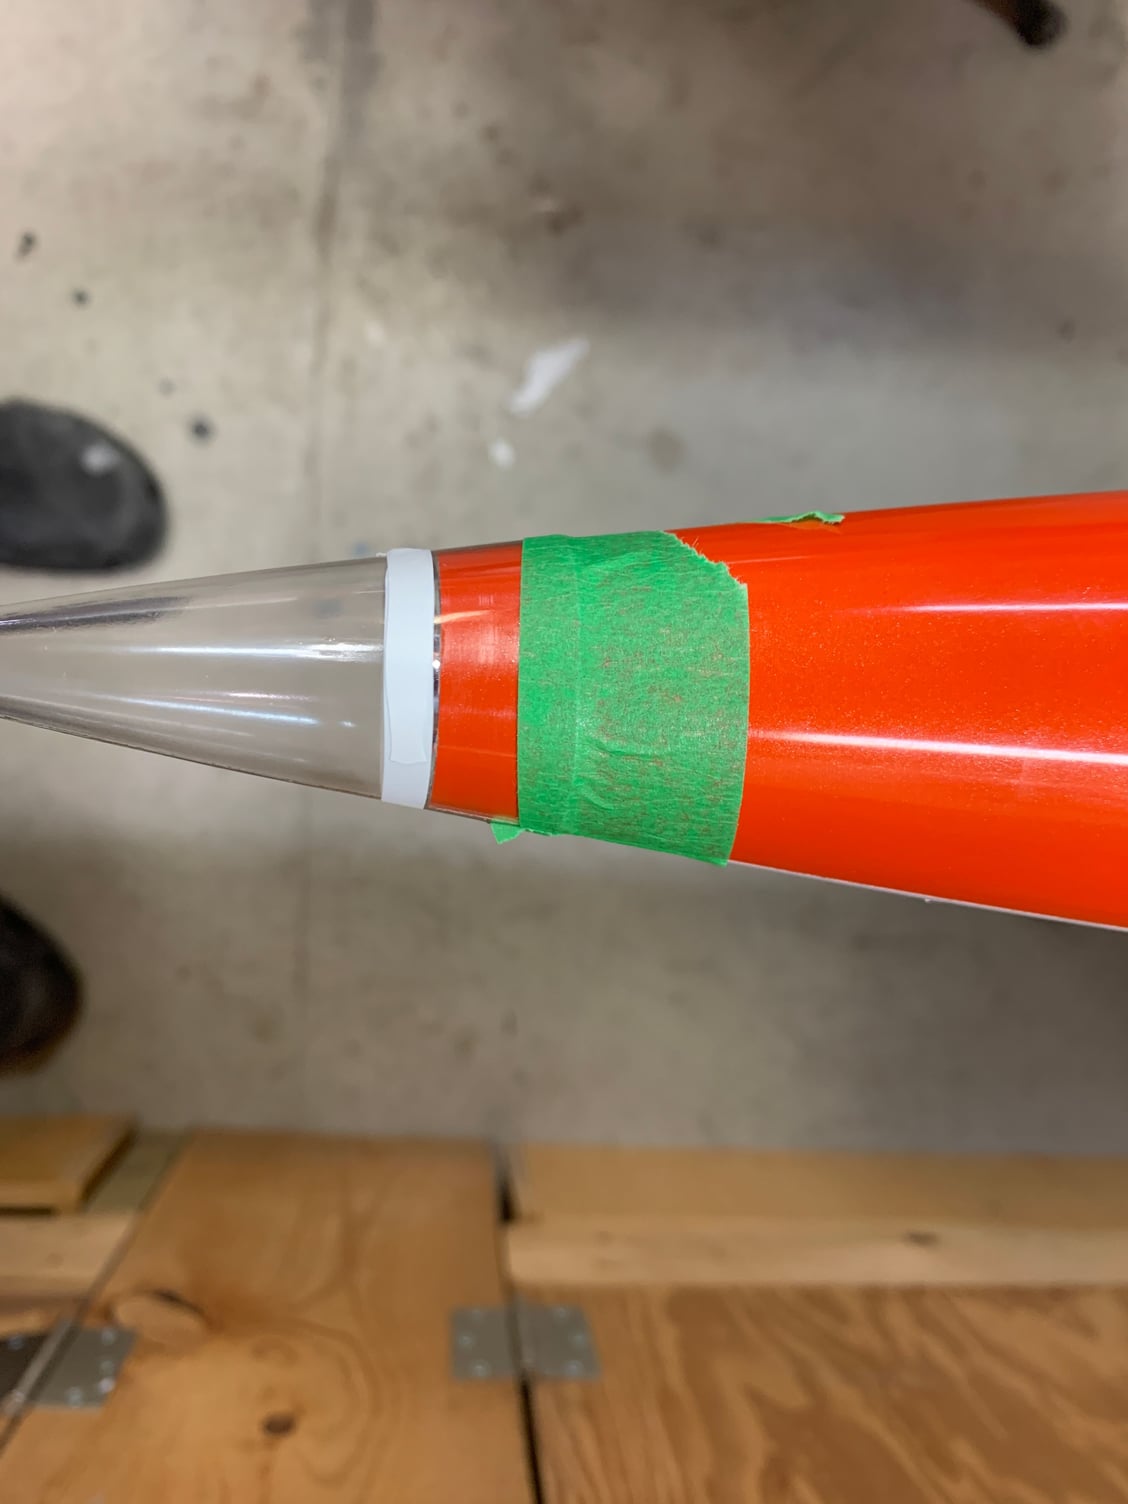
Cutting off a perfectly good tip!

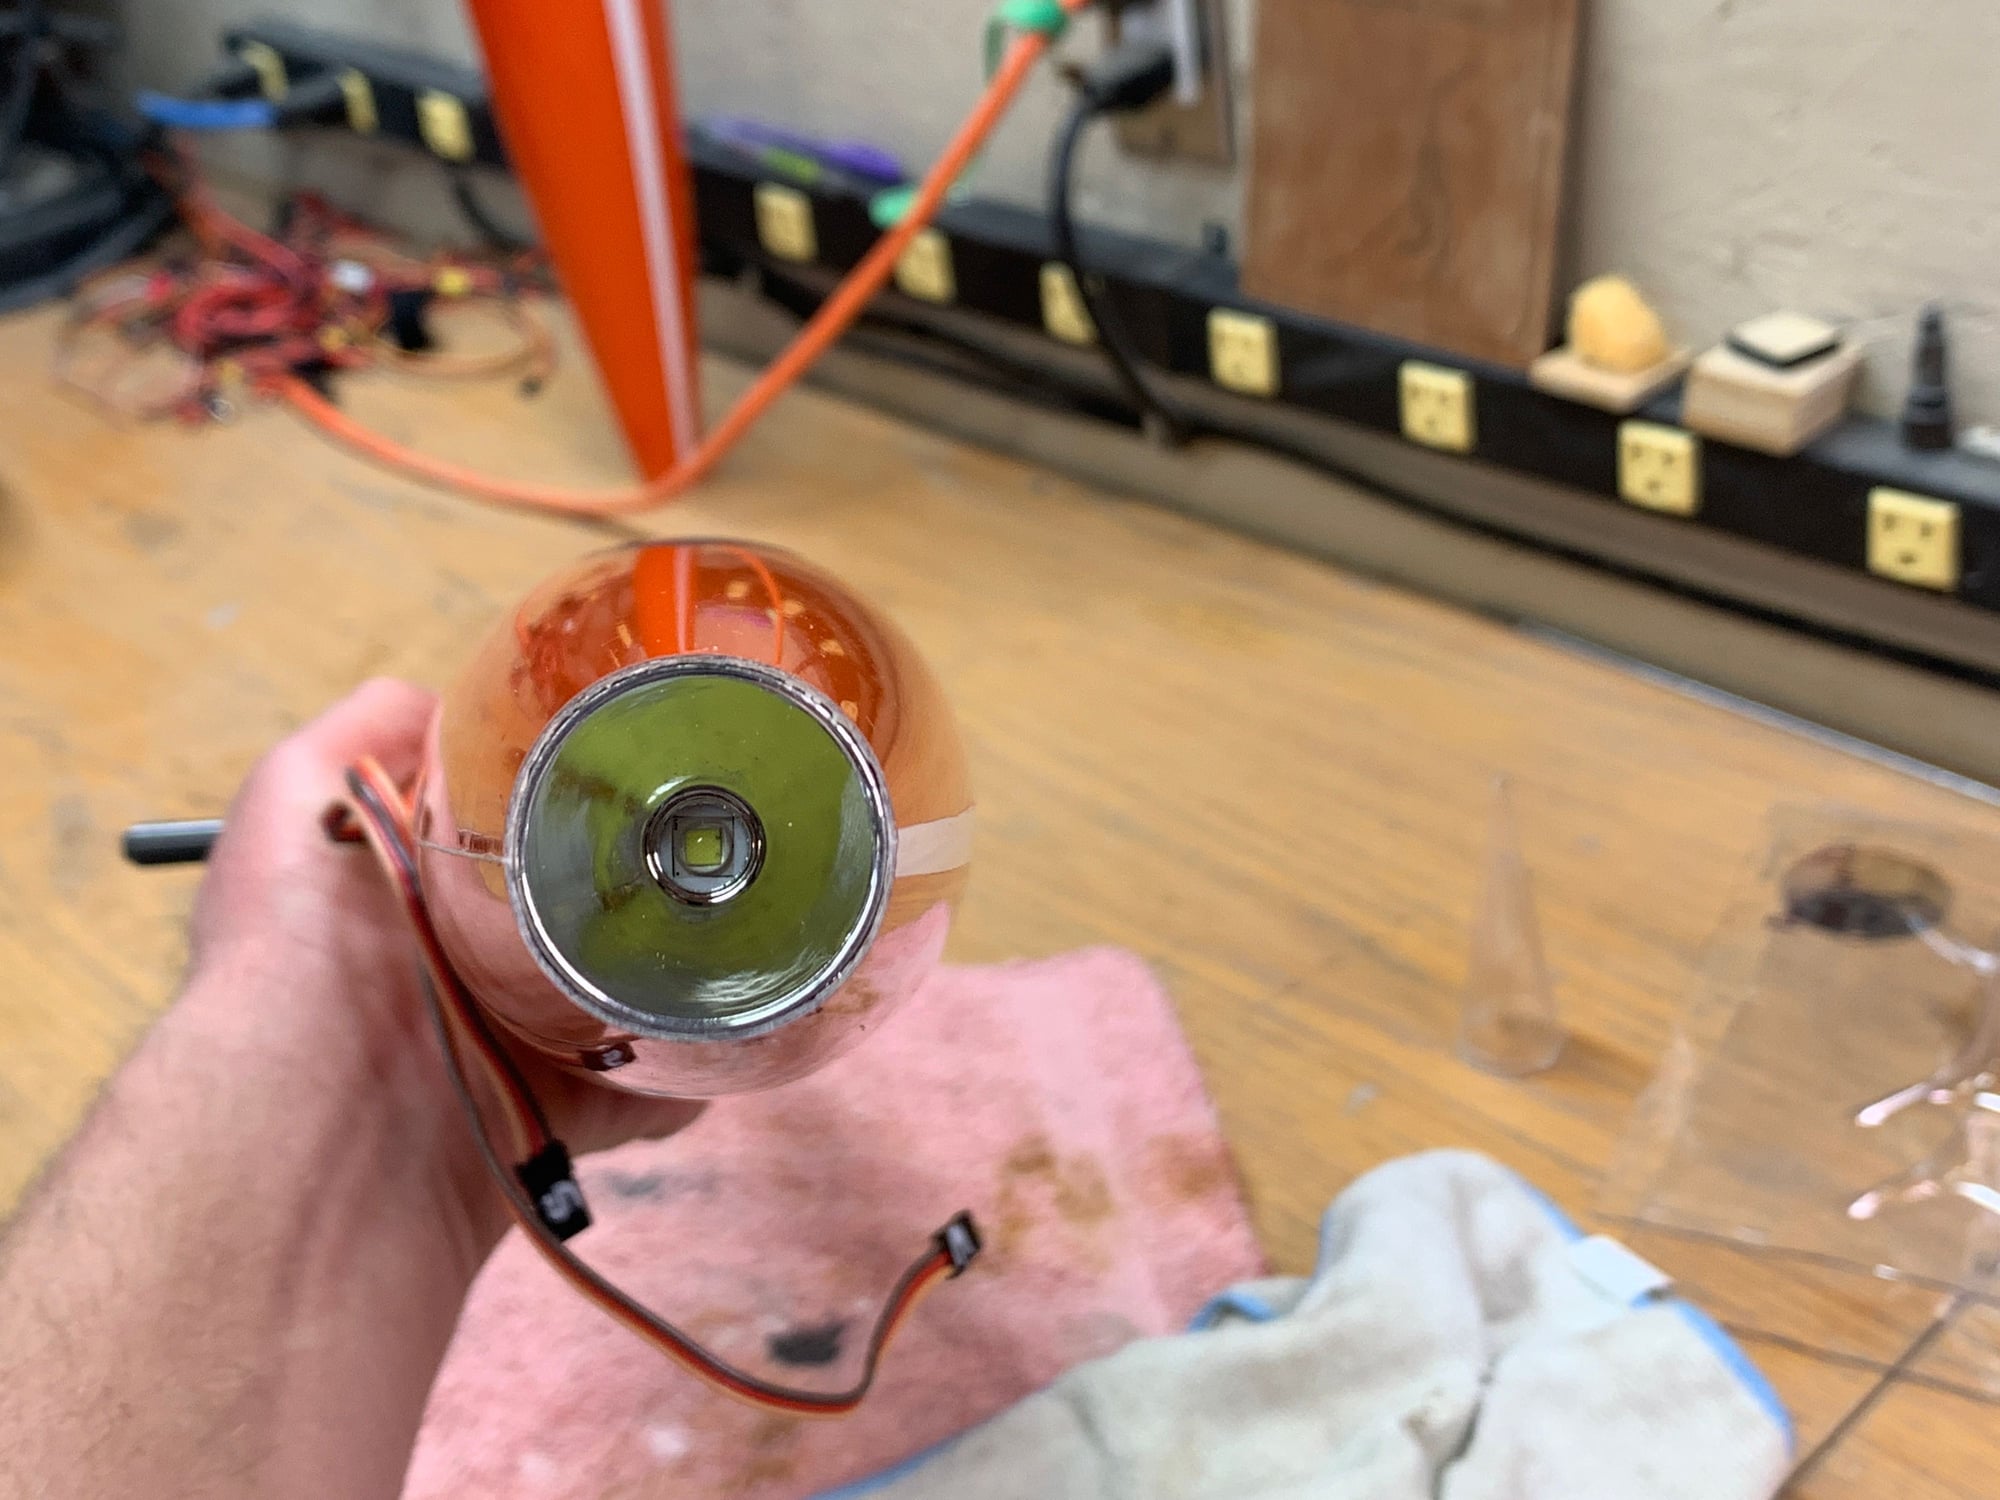
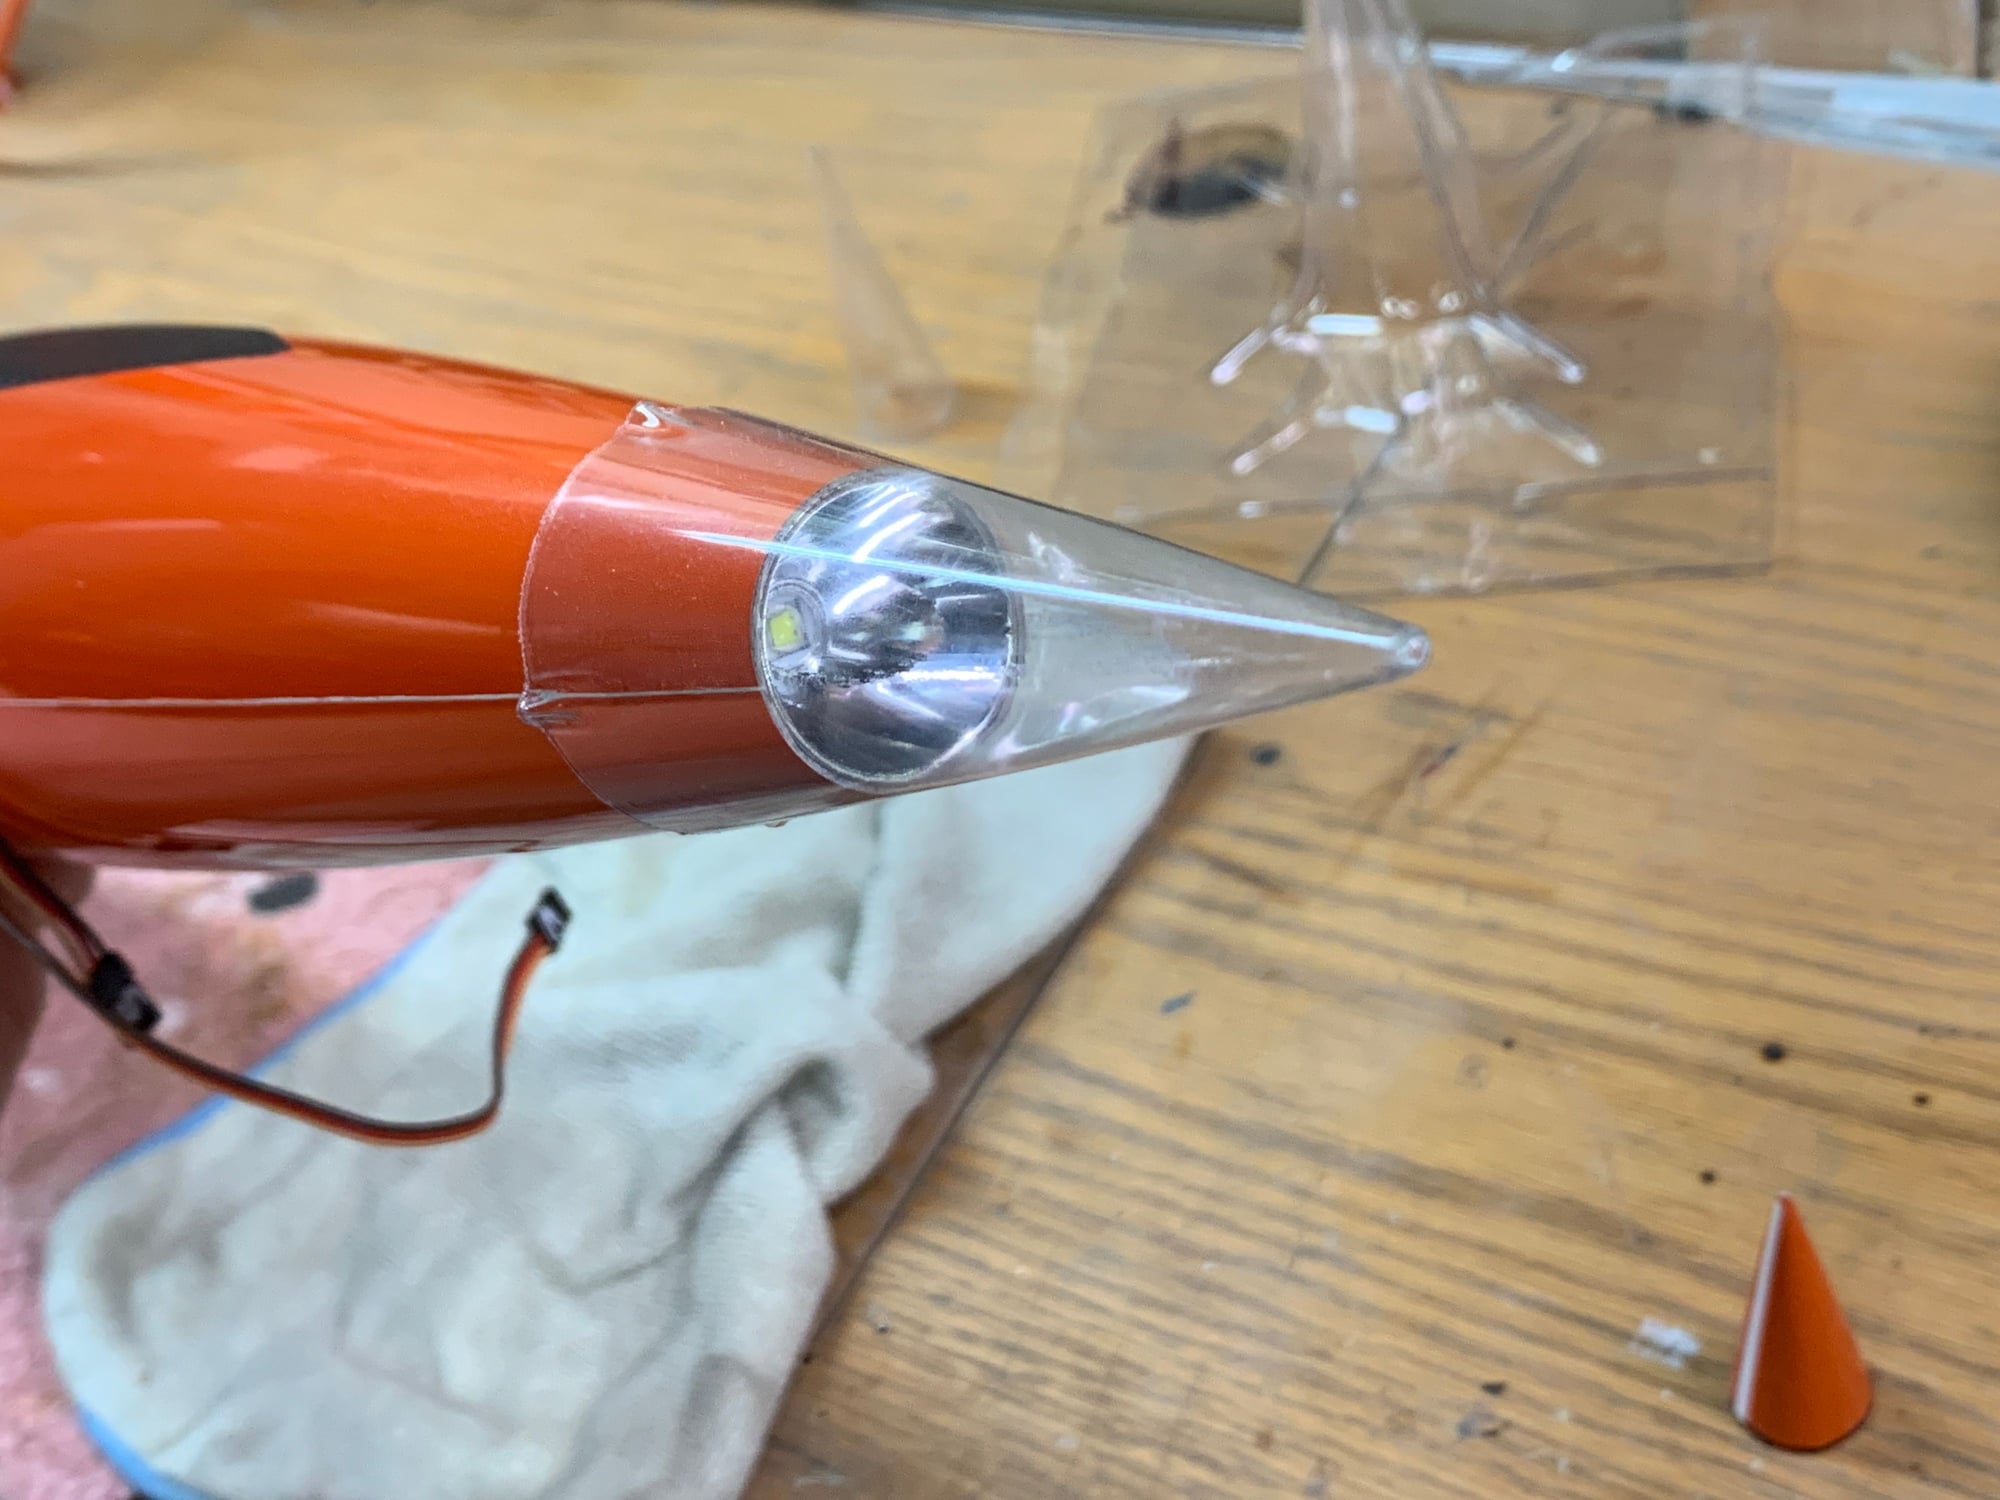
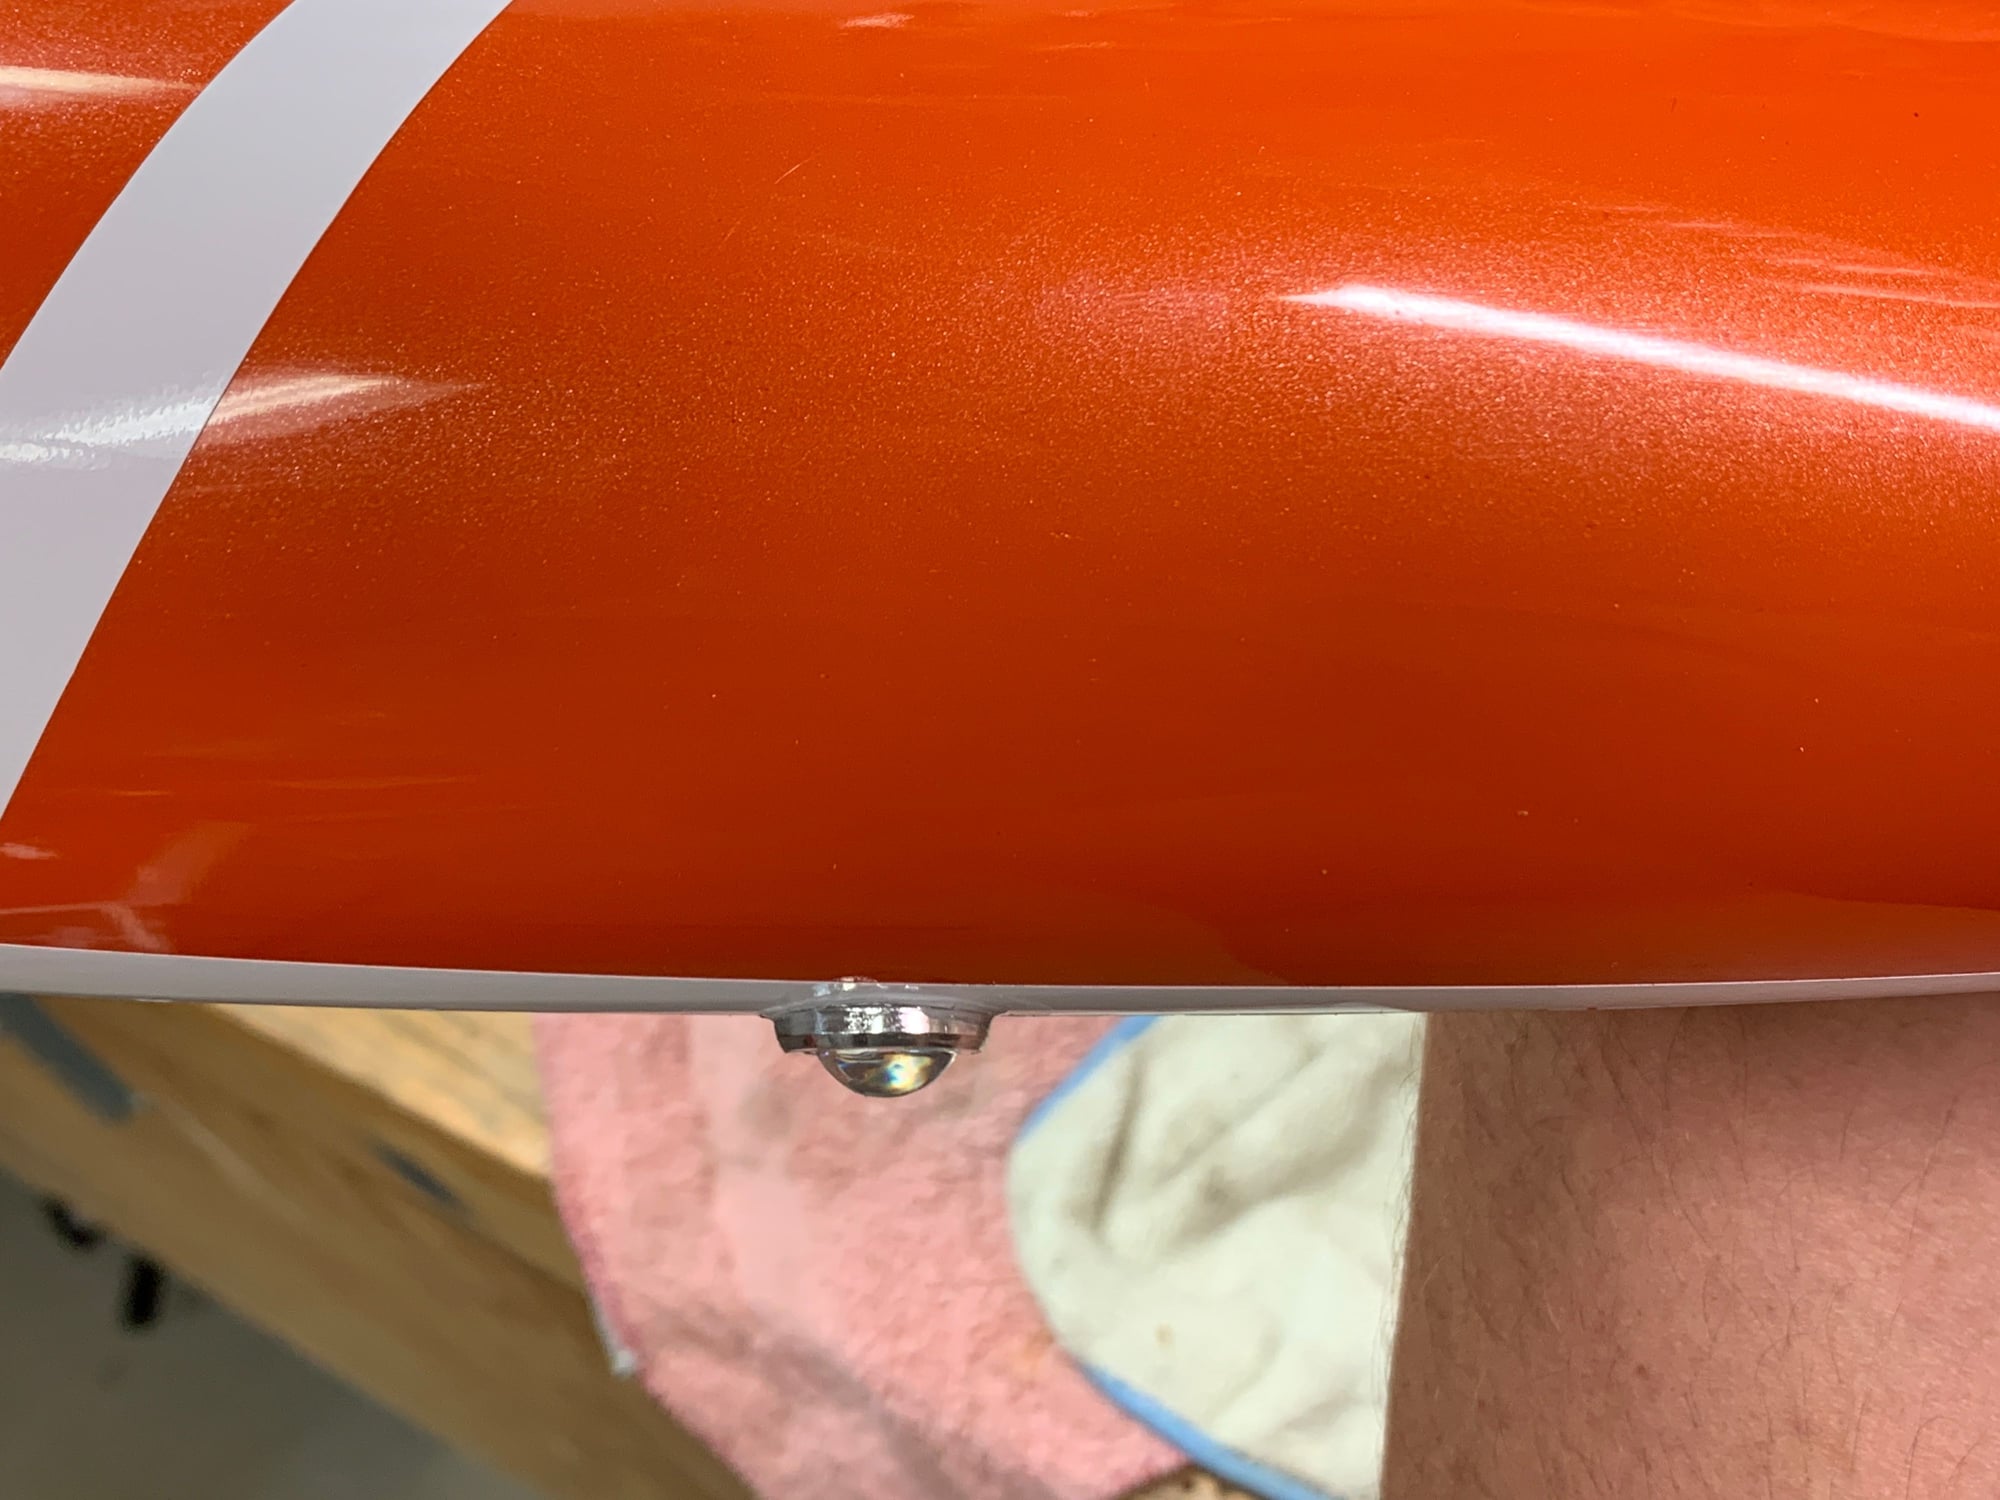
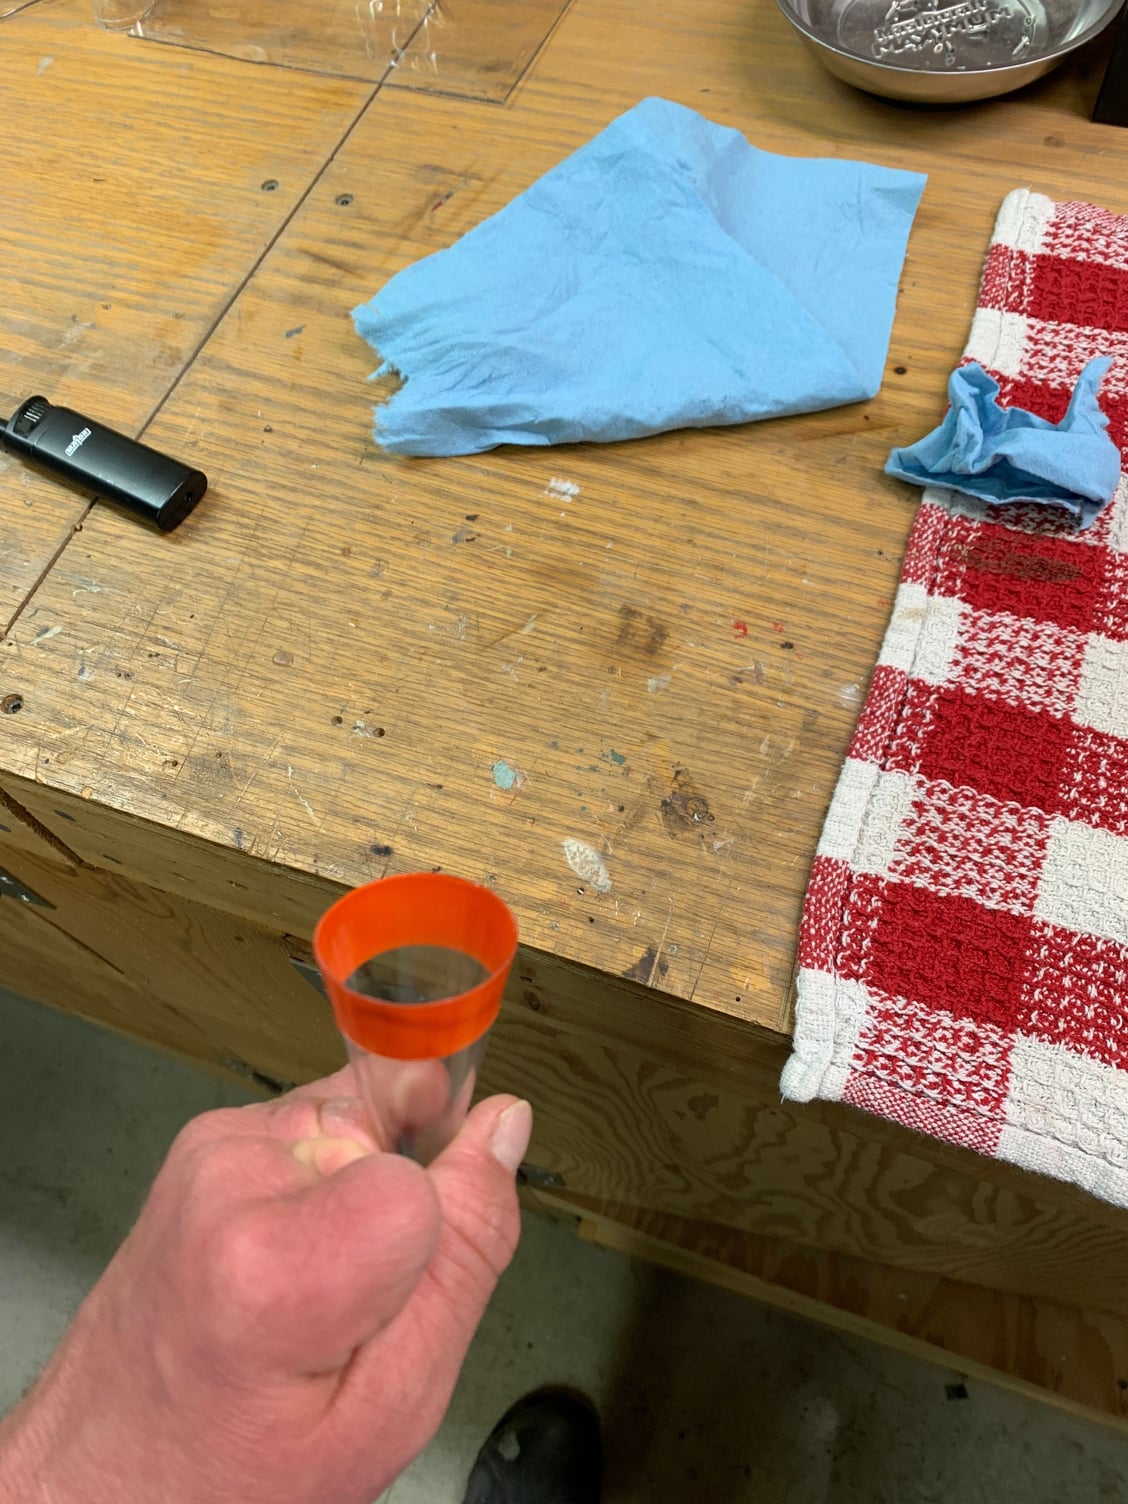
Test fitting the lenses.
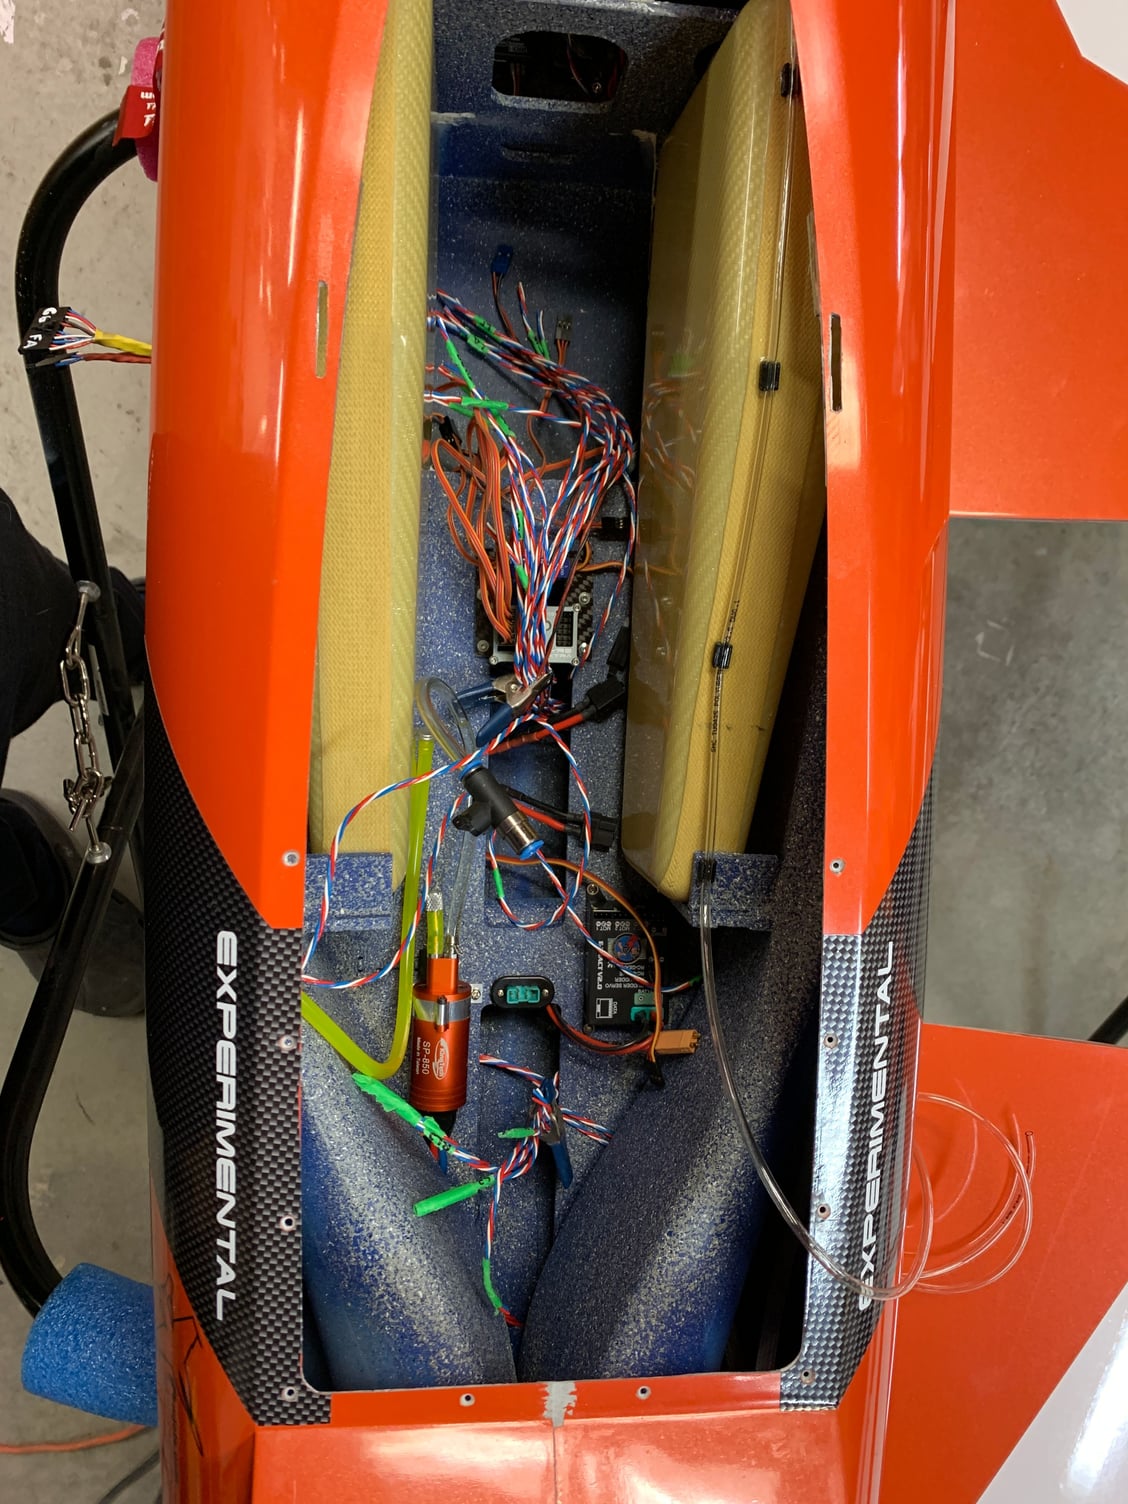
Front landing light wire and electronics installed.
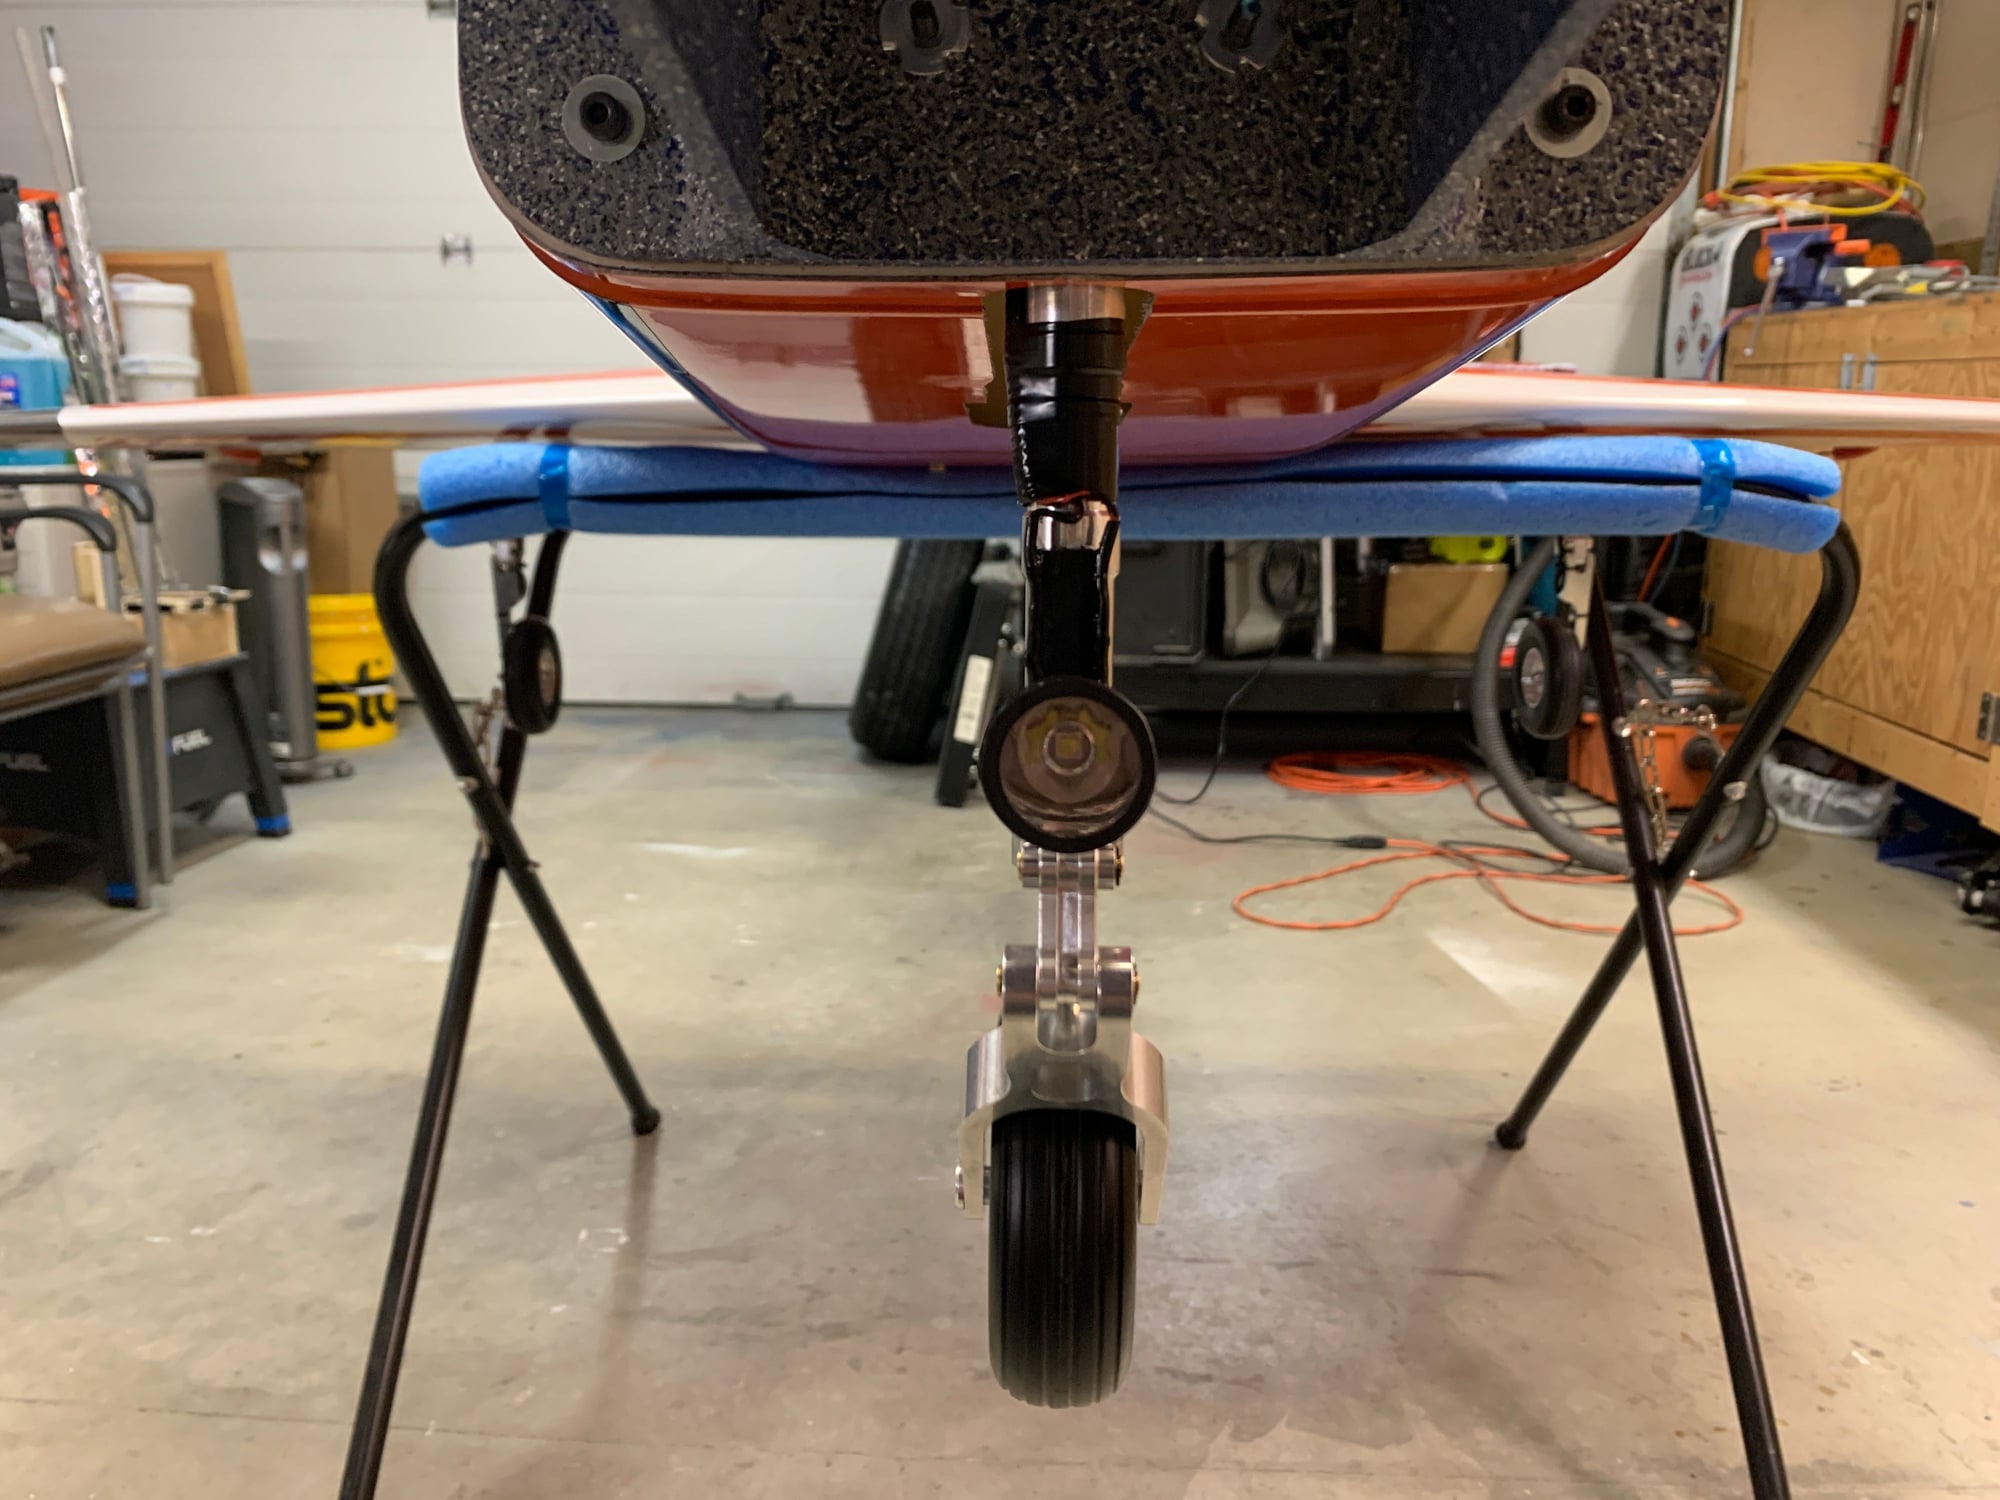
Front landing light glued to front strut with Hysol
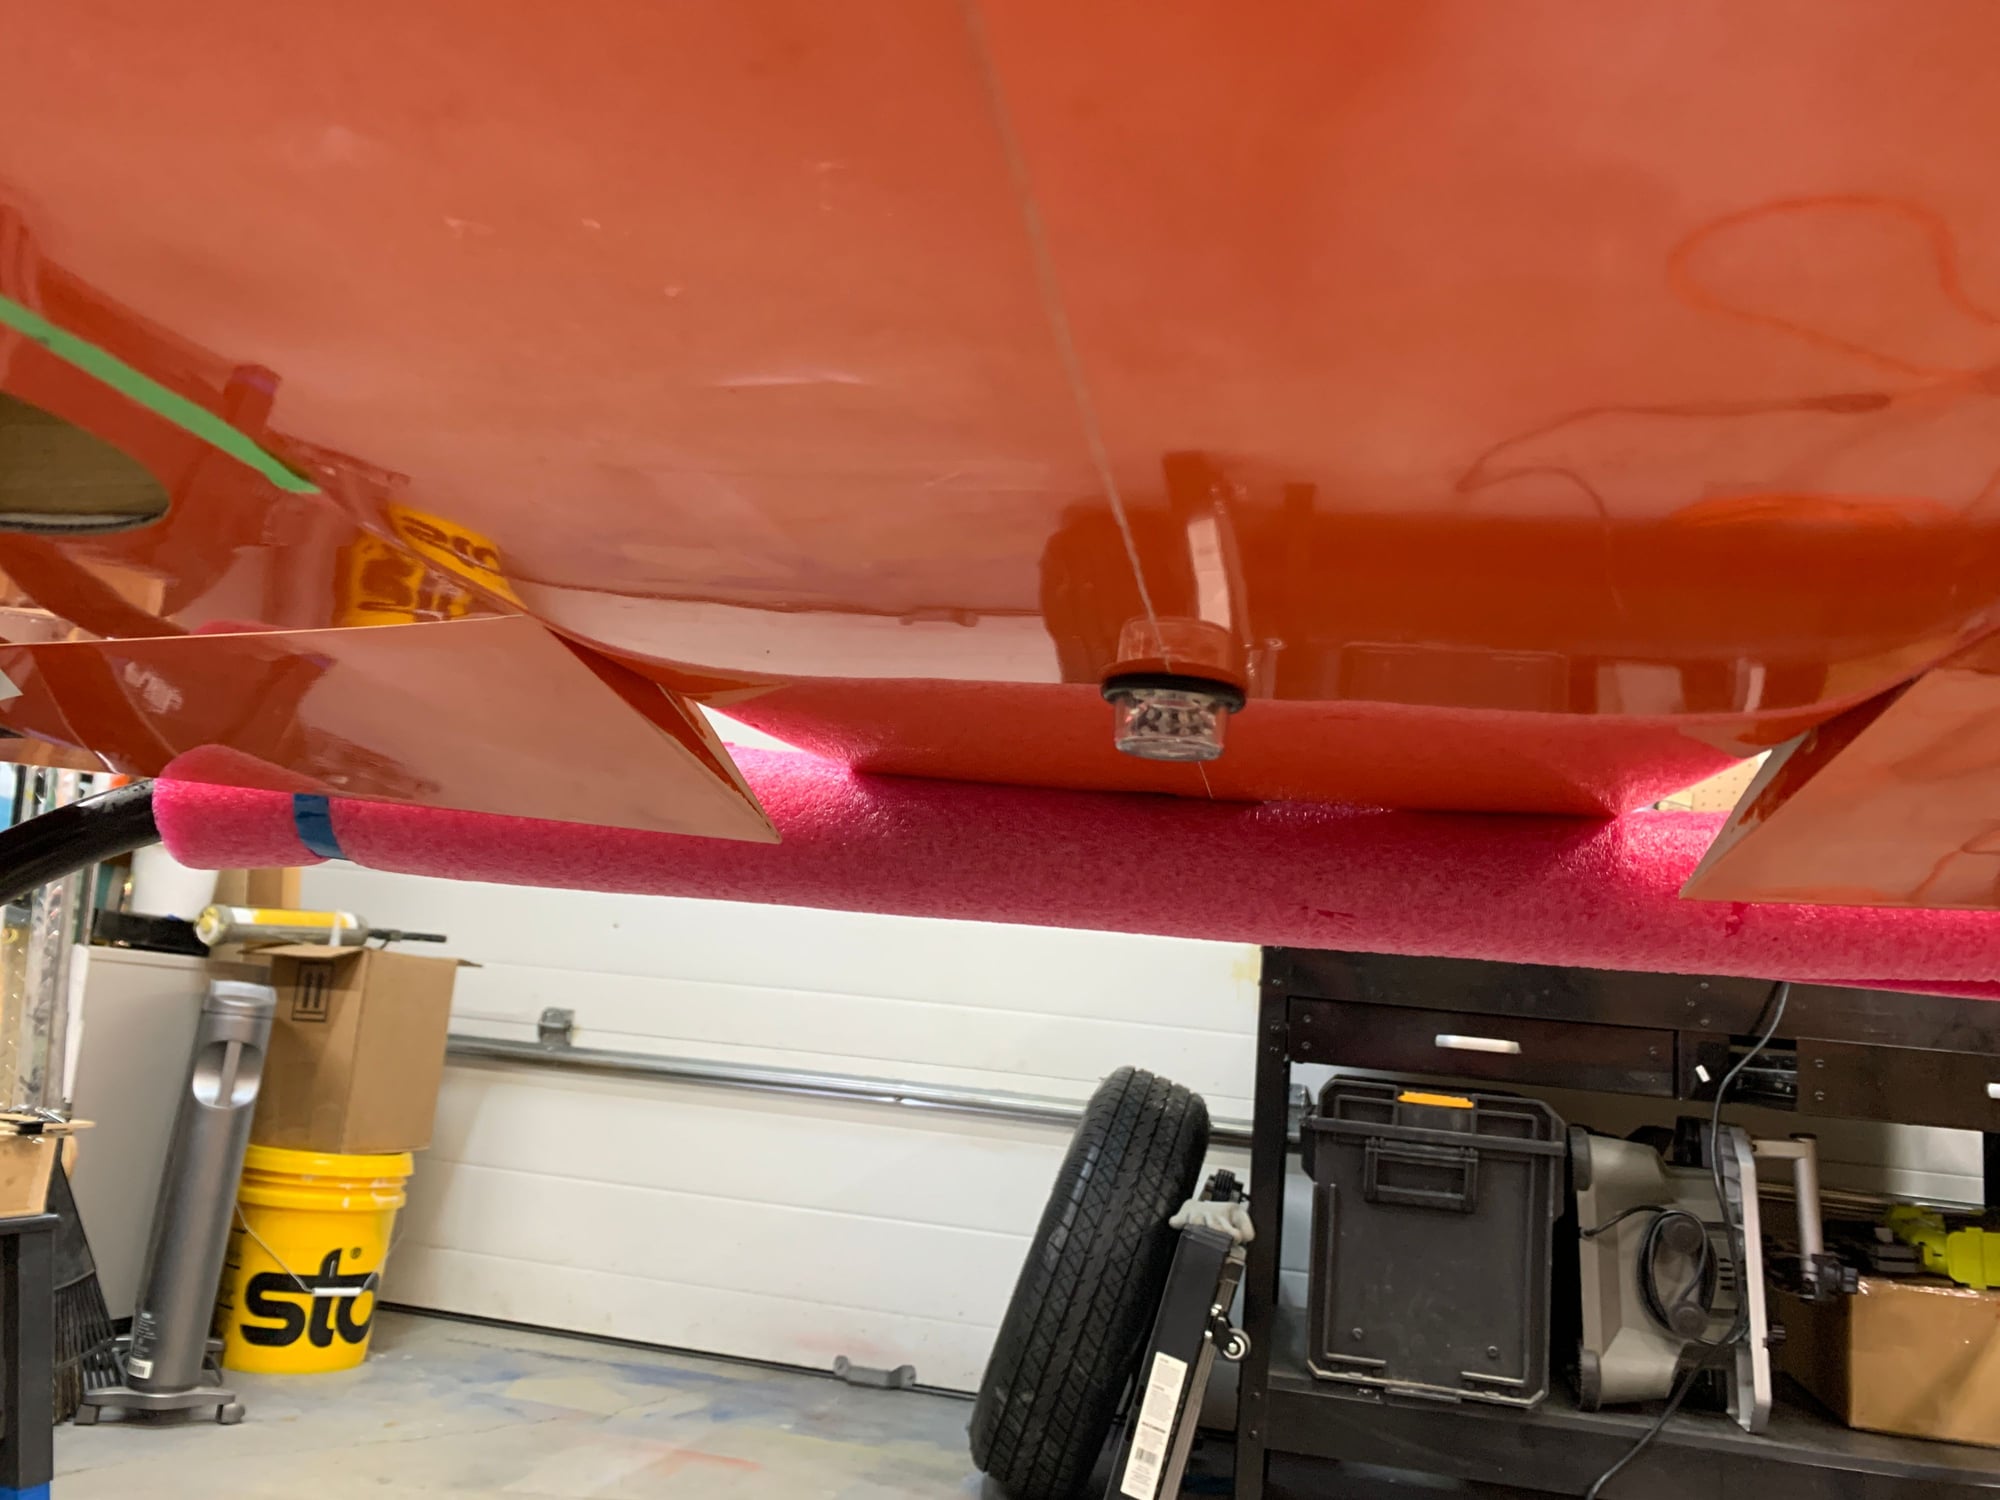
Belly Strobe installed! This thing is Bonkers!

Inside shot of the belly strobe.


 12-21-2020 | 09:05 AM
#100
lens installed with tape and paint line installed
Painted the glue area with color matched paint. Same paint installed on the servo coveres
Lens glued in place with E6000 glue. Very similar to Goop but a bit more runny.
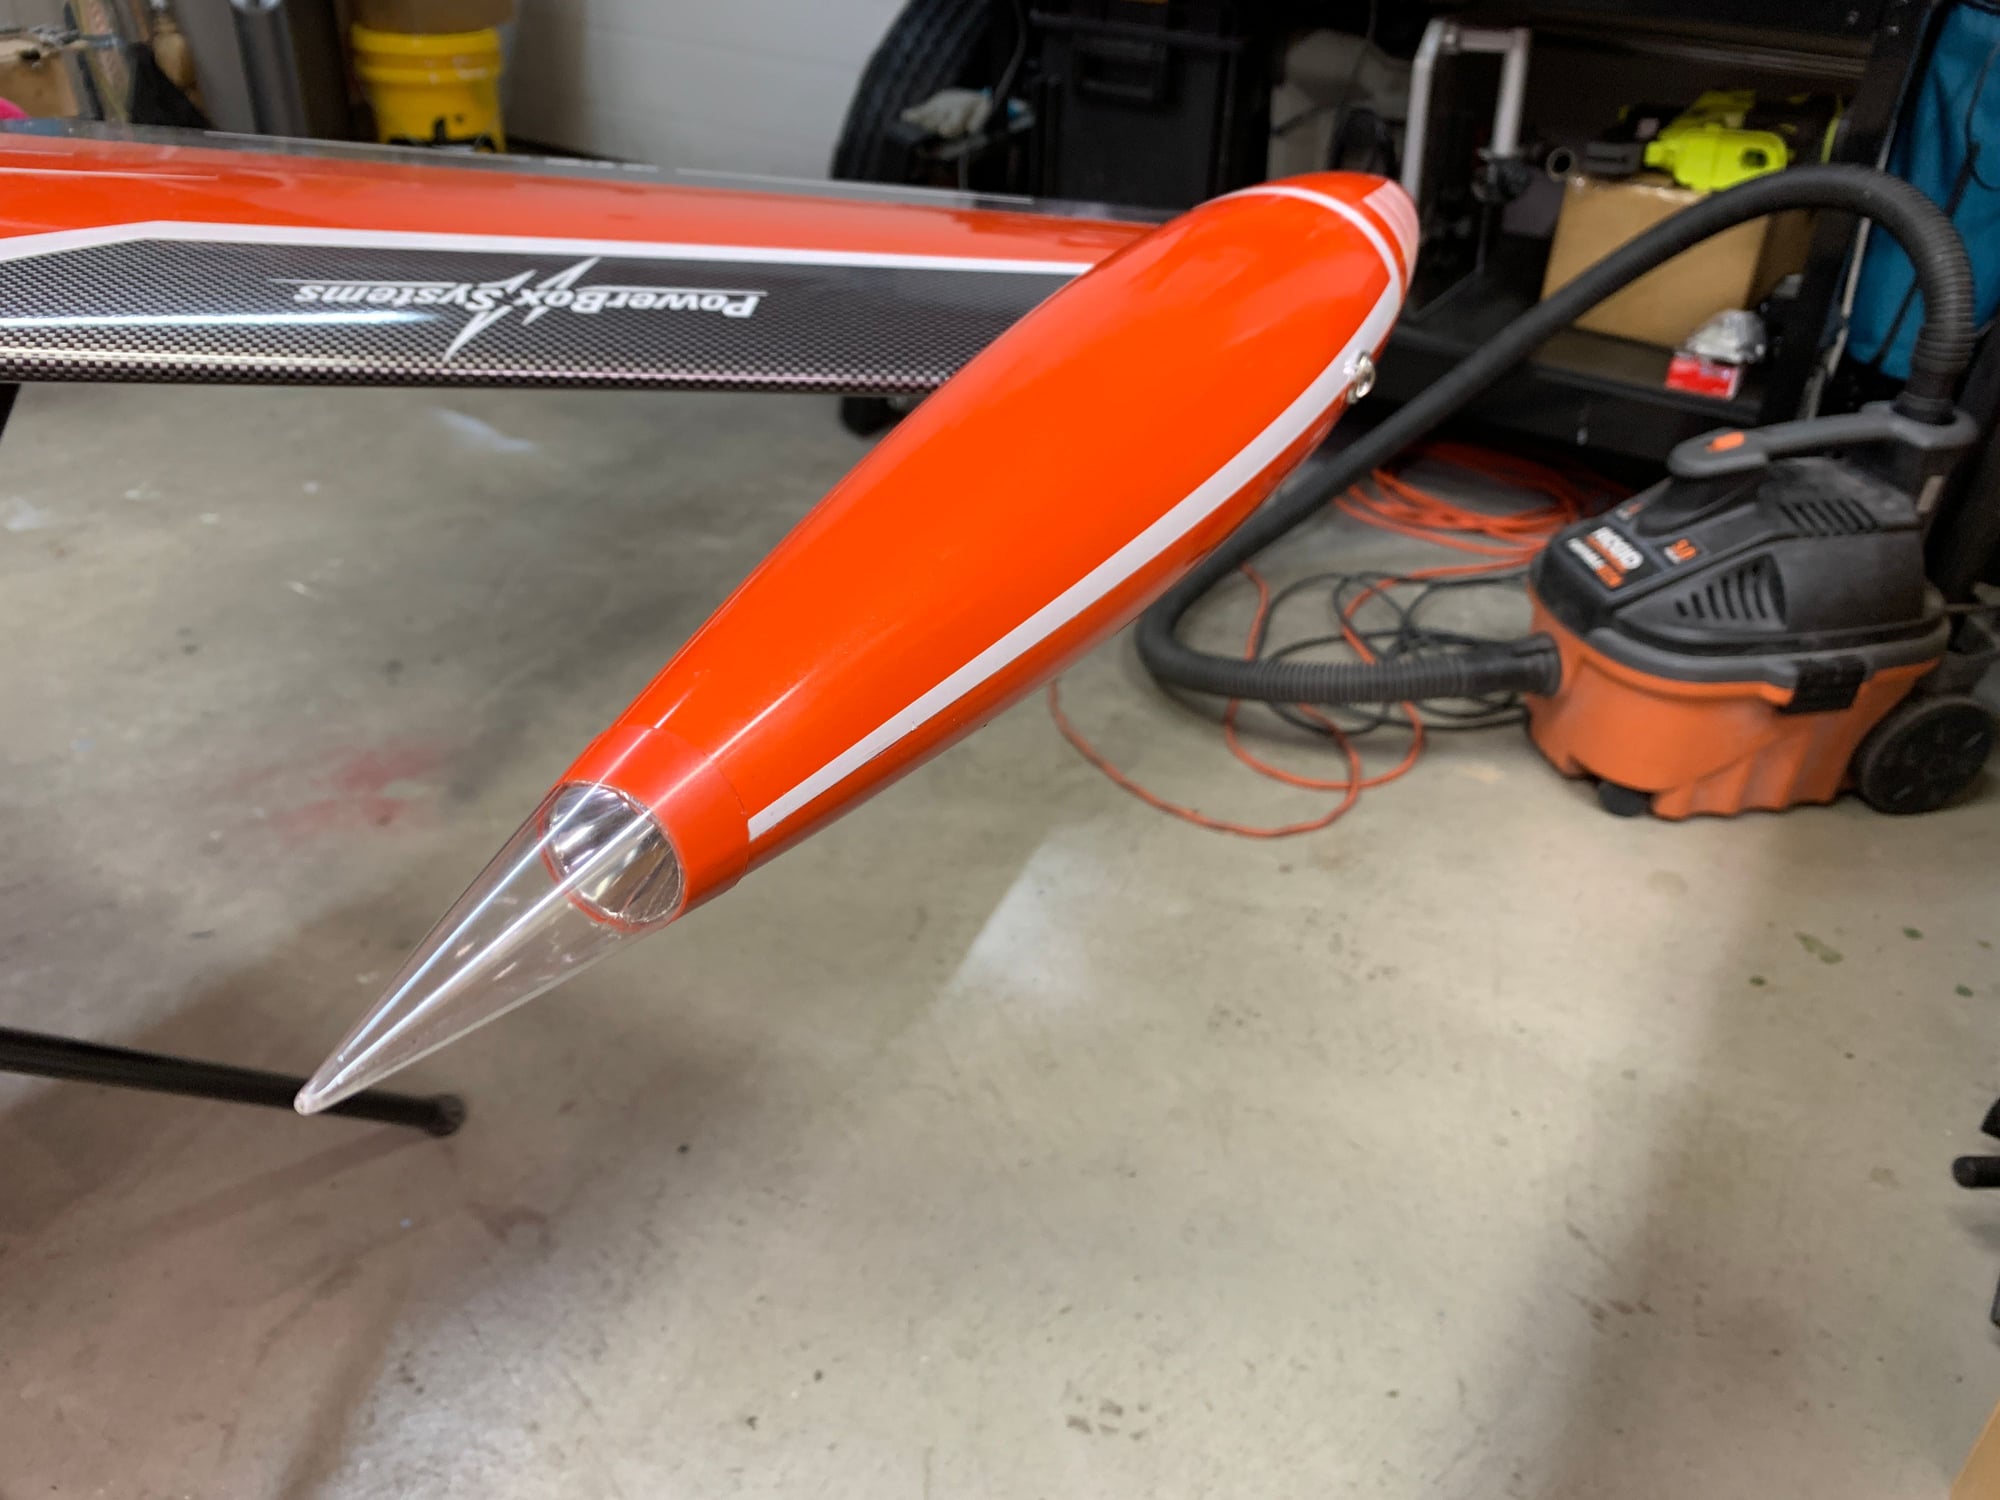
Finished product. Was deciding if I should paint the white line but I will do that.