


Comp ARF BAE Hawk build thread

 08-14-2014 | 03:51 AM
#1902

Bob
i was thinking of cutting the covers flat so that i can glue them flush with the elevator edges ( with hysol)
wouls that not be the same as what you did without cutting into the elevators
mine is all white so i will paint it all at once
would grey paint work instead of the aliminium tape ? or does the tape stay on ?
Alan
how did you do your APU ?
Last edited by izzy; 08-14-2014 at 03:56 AM.
08-14-2014 | 04:20 AM
#1903
Izzy
I used a water waste pipe fitting which was 90degree right bend, now this particular right hand elbow/bend which I use was also perfect as it was a low profile one so the bottom of the bend was flat.
The diameter of the fitting is 1 1/4" or 32mm (31.75mm) I brought the fitting from B&Q (Home Depot in US) same type of store
I would try and get one for you but cannot get out at the moment :-(
I will sketch you a pic and post how I glued in with Hysol, don't forget water pipe fittings are PVC and Hysol will not attach to PVC even if you rough it up. So I created a fillet around the fitting and glued directly to body of aircraft, came out perfect and looks exactly like 1:1 scale
The holsol fillet 'locks' the fitting to the fibreglass body.
Alan
Last edited by fireblade5437; 08-14-2014 at 04:40 AM.
08-14-2014 | 04:43 AM
#1904

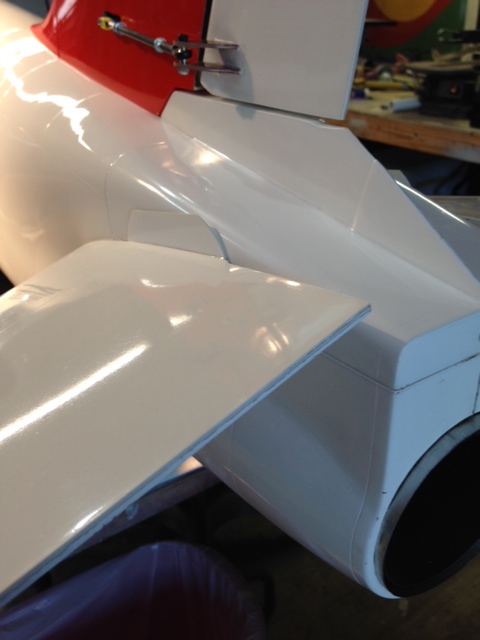
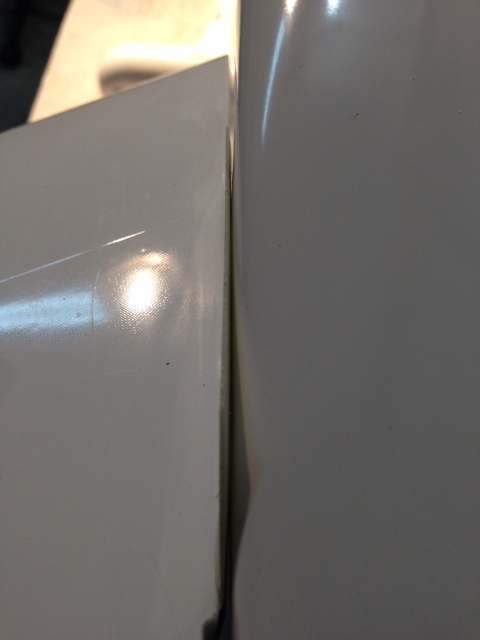
I don't own one of these I have finished out a couple... Smitty's and Joseph's. I have had the pleasure of dealing with the stab covers and have a few ideas that might help you guys that are frustrated. First of all, the covers that come with the kit are good covers, but because of the stab to fuse tolerance it is indeed tight. I have had to thin the covers to at least half thickness to start with. from there I installed(glue) them one at a time starting with the bottom. Install one, put it back on the airplane and check the fit, take off the stab assmy and sand,put on, fit, take off, sand, put on fit,take off, sand til happy.... you get the idea... Do them one at a time. After a few hours your good to go. As you will figure out, they get closer and tighter with full stab deflection. As Fireblade said, If they would have made the stabs a little wider at the fuse, this wouldn't be such a delimma. Here are a few pics, hard to really tell much from them but you can see the gap difference from the nuetral to full up position. Hope this helps a bit.
Danno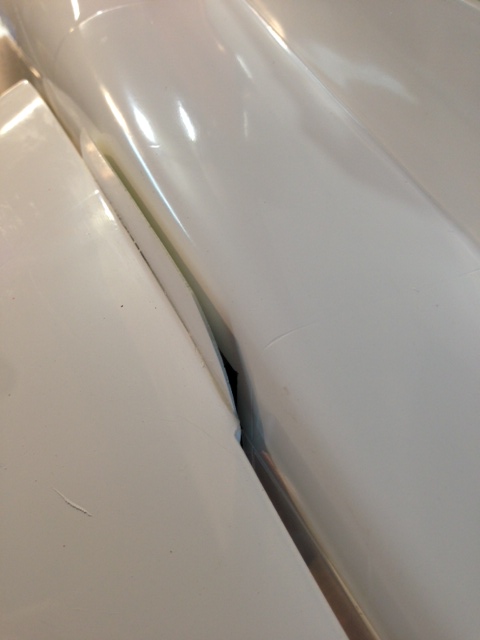

Danno
08-24-2014 | 05:45 PM
#1905

Here is the first flight.... The jet was not fully ready but enough to fly. Fantastic. Ease, predictable beautyfull. The Merlin 140 did a great job.
Crazy for the next flight
couple of pictures
http://s1076.photobucket.com/user/mv...?sort=2&page=1
Crazy for the next flight
couple of pictures
http://s1076.photobucket.com/user/mv...?sort=2&page=1
08-24-2014 | 11:22 PM
#1906
Well done with your first flight! This hawk is really predictable in flight and after your first flight you will get more confident with it.
Where abouts have you got your G of G out of interest?
Great pics by the way, spotted the pylon up on the hill on the right !!
Alan
Where abouts have you got your G of G out of interest?
Great pics by the way, spotted the pylon up on the hill on the right !!
Alan
Here is the first flight.... The jet was not fully ready but enough to fly. Fantastic. Ease, predictable beautyfull. The Merlin 140 did a great job.
Crazy for the next flight
couple of pictures
http://s1076.photobucket.com/user/mv...?sort=2&page=1
Crazy for the next flight
couple of pictures
http://s1076.photobucket.com/user/mv...?sort=2&page=1
08-25-2014 | 03:53 AM
#1907
Alan,
For the first flight I set the CG at 190mm (only UAT full). All control surface movements were set as per the manual with 30% expo. It took off easily but require a good amount of elevator trim up to keep straight flight at half throttle. After land the elevator trealing edge was around 5mm offset (up) from the initial set up. For the second flight I removed 160gr (around 5,5 ouces??) from the nose. Became better but I didn't measure the right CG position.
Mucio
09-25-2014 | 04:40 AM
#1908
Senior Member
My Feedback: (85)
Looking for help.
I have aquired a rebuildable air frame. The wings have the gear out of them, but have found from another RCU user that has provided me, templates for the gear plates.
I am hoping that someone has templates for the nose gear section, that needs reconstruction.
Thanks
Clay
I have aquired a rebuildable air frame. The wings have the gear out of them, but have found from another RCU user that has provided me, templates for the gear plates.
I am hoping that someone has templates for the nose gear section, that needs reconstruction.
Thanks
Clay
09-25-2014 | 05:07 PM
#1911
Senior Member
My Feedback: (85)
I have been trying to get it apart, but it keeps crumbling.
I was looking for short cut, to save some time. If I get it apart I have a guy who can make a drawing for everyone to use. Or I might just post the tracings when I get it done.
Thanks everyone.
Clay
I was looking for short cut, to save some time. If I get it apart I have a guy who can make a drawing for everyone to use. Or I might just post the tracings when I get it done.
Thanks everyone.
Clay
09-28-2014 | 06:34 PM
#1912
My Feedback: (44)
Well we can add another flying hawk to the list, my rebuild Hawk was test flow By Jim Hiller yesterday, he gave it a clean bill of health!
C.G. and throws were according to the manual, I also added crow with flap deployment.
The before photos are on post #733 in this thread.
C.G. and throws were according to the manual, I also added crow with flap deployment.
The before photos are on post #733 in this thread.
Last edited by RCISFUN; 09-28-2014 at 06:37 PM.
09-28-2014 | 07:34 PM
#1913
My Feedback: (24)
Well we can add another flying hawk to the list, my rebuild Hawk was test flow By Jim Hiller yesterday, he gave it a clean bill of health!
C.G. and throws were according to the manual, I also added crow with flap deployment.
The before photos are on post #733 in this thread.
C.G. and throws were according to the manual, I also added crow with flap deployment.
The before photos are on post #733 in this thread.
Crow seems to make a big difference in how the model lands - much easier to get it in the "groove" for a soft touchdown with no bouncing...
Bob
09-29-2014 | 12:34 AM
#1915
Thread Starter
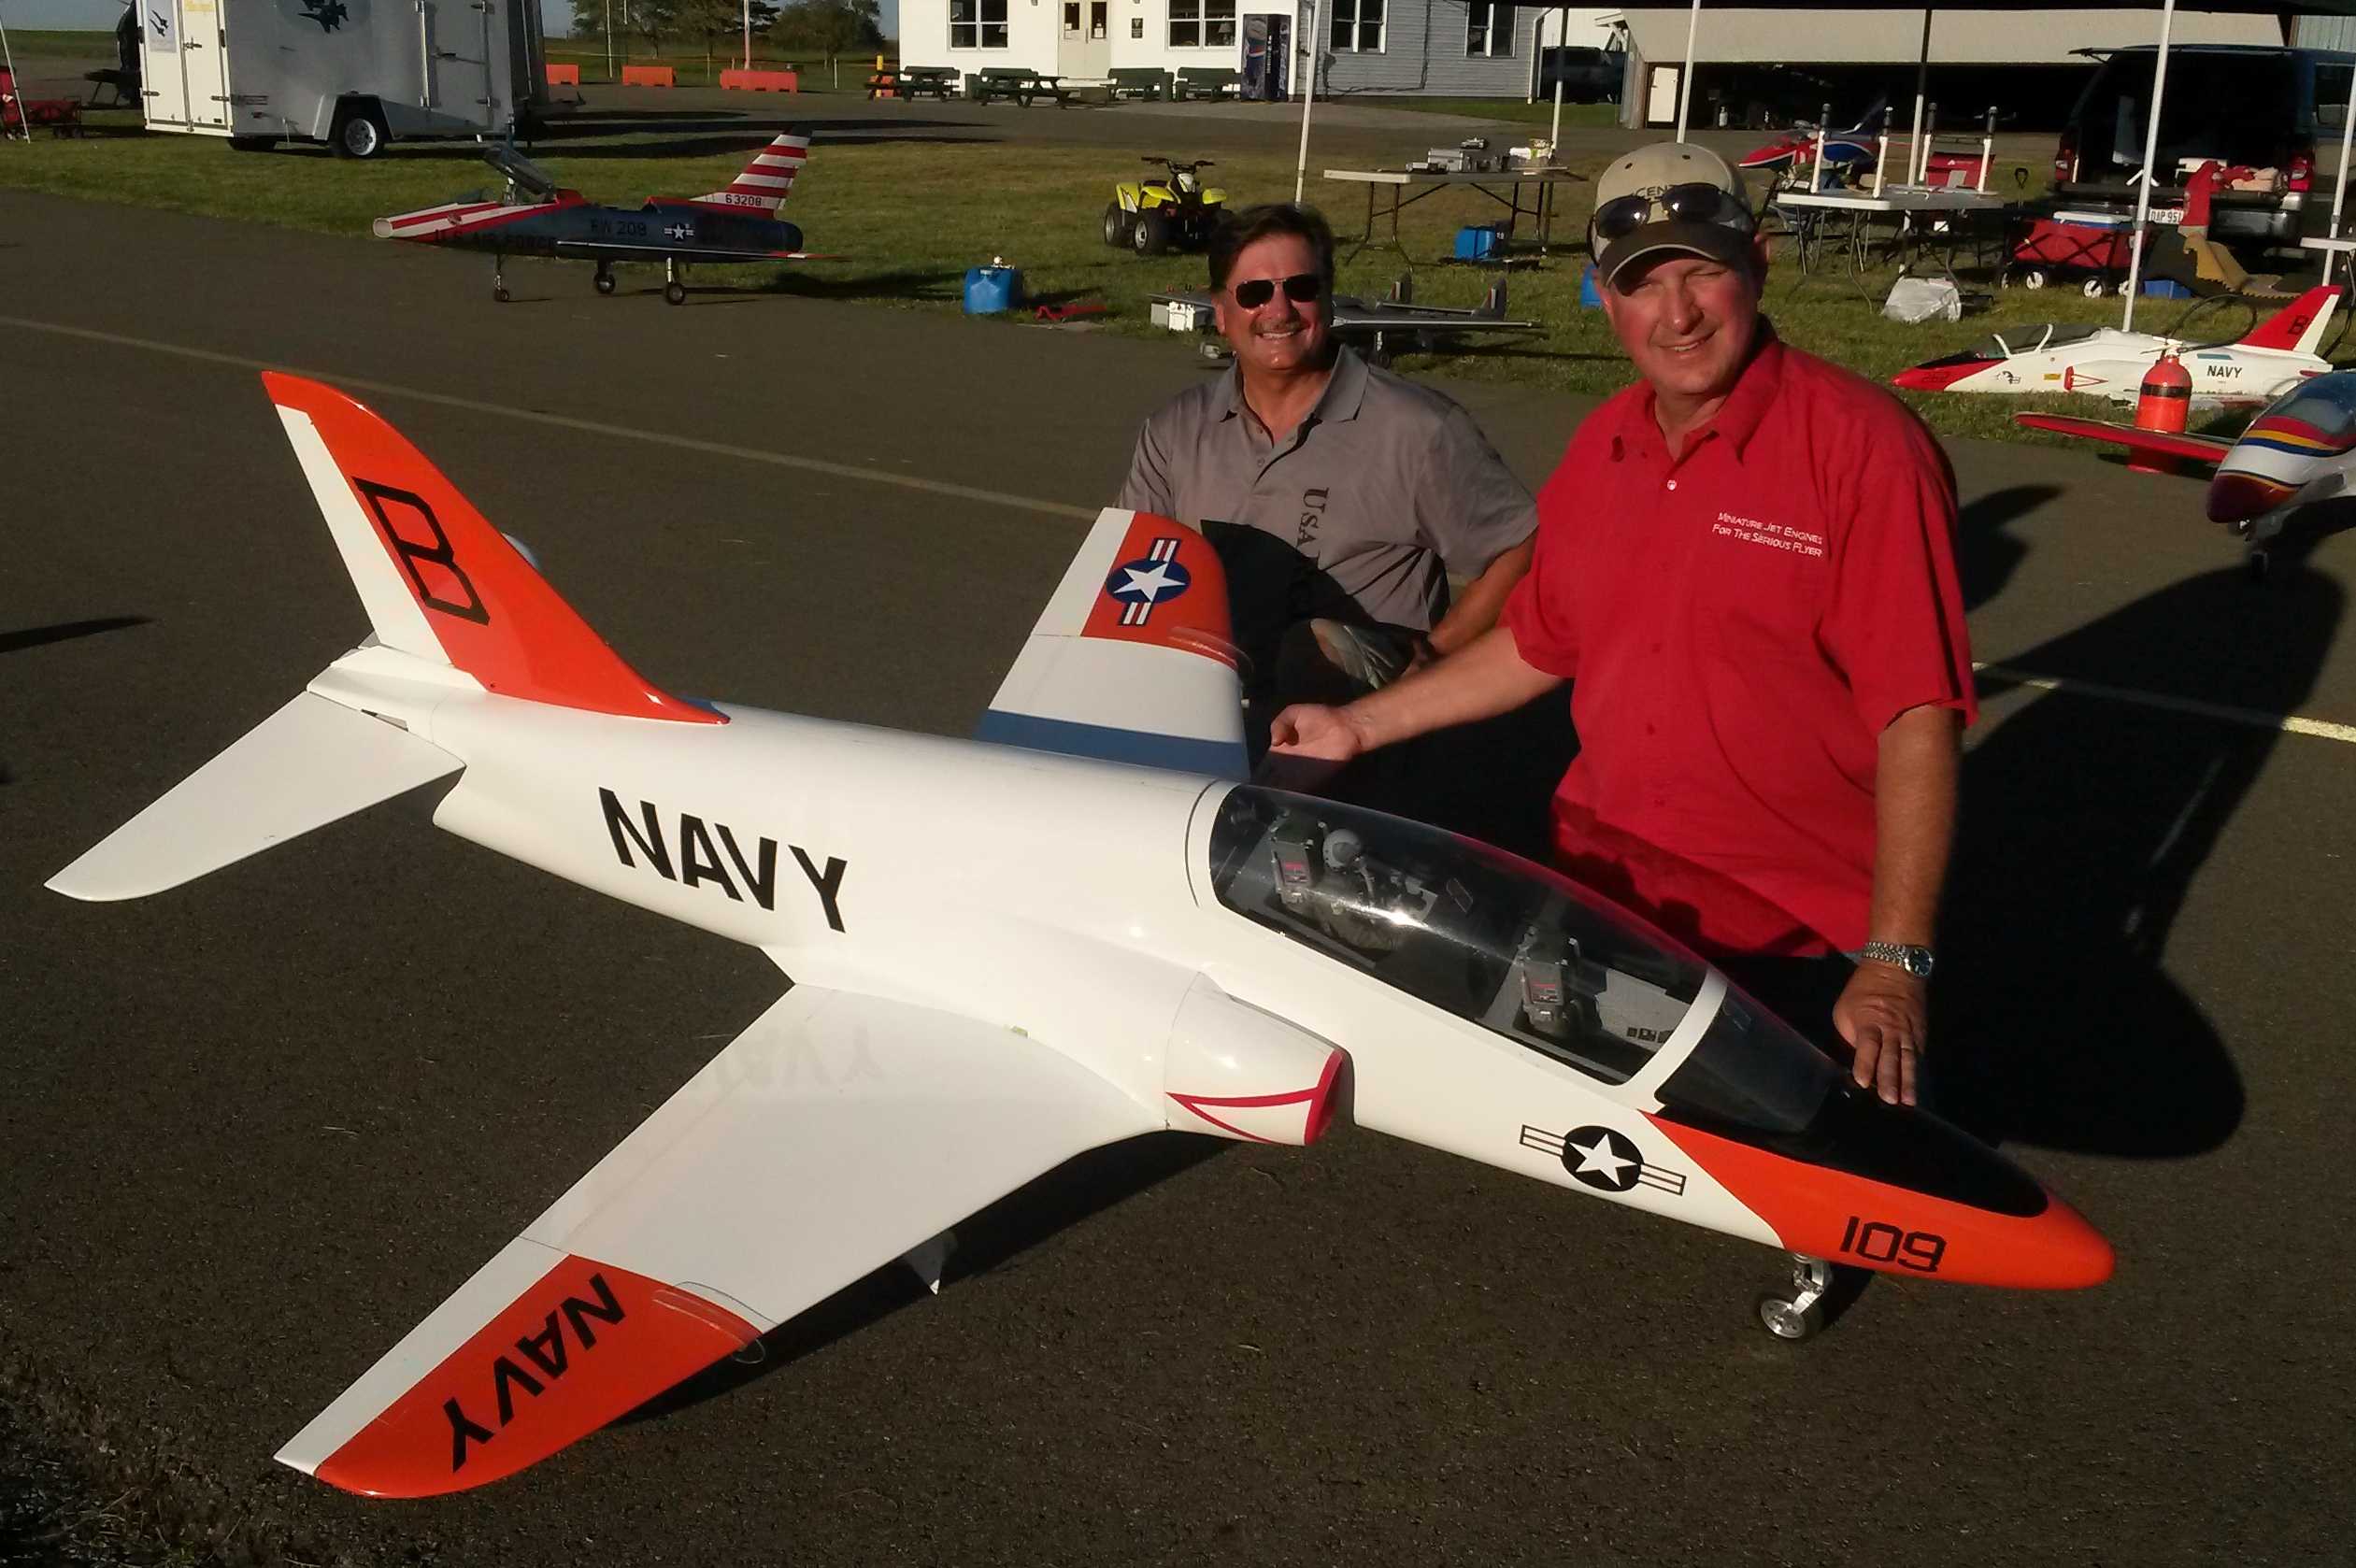
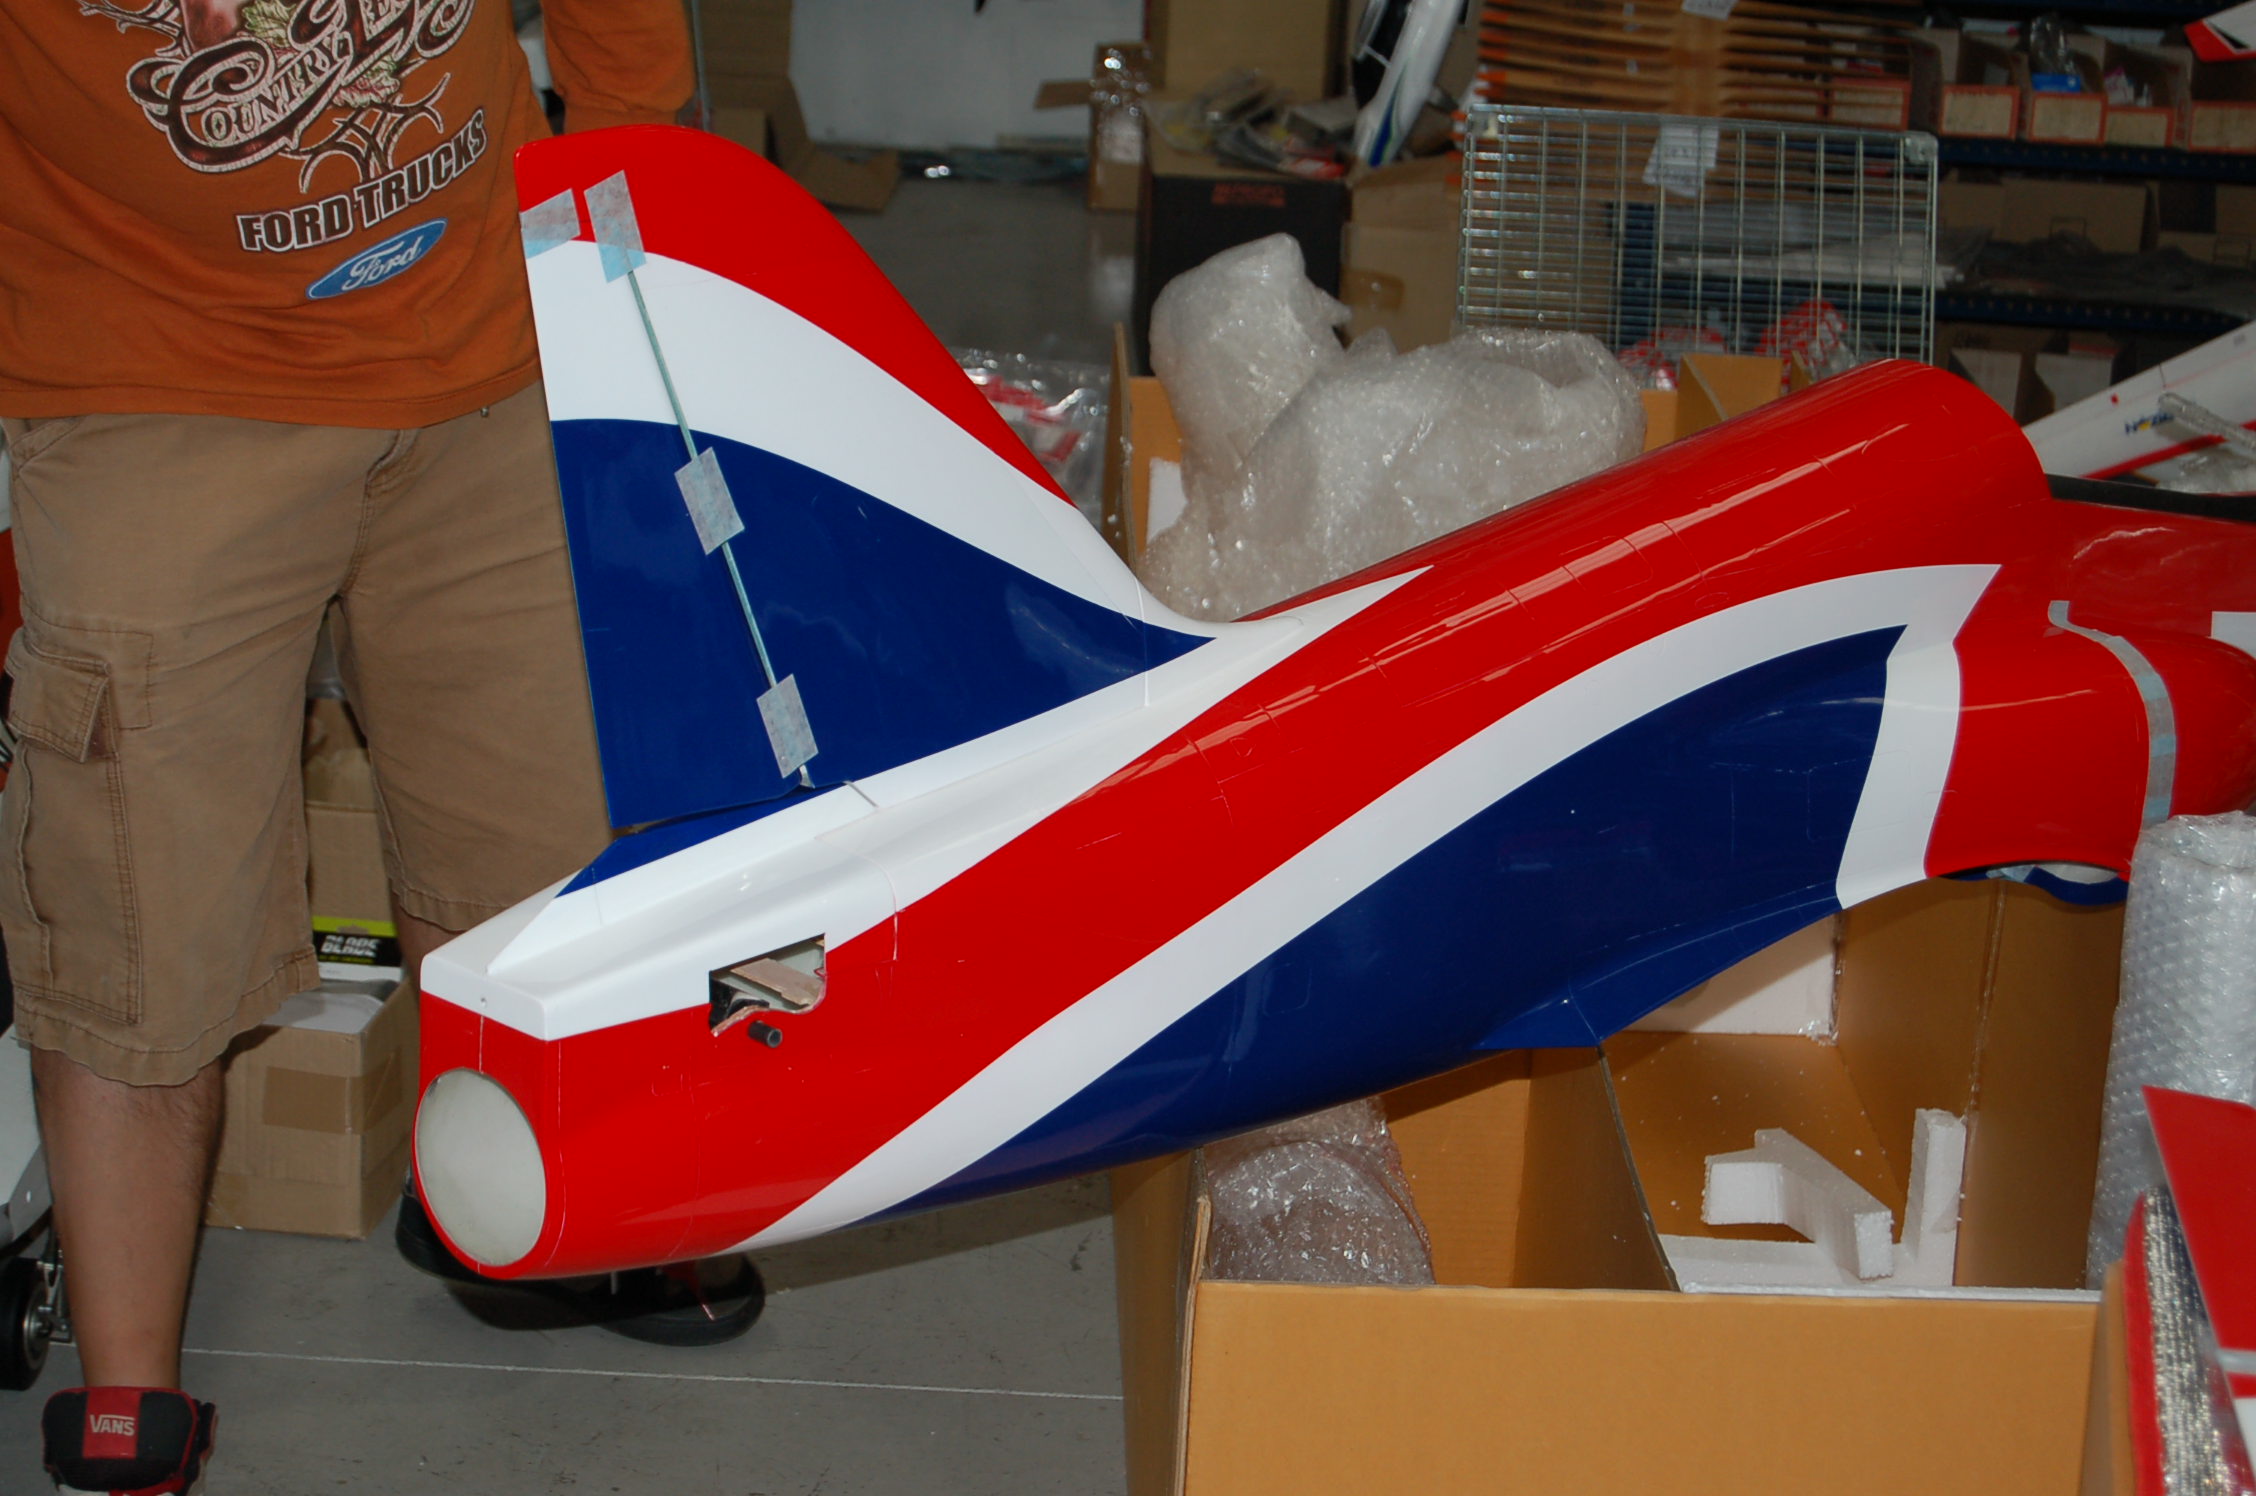
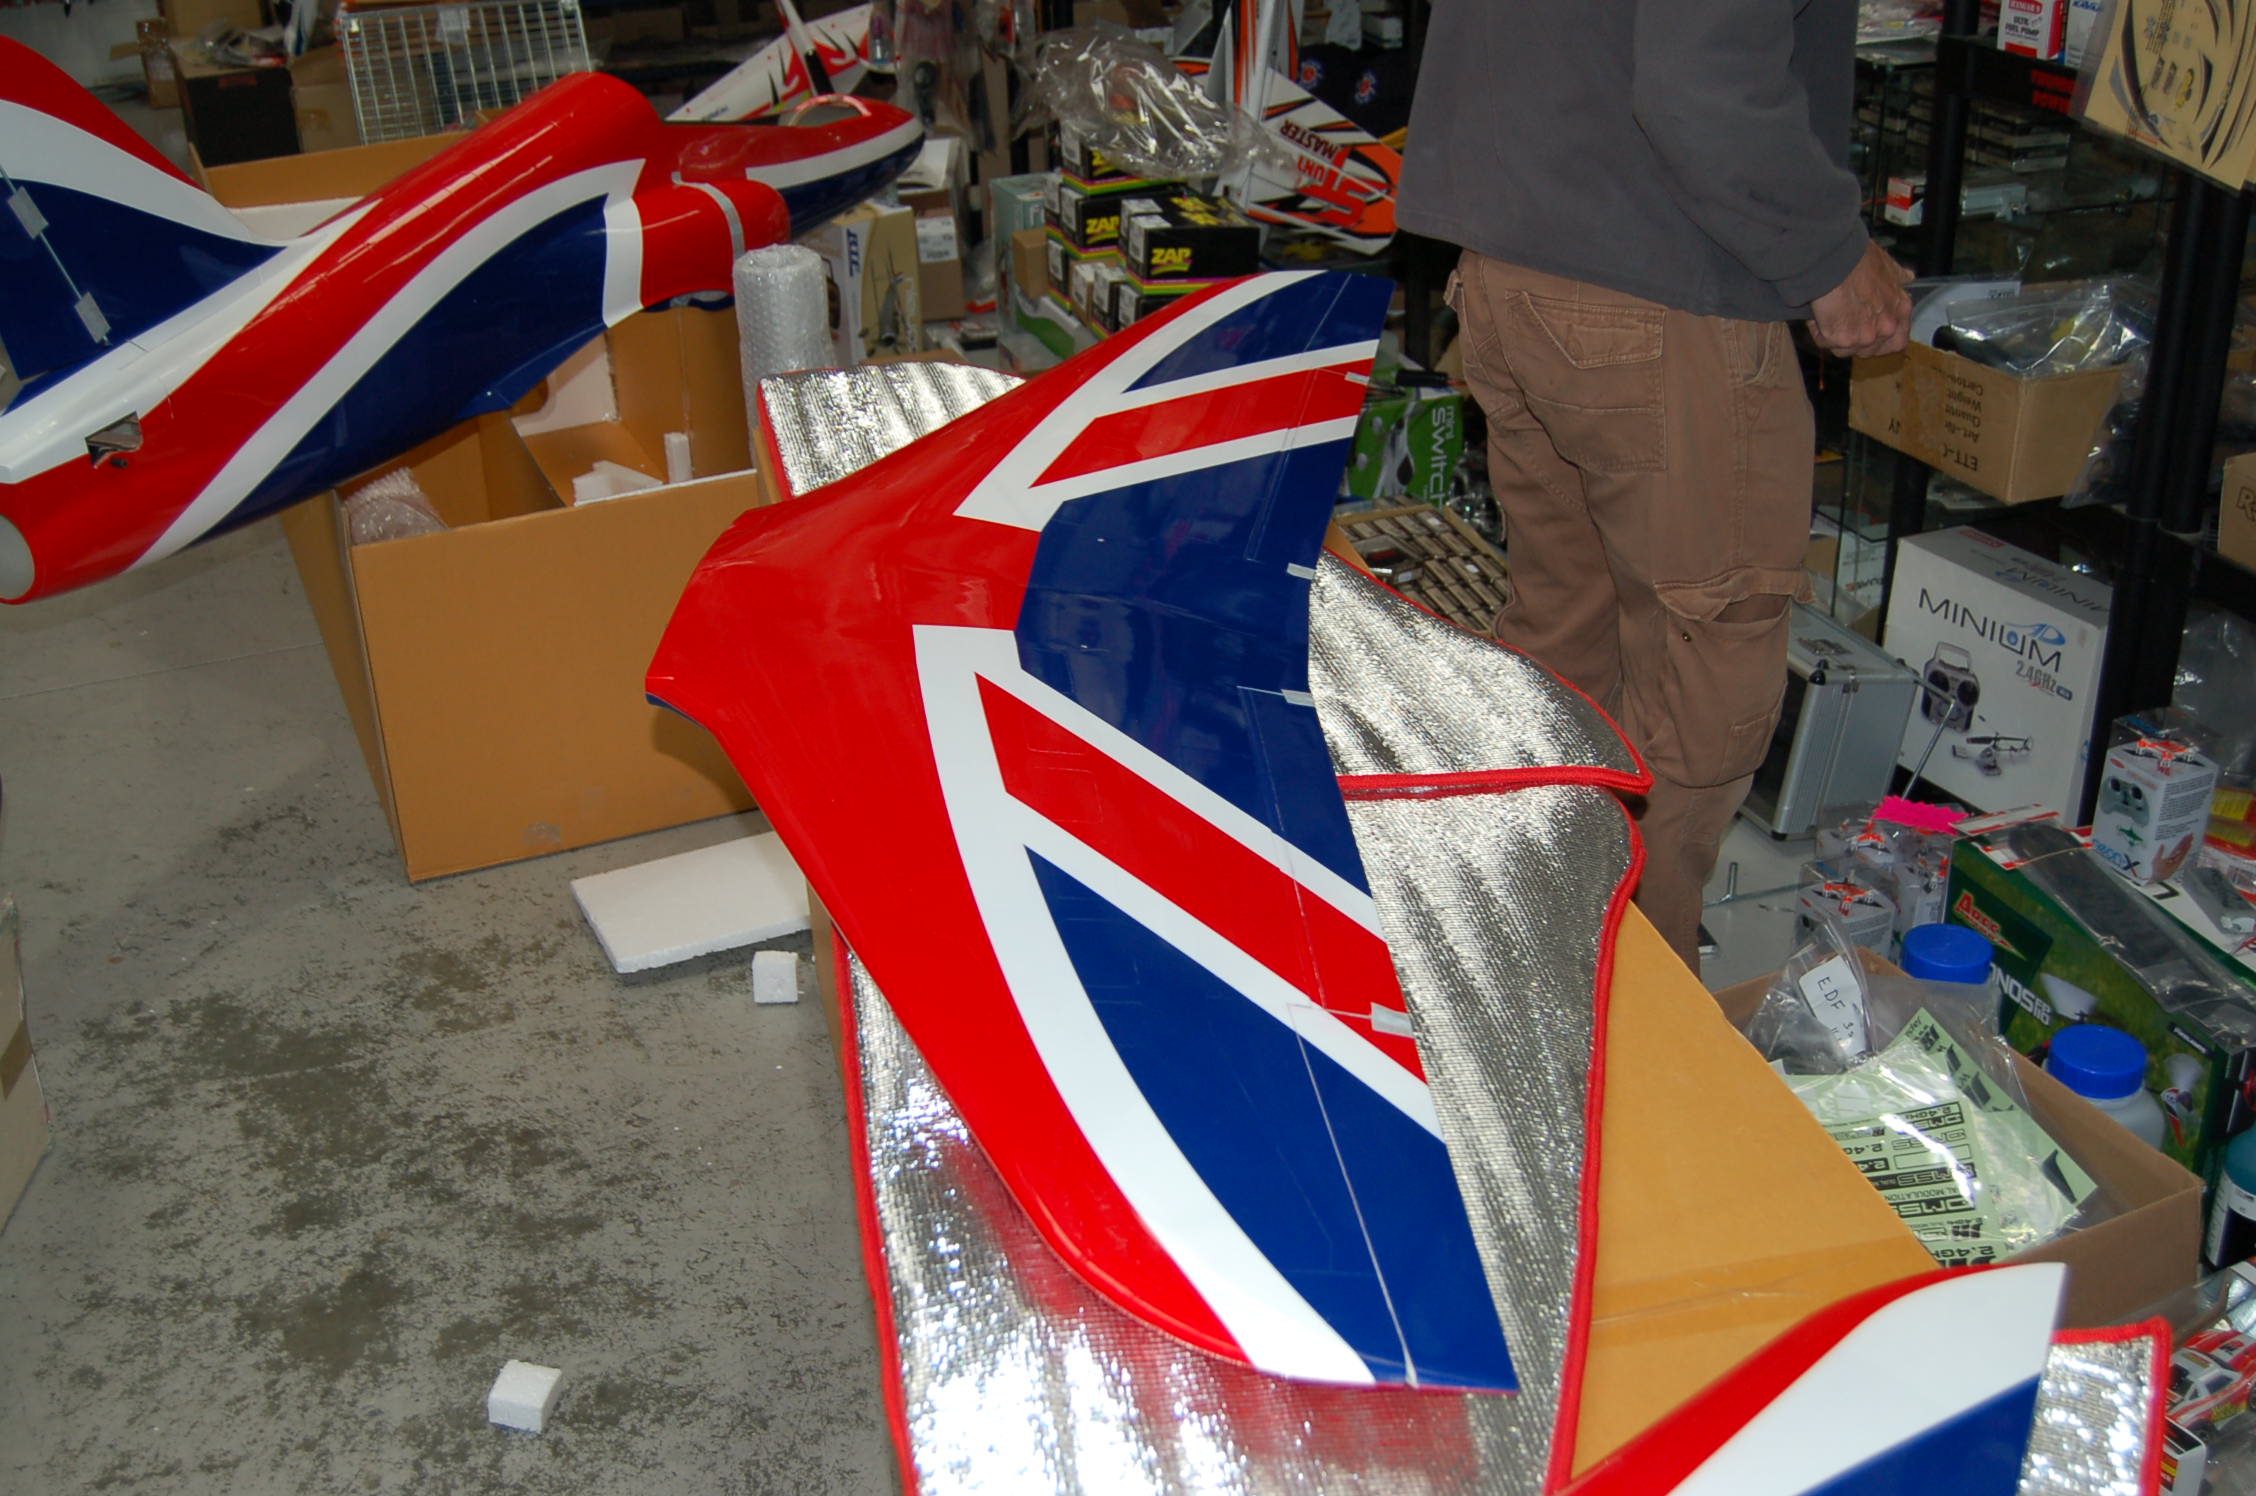
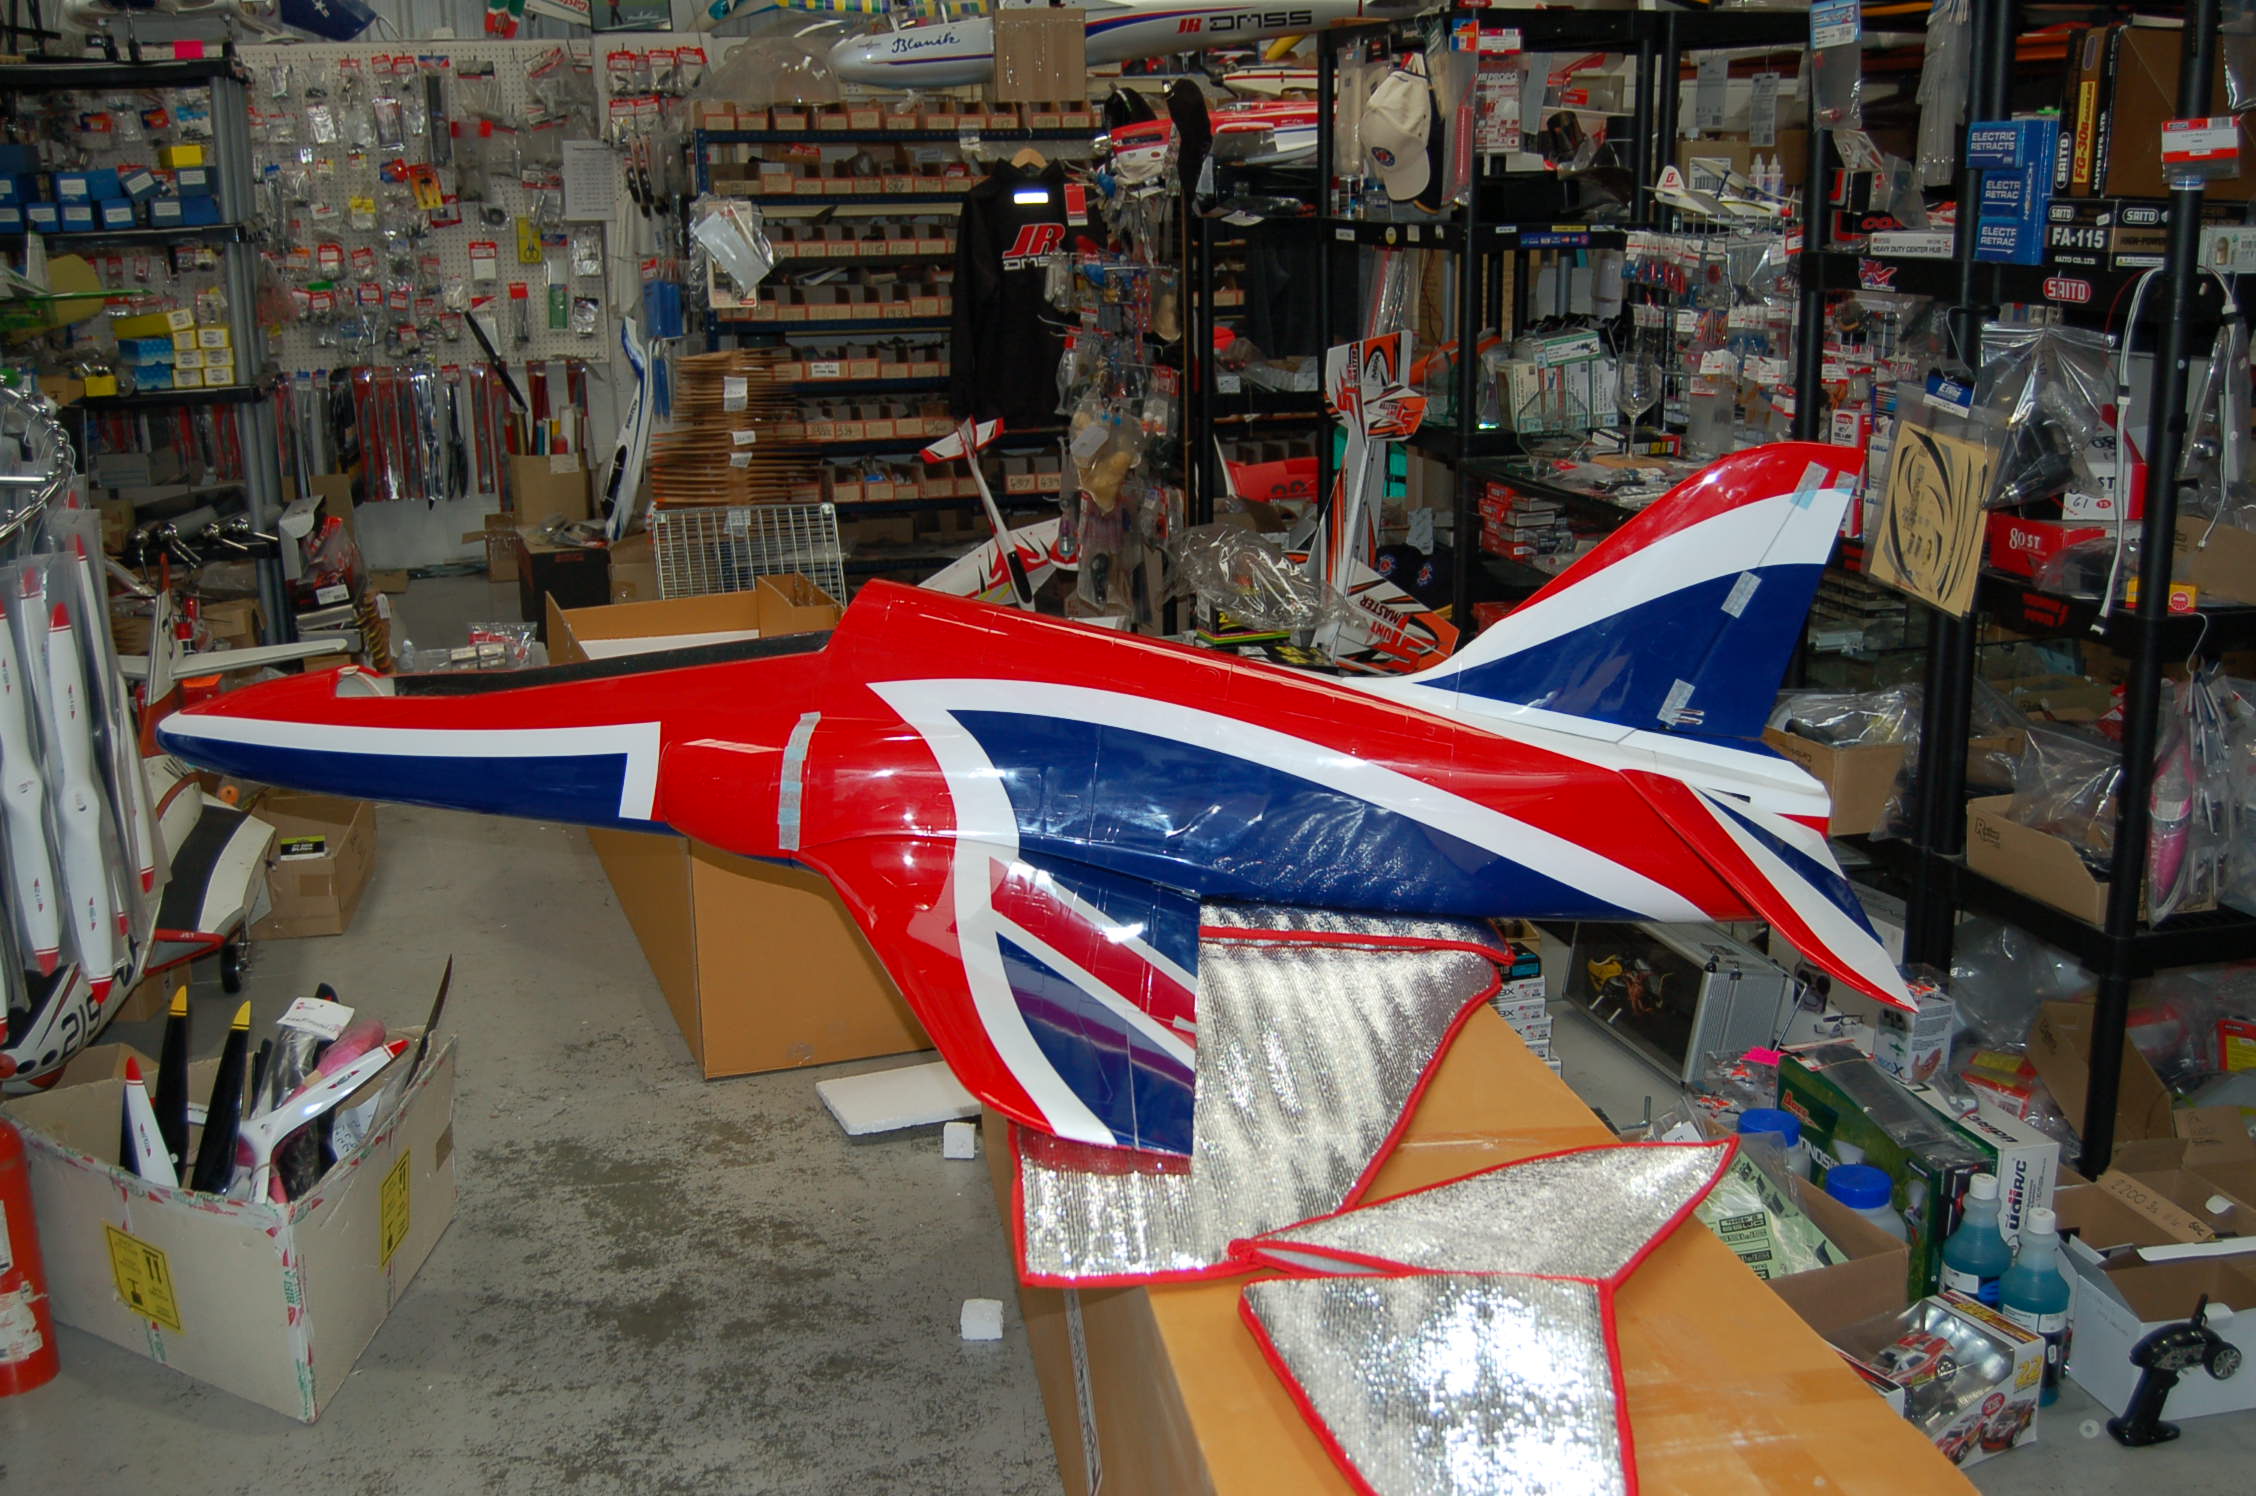
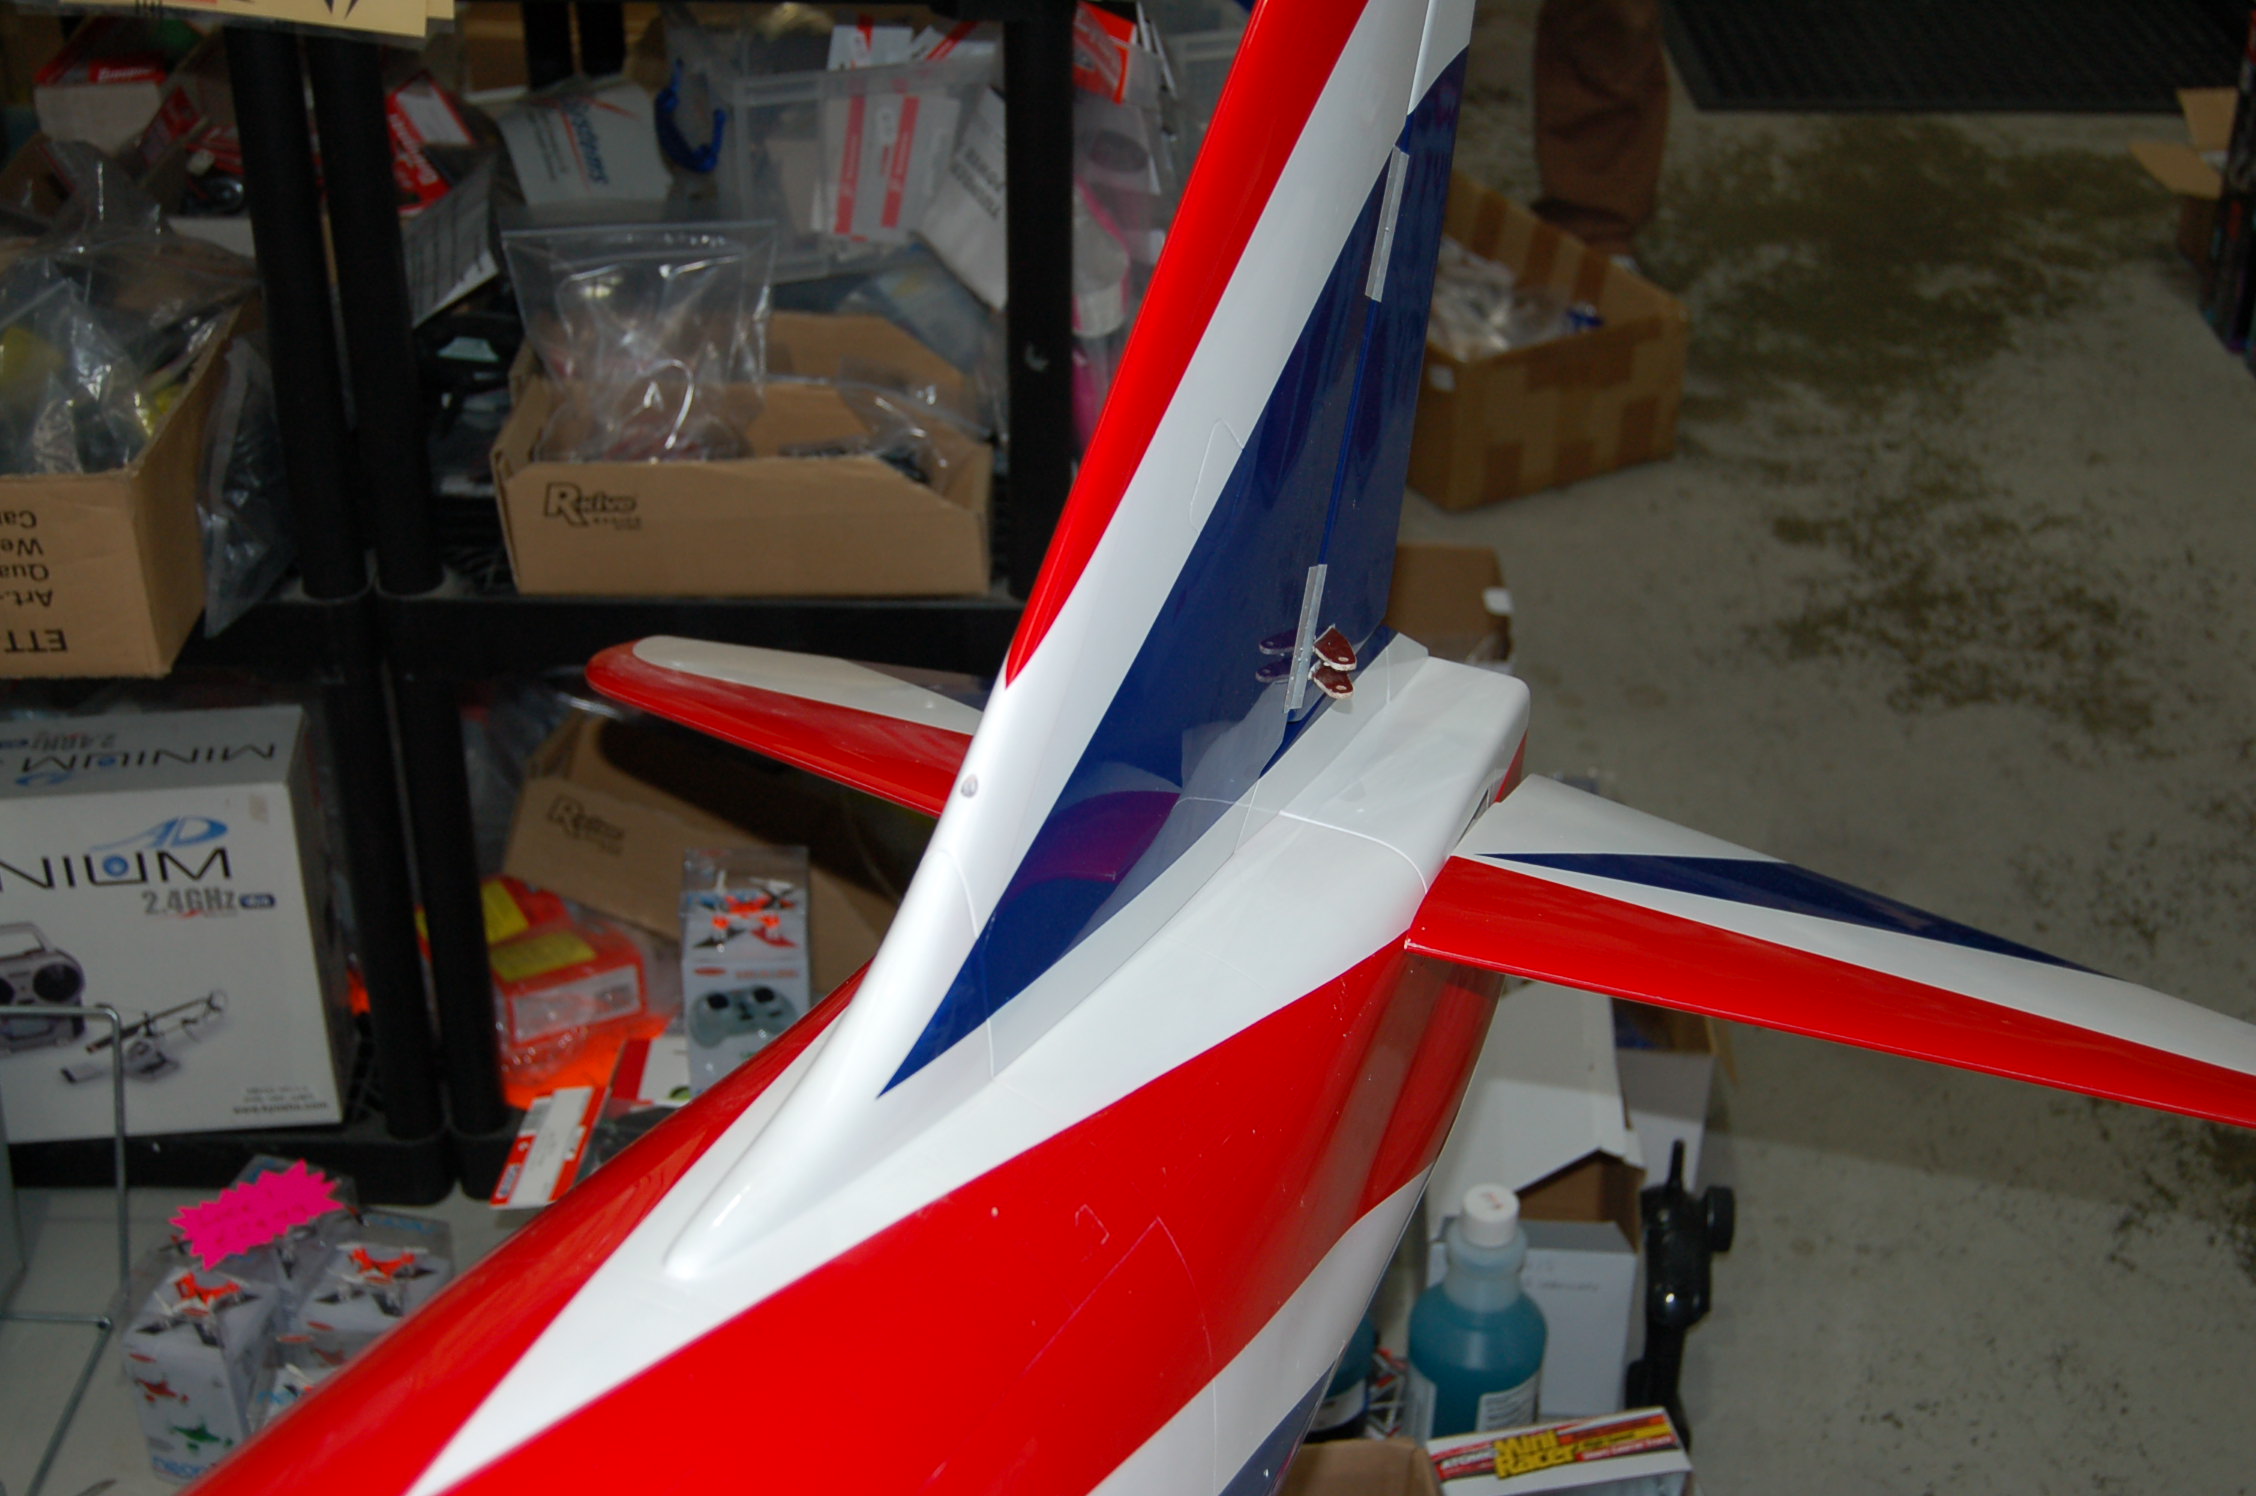
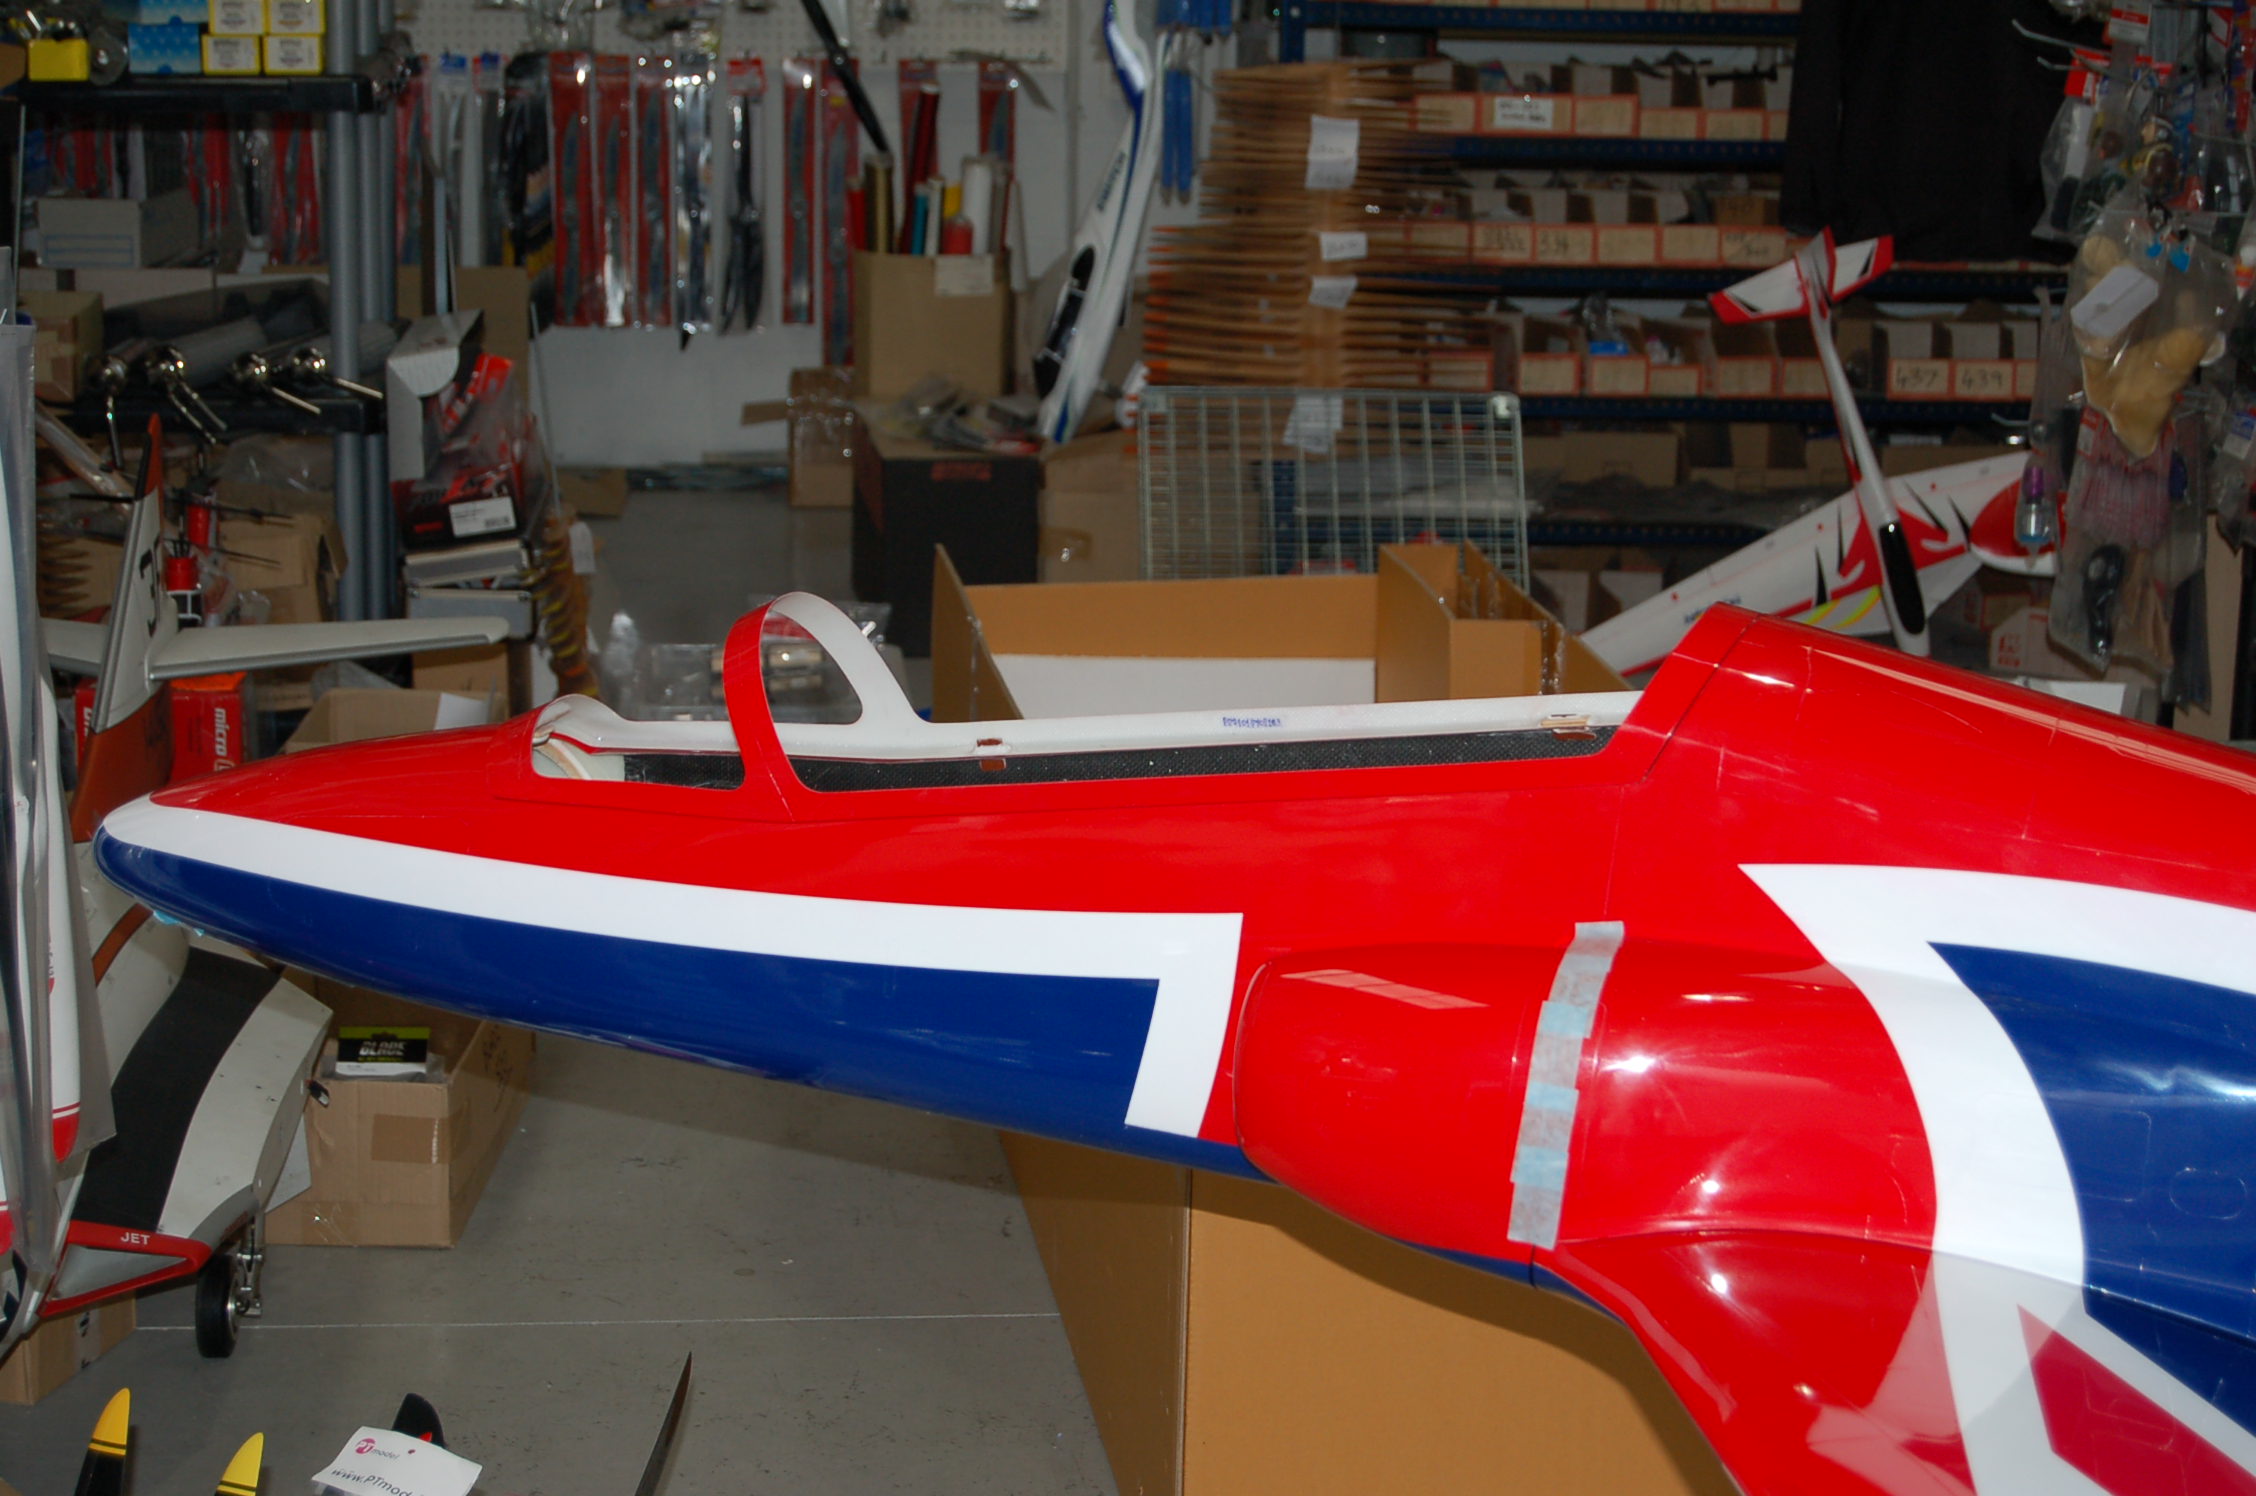
One of many models I collected at JP12 was this 2012 scheme Hawk. No had time to unpack it till now, but I'm mighty impressed with the scheme and paint work on this one.
P-140Rxi and probably new JR 28x going in this one
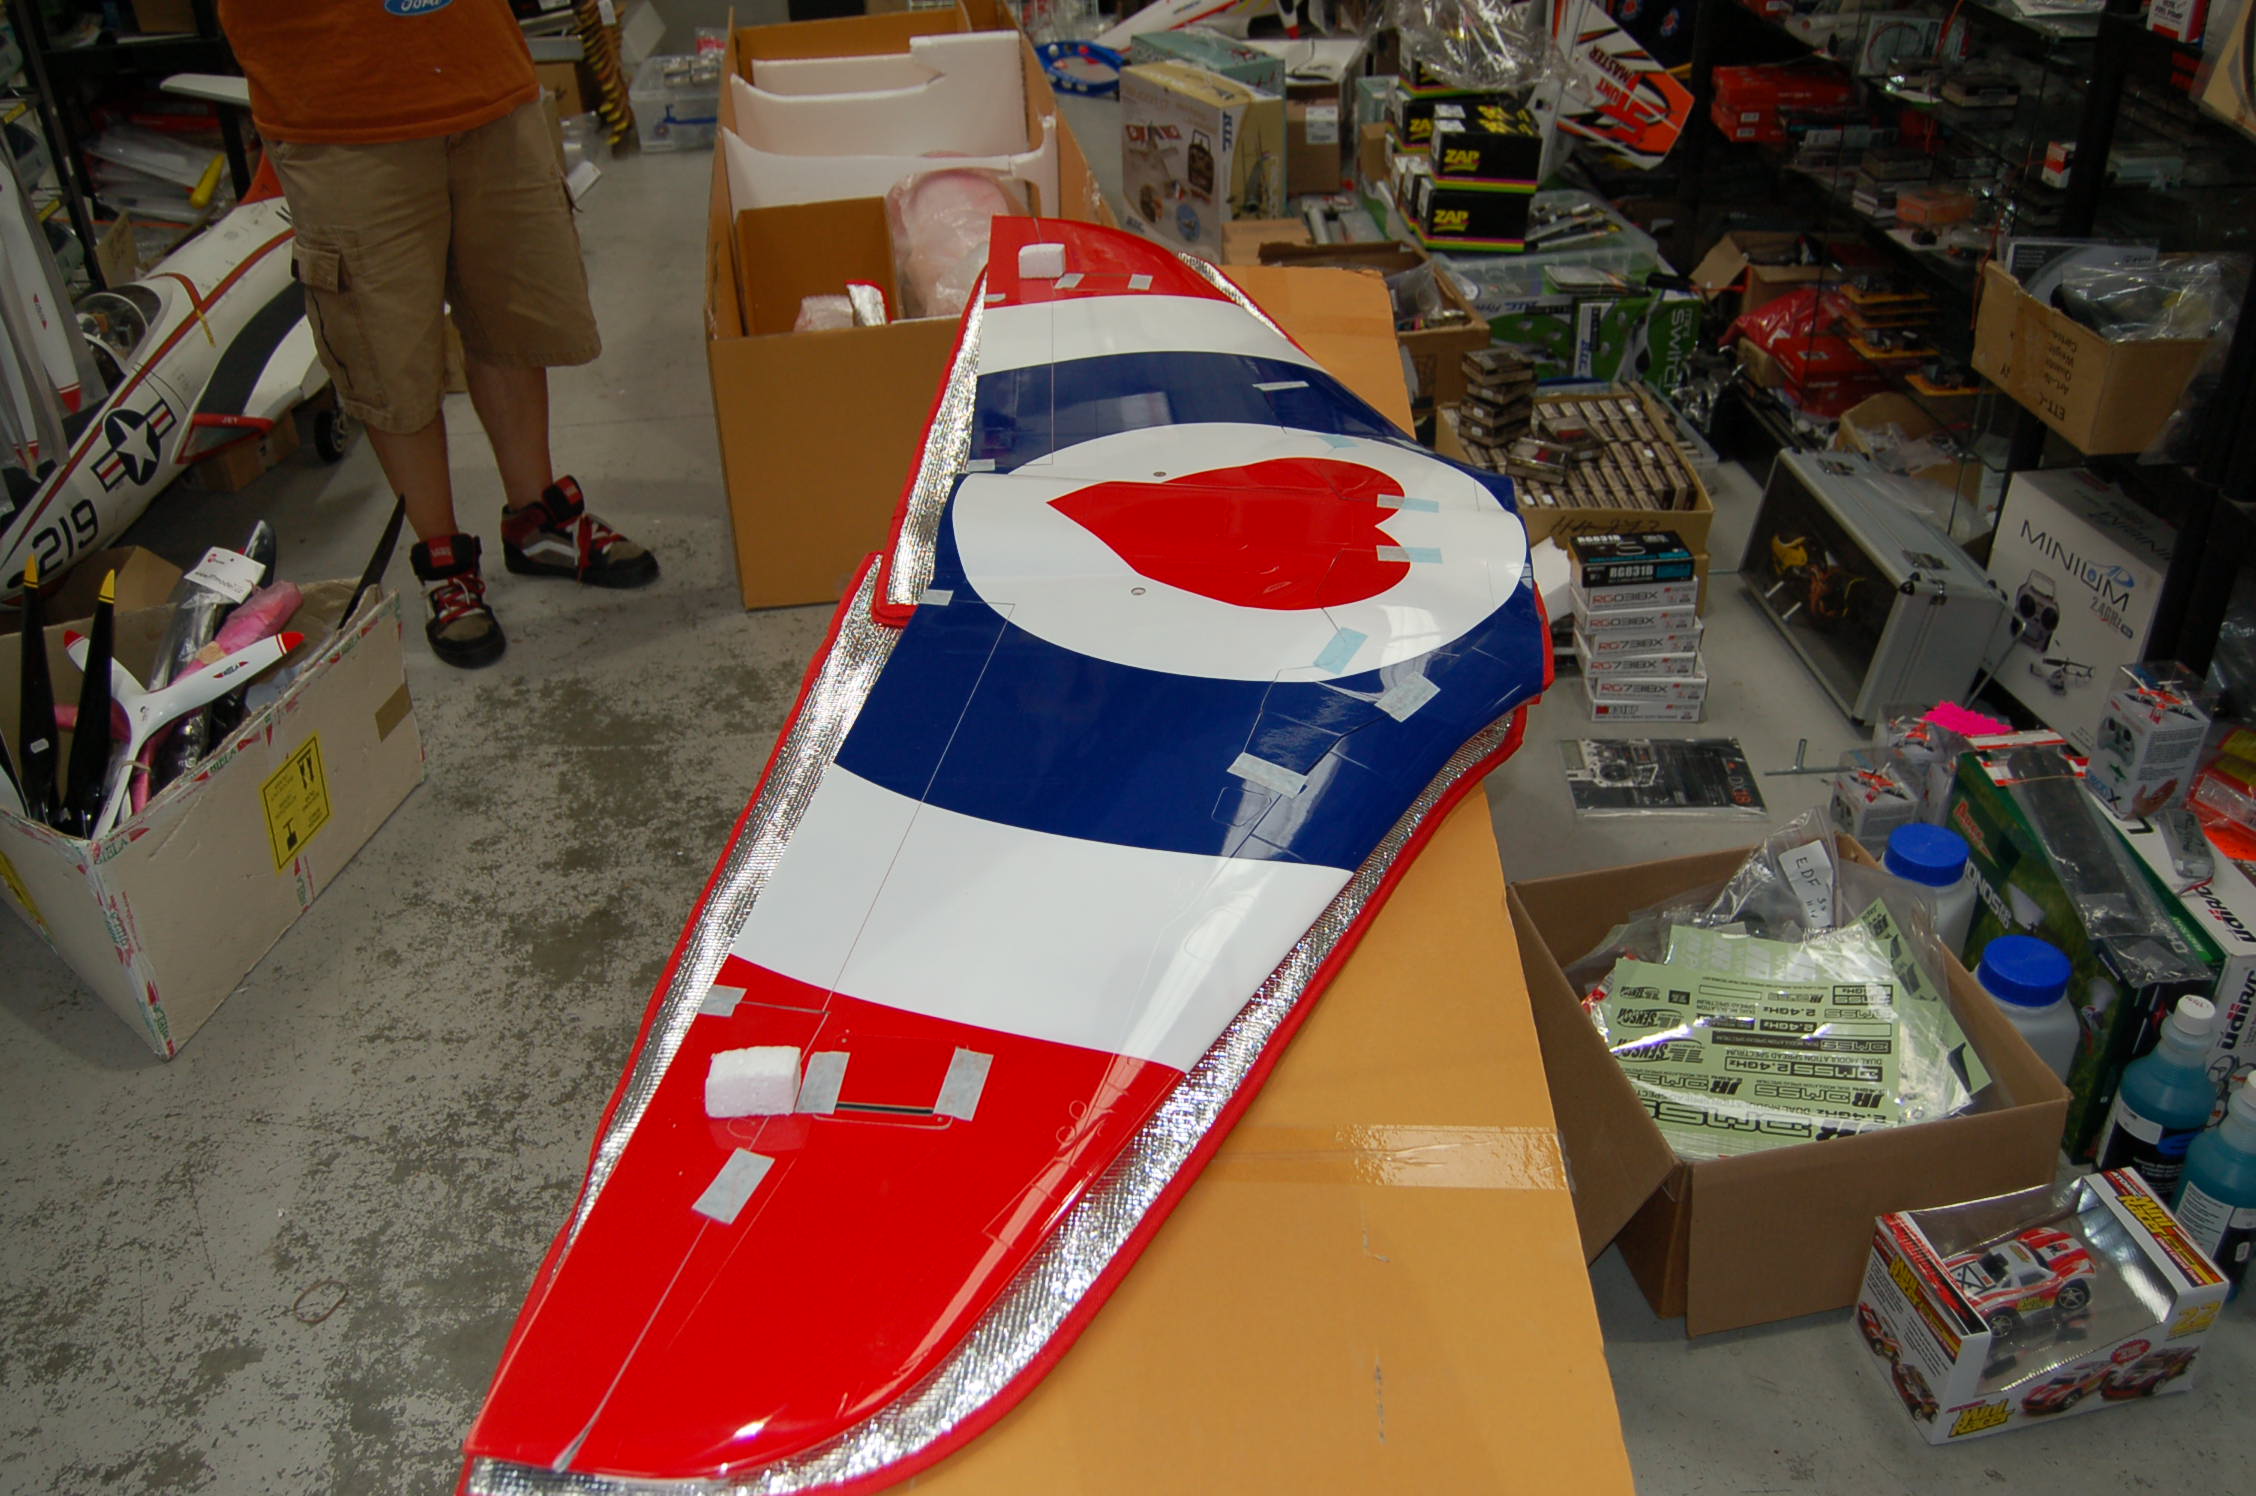

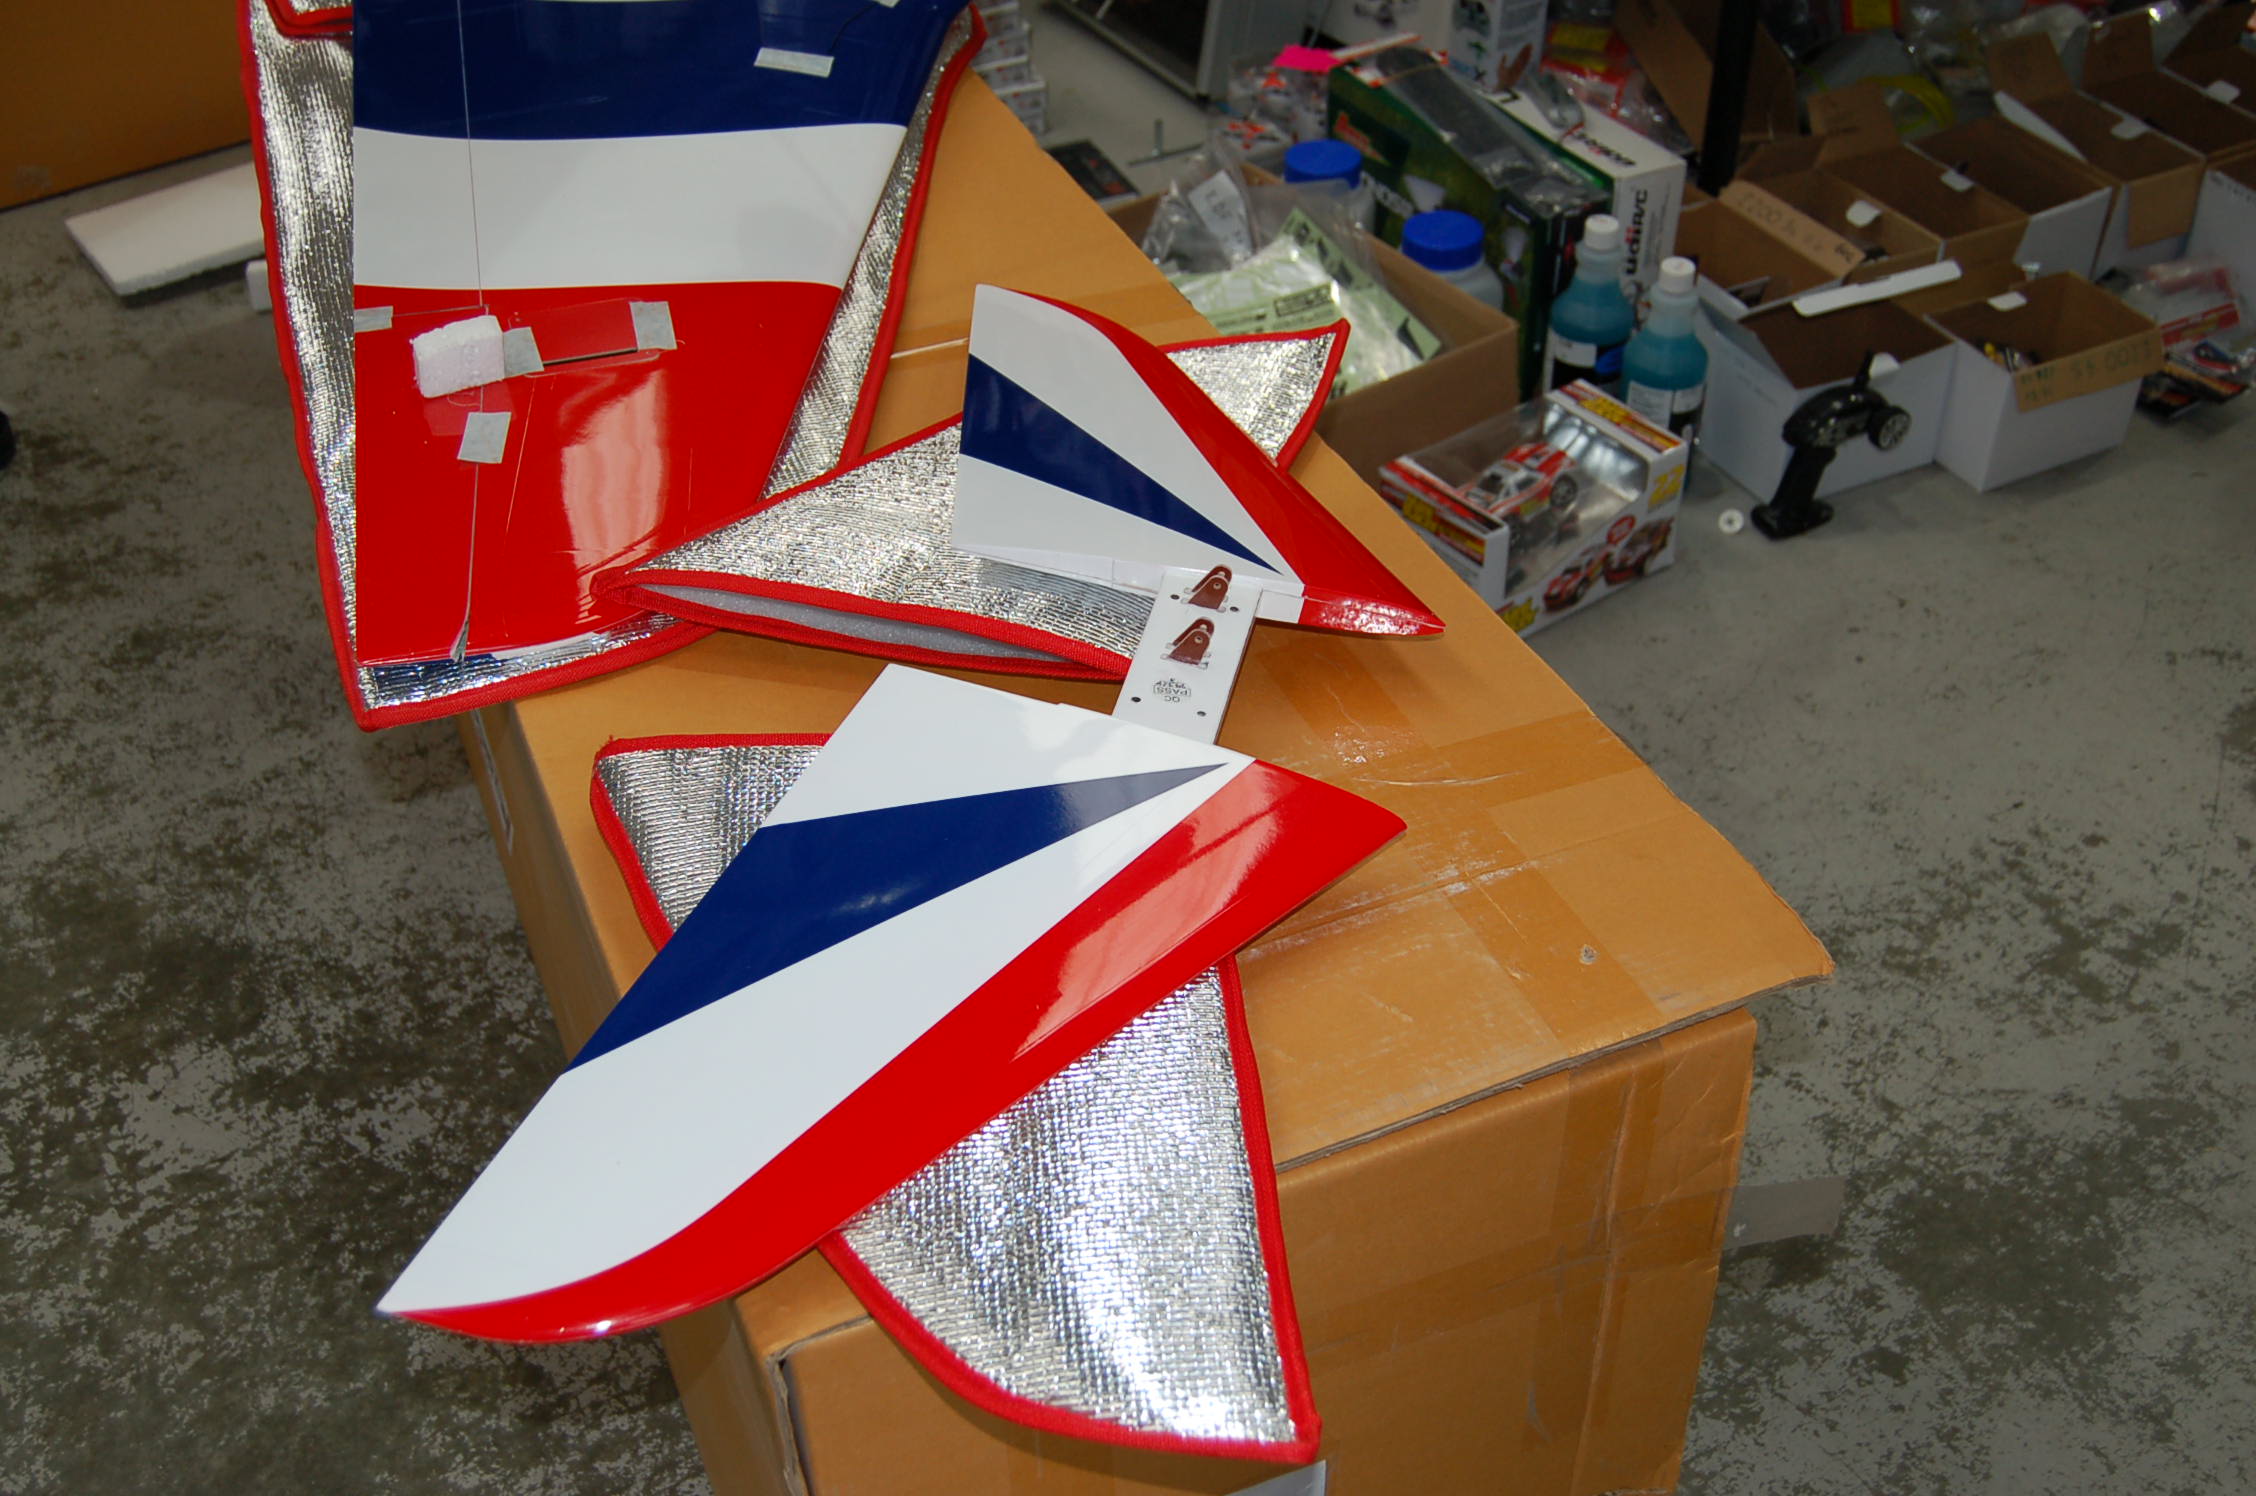
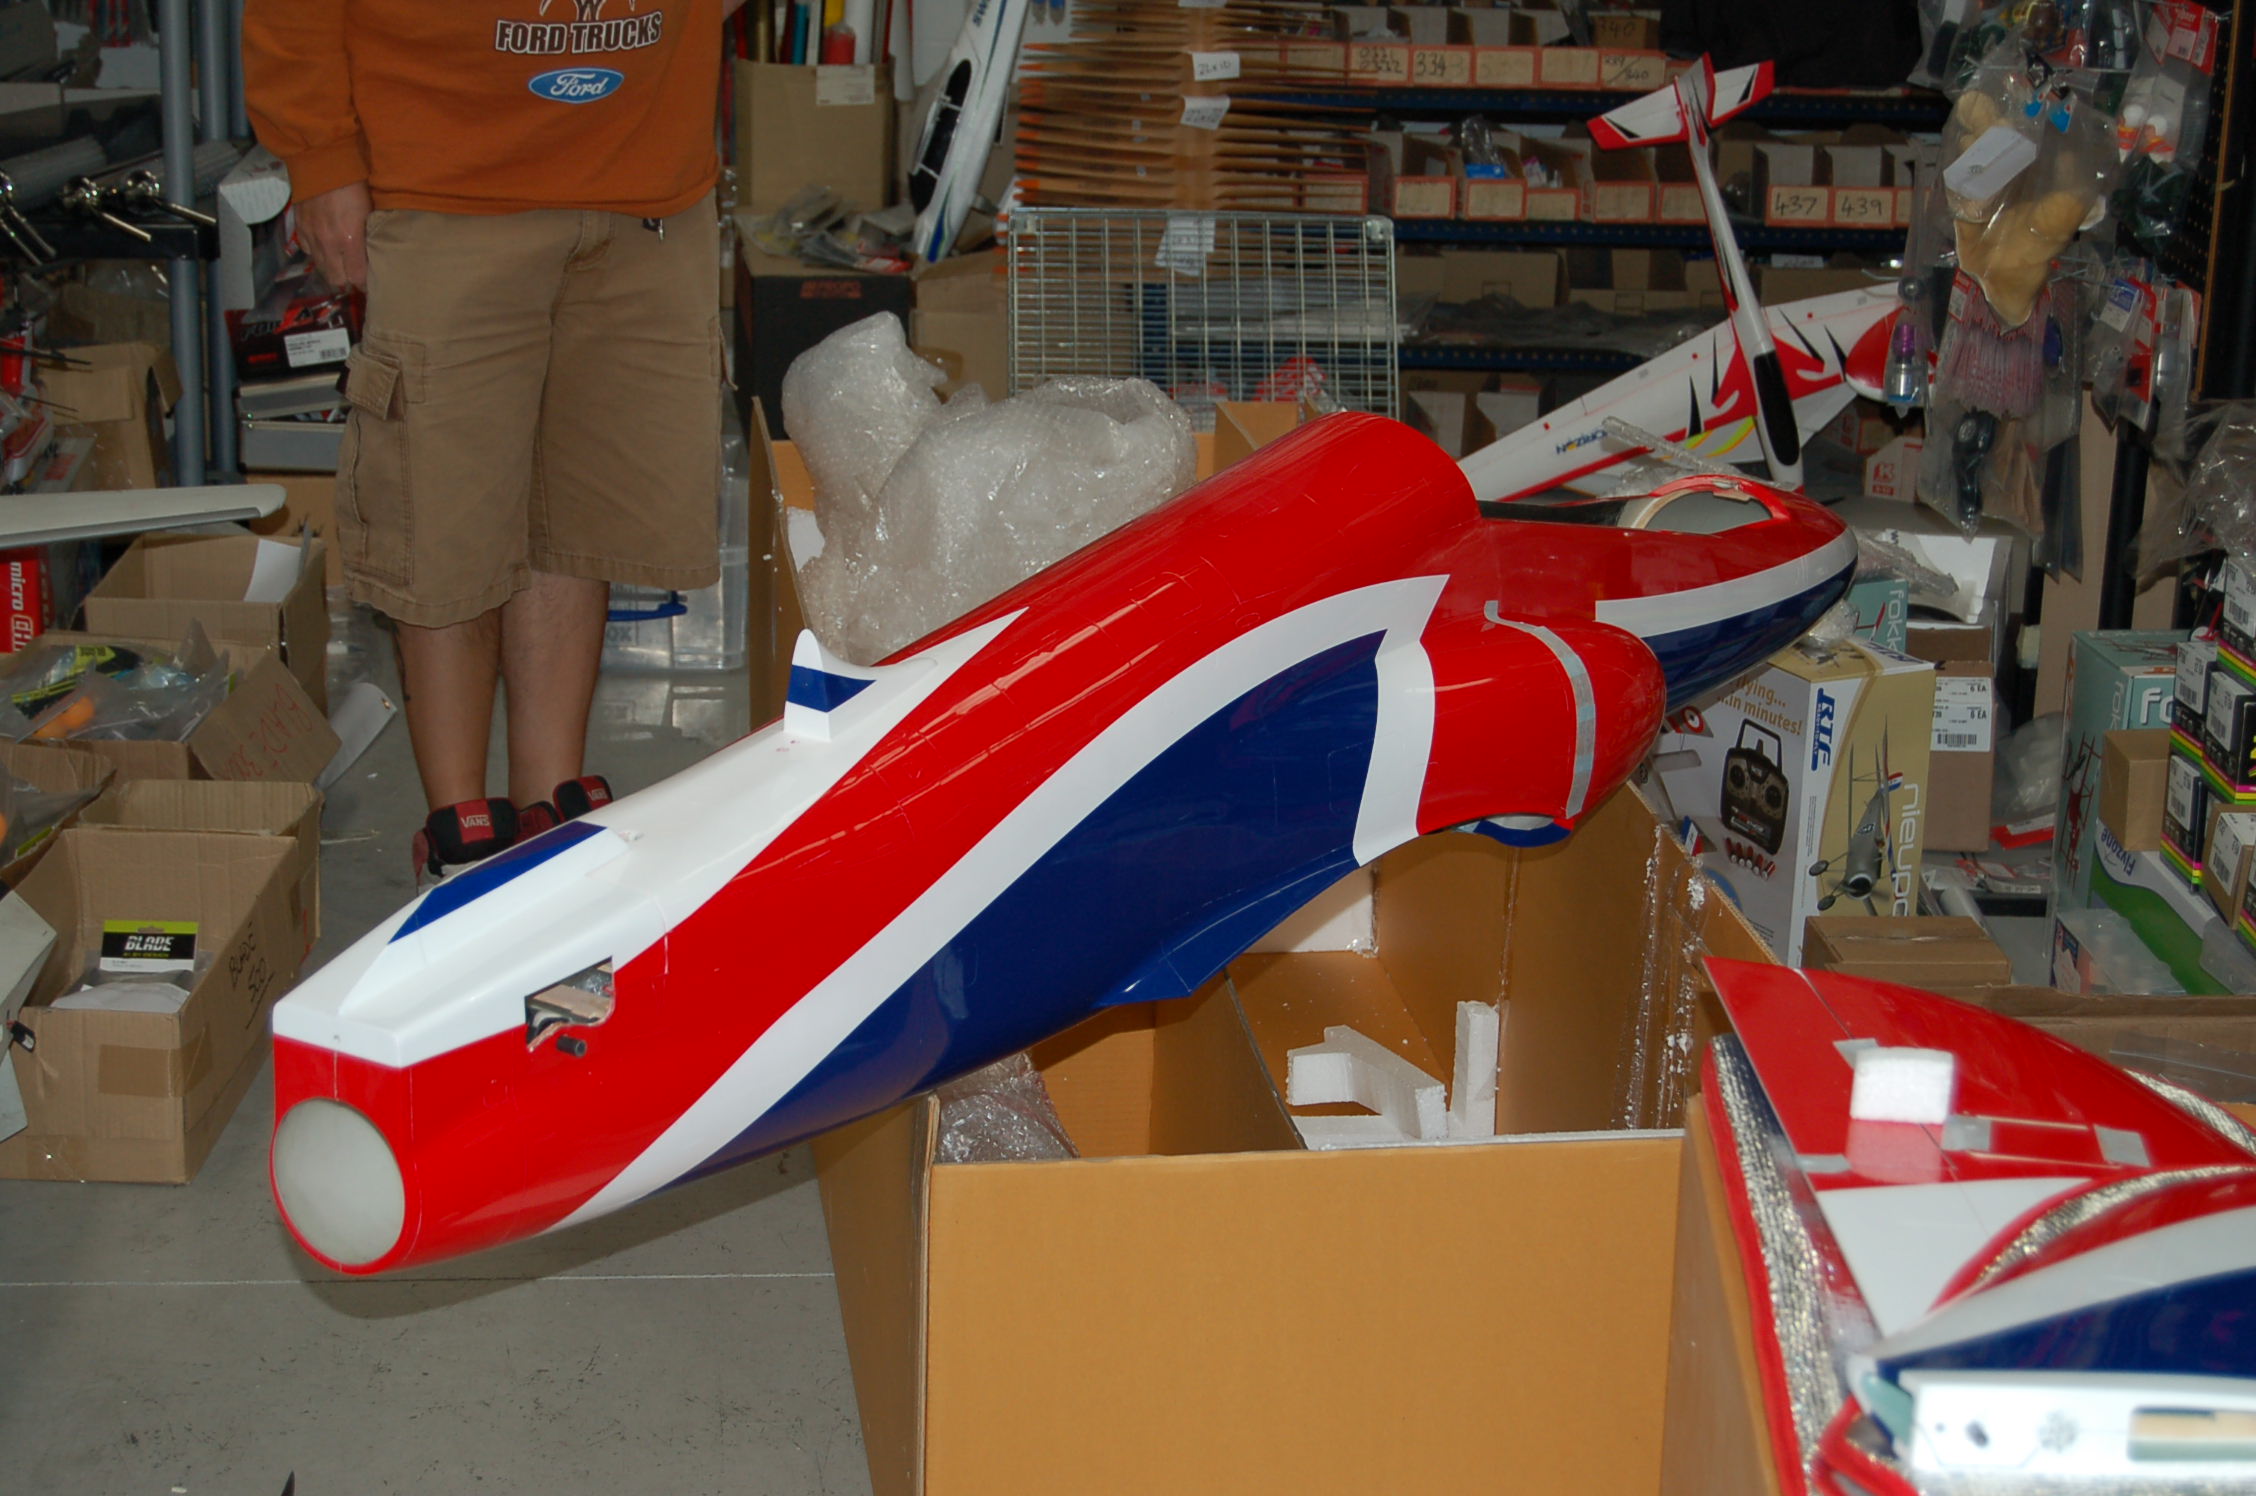
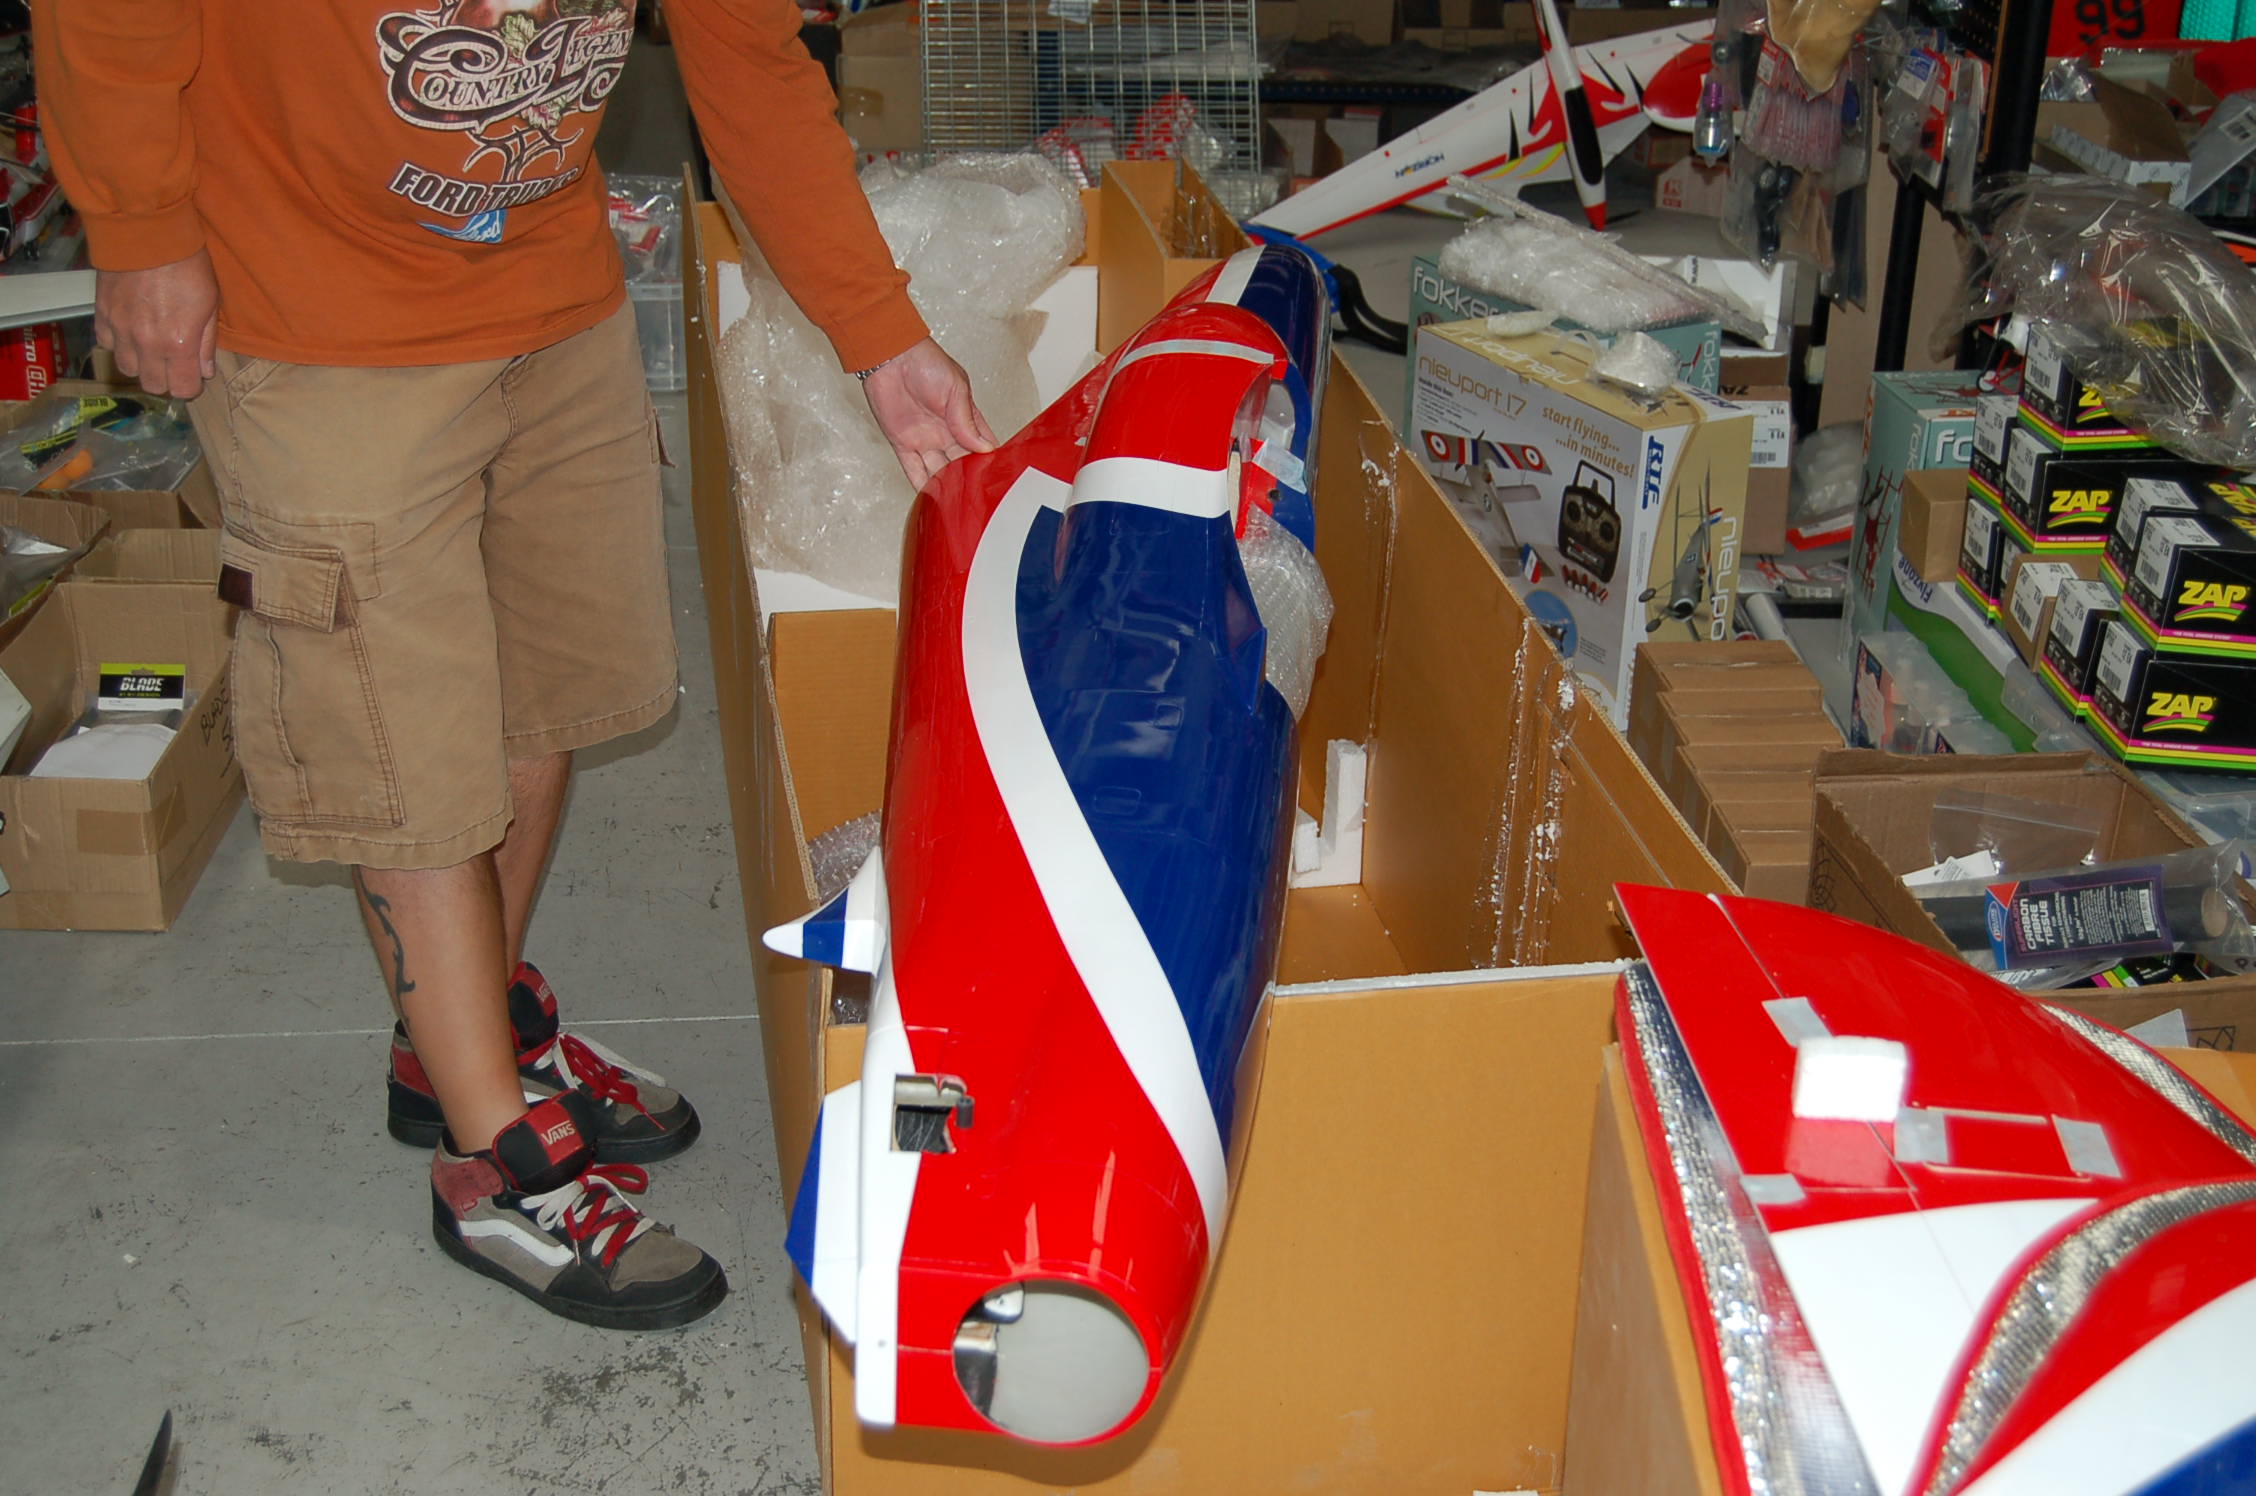
P-140Rxi and probably new JR 28x going in this one
09-29-2014 | 02:17 AM
#1918
My Feedback: (44)
The crow is between 4 to 5 mm, I also added the wing fences based on what I read on this thread (I made them out of clear polycarbonate) , Jim said it didn't exhibit any bad stall tenancies so I guessed they worked.
I did not put on the lower ventral fins yet as a T-45 did not have those, it seems that the lack of their presence didn't make much difference.
Not sure when i will get to fly again, our weather is getting ready to turn to the bad side!
09-29-2014 | 02:47 AM
#1919
09-29-2014 | 05:59 AM
#1920
My Feedback: (18)
Joined: Jun 2002
Posts: 3,021
Likes: 0
Received 0 Likes
on
0 Posts
From: New City, NY
Well we can add another flying hawk to the list, my rebuild Hawk was test flow By Jim Hiller yesterday, he gave it a clean bill of health!
C.G. and throws were according to the manual, I also added crow with flap deployment.
The before photos are on post #733 in this thread.
C.G. and throws were according to the manual, I also added crow with flap deployment.
The before photos are on post #733 in this thread.


